
From tape measure to a kitchen direction you can actually discuss
StilePath turns ordinary room notes, appliance information, and daily-life priorities into a cabinet layout you can explore before ordering or construction begins. You do not need drafting experience. Bring a tape measure, something to write with, and a willingness to make a useful first version.
Start Free—No Card Needed Find Your Starting Point
Begin with the room you have—not the photograph you saved
An inspiration image can show a mood, finish, or storage idea. Your plan still has to answer to your walls, openings, appliances, traffic, and routines. The first goal is not a flawless drawing. It is a clear record of what is known, what is still uncertain, and what the kitchen needs to do. If you can use a tape measure and make notes, you can begin. StilePath helps you turn those notes into something visual enough to question, compare, and improve.
Keep three simple tools beside you
A tape measure, pencil, and paper are enough for the first pass. Use your phone for straight-on room photos and appliance labels. Write each number beside the wall or object it describes so a page of measurements never becomes a guessing game later.
Gather the best appliance facts you have
If models are selected, open the current manufacturer specifications. If they are not, record realistic planning dimensions and mark them as assumptions. Do not quietly turn a category label such as “36-inch refrigerator” into a finished opening size.
Write down the routines that matter
Note how groceries arrive, where coffee happens, who cooks together, where dishes are unloaded, and what crowds the counters now. These ordinary details give the cabinet plan a job beyond filling the walls.
Build the first useful version in eight steps
Work in order and keep a short recheck list. Each step should make the next one easier; none asks you to pretend a homeowner sketch is a final cabinet order or construction document.
1. Measure the perimeter
Walk around the room in one direction and record every wall segment. Add ceiling height in several places and note soffits, slopes, beams, or lowered areas. If a chain of smaller segments does not agree with the overall wall, keep both numbers visible and measure again instead of choosing the one you prefer.
Follow the Measuring Guide2. Add openings and fixed conditions
Locate doors and windows from one consistent corner. Record casing, sill height, door swing, handles, nearby switches, vents, radiators, columns, plumbing, and other conditions that are difficult or expensive to move. Measure the feature and its position; both can affect a cabinet run.
Measure Doors and Windows3. Record the actual appliances
Use current model information for the body, handles, hinges, ventilation, service space, utilities, and open positions. A common mistake is checking only the advertised width, then learning that a door needs more side clearance or a plug adds depth behind the appliance.
Record Appliance DetailsCommon mistake: measuring only the empty opening
A doorway or window is more than width and height. Casing consumes wall space, a sill can meet a countertop, and an open door or handle can collide with a drawer. Sketch the direction each part moves. Your drawing can be rough; the relationships need to be clear enough that you can test them later.
Common mistake: trying to perfect the first draft
The first version is supposed to reveal questions. Label an uncertain dimension, use the best current appliance information, and keep a recheck list. A plan with visible assumptions is safer than a polished image that quietly treats guesses as facts. You are learning what to verify, not sitting an exam.
Use the Full Room Checklist4. Arrange around routines
Place cold storage, sink, preparation, cooking, cleanup, and everyday storage around the way the household moves. Trace a normal breakfast and dinner. Notice where groceries land, where two people overlap, and whether a route to another room cuts through the busiest work area.
Plan Kitchen Work Zones5. Give storage a job
Name what each important cabinet or zone needs to hold before choosing every interior accessory. Pots near cooking, dishes near cleanup, breakfast supplies near the morning routine, and waste beside preparation usually matter more than maximizing the raw cabinet count.
Plan Storage Around Daily Life6. Test open positions
Open appliance doors, cabinet doors, drawers, pullouts, stools, and room doors in the plan. Then leave space for a person using them. Many costly conflicts disappear in a closed elevation and become obvious the moment the dishwasher and a nearby drawer are open together.
Catch Layout Conflicts7. Review the plan in 2D and 3D
Use plan view for clearances and relationships, then use 3D for height, mass, sightlines, and the feeling of the room. Neither view replaces the other. A beautiful perspective can hide a tight aisle; a correct overhead plan can still create a heavy wall of tall cabinetry.
Compare Layout Families8. Change one decision at a time
When something feels wrong, change one meaningful variable and look again. Move the island, shorten a cabinet run, protect a landing space, or revise one assumption. Changing everything at once makes it difficult to learn which choice improved the room. Save promising directions and keep the reason for each revision visible.
A room-specific direction
By the end of a useful first session, you should have a layout worth discussing—not a promise that every detail is final. You can see the main cabinet runs, appliance locations, work zones, and the choices that most affect the room.
A short verification list
Keep the uncertain measurements, provisional appliances, utility questions, structural conditions, and provider decisions together. A short honest list is progress. It prevents an assumption from becoming invisible simply because the drawing looks finished.
A better professional conversation
Bring the current plan, specifications, photos, and recheck list to the people who will supply, install, or approve the work. They can respond to one coordinated direction instead of reconstructing the project from scattered screenshots and memory.
Keep the right guide open beside the room
These three practical articles are useful companions for the first pass. Their images, checklists, and common mistakes can help you slow down at the places where a quick assumption often becomes an expensive change.
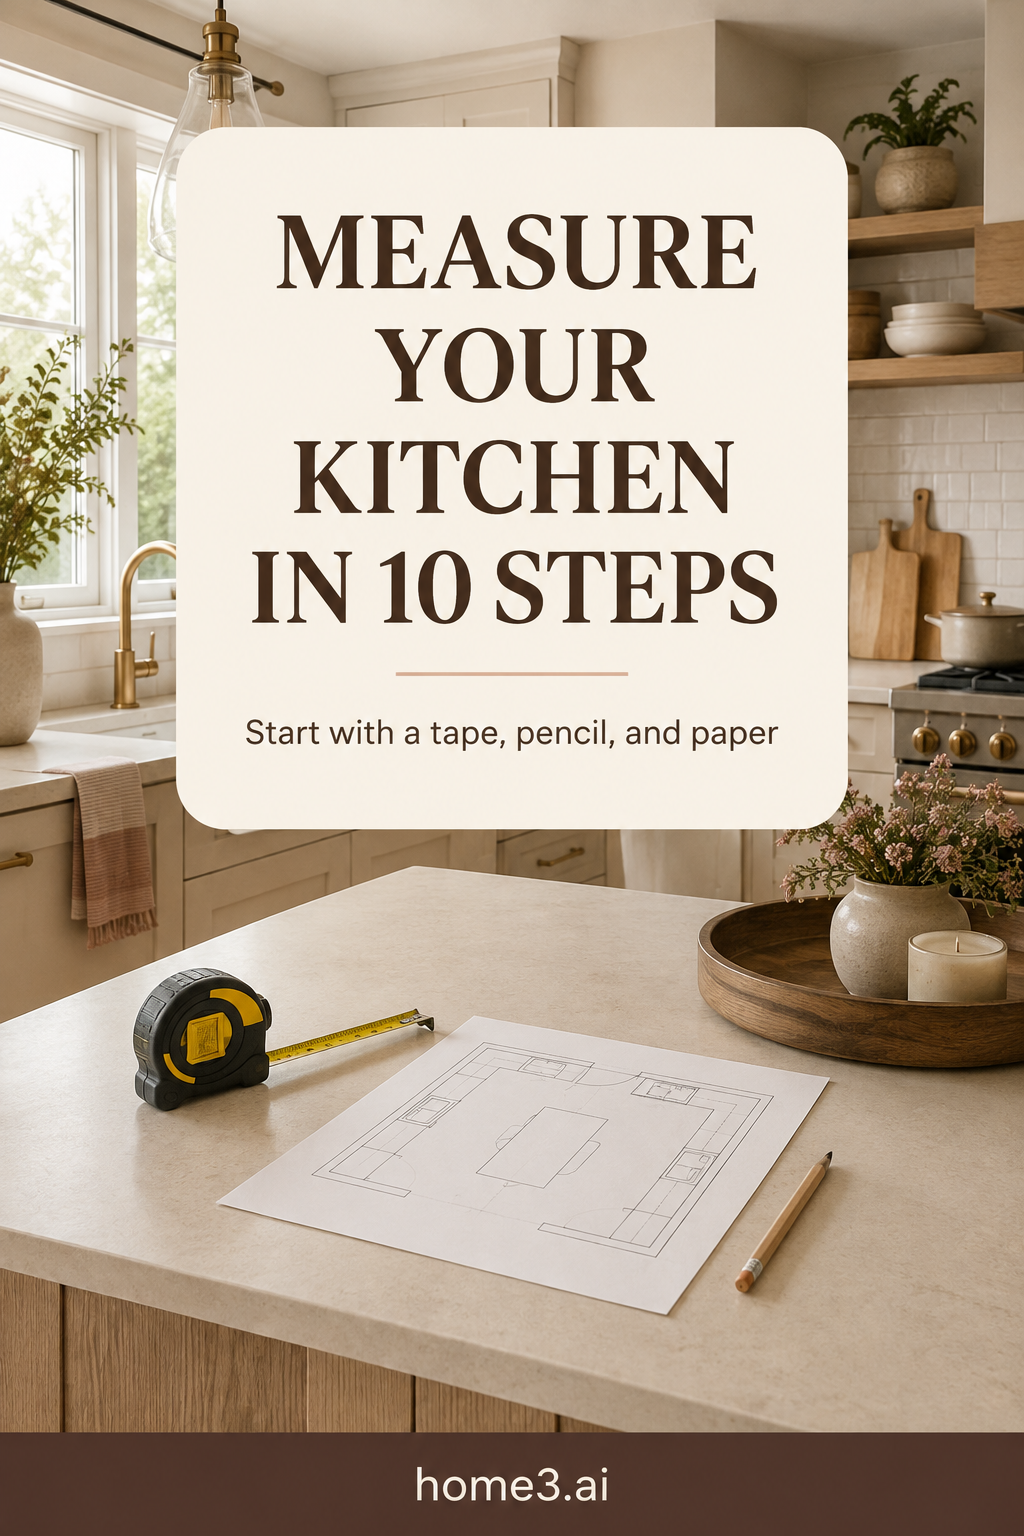
How to Measure a Kitchen for Cabinets in 10 Steps
A friendly, practical room-measuring process for walls, ceilings, openings, fixed conditions, and the checks that make an early cabinet plan more reliable.
Kitchen Layout Mistakes to Catch Early
Check appliance openings, traffic paths, landing space, storage, and fixed room conditions before a cabinet layout becomes an order.
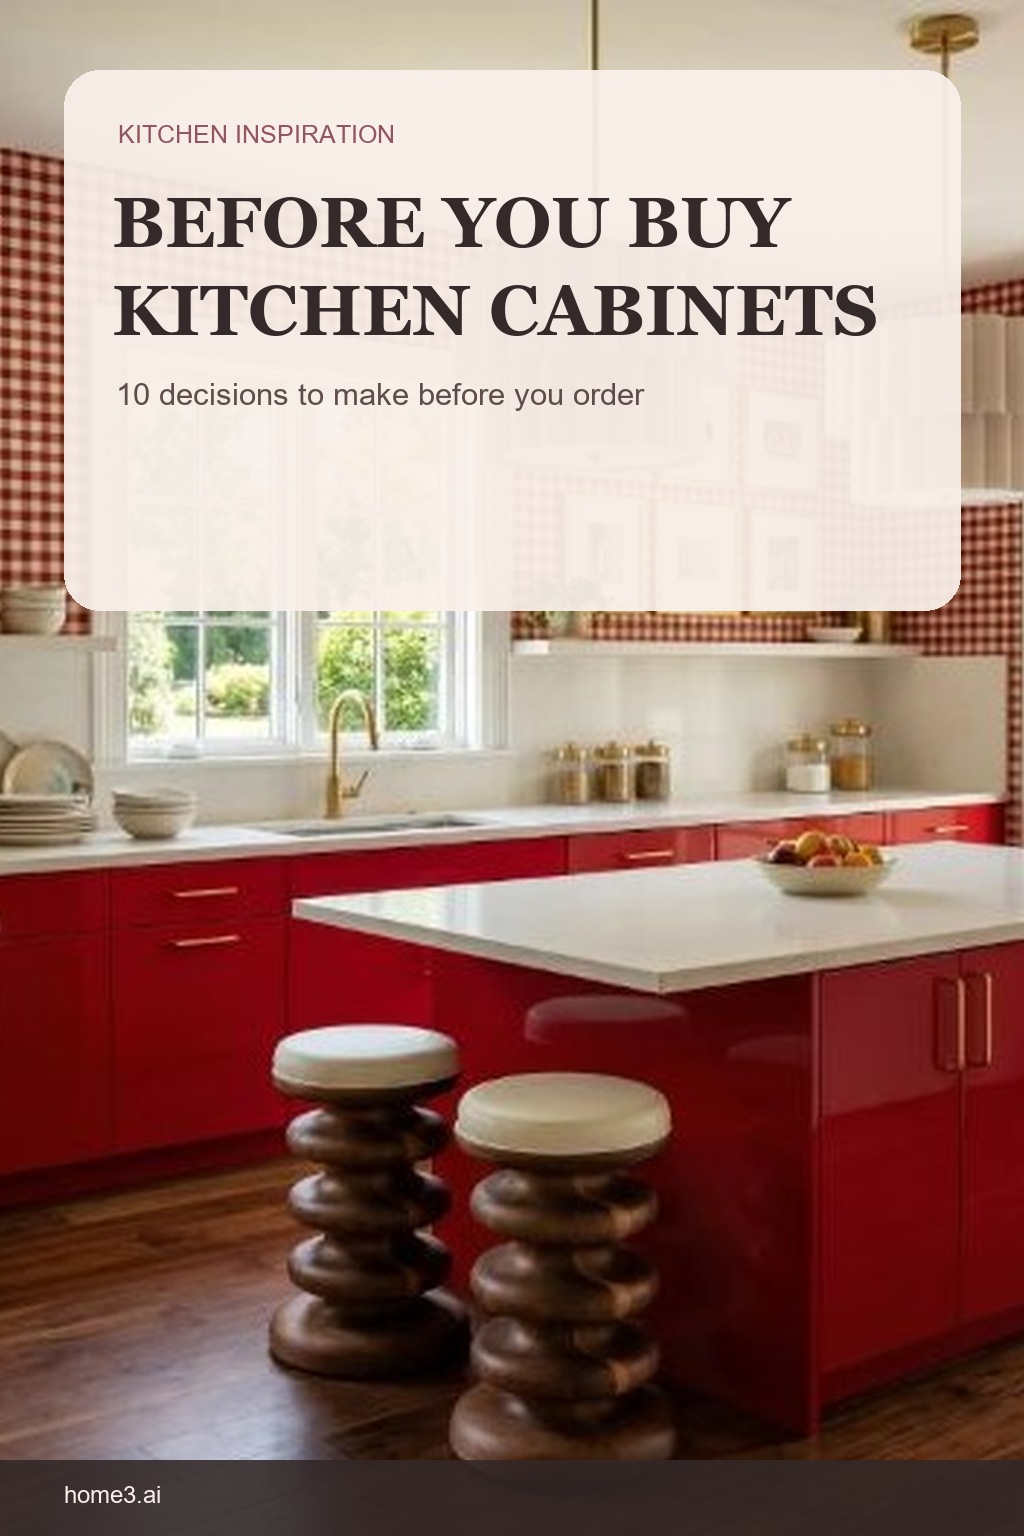
Before You Buy Kitchen Cabinets: 10 Decisions to Make First
Cabinets lock in much of a kitchen's function. Make these 10 room, construction, finish, storage, clearance, and scope decisions before you order.
What the guest result gives you
Begin without an account and reach a room-specific planning direction. Review the assumptions, exclusions, and estimate range to decide whether the result is useful for your project before you exchange anything for continued access.
What a free account changes
Guest work belongs to the current browser session. Create a free account when you want to keep one active project and return to it later. The exchange should stay clear: try the planning flow first, then save when the project is worth continuing.
Compare Starting OptionsWhat still needs professional verification
StilePath is a planning and communication tool, not a final cabinet order or construction document. Suppliers, installers, contractors, appliance providers, designers, engineers, and licensed trades still verify the field conditions, products, structure, services, permits, codes, and final documents within their responsibility.
Get your tape, paper, and pencil. Your first useful version can start now.
Begin with the room in front of you. Make the unknowns visible, explore one practical direction, and create a free account only when the plan is worth saving.
Start Your Kitchen Plan Free