
Kitchen layout mistakes to catch while they are still easy to fix
Most early kitchen-plan problems are not dramatic. They are small conflicts repeated every day: a blocked drawer, nowhere to set groceries, a walkway through the cooking zone, or an appliance that technically fits but cannot open comfortably. You do not need to be a carpenter to find the first round. Get a tape measure, pencil, and paper, draw the room simply, and mark anything that opens, projects, or carries people through it. The goal is not a perfect drawing. It is to expose questions while an eraser is still the cheapest tool in the project.
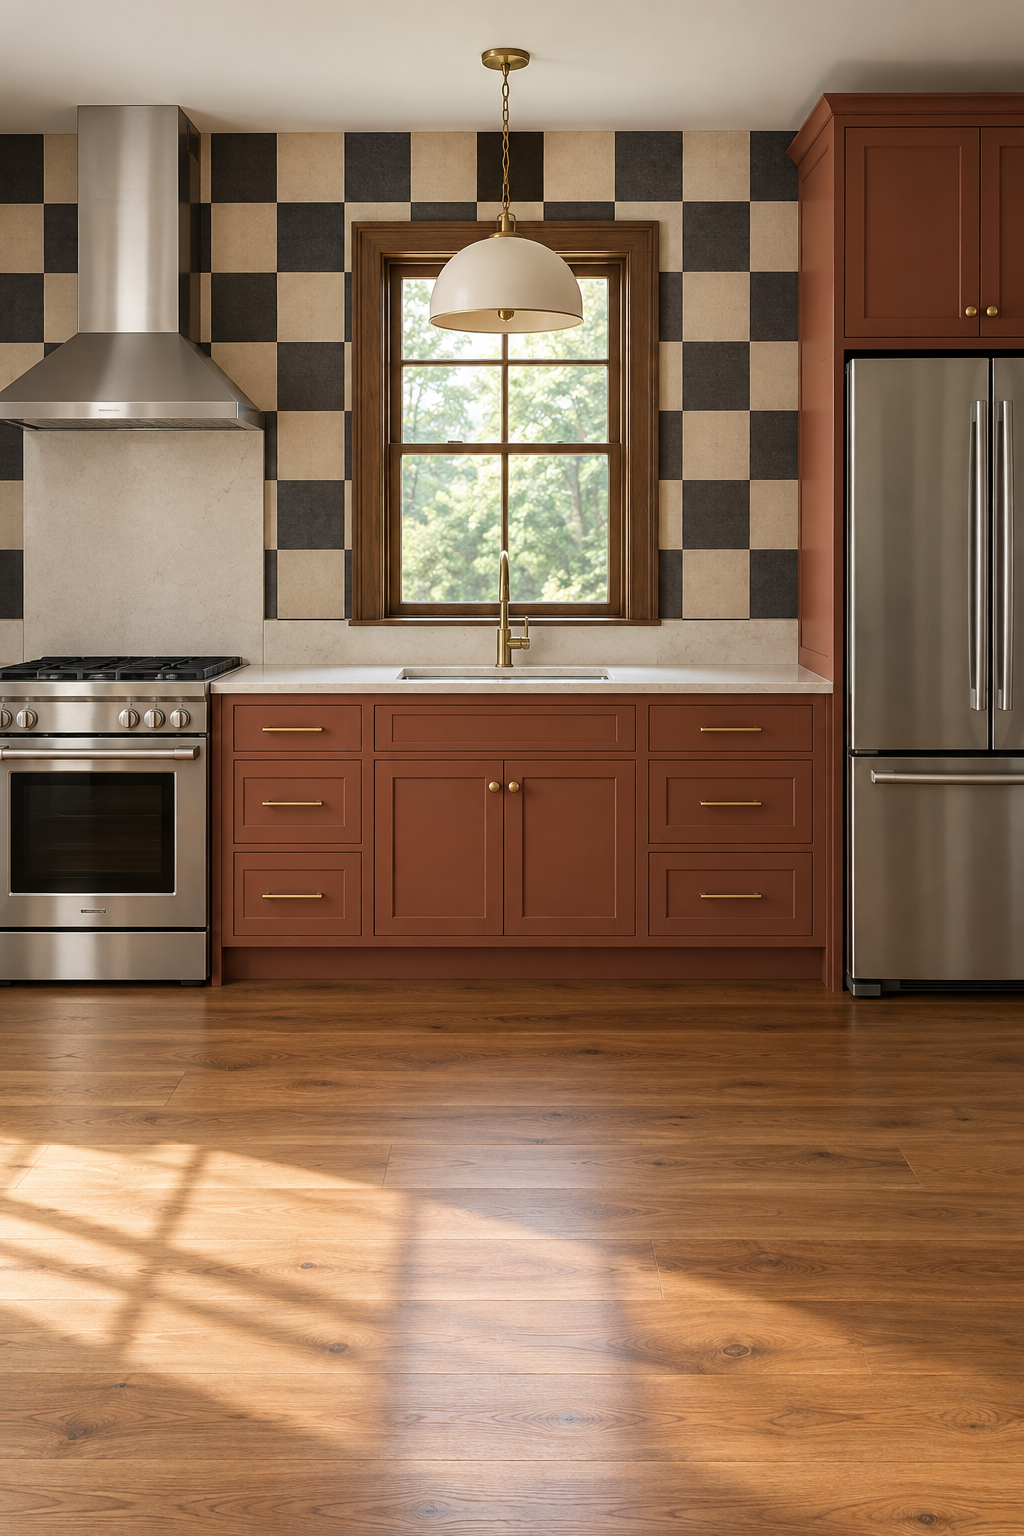
1. Measure openings, trim, and the wall beside them
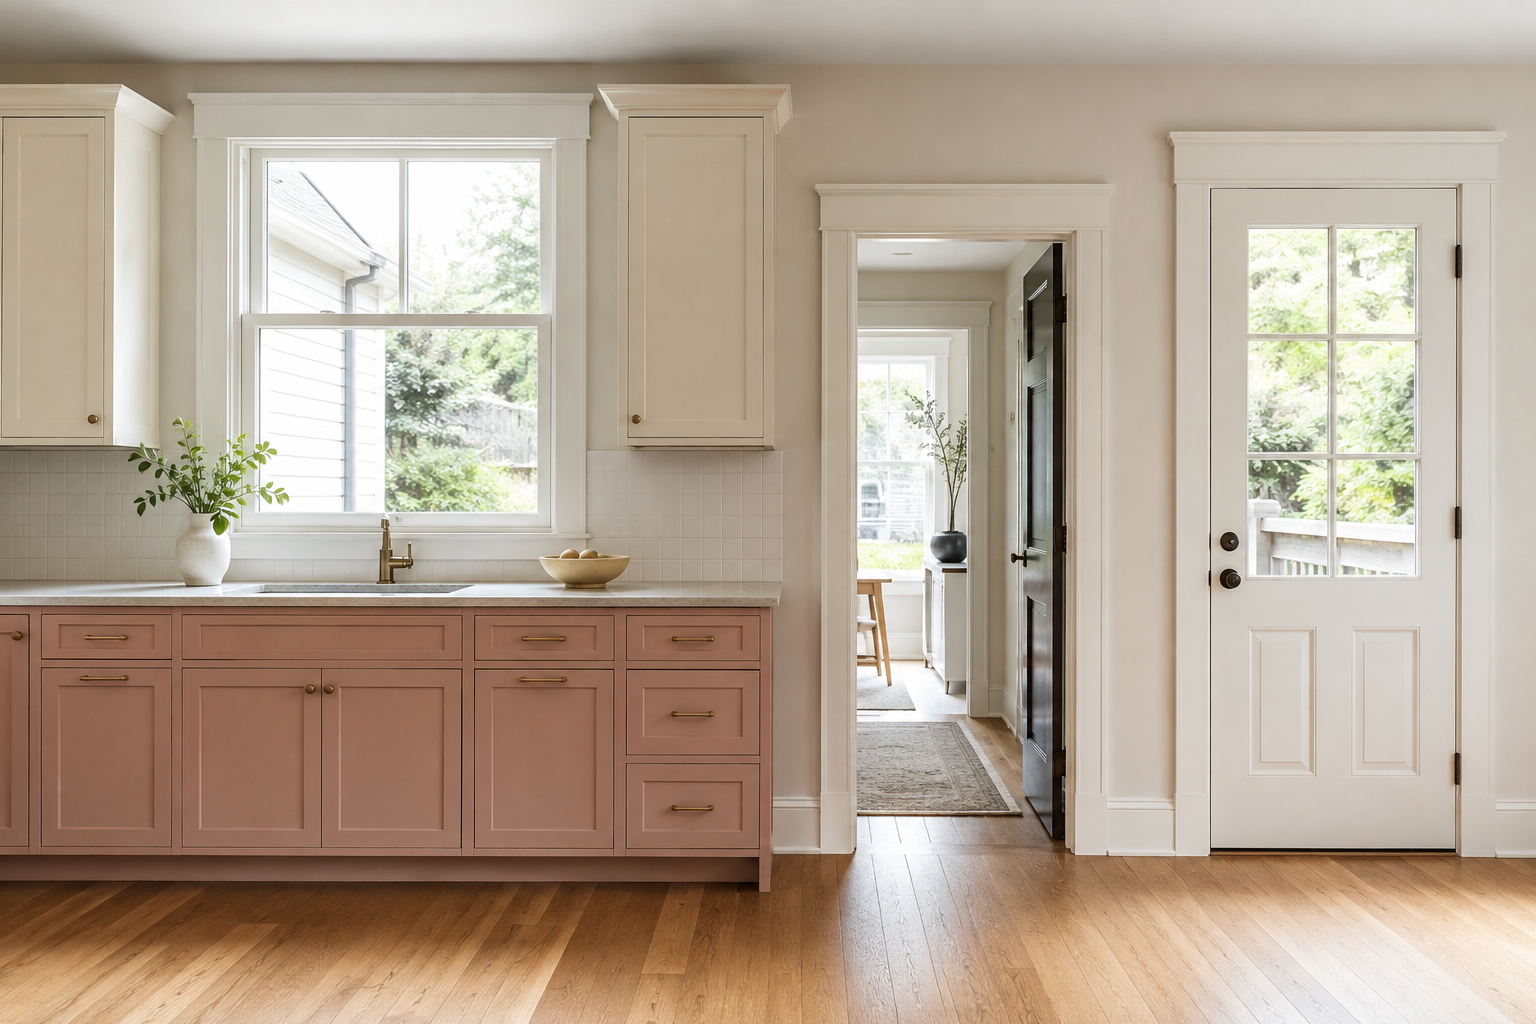
Measure the opening itself, the outside edge of its trim, the height from the finished floor, and the usable wall on both sides. Record which way every room door swings and whether a window has a crank, handle, or deep sill. A common mistake is writing down only the glass or door slab, then placing a cabinet into the casing or hardware clearance. Measure each dimension twice and label it directly on the sketch. If the wall is old or uneven, take the same measurement near the top and bottom. A small discrepancy is useful information, not a reason to give up.
2. Draw appliances and cabinets in the open position
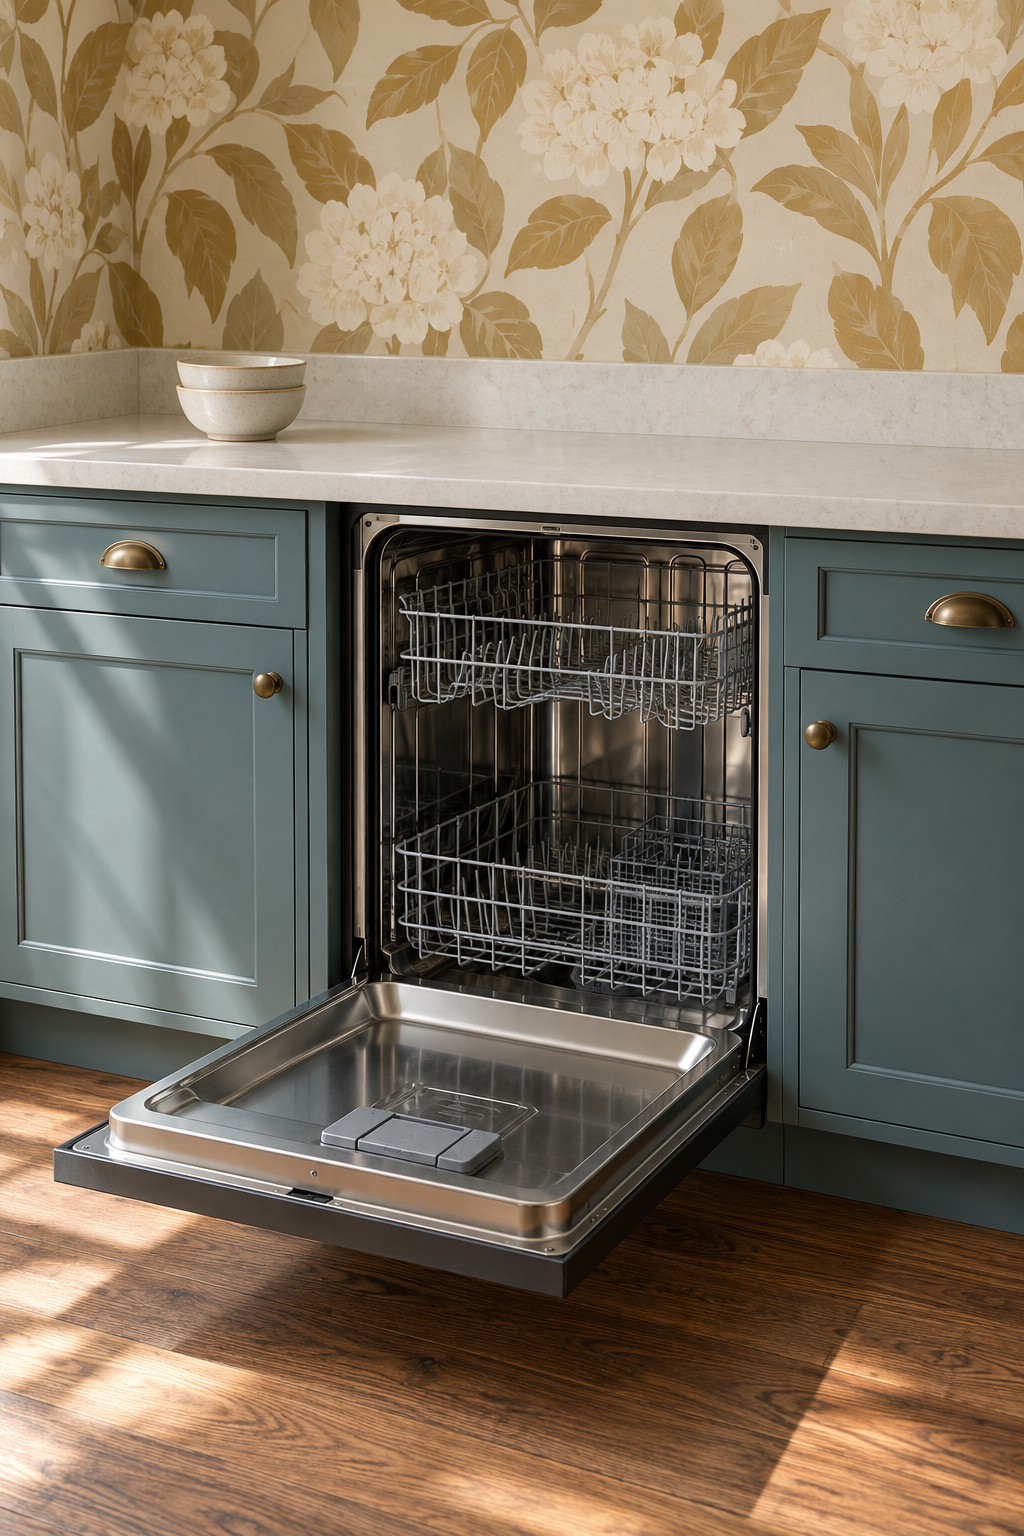
Check refrigerator, oven, dishwasher, cabinet doors, drawers, and room doors at their real open depth. Appliance specifications are a useful starting point, but handles, hinges, and installation gaps can change the final reach. The frequent mistake is proving that every item fits while closed and never testing two nearby openings together. Sketch the swing or pullout with a simple arc or rectangle, then imagine unloading the dishwasher while someone reaches into the refrigerator. You can catch a surprising number of collisions with a tape, a few appliance dimensions, and paper before final verification.
3. Keep household traffic out of the main work route
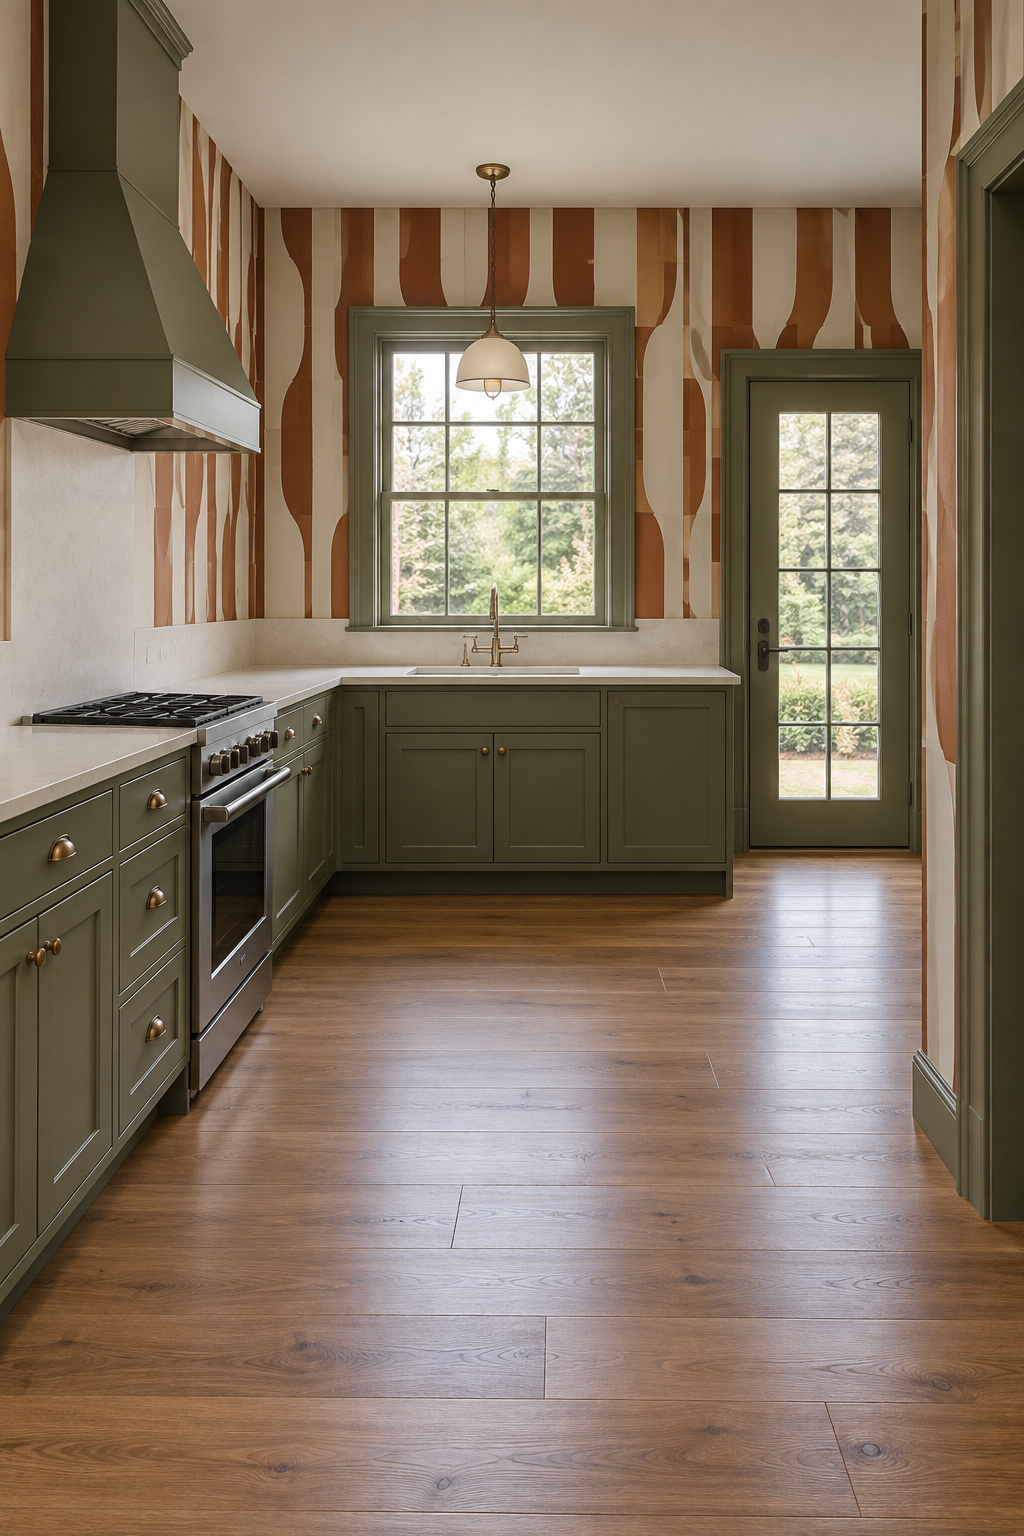
Trace the shortest path between the outside door, refrigerator, dining area, backyard, and family room. People usually take the direct route, not the route a cabinet elevation wishes they would use. A layout mistake appears when that path crosses between the sink, preparation surface, and range or squeezes behind an open appliance. Mark the route with a pencil line and test it again with stools pulled out. You may be able to shift an island, stop a cabinet run earlier, or move a busy appliance toward the edge. Protecting the route often improves the room without adding space.
4. Put landing space beside the appliance that needs it
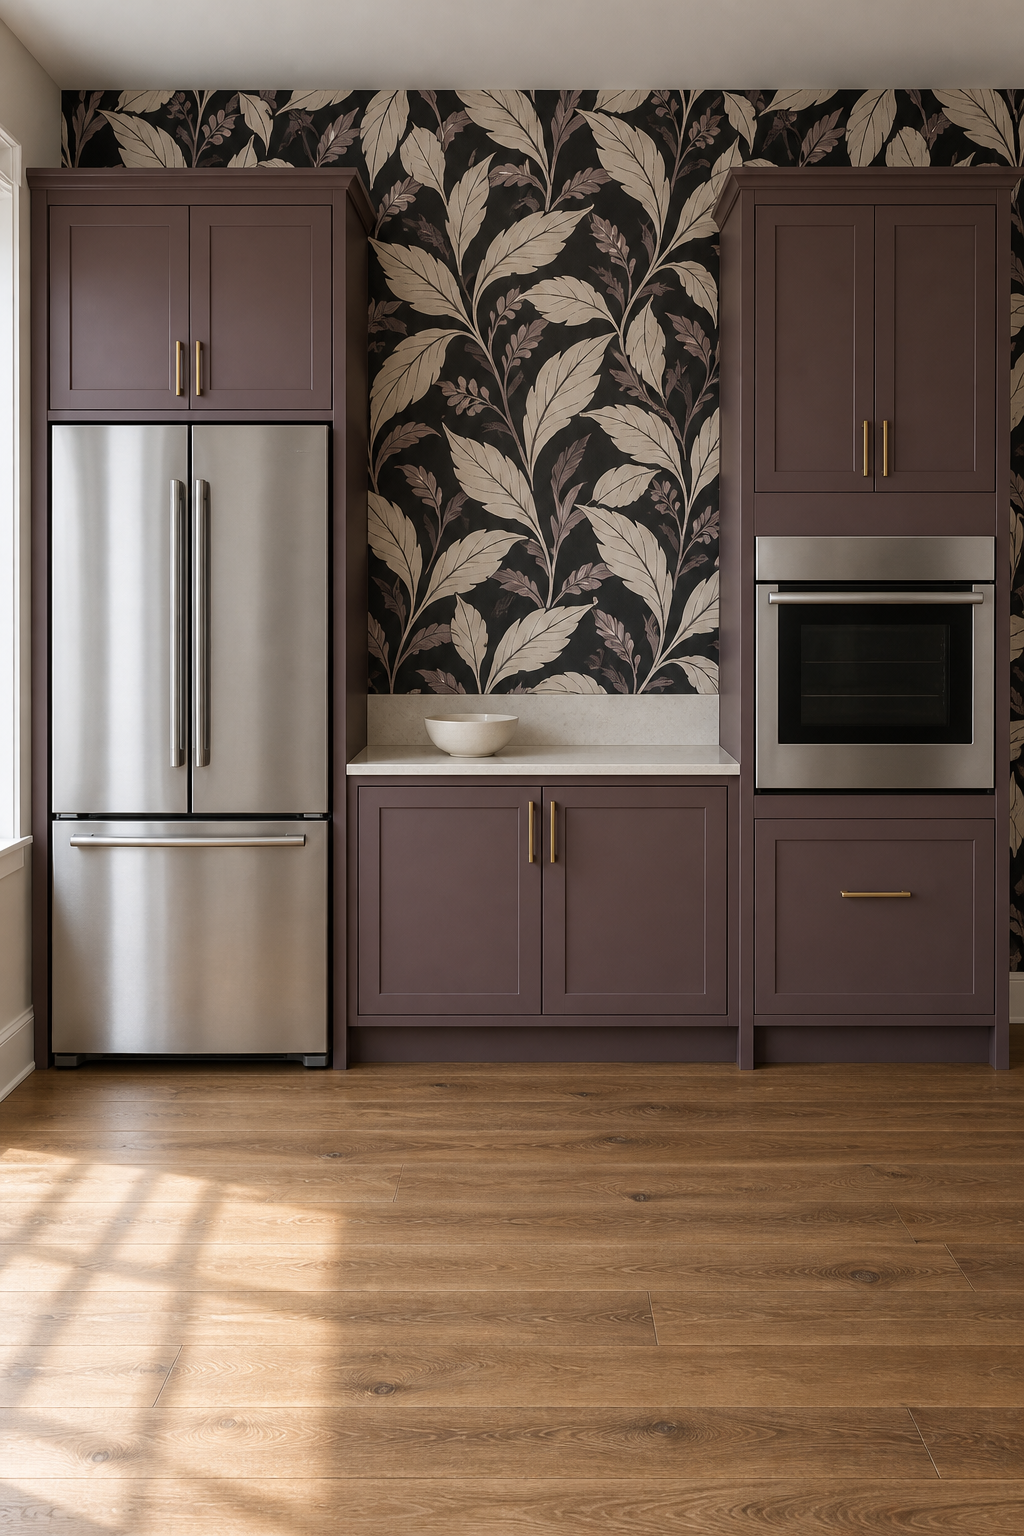
Refrigerators, ovens, sinks, and cooktops all benefit from nearby surface area for setting things down. Identify where grocery bags, a casserole dish, washed food, and serving pieces will actually land. The common mistake is counting every inch of countertop as one total while ignoring the sinks, ranges, corners, and tall cabinets that divide it. A counter across the room may add square footage without helping at the moment it is needed. Circle each important landing place on the sketch and keep it clear of a door swing. A modest surface in the right location is often more useful than a long one in the wrong zone.
5. Protect one uninterrupted preparation area
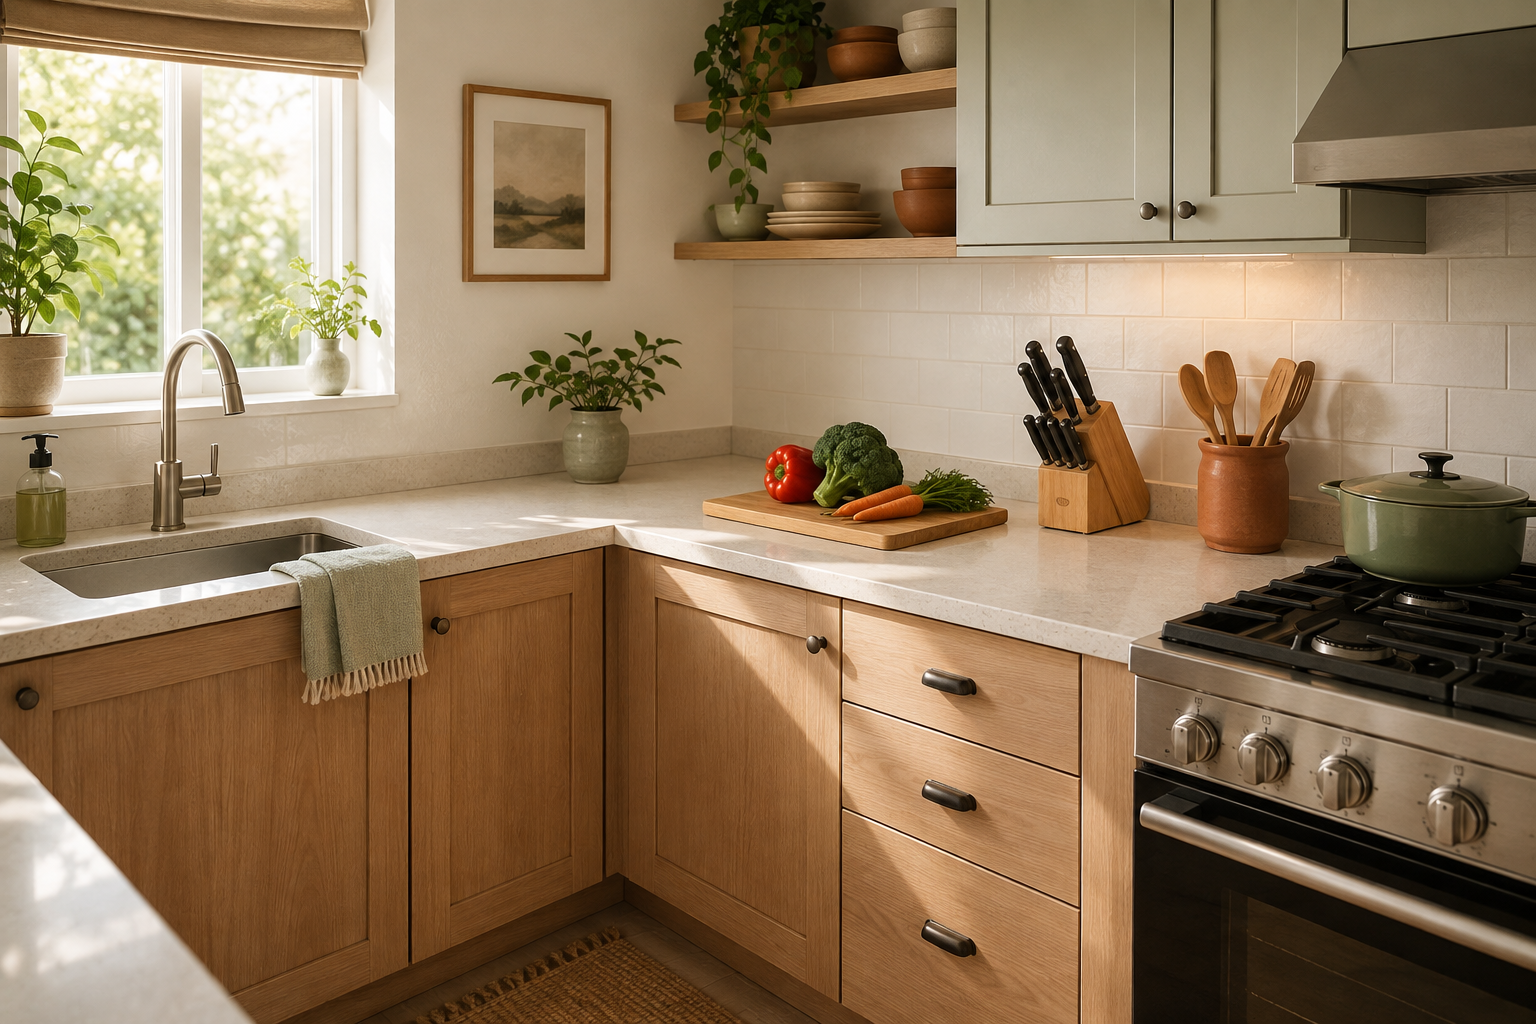
Measure the clear surface between each interruption and choose the place where a cutting board, mixing bowl, and ingredients can stay together. The common mistake is adding several short counters into one impressive number even though none is large enough for the work. Look for a useful relationship to water, food storage, waste, and cooking rather than chasing symmetry. If the best stretch is currently covered by small appliances, give those appliances a deliberate home elsewhere. One dependable work area makes an ordinary dinner easier and gives the rest of the layout something practical to organize around.
6. Do not force an island into a room that works better open
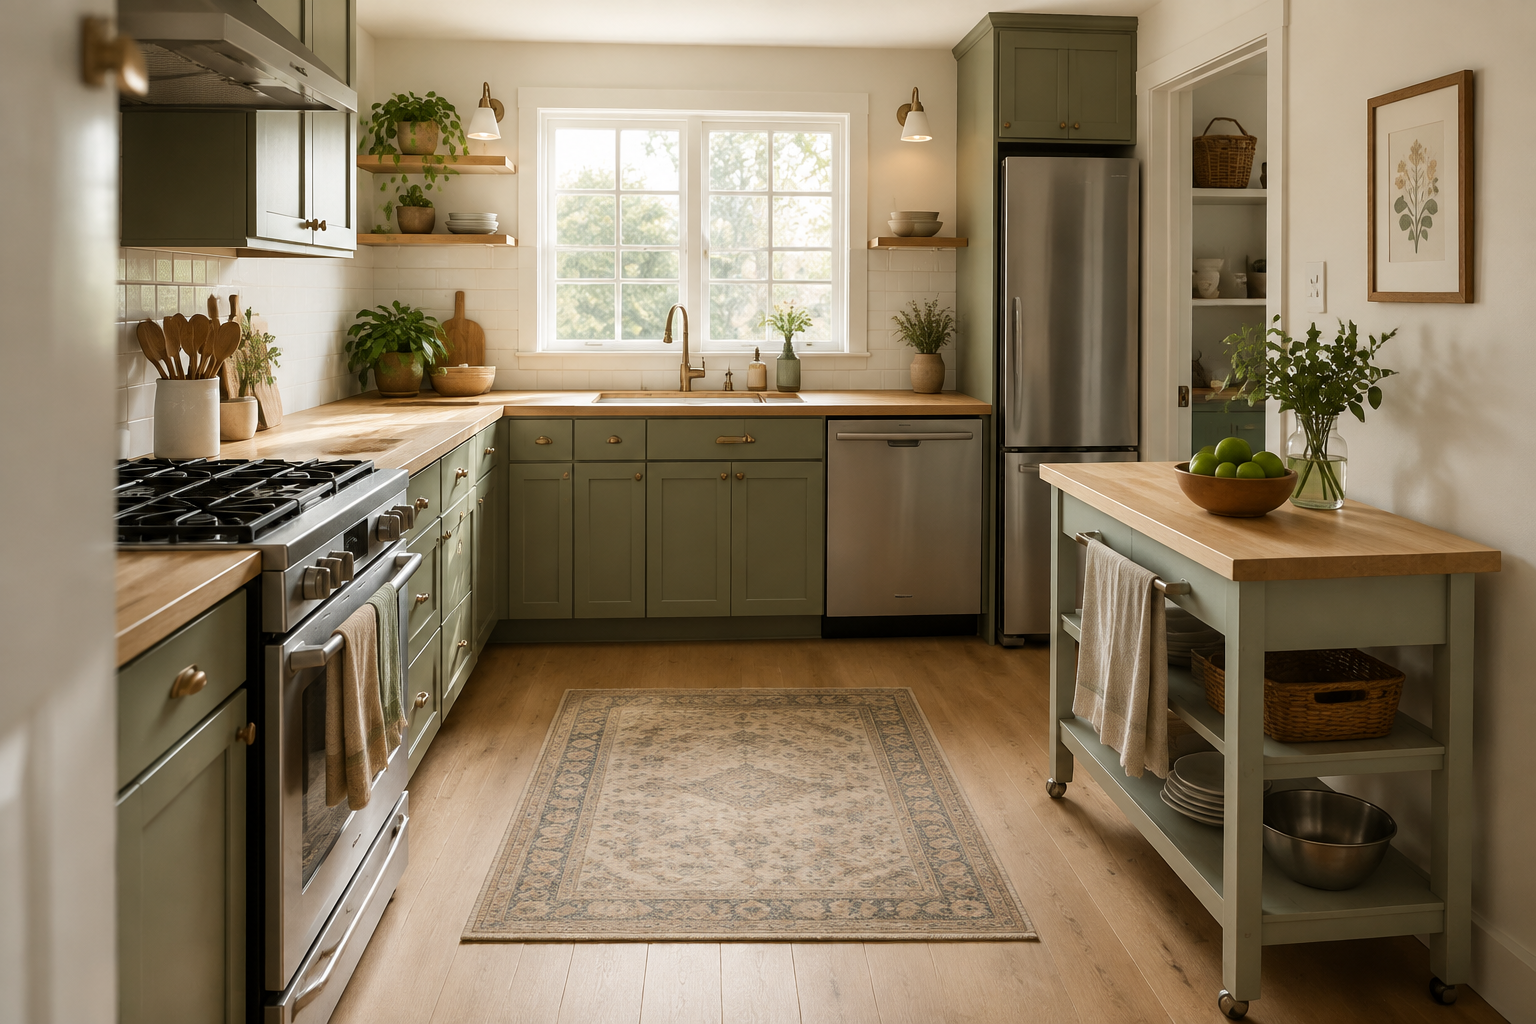
An island is useful only when the space around it still supports walking, opening, working, and sitting. Draw the full footprint, countertop overhang, open drawers, and pulled-out stools. The common mistake is treating the island as a required feature and shrinking every aisle until it technically appears. Use painter's tape, a table, or cardboard boxes to test the volume. A narrow peninsula, movable worktable, or clear center may give a smaller room more flexibility. Choosing not to add an island is not a design failure; it is a successful decision when circulation and work improve.
7. Design storage around contents and access
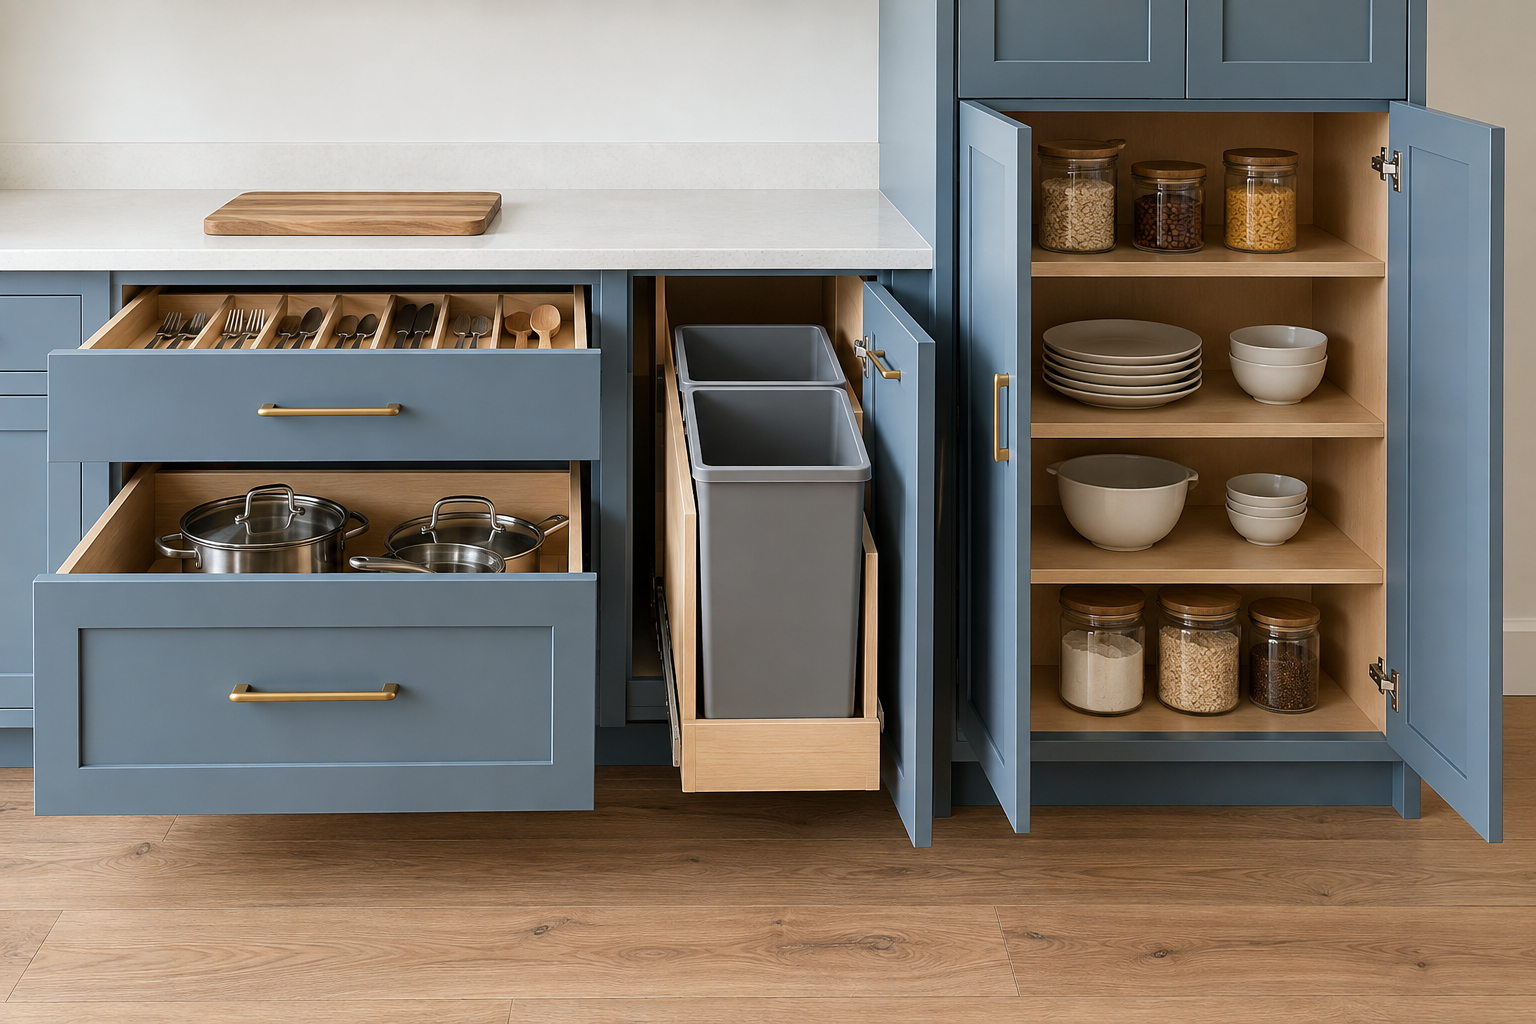
Match deep drawers, shallow drawers, shelves, pantry storage, and waste pullouts to the things and activities they support. More cabinets do not automatically create better storage. A common mistake is filling every remaining inch with a box before checking what belongs inside, how far the door opens, or whether the user can reach it. Start with bulky, heavy, awkward, and everyday items. Place dishes near cleanup, pans near cooking, and food near arrival and preparation. The right plan may contain fewer cabinets yet feel more organized because each interior has a clear job.
8. Put every fixed condition on the sketch
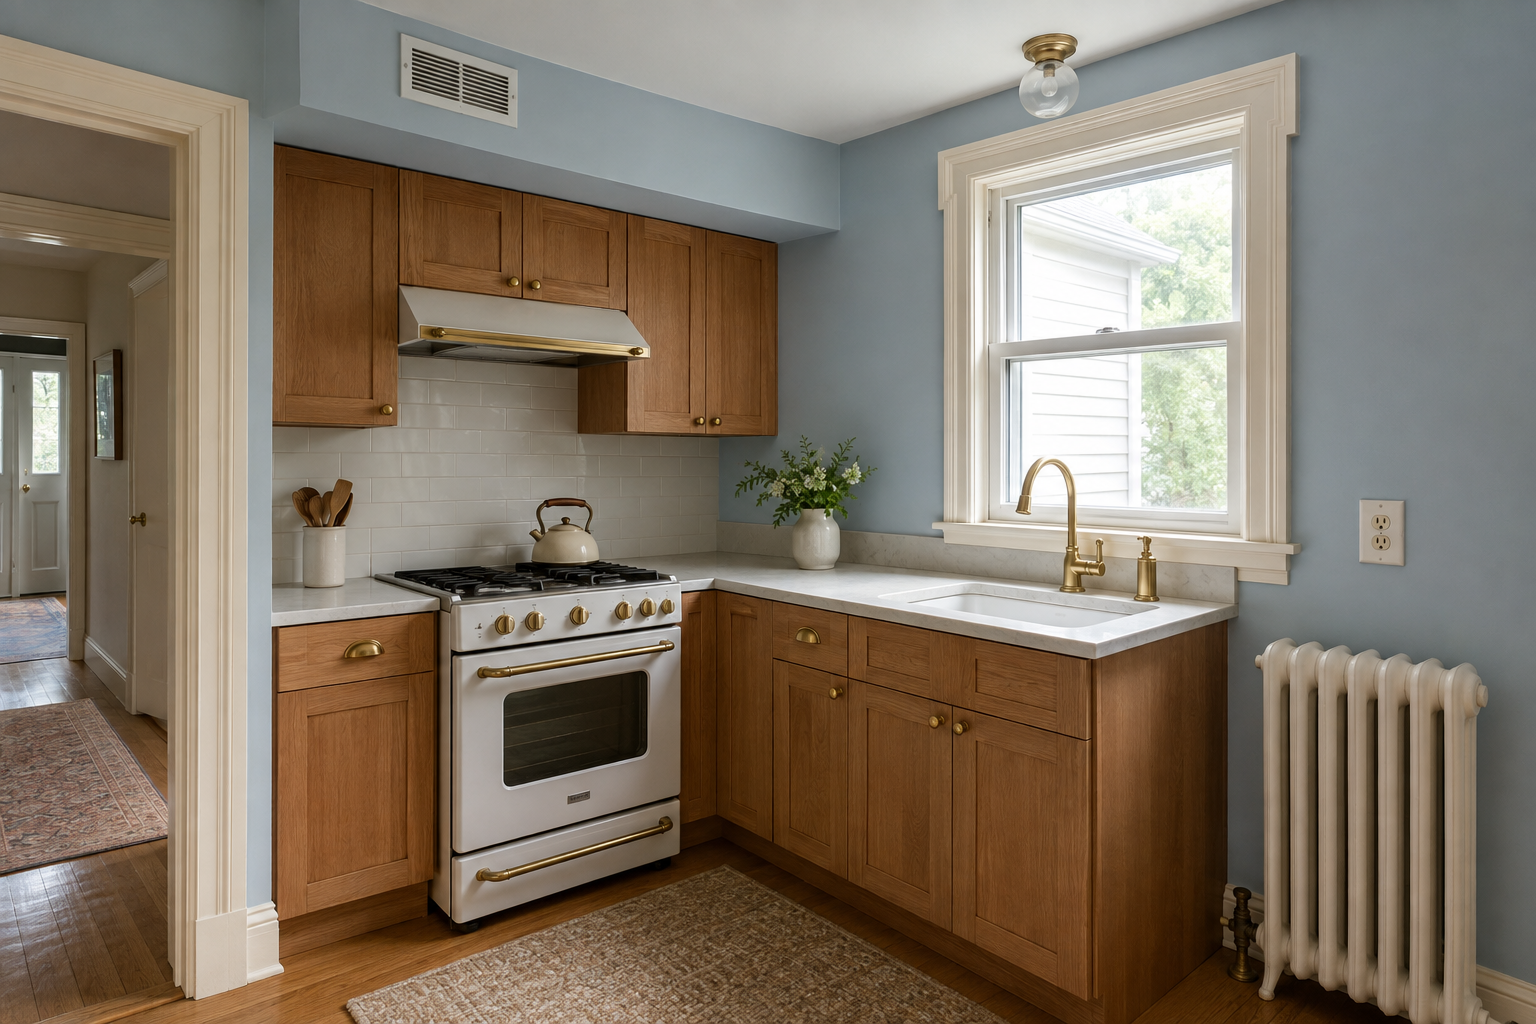
Soffits, vents, plumbing, outlets, radiators, window trim, uneven ceilings, and out-of-square walls can change what fits. Photograph anything unusual and mark measurements that still need confirmation. The easiest mistake is leaving an awkward condition off the sketch because you hope it can move later. Put it in now and explore alternatives around it; moving the condition can remain a separate option after a qualified trade explains what that requires. A question mark on an honest plan is much safer than a clean drawing that quietly assumes the room will cooperate.
9. Rehearse a busy moment before approving the picture
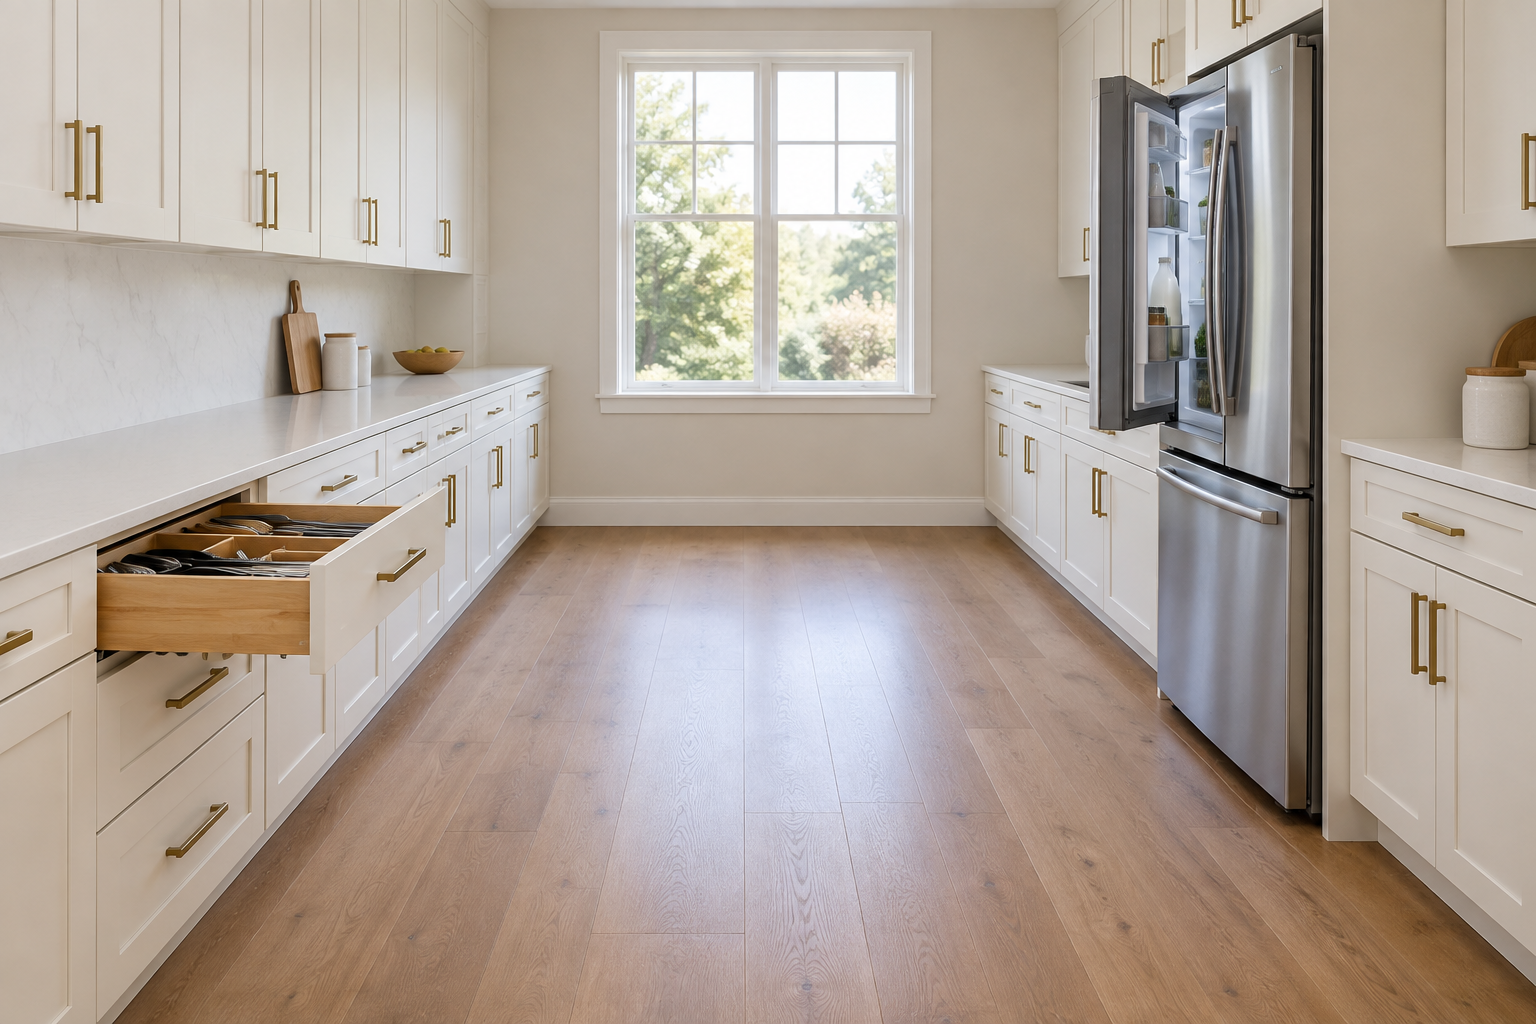
Imagine arriving with groceries while someone unloads the dishwasher, a stool is pulled back, and another person opens the refrigerator. Follow that sequence slowly and mark where you backtrack, wait, collide, or lose a landing surface. A still rendering can look peaceful because everything is closed and nobody is moving. The common mistake is approving that calm picture without rehearsing the room at its busiest. Do not be discouraged when the exercise exposes a conflict—that is the plan doing its job. Adjust one issue at a time, then repeat the same routine until the paths feel clear.
Prepare Your Measurements