
Kitchen appliance measurements: 10 details to record
An appliance can fit its opening and still create a frustrating kitchen. Doors need room to swing, handles project into aisles, ventilation needs a route, and service connections occupy real space behind the cabinet line. You can catch many of those questions yourself with a tape measure, pencil, paper, and the current manufacturer information. Start with the exact appliances you own or seriously expect to buy, keep unknowns clearly marked, and avoid building the layout around a generic rectangle. These ten details turn an appliance list into a more useful planning record.
1. Build a list around exact models
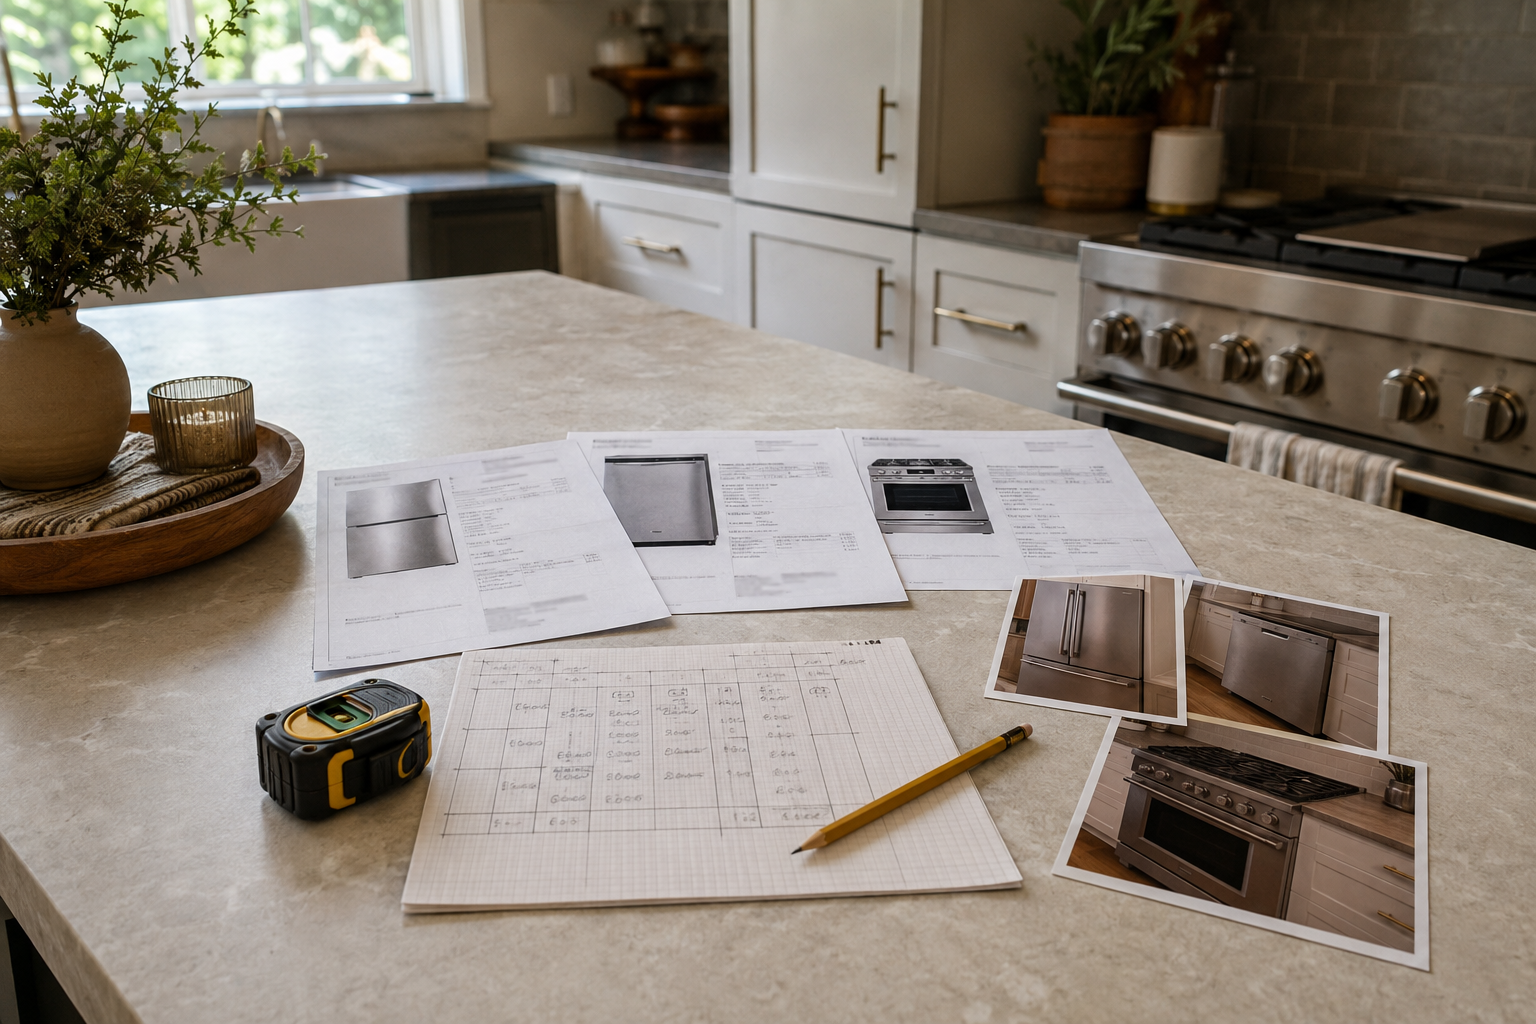
Write down the manufacturer and full model number for every current or selected appliance, then save the current installation and specification documents. If the choice is not final, list two realistic candidates and plan around the more demanding dimensions until you decide. A common mistake is designing for a category such as standard refrigerator or thirty-inch range as though every model behaves the same. Exact specifications can differ in ventilation, hinge clearance, connection location, and required surrounding space even when the advertised width sounds identical.
2. Separate body width, height, and depth
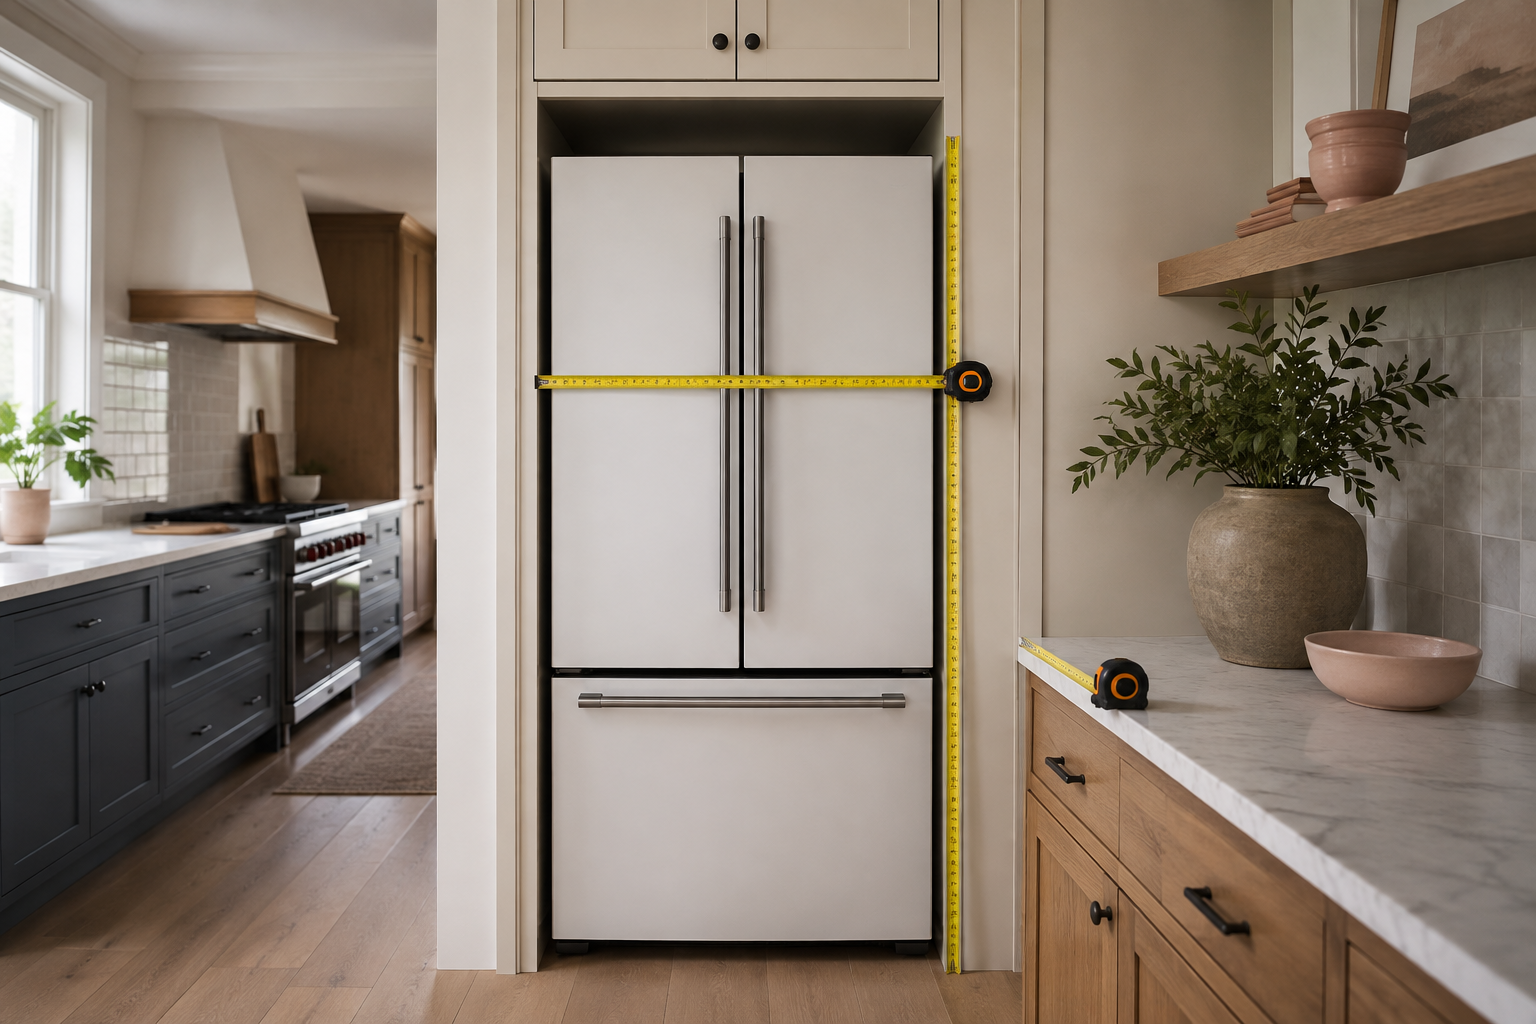
Record the appliance body dimensions and the required opening dimensions as separate lines. Measure the actual opening too, including its narrowest width, lowest height, and depth to the cabinet face. Do not quietly substitute one for the other. The familiar mistake is treating the product width as the finished cabinet opening or forgetting that walls and panels may not be perfectly parallel. Keep manufacturer-required clearances visible in your notes and leave final opening sizes to the cabinet supplier and installer who are responsible for the product fit.
3. Add door, hinge, and handle projection
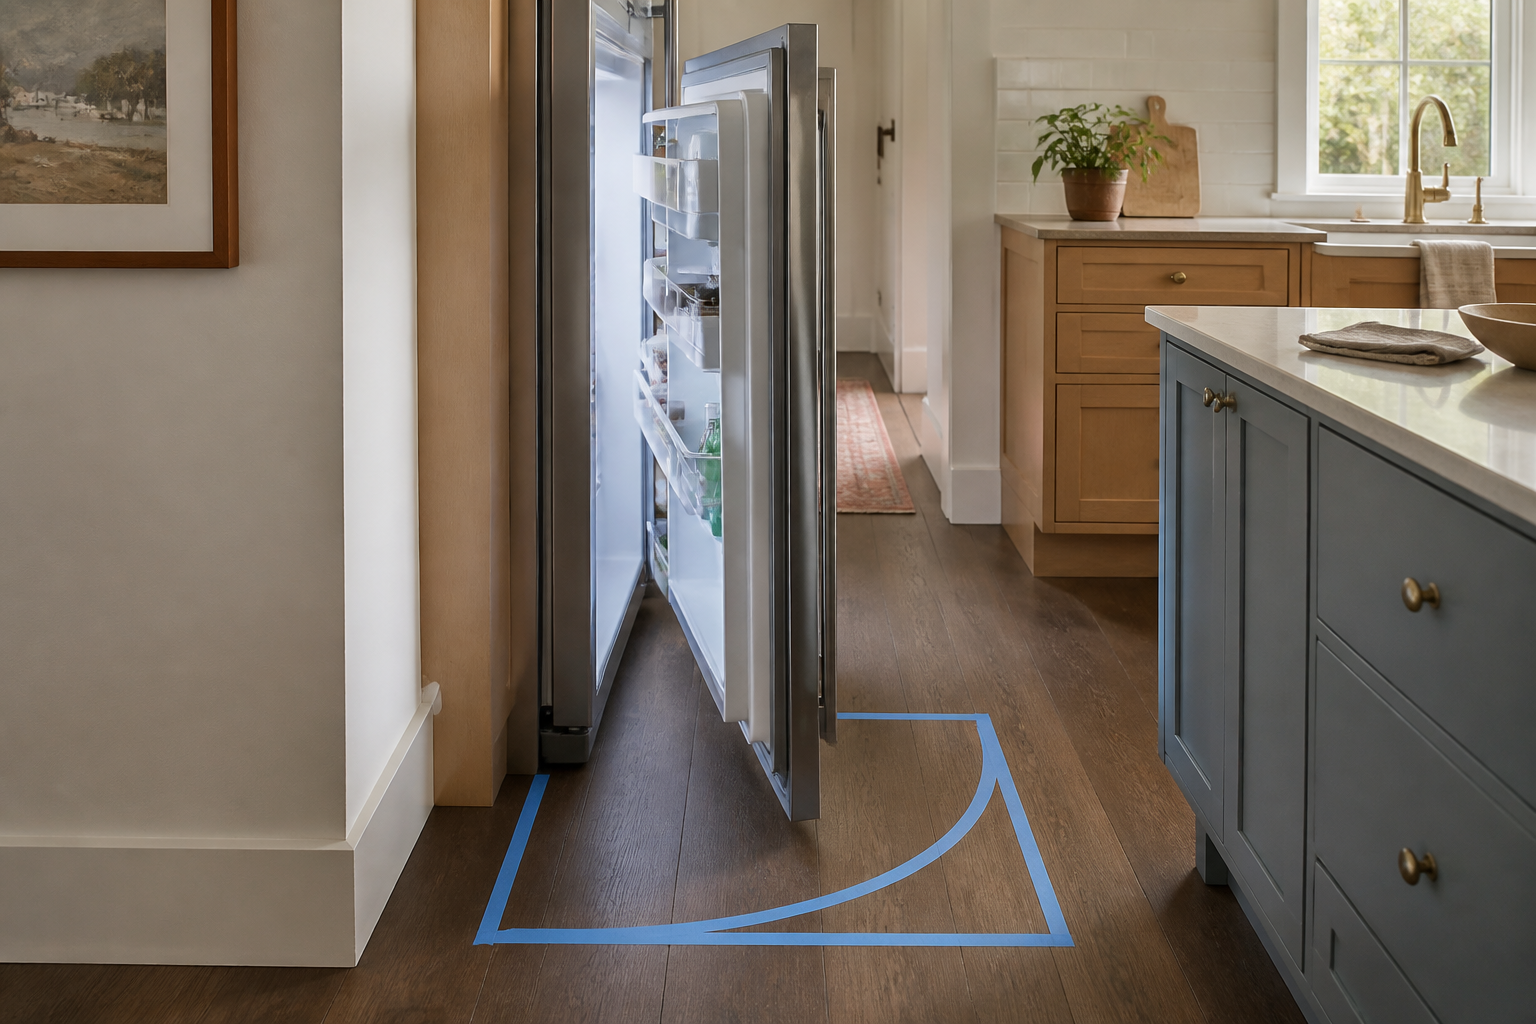
Measure how far the appliance face and handles sit beyond the cabinet line, then open every door to the angle needed for shelves, bins, racks, or trays to come out. Refrigerator hinges may need space beside a wall even when the closed box fits beautifully. People often compare only counter depth with appliance depth and overlook the door. Mark the full operating envelope on your plan and consider what stands across the aisle. An open refrigerator should not turn the kitchen entrance into a dead end.
4. Measure the oven with its door open
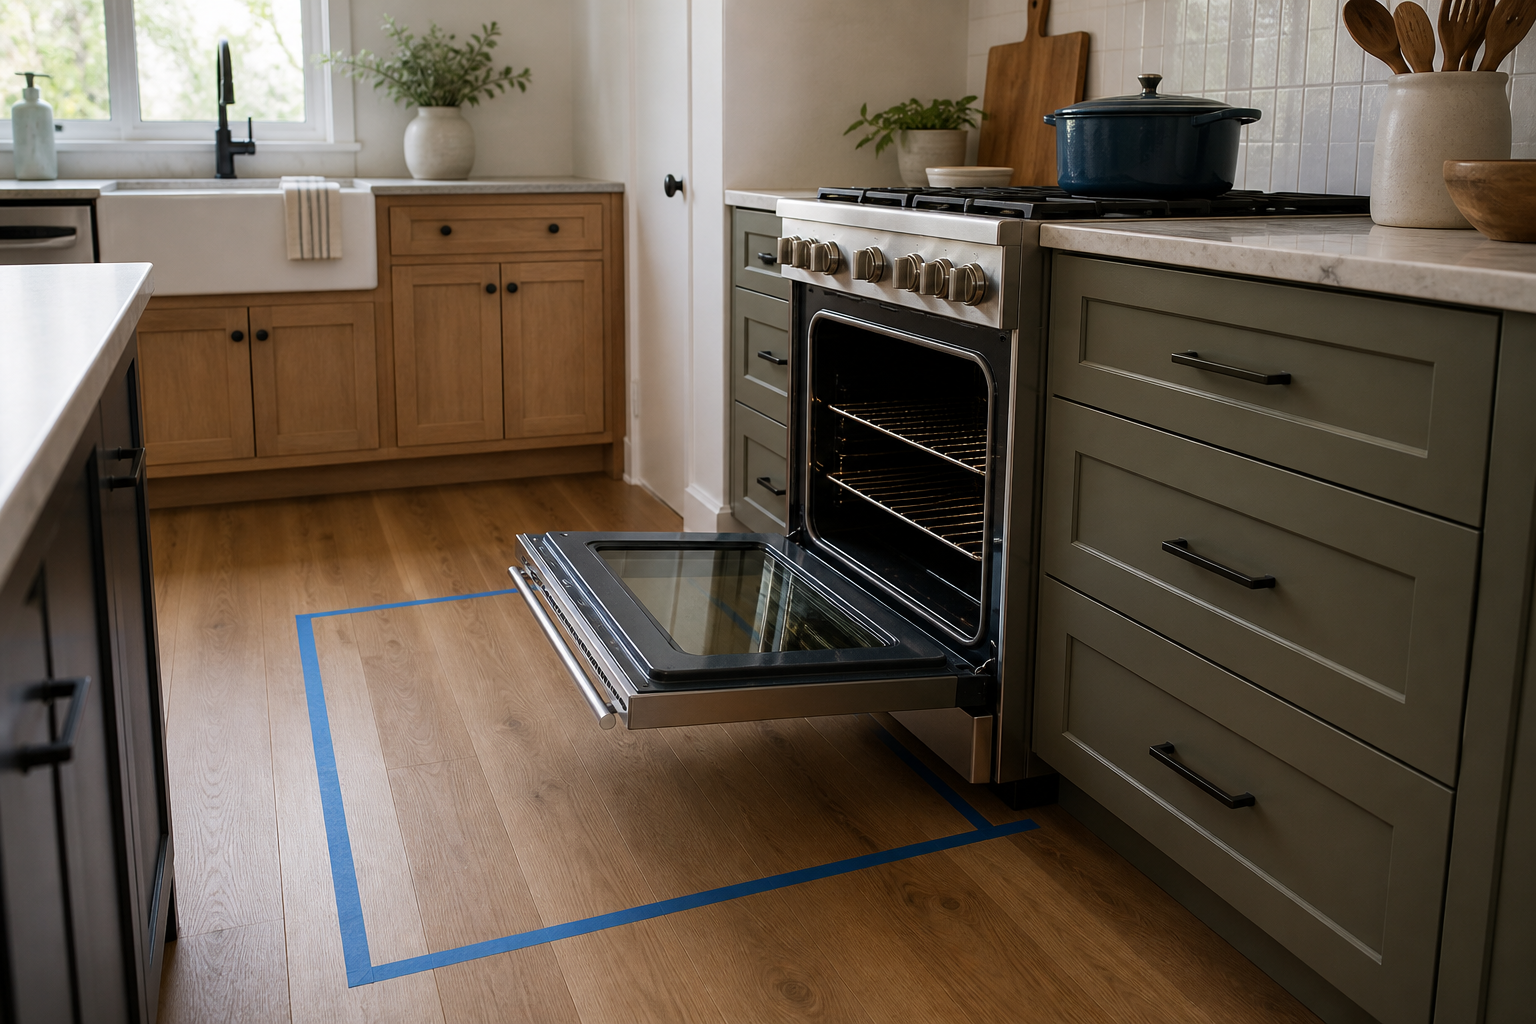
Record the oven or range depth when closed and the total projection when the door is fully open. Look for a safe place to stand and a nearby landing surface for hot cookware without crossing the main traffic path. A common mistake is measuring the aisle between closed cabinet faces and assuming the job is done. The oven door may consume much of that space. Also check whether adjacent drawers, cabinet handles, or another appliance can open at the same time without creating a pinch point.
5. Test dishwasher, sink, and waste conflicts
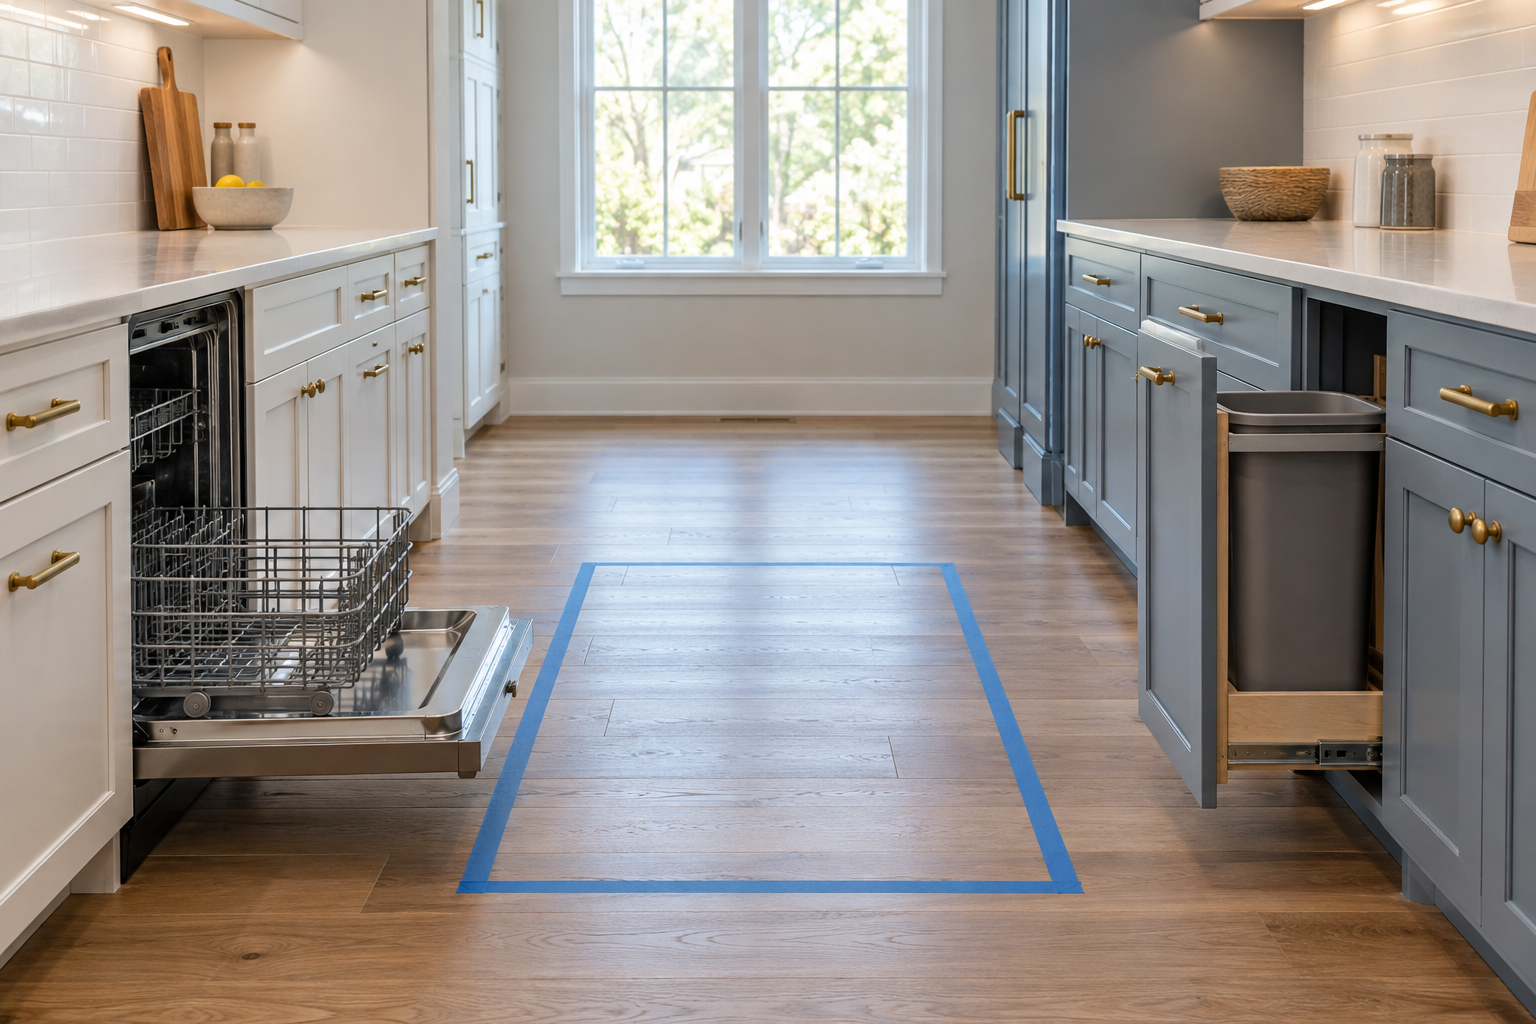
Open the dishwasher, sink cabinet, nearby drawers, and planned waste pullout in the combinations used while clearing a meal. The dishwasher door needs loading space, but it also changes how someone reaches the sink and puts dishes away. A frequent mistake is placing the waste cabinet directly across a narrow aisle because both items look convenient when closed. Trace the open positions with painter's tape or cardboard and perform the routine. If two helpers cannot move without negotiating every step, test another arrangement early.
6. Plan ventilation as part of the appliance
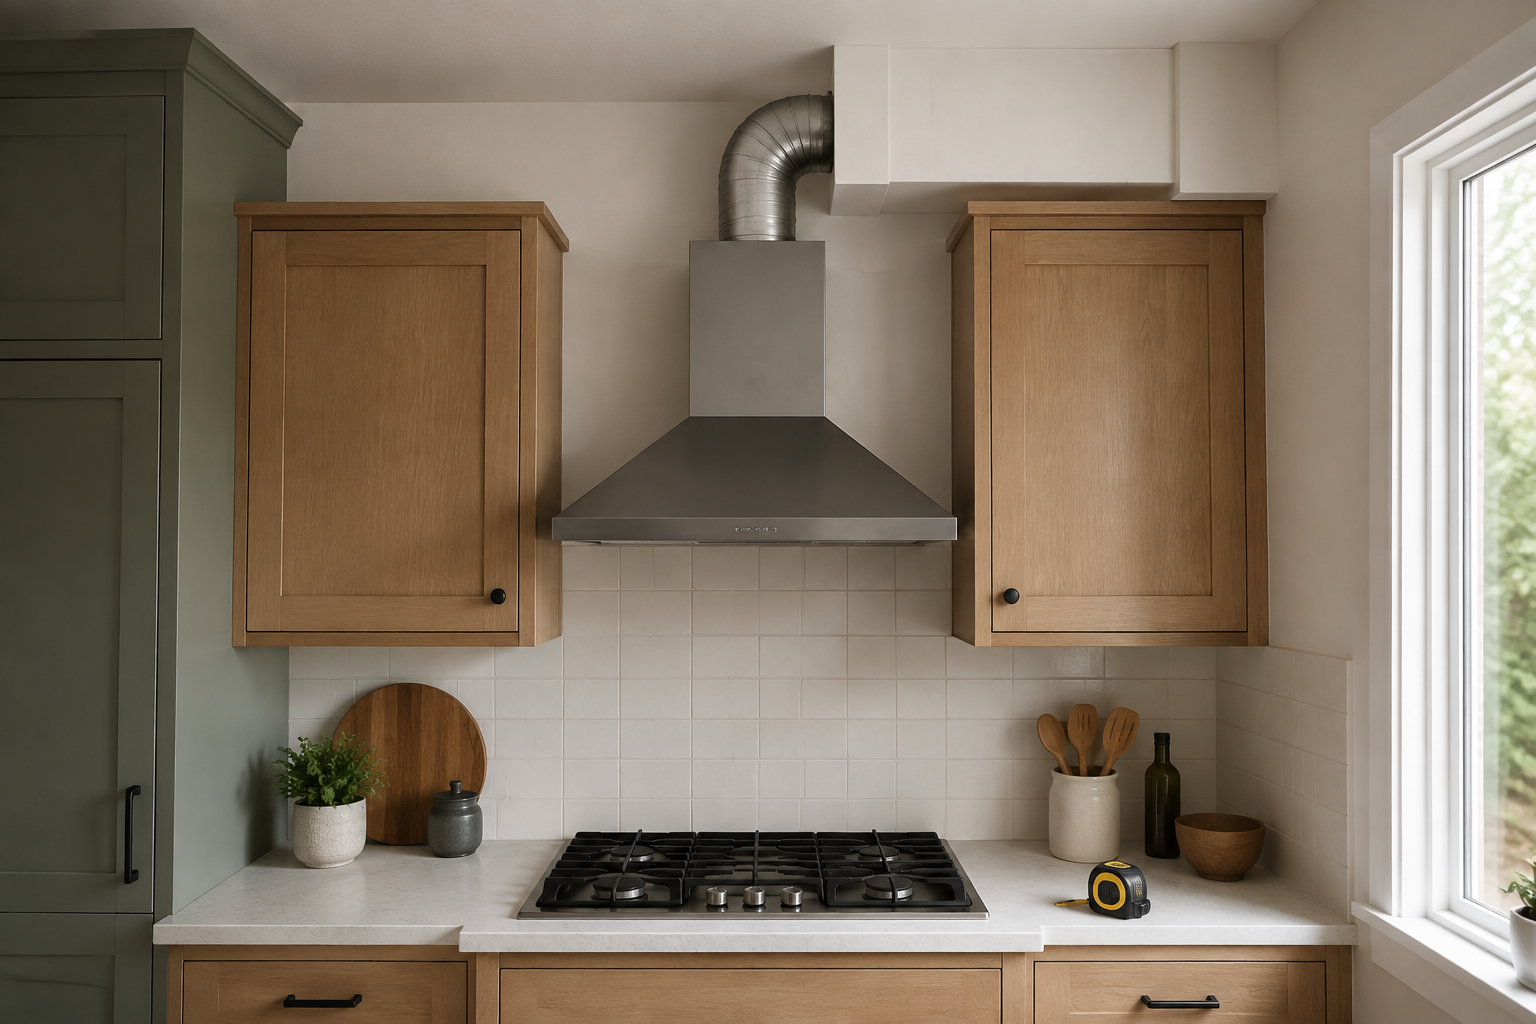
Record the cooking surface, hood, required installation relationship, duct direction, wall or ceiling route, and any obstruction above. Ventilation is not a decorative rectangle that can be centered after the cabinets are ordered. The common mistake is choosing a hood image first and discovering later that a joist, upper cabinet, window, or long duct run changes the solution. Use manufacturer instructions for the selected equipment and have the final ventilation design, capacity, clearances, makeup-air requirements, and code compliance handled by the responsible qualified professionals.
7. Locate water, drain, gas, and electrical services
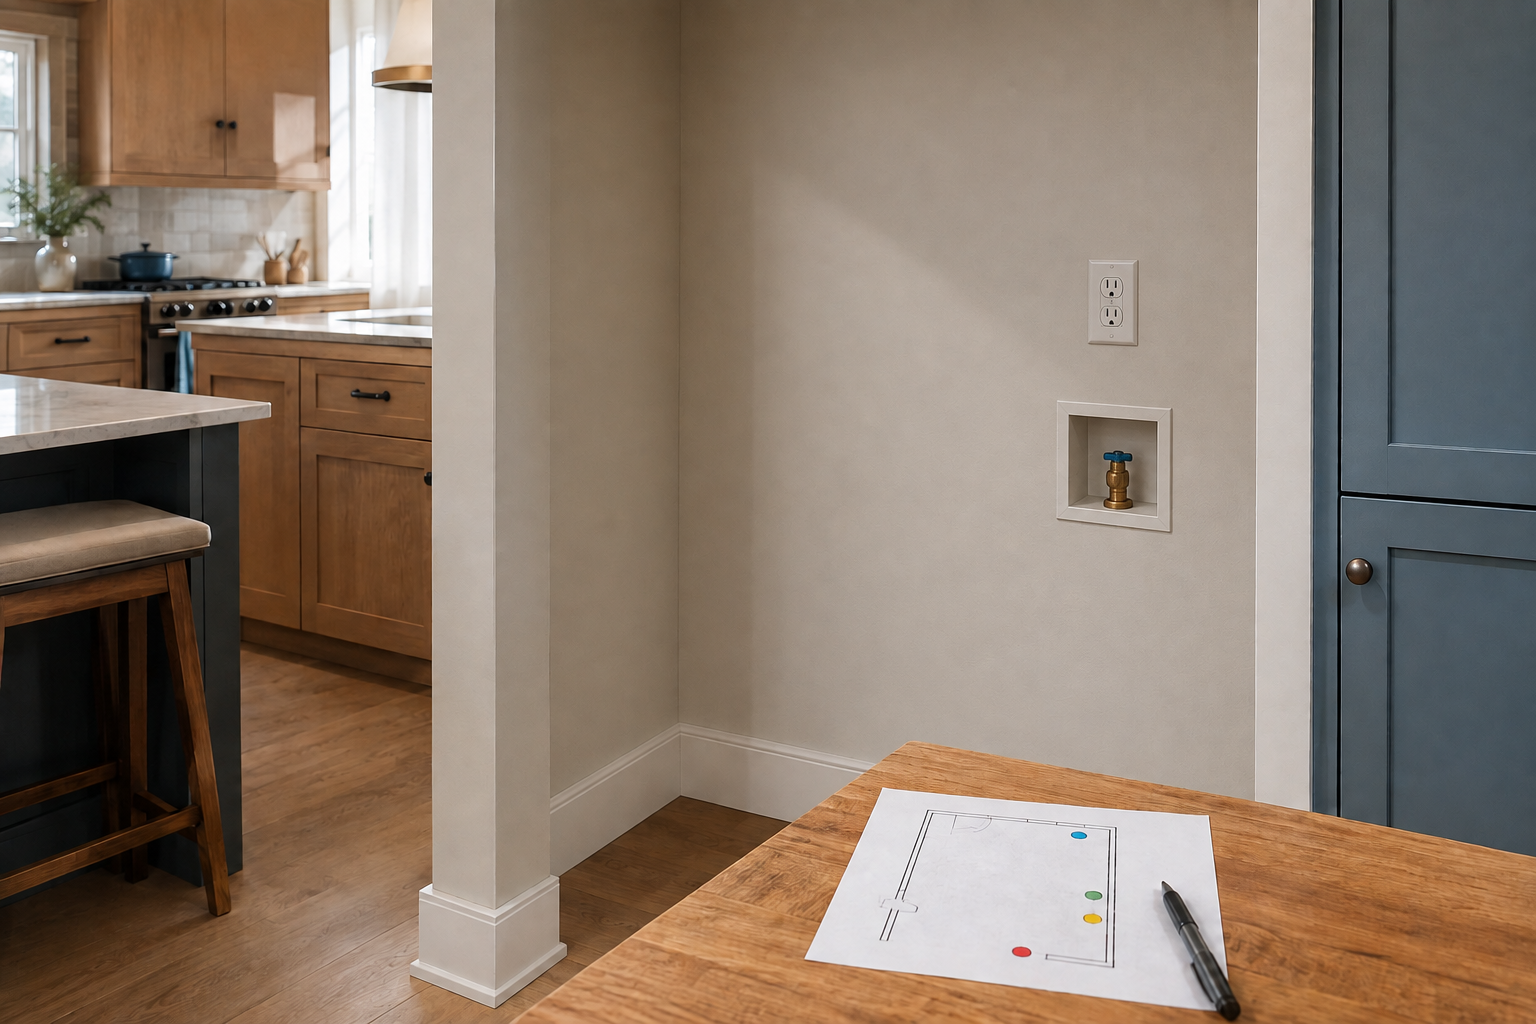
Mark each visible service from a consistent corner and from the finished floor, including the size of valves, boxes, cover plates, hoses, plugs, and access areas. Connections behind an appliance can push it farther into the room than the product depth suggests. A usual mistake is drawing each utility as a tiny dot and assuming it can move freely. Photograph what is safely visible, do not disconnect or investigate live services yourself, and have plumbing, gas, electrical, ventilation, and code questions confirmed by the responsible licensed trades.
8. Include the countertop appliances you actually use
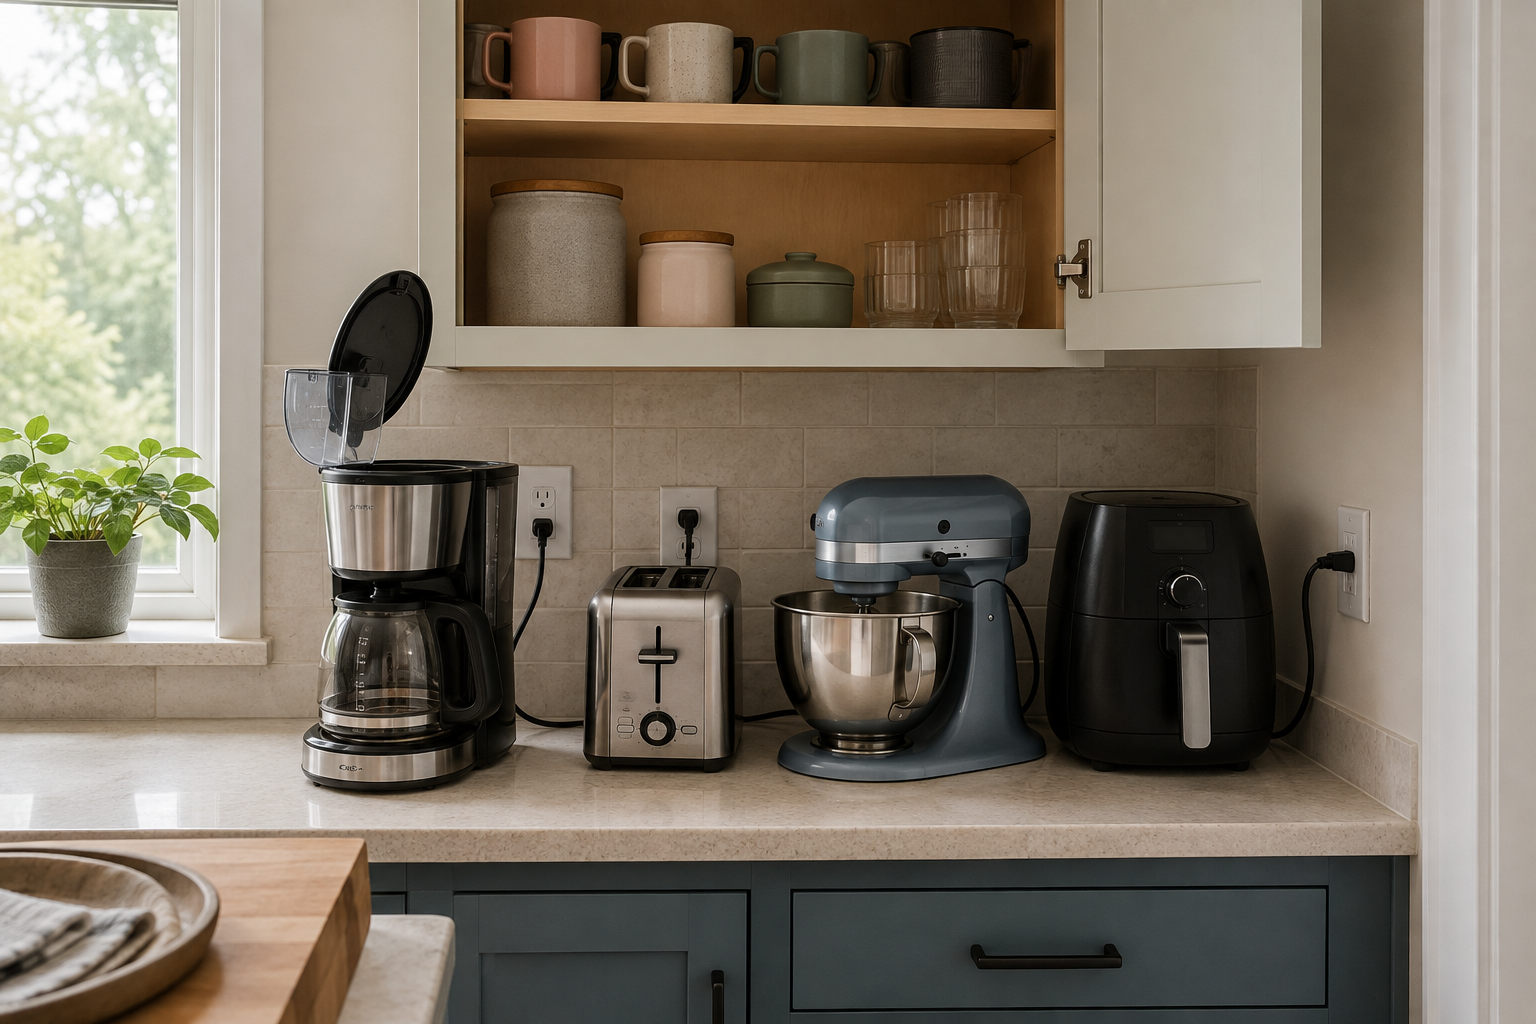
Measure the footprint and operating height of the coffee maker, mixer, toaster, air fryer, blender, or other equipment that earns a permanent place. Open lids, raise mixer heads, remove water tanks, follow cord paths, and consider steam or heat. People often design a tidy appliance garage around closed machines, then pull everything forward whenever it is used. Decide which items stay out, which need an easy shelf, and which can live deeper in storage. Daily convenience matters more than making the counter look empty in a rendering.
9. Reconcile every appliance with the room plan
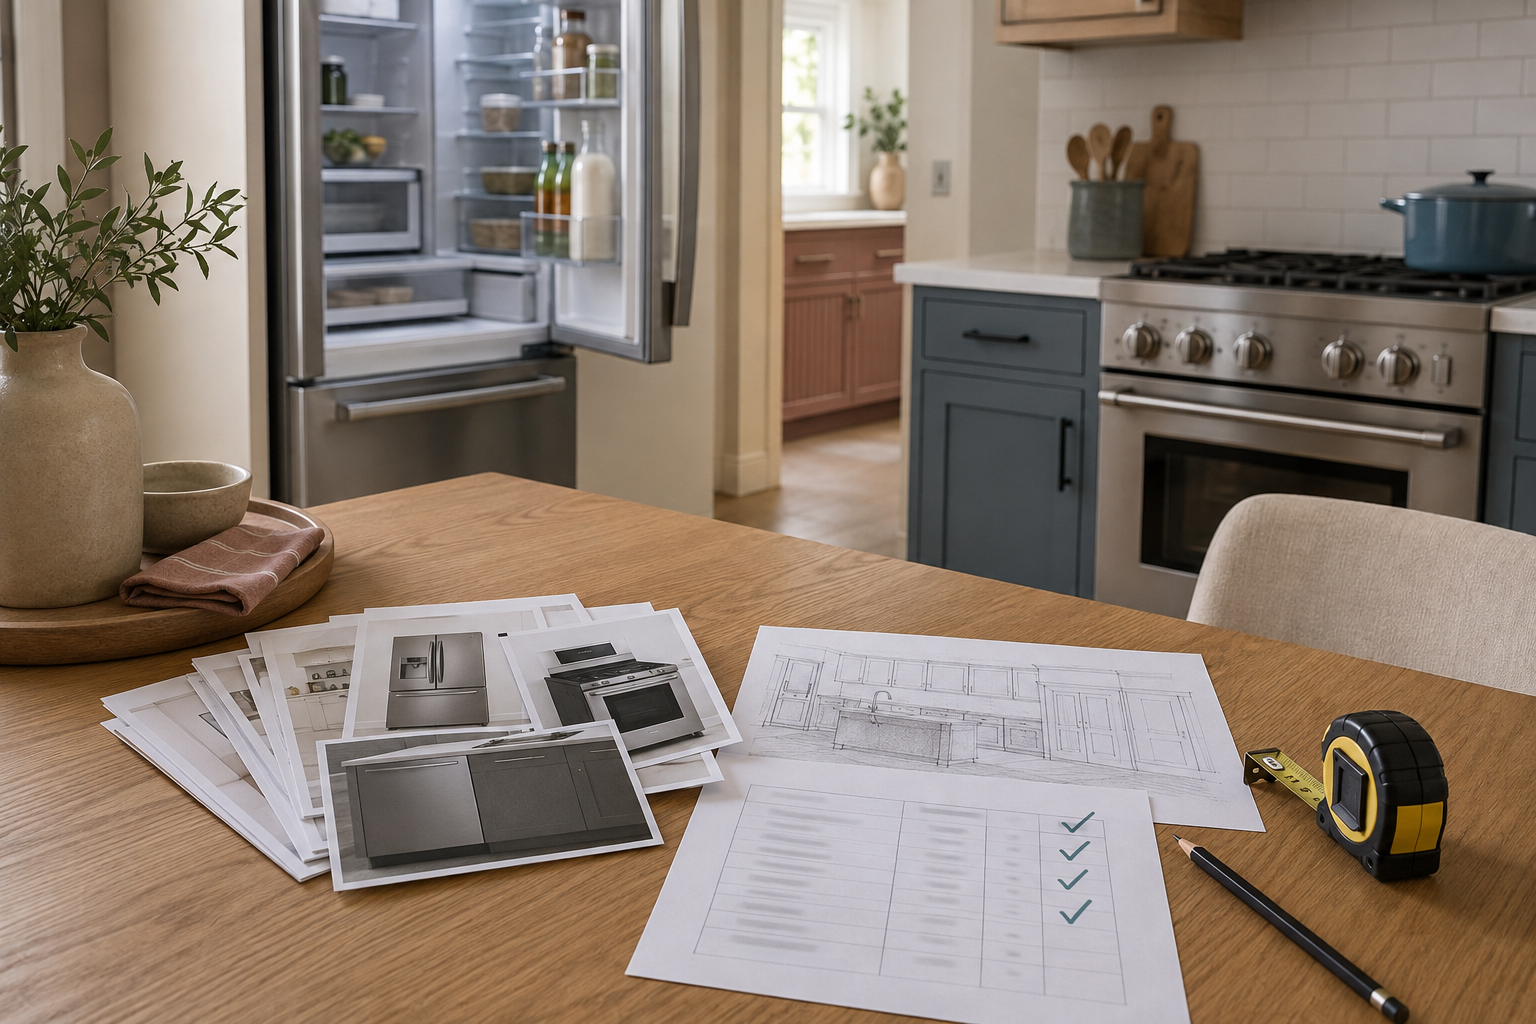
Create one final schedule that connects each exact appliance to its body dimensions, opening requirements, door projection, service locations, ventilation needs, and source document. Compare that record with the room sketch and cabinet layout. A common mistake is updating the refrigerator choice in an email while the drawing still shows the old one. Put unresolved selections in a visible decision list and assign a confirmation date. One shared record reduces the chance that the cabinet plan, appliance order, and installation assumptions quietly drift apart.
10. Verify specifications before cabinets are released
Review the current manufacturer documents again before the cabinet order is approved, especially if a model changed, became unavailable, or was replaced with a similar option. Confirm who is supplying, installing, connecting, and testing each appliance. The mistake to avoid is treating an early planning dimension as a final field measurement. Your careful record is an excellent decision tool, but final cabinetry, panels, fillers, supports, utilities, clearances, ventilation, site conditions, and code requirements must be verified by the responsible suppliers, installers, and qualified project professionals.
Test the appliance plan before the room is expensive
Place the appliance sizes and cabinet runs in StilePath, open up the circulation around them, and use every conflict you find as a useful question to resolve.
Start Planning Free