
Plan storage by what you use, not by empty wall space
A kitchen can have many cabinets and still feel disorganized. Better storage starts with the items you own, how often you reach for them, and the routine each group supports. Grab a tape measure, a pen, and paper, then walk through these ten decisions. You do not need to be a professional carpenter to make a valuable first plan. Measure what you can, label what you are unsure about, and give the final dimensions and construction details to the cabinet supplier and installer to verify. A thoughtful inventory now is much easier than finding homes for everything after the cabinets arrive.
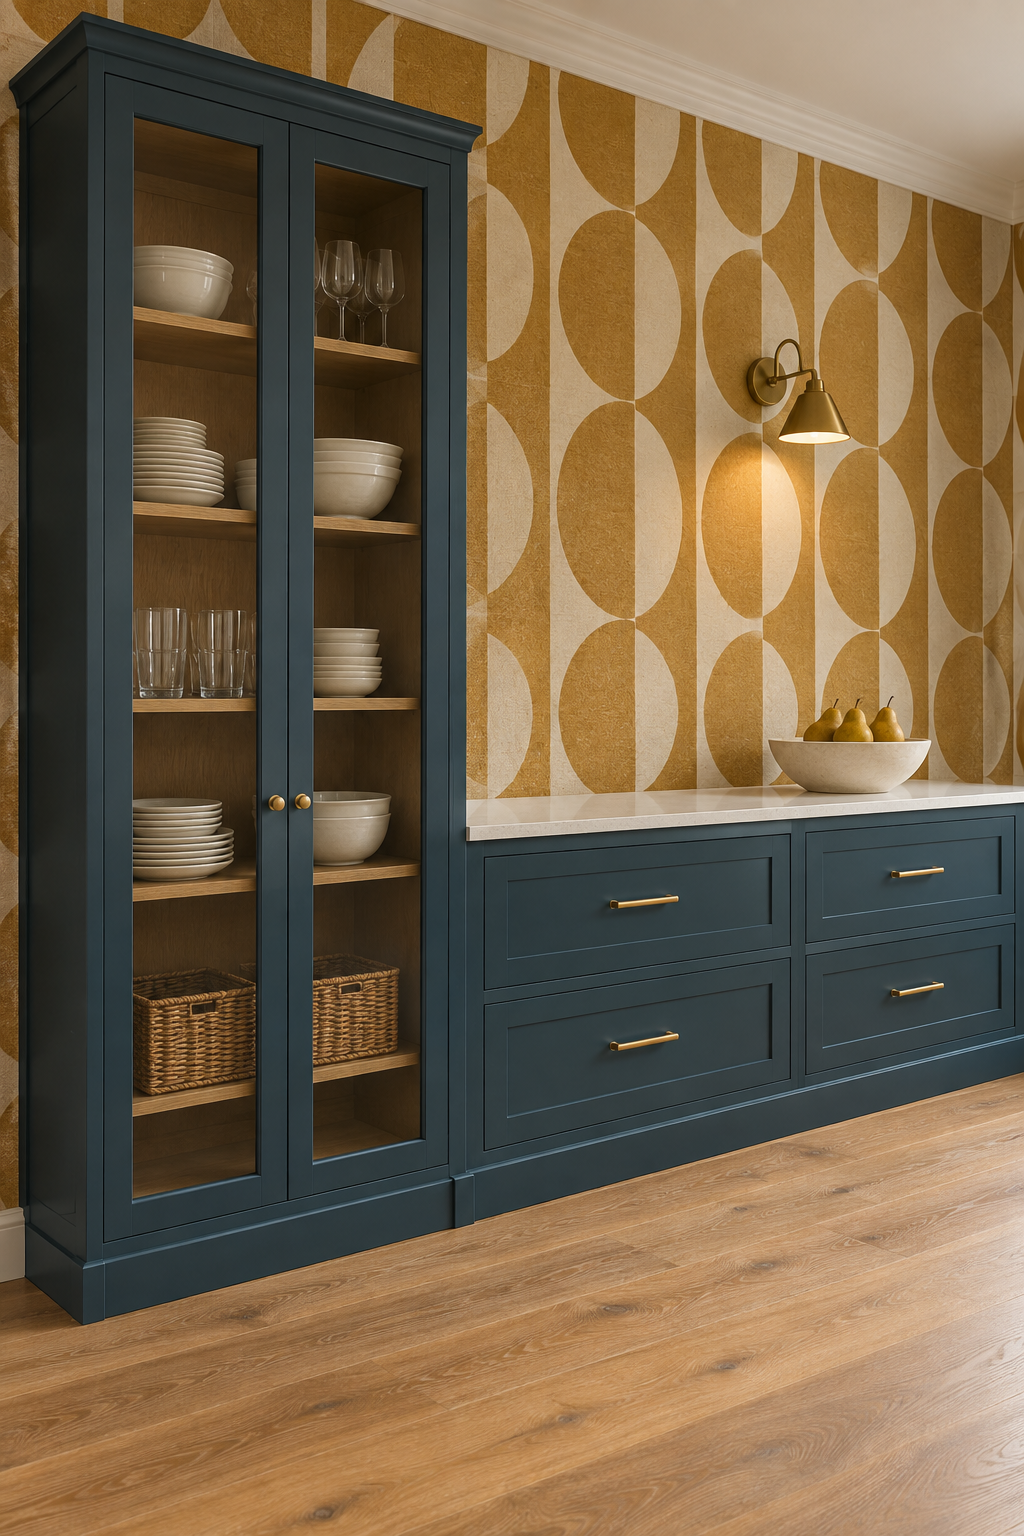
1. Make a real kitchen inventory
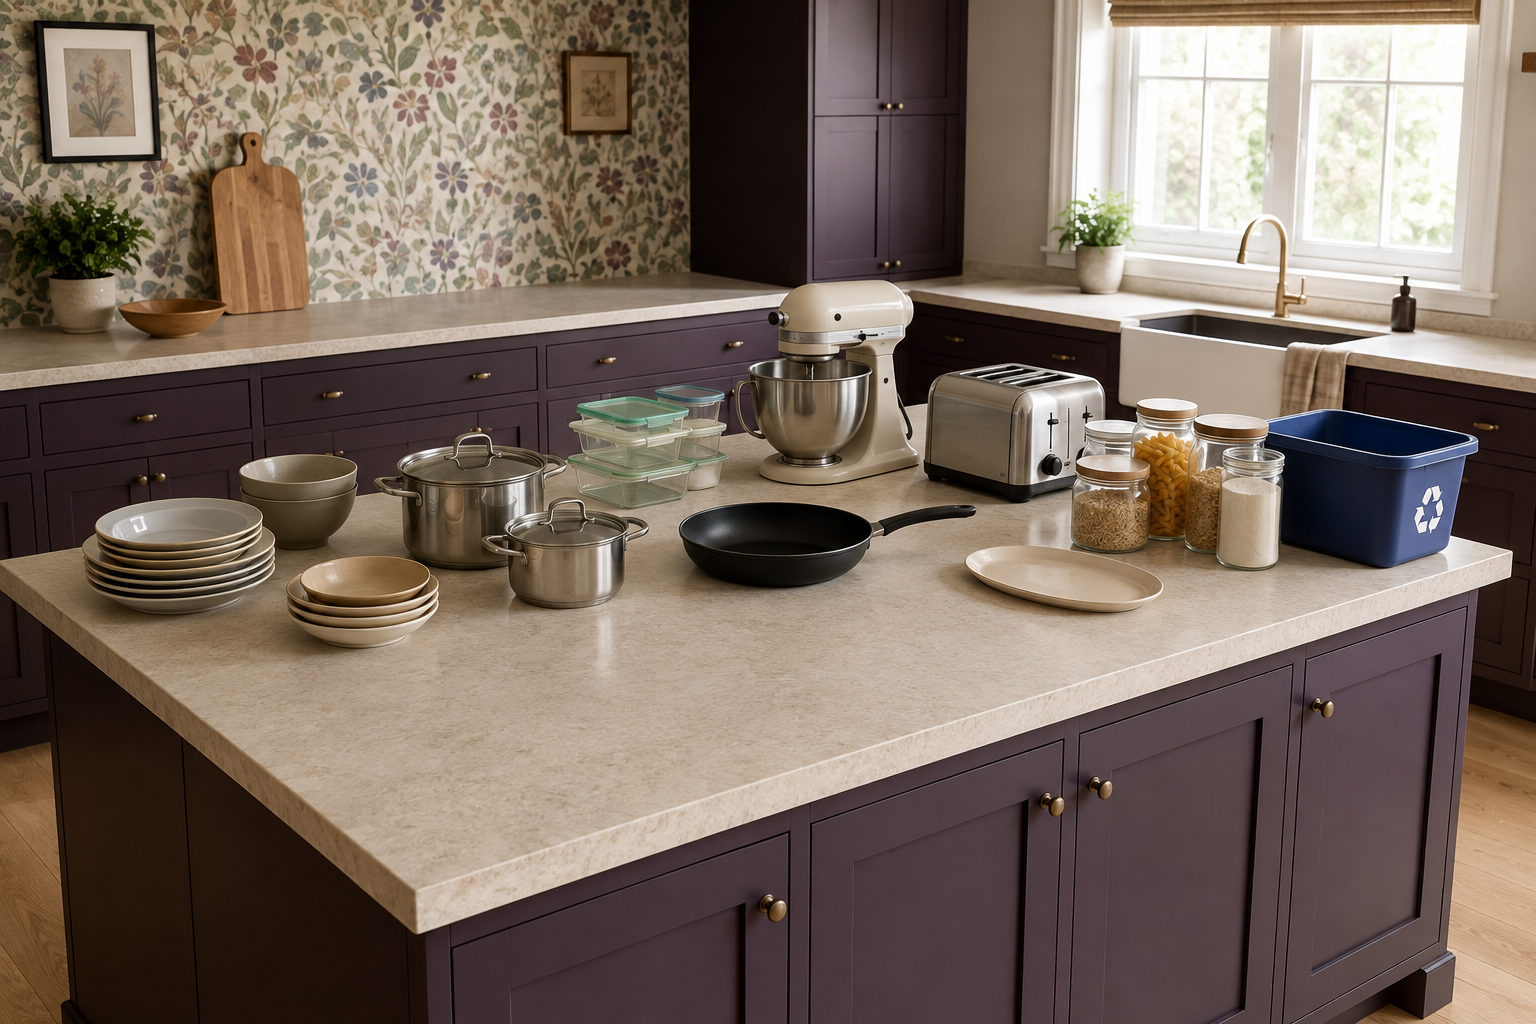
List everyday dishes, cookware, pantry goods, food containers, small appliances, cleaning supplies, waste, recycling, and the oversized objects that never seem to have a home. Pull representative items onto a table if names alone hide their scale. The common mistake is measuring the current empty cabinet boxes and recreating them, even when those boxes are the problem. Another is designing around a perfectly edited kitchen instead of the mixer, water bottles, school papers, pet supplies, and bulk packages that actually live there. A page of rough categories is enough to begin; circle anything unusually tall, heavy, deep, or awkward.
2. Map the routine before the cabinets
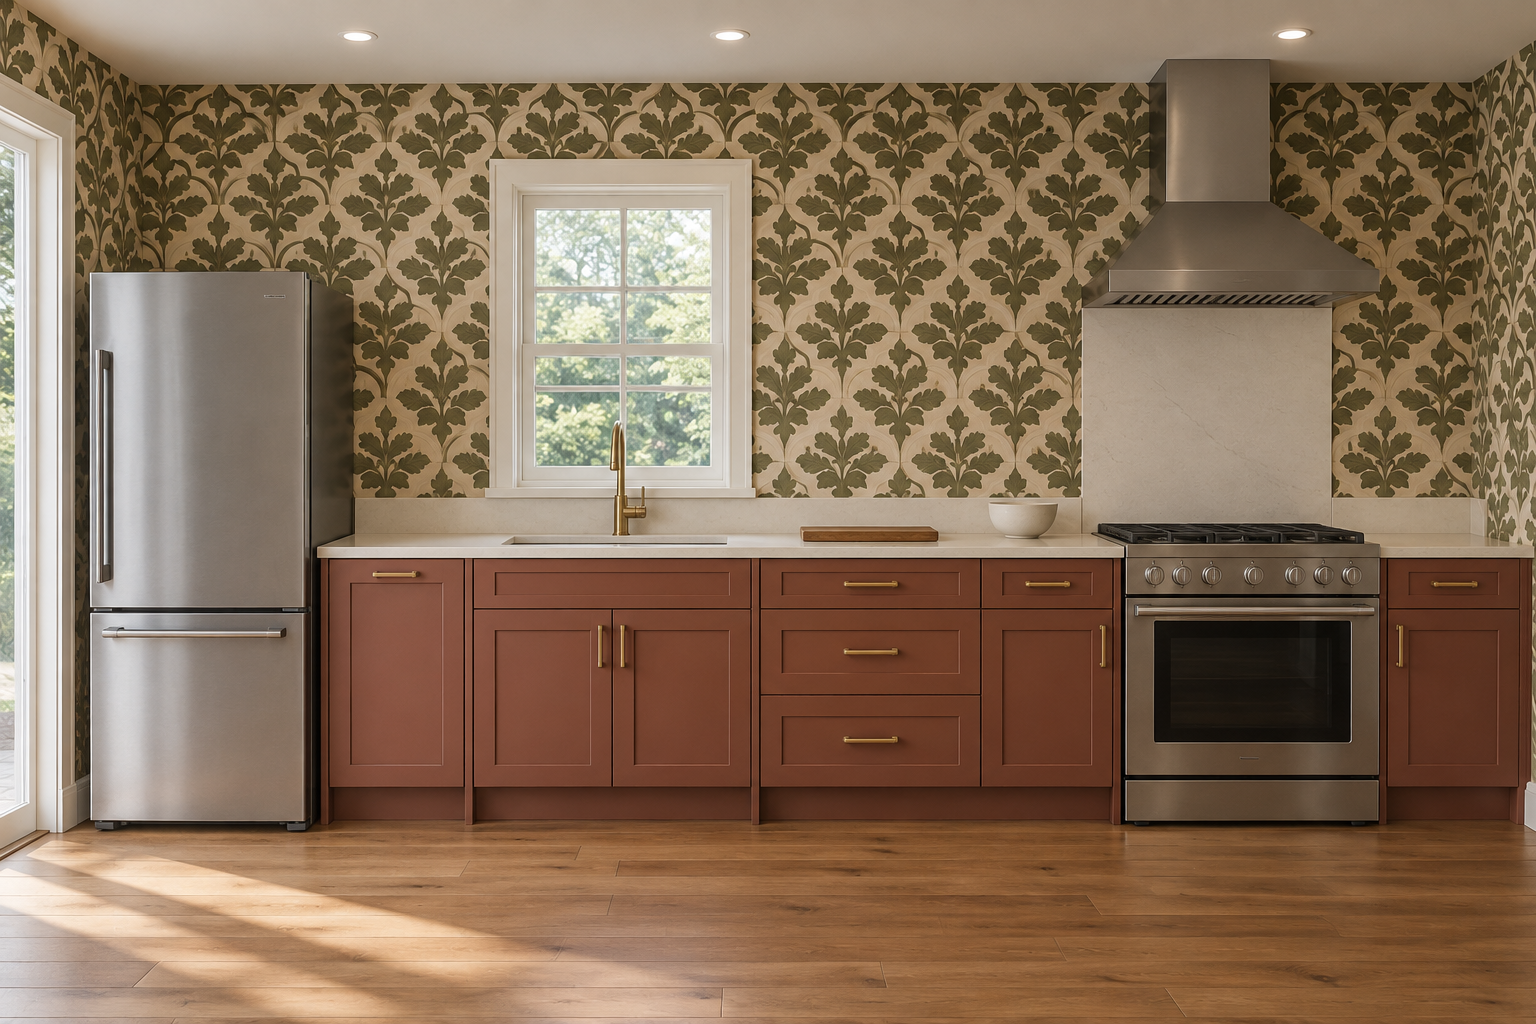
Walk through unloading groceries, making coffee, packing lunch, preparing dinner, serving, and cleaning up. Write the objects used at each stop. Store preparation tools near preparation, dishes near the dishwasher, and cooking tools where they can be reached without crossing a busy aisle. A common mistake is organizing only by object type—every glass together, every utensil together—even when those items serve different routines. Another is placing the refrigerator, sink, and range attractively but leaving no landing or prep space between them. A clear sequence can remove dozens of repeated steps without adding a single cabinet.
3. Give the best reach to the most-used items
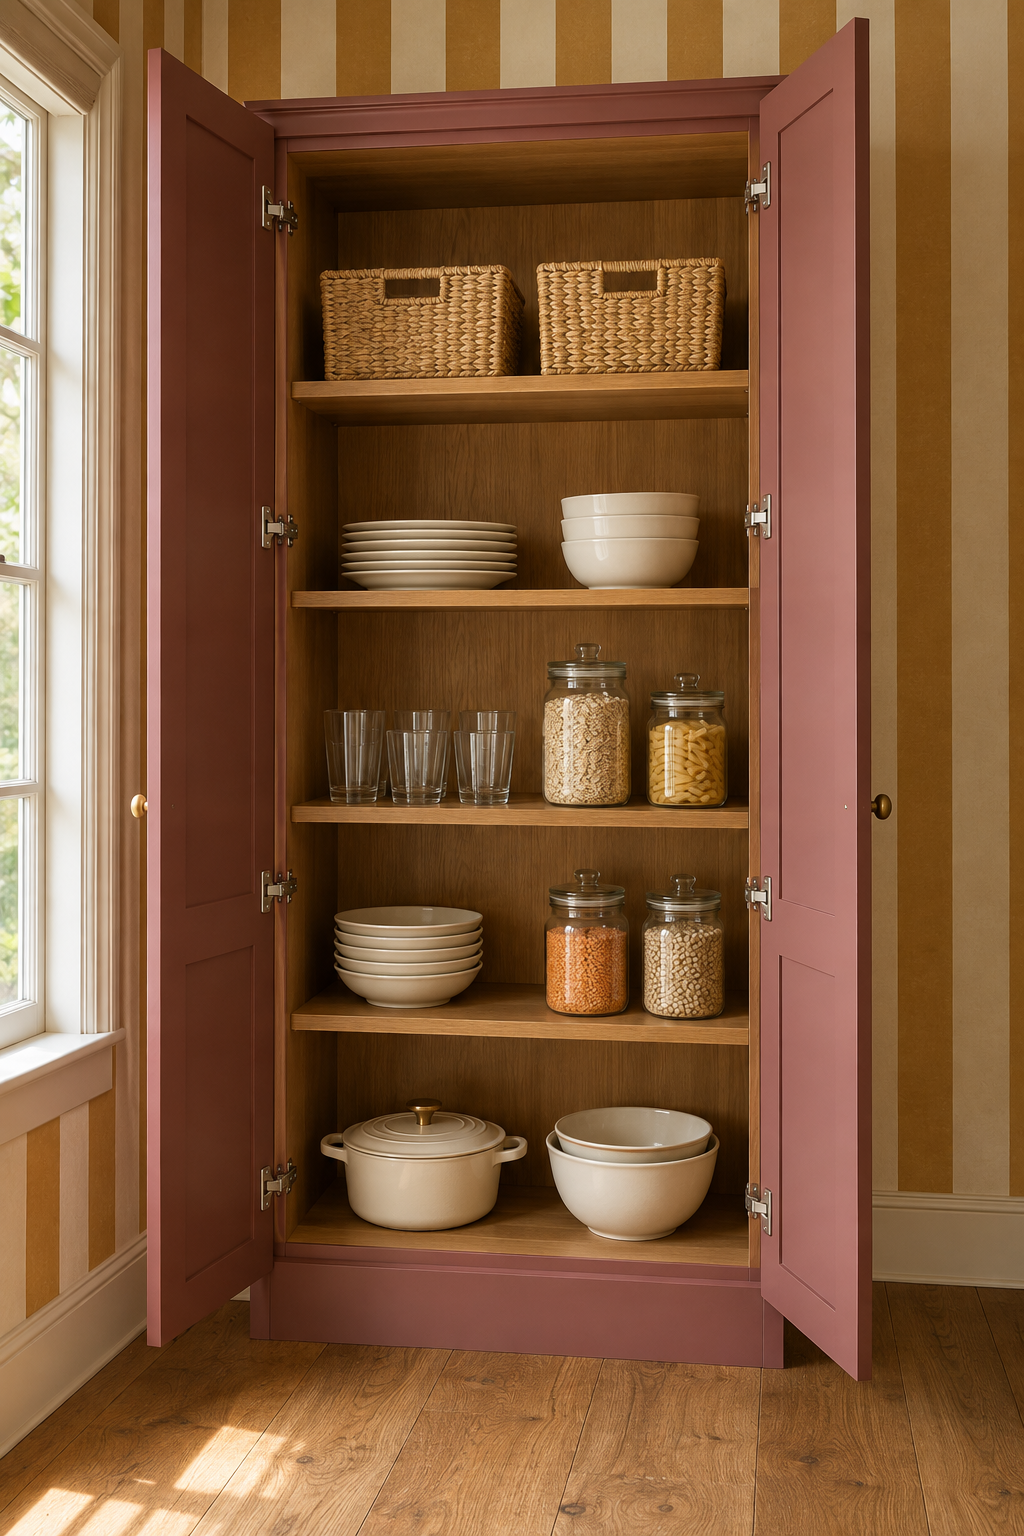
Mark each inventory group daily, weekly, or occasional. Daily items usually deserve the easiest positions between a comfortable low reach and eye level, while seasonal serving pieces can move higher or farther away. The common mistake is giving prime drawers to whatever happens to fit first and sending a daily appliance to a shelf that requires lifting or unpacking. Consider the height, strength, and mobility of the people using the kitchen, not an imaginary average user. Heavy items should not require an unsafe reach. Test the real object and ask whether it can be seen, grasped, and returned without moving another category.
4. Choose access, not only capacity
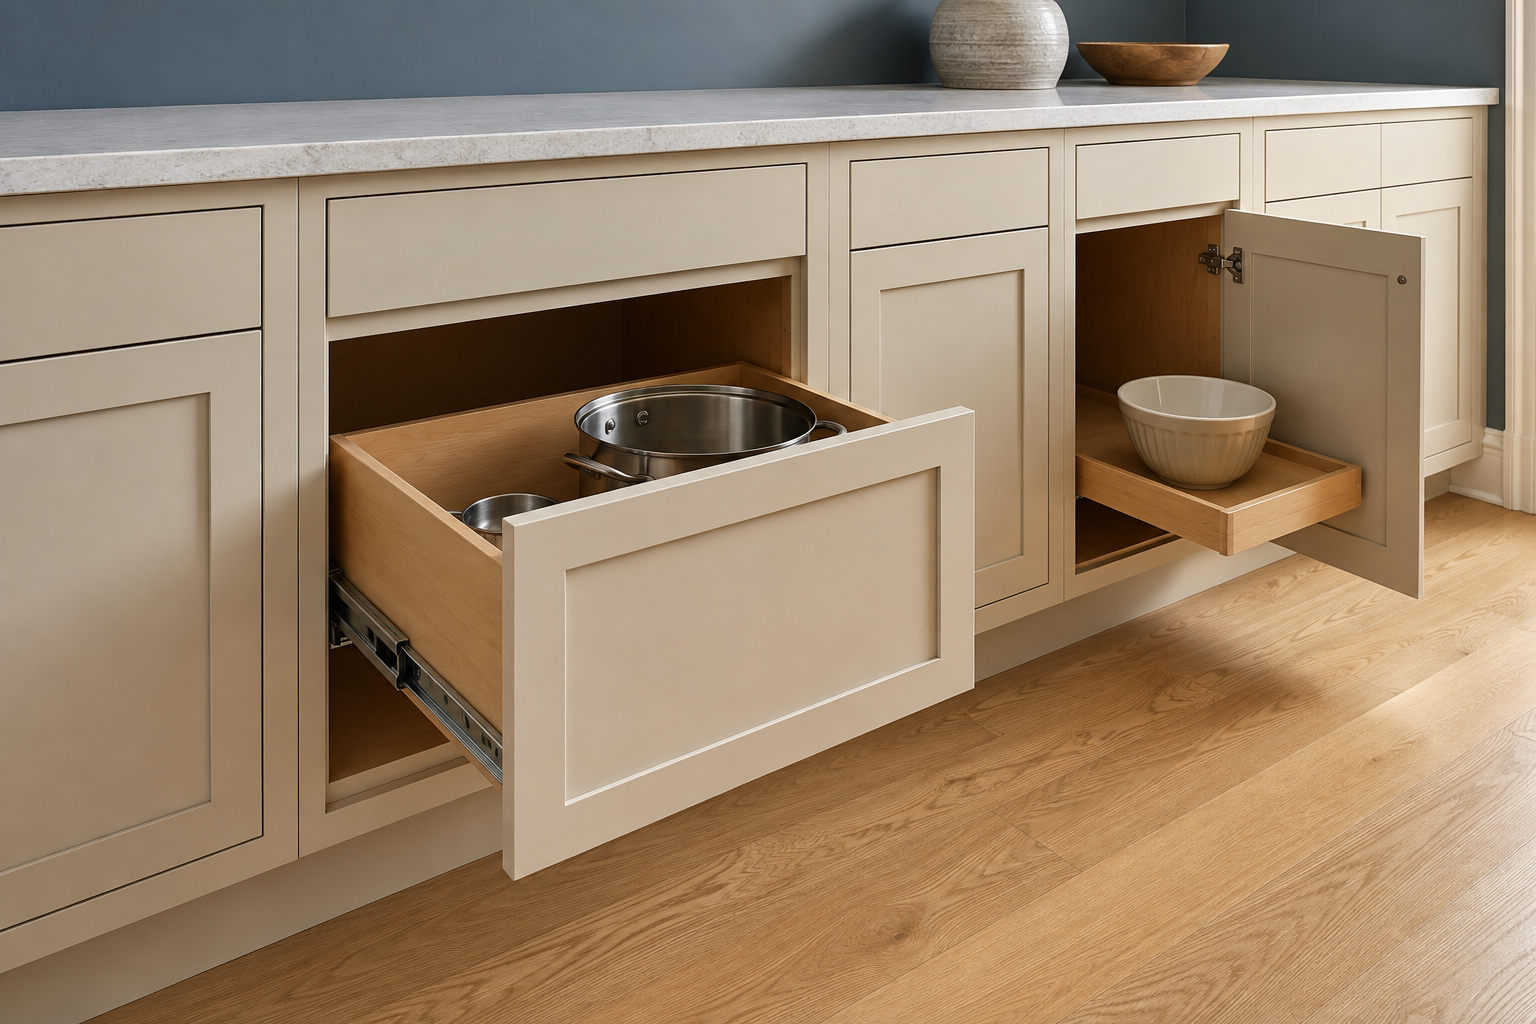
Deep drawers, shelves, rollouts, and doors make different objects easier or harder to retrieve. A large cabinet is not useful when its contents disappear behind one another. The usual mistake is comparing storage by cubic volume instead of the movement needed to use it. Put your heaviest pot at the imagined back and ask how you would reach it. If the answer involves kneeling and unloading everything in front, compare a drawer or rollout. Check the usable interior sizes, slide capacity, hinge clearance, and opening sequence with the cabinet supplier; the outside width does not tell you how much accessible storage remains inside.
5. Measure tall and awkward items upright
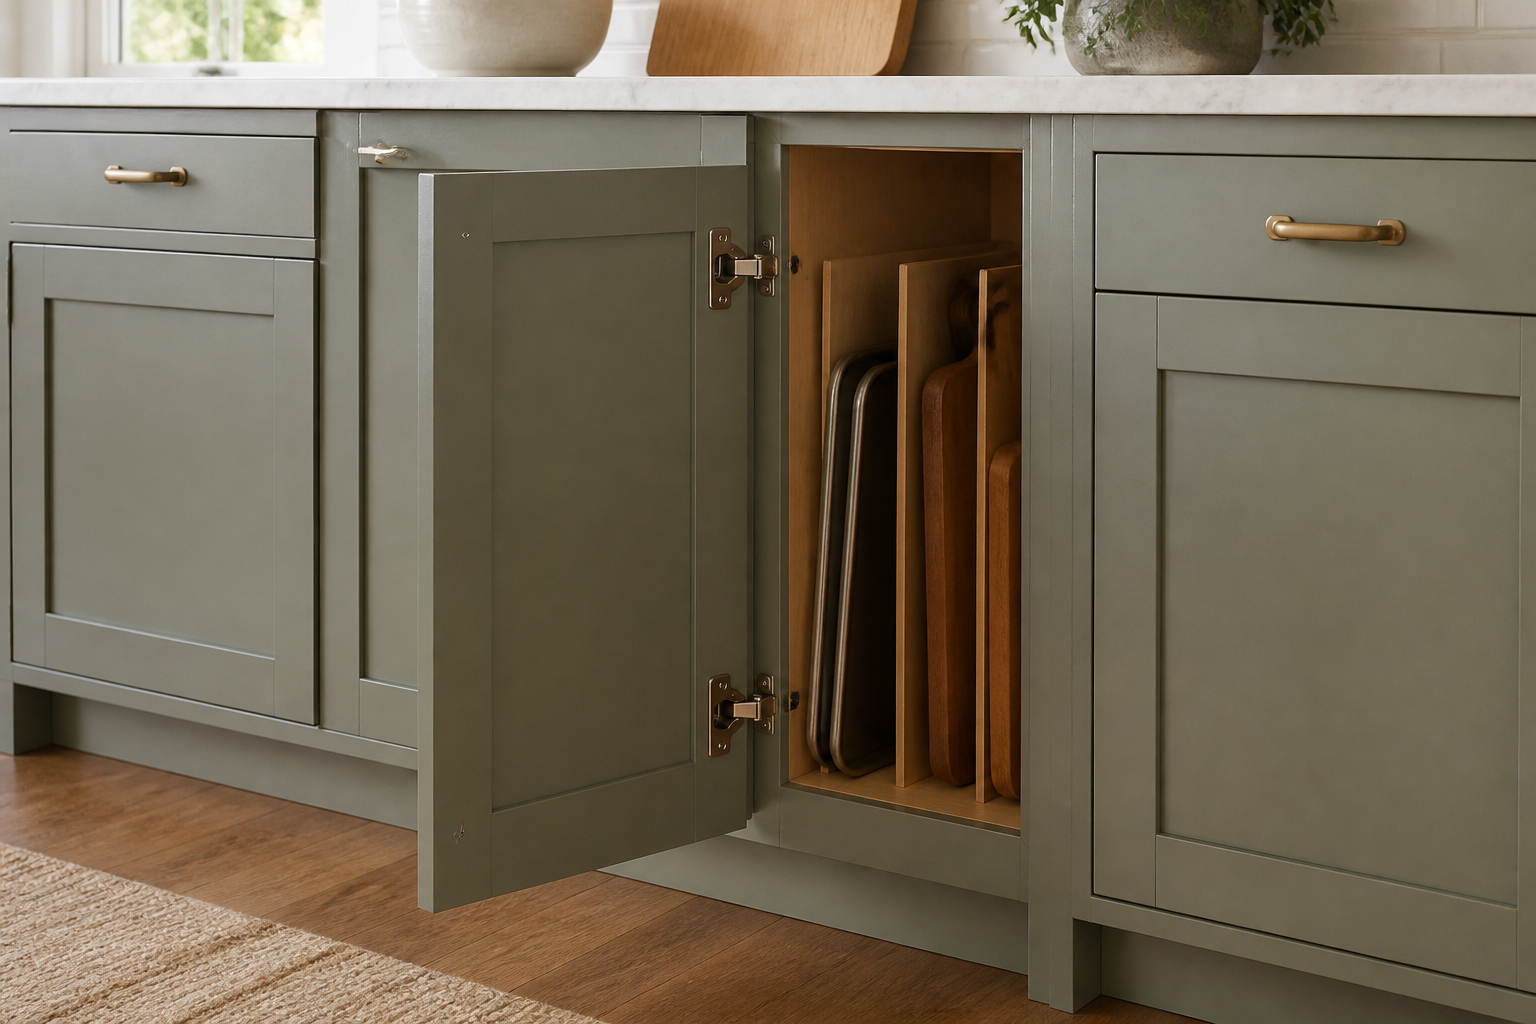
Sheet pans, cutting boards, trays, stockpots, pitchers, brooms, and step stools often create clutter because their dimensions are never recorded. Measure the tallest, widest, and thickest examples, including handles and lids. A common mistake is specifying a vertical divider bay from a generic photo and discovering the real roasting pan will not pass through the opening. Another is using a very wide, unsupported slot that lets everything lean together. Group compatible shapes, leave space for fingers, and confirm the cabinet's actual clear opening after the door, hinges, face frame, shelves, and hardware are included.
6. Give each small appliance a complete home
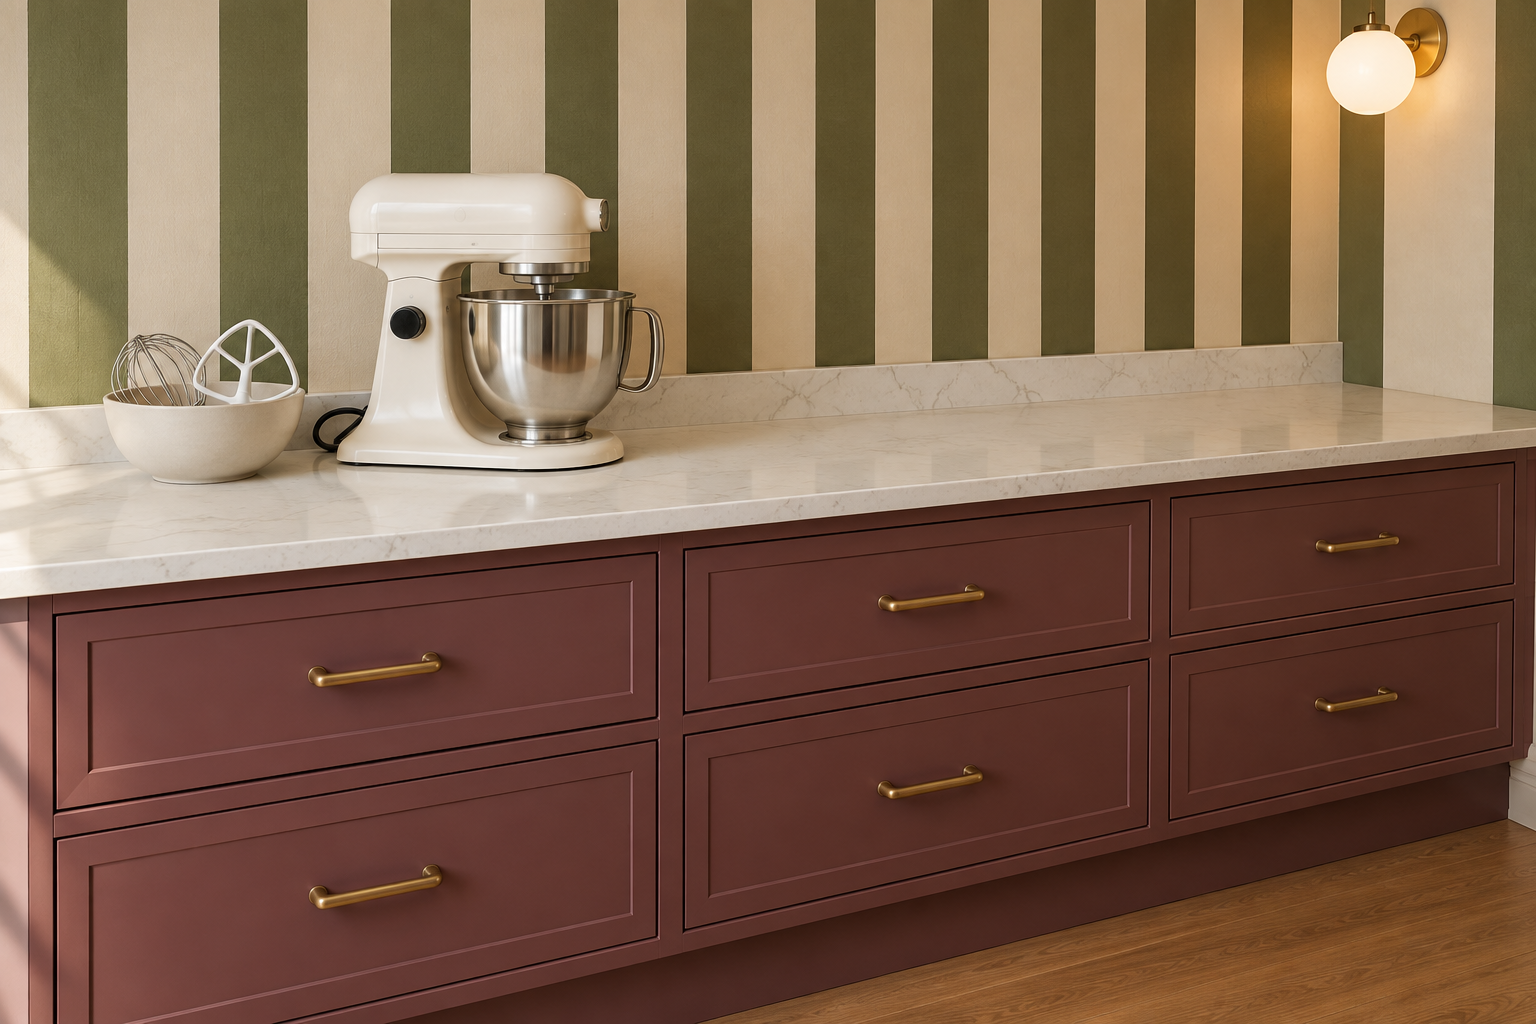
Decide which appliances stay on the counter, which come out weekly, and which can live farther away. Measure the body, cord, handle, lid swing, attachments, and the safe hand position for moving each one. The common mistake is hiding a heavy mixer on a low fixed shelf that no one wants to lift, or drawing an appliance garage that is too short for a lid to open. A rollout or lift may help, but it needs real load capacity and clear movement. Follow appliance ventilation and use instructions, and coordinate outlets or special hardware with the responsible suppliers and trades before cabinet production.
7. Build the cleanup zone as one routine
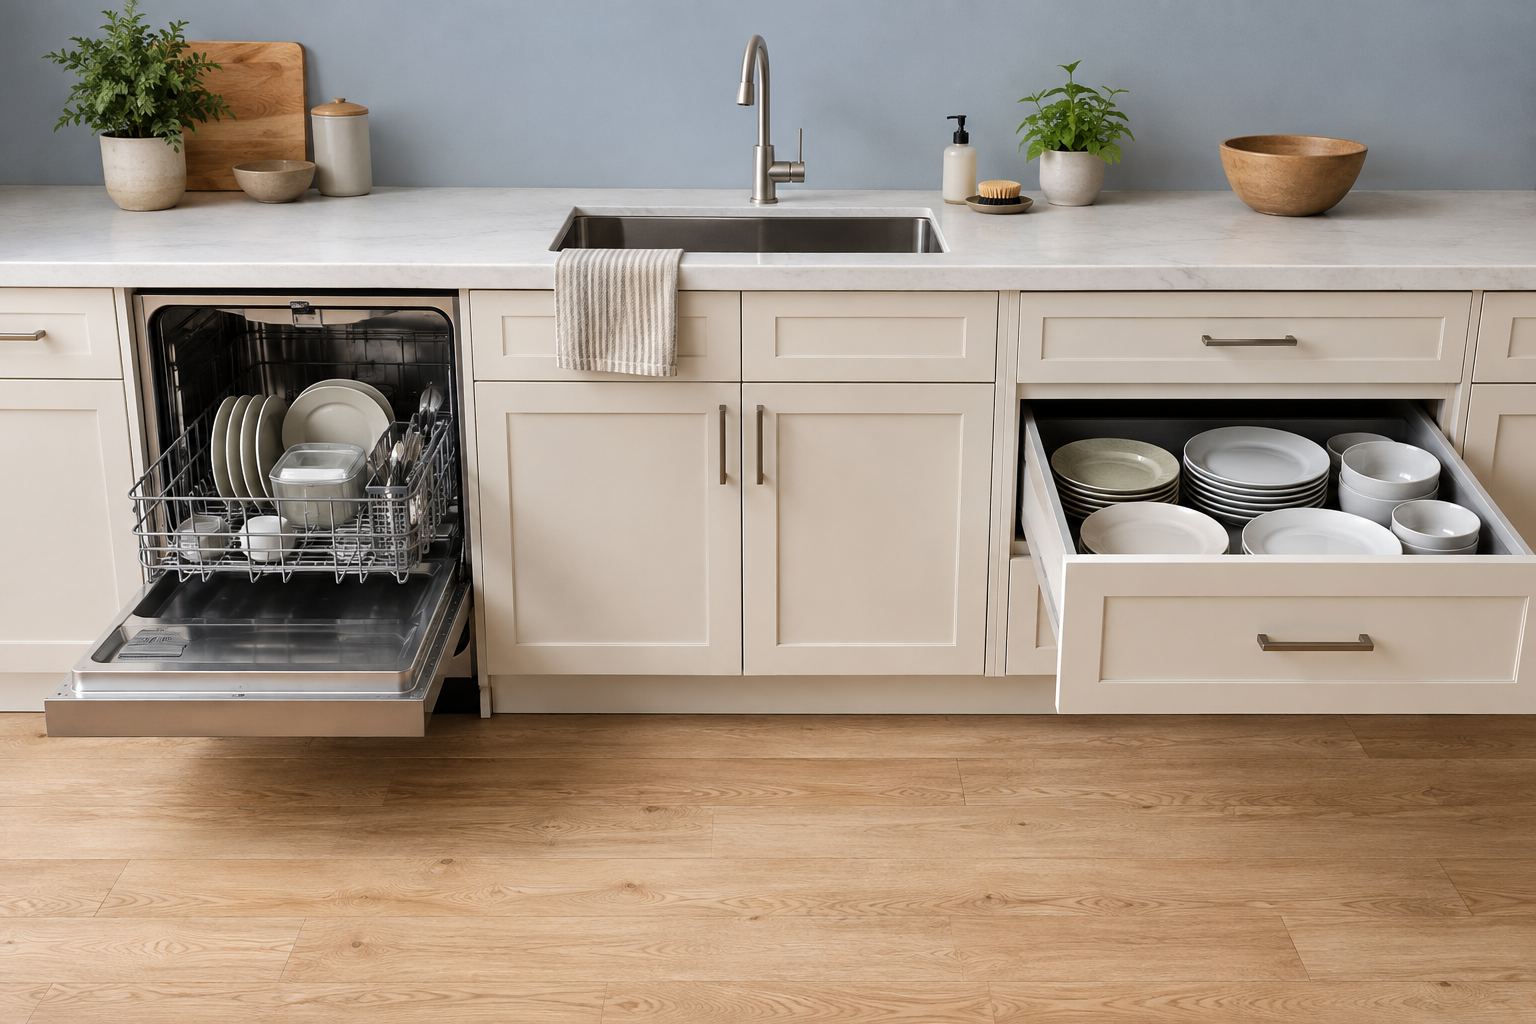
Stand at the dishwasher and trace where plates, bowls, glasses, flatware, food-storage containers, towels, soap, and cleaning tools go. The best arrangement may let you unload daily dishes without walking across the kitchen. A common mistake is centering the sink beautifully while placing dish storage on the far side of the prep or cooking zone. Another is putting a drawer where the open dishwasher blocks it. Draw the door and drawer swings together, then rehearse unloading. Keep chemicals safely separated from food and follow product guidance for any child-resistant storage your household needs.
8. Plan waste and recycling before the leftovers
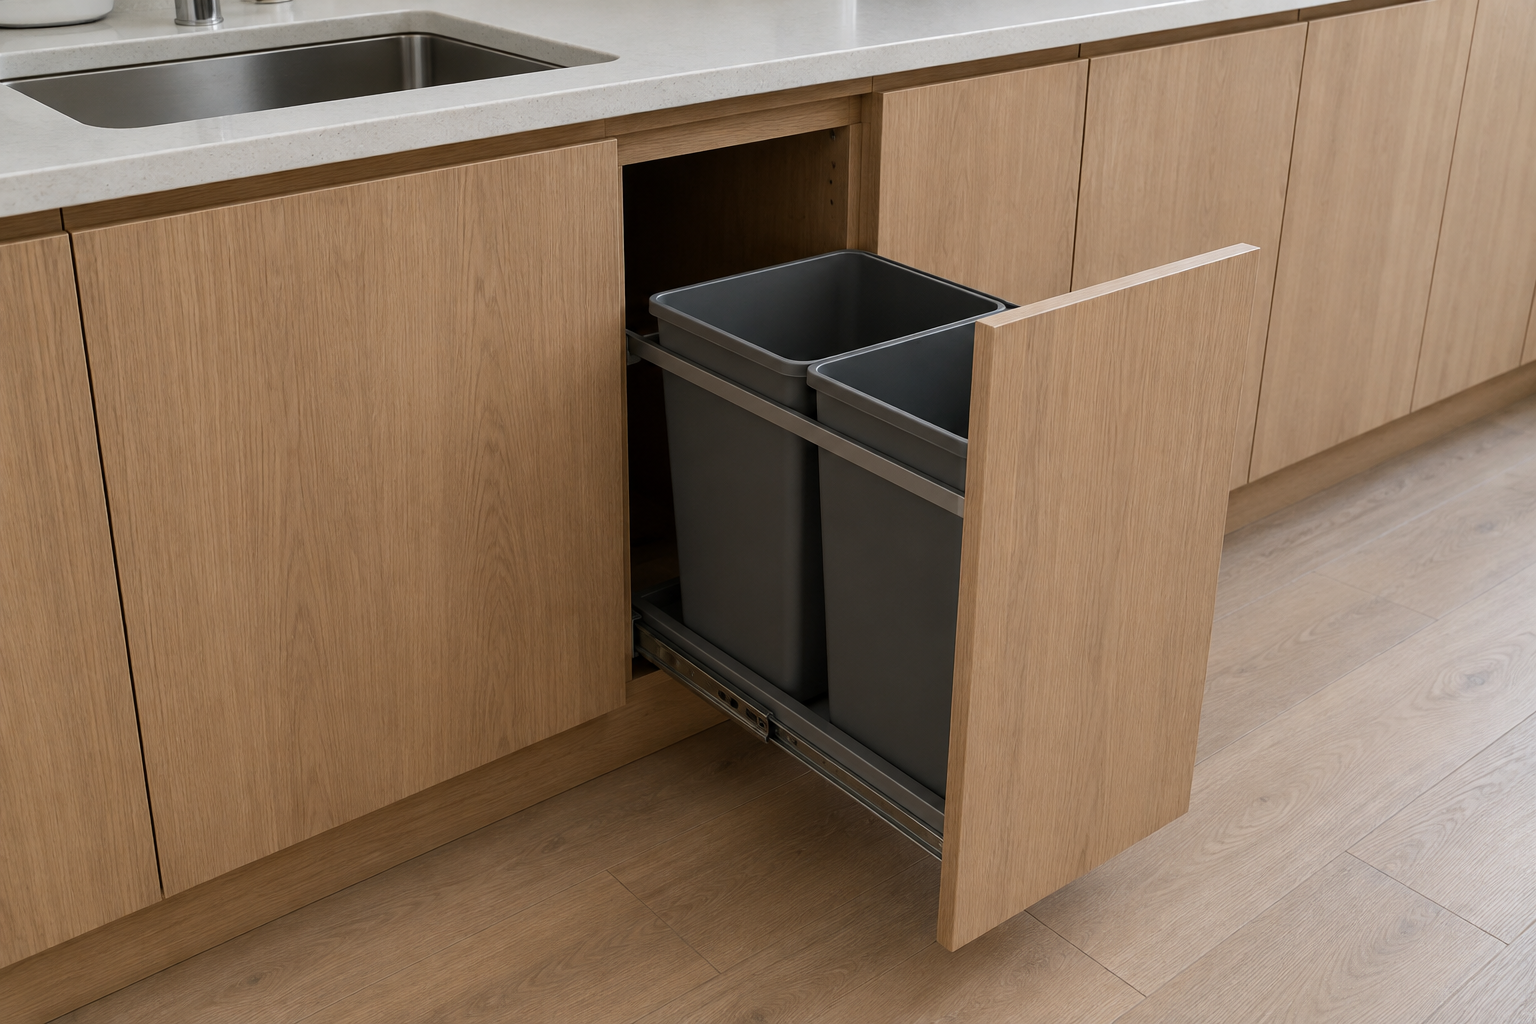
Choose where waste, recycling, compost if used, liners, and cleaning supplies belong, then test the location from preparation and cleanup. A common mistake is placing a large bin in the main path or behind the person standing at the sink. Another is assuming two containers fit a pullout because their stated capacities sound right; actual rim, lid, and cabinet clearances matter. Measure the containers and the usable cabinet interior. Make sure the pullout can open without striking a dishwasher, handle, or occupied stool, and leave the plumbing zone serviceable rather than forcing bins around traps and shutoffs.
9. Use shelf depth intentionally
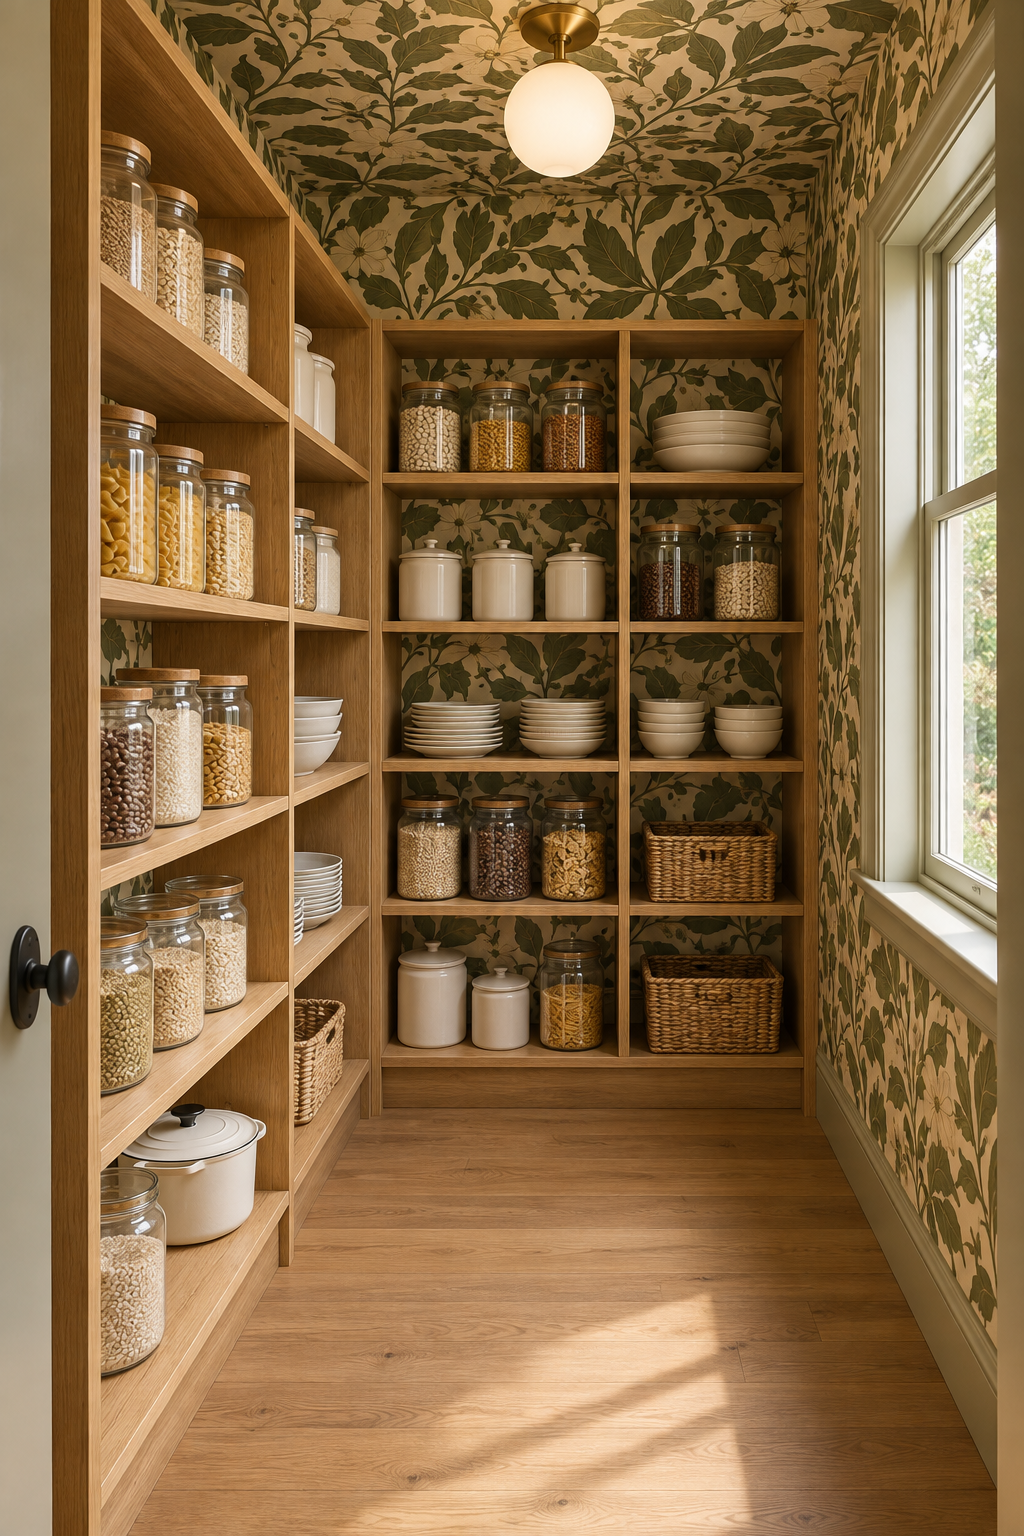
Deeper is helpful for large cookware but can hide small pantry goods three rows deep. Shallower shelves may show more of what you own and keep the aisle open. The common mistake is making every shelf the same depth because it is simple to draw. Match depth and spacing to the actual inventory, and use corners deliberately rather than creating a dark pocket no one can reach. Keep heavy objects on properly supported shelves and comfortable reaches. Ask the cabinet or shelving supplier to confirm spans, supports, wall attachment, loads, and clearances; your inventory tells them what the assembly needs to hold.
10. Test every front in the busiest version of the room
Open the refrigerator, oven, dishwasher, waste pullout, corner cabinet, and the most-used drawers on the plan. Add a cook, a helper, a passing person, and any occupied stools. The common mistake is checking cabinets one at a time, when real conflicts happen between two open things and the people using them. Label the intended contents on the plan and remove any cabinet that has no useful access or creates a pinch point. Then give the full list of appliances, fillers, finished panels, hardware, and field dimensions to the responsible suppliers and installer for final coordination. Useful access beats one more box on the order.
Review the Kitchen Planning GuideGive every cabinet a job before it becomes an order
Bring your inventory into the room, compare the opening paths, and keep the plan flexible while changes are still easy.
Plan Storage in StilePath