
Plan the kitchen before the shopping list
A kitchen remodel collects decisions quickly. Cabinets, appliances, lighting, surfaces, and finishes can all compete for attention before the room itself is understood. A planning checklist keeps those choices connected to the way the kitchen must work.
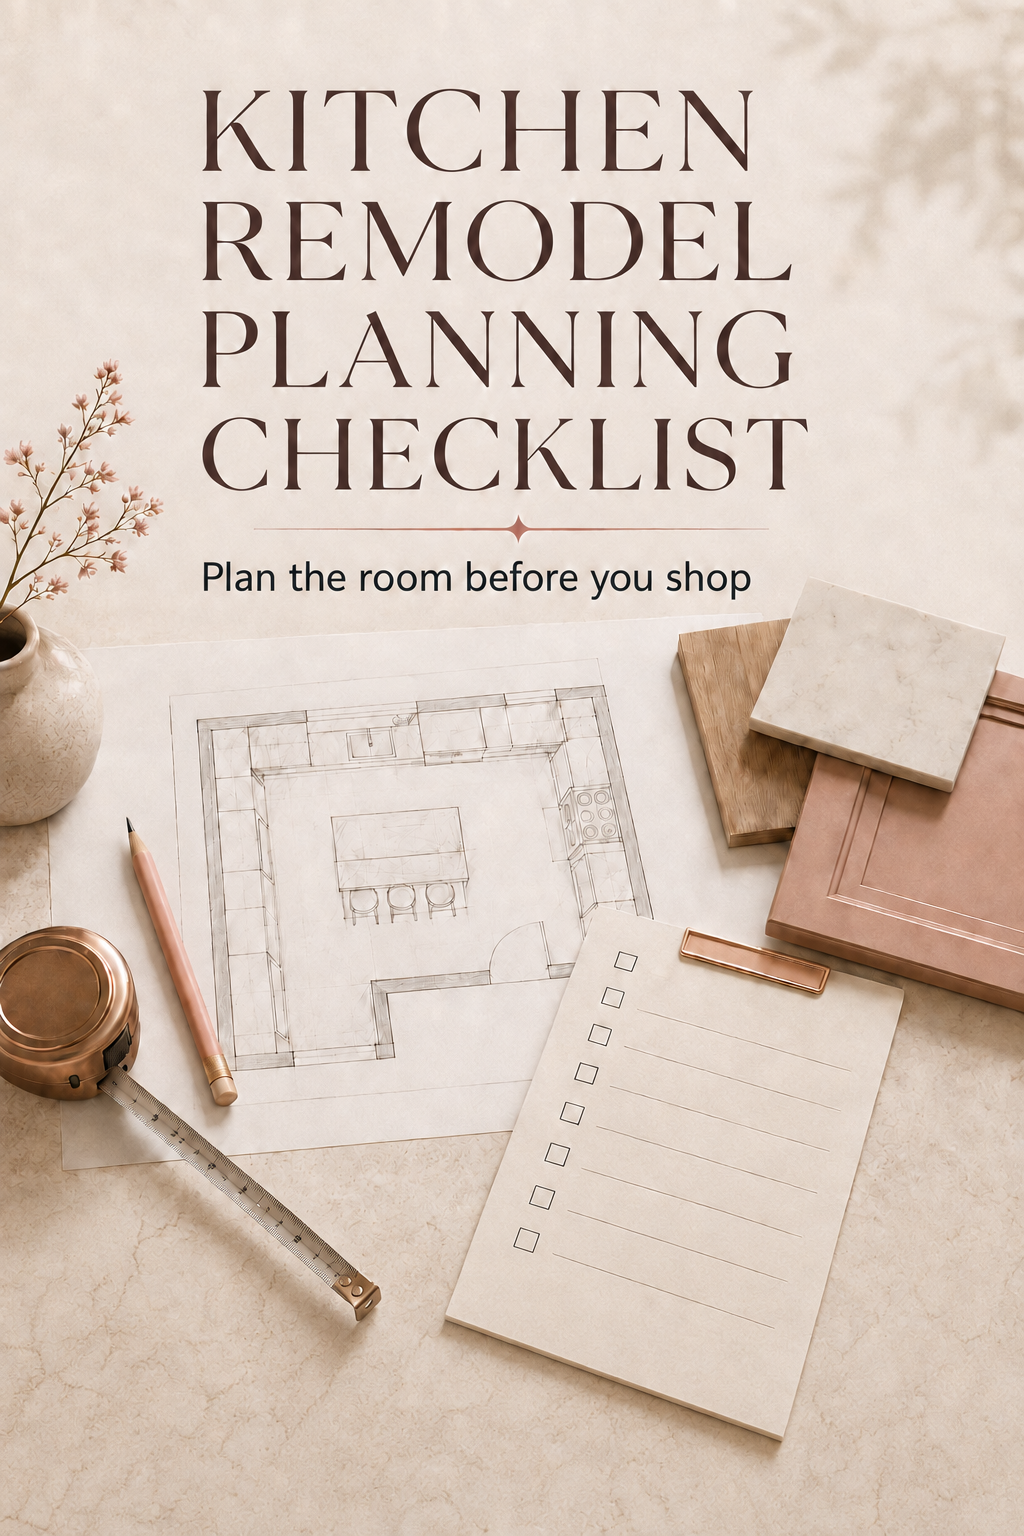
Use this guide to organize what you know, identify what still needs verification, and compare layout ideas before a favorite finish or product locks the project into the wrong shape.
1. Record the room
Sketch the walls, openings, ceiling changes, utilities, fixed obstructions, and nearby rooms. A tape measure, pencil, paper, and a few phone photos are enough for this first pass—you do not need drafting experience. The common mistake is making the drawing look precise while leaving its sources unclear. Note what you measured, what came from a product specification, and what still needs field verification.
2. Name the routines
Write down how groceries arrive, where coffee or breakfast happens, who cooks, how dishes move, and which paths other people use while the kitchen is active. People often plan for the special holiday meal and forget the ordinary Tuesday morning. Begin with the routines that happen most often, including two tasks that overlap, because those repetitions will tell you where convenience matters most.
3. List what must stay
Separate true constraints from preferences. Existing openings, structural conditions, services, and appliances may shape the plan differently from items that can still move or change. A common mistake is calling an expensive-to-move item fixed or calling a truly fixed condition flexible without checking. Mark each one as stays, may move, or needs an expert answer so the plan does not quietly rely on an unconfirmed assumption.
4. Inventory storage
Group everyday dishes, cookware, pantry goods, small appliances, cleaning supplies, waste, and awkward items by the activity they support and how often they are used. Do not simply count your current shelves; note what is difficult to reach and what lives on the counter because it lacks a practical home. Even a rough inventory will produce a better cabinet plan than filling empty wall space first.
5. Choose appliance positions
Place appliances in the whole-room plan, then test their doors, handles, landing areas, ventilation needs, and relationship to preparation and cleanup. The common mistake is using only the advertised width and forgetting door travel, handle projection, panels, service access, or the person standing in front. Use current specifications when you have them and label a realistic size range when the appliance is not chosen yet.
6. Protect movement
Follow the paths between entrances, food storage, preparation, cooking, cleanup, dining, and outdoor areas. Check the paths again with doors and drawers open and with someone standing at the main work surface. Empty floor on a drawing can be misleading; people, stools, baskets, and open appliances occupy it in real life. Trace the routes you expect people to choose, not only the routes you hope they will use.
7. Compare layout options
Keep more than one workable idea long enough to compare tradeoffs. A plan with fewer cabinets may create better movement, while a larger island may take away the path that makes it useful. A common mistake is polishing the first plausible arrangement until changing it feels like starting over. Make a quick second version before choosing; comparison makes the strengths and compromises of both plans much easier to see.
8. Separate function from finish
Confirm the arrangement, access, storage purpose, and appliance relationships before color, door style, hardware, and decorative choices become the reason to defend a weak plan. Finishes are exciting, so they can make an unresolved layout feel more complete than it is. Save the combinations you love, but keep them separate from the floor-plan decision until the everyday routines work.
9. Mark professional checks
Identify the dimensions, structure, utilities, ventilation, appliance requirements, and applicable codes that the responsible project professionals must confirm before ordering or construction. This does not mean you need a professional beside you to begin planning. It means your early work should clearly show what you know and what still needs verification, giving the installer or trade a focused list to check instead of asking them to reconstruct every decision.
A checklist should reveal uncertainty
Do not turn an estimate or assumption into a fact merely to complete the page. Mark unknowns clearly so they can be measured, specified, or reviewed before they affect another decision. A question mark is not a weakness in a planning document; it is a useful warning that protects the choices connected to it. The common mistake is copying an approximate number forward until everyone forgets it was approximate.
A plan should survive an ordinary day
Walk through groceries, breakfast, meal preparation, cleanup, unloading, waste, and people passing through. Use your finger on the drawing or move through a simple 3D plan, pausing anywhere two activities compete. A visually appealing plan is not finished if those sequences still collide. Finding an awkward step now is good progress—it gives you a specific problem to solve before materials make the answer expensive.