
Measure kitchen doors and windows as working parts of the room
A door or window is more than the empty opening you see in the wall. Trim occupies space, sills and handles project, doors swing, and people need a clear route through the room. You can record these conditions with an ordinary tape measure, pencil, paper, and a few photographs—no carpentry background required. Take one opening at a time, measure from the same reference corner, and write down what moves as well as what stays still. These nine checks will help you catch the details that often surprise a cabinet plan later.
1. Measure the full outside width of the trim
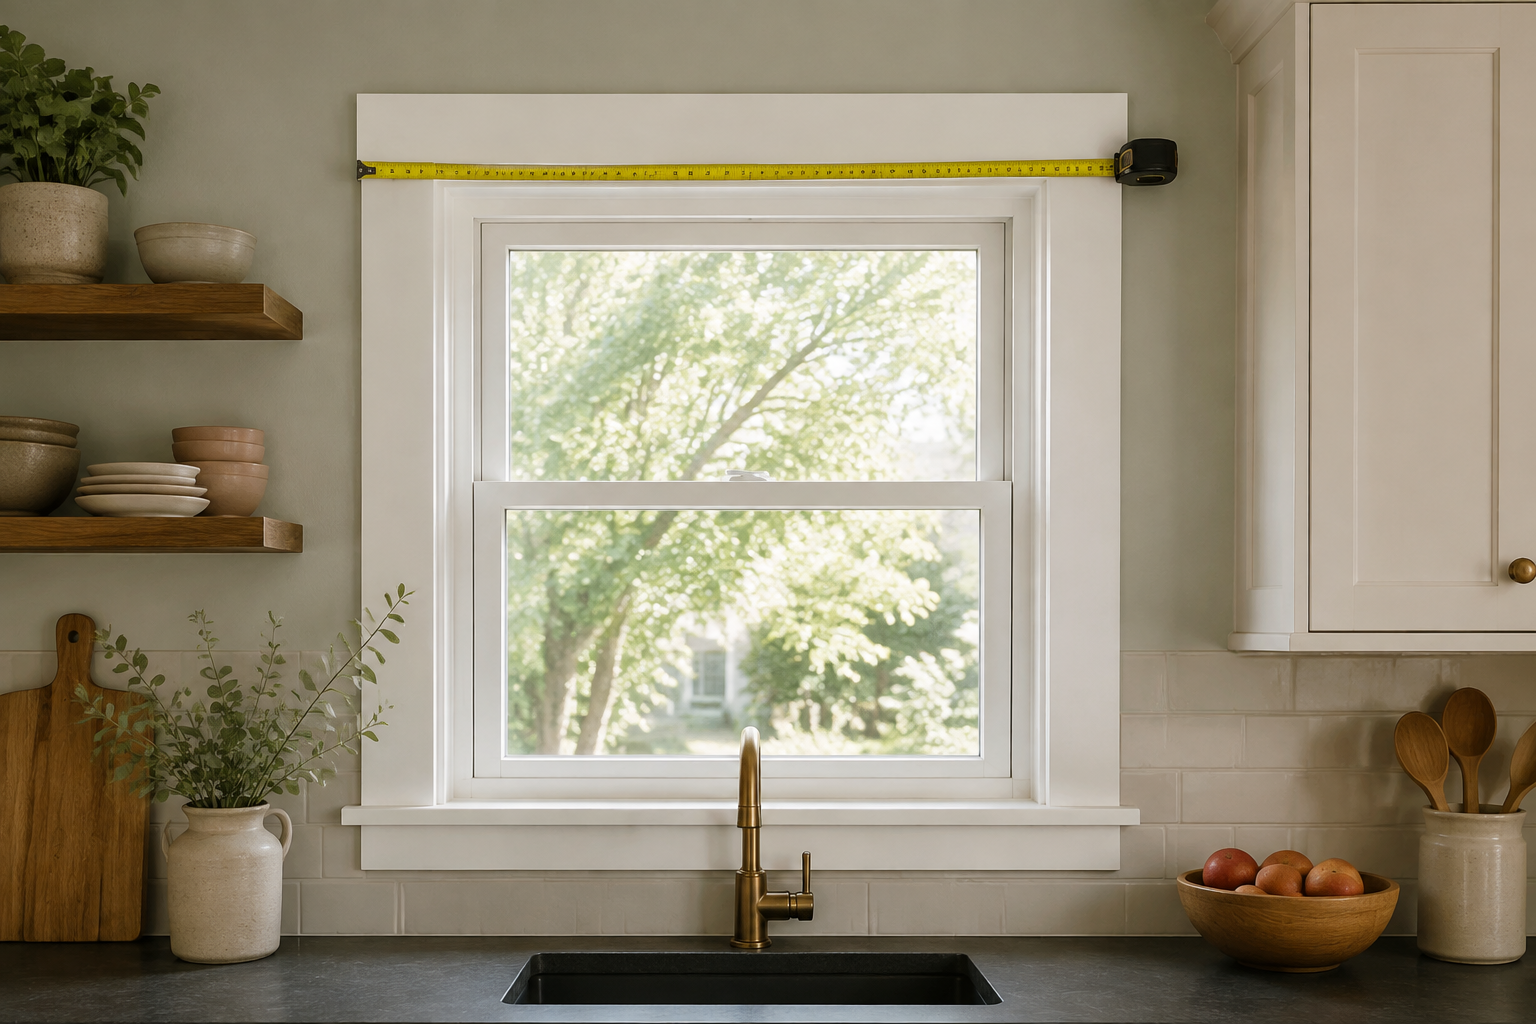
Record the visible opening, but also measure from the outside edge of one casing to the outside edge of the other. Cabinets, countertop, backsplash, and fillers meet the finished trim, not the glass or door slab. A common mistake is writing only the nominal window or door size from memory. Replacement trim may be wider than expected, and older casing may not be symmetrical. Label the dimensions clearly so the rough opening, visible opening, and full trim width cannot be confused during planning.
2. Locate the opening from a reliable corner
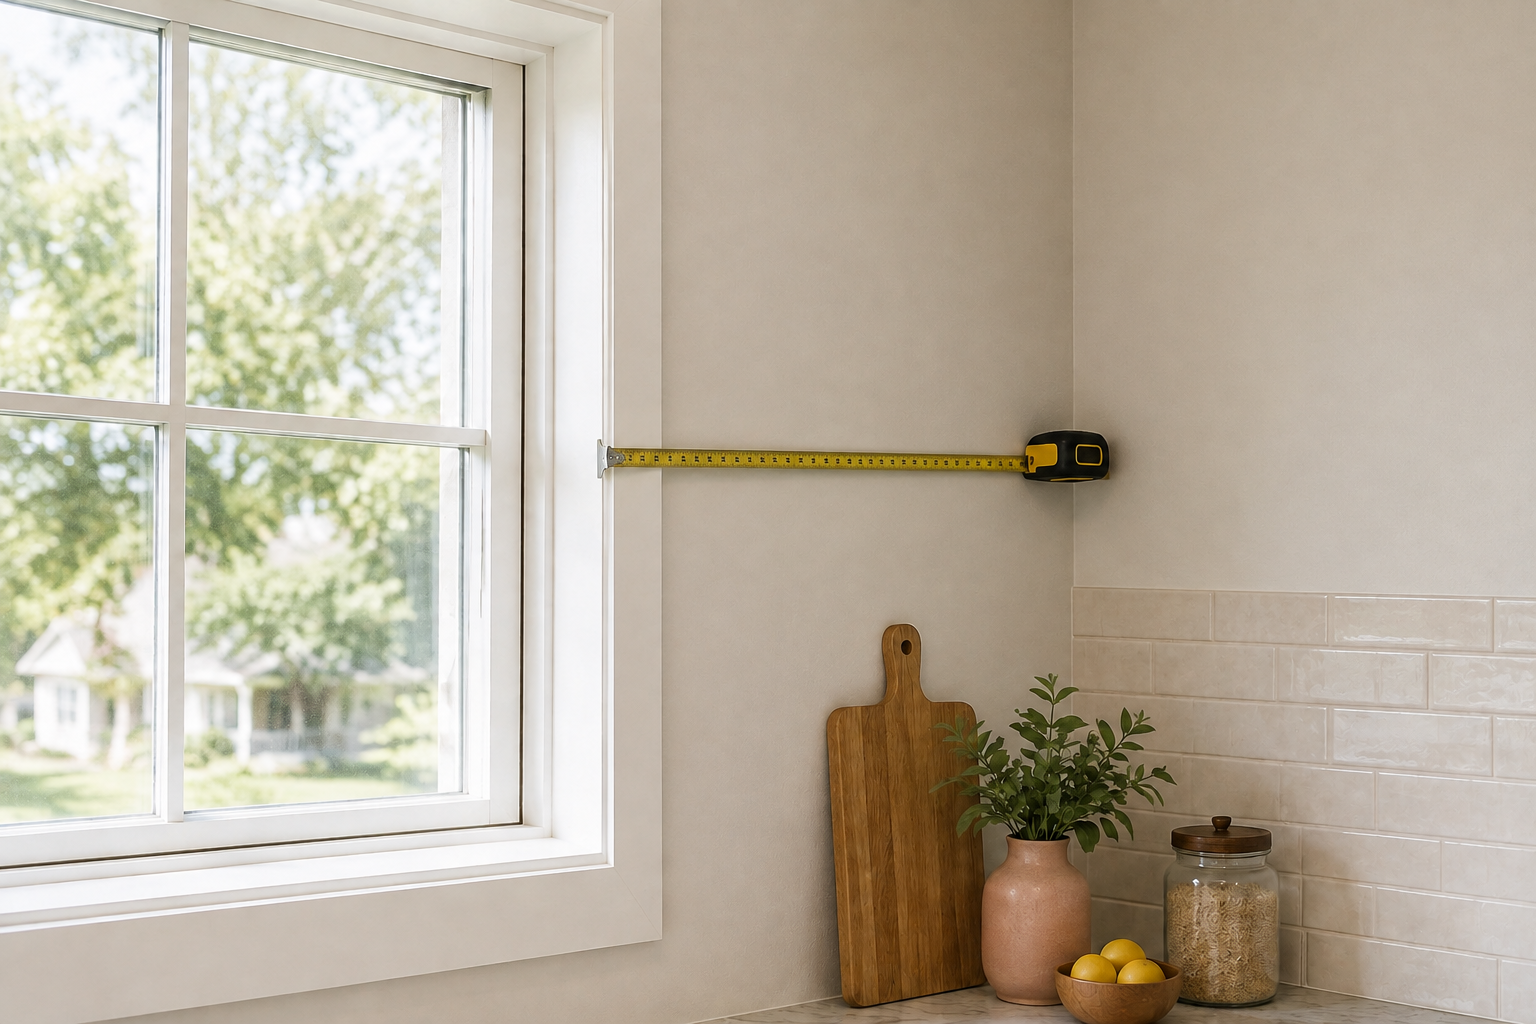
Measure from the finished wall corner to the nearest outside edge of the casing, then from the far casing edge to the next corner or fixed condition. Keep the same direction around the room as your main sketch. People sometimes center an opening by eye or record only its width; that leaves the cabinet run with no dependable starting point. When possible, add the two side segments and the full trim width, then compare that sum with the overall wall dimension. A mismatch tells you exactly where to recheck.
3. Record sill height and operating hardware
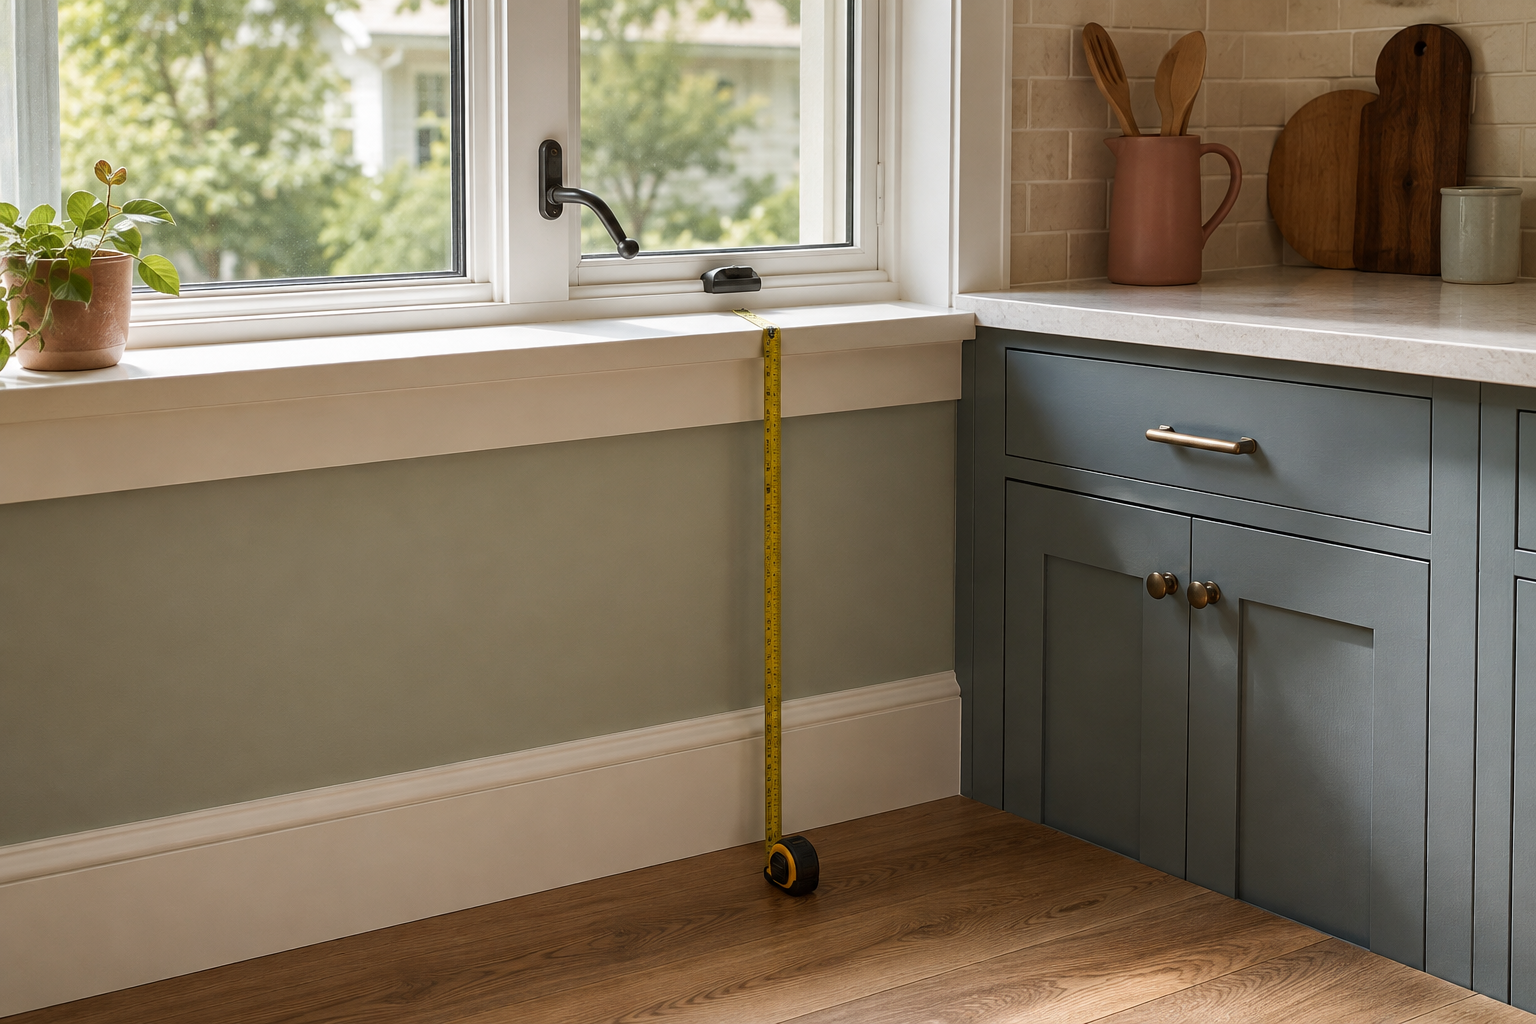
Measure from the finished floor to the bottom and top of the casing, plus the bottom of the sill when it projects below or beyond the trim. Note cranks, latches, radiators, deep stools, and anything that affects a faucet or countertop below. The familiar mistake is checking only whether the counter fits under the glass. A low sill, protruding apron, or crank can still collide with the backsplash, faucet, or sink. Photograph the hardware open and closed so its movement is not forgotten.
4. Draw the complete door swing
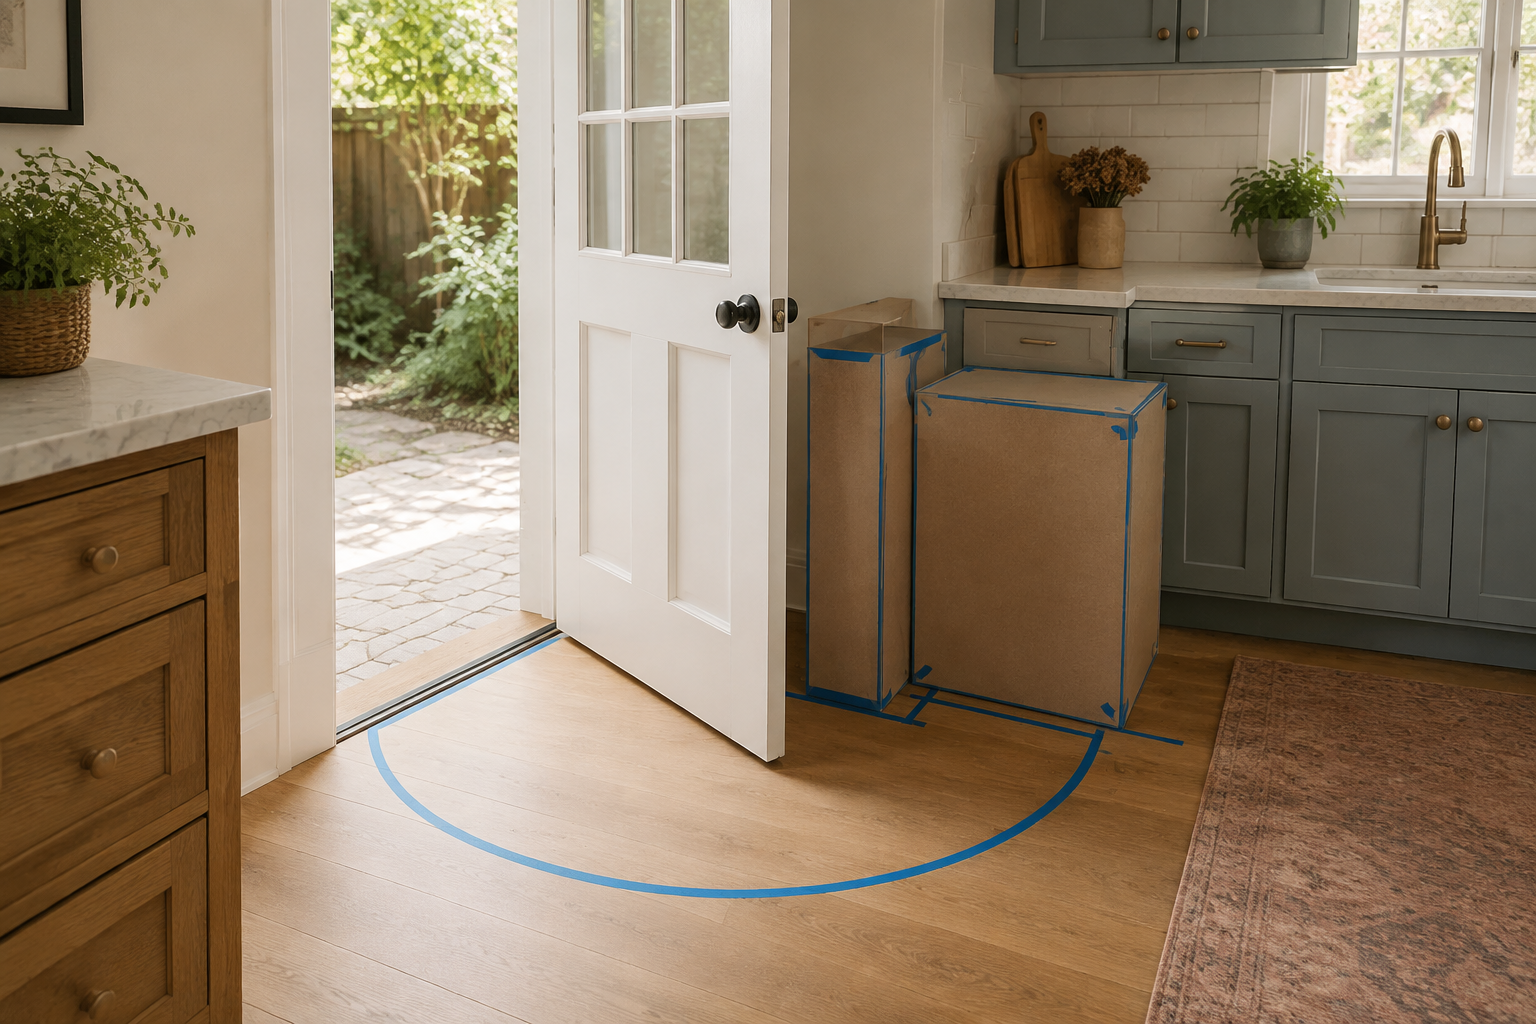
Mark which side carries the hinges, which way the door opens, and how far the slab and handle travel. Open it fully and look at cabinets, appliances, switches, and traffic within that arc. A plan can show a legal-sized opening while still producing a daily collision. The common mistake is drawing a small decorative arc that does not match the real door width. Use painter's tape or a cardboard cabinet outline if the conflict is hard to imagine. Test the door at the angle people actually use.
5. Note how sliding and pocket doors operate
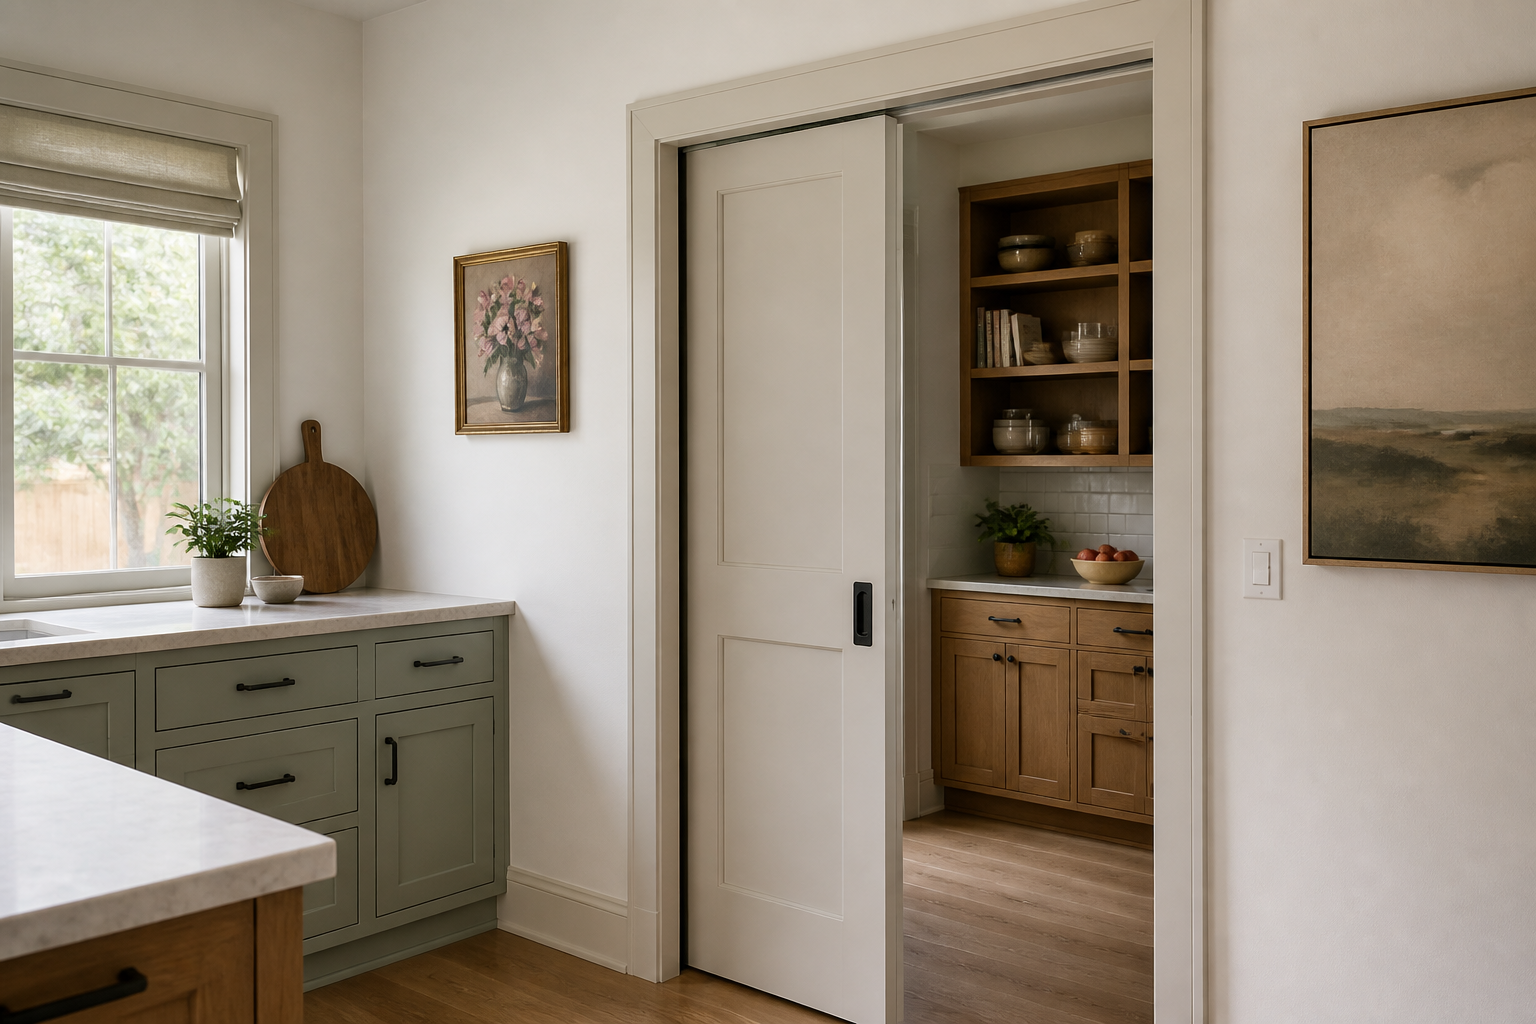
A sliding door avoids a swing arc, but it still needs handle clearance, a usable pull, and a wall or pocket that may restrict plumbing, wiring, or cabinet attachment. Record the full trim, open position, track, floor guide, and any wall area the door occupies. One common mistake is treating the neighboring wall as ordinary cabinet space because the door disappears. Do not plan fastening, services, or demolition around a pocket until its construction is understood by the responsible professional.
6. Look for trim depth and uneven returns
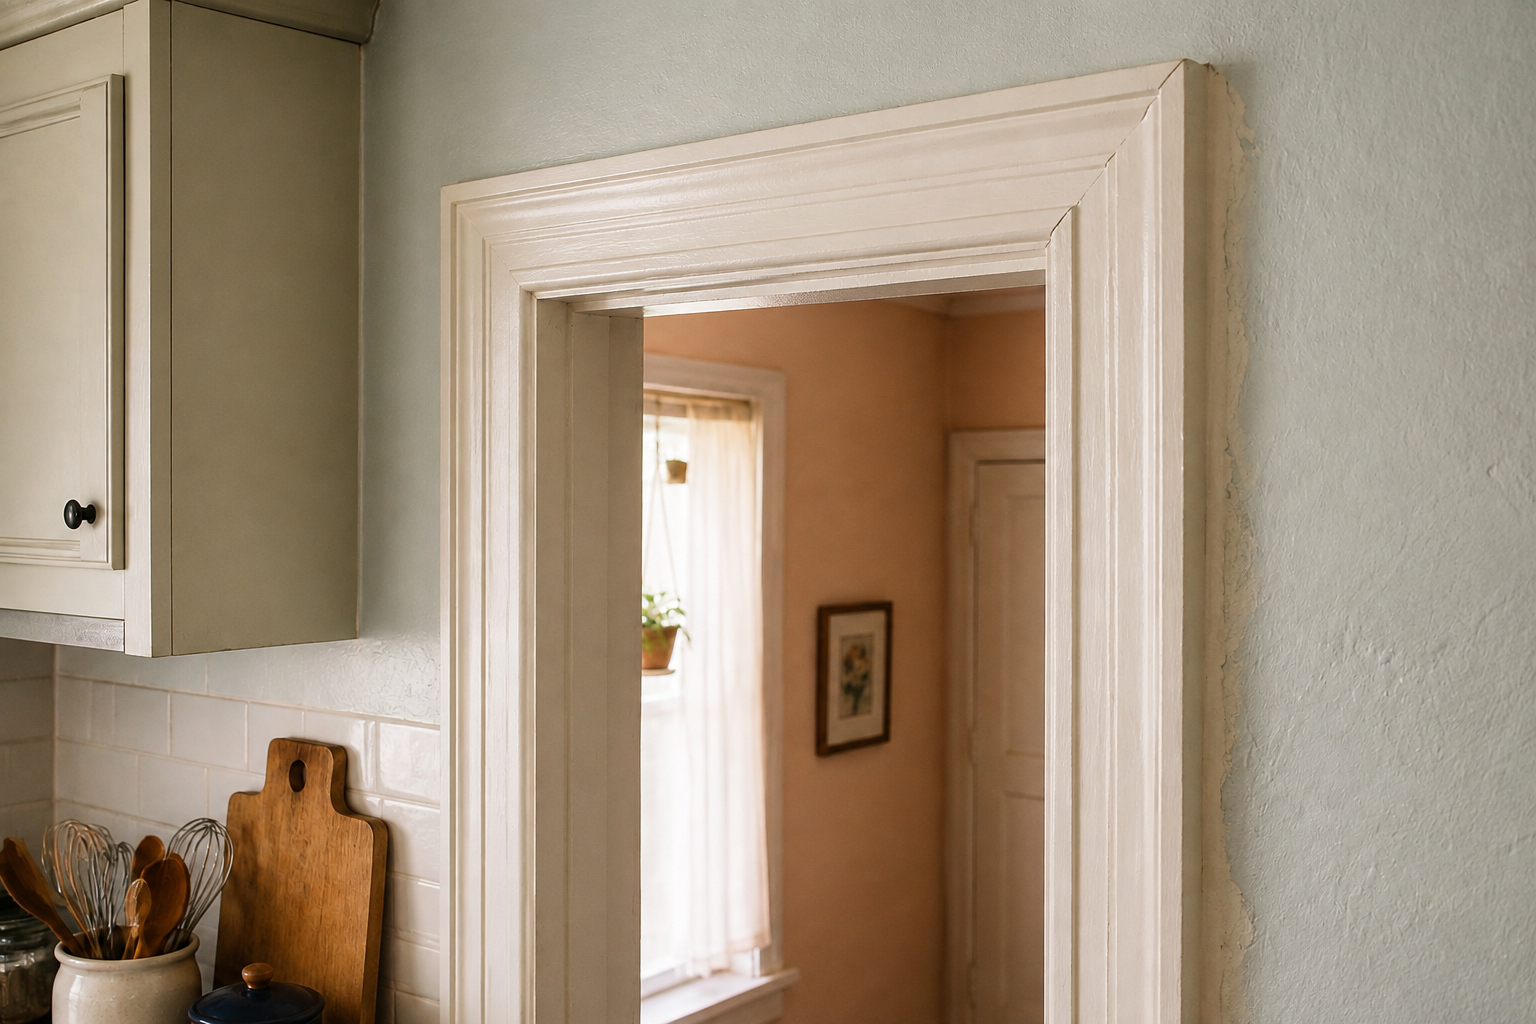
Measure how far casing, stools, aprons, and plaster returns project from the wall. In older houses, one side may be built up differently from the other or the wall may thicken near an opening. A filler that looks adequate in a flat plan can disappear when deep trim is considered. The usual mistake is assuming all trim sits nearly flush. View the opening from the side, run a straightedge along the wall if helpful, and note the greatest projection instead of the easiest point to reach.
7. Protect filler and hardware clearance
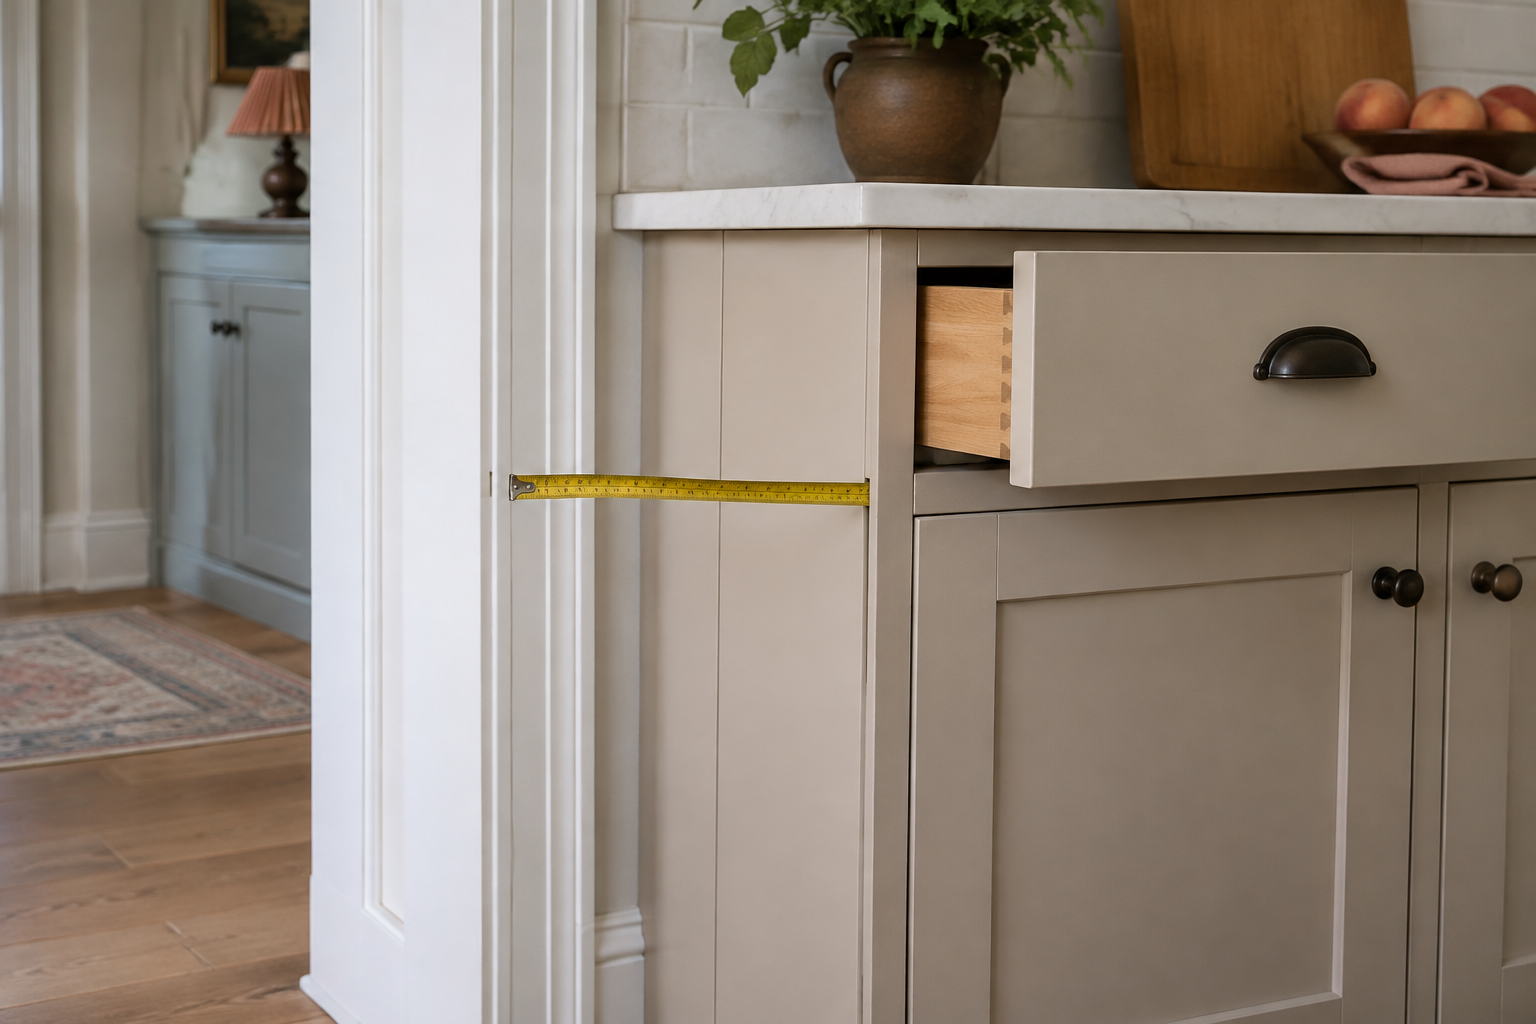
Cabinet doors and drawers need space beside casing, especially when decorative trim, projecting handles, or an out-of-square corner narrows the gap. Note the closest points and test the actual opening motion. People often plan a cabinet tight to the trim because the box fits on paper, then discover the drawer pull strikes the casing or the door cannot reach a useful angle. Keep a visible allowance in the early layout and let the cabinet supplier and installer confirm the final filler and hardware requirements.
8. Test the passage with nearby appliances open
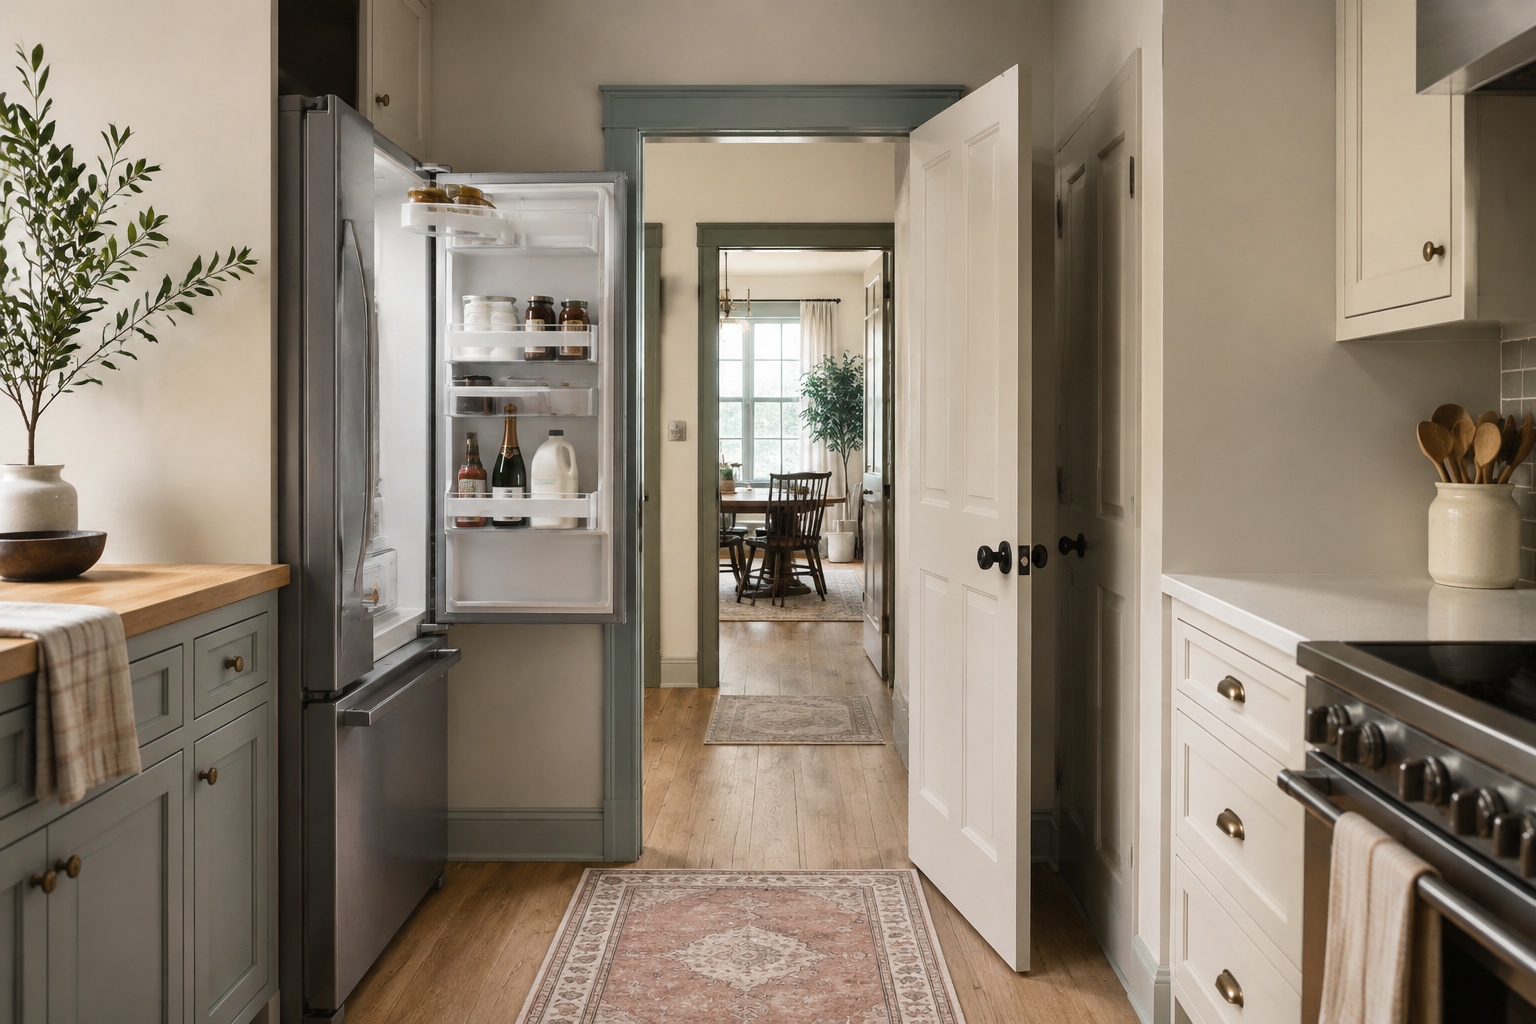
Open the room door, refrigerator, oven, dishwasher, and nearby drawers in the combinations that happen during a busy day. Ask whether someone can still enter, carry groceries, or pass behind the cook. A common planning mistake is checking every swing separately. Two objects may each have enough clearance on their own but block the route when used together. Photograph the tightest combination and mark the remaining passage on your sketch. That simple test often explains a layout problem faster than dimensions alone.
9. Record, photograph, and verify each opening
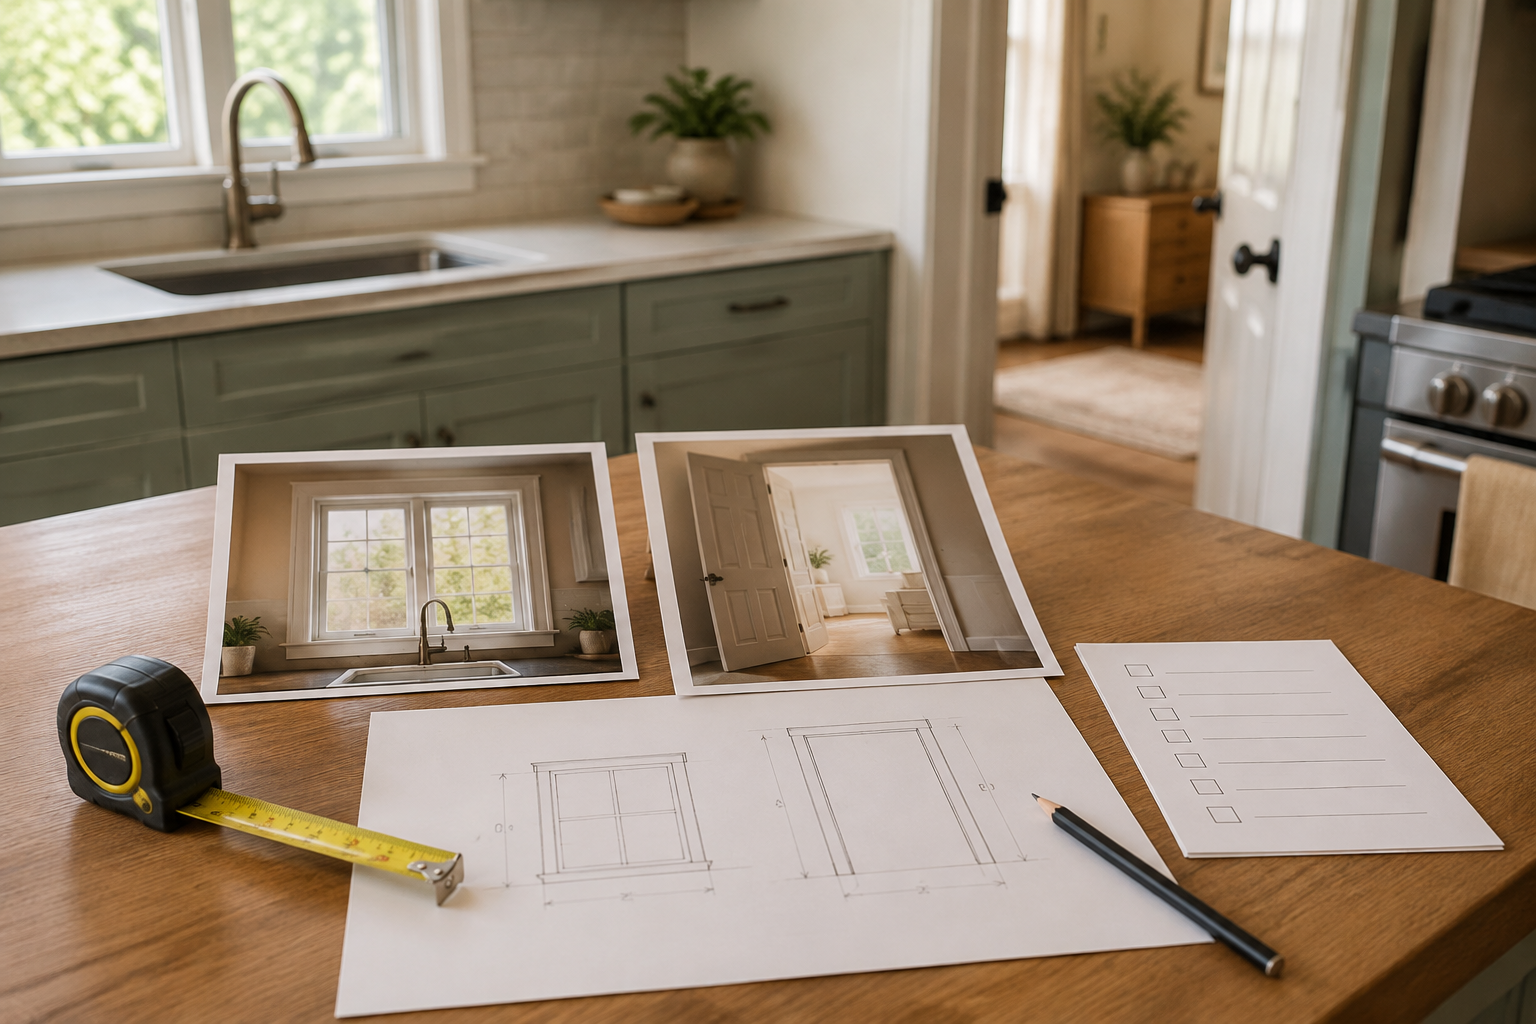
Give every opening a small record: overall trim width and height, corner offsets, sill or threshold height, swing or slide direction, hardware projection, and at least one straight-on photo. Measure critical dimensions twice, preferably on separate passes. The mistake to avoid is merging several openings into one rushed set of notes and later forgetting which number belongs where. Clear labels beat beautiful drawings. Before cabinets are ordered, have the final openings, trim decisions, product details, and installation conditions verified by the responsible installer or qualified project professional.
Turn each opening into a planning advantage
Windows can organize a sink wall, doors can clarify circulation, and trim can become a deliberate transition rather than a leftover gap. Once the measurements are visible in the room model, test cabinet runs with every opening shown at its real location. If something feels tight, go back to the room and confirm it. That extra trip with the tape is progress, not failure—it means the plan is exposing the right question before materials make the answer expensive.
See the openings in the whole room
Add the doors and windows to StilePath, place the first cabinets, and test what happens when movement and trim are part of the layout.
Start Planning Free