
How to measure a kitchen for cabinets in 10 steps
You do not need to be a professional carpenter to collect useful kitchen measurements. Get a tape measure, pencil, paper, and your phone, then give yourself permission to make a rough first sketch. The goal is not a construction drawing; it is a clear record of the room you can use to test cabinet ideas and identify questions. Work slowly, write down what you actually see, and mark uncertainty instead of guessing. Here is a practical ten-step path, including the common mistakes that make an early plan less dependable.
1. Gather simple tools and start where you are
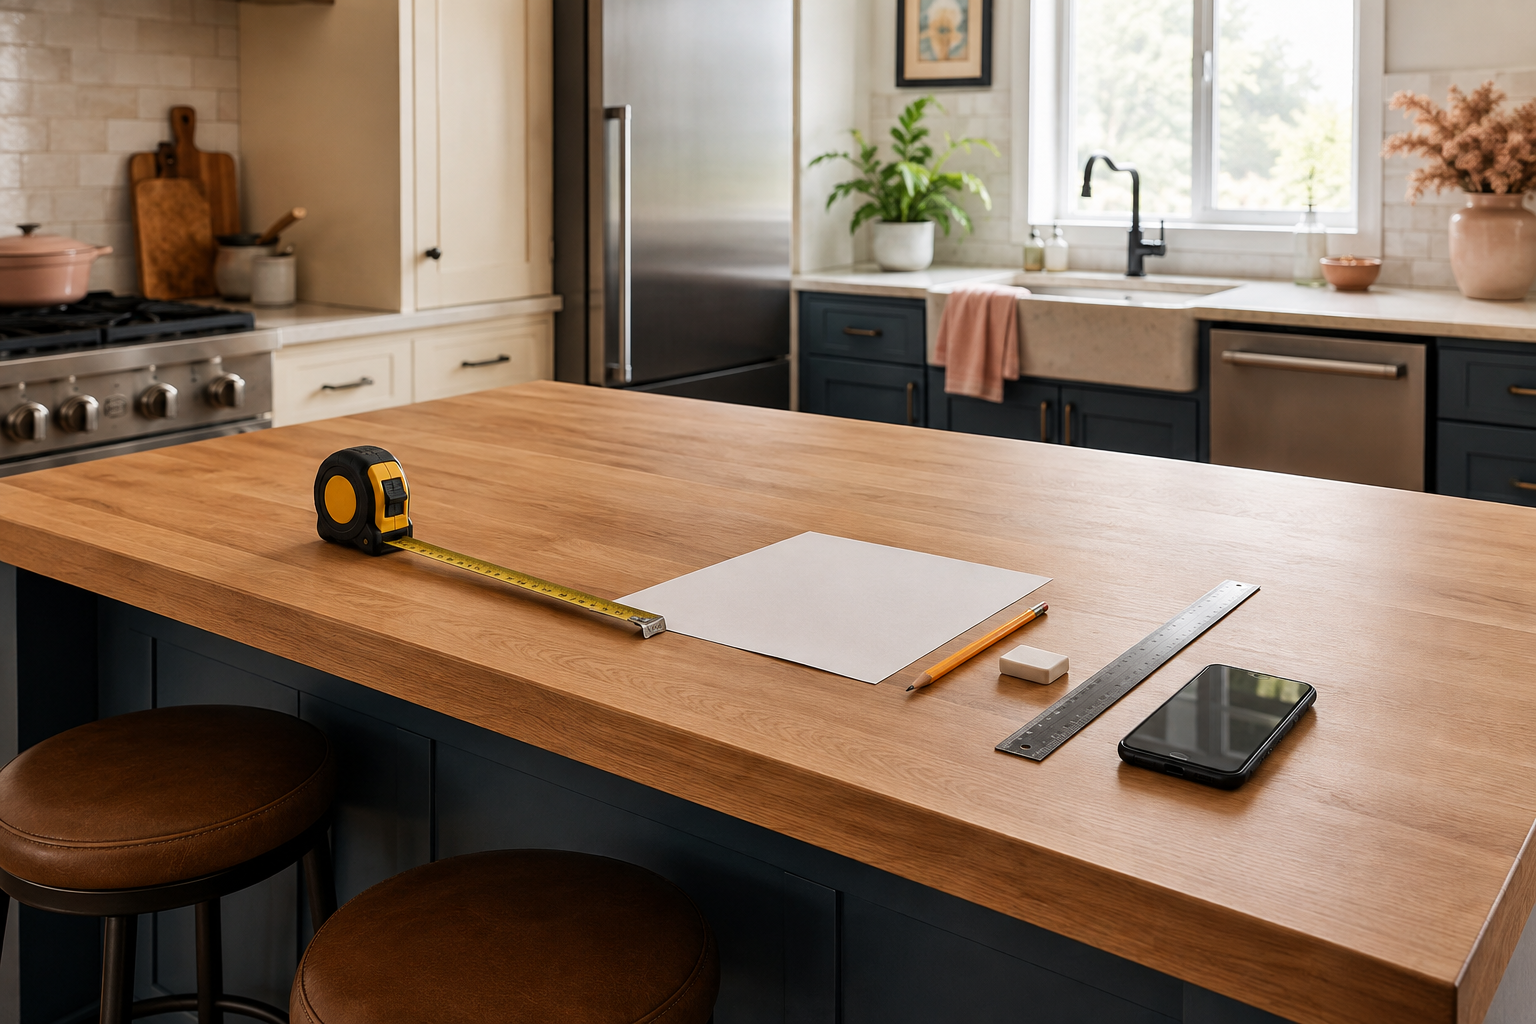
A reliable tape measure, pencil, eraser, several sheets of paper, and a phone camera are enough for the first pass. A straightedge and a second person can help, but they are not requirements. Begin with the room as it is instead of waiting until you own a laser or special drawing software. The common mistake is rushing because the tools feel basic: confirm where the hook catches, keep the tape reasonably level, and write every number immediately. Never trust yourself to remember three dimensions while walking across the room.
2. Draw the perimeter before adding details
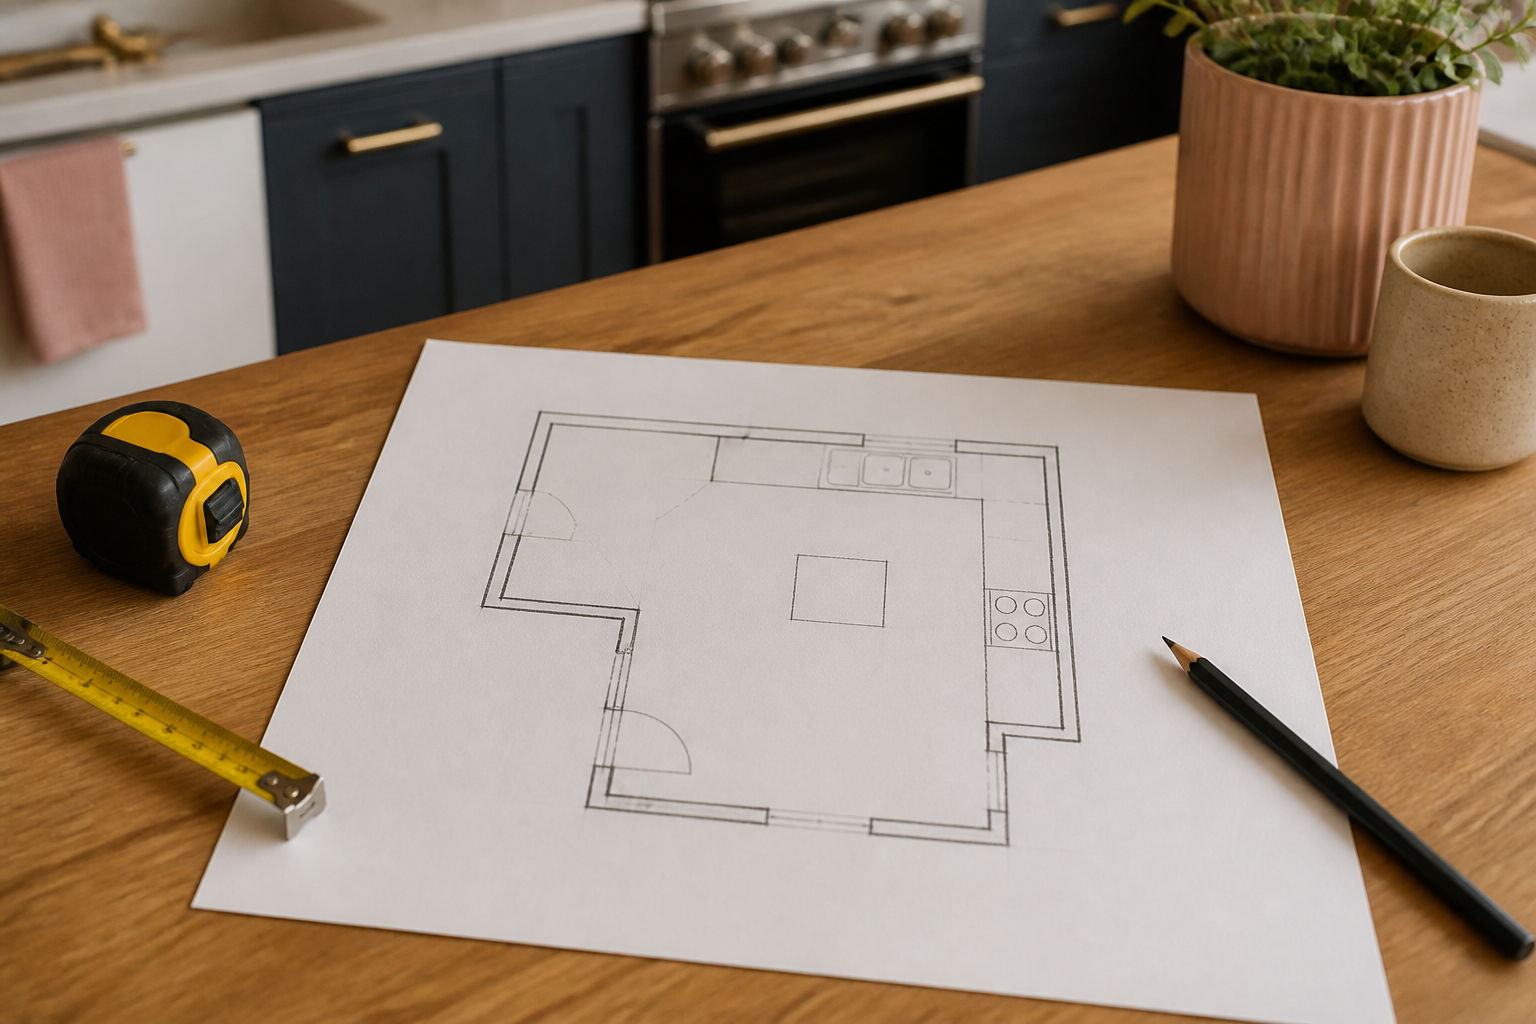
Sketch the room as if the ceiling were removed and you were looking down. Start at the main doorway and move around the perimeter in one direction, giving each wall a simple name or letter. Include jogs, shallow returns, alcoves, and angled corners even if the drawing is not to scale. People often draw the kitchen as a clean rectangle because that is how it feels at a glance, then discover that a chimney bump, pantry return, or uneven corner shortens a cabinet run. Leave generous white space around every wall for notes.
3. Record every overall wall length
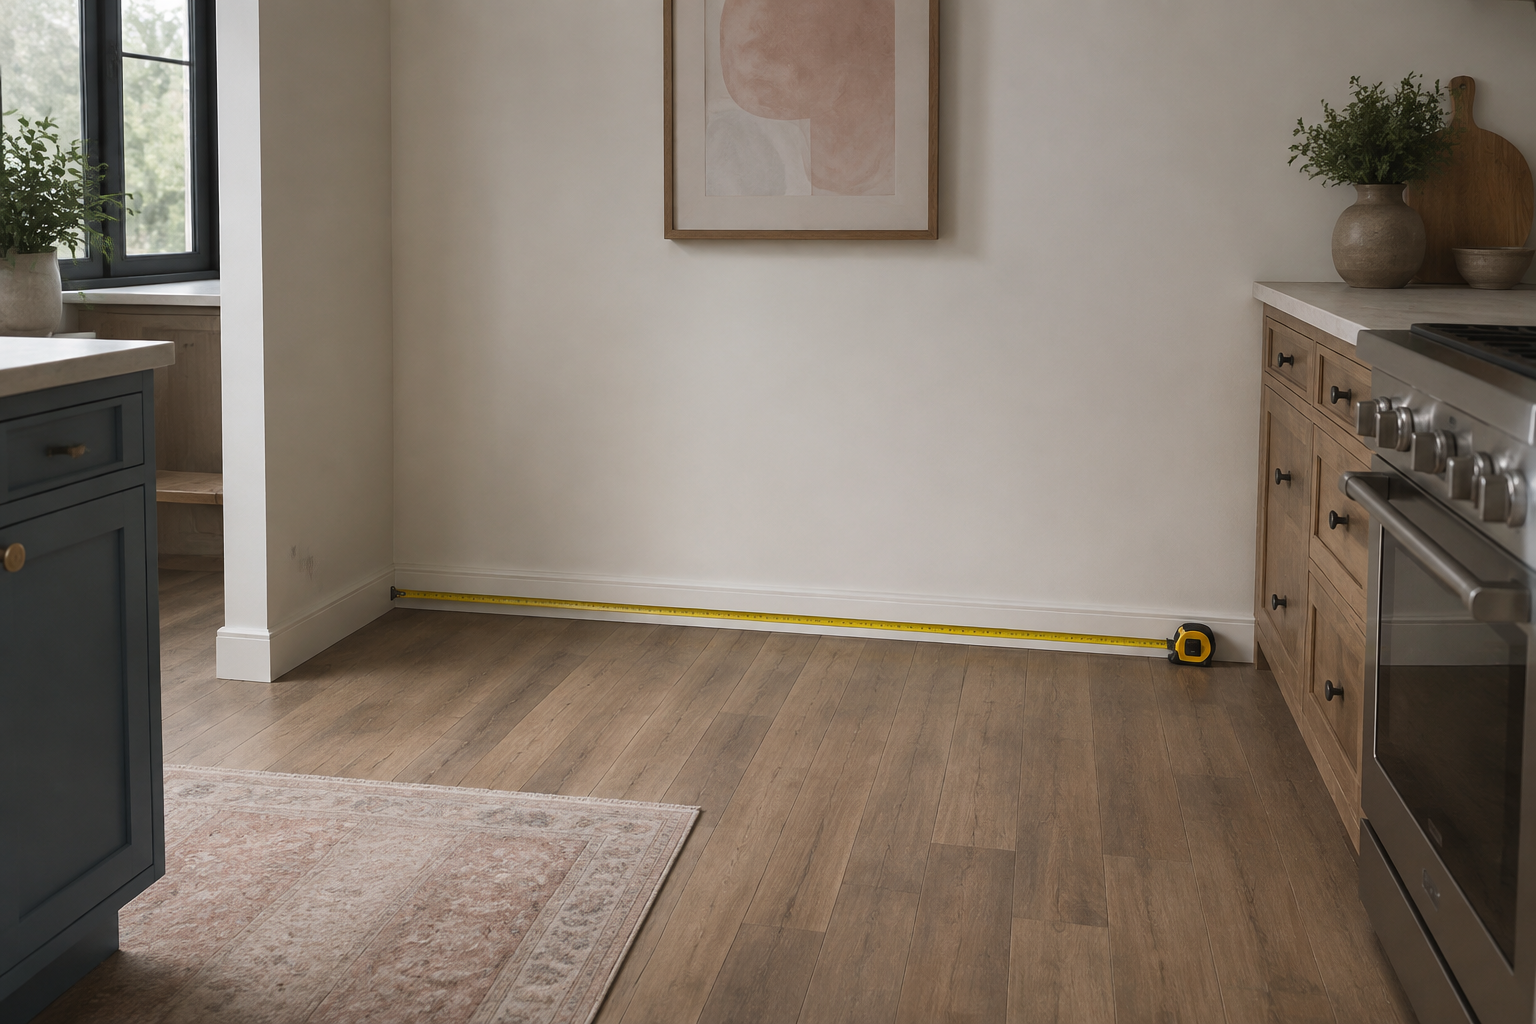
Measure each wall from finished corner to finished corner before breaking it into smaller segments. Overall dimensions give you a reference for checking the detail measurements later. Keep the tape against the same plane and avoid bending it around trim or appliances. A frequent mistake is measuring only the open space between existing cabinets, which records the old layout rather than the room. If something blocks the wall, take the best careful measurement you can, label it as approximate, and plan to verify it when access improves.
4. Check ceiling height in several places
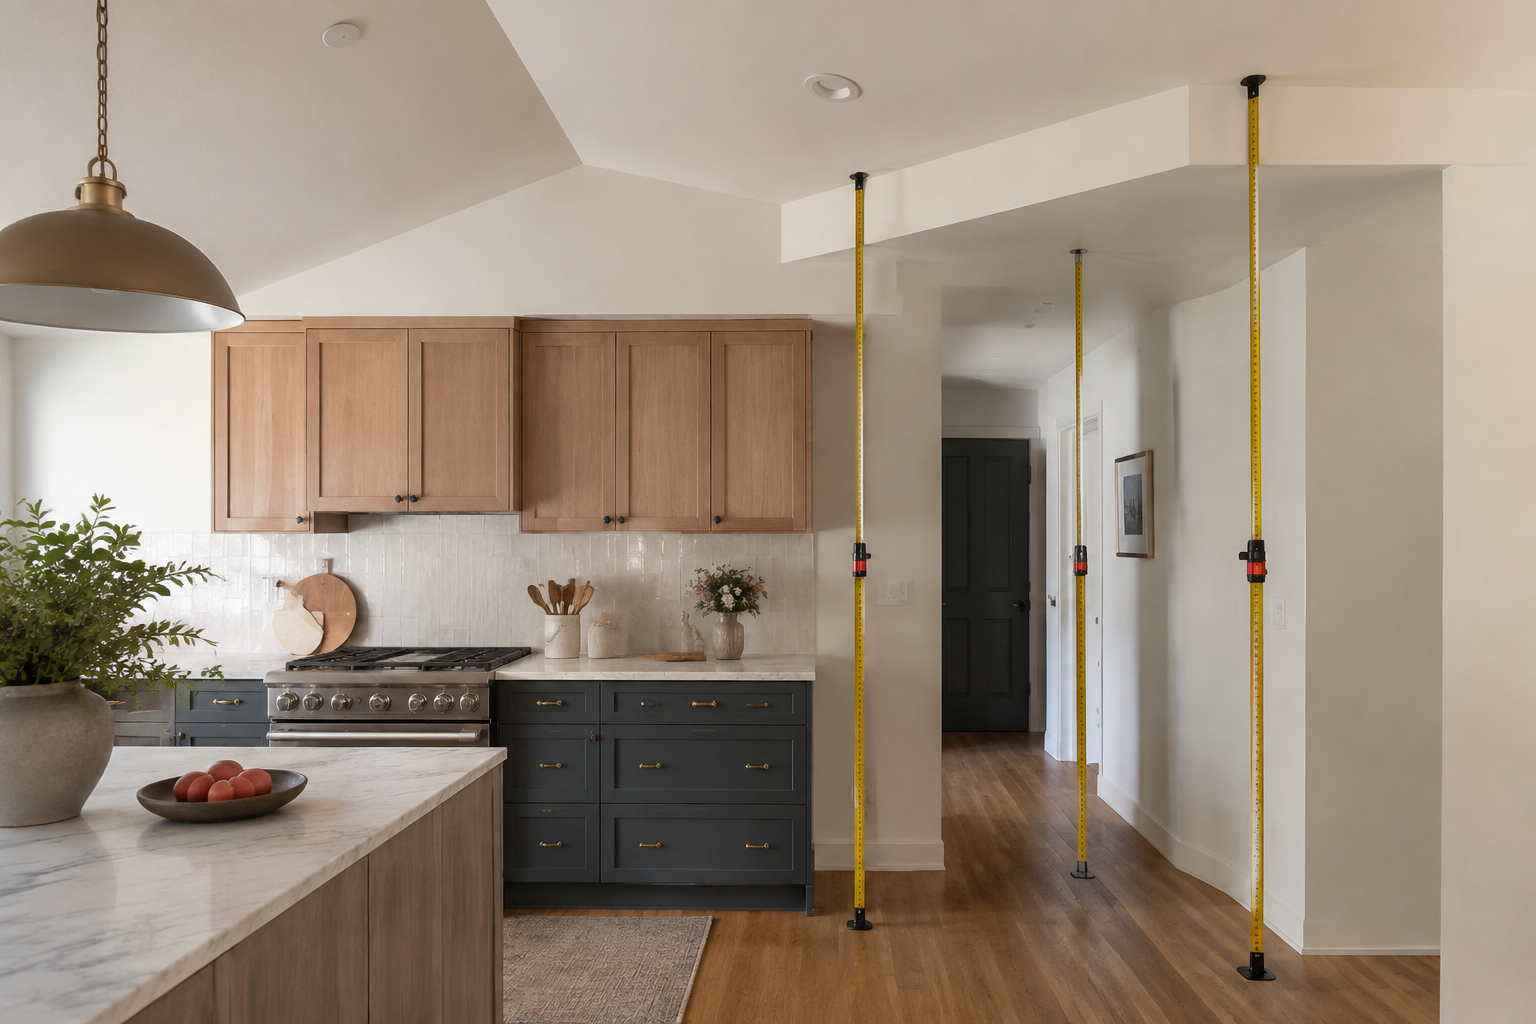
Measure floor to ceiling near several corners and along any wall planned for tall cabinets. Note soffits, beams, slopes, ceiling steps, crown molding, and visible vents. Older floors and ceilings can vary more than expected, so one height in the middle of the room may hide the tightest condition. The common mistake is rounding up because a taller number seems cleaner. Record the actual range instead. Cabinet height, trim, fillers, lighting, and installation clearance all depend on the least forgiving part of the room.
5. Check whether the room is square
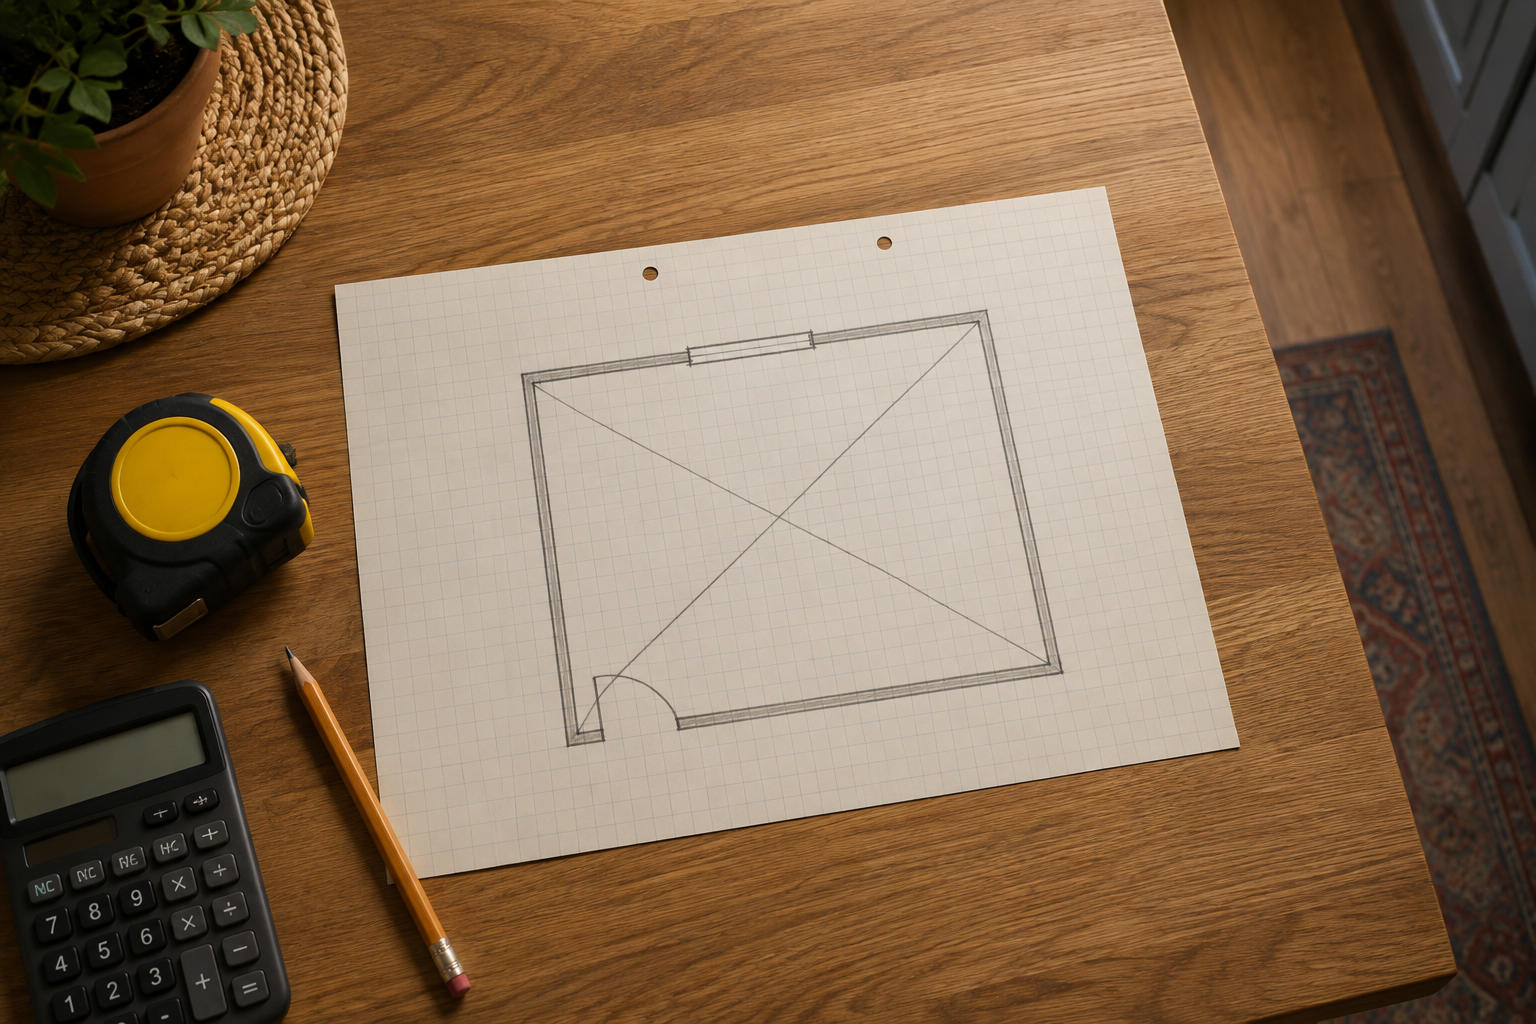
Compare opposite wall lengths and take diagonal measurements across the room where practical. You are not trying to solve the geometry on the spot; you are looking for evidence that corners or walls may not be square. A long cabinet run can reveal a small angle that the empty room disguises. People often assume a ninety-degree corner because the baseboard looks neat. If the diagonals differ or the wall dimensions do not reconcile, circle the condition and keep it visible in the plan so the installer can verify it.
6. Mark every fixed condition
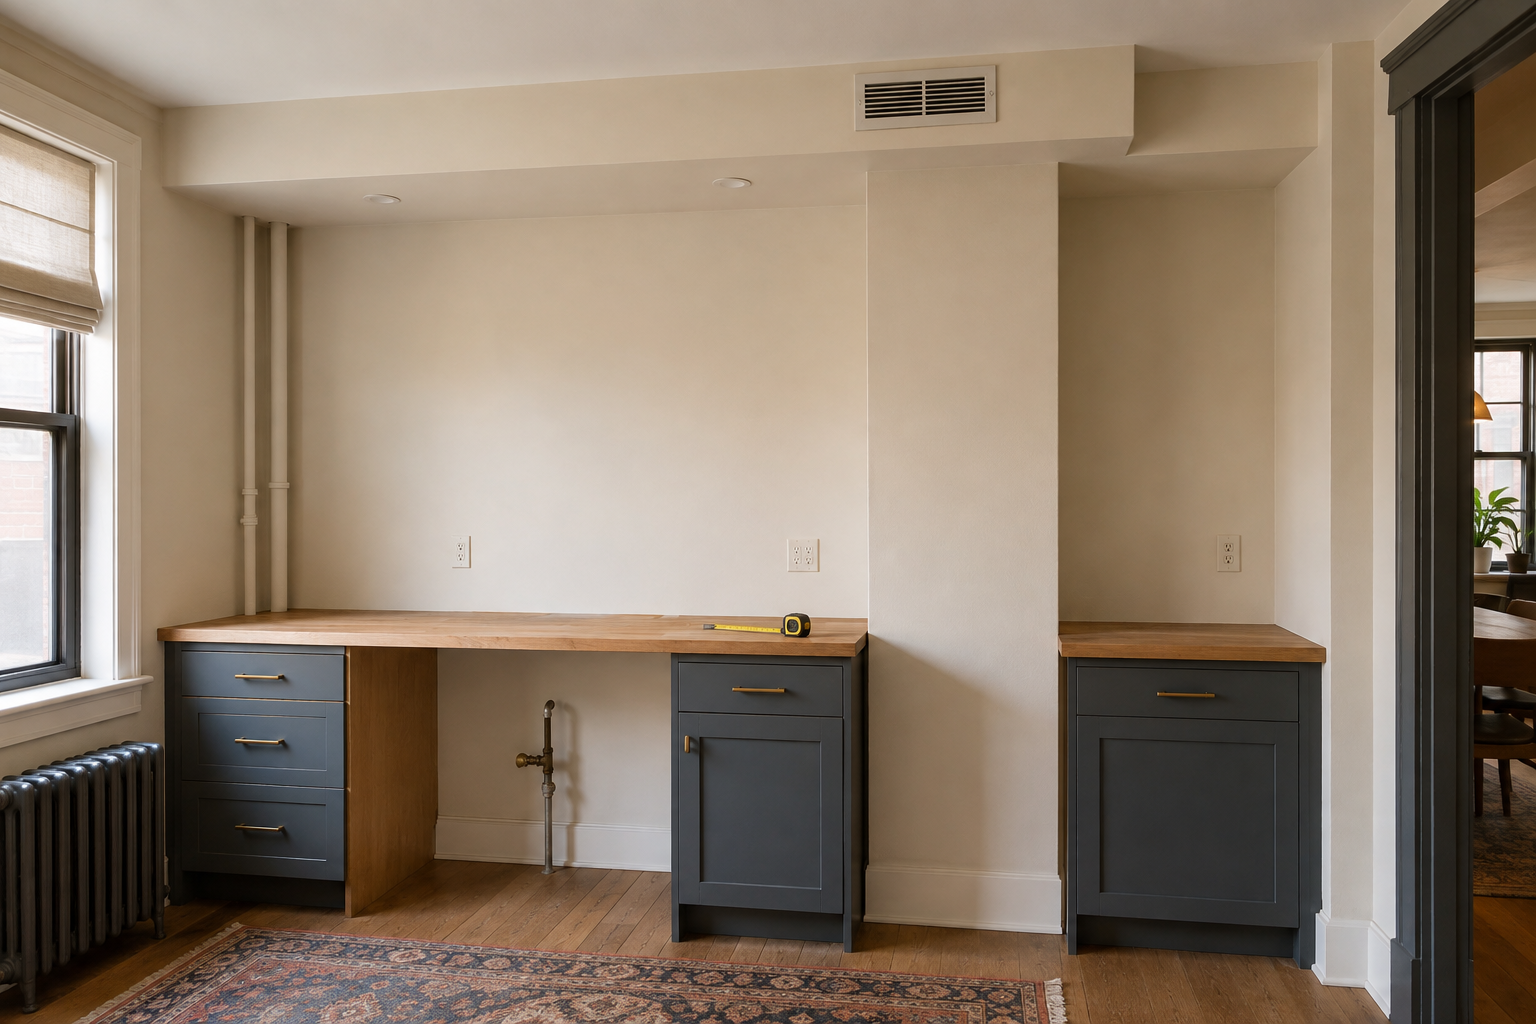
Add plumbing, drains, gas, outlets, switches, radiators, floor registers, vents, columns, panels, and anything else cabinets must respect. Measure each item from a consistent corner and from the finished floor when height matters. A typical mistake is marking only the center of a pipe or outlet while ignoring its full cover plate, valve, bend, or required access. Do not assume a service is easy to move. For early planning, treat every fixed condition as real until the responsible trade confirms what can change safely and legally.
7. Measure the smaller wall segments
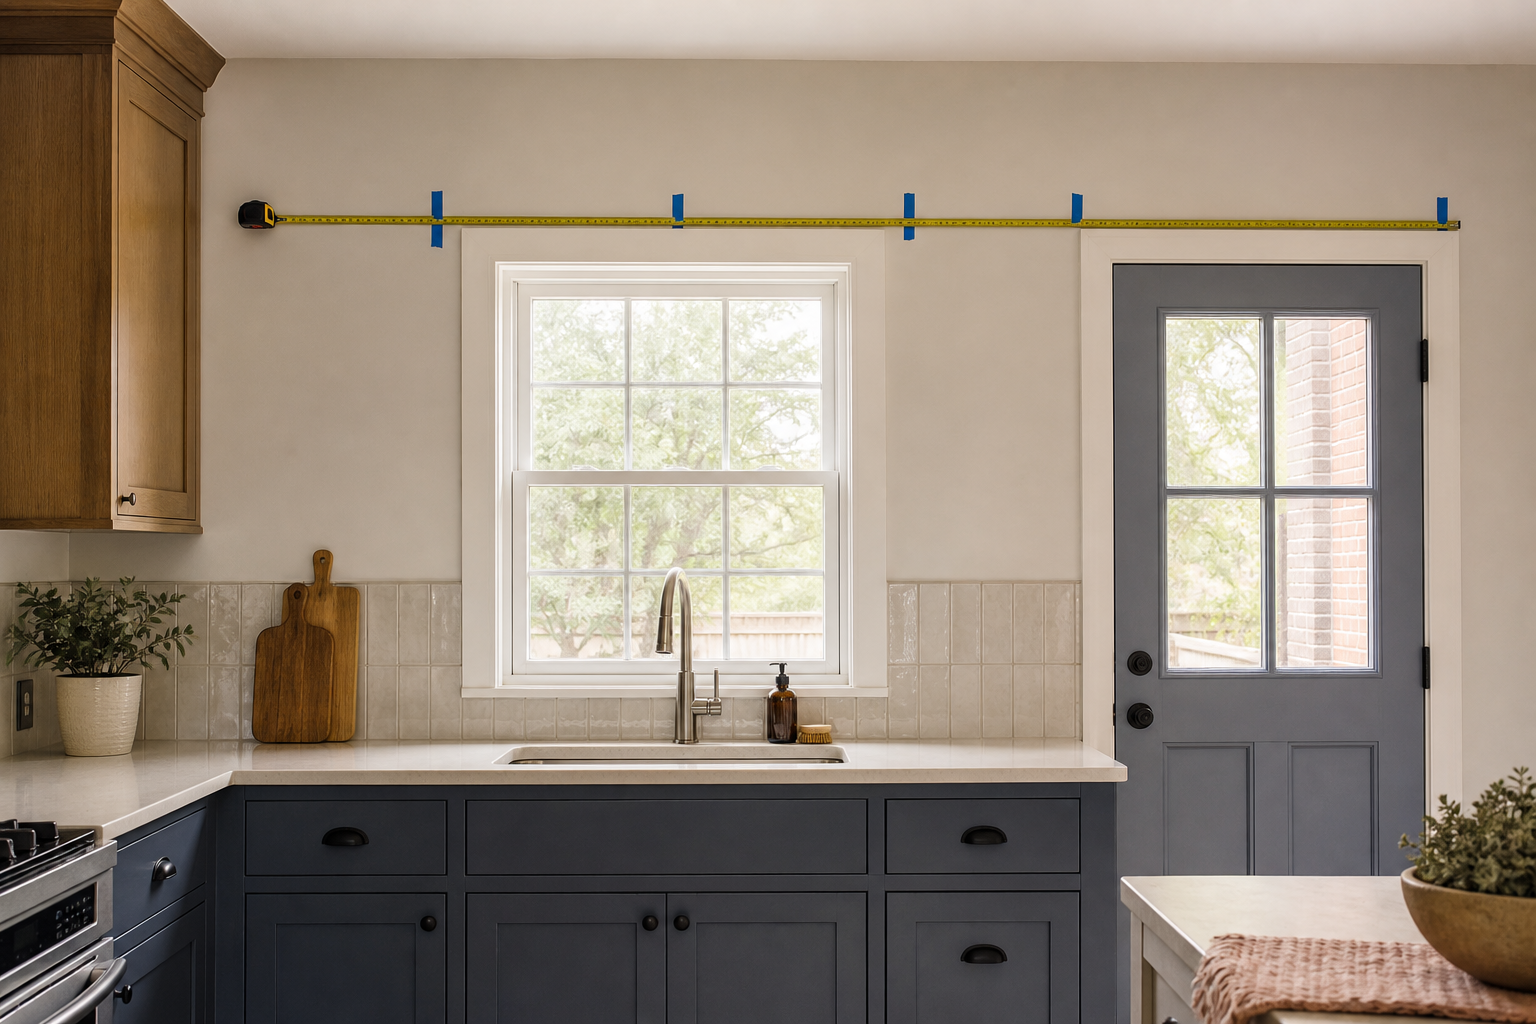
Now measure from corner to opening trim, across the full opening and trim, then from the other trim edge to the next corner or obstruction. Continue in the same direction used on the sketch. Add those segments and compare the total with the overall wall measurement. The most common error is creating a chain of small measurements without an overall check; one missed trim edge can shift everything after it. If the numbers do not add up, take the wall again while you are still standing there.
8. Photograph each wall straight on
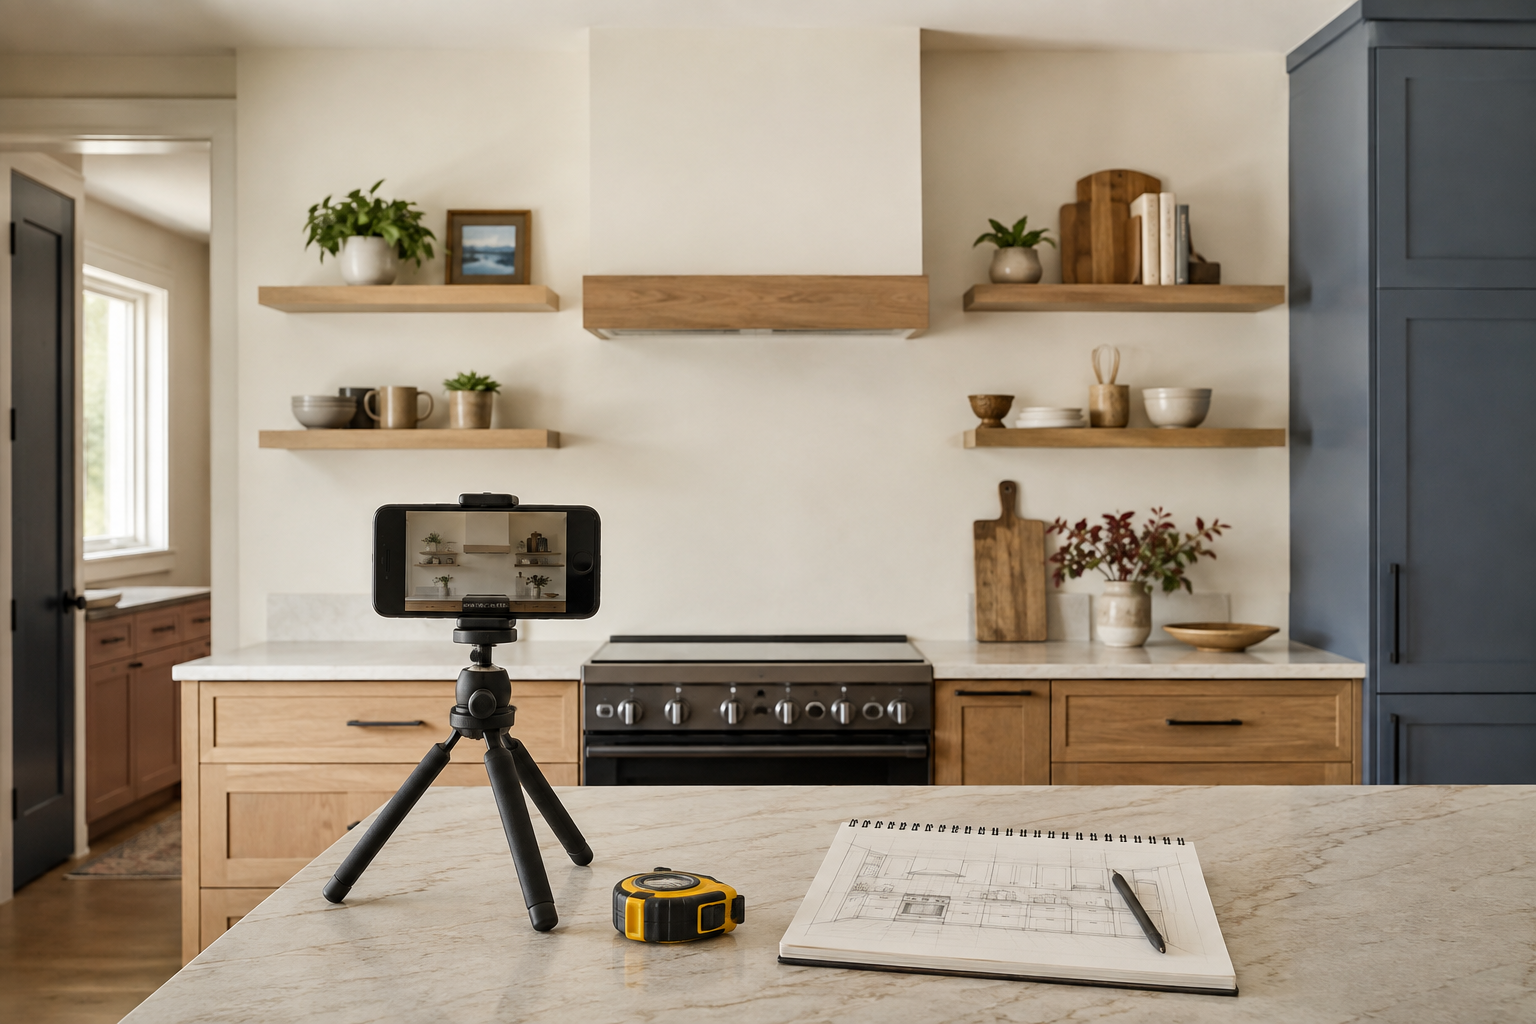
Take a straight-on photograph of every wall, then wider views from the corners and close-ups of anything unusual. Include the floor, ceiling, and neighboring walls when possible so each detail has context. Photos help you remember which side of an opening a switch occupies or how far trim projects, but perspective is not a dimension. A common mistake is treating a phone photo like a scaled drawing. Use the images to explain and verify your written measurements, never to replace the tape.
9. Reconcile the sketch before packing up
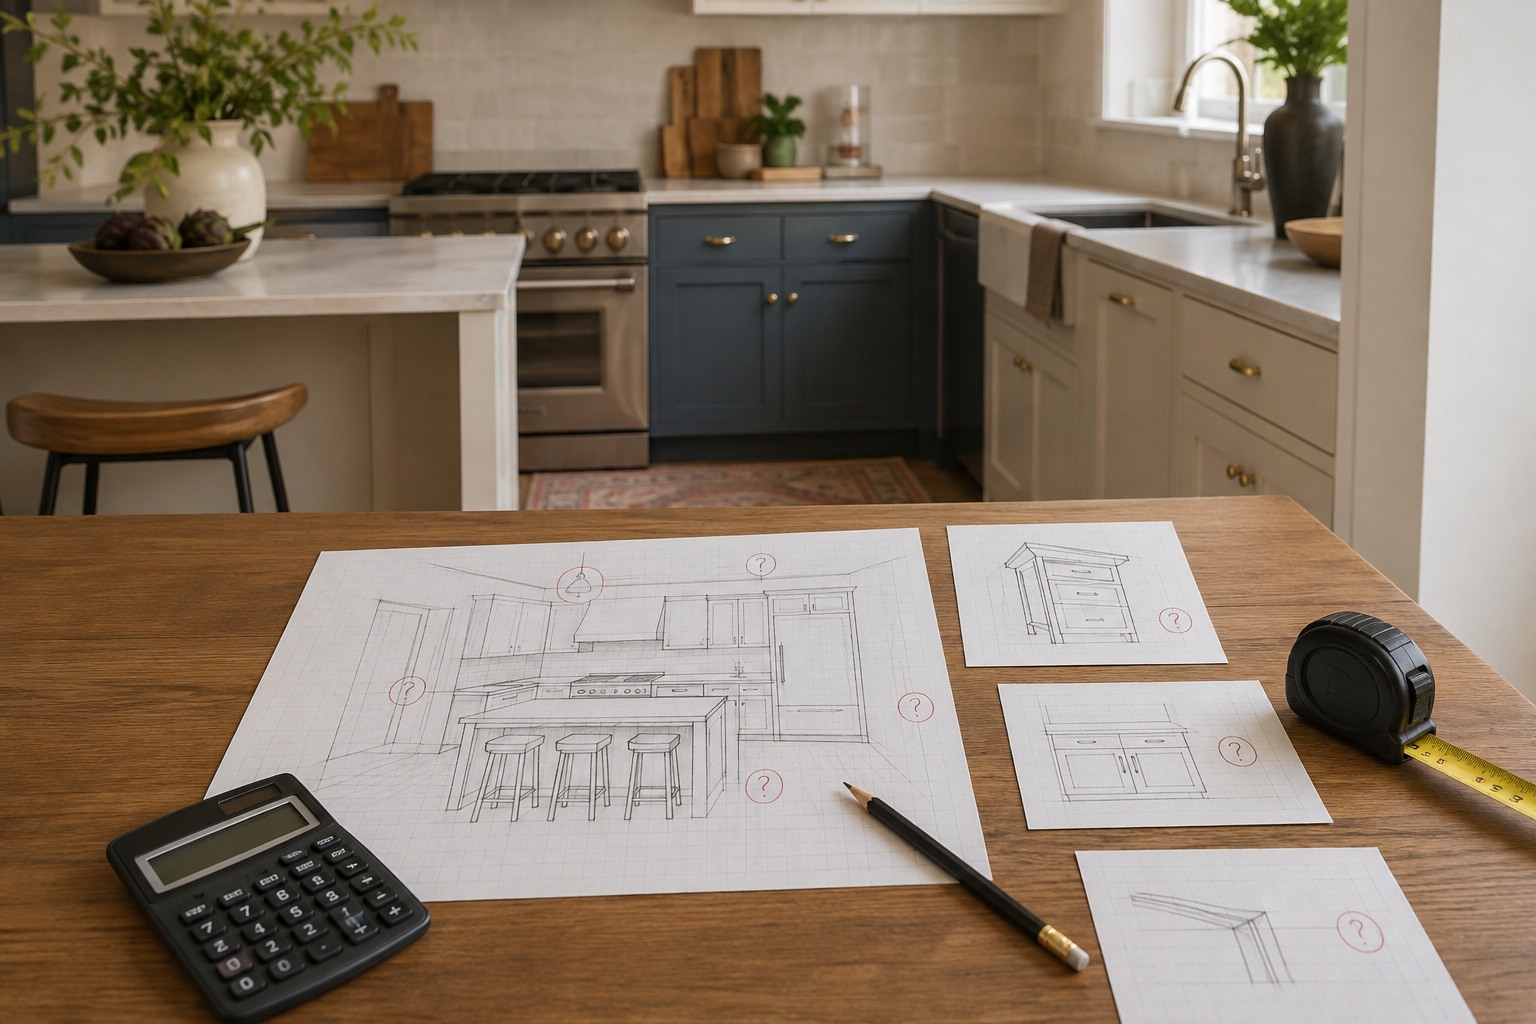
Stand in the room and read the sketch back to yourself. Confirm that every wall has an overall length, every opening has a location, and every fixed feature appears in both the notes and at least one photo. Put a question mark beside anything you could not reach. The easy mistake is cleaning up the drawing later and accidentally turning an estimate into a fact. Keep approximations obvious. A messy honest note gives a designer or installer something useful to investigate; a neat invented number creates false confidence.
10. Enter the room, then verify before ordering
Transfer the measurements into your planning tool and see whether the digital perimeter closes cleanly. If it does not, return to the room and check the specific wall instead of forcing the model to fit. This is where your careful notes begin paying you back: you can test cabinet arrangements, spot missing dimensions, and compare ideas without pretending the first pass is final. Before cabinets are ordered or construction begins, have the completed room measurements, site conditions, product specifications, and installation requirements verified by the responsible installer or qualified project professional.
Your first useful room plan can start today
Bring the sketch and dimensions you collected into StilePath, build the room, and let the unanswered questions guide your next measuring pass.
Start Your Kitchen Plan Free