
Measure the room you actually have
A useful cabinet plan begins with a simple room sketch and reliable dimensions. You do not need to be a carpenter or produce a polished drawing. If you can use a tape measure and make clear notes, you can collect enough information to start testing ideas. The goal is an honest picture of the room, including anything you are not yet sure about.
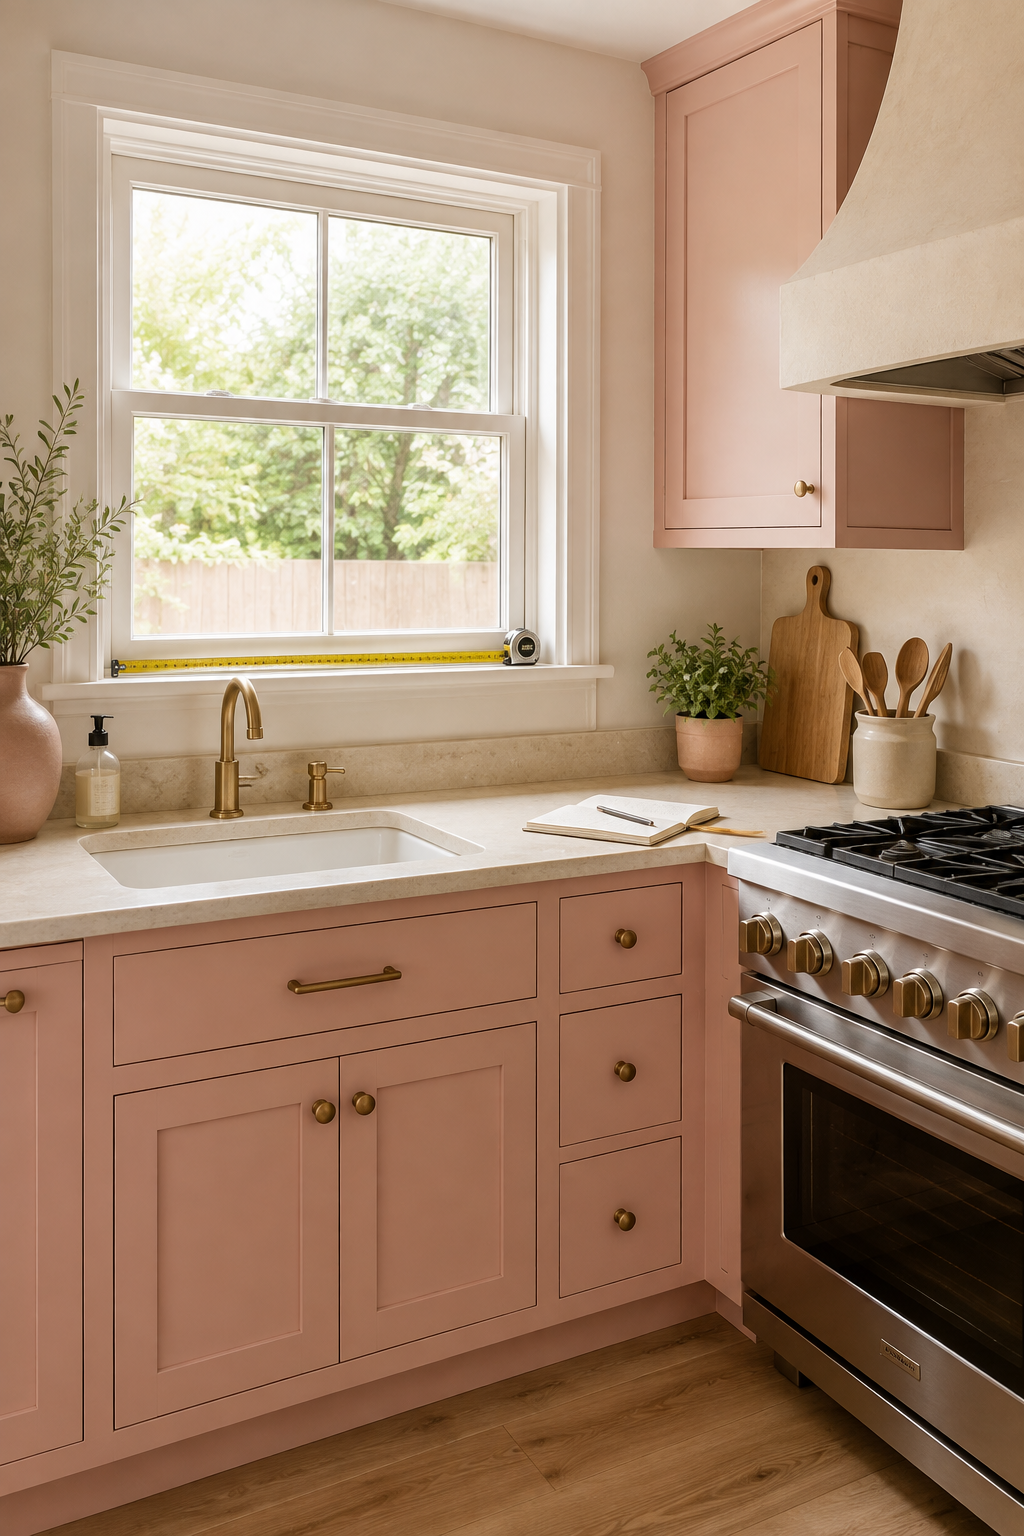
Gather
Get a tape measure, pencil, paper, straightedge, and your phone or camera. That is enough to begin. A common mistake is trying to make the sketch look perfect before taking any measurements; draw it loosely first, leave room for notes, and improve it as you work around the room.
Sketch
Draw the basic room shape as if you were looking down from above. Start at the main doorway, label each wall, and move around the room in one direction so nothing gets skipped. Mark doors, windows, appliances, plumbing, vents, soffits, columns, and other obstacles. It does not have to be to scale; it only has to stay understandable.
Verify
Measure critical dimensions twice and write both numbers down if they differ. One of the most common mistakes is assuming opposite walls match or that an older room is perfectly square. Existing rooms are not always level, plumb, or square, so flag anything that varies instead of quietly rounding it away. An honest question mark is more useful than a confident guess.
Room and openings
Record every wall from corner to corner, then check that smaller measurements along the wall add back up to the overall dimension. Check ceiling height in more than one location. For each door and window, note its width, height, distance from the nearest corner, trim, and swing direction. People often measure only the opening and forget the casing or the space needed for a door to move; include both so the plan reflects what cabinets will actually meet.
Appliances and services
Record appliance width, depth, and height, plus the model number or current specification when available. Measure how far handles and doors project when open, not only the closed appliance box. Mark water, drain, gas, electrical, ventilation, and any service that would be costly to move. A common mistake is treating utilities as movable dots; for early planning, assume they matter until the responsible trade confirms otherwise.
Use photos as a memory aid
Photograph each wall straight on, then take wide views from several corners and close views of any condition that may affect cabinets. Include a photo of your sketch before you put everything away. Photos are excellent memory aids, but perspective can distort distance, so do not use them as a substitute for dimensions. The easiest mistake to avoid is trusting that you will remember an odd corner later.
Take the room one layer at a time
Use the full ten-step walkthrough when you want a measuring companion beside you from the first blank sketch through the final verification pass.
Follow the 10 Measuring StepsMeasure doors and windows
Record casing, corner offsets, sills, hardware, and door swings so an opening does not become a hidden cabinet conflict.
Check Every OpeningRecord appliance details
Move beyond basic width and height to doors, handles, services, ventilation, and the countertop appliances your household uses.
Build the Appliance RecordEnter your measurements in StilePath
Enter what you measured and begin shaping the room. You can correct a number, compare another layout, or return for one missing dimension as the plan develops; the first pass does not have to answer everything. These measurements are for useful early planning. Before cabinets are ordered or construction begins, have the final room and site conditions verified by the responsible installer or qualified project professional.
Start Your Room