
Plan the cooktop as a countertop, cabinet, utility, and ventilation assembly
A cooktop can create a beautifully continuous cabinet run, but its clean surface hides a dense group of decisions. The appliance body drops below the counter, a precise cutout interrupts the slab, drawers or doors compete for space underneath, utilities need approved routes, and the hood and surrounding materials must work with the exact cooking equipment. You can organize the first plan with the product document, tape measure, pencil, paper, and a sketch in plan and section. These ten checks help you ask better questions before fabrication. Final countertop engineering, cabinetry, structural work, fuel or electrical service, ventilation, fire and material clearances, installation, and code compliance require the current manufacturers and responsible fabricator, suppliers, licensed trades, installer, contractor, designer, engineer where required, and authority.

1. Begin with the exact current cooktop
Gather the model-specific installation document and record the overall surface, cutout, body below, controls, edge profile, mounting parts, ventilation, supports, weight, utility type and location, approved surrounding conditions, and service access. Gas, radiant electric, and induction products can create very different cabinet and utility needs even at a similar nominal width. A common mistake is selecting the final model after the cabinet and stone are released. Another is using a retailer's summary where the current manufacturer drawing is needed. Keep the private model and revision record with the plan, and ask the appliance provider, fabricator, cabinet supplier, trades, and installer to confirm the same exact product.
2. Give the countertop fabricator the real cutout condition
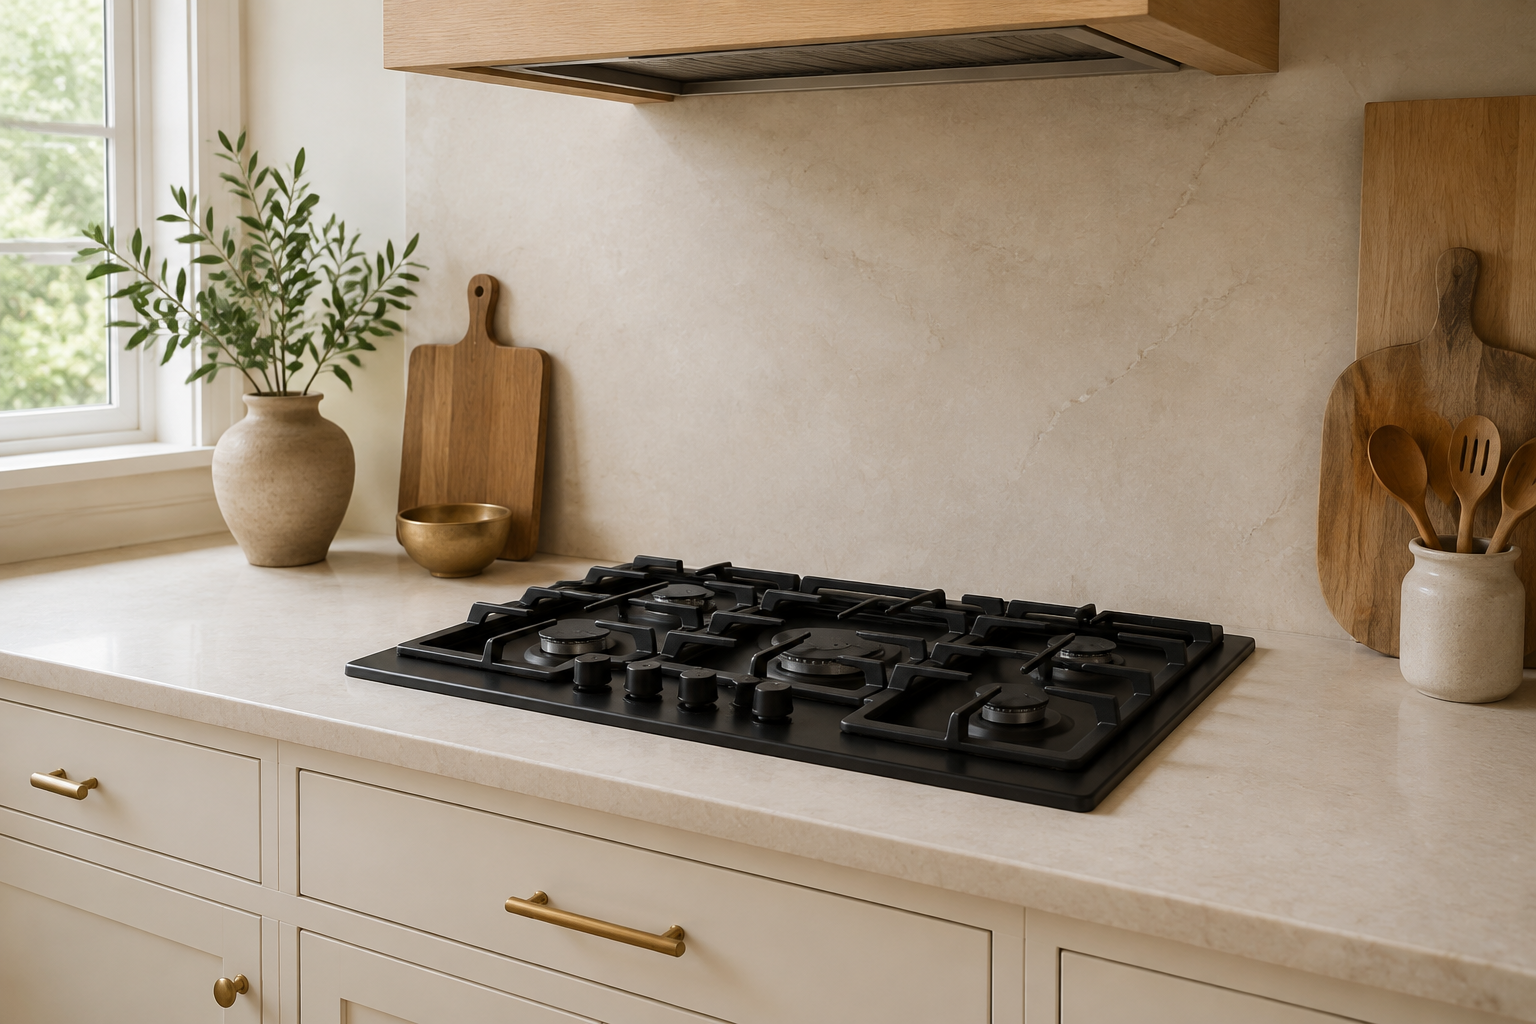
Draw the manufacturer cutout within the actual slab, including the front and back strips, side seams, cabinet walls, backsplash or raised edge, mounting clips, support, and any limits of the selected countertop material. The common mistake is passing along only width and depth while the fabricator must resolve corner treatment, minimum material, reinforcement, seams, polish, and field templating. Another is moving the cooktop after the counter is templated. Countertop suitability and engineering belong to the responsible fabricator and professionals, not a generic blog dimension. Give them the appliance document and cabinet drawing together, identify the final orientation, and obtain approval before irreversible cutting begins.
3. Draw the appliance body inside the cabinet below
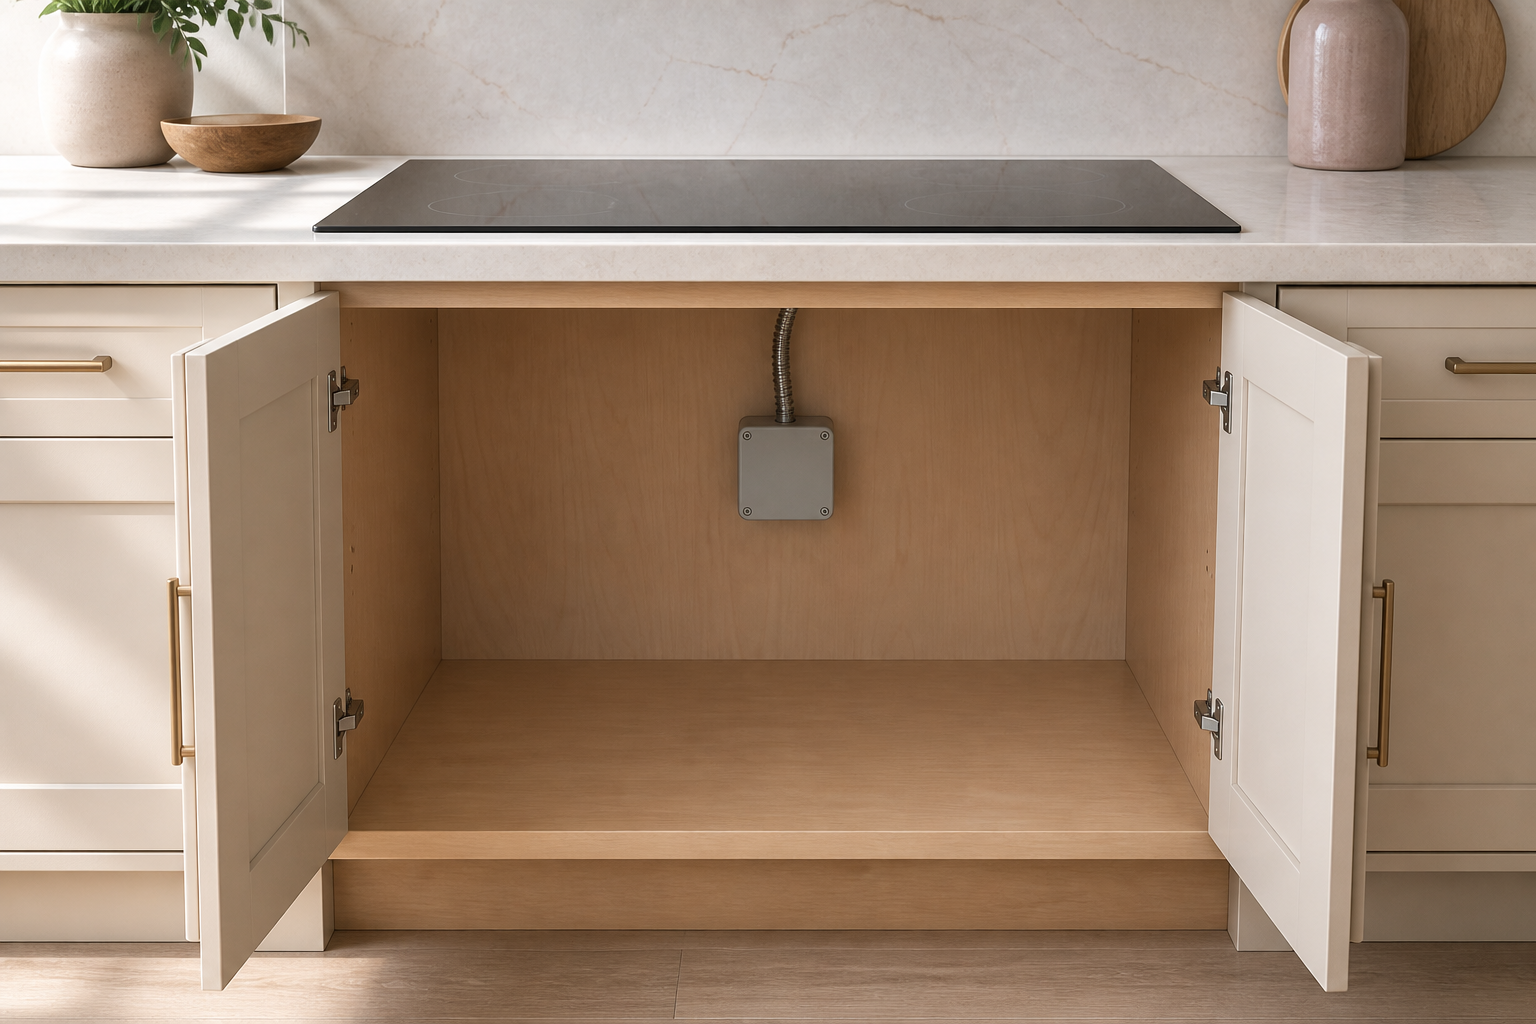
A front elevation can make the cooktop look almost weightless. The section reveals the body, fasteners, ventilation, protection, utility zone, countertop thickness, cabinet rails, drawer boxes, hardware, stored objects, and any approved separation beneath it. A common mistake is promising a full-depth top drawer before showing what occupies that space. Another is letting a utensil or tall pot contact a protected appliance area. Start with the product requirements, then let the cabinet supplier design usable drawers or doors around them. Do not invent heat shields or dividers in the field. Confirm all construction, clearance, and storage conditions with the manufacturer, supplier, installer, and responsible professionals.
4. Reserve utilities and service space without improvising
Show the approved power or fuel connection zone, shutoff and access where applicable, cabinet penetrations, protected routing, and how the appliance can be disconnected and lifted for service. A common mistake is placing a connection directly where the cooktop body, drawer, or mounting clip needs to sit. Another is hiding service behind a permanent panel to keep the cabinet interior pretty. Do not size, relocate, or connect electrical or fuel systems from this article. The appliance provider, licensed electrician or fuel professional, cabinet supplier, installer, contractor, and authority must determine the real requirements. Your plan should reserve the question, preserve access, and keep storage expectations honest.
5. Center the hood on the cooking surface—not the cabinet run

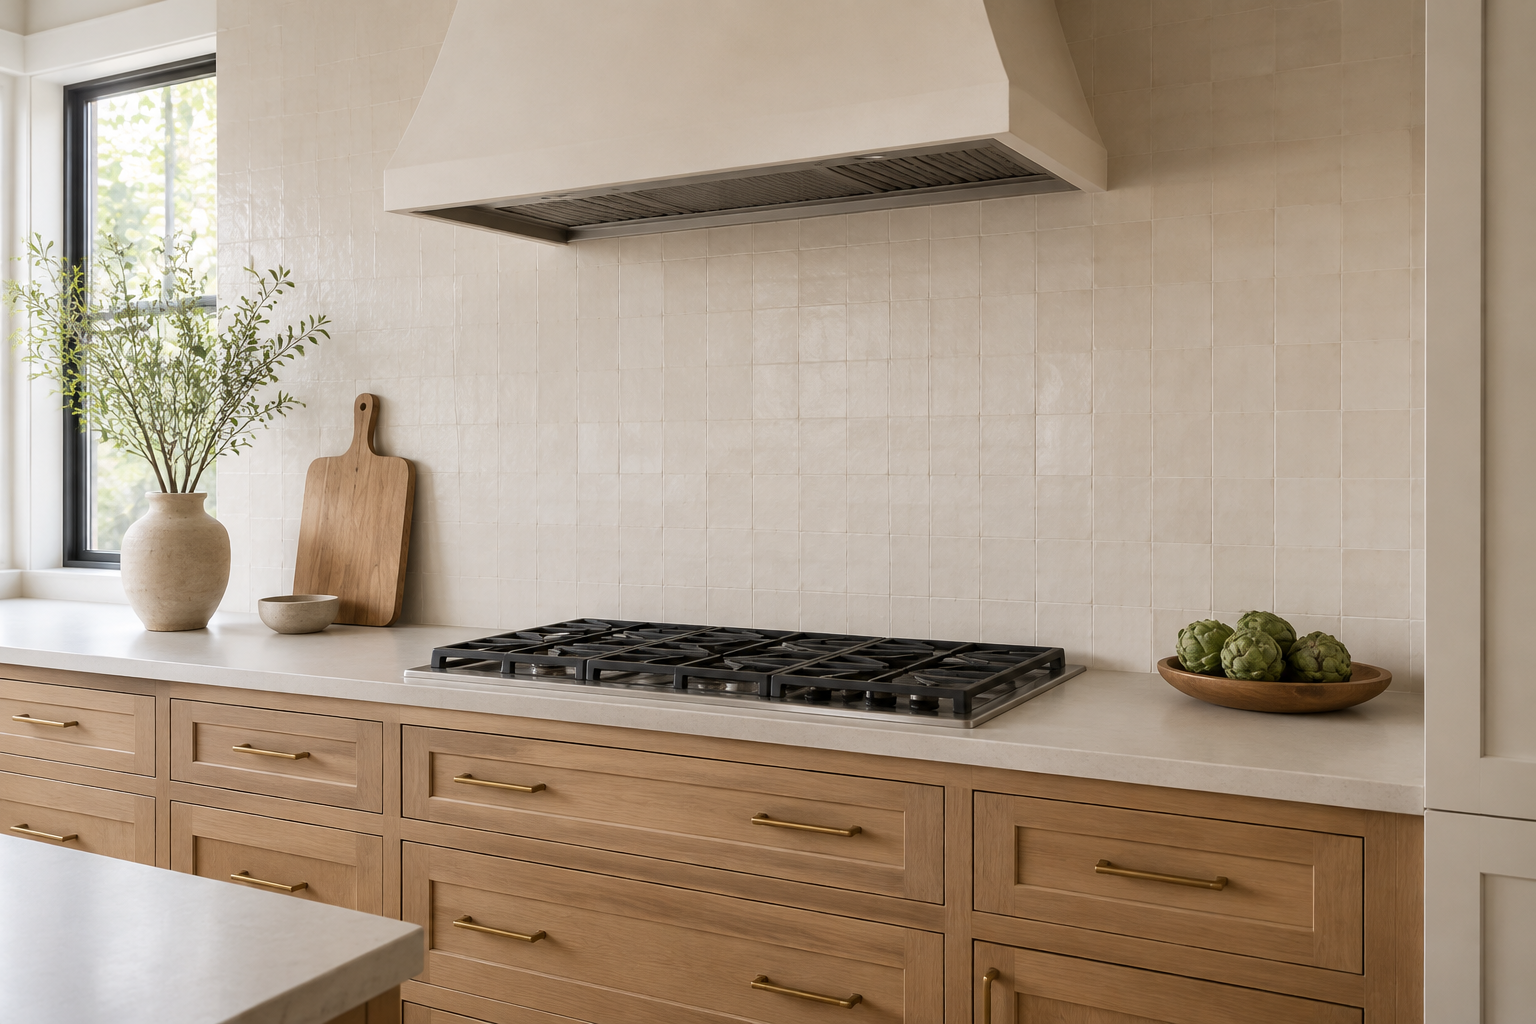
Coordinate the exact cooktop with the complete hood system: capture relationship, width and depth, mounting position, approved separation, blower or insert, duct, exterior termination, controls, replacement air where required, power, lighting, and service. The common mistake is centering a decorative hood on a wall while the cooktop shifts with cabinet arithmetic. Another is selecting ventilation after the ceiling and upper cabinets are fixed. Performance cannot be judged from appearance alone, and bigger is not automatically the complete answer. Have the manufacturers and responsible designer, ventilation professional, trades, installer, contractor, and authority verify the cooking and exhaust system together for the actual home.
6. Resolve backsplash, cabinets, and nearby materials
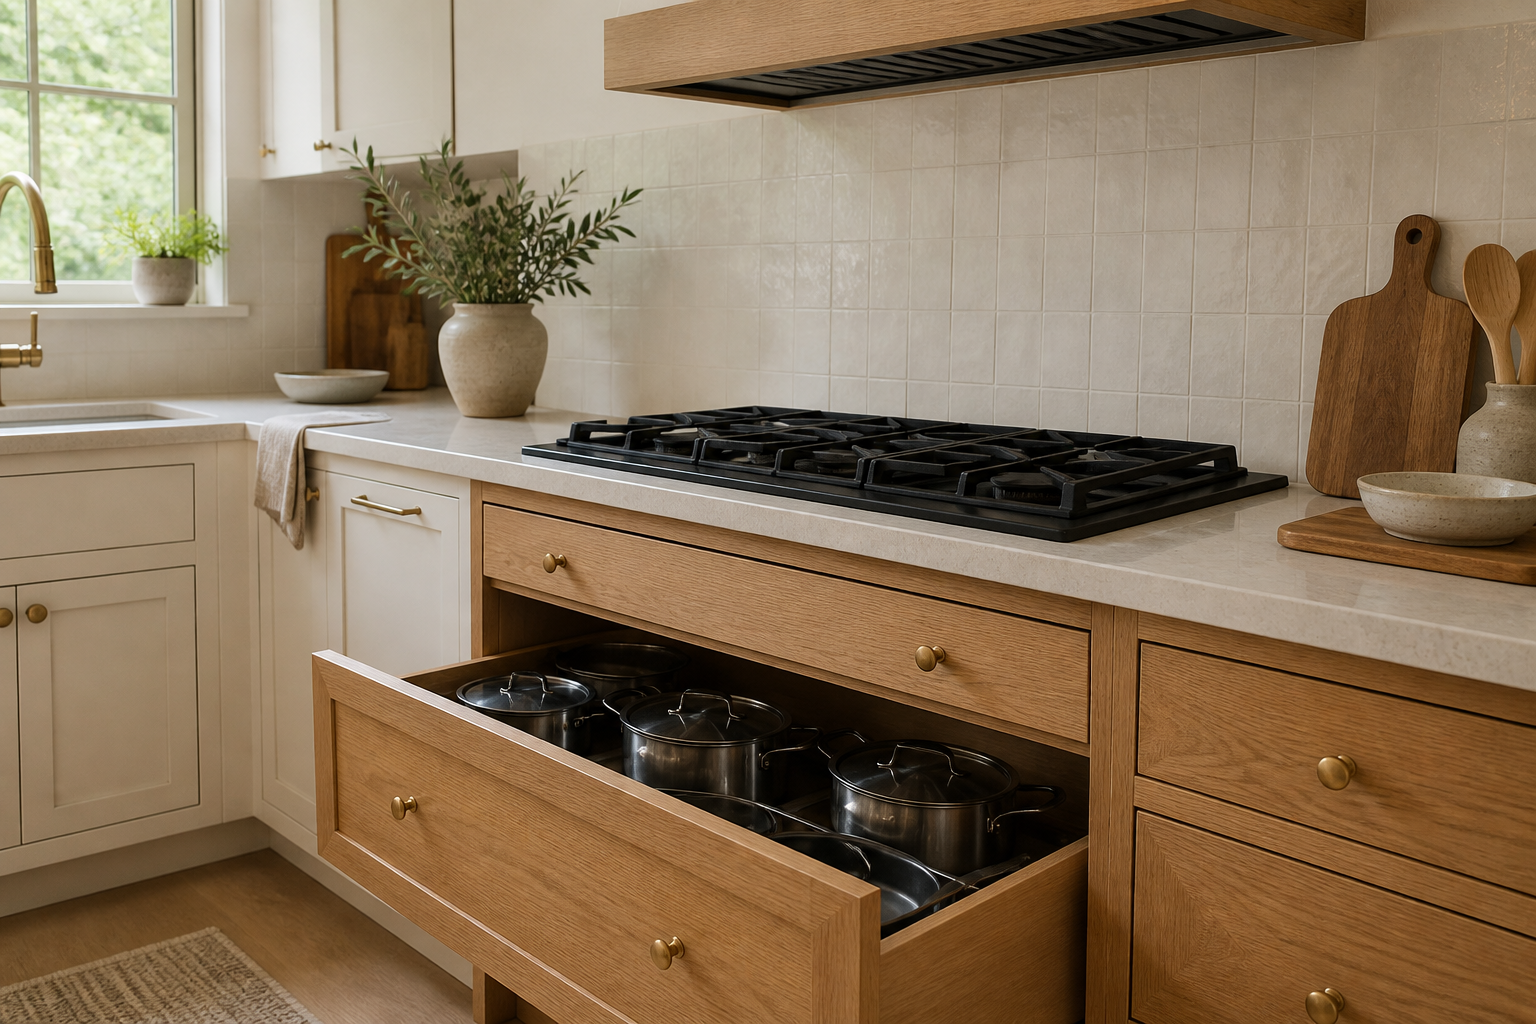
Map upper cabinets, shelves, hood edges, fillers, side walls, backsplash, grout, trim, counter seams, outlets, wood details, and every other nearby material against the exact appliance and hood requirements. A common mistake is finalizing a beautiful shelf or backsplash ledge before checking whether it projects into a restricted or difficult-to-clean area. Another is copying clearances from an inspiration photograph whose equipment and rules are unknown. Draw every edge in plan and elevation, including material thickness. Let the current appliance, ventilation, finish, cabinet, and code requirements establish the safe assembly, then refine proportions and transitions without erasing the technical space.
7. Test controls, front hardware, and the path of a pan
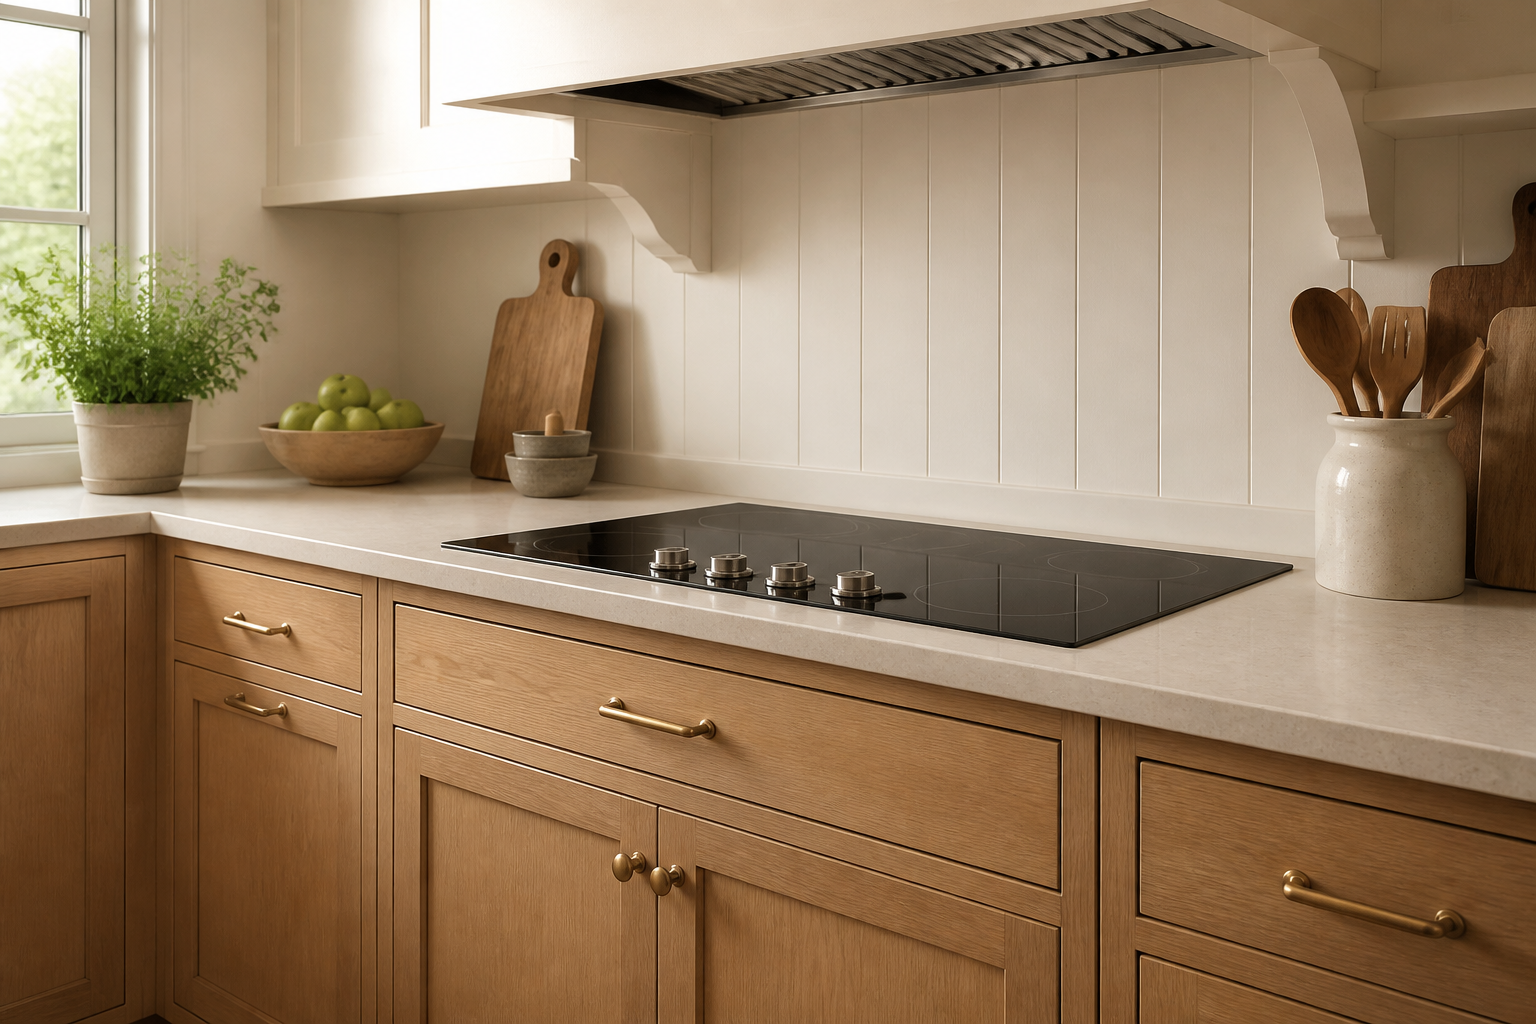
Stand at the proposed cooktop and rehearse reaching the controls, lifting a heavy pan, turning toward a landing surface, opening the useful drawer, and stepping away. Front knobs, touch controls, cabinet pulls, drawer projection, counter edge, and nearby handles all shape the motion. A common mistake is aligning hardware from the elevation without noticing that a long pull sits where knees or a pan handle travels. Another is choosing controls that are hard for the intended user to see or reach comfortably. Use empty cookware for the mockup, keep safety central, and discuss accessibility or child considerations with the responsible product and design professionals.
8. Treat an island cooktop as a whole-room choice

An island cooktop affects ventilation and duct routing, prep and landing space, aisle width, seating, guests, children, pan handles, utilities through the floor, lighting, ceiling structure, views, and cleanup. The common mistake is moving cooking to the island for visual drama without rehearsing smoke, splatter, hot pans, and people passing behind the cook. Another is placing stools directly across from active burners because the overhang fits. Mark the appliance, hood, seating, standing cook, open drawers, and busiest routes together. Preserve useful counter on both sides and keep social seating deliberately separated, subject to product, professional, and applicable safety requirements.
9. Plan cleaning and future removal before sealing the edges

Ask how grates, caps, knobs, filters where present, seals, edges, spills, and the counter around the appliance are cleaned. Then ask how fasteners, clips, connections, and the cooktop itself remain accessible for approved service or replacement. A common mistake is creating a tight decorative joint that traps debris or prevents removal. Another is assuming the future replacement will have the identical body and cutout. Follow the exact cleaning and installation instructions; do not pry, seal, or disassemble an appliance based on generic advice. Record removable parts and service access on the detail, and let the responsible providers decide the approved finished joint and future procedure.
10. Release one coordinated approval set
Combine the current cooktop document, counter cutout and material approval, cabinet plan and section, storage below, utility plan, hood and duct design, surrounding-material details, controls, landing, aisle, delivery, and service notes. Mark who supplies, templates, cuts, supports, connects, installs, seals, tests, and warranties each component. The final common mistake is releasing the stone, cabinets, appliance, and ventilation as separate purchases while their shared conditions remain assumptions. You do not need to become the fabricator or electrician to lead a useful review. Put the latest documents on one table, ask each responsible party to confirm their interface, and record every change before the irreversible work begins.
Connect the cooktop to ventilation and cabinet planning
A cooktop succeeds when the appliance, cutout, cabinet, utilities, hood, landing, materials, and traffic describe the same assembly. These guides help coordinate the decisions around it.
Plan the Range Hood Check Cabinet Dimensions Measure Your KitchenPlace the cooktop in the complete room before anyone cuts
Use StilePath to place the cooktop, hood, cabinets, counters, island, and household routes in 2D and 3D. Bring exact product information and a clearly labeled assumption list into cabinet, countertop, trade, installation, and professional review.
Start Planning Free