
A range hood is an appliance, an air path, and part of the cabinet elevation
The visible hood is only the finished face of a larger coordination problem: the cooking appliance, blower or insert, capture area, mounting, duct, exterior termination, replacement air where required, power, lighting, surrounding cabinets, backsplash, ceiling, cleaning, and service. You can begin with the exact product information, a tape measure, and a drawing of the cooking wall. These ten checks will help you organize the conversation before cabinet widths and ceiling work are fixed. Final equipment selection, capacity, clearances, duct design, fire and electrical safety, ventilation, make-up air, installation, and code compliance require the current manufacturers and the responsible designer, mechanical professional, trades, supplier, installer, contractor, and authority.

1. Pair the exact hood system with the exact cooking appliance
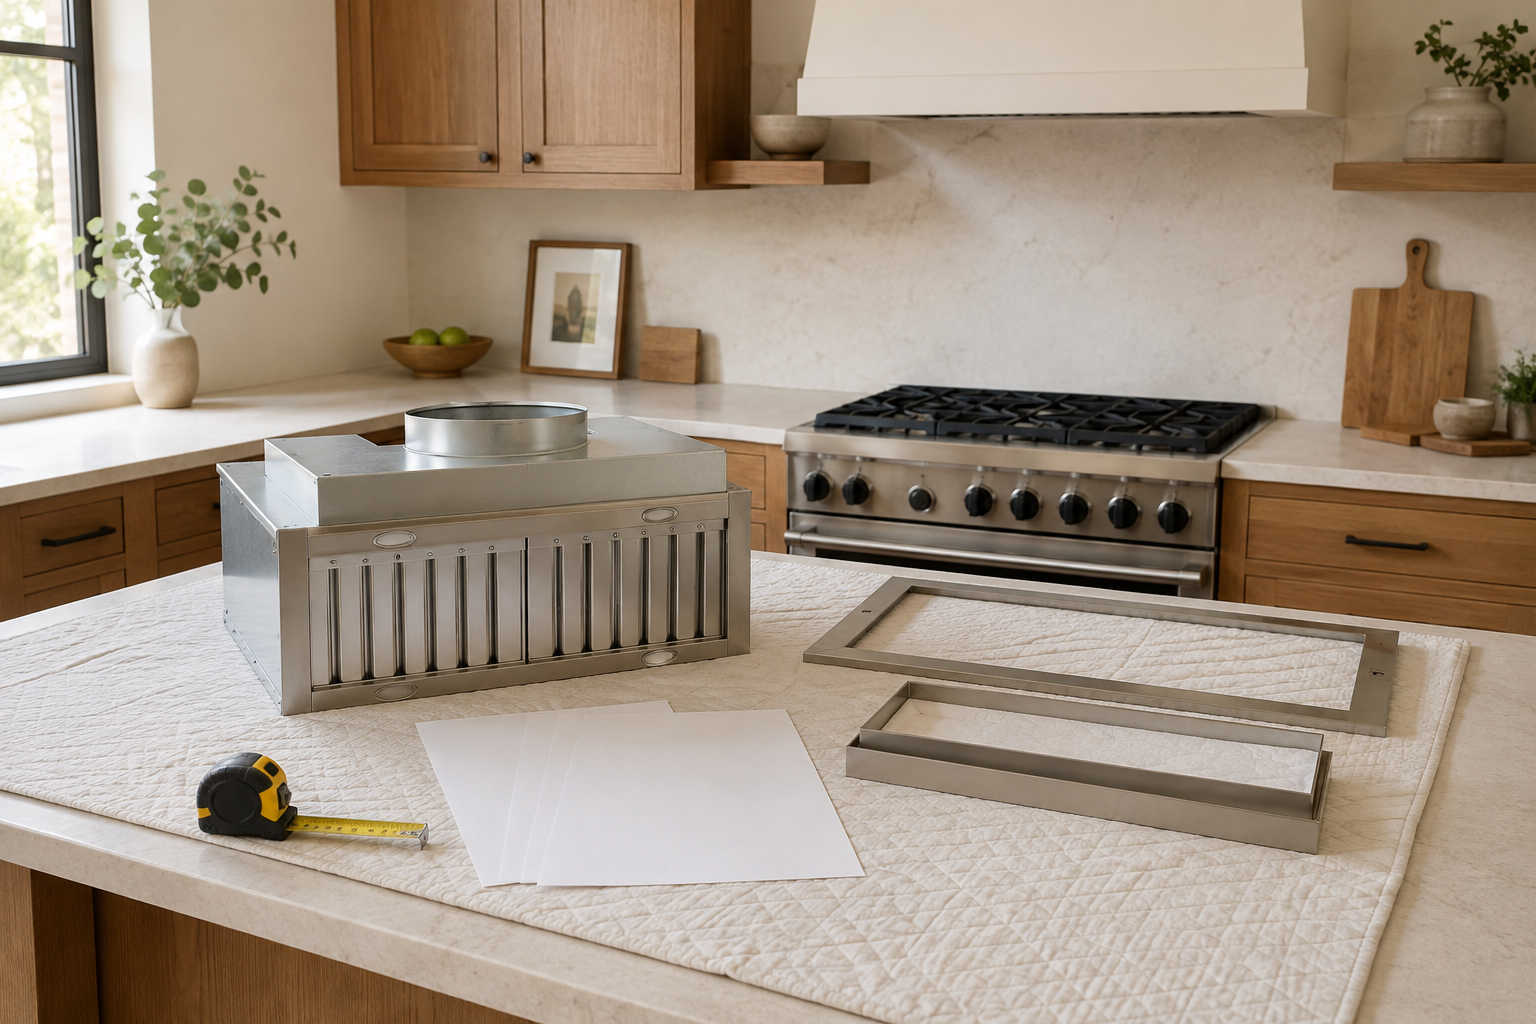
Collect the current specifications for the range or cooktop and every hood-system component: insert or hood body, blower location, filters, controls, lights, transitions, dampers, duct connections, accessories, and required mounting parts. A common mistake is choosing a decorative hood photograph first and assuming any insert can fit inside it. Another is changing the cooking appliance after ventilation has been sized and framed. Keep model numbers and revision dates together even though they do not appear on the public article. Ask the appliance and ventilation providers to confirm the combination, and do not let a cabinet elevation substitute for the approved equipment and installation documents.
2. Give the cooking surface a useful capture relationship
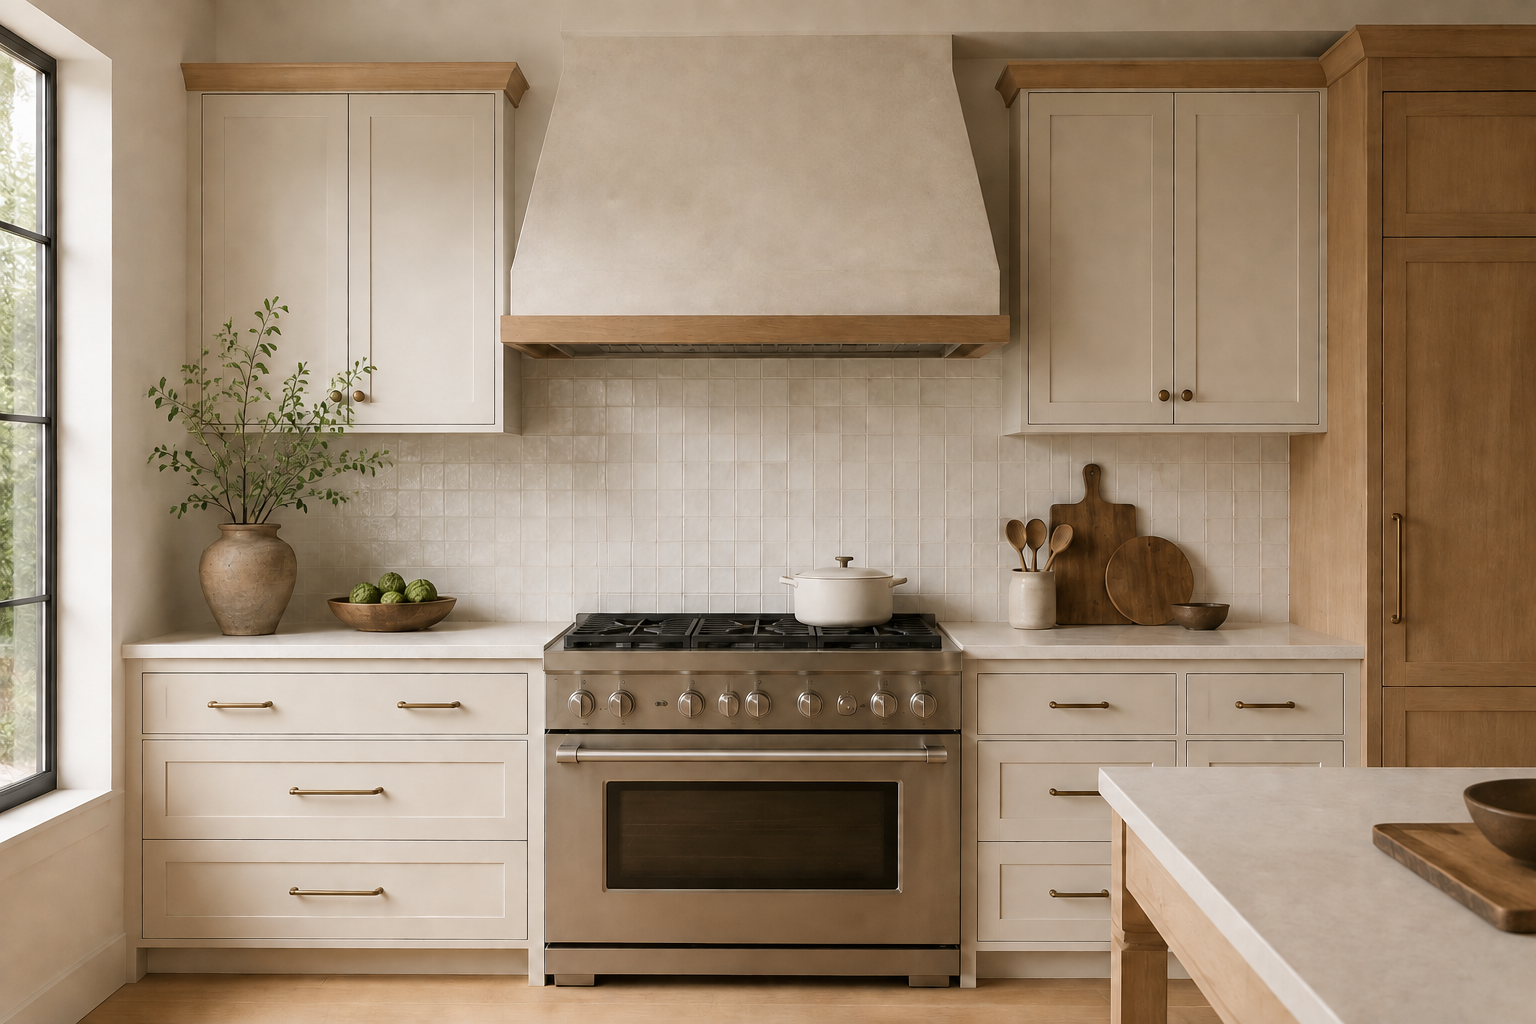
Width, depth, mounting position, blower performance, surrounding air movement, and cooking habits all influence how a hood captures heat, moisture, grease, and by-products. A hood that merely appears centered may not have the relationship the selected system requires. The familiar mistake is narrowing or shortening the hood to protect cabinet storage or sightlines without asking what that does to capture. The opposite mistake is treating bigger as automatically better without coordinating air, sound, and replacement-air consequences. Draw the cooking surface and hood together in plan and elevation, then have the responsible professionals and manufacturers verify the complete performance approach for the real project.
3. Design the insert and decorative shell as one assembly
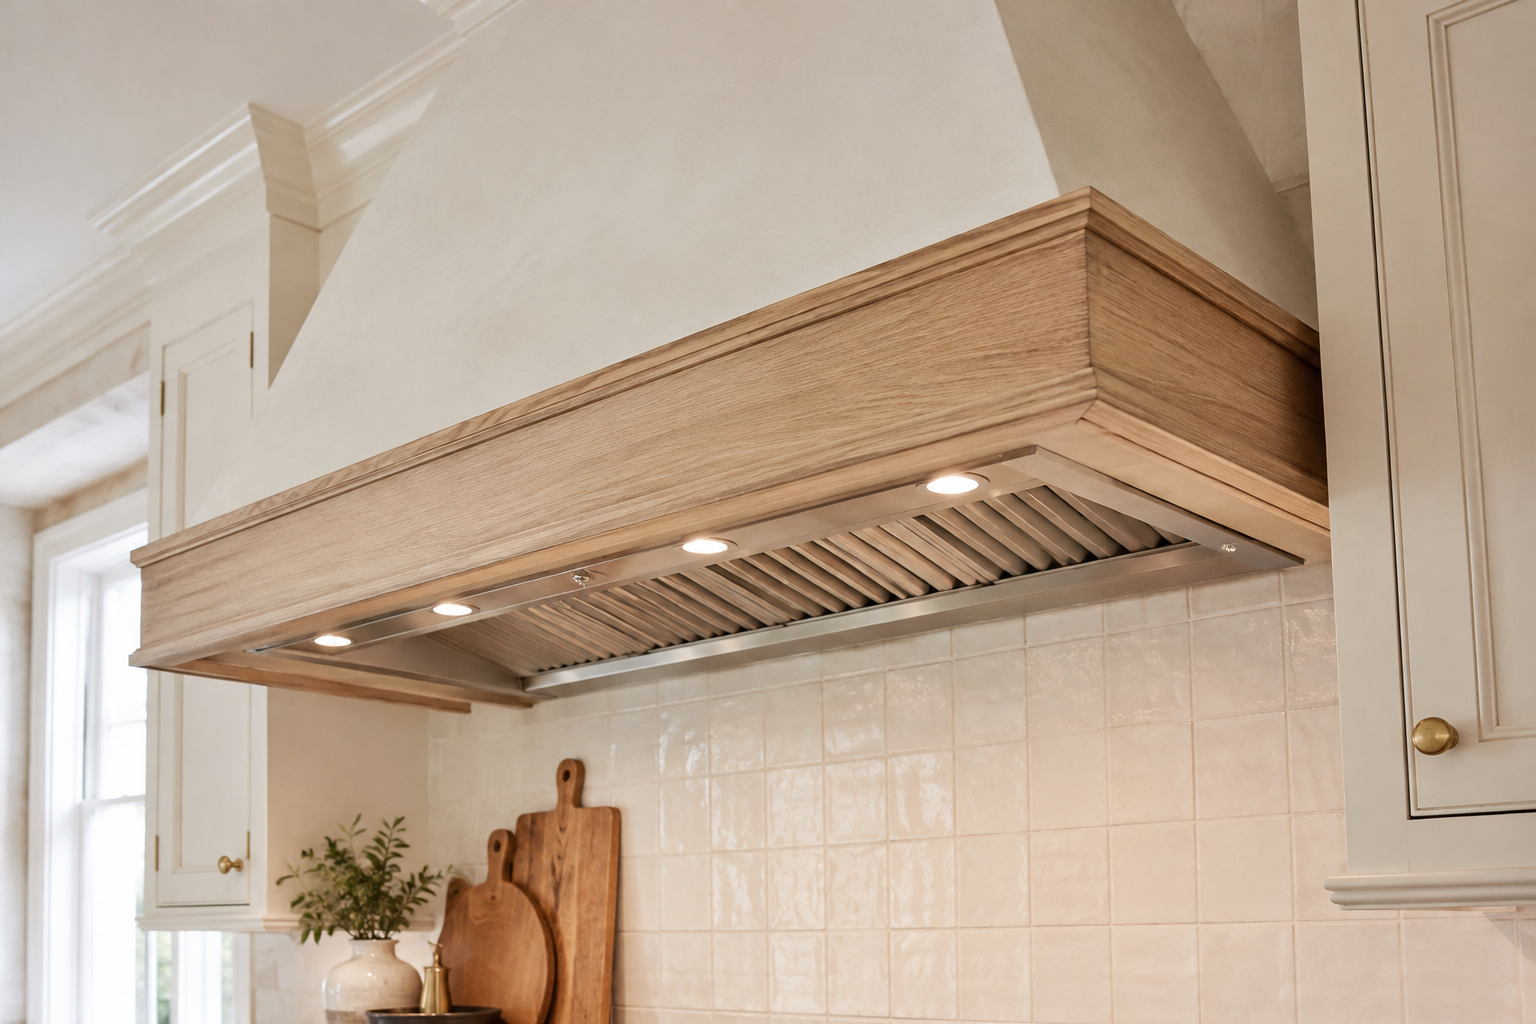
A plaster, wood, metal, or cabinet-style shell must contain the approved insert, support, connection, access, and material clearances without blocking filters, lights, controls, or service panels. The common mistake is asking the cabinet shop to make an attractive empty shape while the ventilation unit is still undecided. Another is drawing a liner as a flat rectangle even though its body, duct collar, wiring area, blower, and fasteners need depth above it. Obtain the insert drawing first, build a section through the entire assembly, and identify who supplies, mounts, finishes, connects, and warranties each part before the shell is fabricated.
4. Trace a real duct route before the ceiling closes
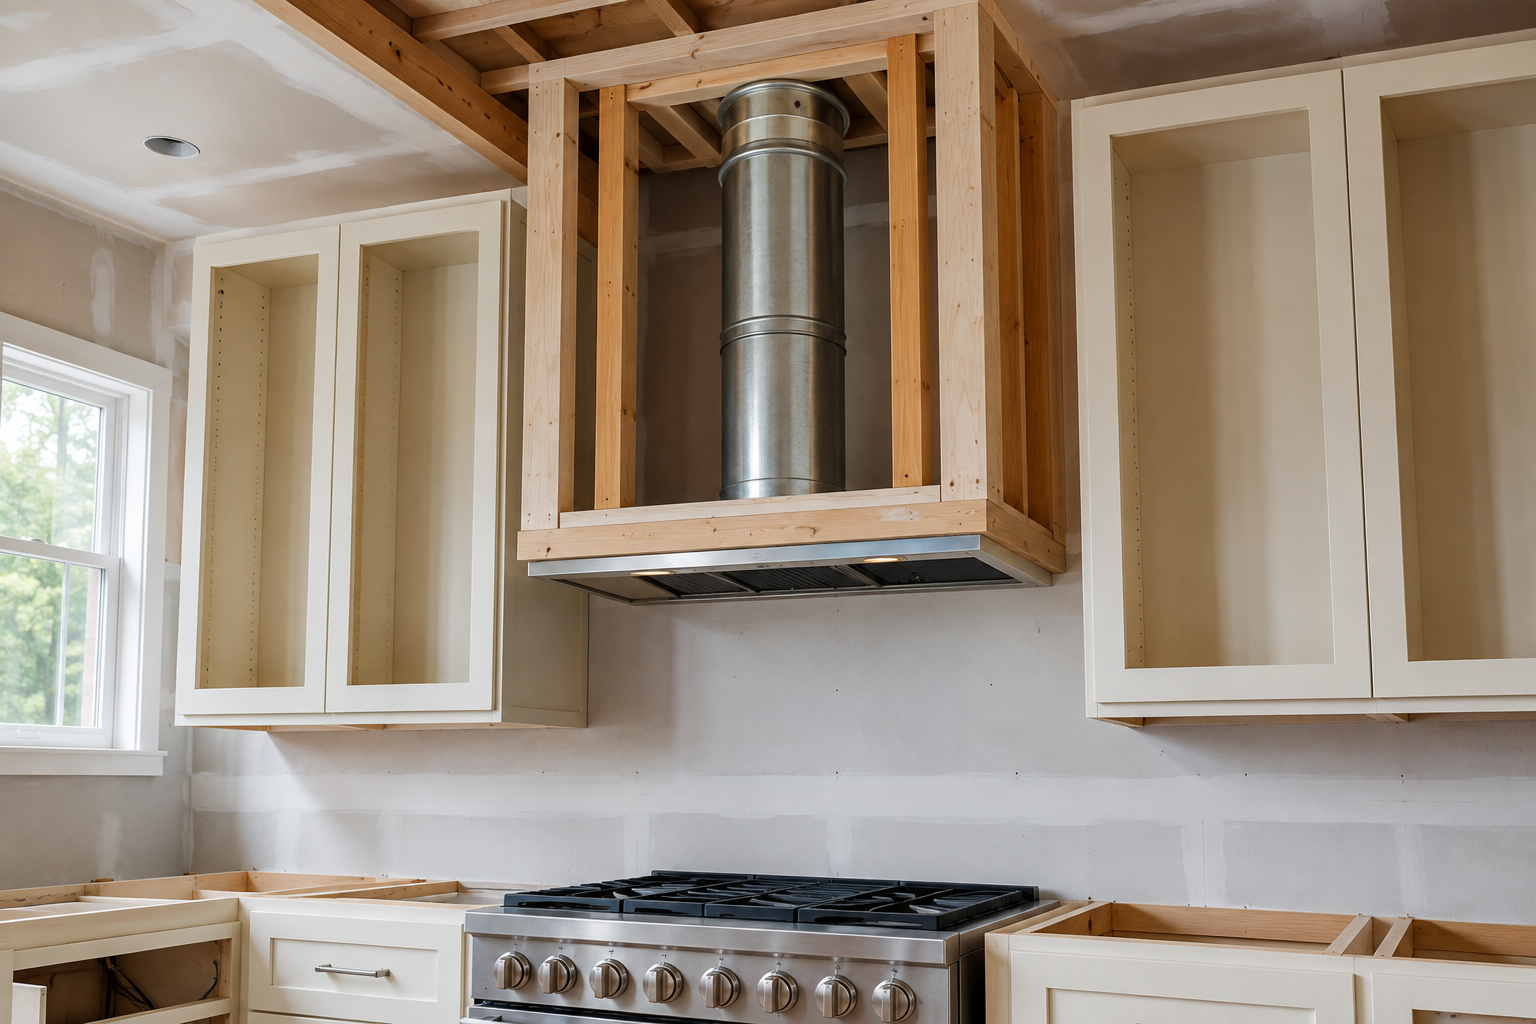
Draw the duct from the hood connection to the approved exterior termination, including direction changes, transitions, framing, joists, beams, upper cabinets, ceiling depth, roof or wall conditions, and access for assembly. A common mistake is using a dotted arrow through the ceiling while structure and other services remain invisible. Another is assuming flexible routing can solve conflicts later. Duct type, size, length, turns, support, joints, insulation, fire separation, and termination details are technical decisions, not decorating choices. Have the mechanical professional or responsible contractor verify the route in the field before cabinetry, framing, and finishes make the preferred path unavailable.
5. Coordinate the exterior termination and replacement air
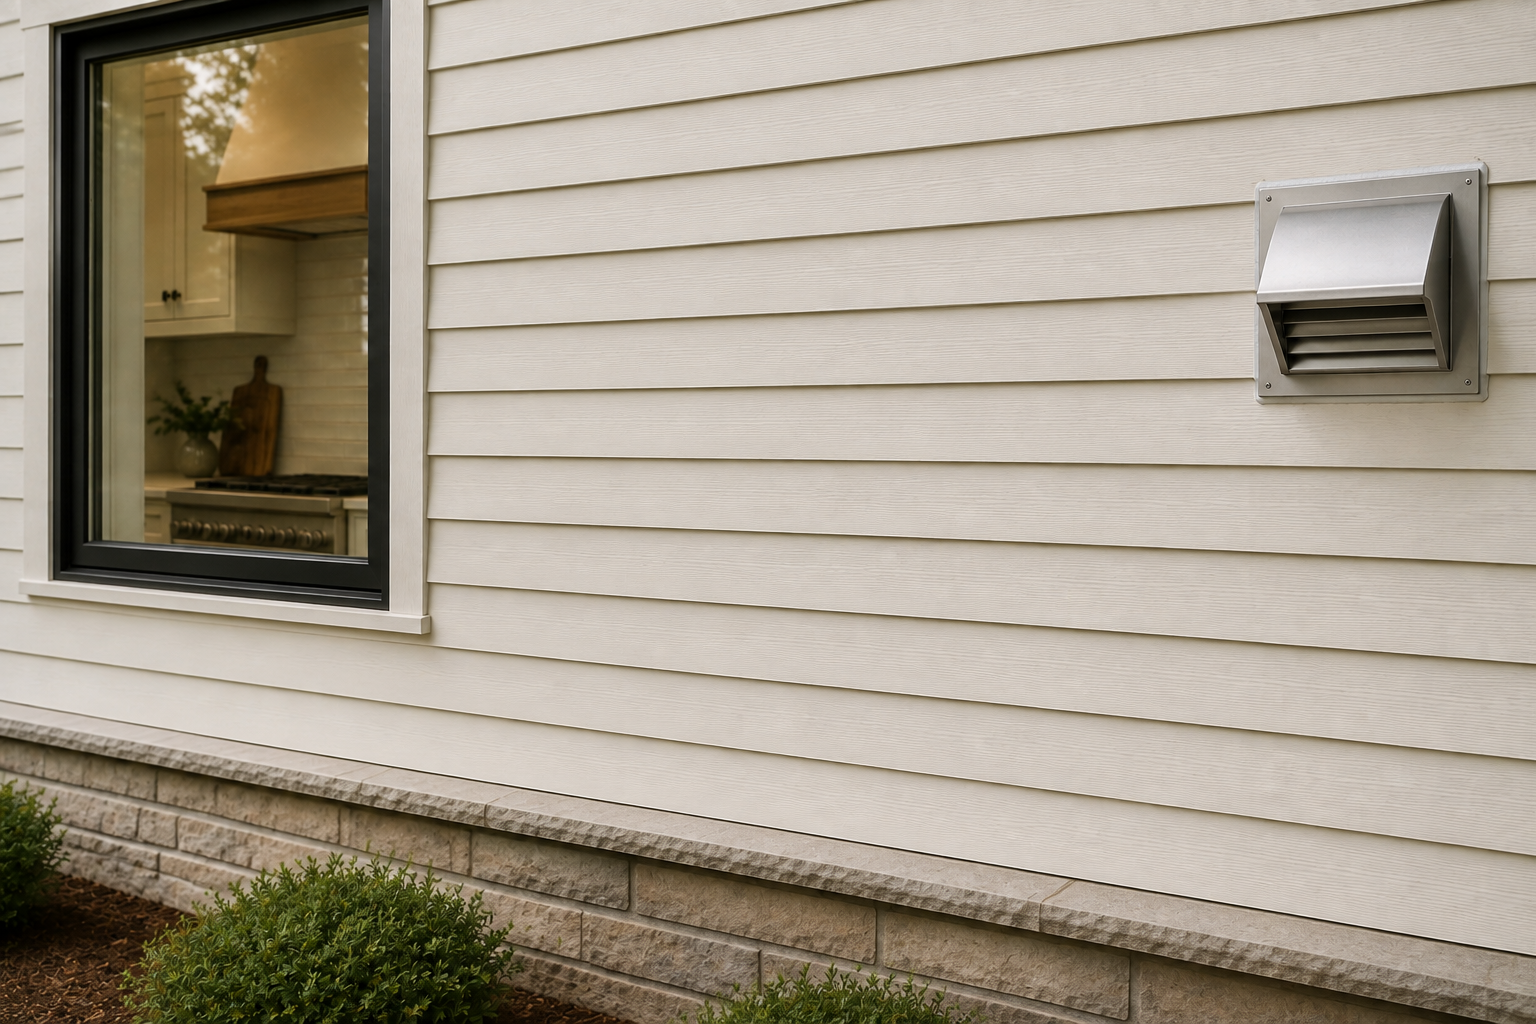
The exhaust must end at an approved exterior location that works with openings, property conditions, weather, roof or wall assemblies, and applicable separation requirements. A powerful exhaust system can also affect pressure, combustion equipment, comfort, and the amount of replacement air a building needs. The common mistake is selecting fan capacity and an exterior wall cap as isolated products after the house systems are already set. Do not improvise these answers from a generic article. Show the proposed termination and air strategy on the project documents, then have the responsible mechanical, building, and code professionals verify them for the actual home and equipment.
6. Set mounting height with performance and sightlines together
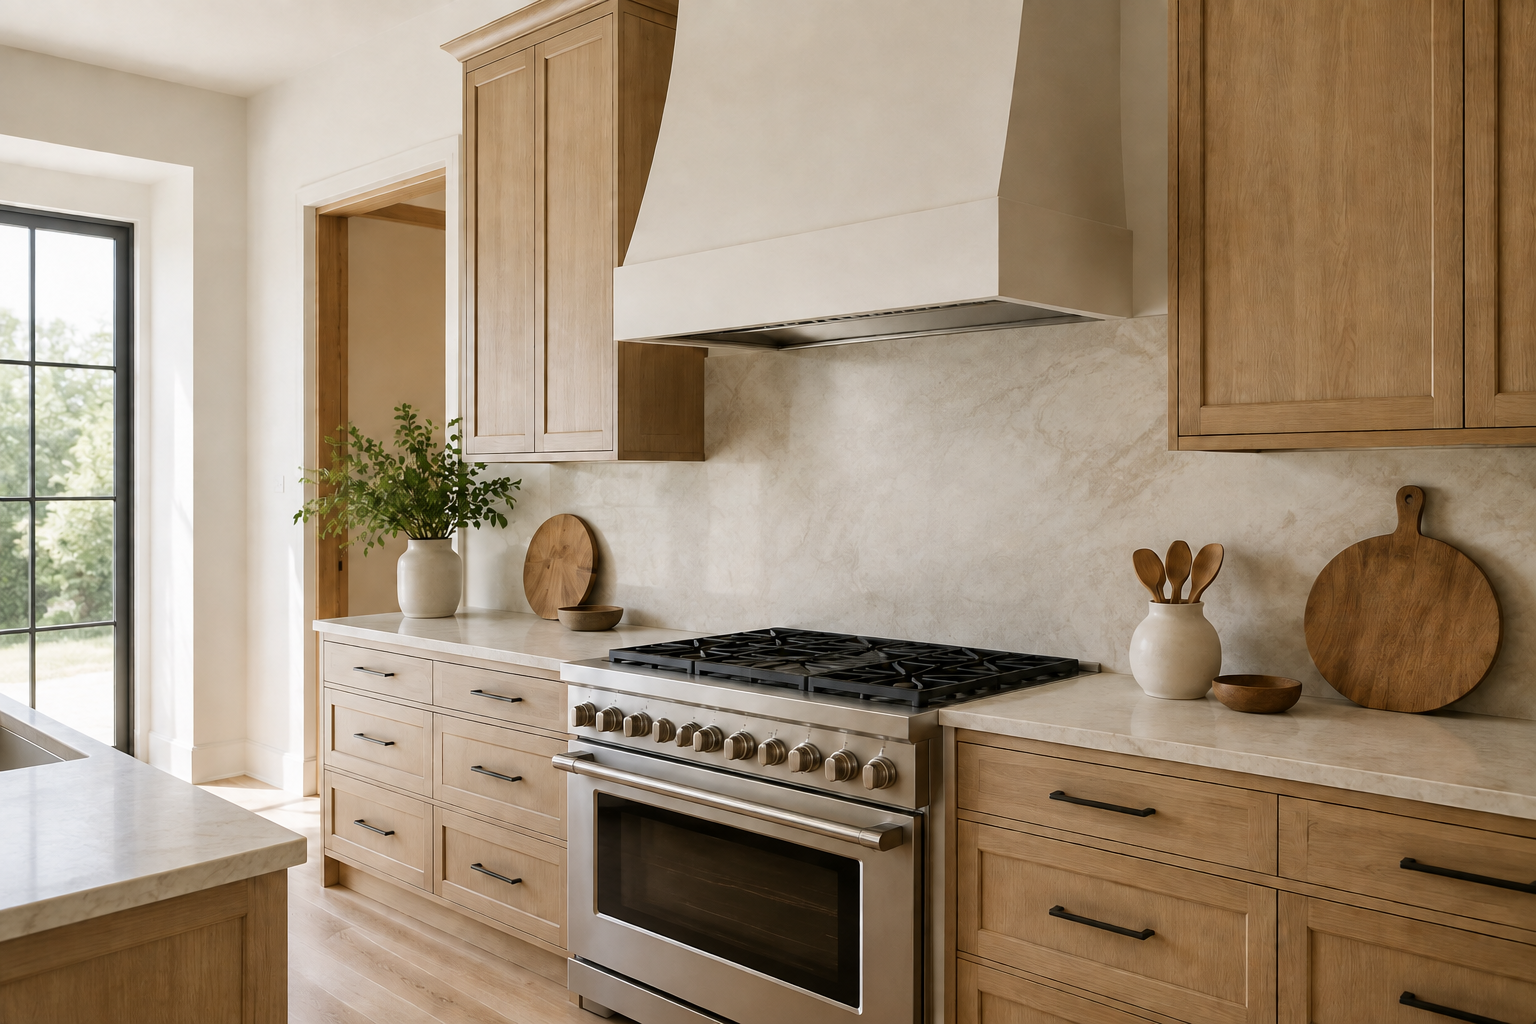
Mounting height affects the approved installation, capture, head and hand clearance, access to controls, proportions of the cooking wall, and the space available for duct and decoration above. There is no single visual height that can be copied safely from inspiration. A common mistake is raising the hood because it feels low without checking performance limits; another is lowering it to fill wall space while making large cookware and sightlines uncomfortable. Build a full-size elevation or tape the hood outline on the wall, then reconcile that mockup with the exact range, hood, manufacturer limits, user needs, and applicable requirements.
7. Resolve cabinets, combustible materials, and backsplash edges
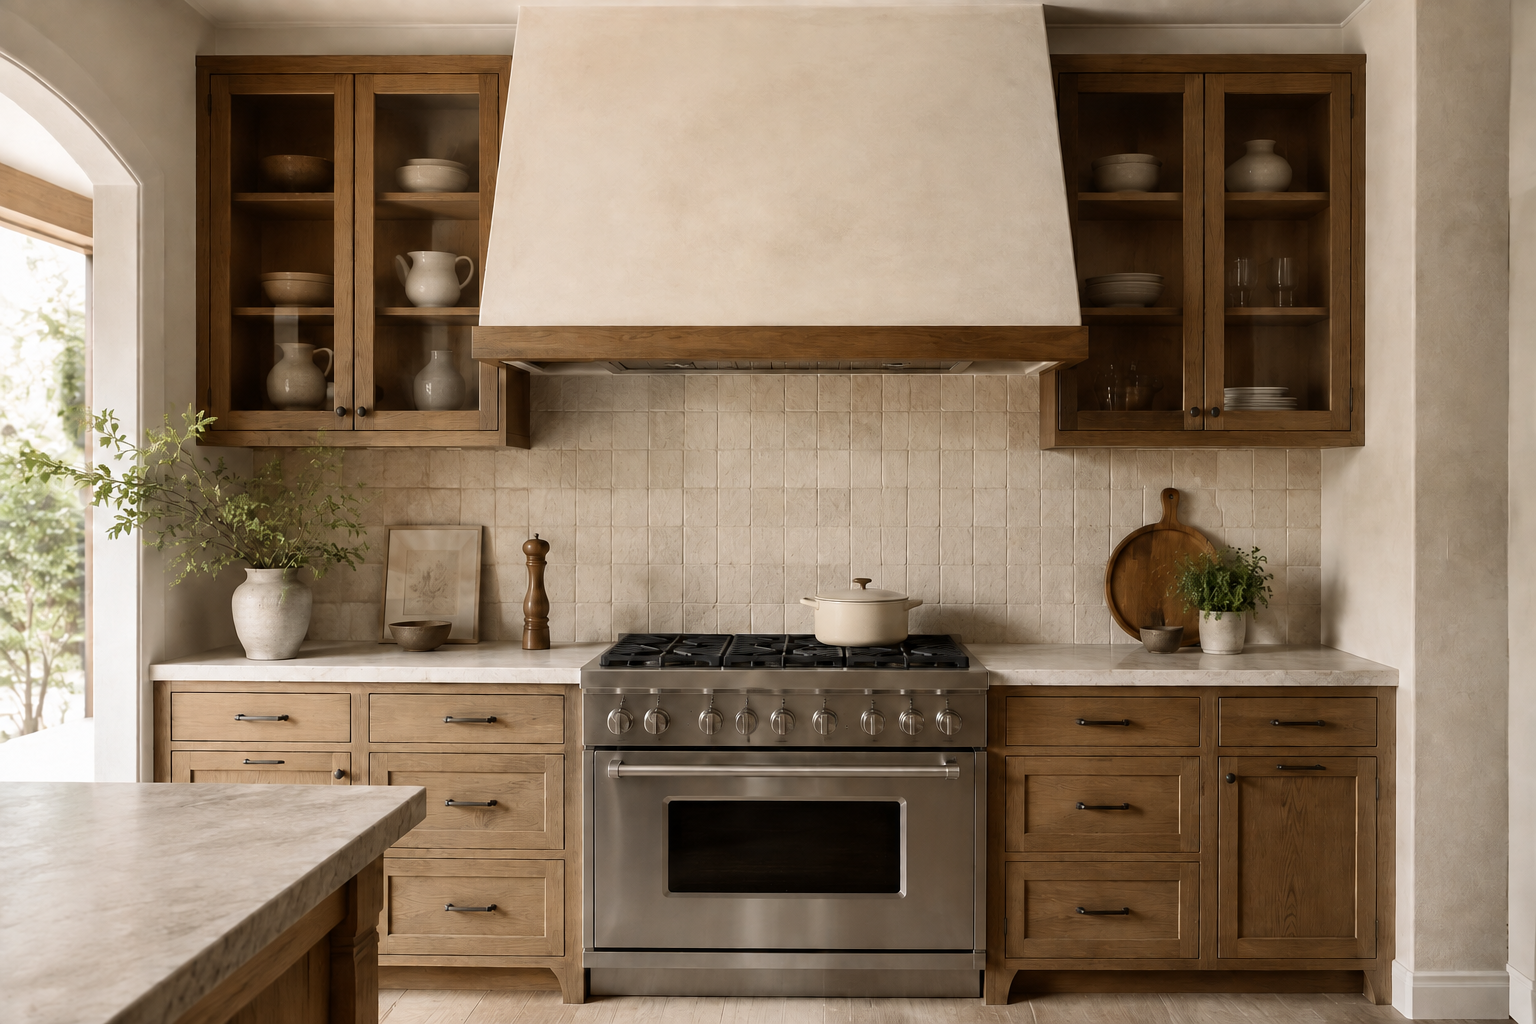
Side cabinets, shelves, corbels, crown, trim, plaster, wood, metal, stone, tile, grout, countertops, and wall protection all meet around a source of heat, grease, moisture, and cleaning. A common mistake is perfecting these finish lines before the appliance and hood clearances are known. Another is extending a decorative wood detail into a restricted area because it appears in a photograph from a different installation. Draw every material edge and thickness, including the hidden substrate and the way it will be cleaned. The appliance, hood, cabinet, finish, and code requirements must agree before a fabricator or installer commits to the assembly.
8. Plan power, controls, lighting, and switching
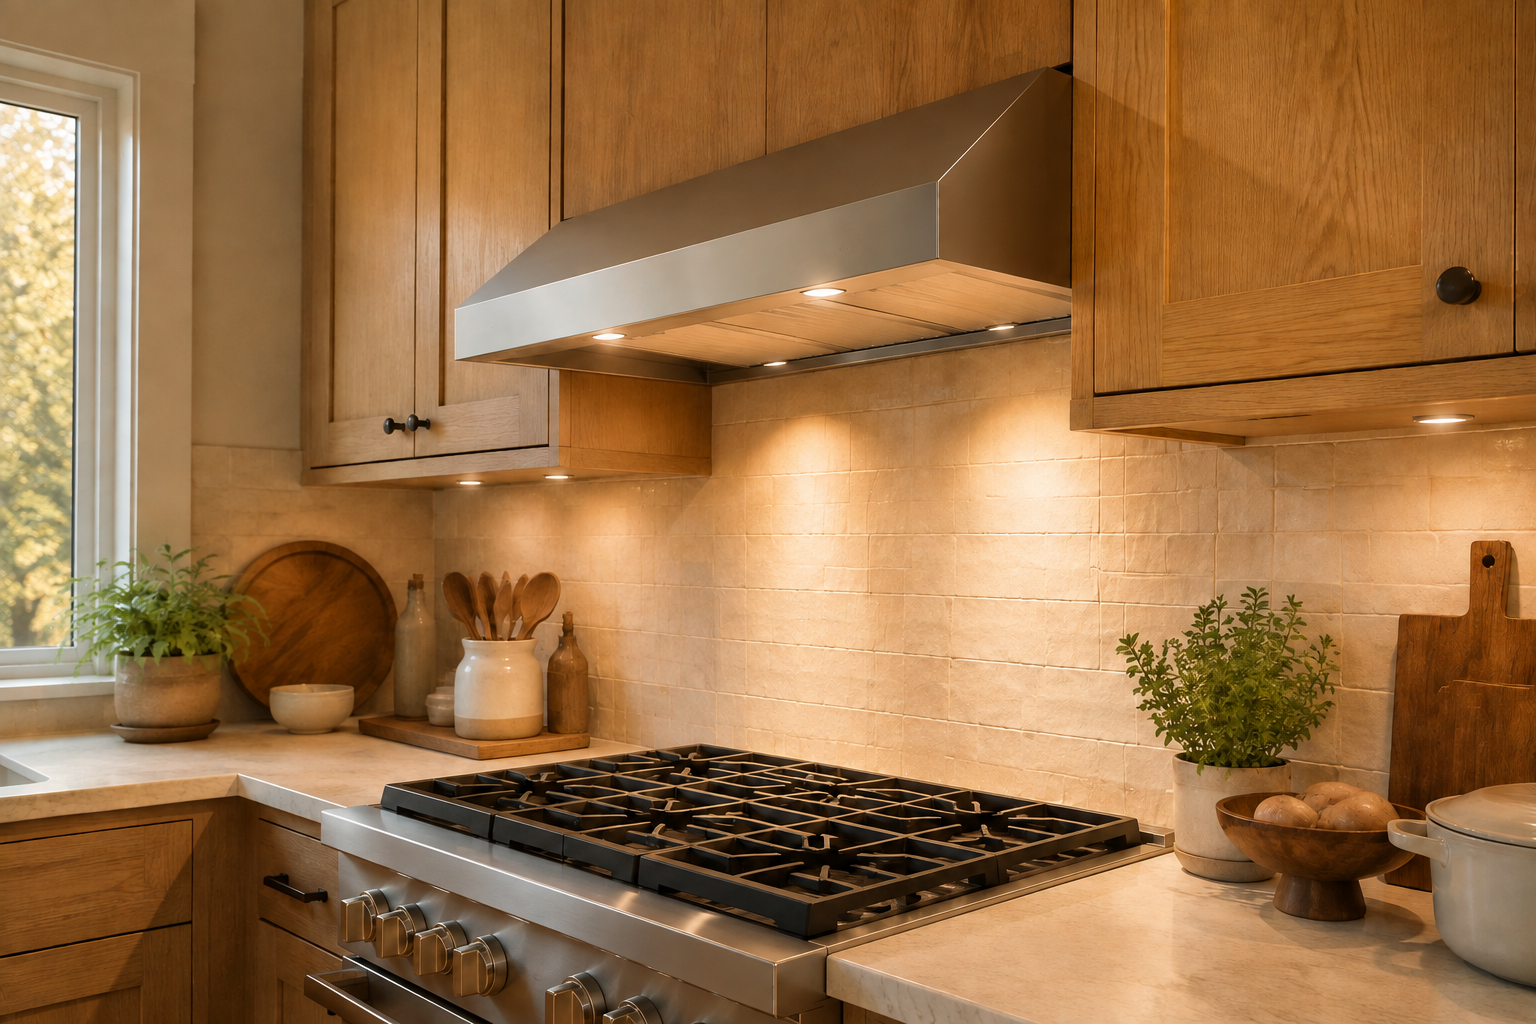
The hood system may include a cord or hard connection, internal or remote blower, integrated lights, accessible controls, remote switches, or interlocks and replacement-air controls determined by the project. A common mistake is leaving one generic electrical note and discovering that the connection, switch, or control module occupies the cabinet or duct space. Another is assuming decorative ceiling lights replace task lighting at the cooking surface. Put every known component on the coordinated drawing and identify what remains undecided. The electrician, equipment provider, mechanical professional, and installer should confirm circuits, connection methods, locations, access, and applicable requirements before walls close.
9. Make filters, controls, and service parts reachable
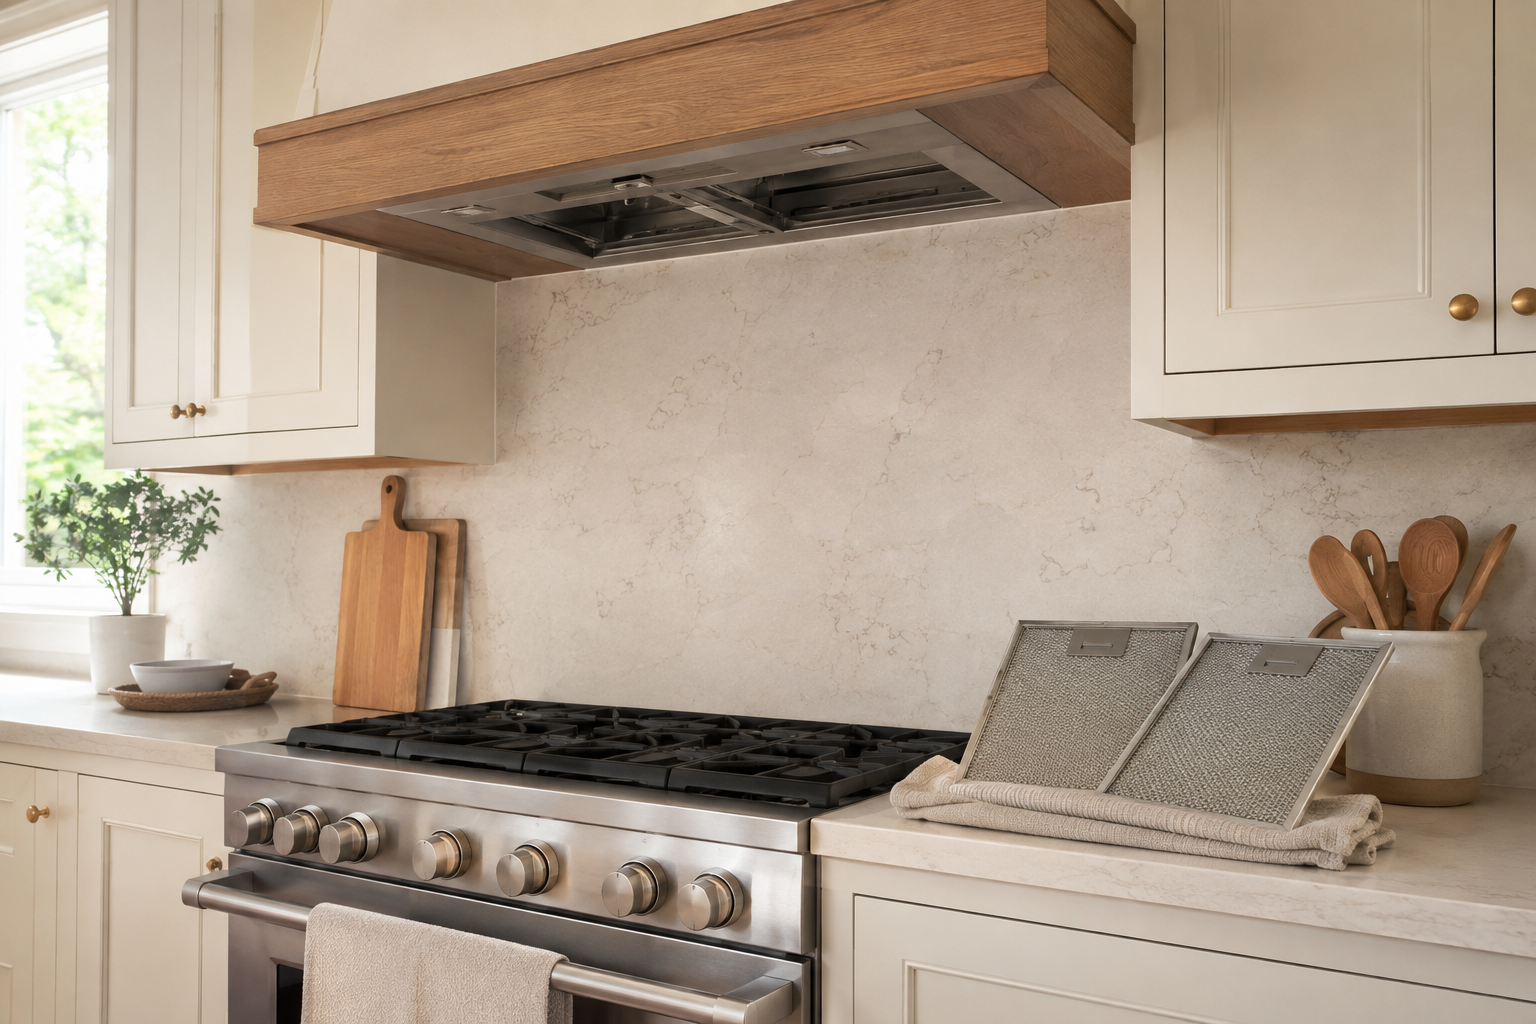
Filters need regular removal and cleaning or replacement, lights eventually fail, and blowers, dampers, fasteners, and controls may need inspection or repair. Ask how each service part comes out and where it can be set down safely. The common mistake is surrounding the equipment with permanent plaster, trim, or a cabinet panel that cannot be opened without damage. Another is placing the controls where they are hard to see or reach during cooking. Preserve the access the manufacturer requires, record removable parts on the detail, and confirm whether the decorative shell can be finished without turning ordinary maintenance into demolition.
10. Approve one drawing that assigns every responsibility
Put the cooking-appliance information, hood system, decorative shell section, cabinet elevation, duct route, exterior termination, air strategy, electrical plan, finish details, framing, and field changes side by side. The final common mistake is approving them as separate packages while gaps between trades remain unowned. Mark who supplies, installs, connects, supports, seals, finishes, tests, and services each component, and record unresolved assumptions instead of hiding them in a clean rendering. Have the responsible suppliers, trades, designer, contractor, installer, and authorities review the information they control. A discovered conflict is useful progress while the plan can still change.
Connect the hood to the cooking wall and finish plan
The hood succeeds when the appliance, cabinets, ventilation path, backsplash, ceiling, lighting, and service access describe the same assembly. These guides help strengthen the surrounding decisions.
Record Appliance Details Plan the BacksplashSee the cooking wall before cabinets and ceilings close it
Use StilePath to place the range, hood, cabinets, counters, island, and sightlines in 2D and 3D. Bring exact equipment information and a clearly marked list of assumptions into the professional ventilation and installation review.
Start Planning Free