
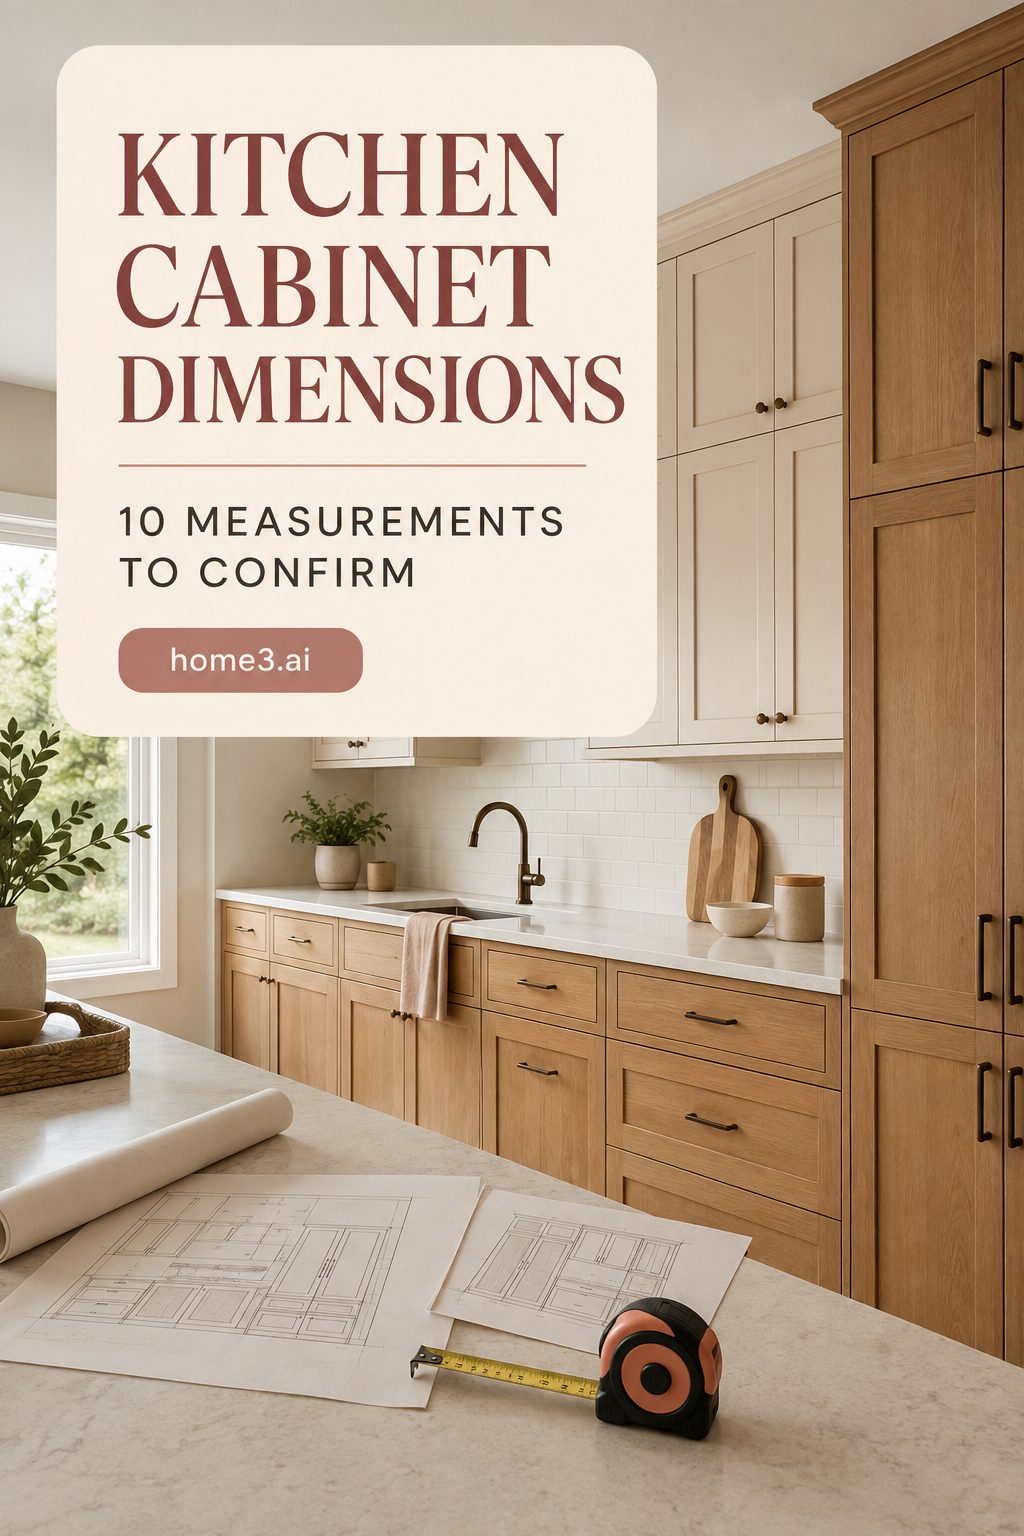
Cabinet dimensions make sense when the whole room is visible
Cabinet catalogs contain a lot of numbers, but a useful plan begins with the dimensions that connect those cabinets to your actual room. Grab a tape measure, pencil, and paper. You do not need professional carpentry experience to make a strong first pass. Record what you can see, mark anything uncertain, and keep the cabinet manufacturer's current specifications beside the drawing. These ten checks will help you compare layouts and catch missing information before an order turns a small assumption into an expensive field problem.
1. Start with the finished room shell
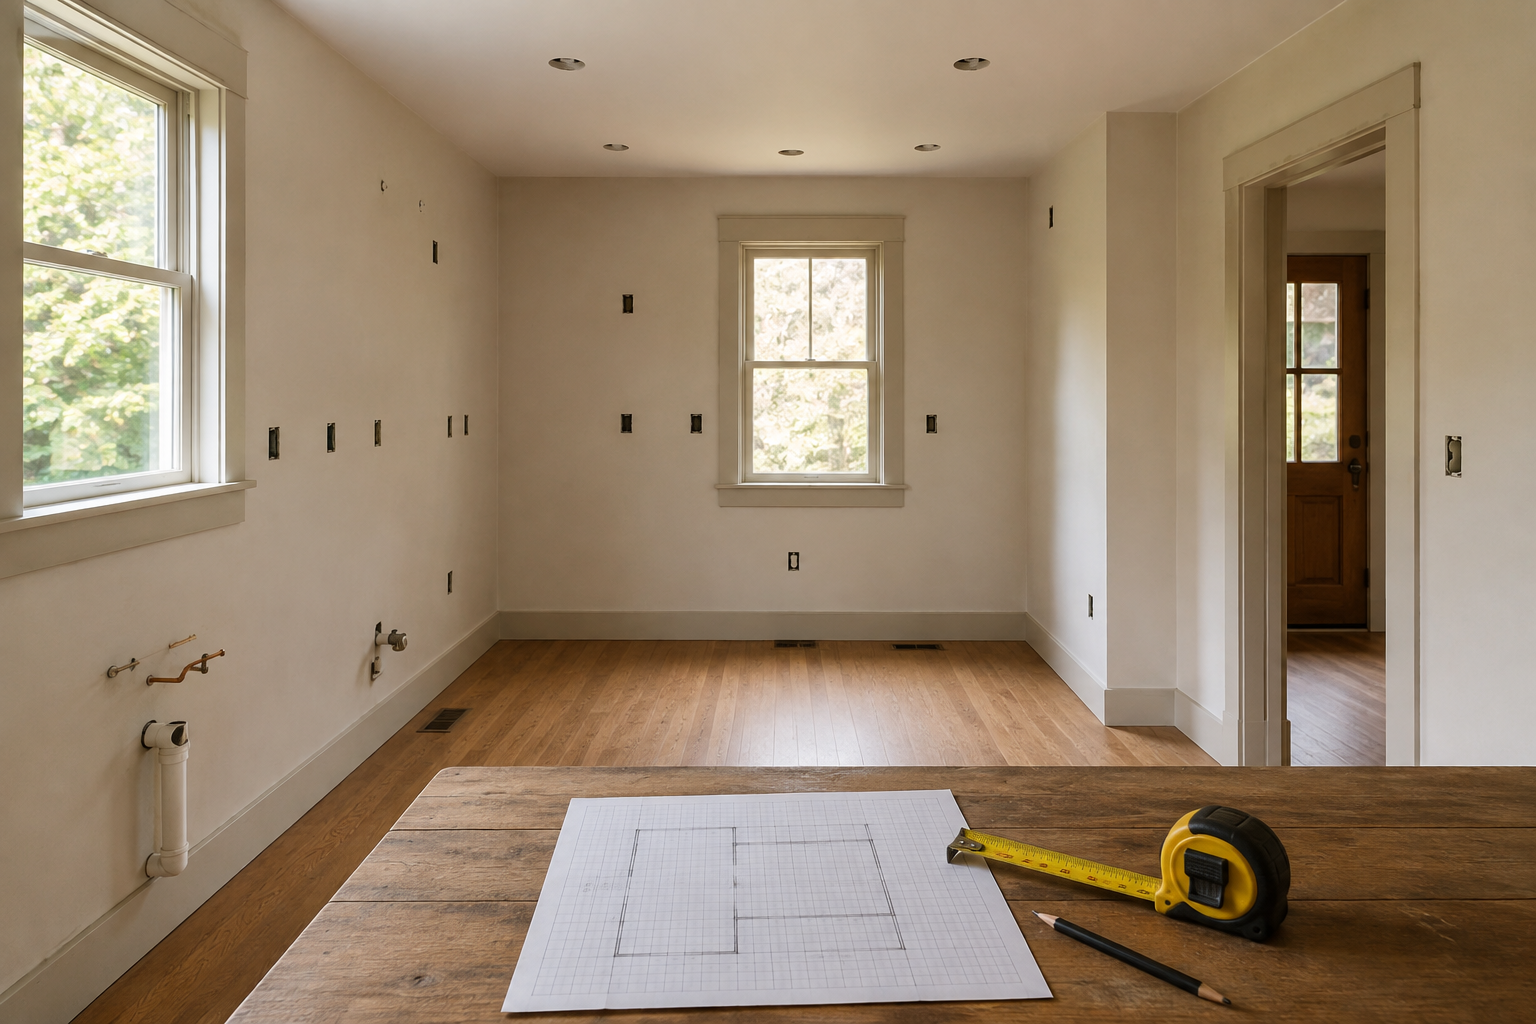
Measure wall to wall at more than one height and record doors, windows, trim, columns, soffits, floor registers, plumbing, outlets, and changes in wall depth. Note whether the surfaces are already finished or likely to move during construction. A common mistake is treating one long wall measurement as the whole room, even when a return, casing, or uneven corner shortens the usable run. Draw the perimeter first and add question marks where demolition or finish layers make a number uncertain. Honest unknowns are easier to solve than precise-looking guesses.
2. Separate the cabinet box from the countertop edge
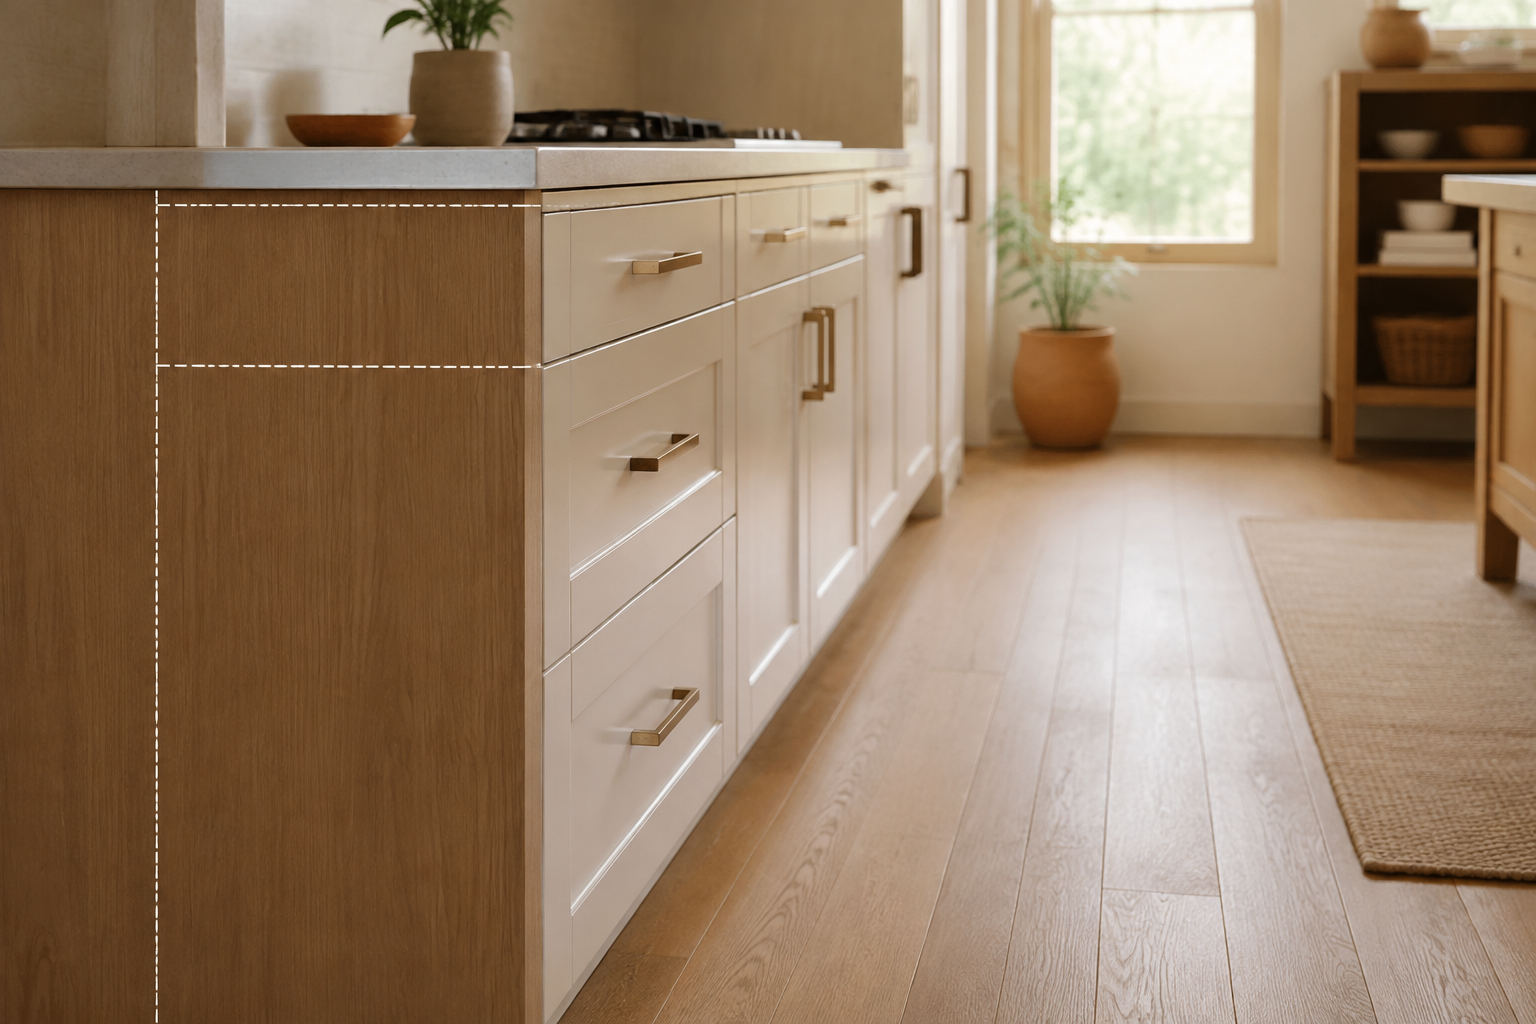
The cabinet box, door, handle, countertop, and decorative end may all stop in different places. When you test an aisle or doorway, measure from the finished surface that projects farthest into the room. The usual mistake is drawing only the nominal cabinet depth and assuming the countertop and hardware disappear inside that line. They do not. Use the exact door style, hardware projection, finished panel, and countertop detail when they become known. Until then, label the drawing as preliminary and leave room for those layers instead of spending every available inch.
3. Confirm the working height as one assembly
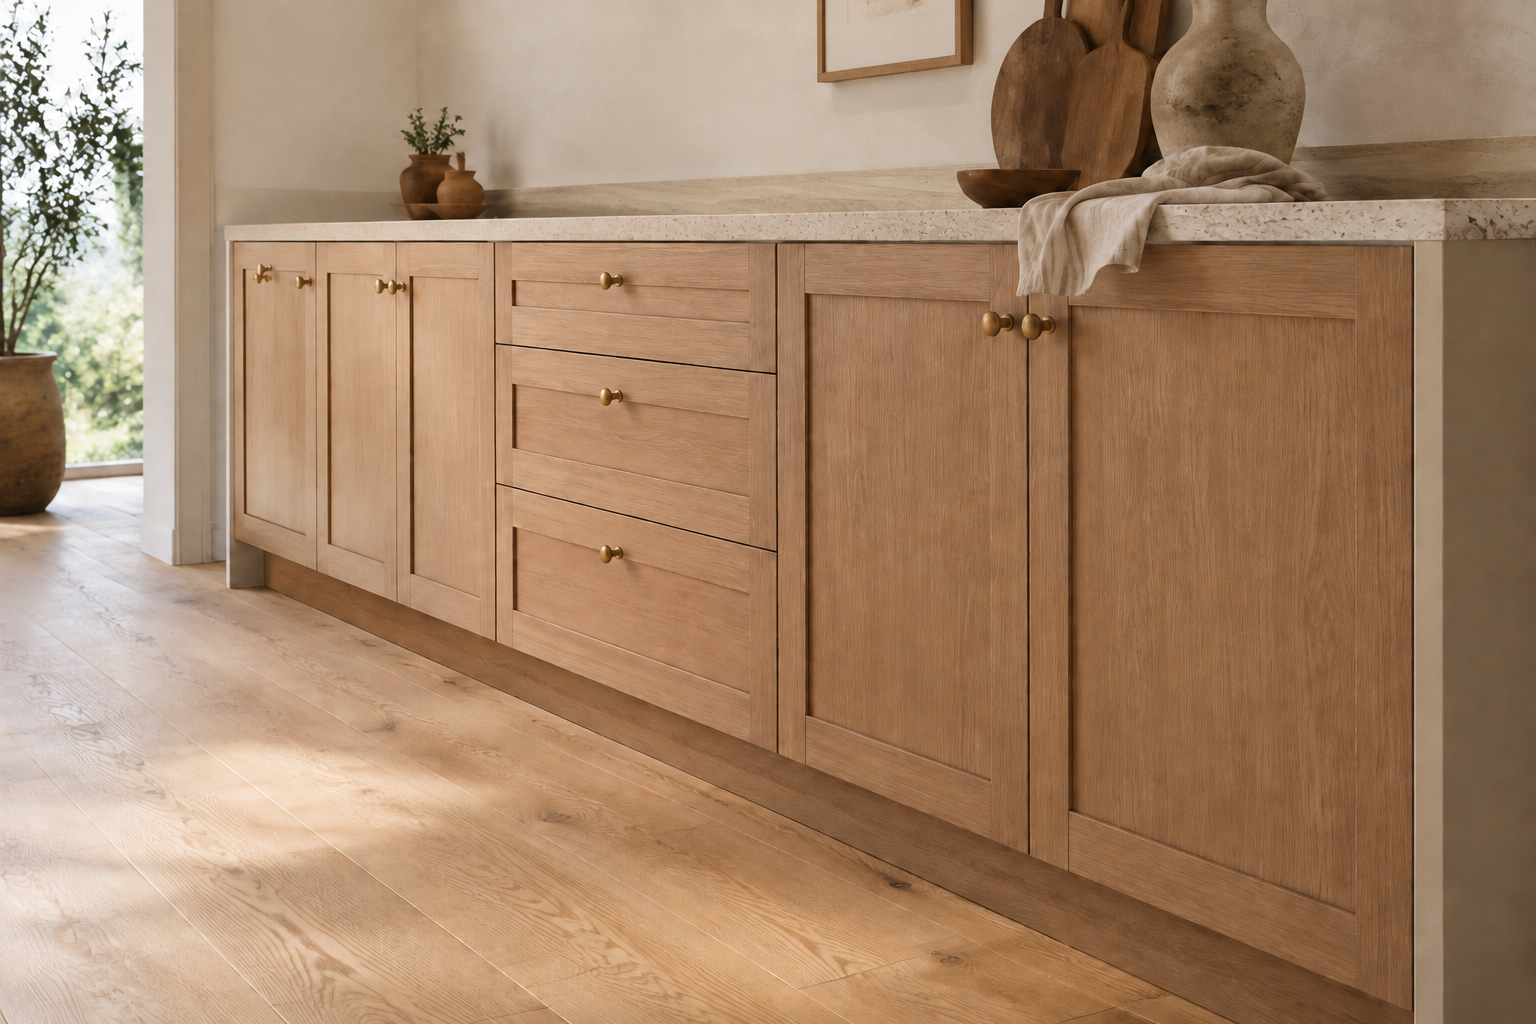
Finished work height is created by the cabinet, adjustable legs or toe structure, countertop thickness, floor build-up, and any special accessibility or household need. A frequent mistake is checking those parts in separate documents and never adding them together. That can affect window clearance, appliance fit, seating, and how comfortable the surface feels. Record the planned floor and countertop materials, then ask the cabinet supplier, fabricator, installer, and contractor to reconcile the final assembly. The first plan can be simple; the approved order should not rely on an unstated layer.
4. Place wall cabinets around reach and openings
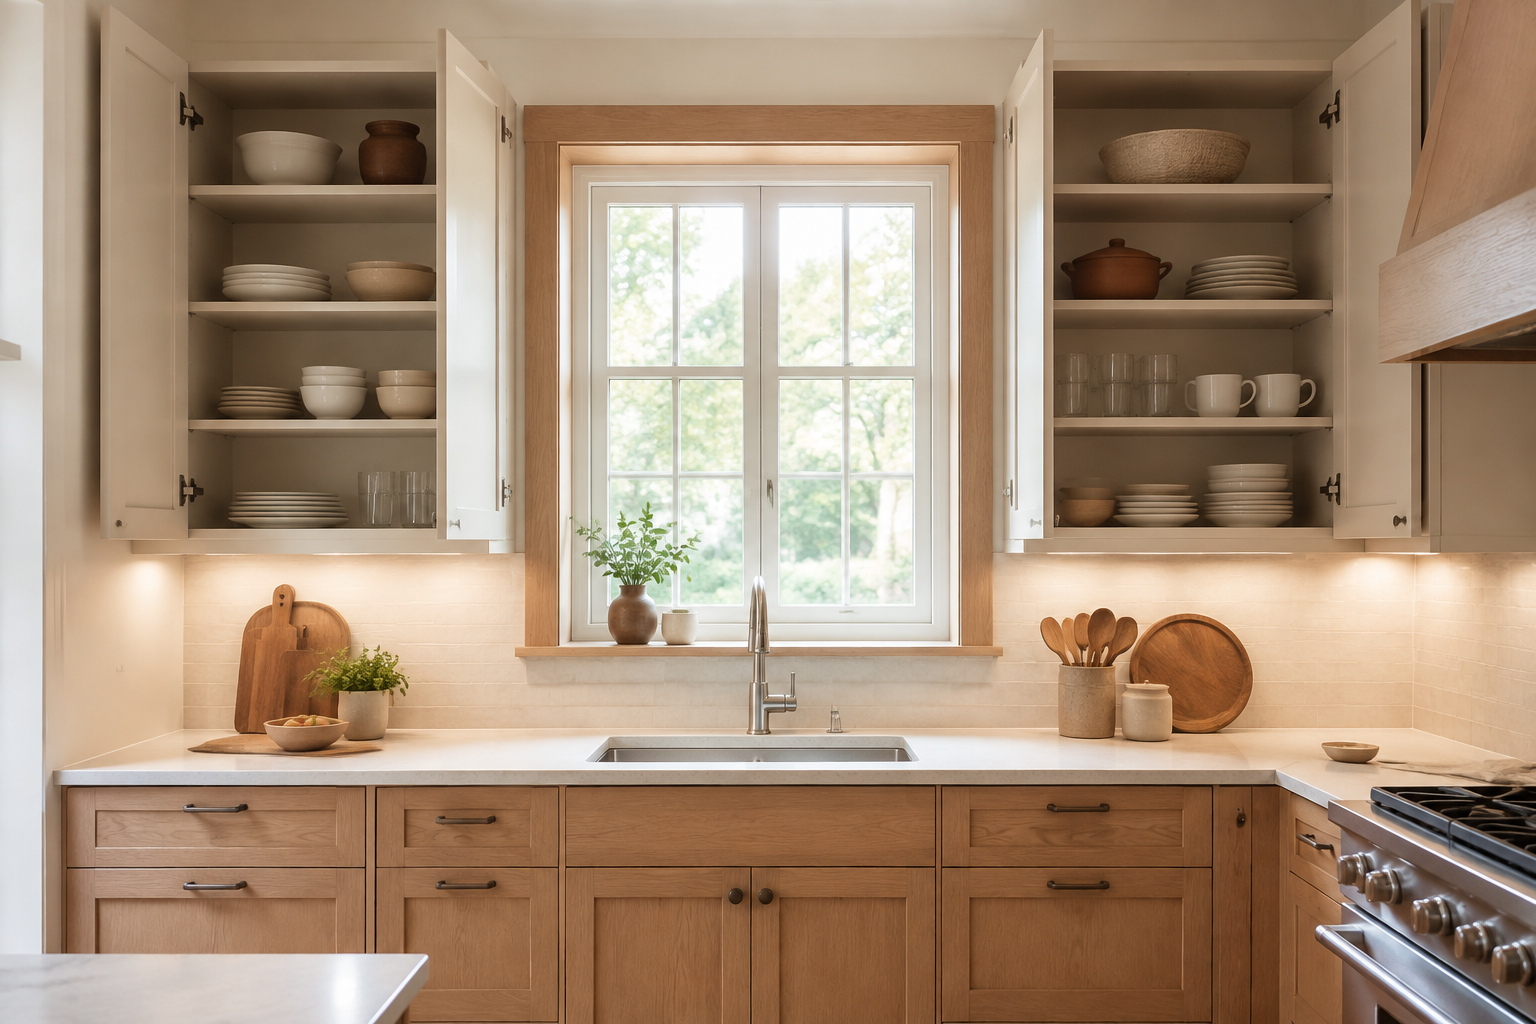
Wall cabinet height and depth affect reach, counter usability, window trim, lighting, appliance clearances, and how heavy the room feels. Test where the bottom and top land in a full elevation, not only in a cabinet list. The common mistake is choosing the tallest option because it offers more volume, then discovering that the useful shelves are hard to reach or the doors conflict with trim and ceiling details. Put everyday items in the easiest zone, reserve harder-to-reach storage for occasional use, and verify every opening and required appliance clearance before approval.
5. Check tall cabinets against the ceiling and floor
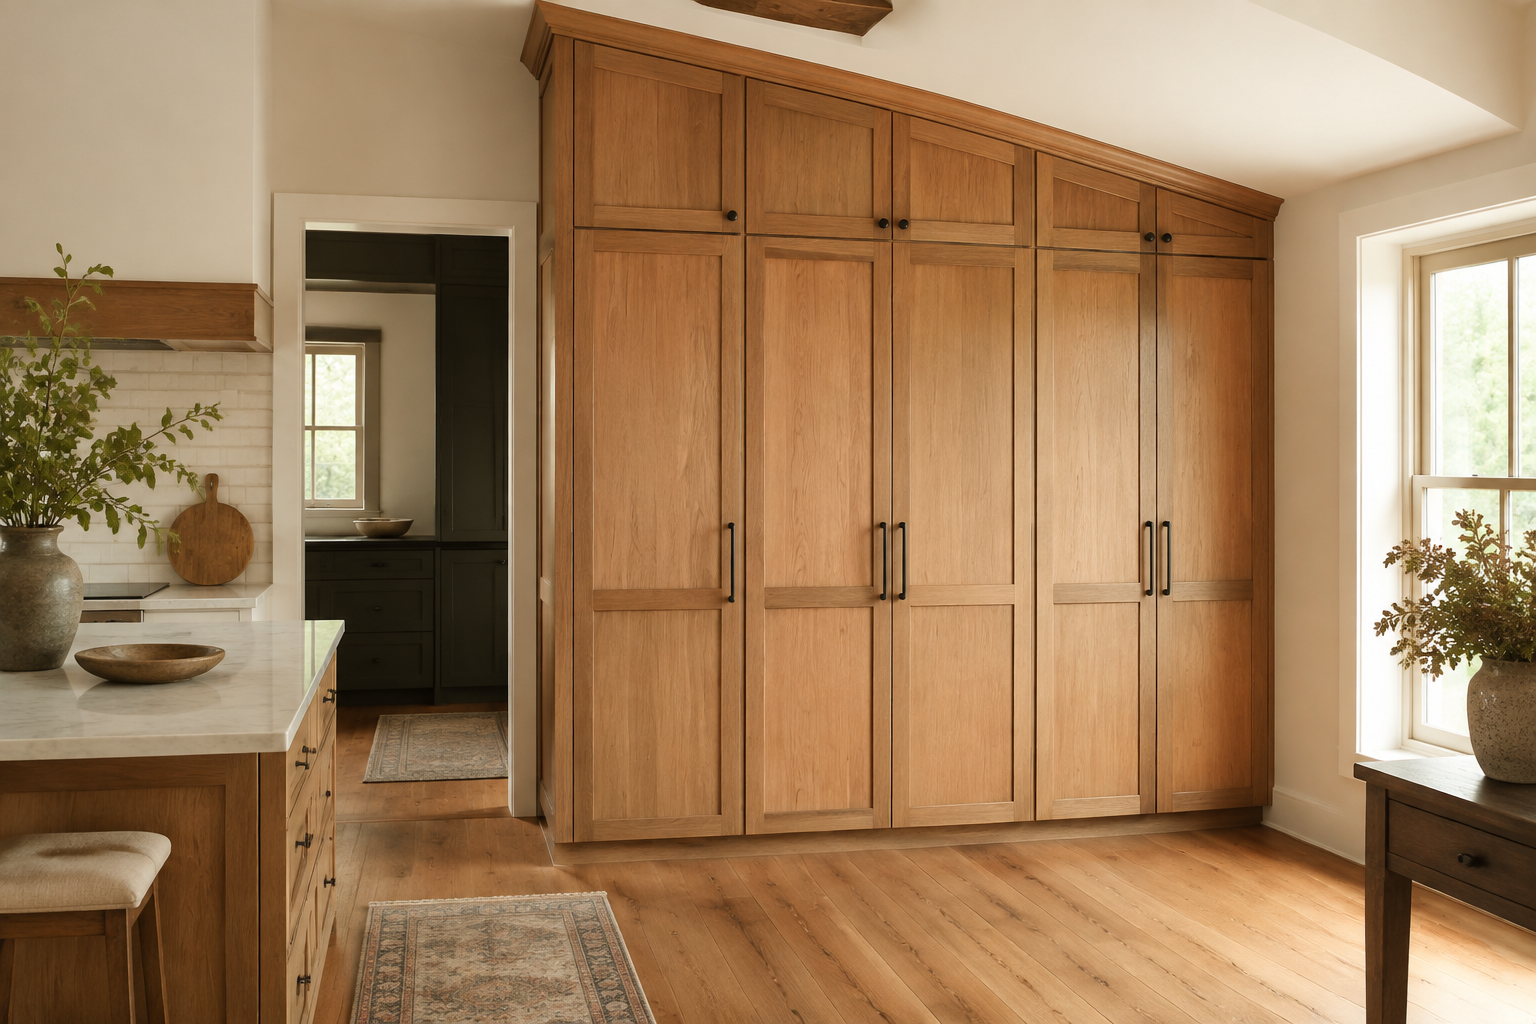
A tall pantry or oven cabinet has to stand up inside the room, clear the ceiling, meet the finished floor, and align with adjacent doors and trim. Measure ceiling height in several places and ask how the installer will handle variation. One common mistake is designing a cabinet to fill the measured height exactly, leaving no practical room to maneuver, level, or finish it. Another is forgetting that new flooring changes the available height. Let the supplier and installer define the required installation allowance, then show the resulting top detail intentionally in the elevation.
6. Size the sink base around the real sink and services
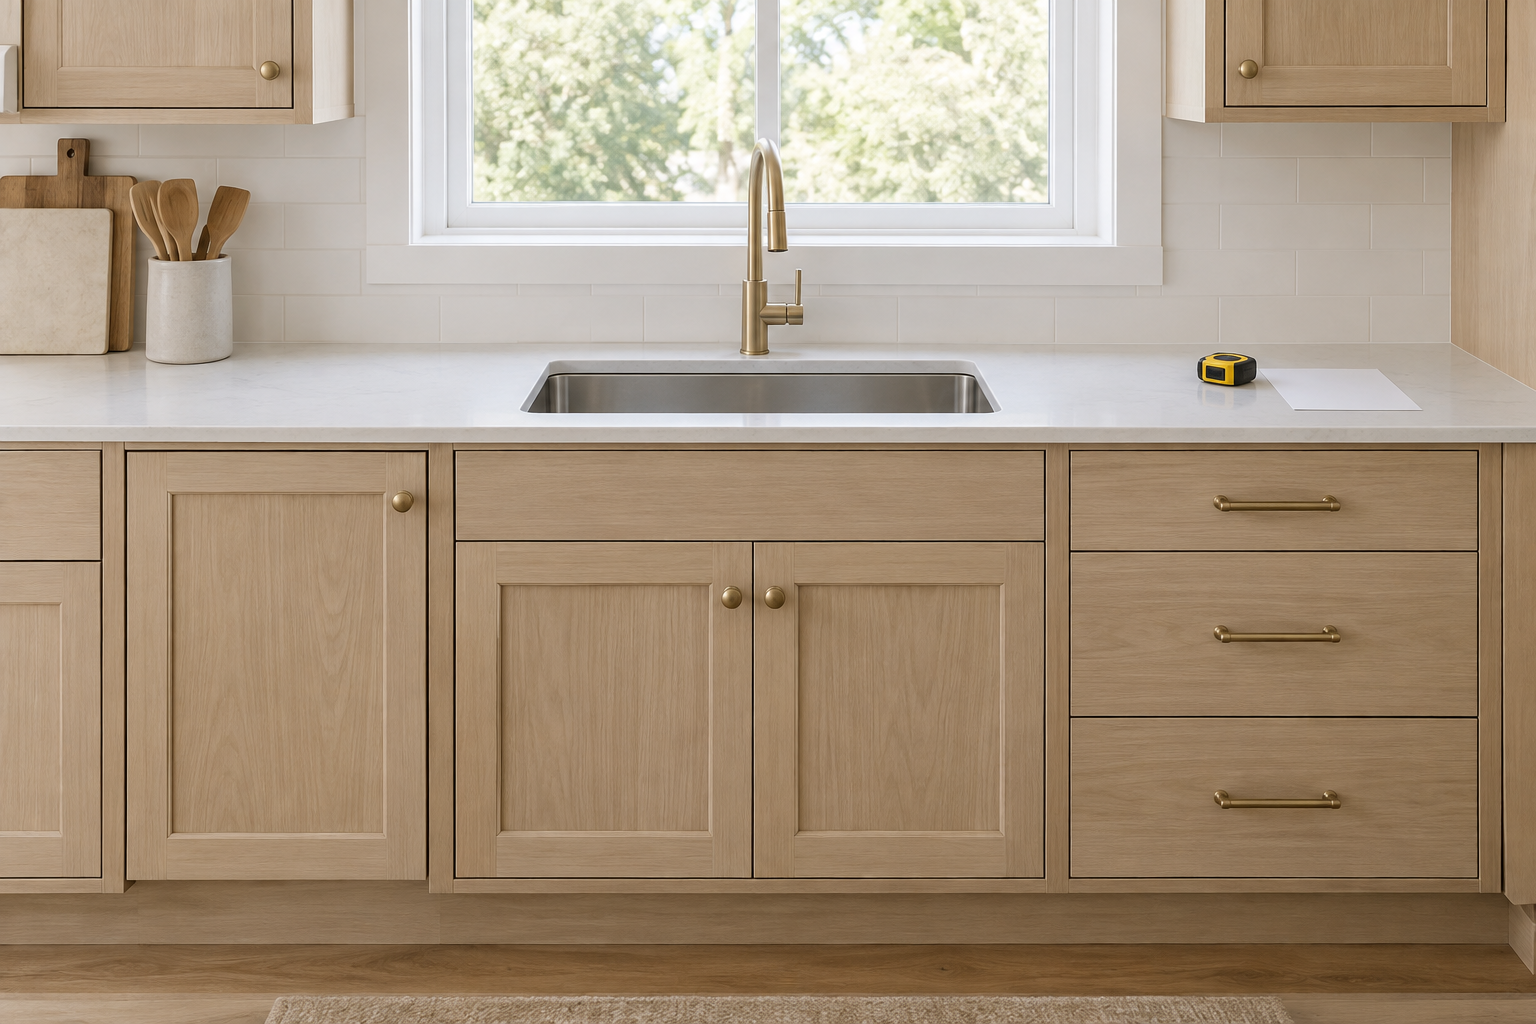
The sink base must accommodate the selected sink, mounting method, faucet, disposal if used, plumbing, filtration, waste storage, and future service access. A sink's outside dimensions do not tell the whole story; bowls, rims, clips, supports, and countertop fabrication all occupy space. The familiar mistake is choosing the sink after the cabinet order and expecting the fabricator to make it work. Keep the current sink specification with the plan and have the cabinet supplier, plumber, and countertop fabricator confirm compatibility before any opening is cut or cabinet is released.
7. Build appliance openings from current specifications
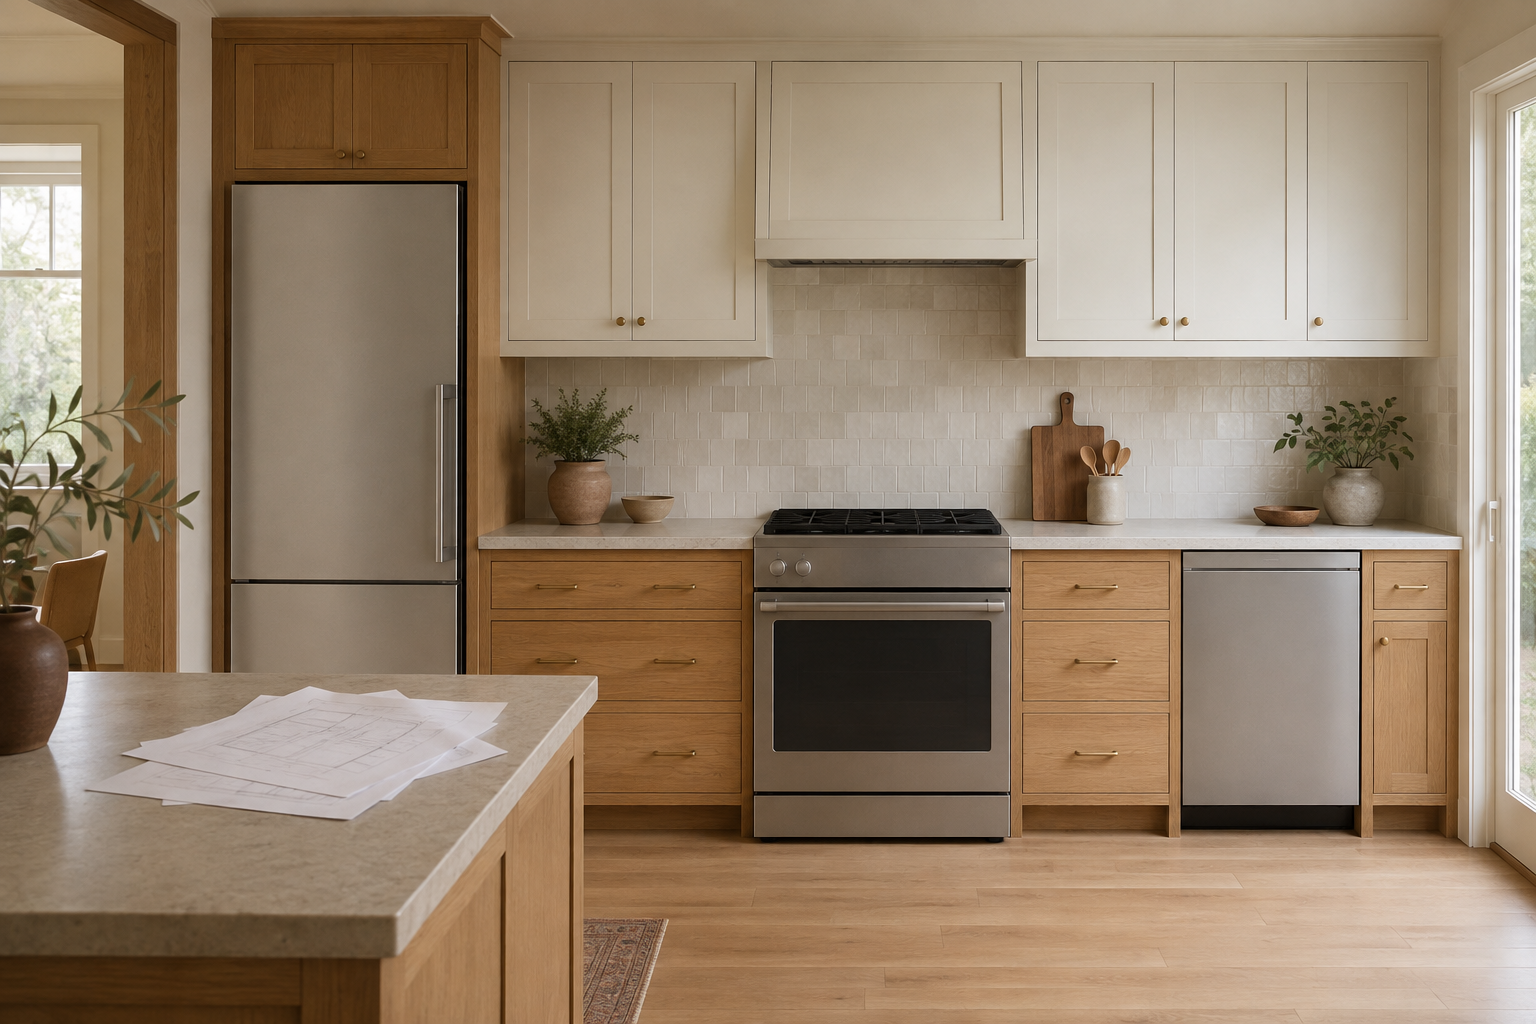
Use the exact current model specification for every refrigerator, range, cooktop, oven, microwave, hood, and dishwasher. Record the required opening, ventilation, utility location, door swing, handle projection, and service clearance. A common mistake is copying the appliance's marketing width into the cabinet plan or relying on the size of the old unit. Two products sold in the same broad category can require different openings. Keep model numbers and revision dates with the drawing, and have the responsible supplier and trades verify them again before the cabinet order is final.
8. Give corners, returns, and fillers real width
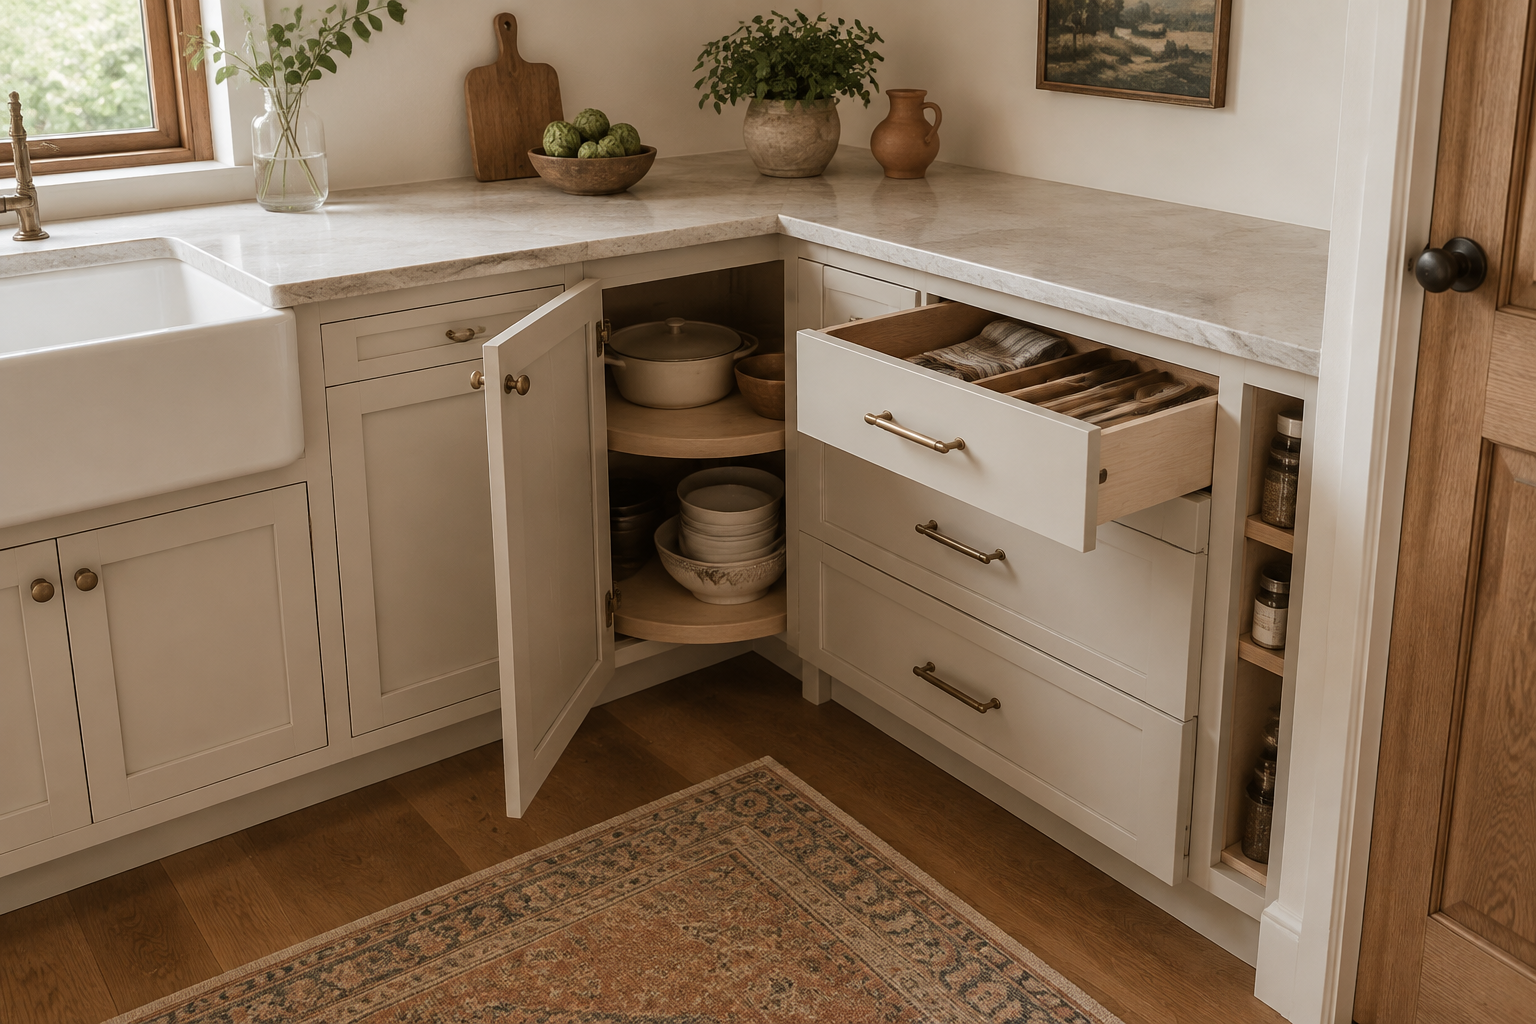
Corners and wall returns consume space that a quick cabinet total often ignores. Add the actual corner mechanism, adjacent door and drawer swings, scribe fillers, end panels, and handle projection. The common mistake is filling a run with cabinet widths until the arithmetic reaches the wall, then discovering there is nowhere for the final door to open or the installer to absorb an uneven surface. Draw both elevations and open the doors in plan view. A little planned tolerance is useful; an unexplained leftover is not.
9. Include panels, toe details, trim, and scribes
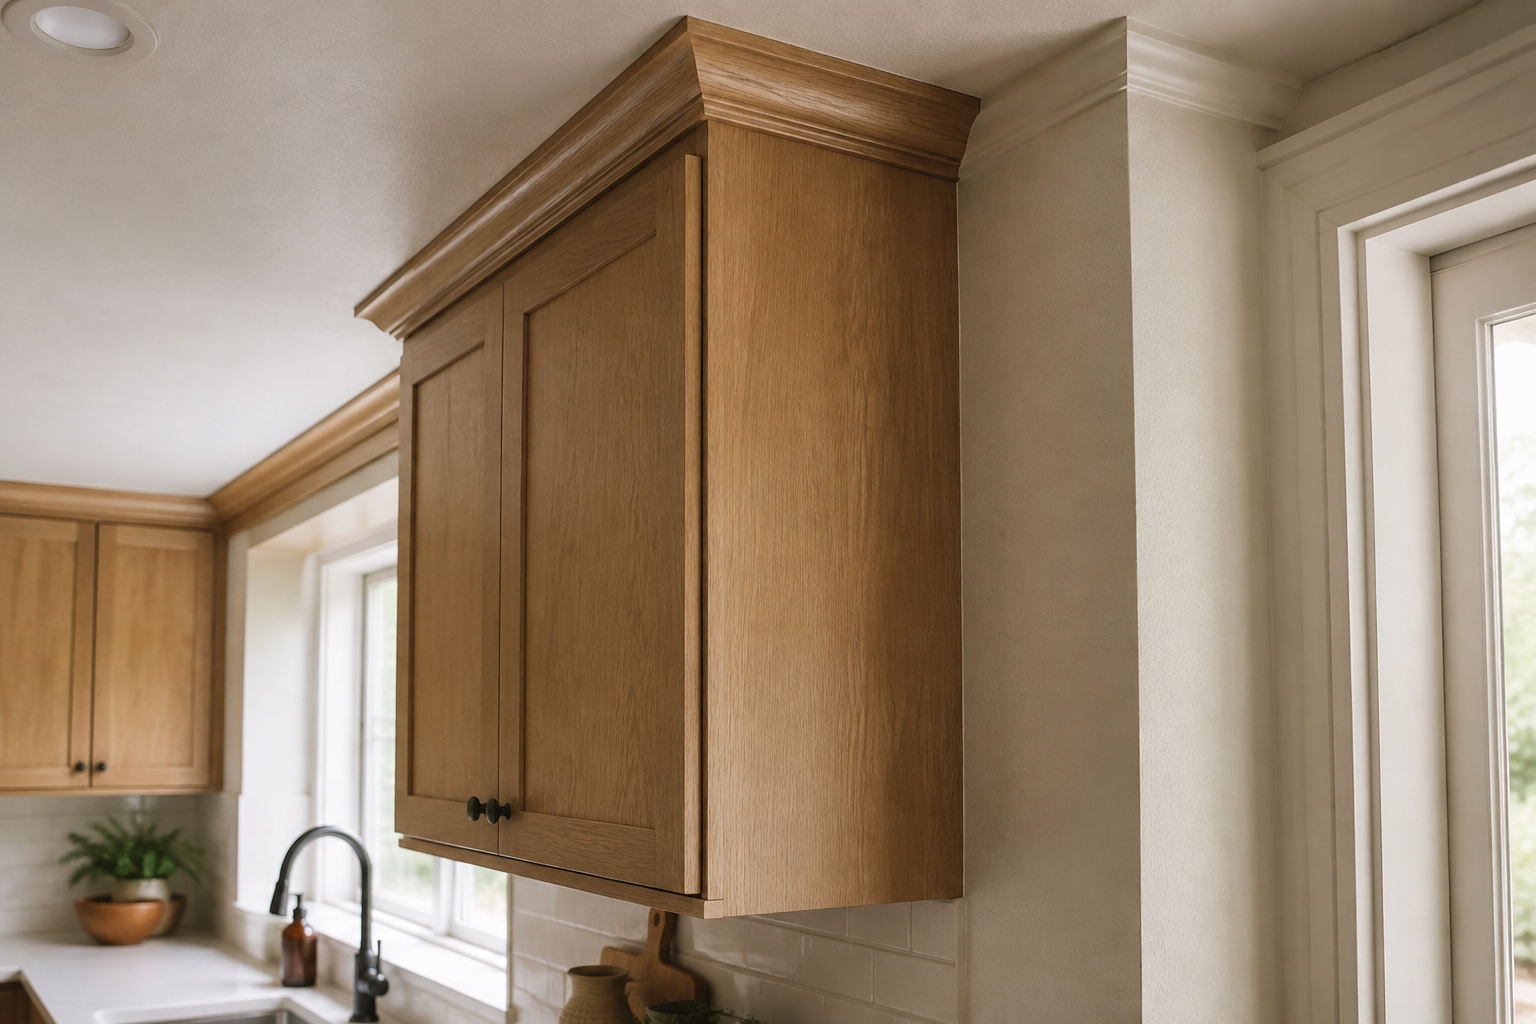
Finished ends, island backs, appliance panels, toe skins, mouldings, light trim, scribes, and countertop supports may not look like storage cabinets, but they still occupy space and belong in the order. The frequent mistake is reviewing only the cabinet boxes and treating finish pieces as decoration that can be added later. Missing parts can change alignments, expose unfinished surfaces, or reduce a planned opening. Ask for a complete elevation and parts list, then trace every visible side, floor transition, wall end, and ceiling meeting point before approving it.
10. Reconcile the room plan with the order drawings
Your first measurements are excellent for comparing ideas, but they are not a substitute for final field verification or supplier drawings. Put the latest room plan, cabinet elevations, appliance specifications, sink information, finish schedule, and construction changes side by side. A common mistake is approving each document separately even though they describe the same inches differently. Have the cabinet supplier, installer, contractor, fabricator, appliance provider, and responsible trades verify the dimensions they rely on. Finding a conflict at this stage is a win: it means the plan did its job before the order was locked.
Strengthen the measurements around the cabinet plan
A cabinet schedule is easier to trust when the room, openings, appliances, corners, and finished pieces have all been checked together. Use these related guides to fill the gaps in your first drawing.
Measure Your Kitchen in 10 Steps Record Every Appliance DetailTurn the measurements into a room you can review
Use StilePath to draw the room, place cabinet runs, and inspect the layout in 2D and 3D. Start with the information you have, label assumptions, and update the plan as product and field details become certain.
Start Planning Free