
Design the wall-oven cabinet around use, support, and service
A wall oven can place cooking at a comfortable height and create a calm, built-in elevation, but the cabinet is doing more than framing a black rectangle. It supports a heavy hot appliance, preserves ventilation and access, meets power and wall conditions, clears open doors and racks, and gives a cook somewhere to stand and set food down. You can make a strong first pass without construction experience: collect the exact product information, sketch the cabinet wall, tape the door projection on the floor, and rehearse a baking routine. These ten checks organize the questions. Final structure, electrical work, heat and material clearances, cabinetry, installation, accessibility, and code compliance require the current manufacturer instructions and responsible suppliers, trades, installer, contractor, designer, engineer where required, and authority.
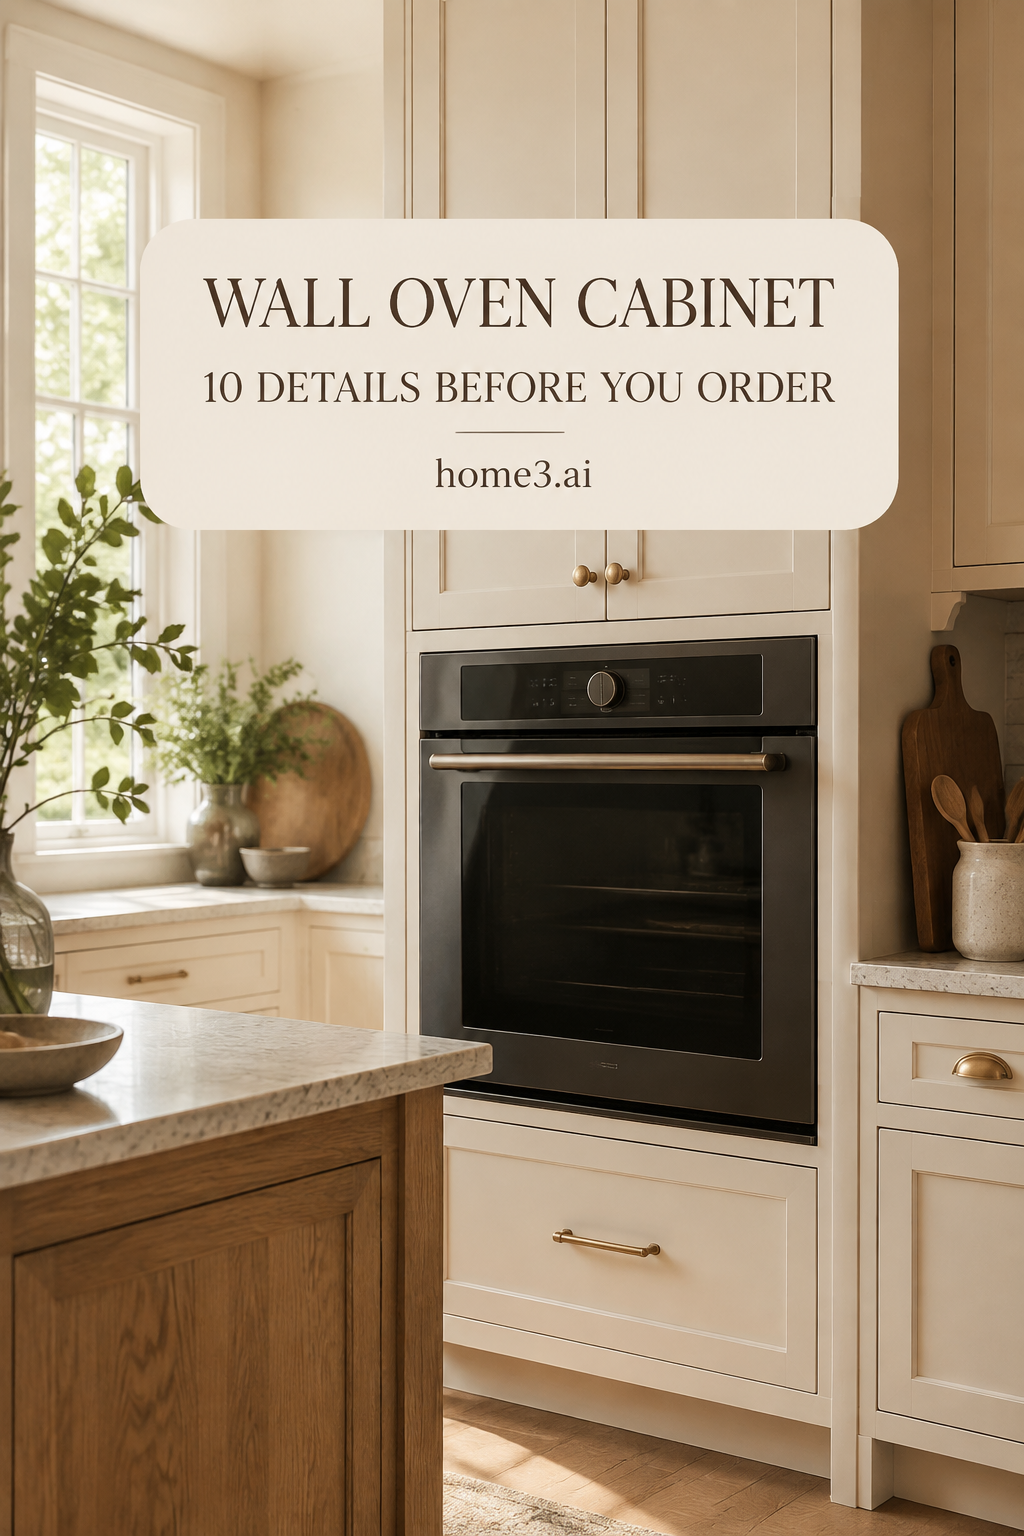
1. Lock the exact current oven before drawing the opening
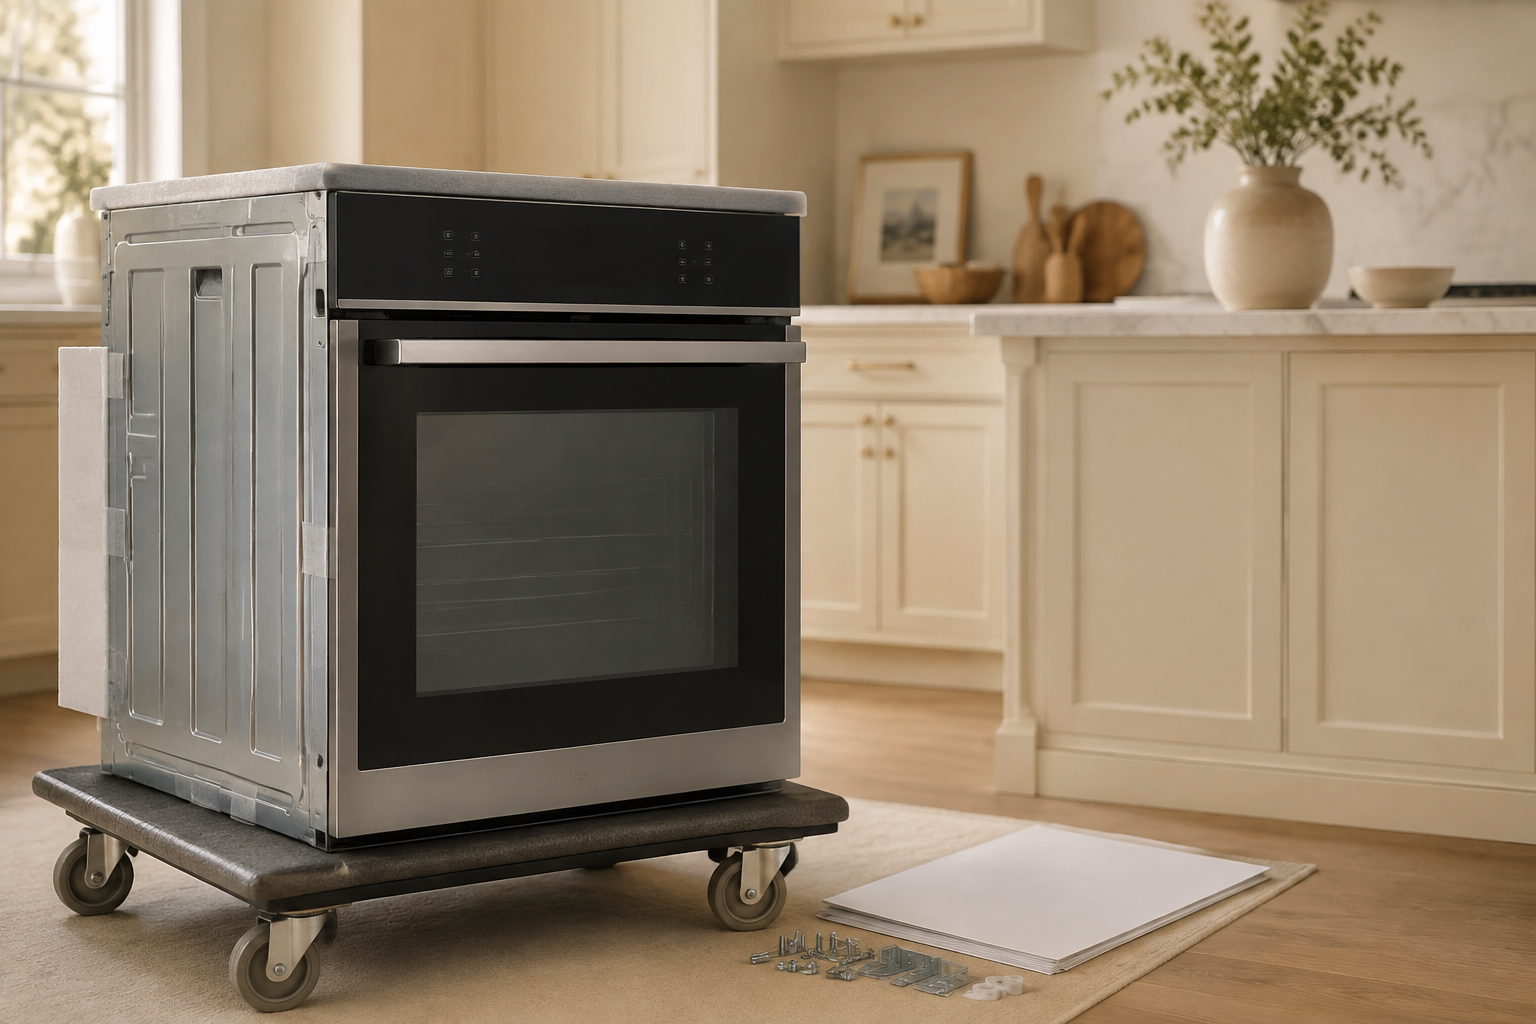
Collect the model-specific installation document and record the appliance body, required cutout, overall face and handle, door and rack projection, support requirements, electrical connection, ventilation, trim, mounting, weight, and service instructions. A single oven, double oven, oven-microwave combination, and steam or speed-oven stack are not interchangeable cabinet notes. The common mistake is designing from a nominal width or a previous-generation specification. Another is changing the appliance after the cabinet is released without rechecking the entire section. Keep revision dates with the private project file and have the appliance provider, cabinet supplier, electrician, and installer confirm the same current model before fabrication.
2. Draw the opening, platform, and load path together
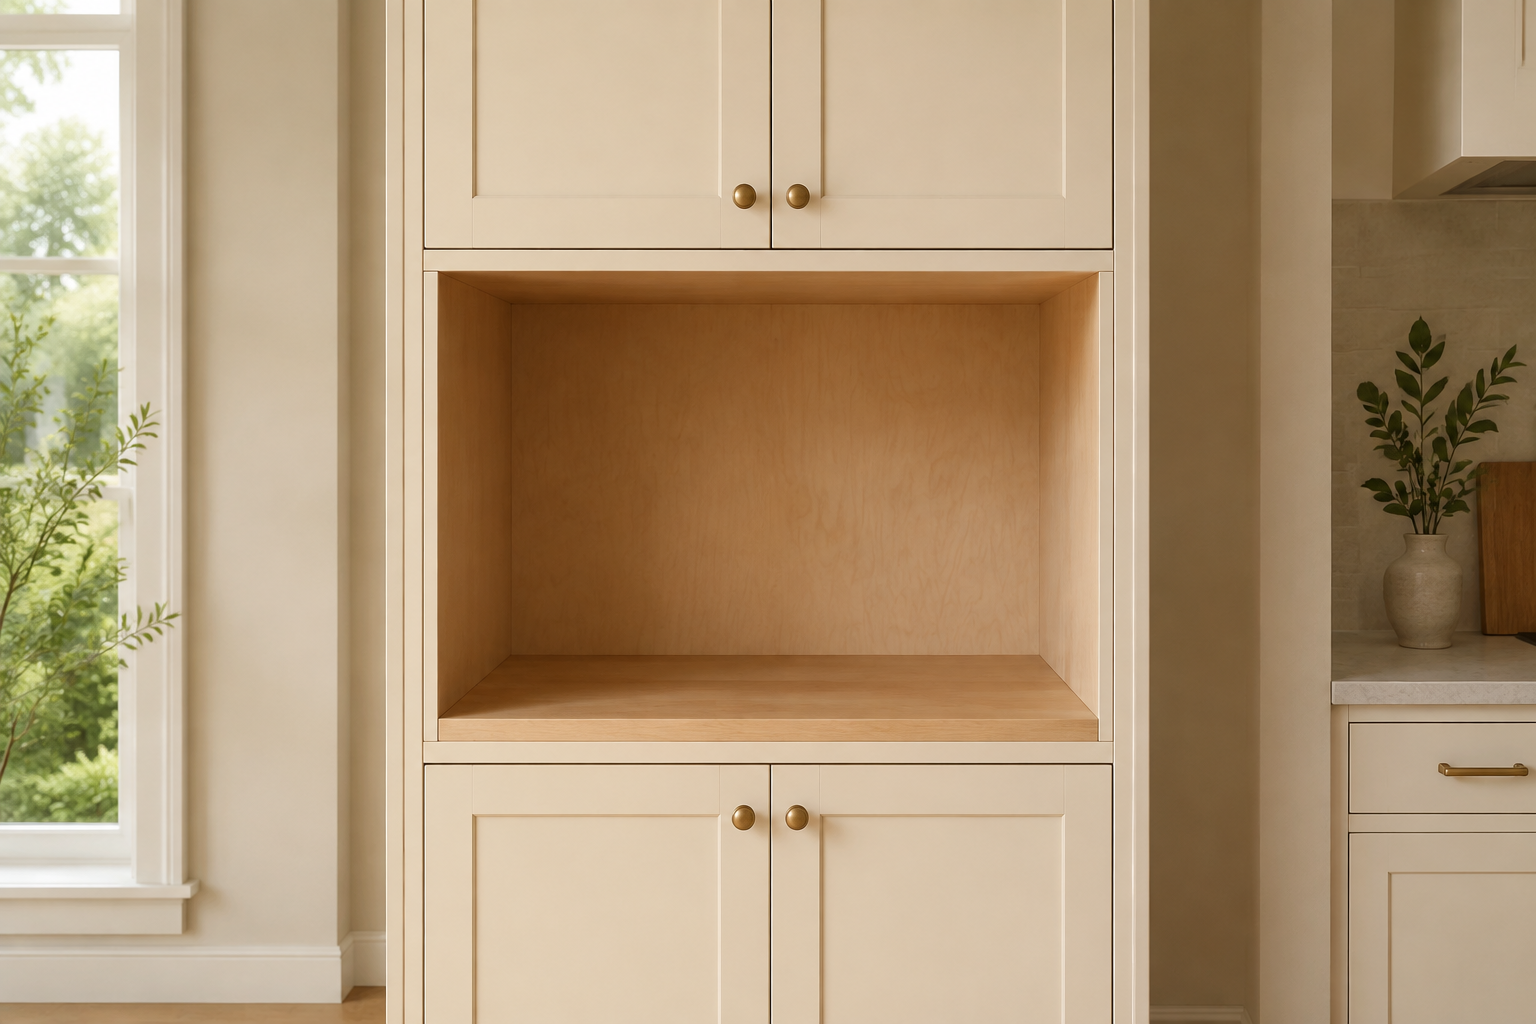
The finished opening needs the right width, height, depth, squareness, support, fastening edges, ventilation spaces, and relationship to the cabinet back and wall. Draw a section through the appliance instead of showing only its front. A common mistake is treating the shelf as ordinary storage and overlooking the appliance weight or required support. Another is reducing depth to avoid a wall obstruction without checking the plug, junction, trim, or door relationship. Cabinet construction and structural adequacy must be determined by the responsible supplier and professionals for the actual product and site. Your useful contribution is to make the hidden platform and wall conditions visible before anyone approves the elevation.
3. Mark the door, racks, cook, and aisle at full use
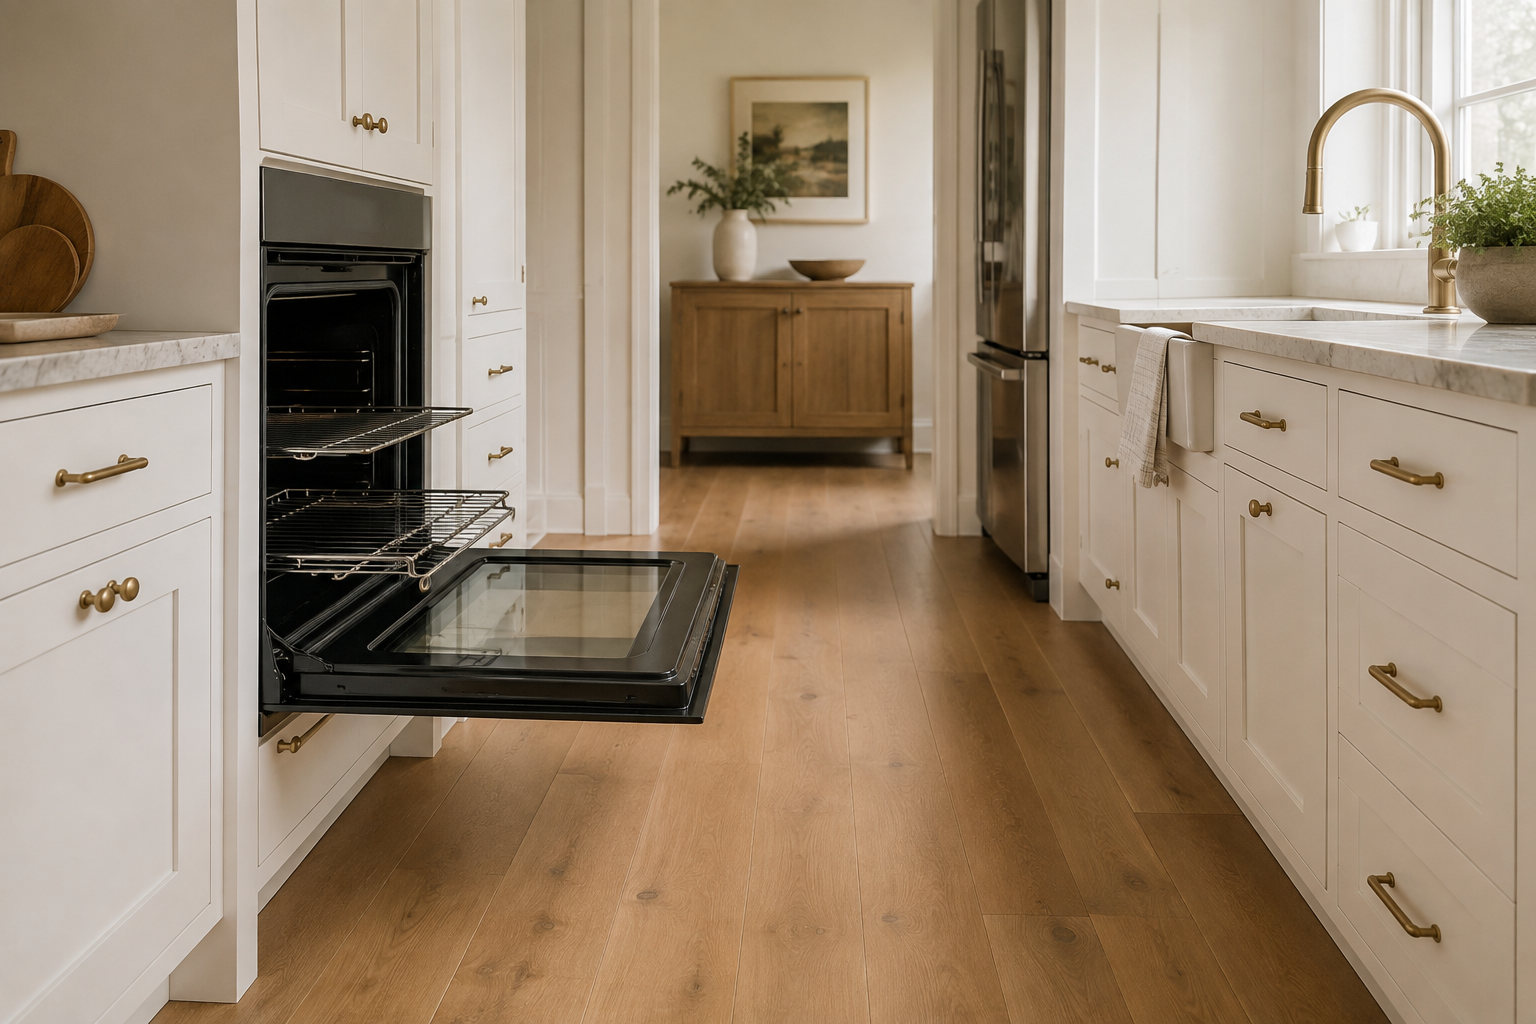
Use the exact door projection, then add extended racks, the cook's standing position, an oven mitt, and the opposite island or cabinet. The classic mistake is measuring a comfortable aisle with the oven closed. Another is drawing the open door but forgetting that the user must lean, lift, step backward, and let another person pass. Tape the door edge on the floor and hold an empty roasting pan at the intended height. You may discover that moving the island, shifting the oven, or widening the work zone matters more than making the elevation perfectly symmetrical. Test safely; a cardboard outline can reveal plenty before any real appliance is energized.
4. Reserve a nearby landing for heavy hot cookware
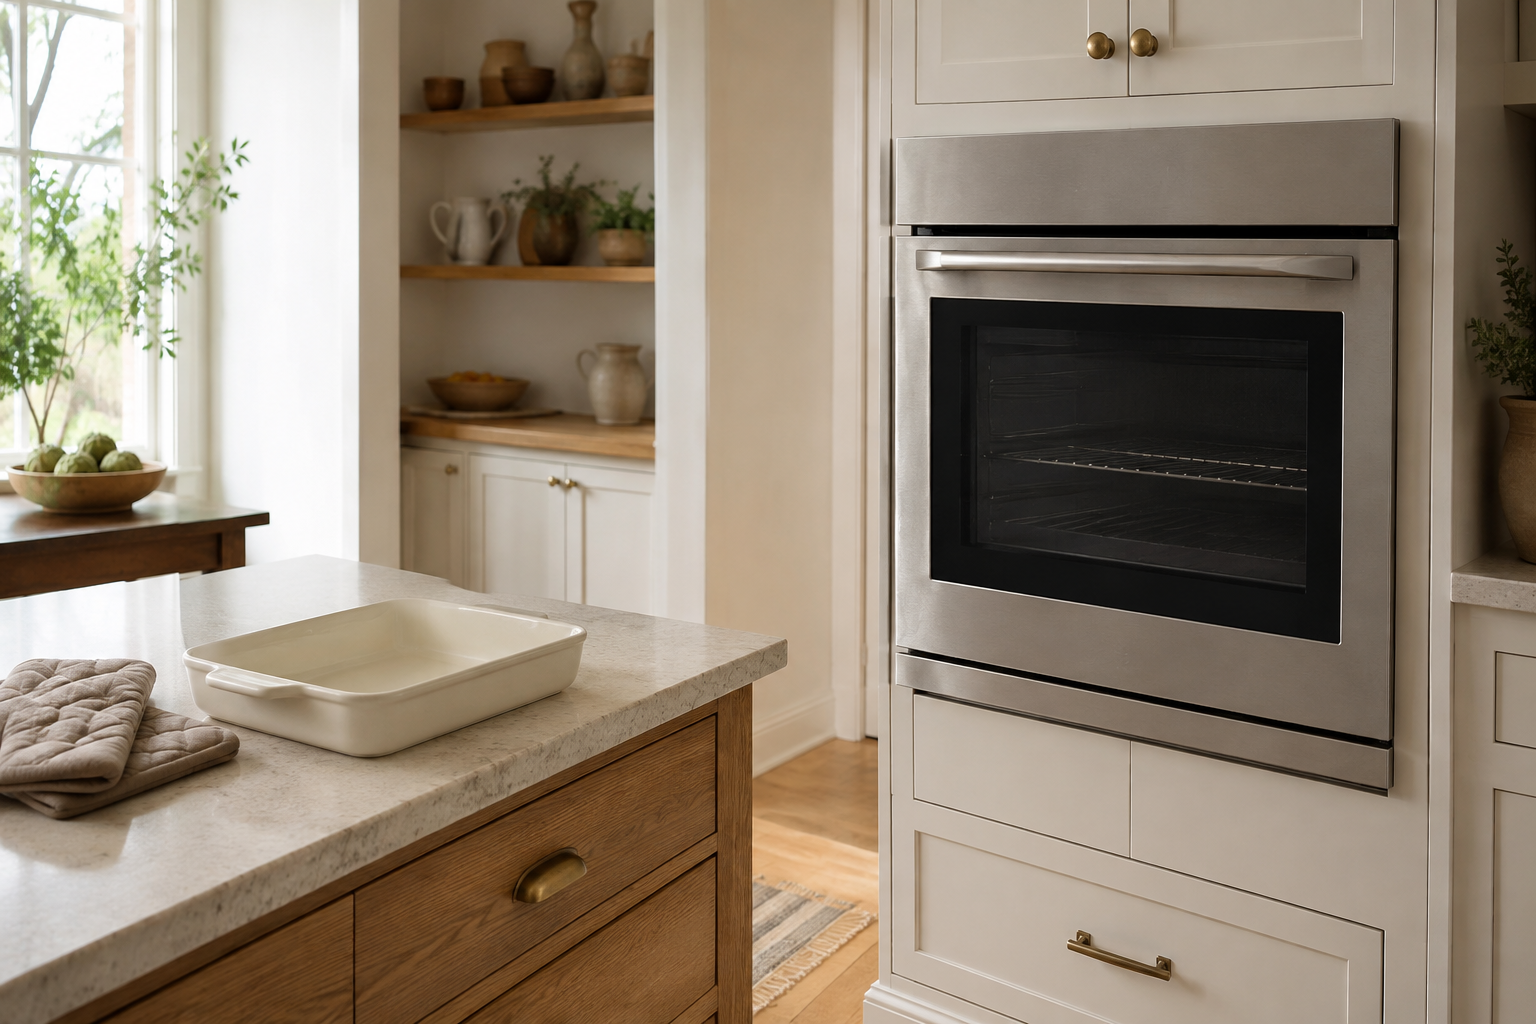
Name the clear counter where a baking sheet, Dutch oven, or hot roasting pan can land without crossing a traffic path. It should be close enough for one controlled movement and available during meal preparation. A common mistake is counting an island surface that is behind the open oven door or normally filled with stools, groceries, or small appliances. Another is placing the oven at the end of a tall run with no heat-safe landing on either side. Rehearse removing an empty pan, turning, and setting it down. The landing can support loading too, giving ingredients and cookware a predictable place before the door opens.
5. Set height from eyes, hands, controls, and storage
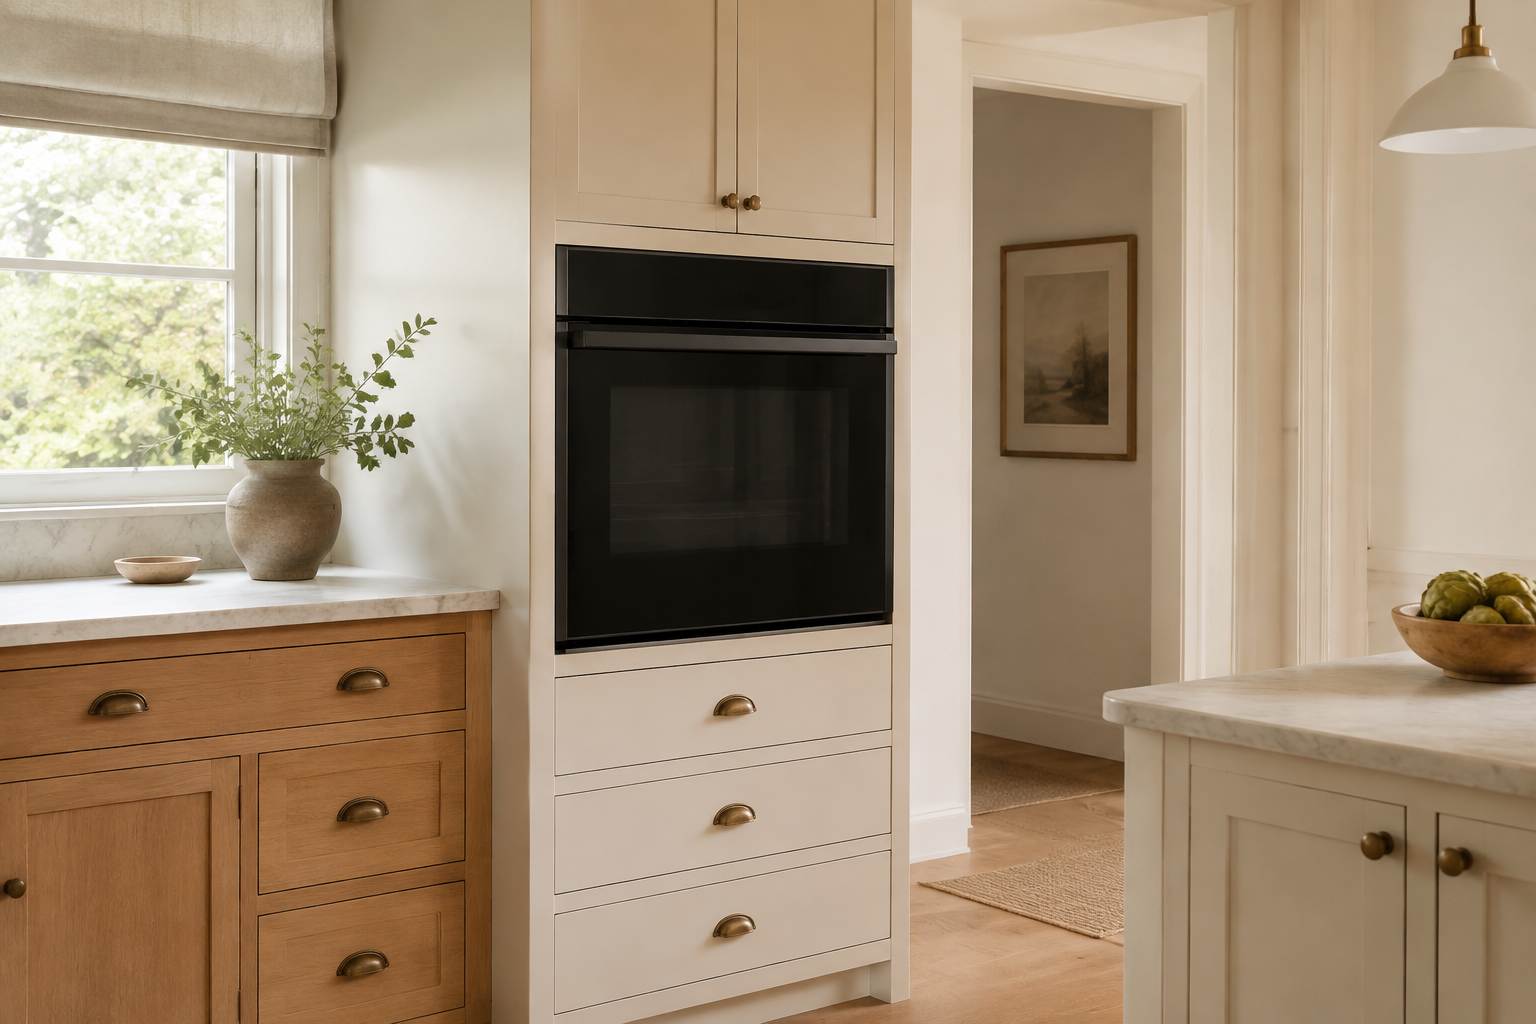
Mock up the oven floor, controls, handle, and lowest and highest rack for the people who cook most often. A comfortable control panel does not automatically create a comfortable lift from every rack. A common mistake is raising the appliance to match a dramatic cabinet line while the top rack becomes difficult to see or reach. Another is lowering it to gain display storage above while forcing a deep bend with a heavy pan. Also decide what storage below remains genuinely useful and whether its handles interfere with stance. Product rules and accessibility needs vary, so combine a household reach test with the current manufacturer and professional review rather than copying a showroom height.
6. Preserve required reveals, airflow, and heat conditions
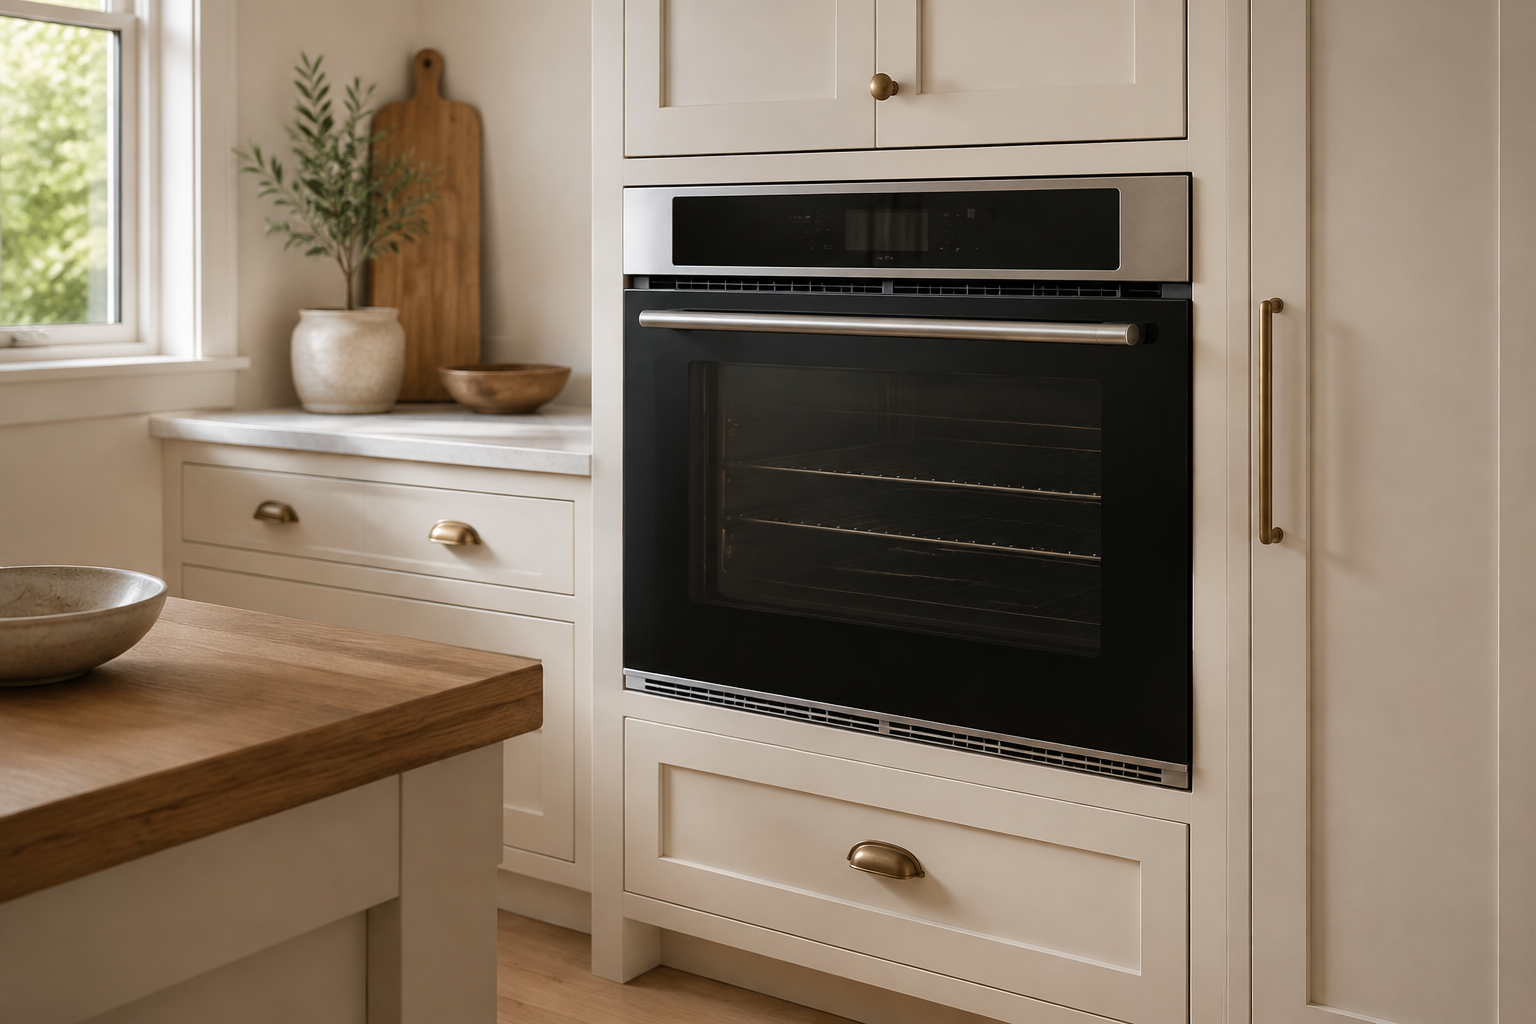
The oven face, trim, vents, door edges, cabinet rails, fillers, adjacent materials, and counter or panel joints must follow the exact approved installation. Do not close a gap simply because it appears unfinished, and do not assume decorative trim can cover a cabinet error. Those are common attempts to solve appearance after the technical detail is missed. Draw the appliance face and hidden body at the same scale as the cabinet. Identify which openings must remain clear, which surfaces see heat, and which parts need removal. The manufacturer, cabinet supplier, installer, and relevant professionals should approve the finished relationship before paint, panels, or fillers make it difficult to correct.
7. Coordinate power and service with qualified people
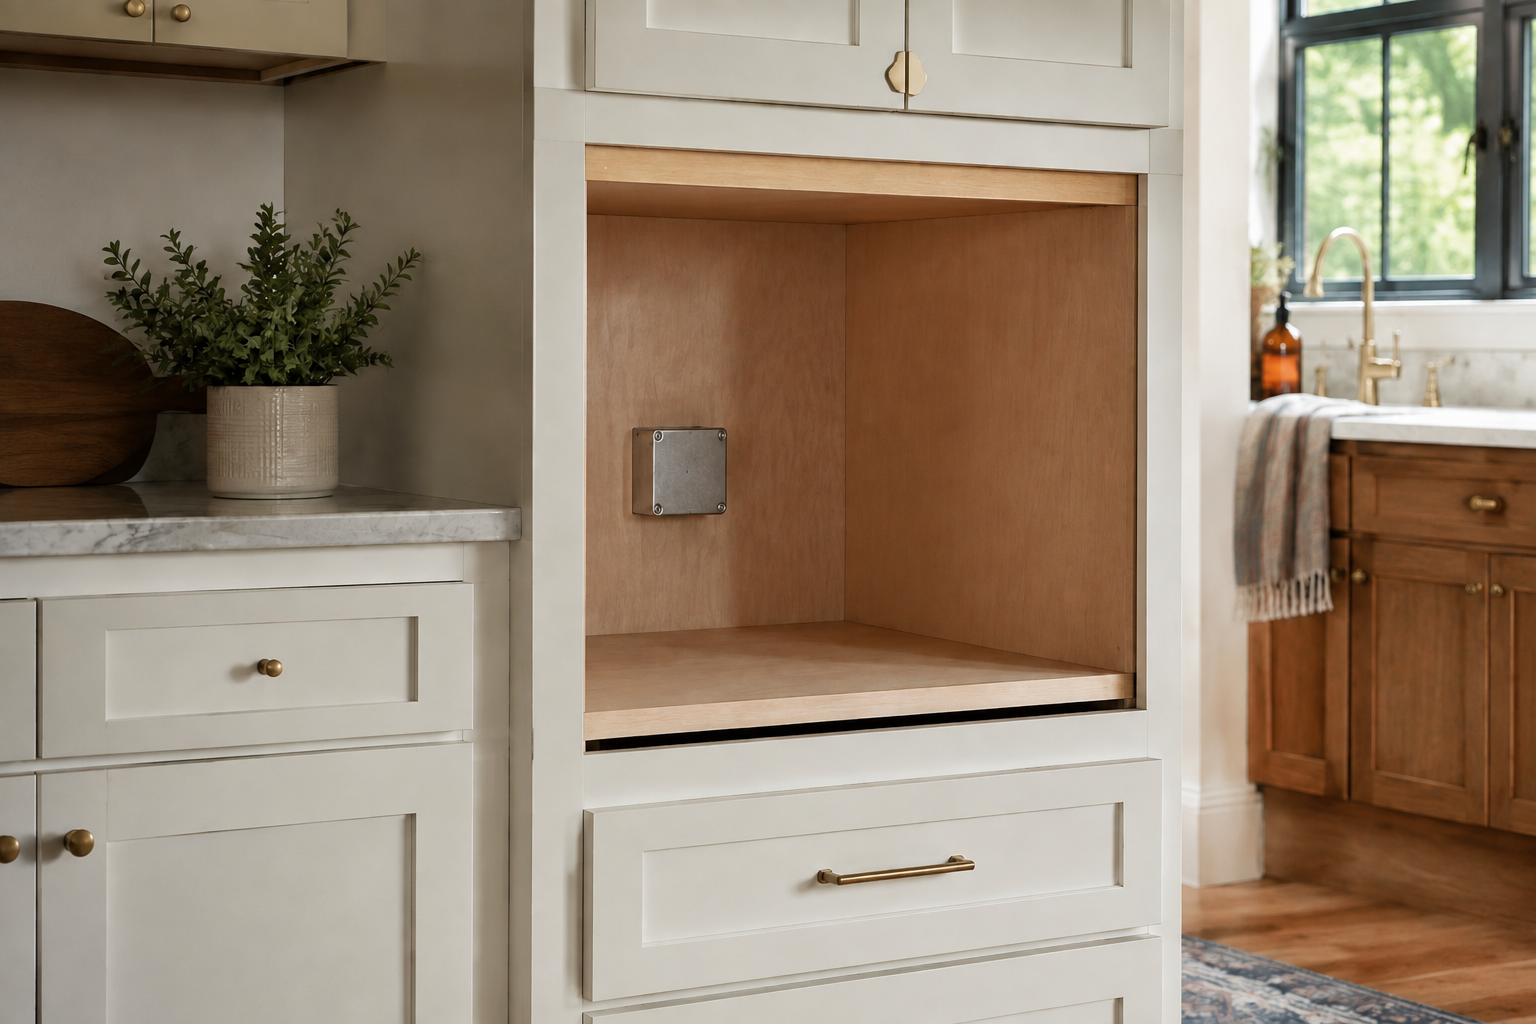
Wall ovens can have substantial electrical and connection requirements. Show the approved junction or connection zone, circuit information, access, cabinet penetrations, cord or conduit path where applicable, and how the oven can be pulled for service. The common mistake is placing a box where the appliance body must sit. Another is burying the connection behind permanent cabinetry because it is visually tidy. This article is not an electrical instruction: do not size, connect, move, or alter service from a generic plan. The licensed electrician, appliance provider, cabinet supplier, installer, and authority must coordinate the exact appliance and project. Your drawing should reserve space, expose conflicts, and clearly assign the decision.
8. Open pantry doors and drawers beside the oven
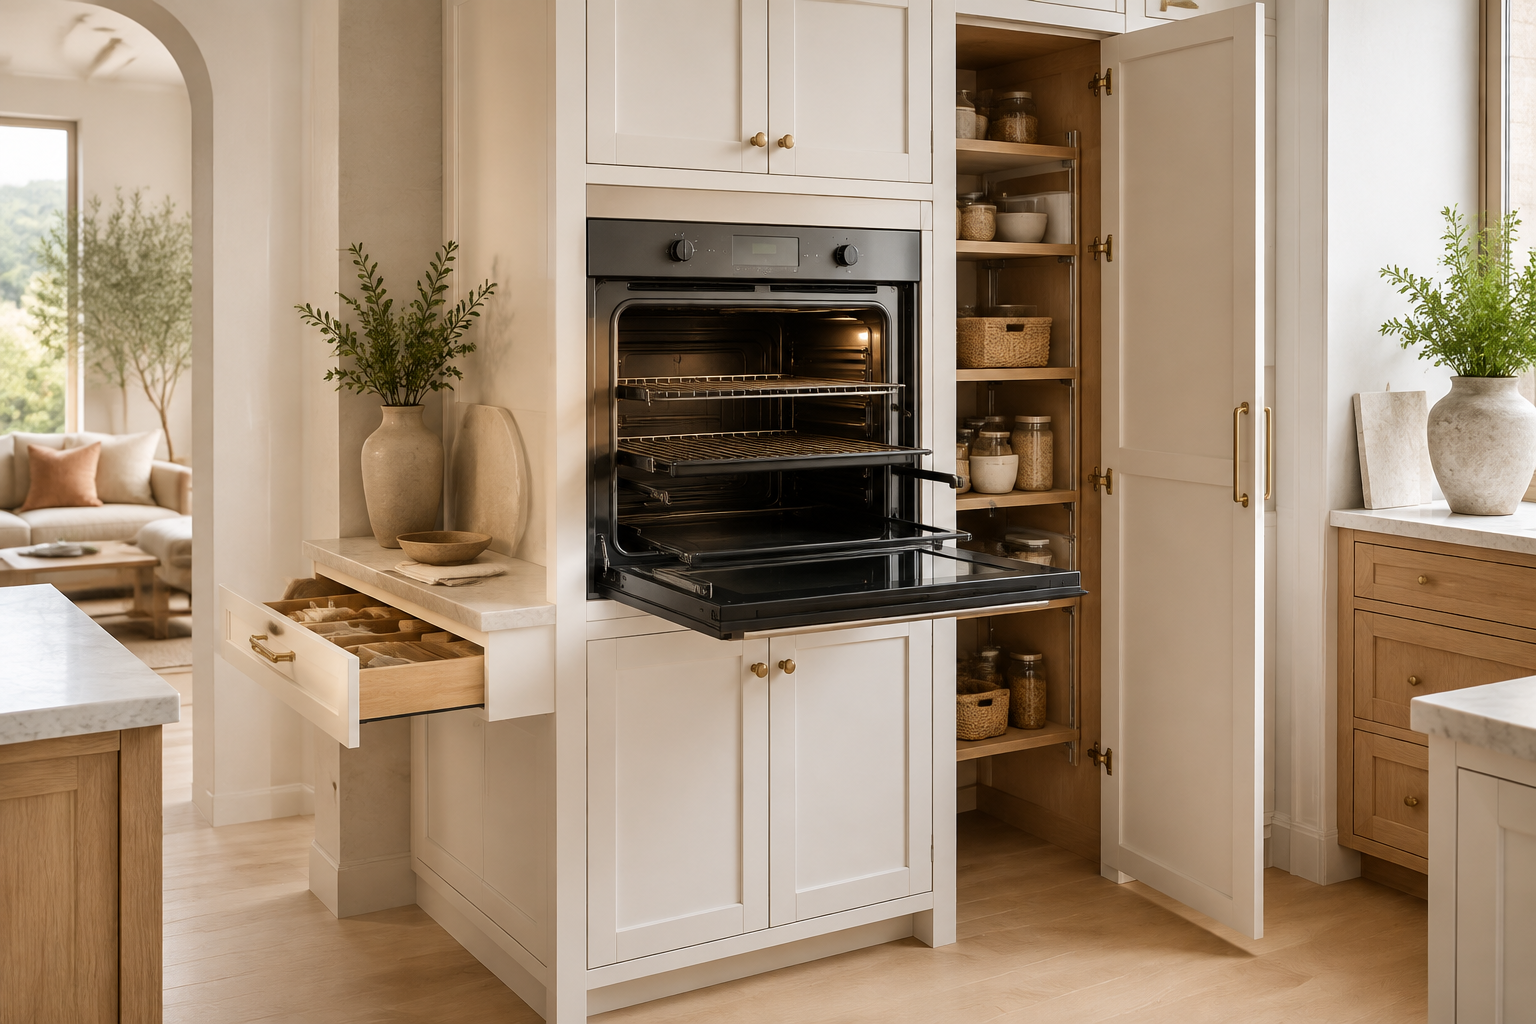
Test every nearby pantry door, drawer, rollout, refrigerator door, corner front, handle, and wall return against the oven door and the cook's body. A narrow filler may make the closed elevation fit while the pantry hardware strikes the oven handle or a drawer traps the open door. Another common mistake is checking each front separately without considering two people working at once. Make a simple swing-and-projection overlay, then decide which simultaneous actions matter and which sequence is acceptable. The result may need a filler, wider stile, shifted appliance, changed hinge, different handle, or revised cabinet width—decisions best made before finishing panels are cut.
9. Walk the delivery, installation, and removal route
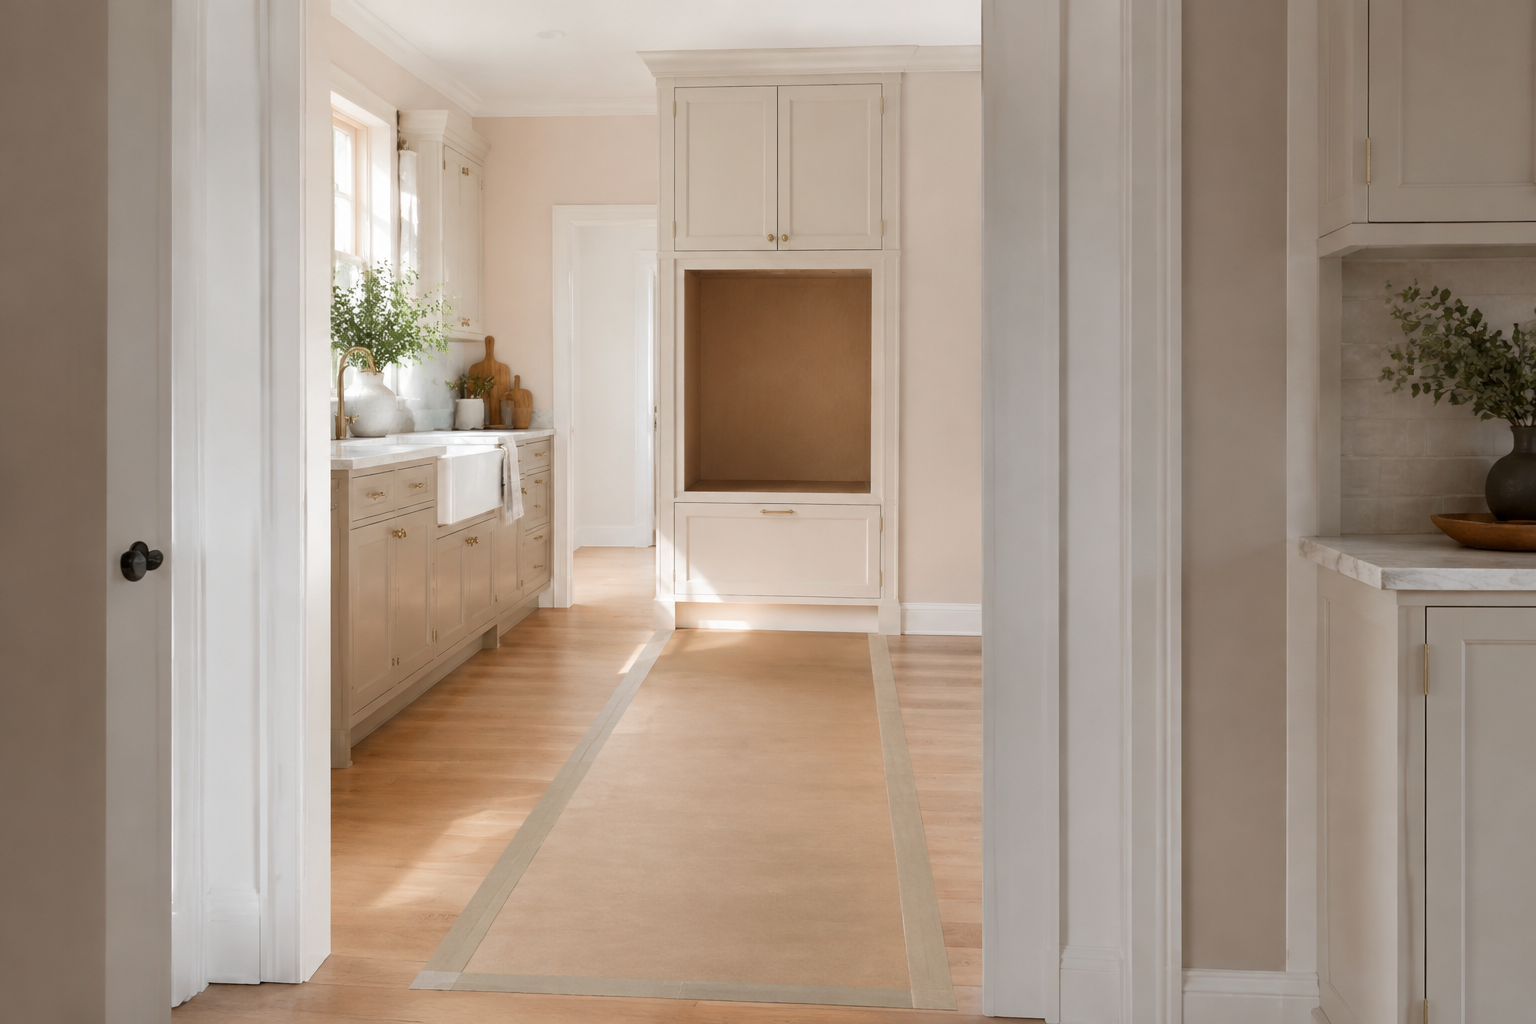
Trace the packaged appliance from the delivery entrance through doors, halls, turns, flooring, islands, and finished cabinet openings to the wall. Record who protects surfaces, confirms the opening, provides lifting help, makes connections, secures the oven, tests it, and returns for trim or adjustment. A common mistake is planning only the final face and discovering the unit cannot turn past a new island. Another is trapping the appliance with finished flooring, trim, or a counter so future service requires damage. Ask the supplier and installer about delivery and removal needs early. A clear route is part of the design, even though it disappears after installation day.
10. Approve one coordinated cabinet-and-appliance set
Bring the current oven document, cabinet plan and section, support, wall condition, power plan, height mockup, open-door footprint, landing, neighboring fronts, finish details, delivery route, and service notes into one final review. Label every unresolved assumption. Assign who supplies, builds, supports, connects, installs, adjusts, tests, and warranties each part. The final common mistake is hearing that everyone approved their own drawing while no one compared the drawings to each other. You do not need trade expertise to ask that comparison to happen. A homeowner's organized checklist can give the responsible experts the context they need and turn an expensive late surprise into an ordinary early revision.
Connect the wall oven to cabinets, counters, and circulation
A successful wall-oven cabinet combines exact appliance data with the opening, fillers, landing, aisle, storage, and service plan. These guides help you verify the surrounding decisions.
Record Appliance Details Plan Cabinet FillersOpen the oven in the plan before the cabinet is built
Use StilePath to place the wall oven, cabinets, counters, island, and household routes in 2D and 3D. Bring exact product information and clearly labeled assumptions into cabinet, electrical, installation, and professional review.
Start Planning Free