
The smallest cabinet pieces often solve the biggest fit problems
Fillers, scribes, panels, skins, and trim rarely get the attention given to drawers or door styles, yet they decide whether cabinets can open, appliances look integrated, and a run meets the room cleanly. You can make a useful first plan without knowing every trade term. Start with a tape measure and a simple elevation, then mark every place a cabinet meets a wall, floor, ceiling, appliance, or exposed side. These ten checks will help you ask better questions before the supplier turns the layout into an order.

1. Find every place the cabinetry meets the room
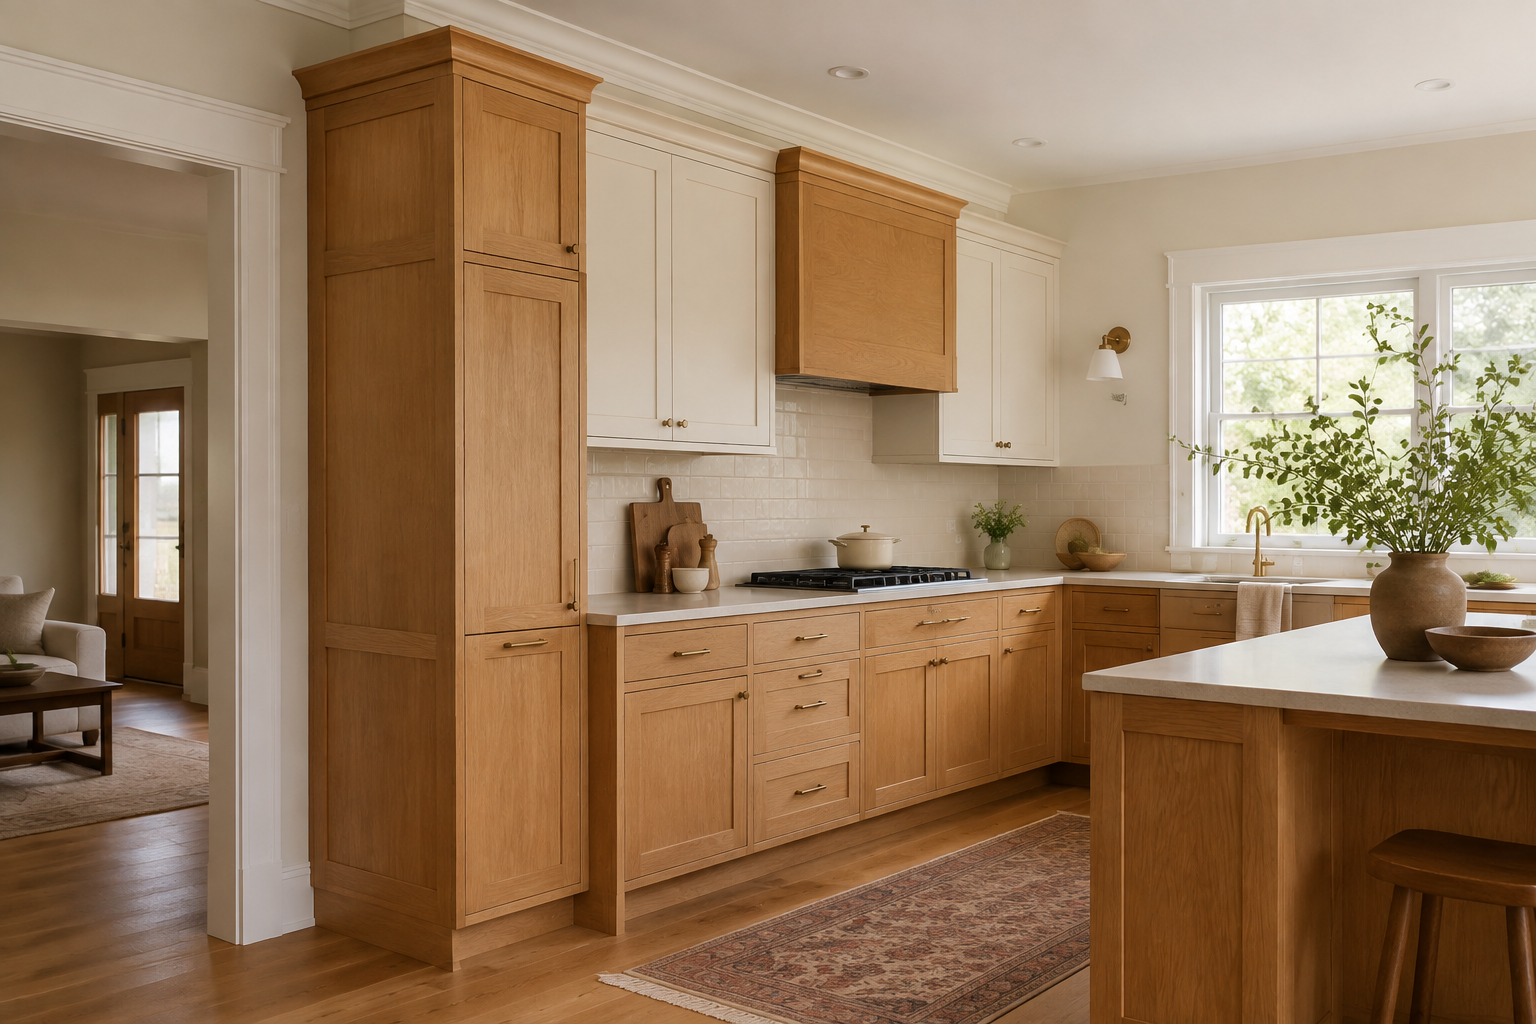
Walk the room and circle each wall end, inside corner, outside corner, doorway, window casing, soffit, ceiling change, exposed cabinet side, and appliance opening. Those are the locations most likely to need a filler, finished panel, scribe, trim piece, or deliberate reveal. A common mistake is reviewing the cabinet run only from the front and missing what happens at its edges. Photograph each meeting point and connect it to the elevation. You are not choosing the solution yet; you are making sure the problem cannot disappear from the conversation.
2. Use a wall scribe to meet an imperfect surface
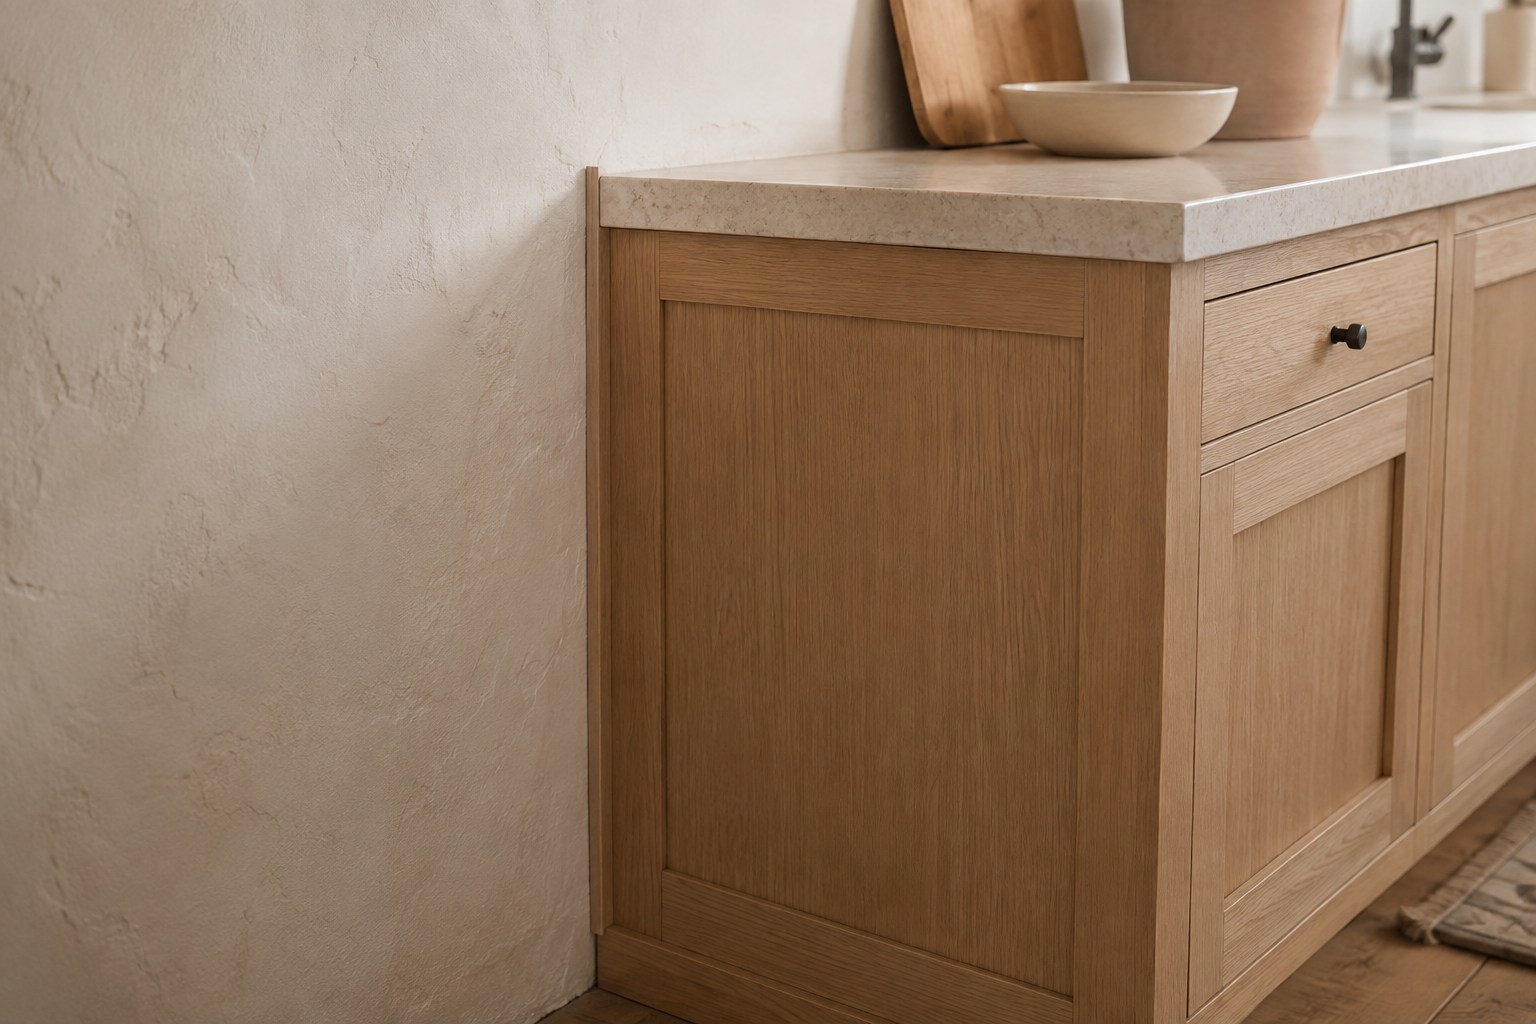
Real walls bow, lean, and carry texture. A scribe piece gives the installer material to fit against that irregular surface while keeping the cabinet box square. The familiar mistake is drawing the last cabinet tight to the wall because the plan looks cleaner with no gap. In the room, that can leave an uneven crack or force the box out of alignment. Measure the wall in several places, note trim and base conditions, and let the cabinet supplier and installer define the appropriate scribe detail for the actual construction.
3. Protect doors and drawers beside a wall
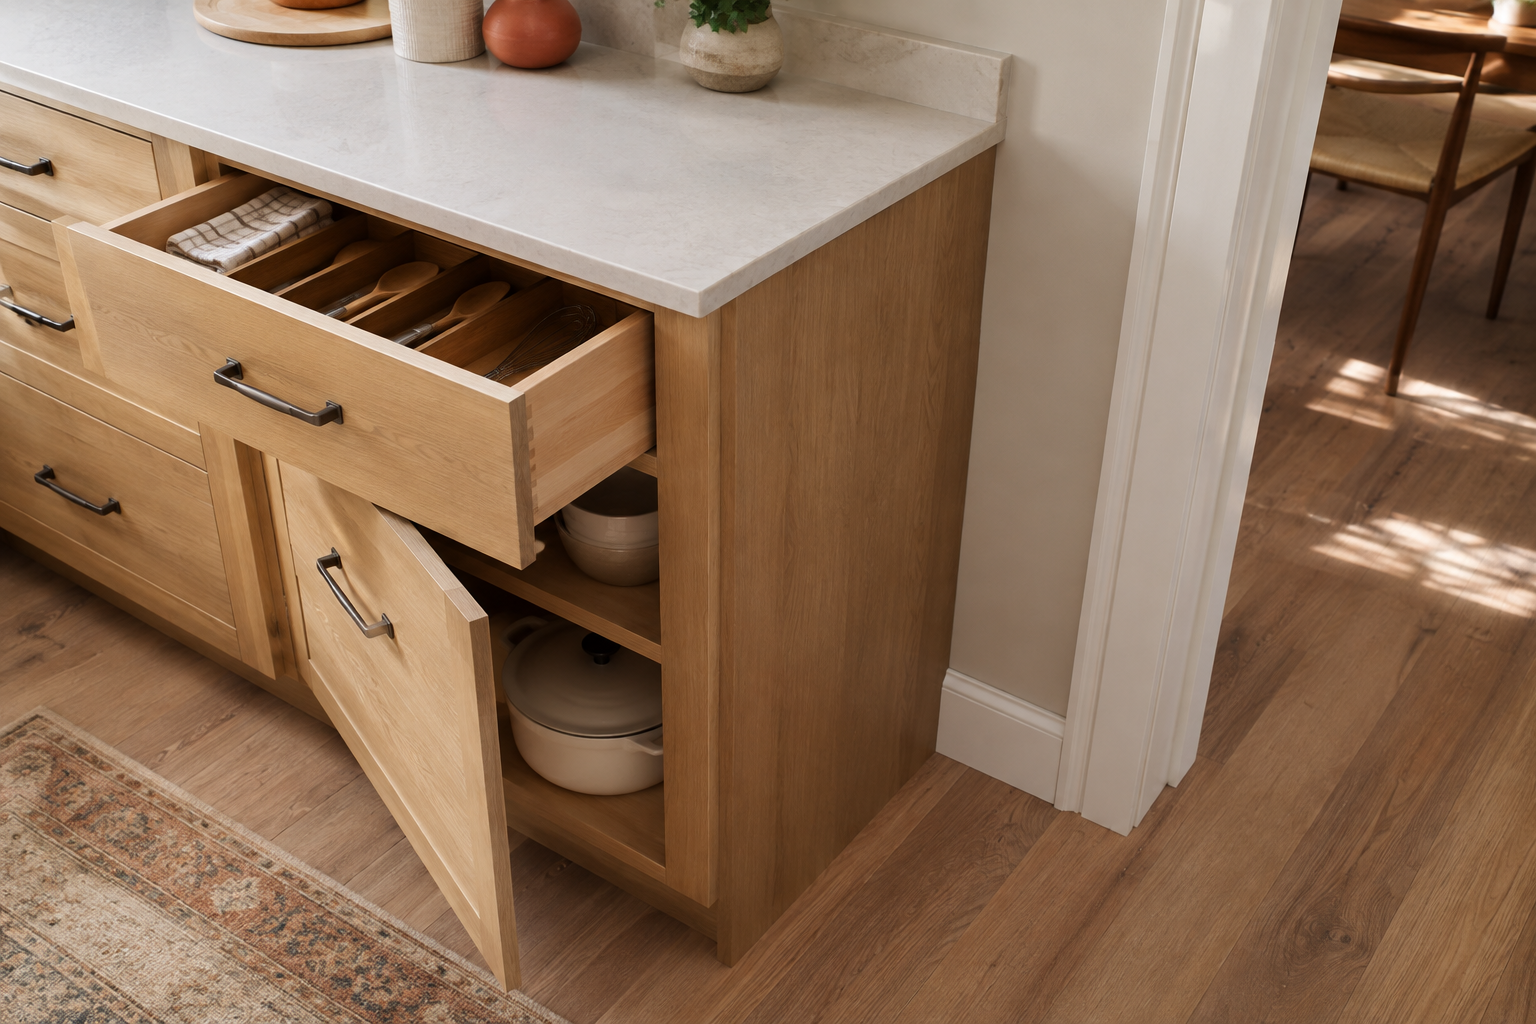
A filler beside a wall may be what allows a door, drawer, tray, or handle to open without striking casing or scraping paint. Open the component in plan view and include the chosen hardware projection. A common mistake is checking the closed elevation only, where everything appears aligned. The collision happens after installation, when the drawer needs its full travel or a wide pull reaches the wall first. Ask for the supplier's required clearance and test the real door style and hardware together rather than assuming a narrow visual gap is enough.
4. Frame appliance openings with service in mind

Appliance panels can create a finished opening, support adjacent cabinetry, and establish a consistent line, but the opening still has to match the current appliance instructions, ventilation, utilities, and service access. The easy mistake is designing the frame around the appliance's visible face instead of its full installation requirements. Keep blank-faced product specifications with the plan and have the appliance provider, cabinet supplier, installer, and responsible trades reconcile them. An integrated look should never depend on trapping a product that will eventually need adjustment or replacement.
5. Draw the refrigerator enclosure from every side
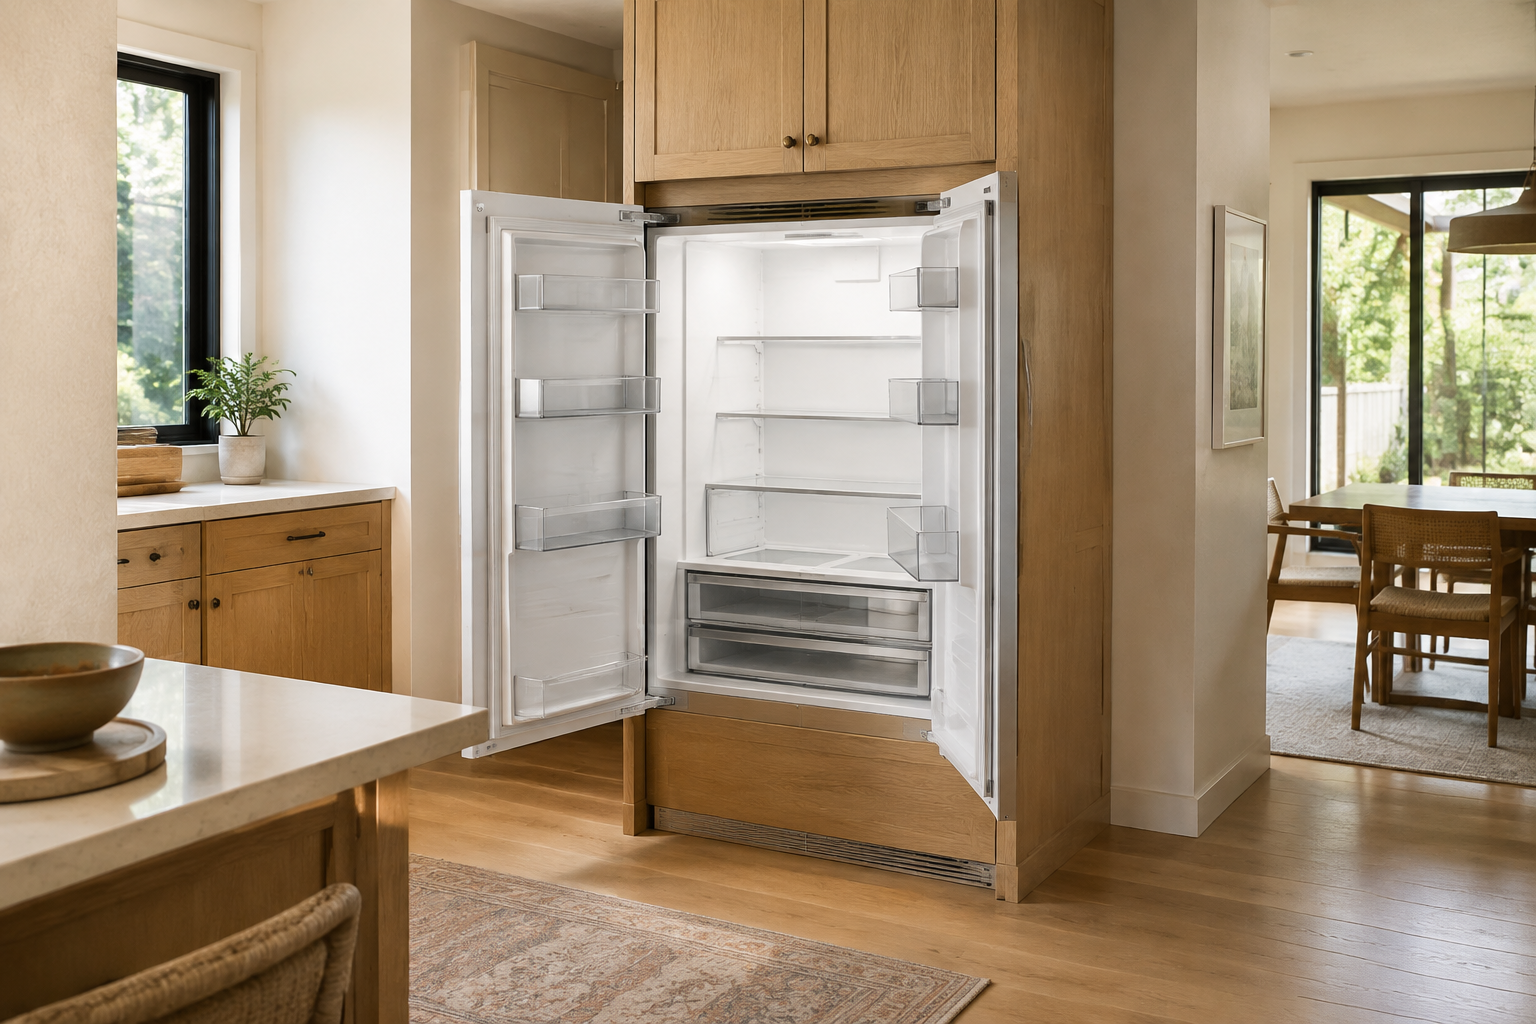
A refrigerator enclosure affects the plan, front elevation, side view, door swing, ventilation, countertop return, and the path used to move the appliance in or out. Check all of them. A common mistake is making the enclosure visually tight while ignoring hinge movement, handle projection, wall interference, or the depth needed for doors and drawers to open fully. Use the exact current model information and let the supplier define its required conditions. If the refrigerator may change later, discuss how much flexibility the enclosure should preserve before the panels are ordered.
6. Finish island backs and ends as architecture
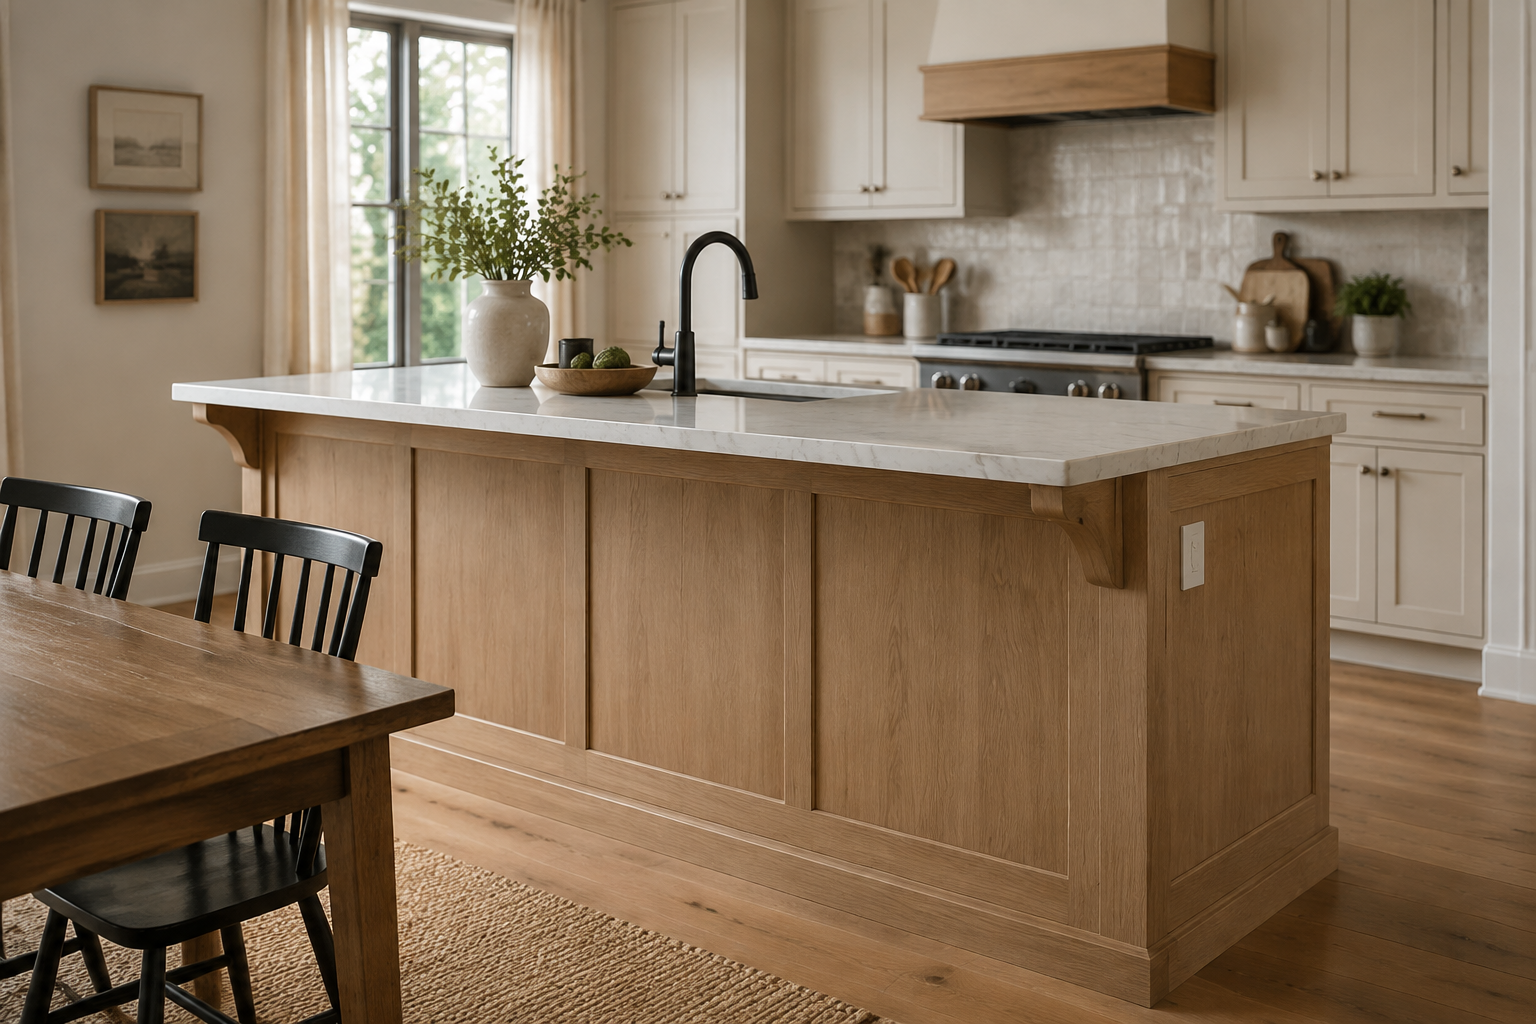
The back and ends of an island are visible furniture surfaces, not leftover cabinet sides. Decide whether they should be flat, framed, decorative, storage-facing, or coordinated with seating and countertop support. The frequent mistake is approving the working side and discovering later that the room-facing side was never designed. Draw the island from all four directions and include outlets, seams, supports, toe treatment, and door swings. The cabinet supplier, electrician, installer, and countertop fabricator should agree on where each piece begins and ends.
7. Mark every exposed cabinet side

A cabinet side may be visible beside a doorway, window, seating area, range, hood, or change in wall depth. Some cabinet systems finish the box side; others use a separate panel or skin to match the door construction and color. The common mistake is assuming every exposed side automatically matches the front. Trace the plan with a highlighter and mark each surface visible from the room. Then confirm the material, thickness, edge, and alignment so the order contains the correct finished part rather than a field improvisation.
8. Plan the cabinet-to-ceiling transition
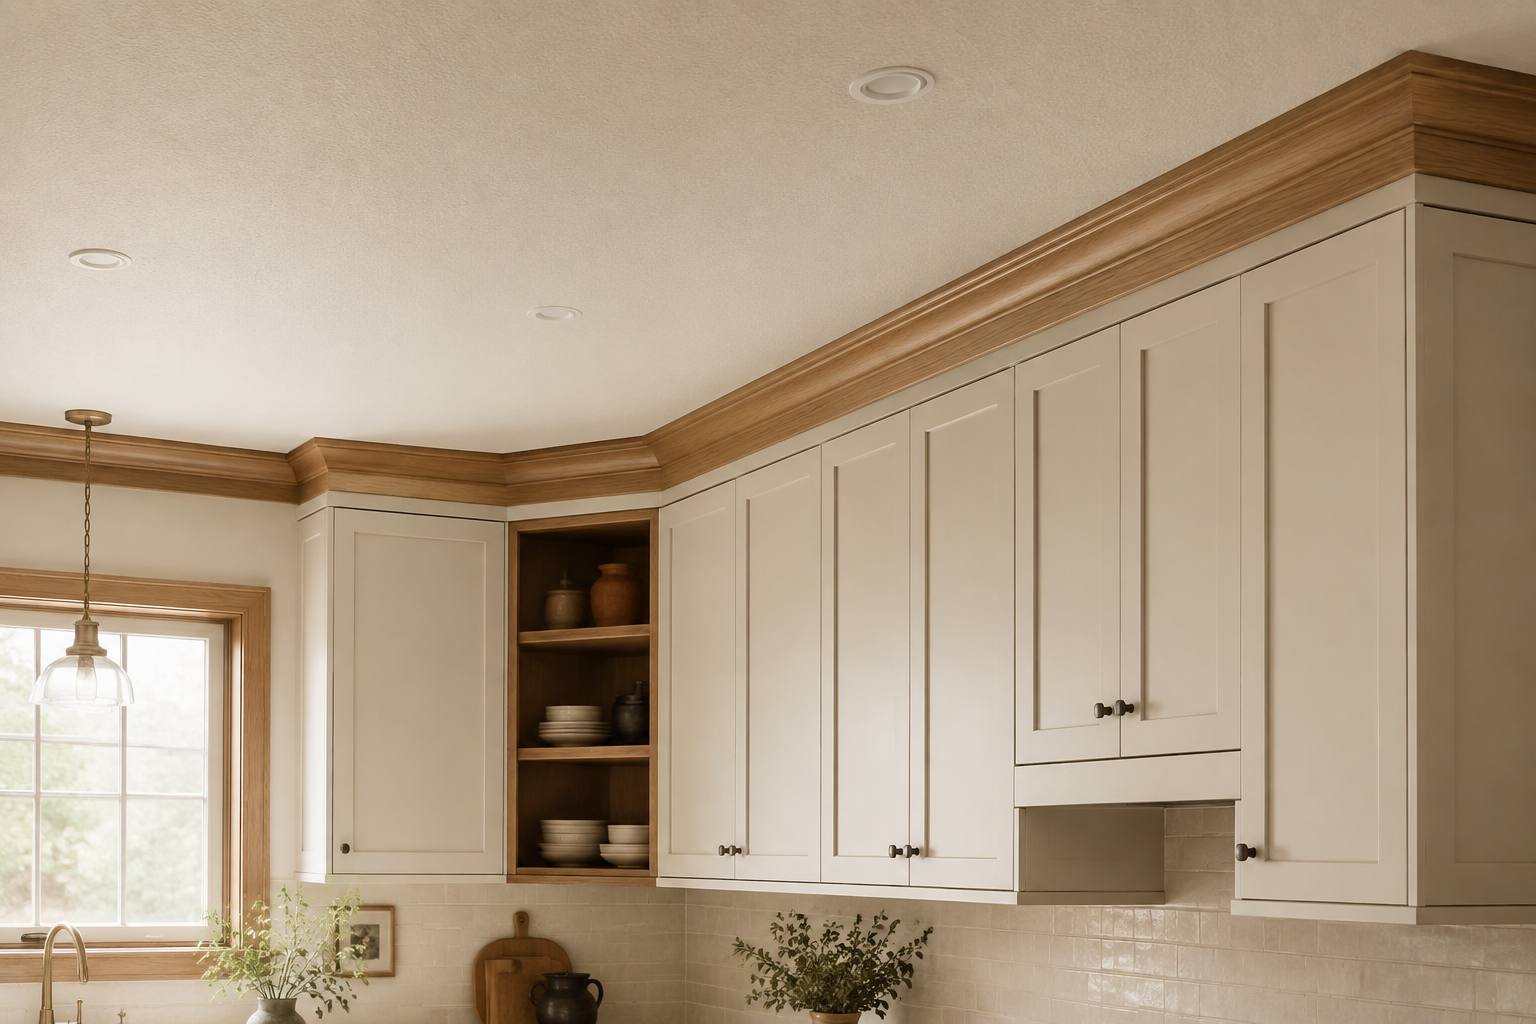
Cabinets can stop below the ceiling, meet a simple trim, continue through a stacked moulding, or coordinate with a soffit. Each choice needs room for ceiling variation, door swing, lighting, installation, and the proportions of the elevation. A common mistake is selecting crown from a sample without drawing the full height, then finding that the assembly does not fit or looks compressed. Measure the ceiling repeatedly, show the complete transition in section, and have the supplier and installer confirm how it will be fitted on site.
9. Coordinate seams, reveals, and material changes

Panel seams and reveals are easiest to accept when they align with cabinet doors, appliance edges, countertop breaks, or another clear architectural line. They look accidental when each trade chooses a different stopping point. The frequent mistake is treating the cabinet elevation, stone template, backsplash, and electrical layout as separate drawings. Put them together and circle every visible transition. Ask who owns each edge and what tolerance they need. A modest, consistent reveal usually feels more intentional than trying to hide every joint in an imperfect room.
10. Approve the finish pieces with the cabinet order
Before approval, compare the plan, elevations, perspectives, parts list, door sample, finish sample, appliance information, and field measurements. Verify that every exposed side and room meeting has a named treatment. A common mistake is signing off on cabinet quantities while a note says fillers and panels will be confirmed later. Those pieces affect the run length and should not be an afterthought. Have the supplier and installer review the same current documents, and keep revisions together so an older elevation cannot quietly return during ordering or installation.
Connect the finish details to the larger cabinet decision
Fillers and panels work only when cabinet dimensions, appliance openings, and corner clearances agree. Use the related guides to review those larger constraints before the order is released.
Confirm Cabinet Dimensions Review Corner Cabinet OptionsSee where every cabinet run meets the room
Use StilePath to place the cabinet runs, inspect exposed ends and appliance openings, and compare the room in 2D and 3D. A visible first plan makes it much easier to ask what each small finish piece is solving.
Start Planning Free