
A useful closet starts with a calm, careful look at the room
You do not need to be a carpenter to make a useful first closet plan. Get a tape measure, pencil, paper, and your everyday wardrobe, then work through one condition at a time. The goal is not to produce shop drawings at the kitchen table. It is to record the real room, notice conflicts while they are still easy to fix, and give a designer or cabinet supplier a much clearer starting point. Measure twice when a number feels uncertain, write questions beside the sketch instead of guessing, and keep the finished aisle in mind as you add storage. These ten checks will help you turn a beautiful inspiration image into built-ins that can work on an ordinary morning.
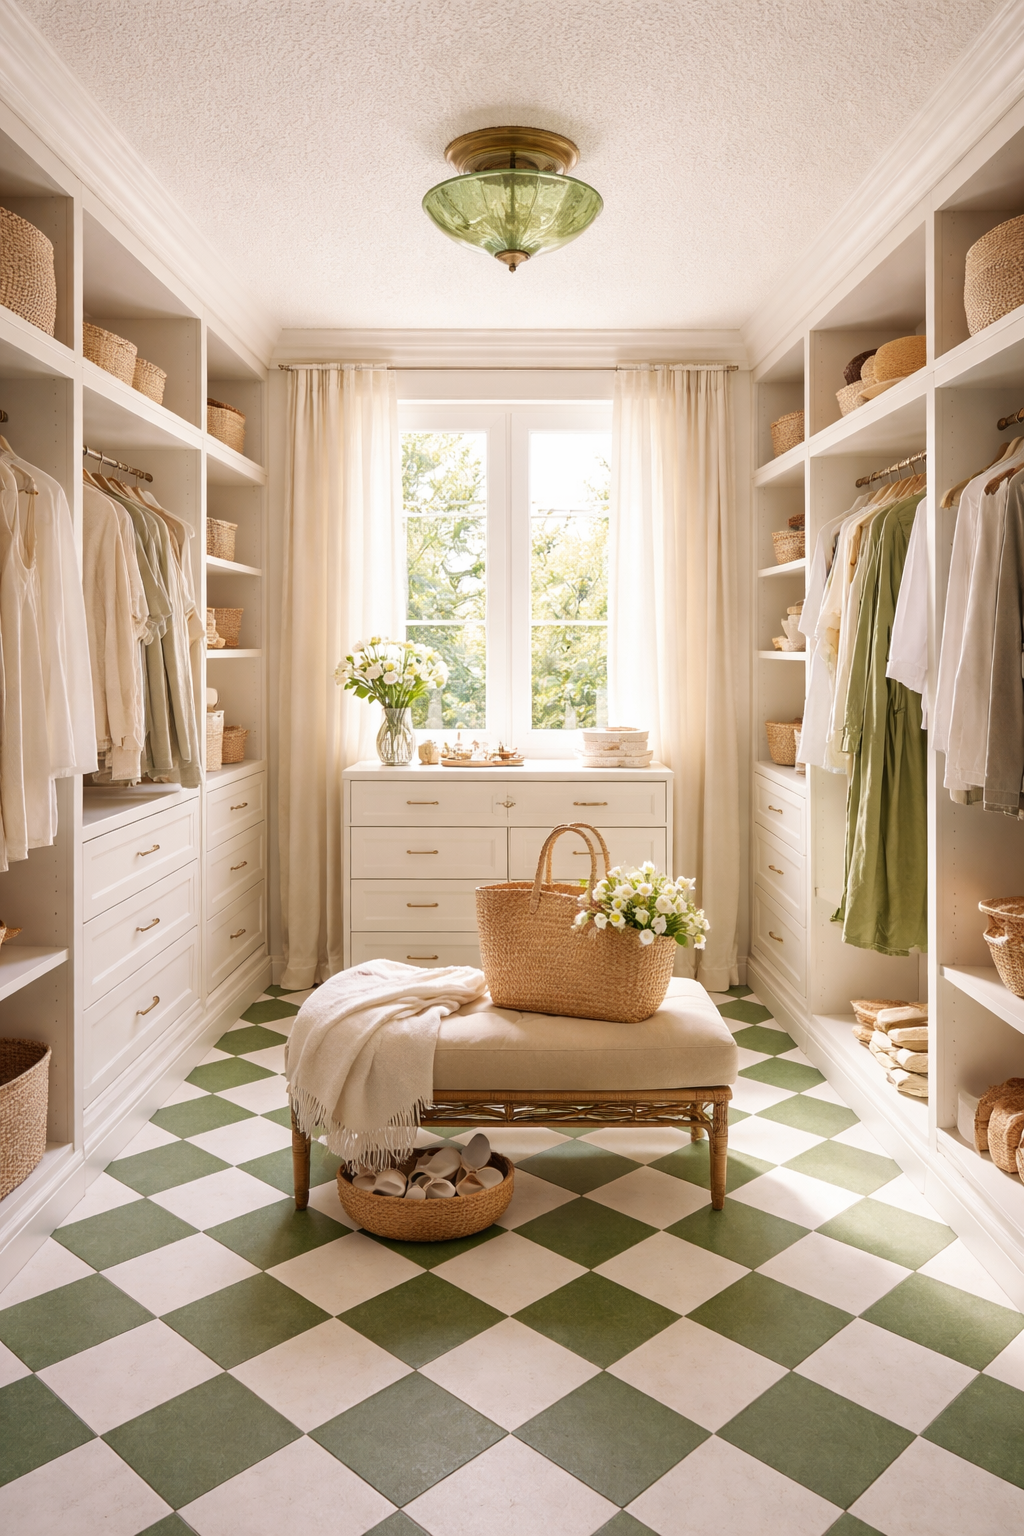
1. Draw the room before you draw the cabinets
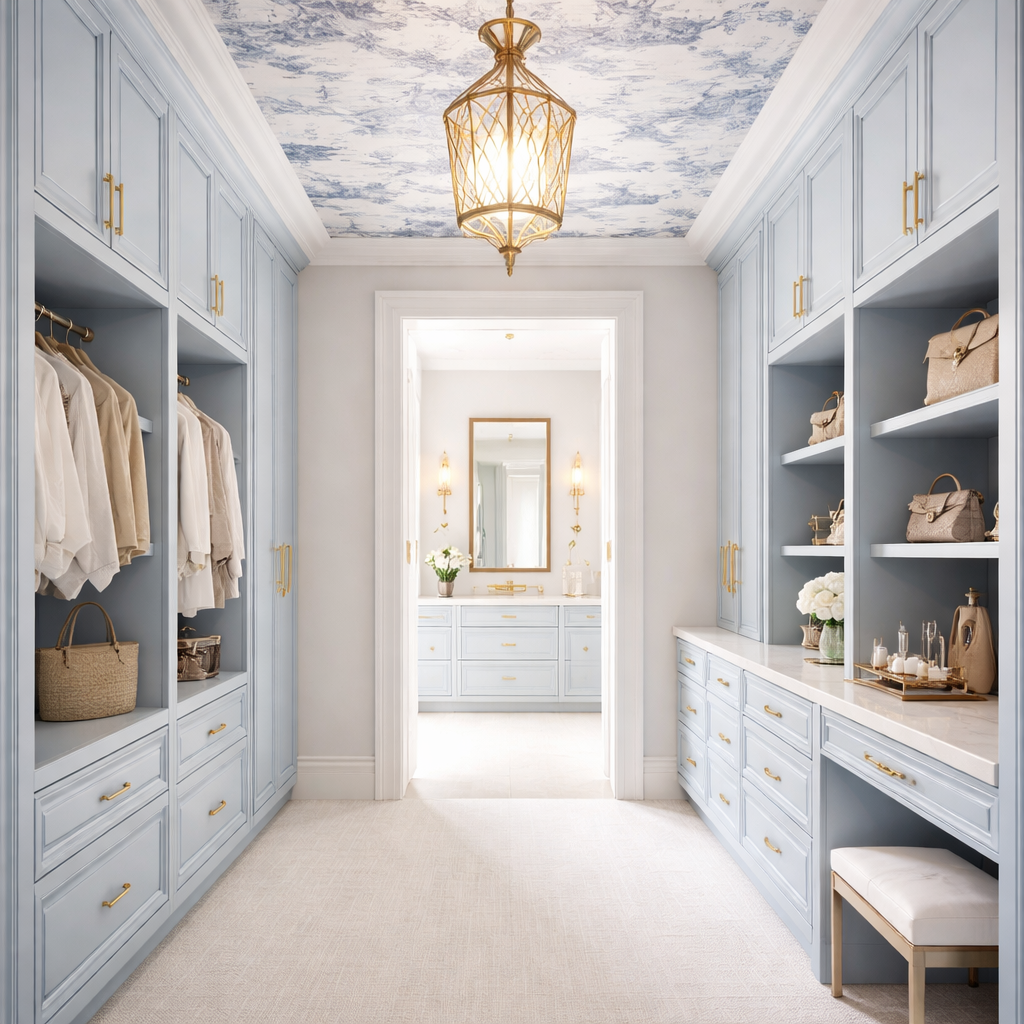
Begin with a simple bird's-eye outline of the room. Record every wall from corner to corner, then measure the same spans near the floor, at waist height, and close to the ceiling. Real rooms can taper, bow, or lean, and a cabinet designed from one convenient number may not fit where it matters. Mark ceiling height in several places and note baseboards, crown, sloped areas, soffits, and unusually thick trim. A common mistake is subtracting an opening from an overall wall dimension and assuming the two remaining pieces are equal; measure each piece directly. Anyone can do this first pass. Keep the sketch legible, label uncertain dimensions with a question mark, and return for a second reading before treating a number as final.
2. Count clothes by the way they hang
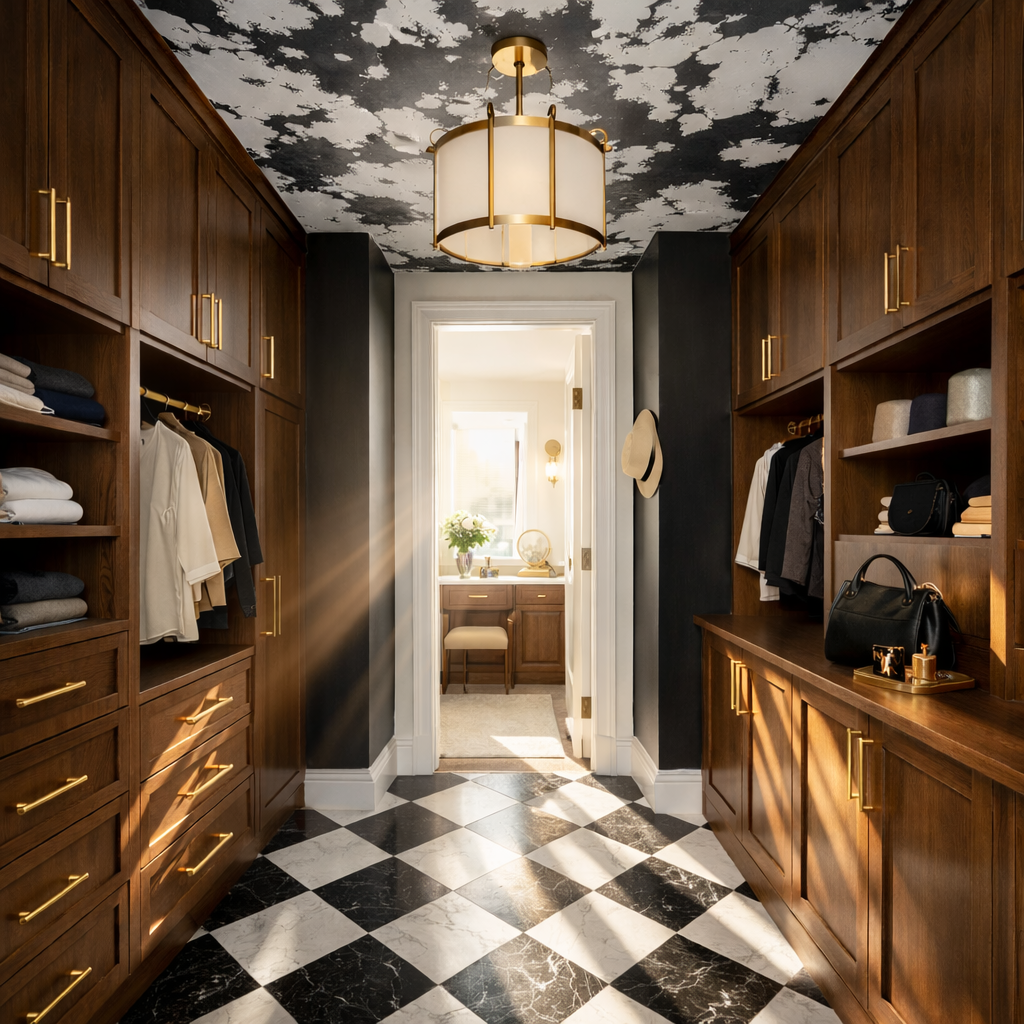
Separate shirts, trousers, skirts, dresses, coats, and unusually long pieces before deciding how many hanging bays you need. Measure a few representative garments on their hangers from the top of the hook to the lowest hem. Double-hang zones can use height efficiently for shirts and folded trousers, while long-hang space should remain uninterrupted so dresses and coats do not drag across drawers or shoes. A common mistake is copying equal bays from a showroom even though the household owns far more short items than long ones. Another is placing a shelf so low that hangers scrape it. Count the real wardrobe, leave a little room for change, and put the most-used categories where they are easy to see and reach.
3. Match shelf depth and spacing to real belongings
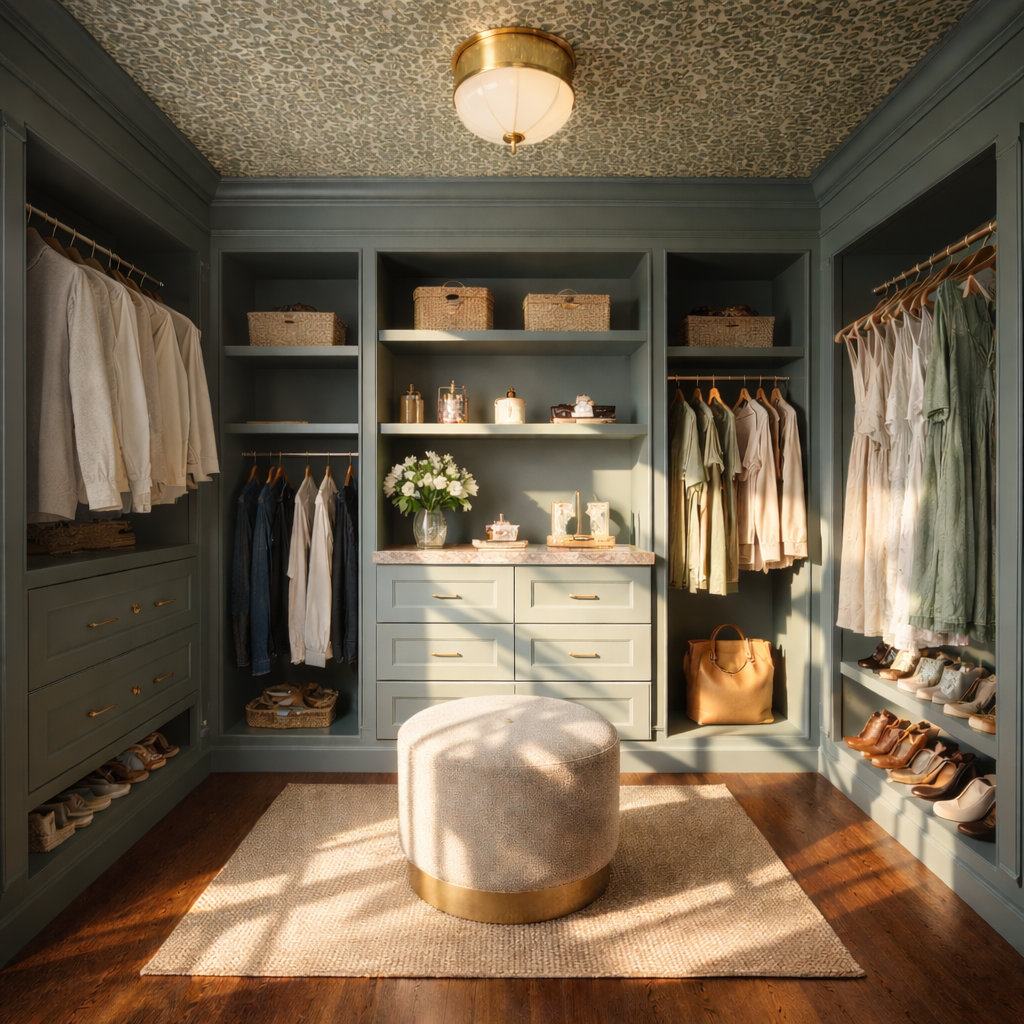
Shoes, sweaters, handbags, hats, and folded linens do not all want the same opening. Measure the depth and height of several real items, including tall boots and the largest bag you expect to store. Shallow shoe shelves make pairs easier to see, while folded clothing usually benefits from a little more depth and breathing room. Adjustable shelves are useful, but they still need solid side panels, sensible spans, and accessible shelf-pin positions. A common mistake is making every shelf deep enough for the biggest object; smaller items then disappear behind one another. Another is stacking shelves so closely that hands cannot lift an item out. Plan for the object, the hand reaching for it, and a modest amount of future change.
4. Test every door and drawer in the aisle
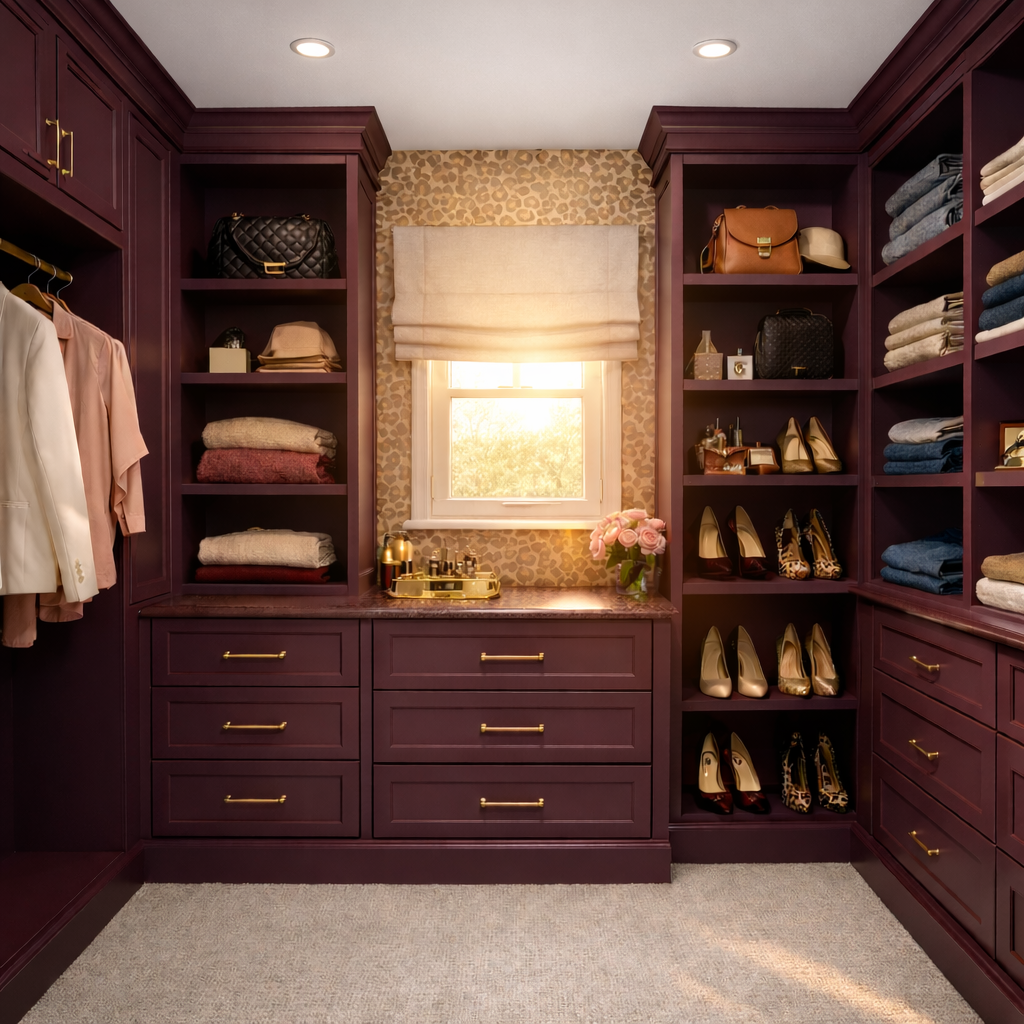
Draw the swing of the entry door, cabinet doors, hampers, pullouts, and drawers directly on the plan. Then stand in the room and use painter's tape or boxes to represent how far each front projects when open. A walkway that feels generous with everything closed can become frustrating when a drawer meets a bench or two people try to pass. The common mistake is checking cabinet depth but forgetting hardware, door thickness, and the person standing in front of an open drawer. If two fronts face each other, test the worst-case overlap. You do not have to predict every morning perfectly; just protect the busiest route and the storage you will open most. A smaller drawer bank that opens freely is more useful than a larger one trapped by furniture.
5. Earn the bench or island with clear circulation
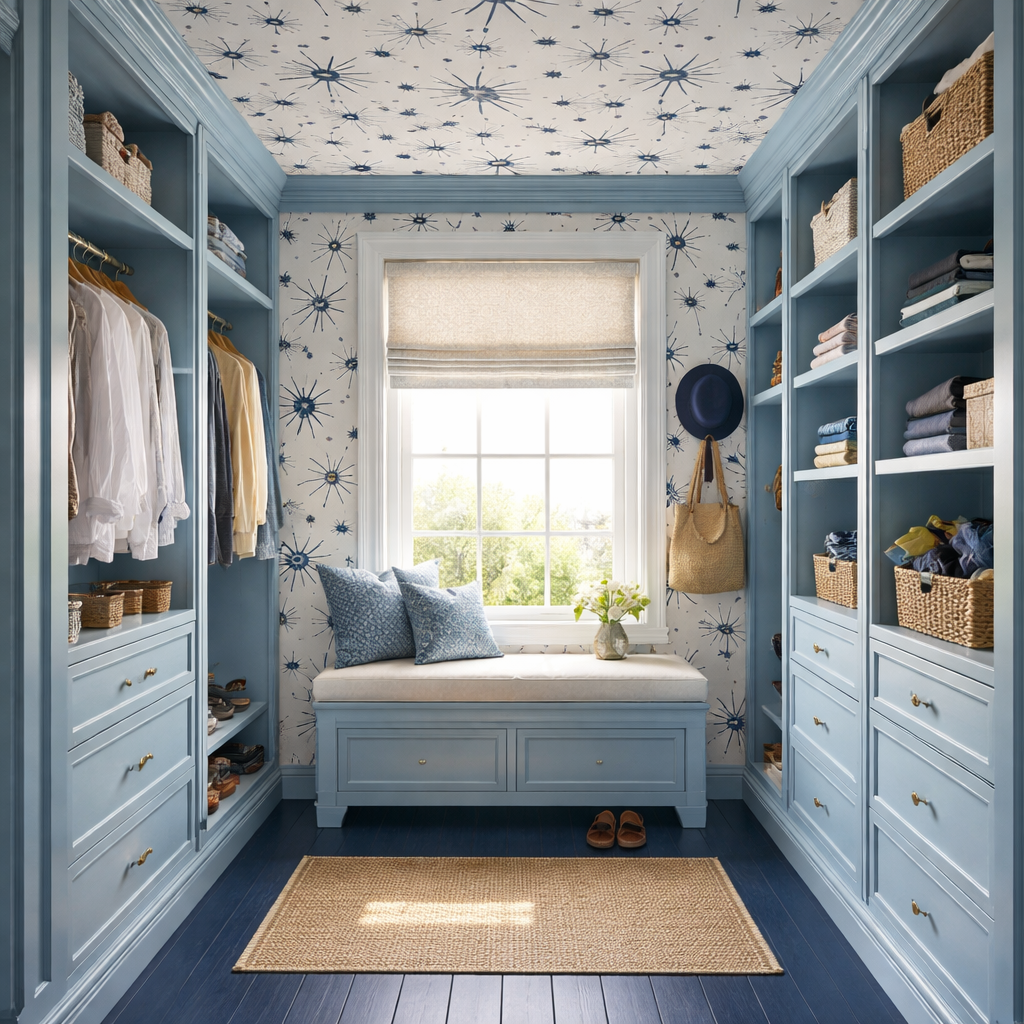
A center feature can provide a place to sit, fold, or set down an outfit, but it should be the result of spare room—not the starting assumption. Mark the proposed footprint on the floor and walk around it while cabinet doors and drawers are represented open. Try the route from the entry to long hang, daily drawers, shoes, mirror, and adjoining room. A common mistake is using an inspiration photo to justify an island in a room that only supports a clear aisle. Another is making a movable bench so long that it behaves like fixed cabinetry. Give a center piece one useful job and keep it movable when possible. If circulation feels tight, remove it without regret; open floor is a feature too.
6. Record windows, doors, vents, and outlets as fixed conditions
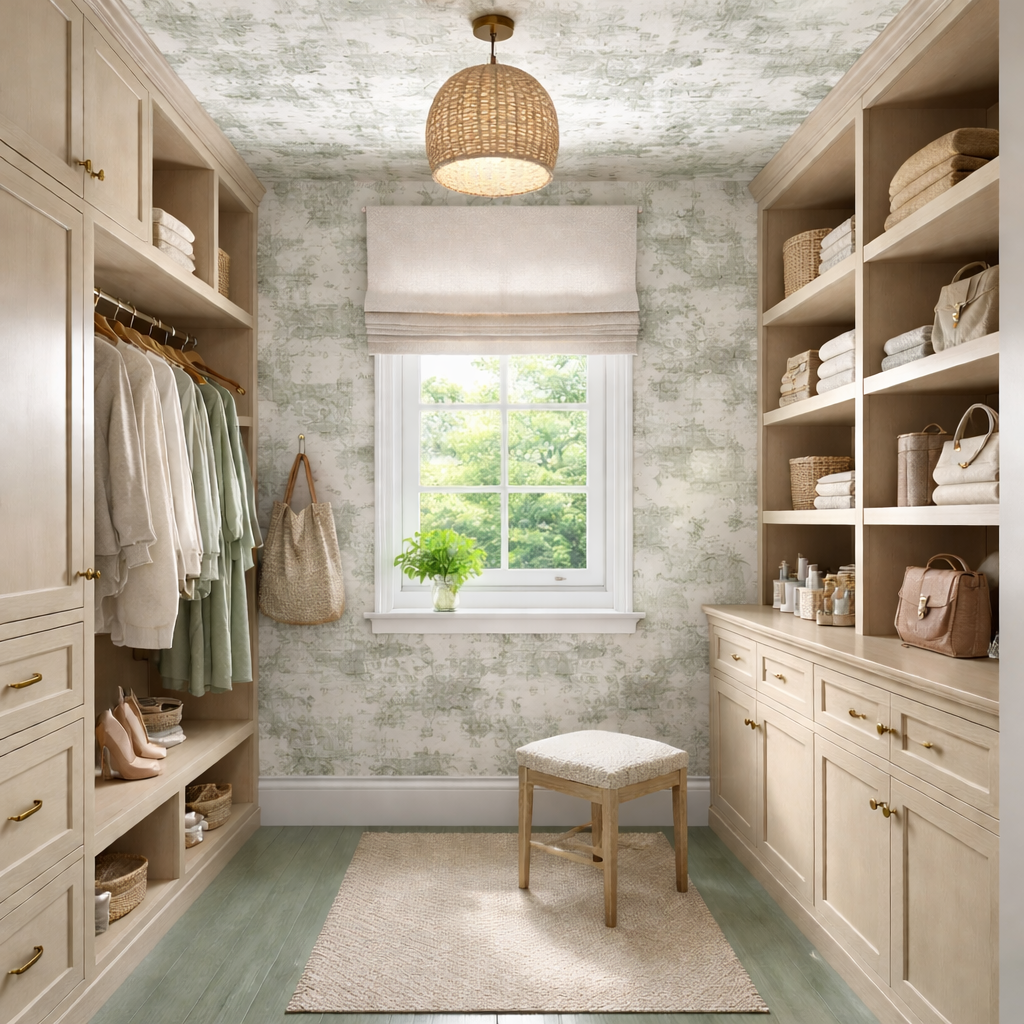
Measure each opening to the outside of its trim and record its distance from the nearest corner. Note the entry-door swing, window operation, sill height, curtain or shade space, floor registers, return-air grilles, outlets, switches, access panels, alarms, and any attic or crawl-space hatch. A common mistake is measuring the glass but not the casing, which leaves too little room for a filler or door. Another is covering an outlet or vent because it was absent from the pretty elevation. Photograph each wall straight on and add the photo number to your sketch. Electrical, HVAC, and structural changes belong with qualified professionals; your job at this stage is simply to make every condition visible before cabinetry is priced.
7. Plan light for choosing clothes, not only for atmosphere
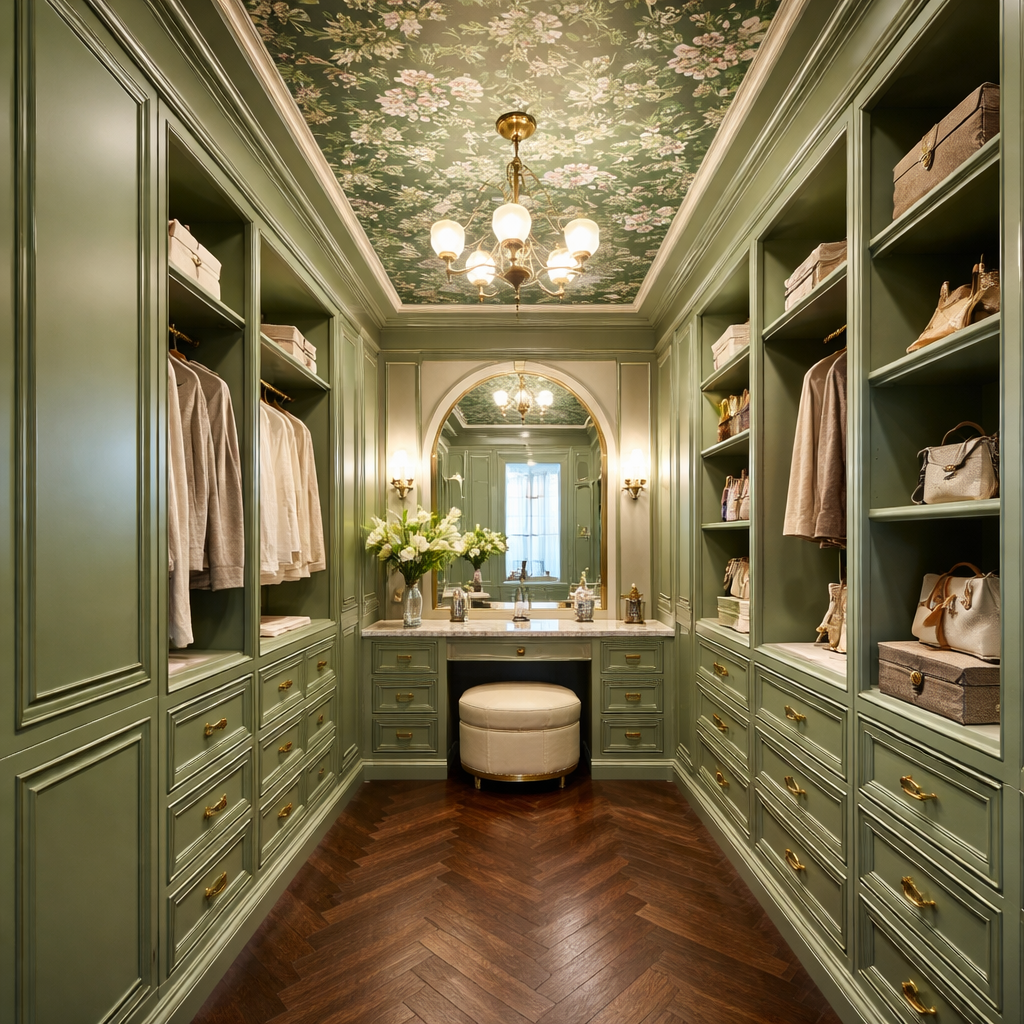
Start with comfortable room light, then add focused light only where it solves a problem: a dark hanging bay, mirror, dressing surface, or deep drawer bank. Record the existing fixture, switches, outlets, and daylight direction. Check that a pendant or flush mount clears tall doors and that recessed lights are not buried behind crown. Integrated cabinet lighting needs a driver location, concealed wire path, and service access. A common mistake is choosing a dramatic fixture before checking ceiling height and door swings. Another is mixing very different light colors so paint and clothing shift from bay to bay. Ask a licensed electrician to verify circuit capacity, locations, and code requirements. You can still make the planning easier by marking what needs light and how it should be controlled.
8. Decide exactly where paint and wallpaper stop
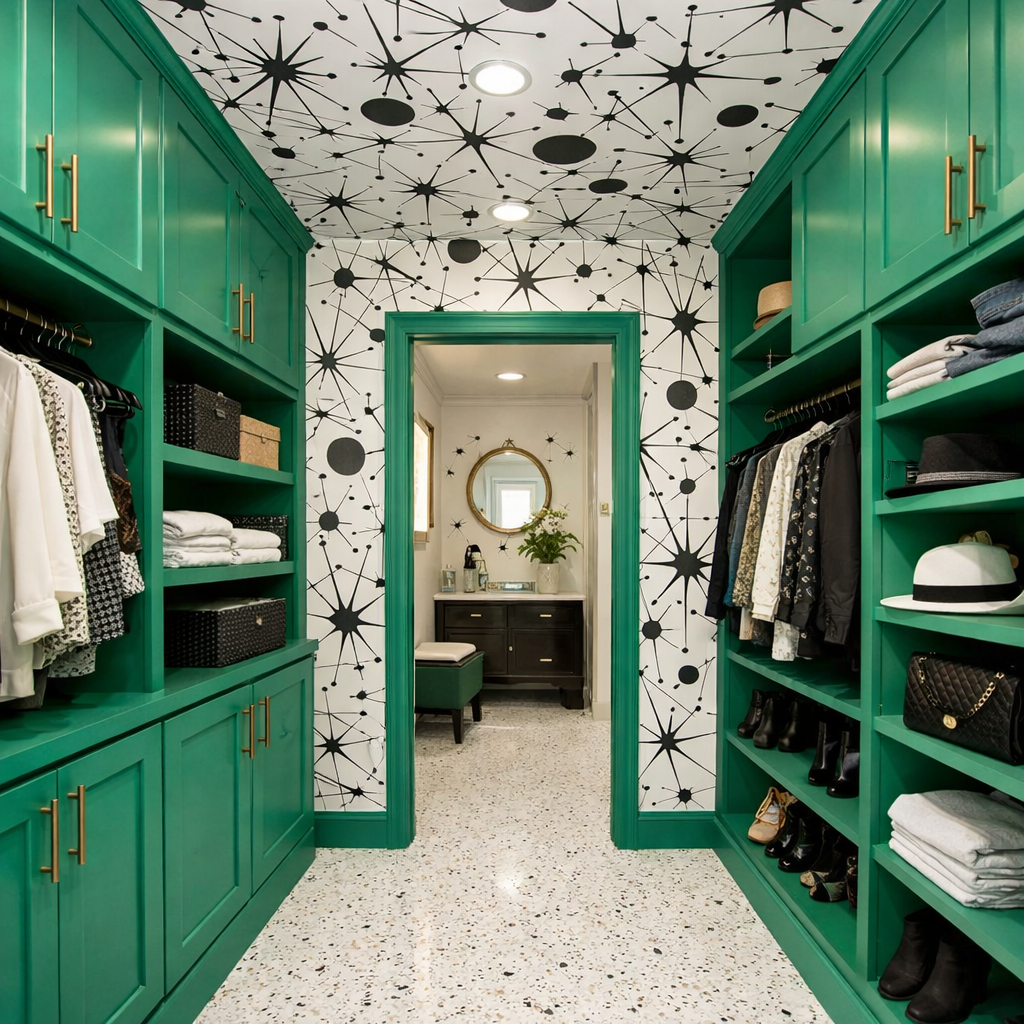
Bold color and wallpaper are especially effective in closets because cabinetry creates natural frames. Decide whether pattern belongs on the ceiling, room walls, selected shelf backs, or one focal surface, and draw those boundaries on the elevation. Order enough material for pattern matching and future repair, then compare a large paint sample with the wallpaper, wood floor, clothing, and warm evening light. A common mistake is specifying wallpaper behind adjustable shelves without planning how seams and shelf pins will look. Another is matching a paint chip under store light and discovering that the full built-in reads much darker. The room can still be expressive; a few intentional boundaries usually make the color feel more confident, not less.
9. Turn the field notes into one plan and one elevation
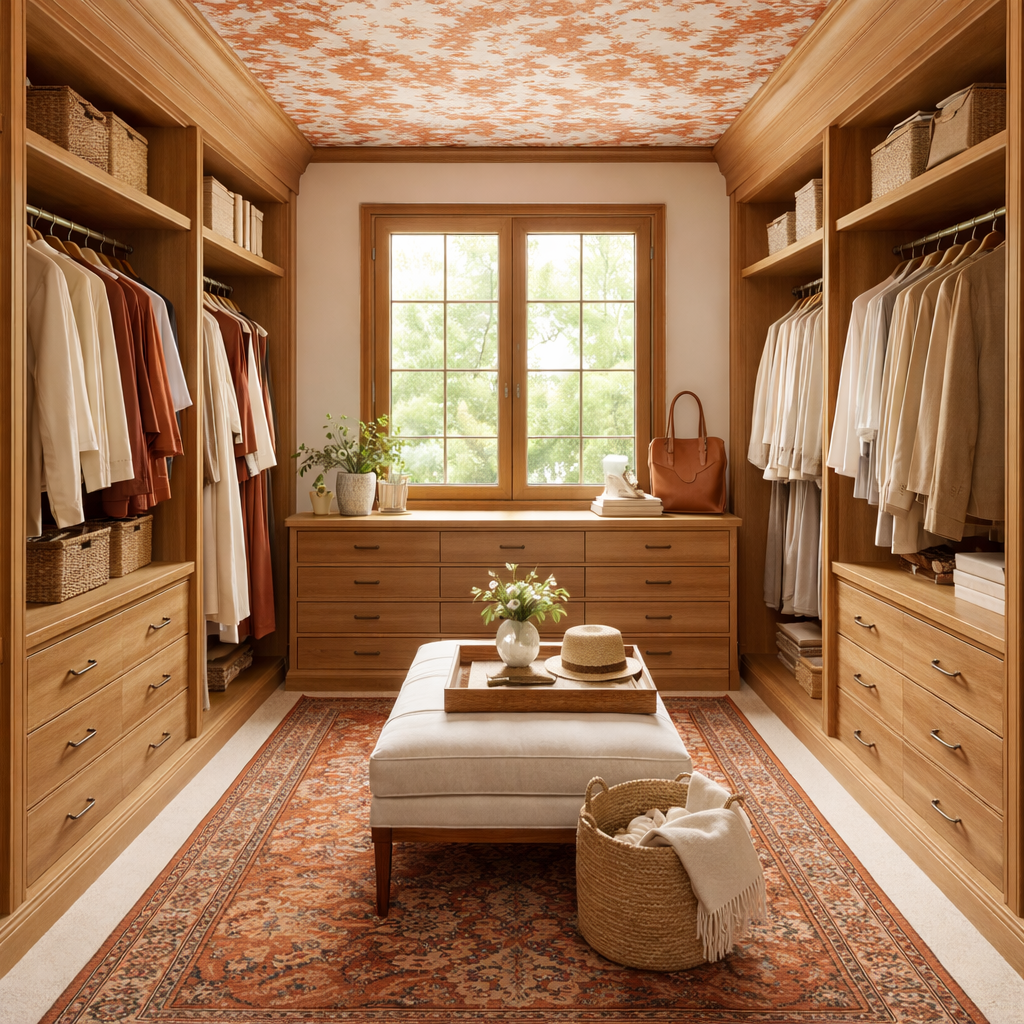
Redraw the room neatly after the field-measure pass. Keep one bird's-eye plan for circulation and one straight-on elevation for each cabinet wall. Show overall spans first, then openings, cabinet widths, hanging zones, shelves, drawers, fillers, crown, and fixed conditions. Add an inventory list and a few straight-on room photos. A common mistake is spreading revisions across loose notes so no one knows which number is current. Date the clean copy and keep changed dimensions visible rather than silently erasing the history. Your drawing does not have to look professional to be useful; it has to be consistent and readable. The cabinet provider can translate it into shop drawings, but your plan should make the household's routines and room constraints hard to miss.
10. Verify the order with the people who will build and install it
Before approving cabinetry, compare the supplier's final plan with your field sketch, appliance or accessory specifications, finish schedule, and storage inventory. Ask who verifies site dimensions, how walls and ceilings will be scribed, where fillers are required, how cabinets attach, which panels are finished, and what happens around outlets, vents, trim, and uneven floors. Open every drawn door and drawer mentally one more time. A common mistake is assuming a beautiful rendering is also an installation drawing. Another is approving a broad “closet package” without a complete component list. Have the installer or qualified trade verify final dimensions and any structural or electrical work. You have already done valuable work: a careful homeowner brief makes professional verification faster, clearer, and much less likely to uncover a surprise after the order.
Keep the inspiration, then make it answer to the room
If you are still collecting ideas, compare colorful closet layouts and built-in storage walls with this measurement list beside you. Notice which details support a routine and which need more space than your room can give them.
See 10 Walk-In Closet Layout Ideas Explore Built-In Storage IdeasBring the same room-first thinking to your kitchen
StilePath currently focuses on kitchen planning. Use it to test kitchen walls, cabinets, appliances, and clearances in 3D, then bring a clearer room plan into the next cabinet conversation.
Start Planning My Kitchen Free