
Plan the refrigerator as an appliance, cabinet opening, and traffic decision
A refrigerator can look like one silver rectangle on an elevation while its case, doors, hinges, handles, drawers, air clearances, water connection, cord, floor, panels, and delivery path all ask for different space. You can make a useful first pass with a tape measure, pencil, the current appliance information, and a sketch of the surrounding cabinets. These ten checks will help you expose the right questions before the cabinet order is fixed. Final fit, ventilation, utilities, attachment, field conditions, and applicable requirements still belong to the current manufacturer instructions and the responsible appliance provider, cabinet supplier, trades, installer, contractor, and professionals.

1. Start with the exact current appliance information
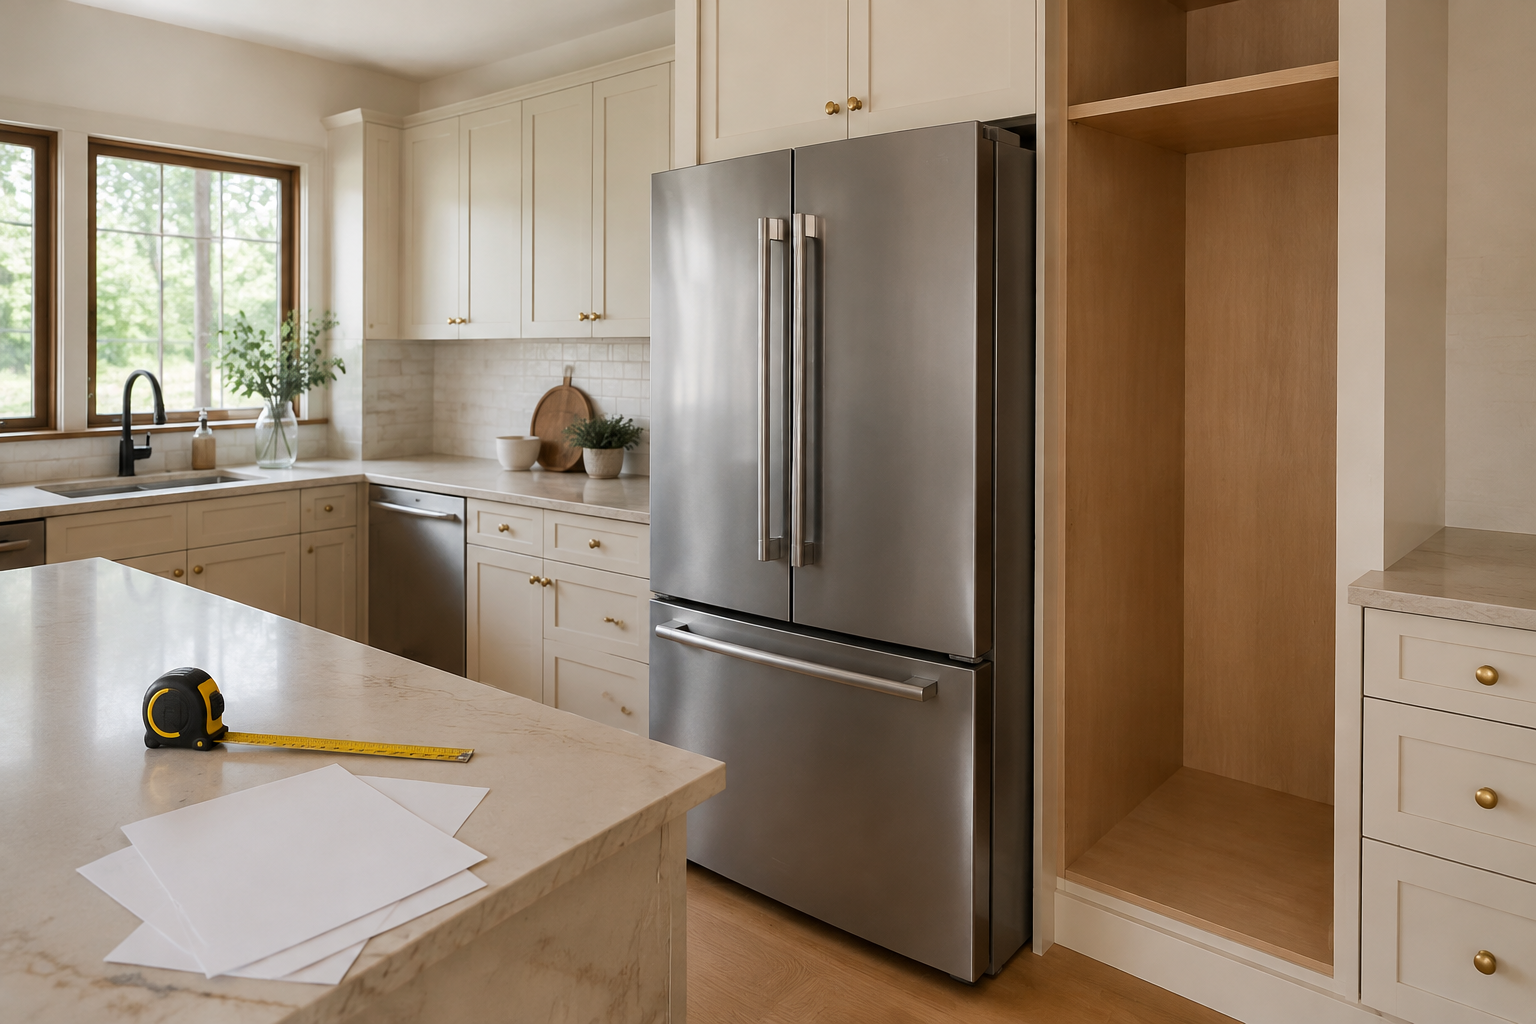
Record the exact model and current revision of its installation information, not just a store category such as counter-depth or standard-depth. Collect the overall case, door, hinge, handle, and open-drawer information; required air space; water and electrical needs; weight; and instructions for leveling, anti-tip provisions, and service. A common mistake is building around the advertised width while a hinge, door, rear connection, or handle changes the real fit. Keep the full document with the cabinet plan, and ask the appliance provider and cabinet supplier to confirm that both are using the same current model before ordering.
2. Measure the finished opening in more than one place
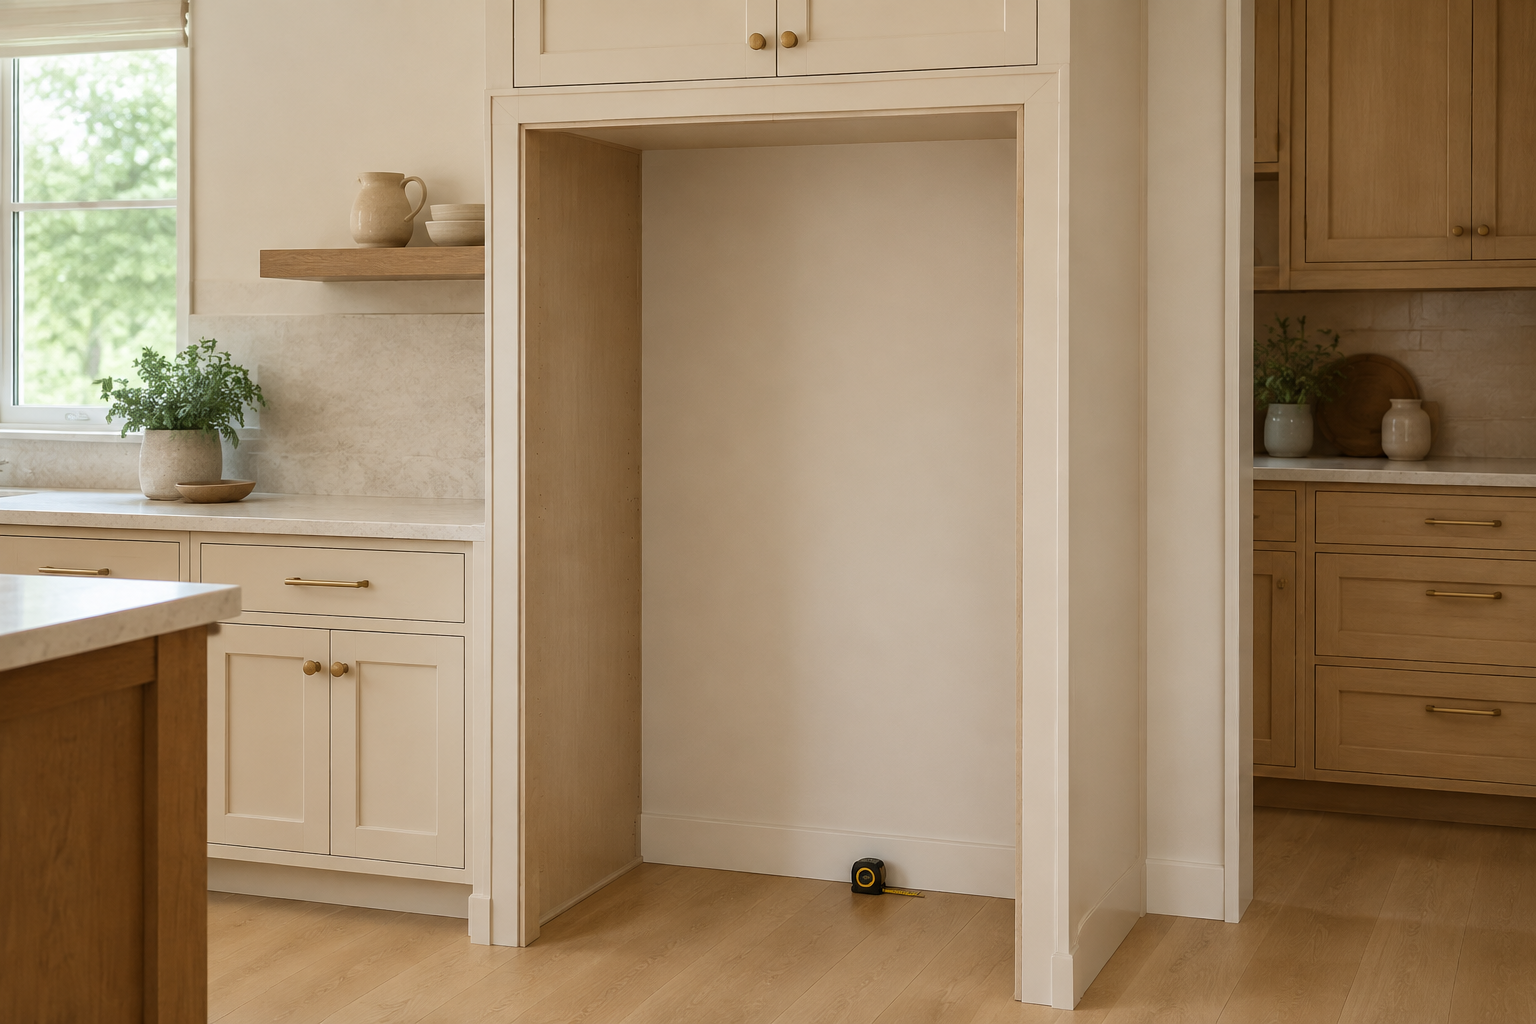
Measure width at the front and back and at several heights, then measure height at both sides and depth along both walls. Note baseboards, casing, bowed walls, sloped floors, countertop overhangs, finished panels, and anything that makes the opening smaller than the drawing. The familiar mistake is checking one clean dimension before flooring, trim, or end panels are installed. Another is assuming a framed opening is square because its cabinet boxes are square. Record the smallest useful condition, label what is unfinished, and have the installer verify the field opening after the surrounding work reaches the stage named in the appliance instructions.
3. Separate case depth from doors and handles
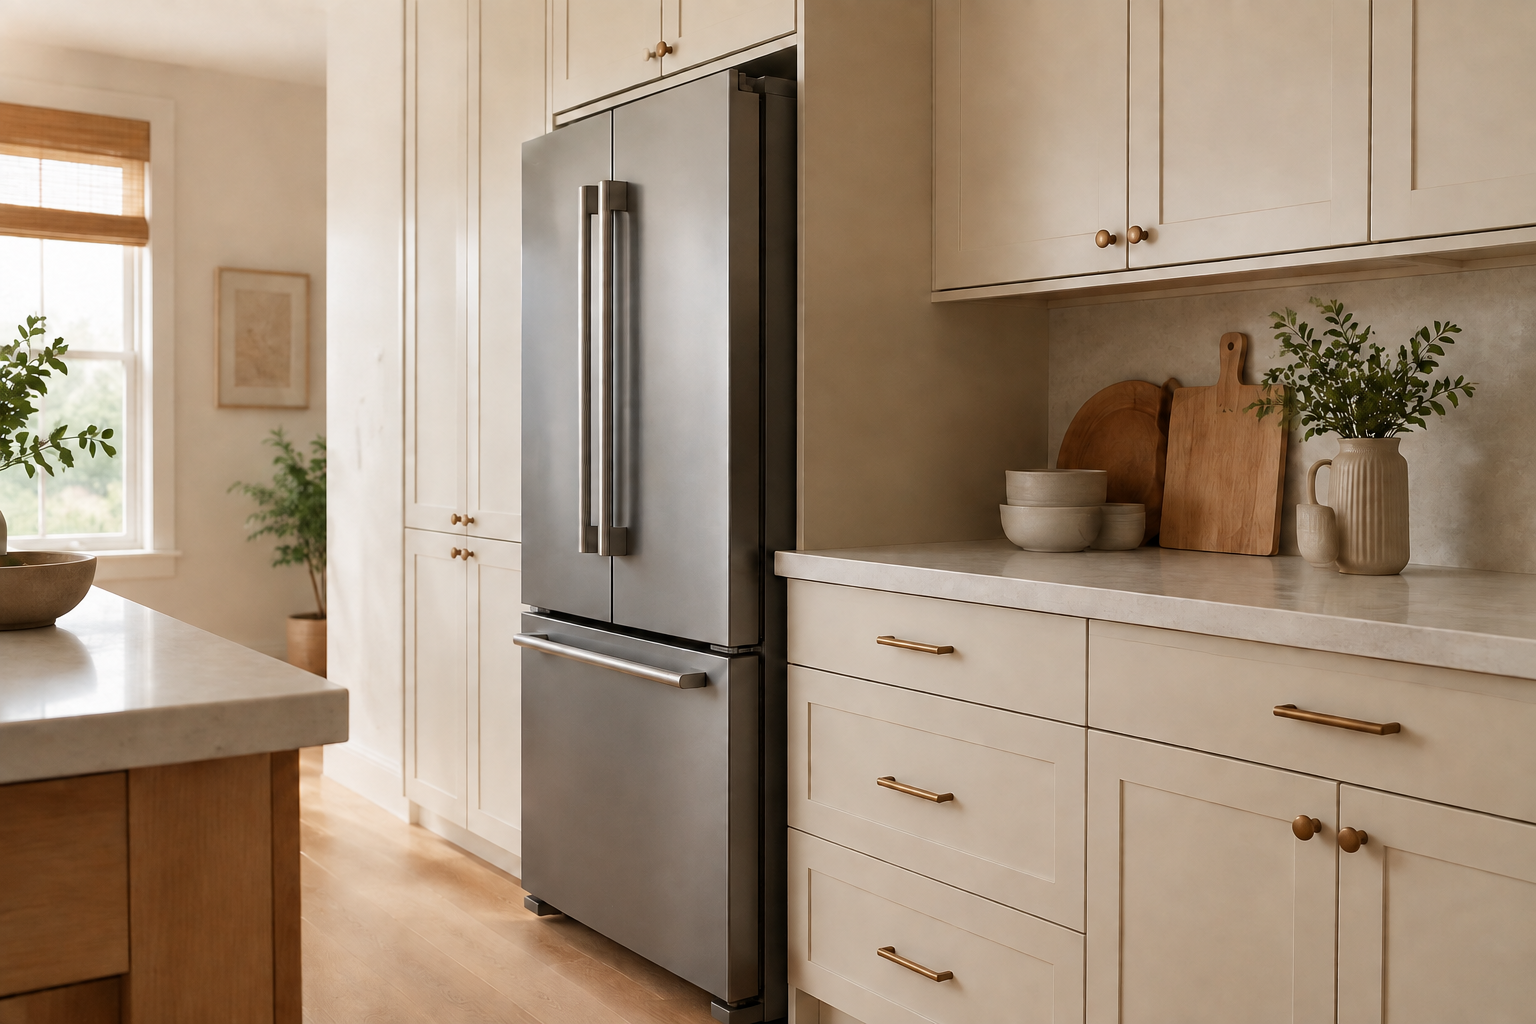
The refrigerator case may sit near the cabinet face while the doors and handles project beyond it so hinges can move and drawers can clear. Counter-depth language does not promise that every visible part aligns with the countertop edge. A common mistake is drawing one depth line and then surrounding the appliance with panels that trap a door or make a handle feel unexpectedly prominent. Compare the case, door, hinge, and handle separately in plan and elevation. Decide which alignment matters visually, protect the movement the appliance requires, and let the current manufacturer instructions control any recess, panel depth, or rear clearance.
4. Open every door, bin, and freezer drawer
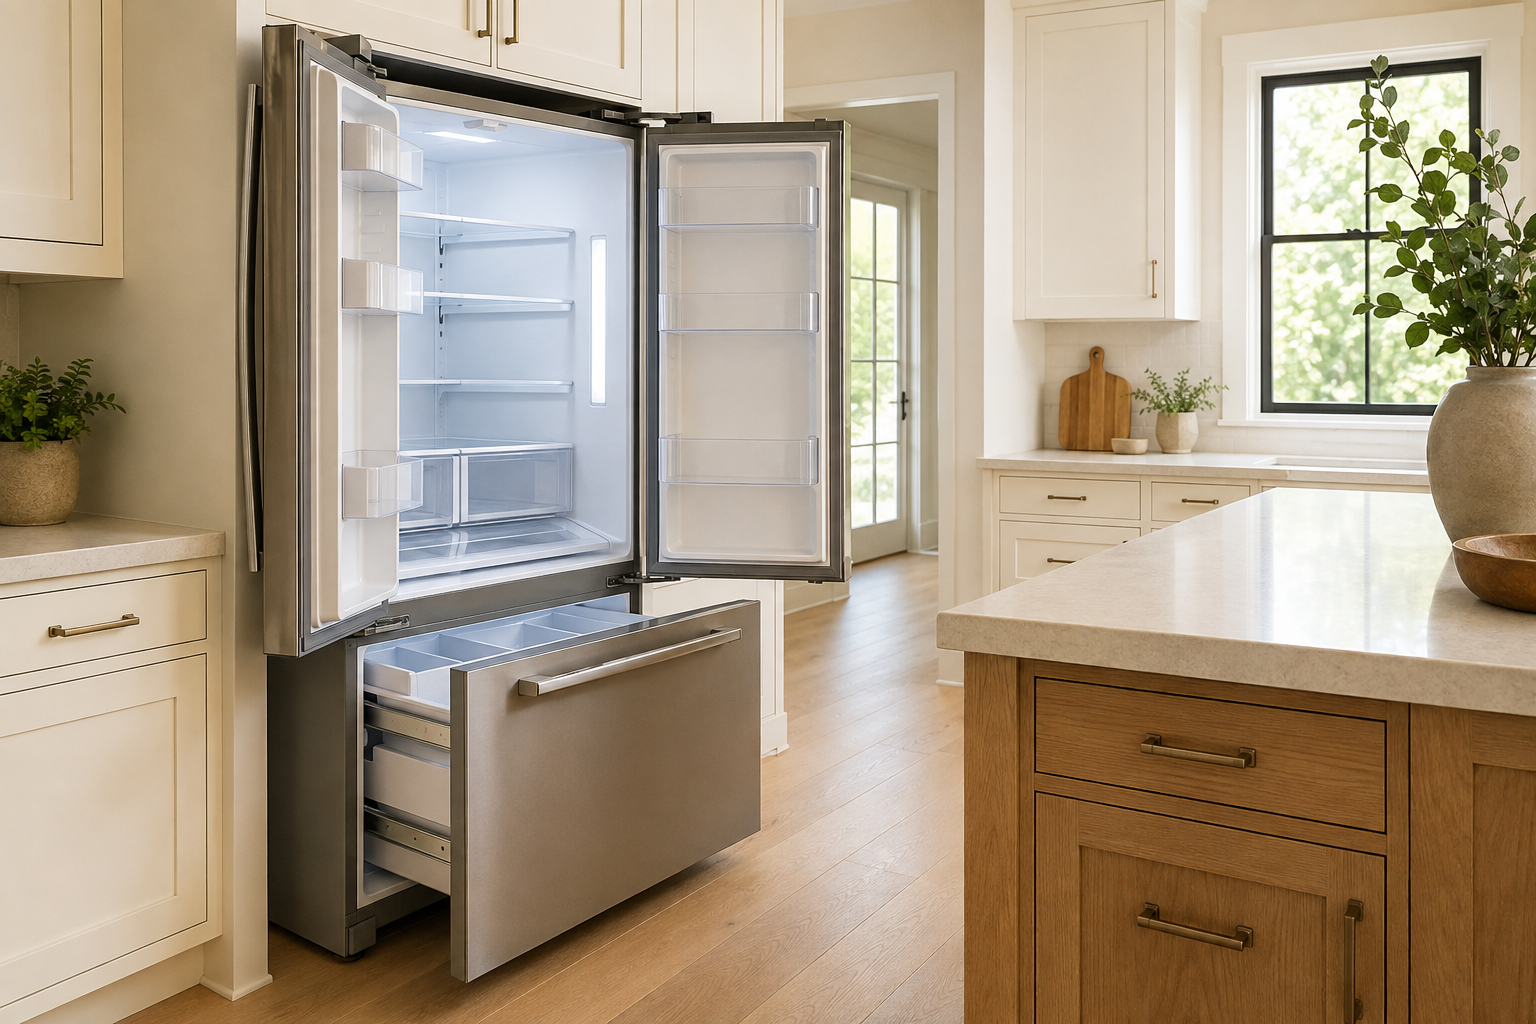
A door that opens partway may reach the milk, but it may not let an interior drawer, crisper, shelf, or ice bin come out for cleaning. Trace the full door swing and the deepest freezer position, then check the island, wall, pantry door, opposite handles, and the person standing at the appliance. The classic mistake is proving only that the exterior door does not hit. Test the internal parts named in the manual and the motion used during a real grocery unload. If a wall or panel limits the hinge side, resolve the location, filler, or appliance choice before the cabinetry makes the restriction permanent.
5. Give groceries a landing place outside the traffic lane
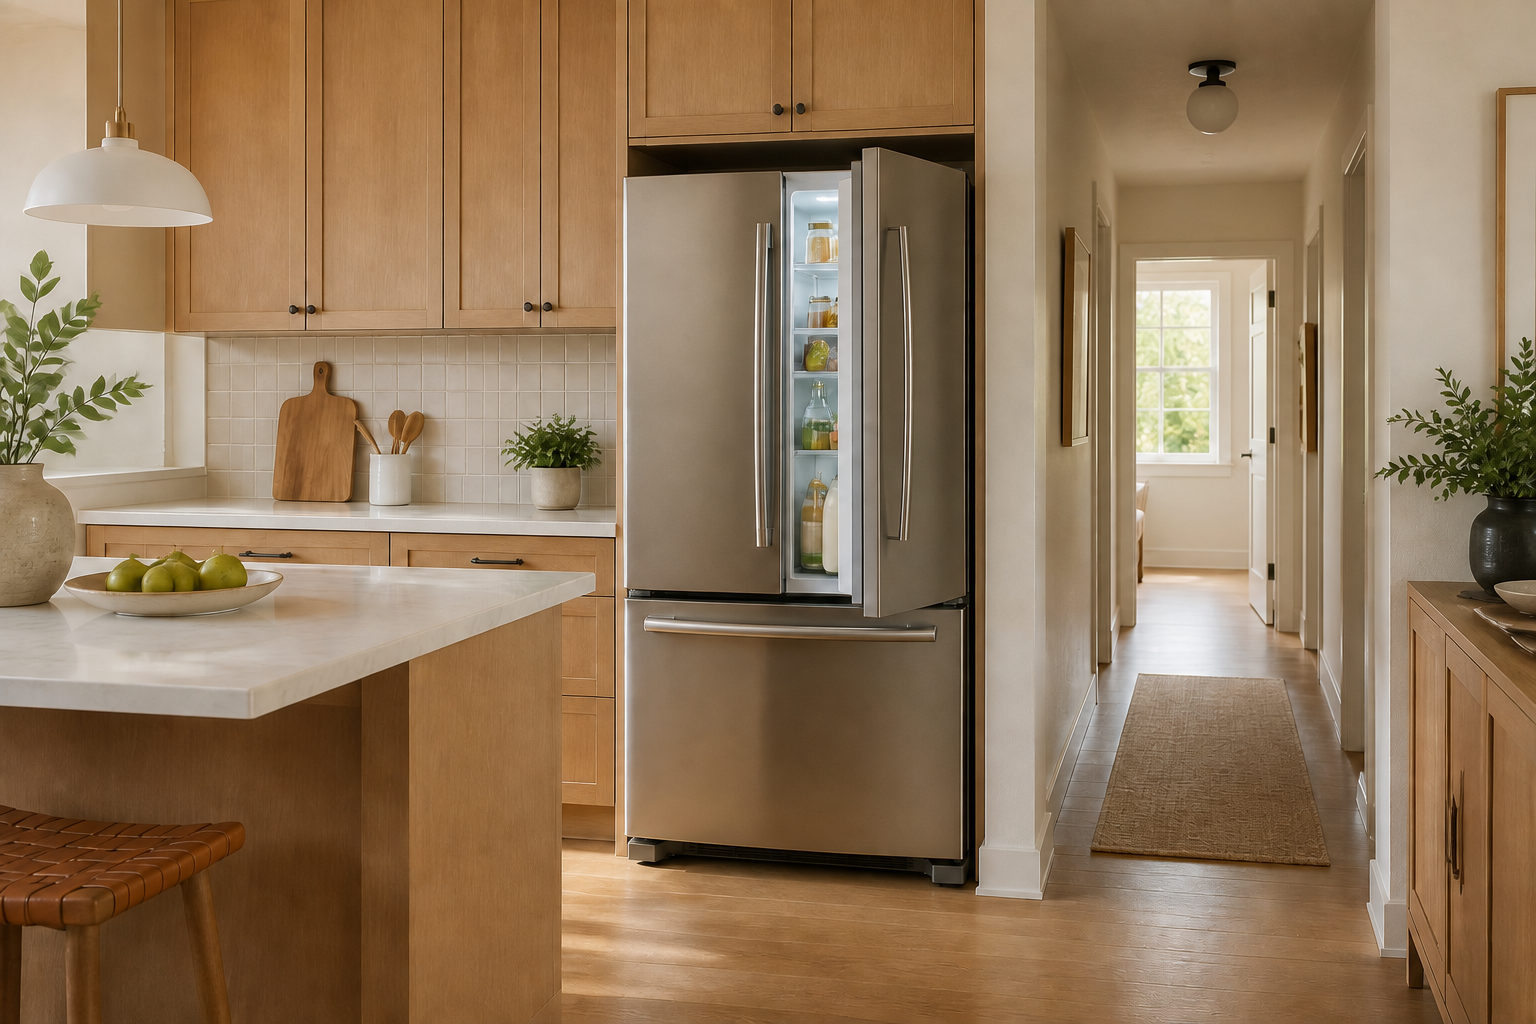
Think through carrying grocery bags in, setting items down, opening the refrigerator, and moving food toward preparation. A nearby counter can shorten that routine, but it should not force the refrigerator door or the person using it into the main passage. A frequent mistake is centering the appliance on a beautiful wall while every snack blocks the route through the room. Another is placing the landing surface across a busy aisle. Draw the door open, mark a practical set-down area, and walk the path from the home entry. The refrigerator should connect storage to preparation without turning ordinary use into a traffic negotiation.
6. Preserve the ventilation the exact model requires
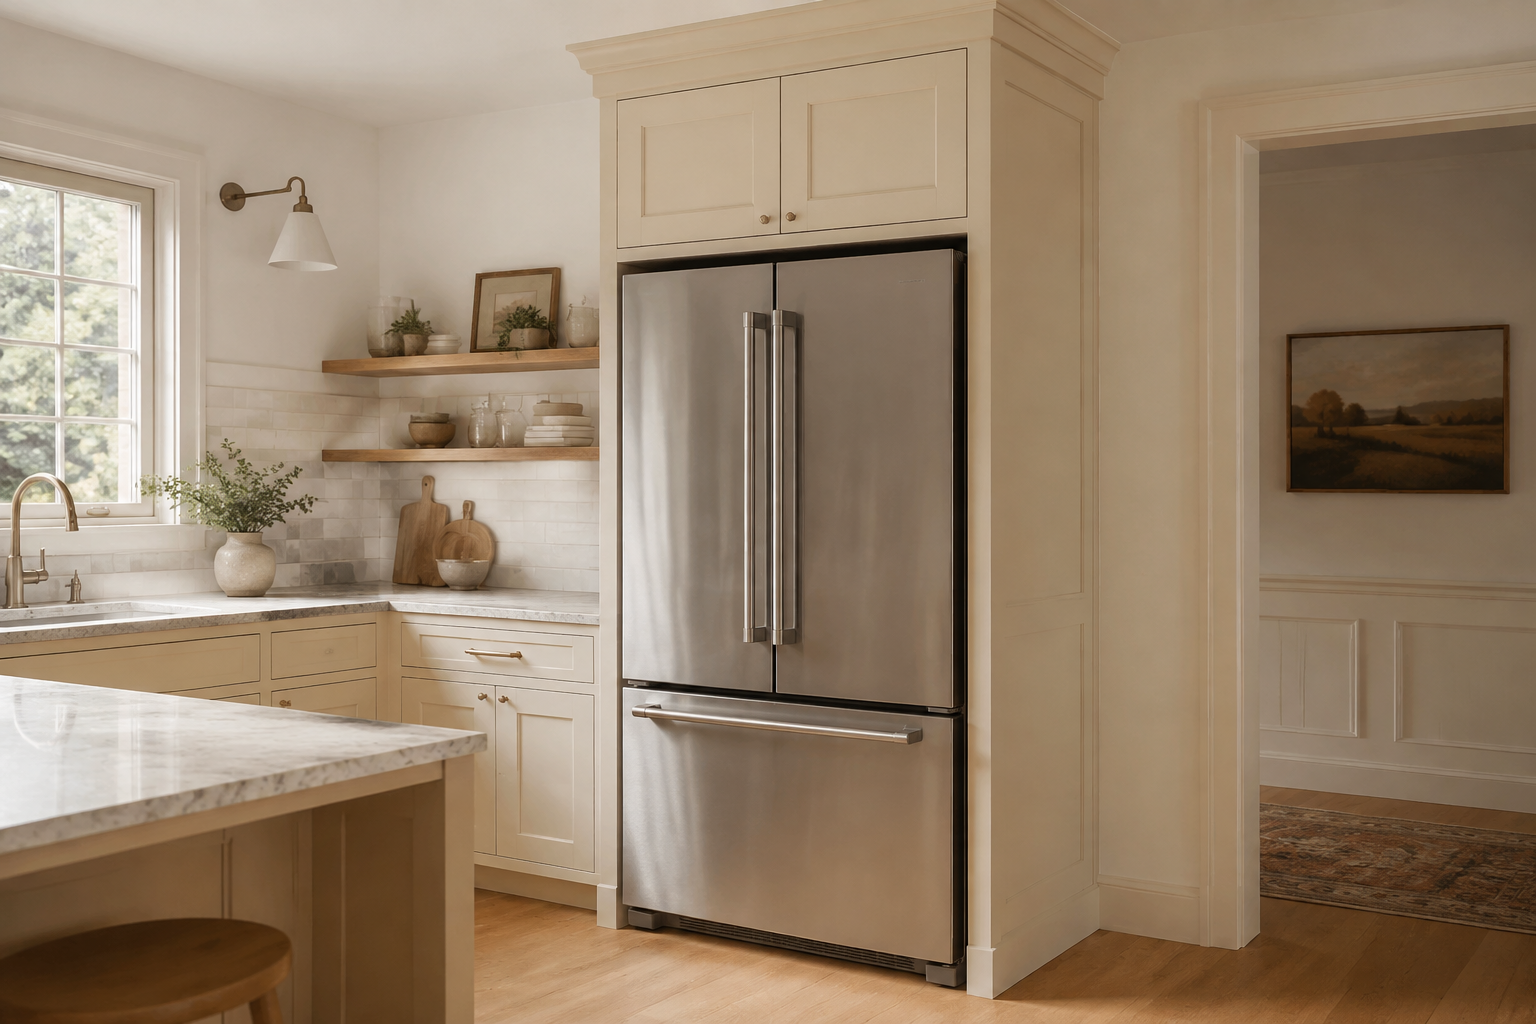
Refrigerators reject heat, and different models manage air around the front, top, sides, toe area, or rear in different ways. There is no universal decorative gap that suits every product. The common mistake is tightening panels and trim until the appliance looks perfectly built in while ignoring the route the manufacturer expects air to follow. The opposite mistake is leaving arbitrary oversized spaces that look unfinished but solve no stated need. Use the current installation document to draw the actual enclosure and any grille, opening, or removable trim, then have the appliance provider, cabinet supplier, and installer confirm that the finished detail remains ventilated and serviceable.
7. Keep water and power accessible without crushing connections
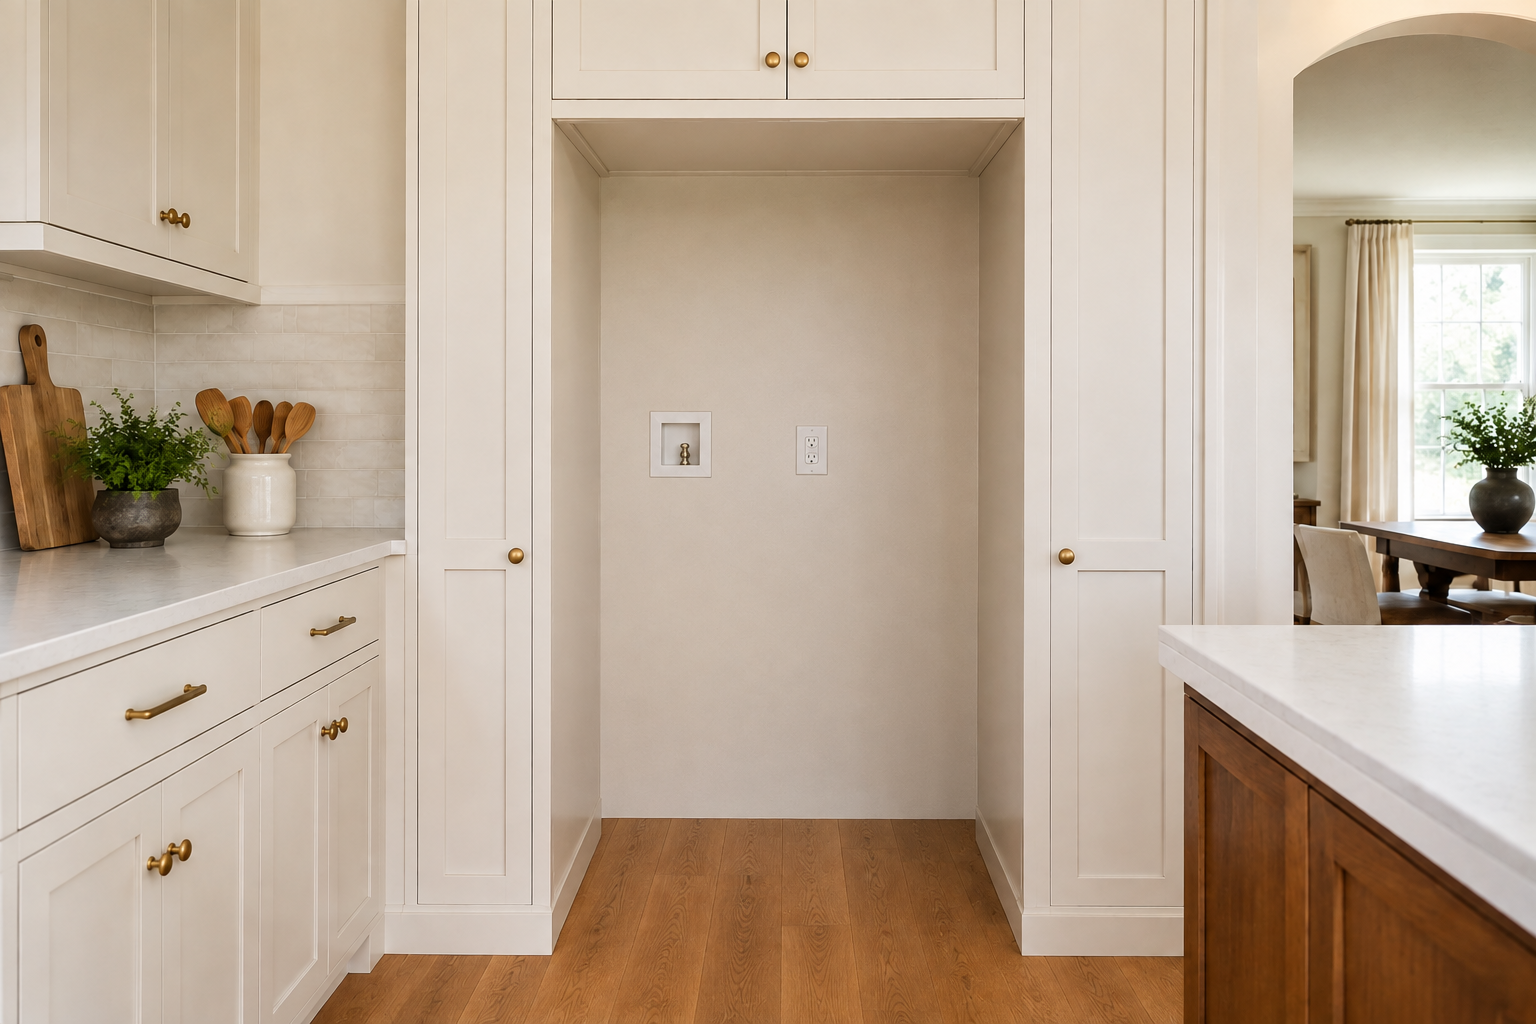
An ice maker or dispenser may need a shutoff, approved tubing route, connection space, and a way to inspect or service it. The cord and receptacle also need a location compatible with the exact appliance and applicable requirements. A common mistake is putting every connection directly behind the thickest part of the refrigerator, then forcing the unit forward or pinching a line when it slides back. Another is hiding a shutoff behind permanent cabinetry. Show the service locations on the plan and ask the plumber, electrician, appliance provider, and installer to coordinate access, protection, and responsibility before walls and panels close the area.
8. Plan the finished floor, leveling, and future removal
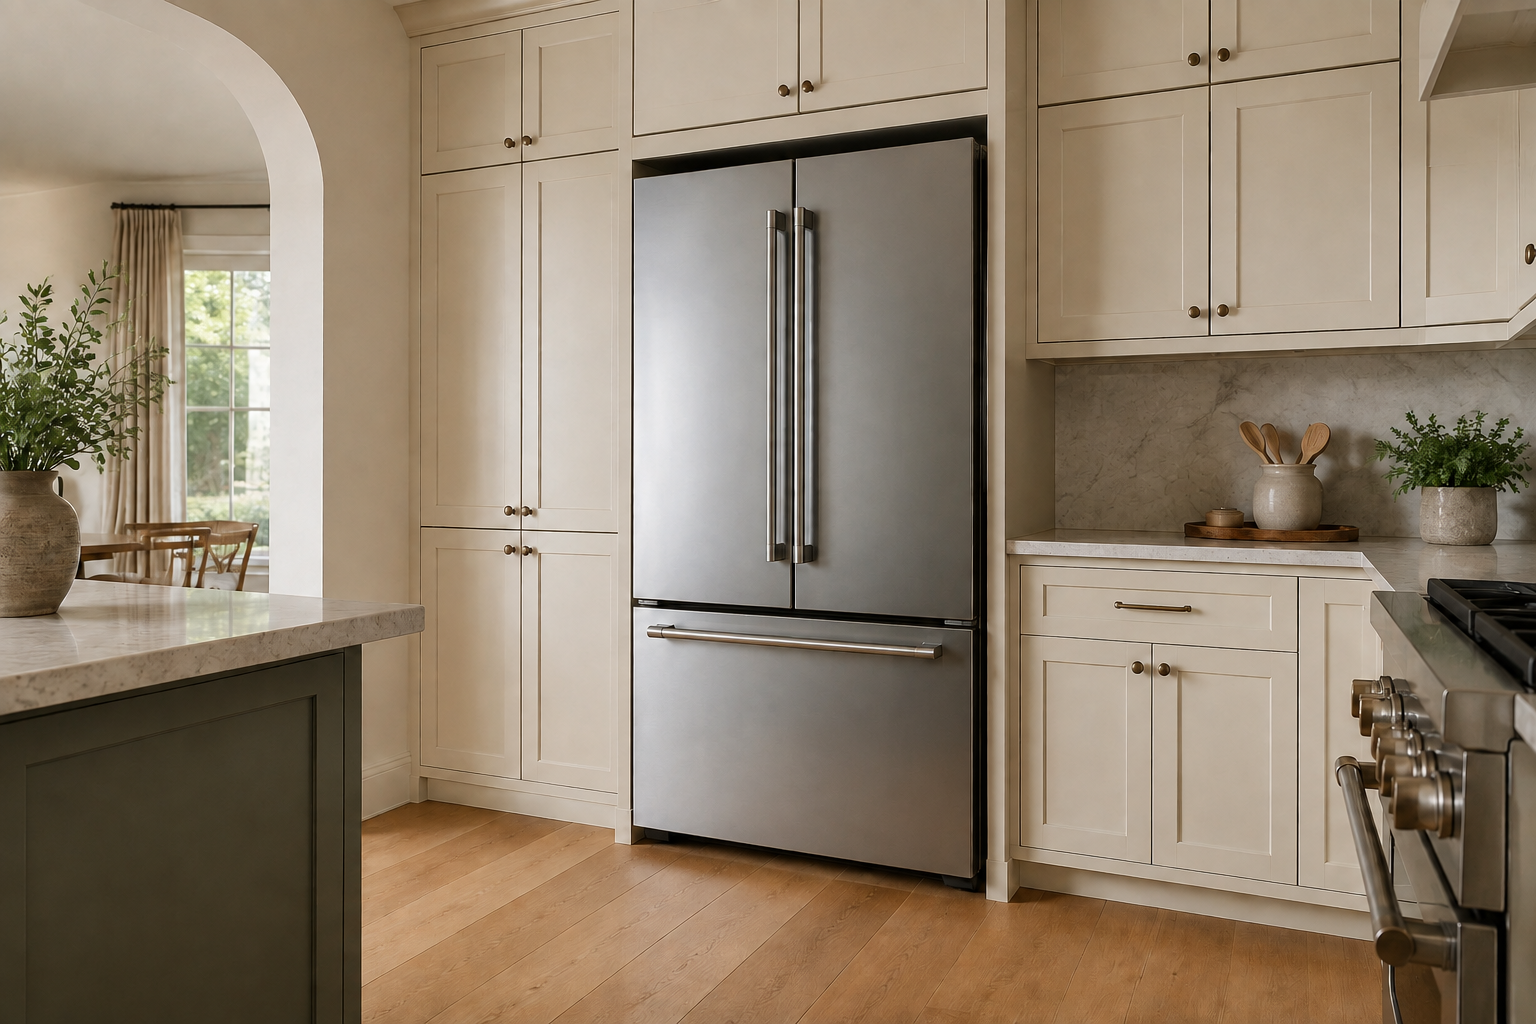
The appliance must stand, level, roll, or slide on the floor condition assumed by its installation instructions. A flooring transition, raised edge, thick protection board, low upper trim, or tight island can make installation and later service harder than the finished elevation suggests. The common mistake is setting the cabinet opening from the subfloor while the final floor changes the height, or running flooring only to the front edge and creating a step behind the appliance. Coordinate the finished floor, thresholds, toe details, and protection plan, then confirm that the refrigerator can be installed and removed without dismantling the room or damaging the floor.
9. Coordinate panels, fillers, and neighboring fronts
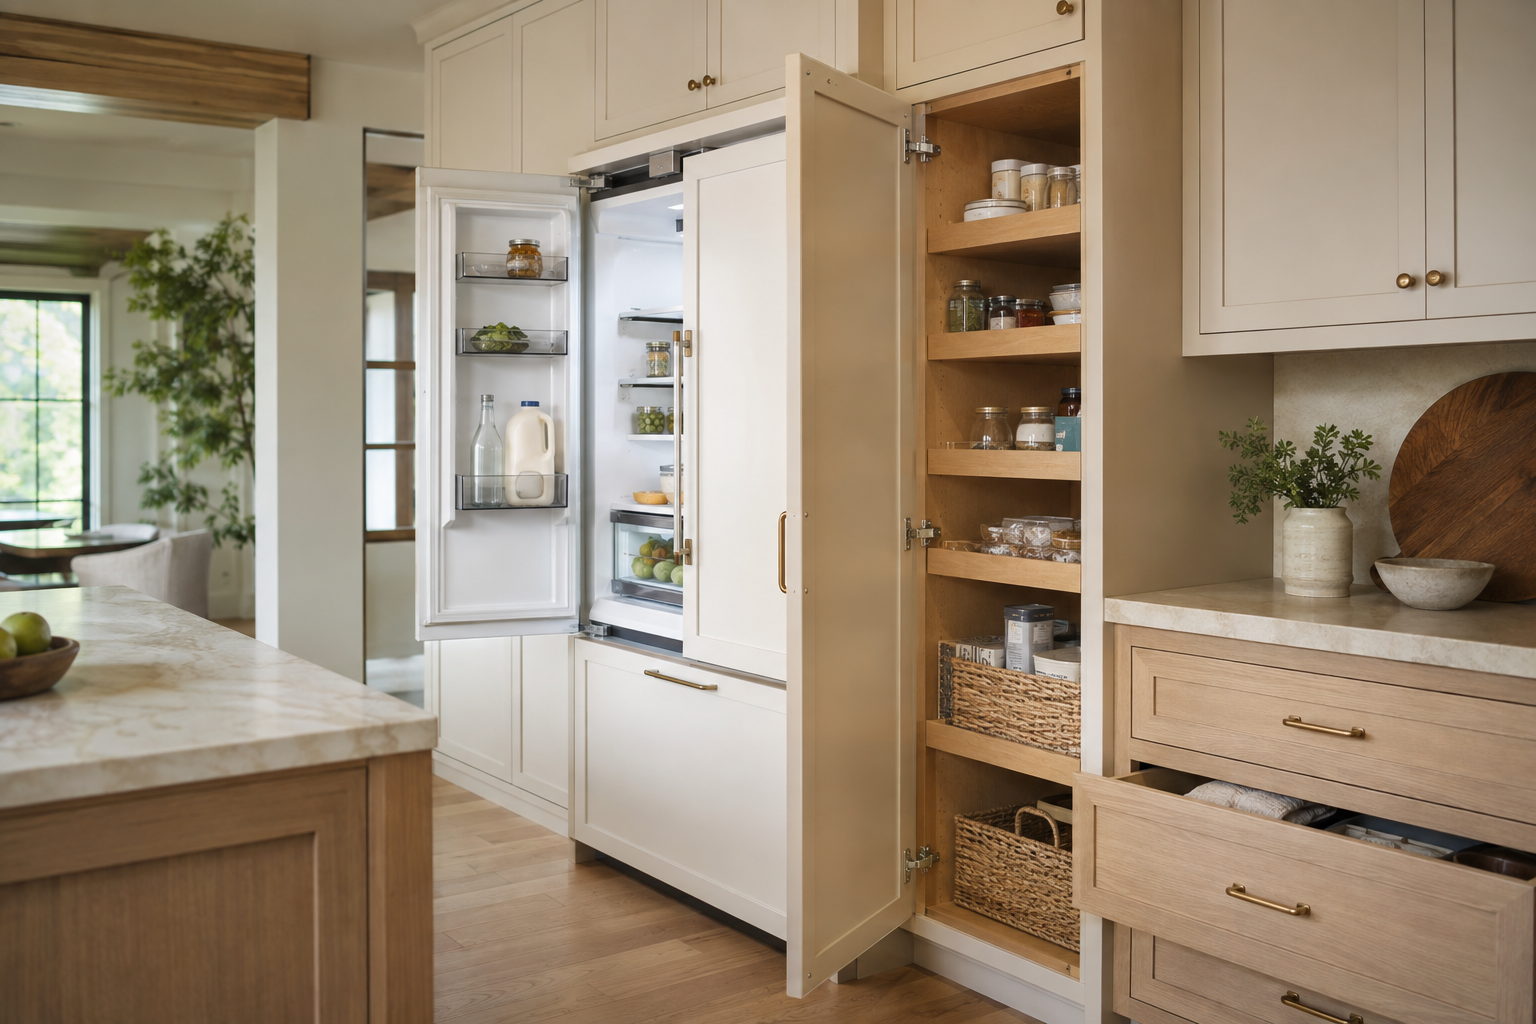
Finished side panels, upper cabinets, scribes, fillers, crown, toe material, and adjacent hardware turn the appliance opening into part of the cabinet elevation. They also consume space and can restrict a hinge or drawer. A common mistake is approving the refrigerator first and adding decorative panels later as if they have no thickness. Another is aligning an upper cabinet to the case while forgetting the projecting door below. Draw the full assembly closed and open, including every visible panel edge and handle. Let the appliance provider and cabinet supplier reconcile the opening, and have the installer verify how the parts meet the real wall and floor.
10. Check delivery, service, and replacement paths
Measure the route from the exterior door to the kitchen, including turns, stairs, railings, ceiling changes, door stops, islands, pendants, and finished openings. Ask which appliance parts can be removed for delivery and what clearance the service team needs later. The final common mistake is designing a perfect enclosure for a refrigerator that cannot reach it, or trapping the unit behind a new island once installed. Protect finished surfaces and assign delivery responsibilities in advance. Also consider whether a reasonable future replacement can use the opening; do not sacrifice today's verified fit, but avoid custom trim that makes ordinary service needlessly destructive.
Connect the refrigerator to the full cabinet and appliance plan
The enclosure works only when the room dimensions, appliance details, fillers, panels, adjacent storage, and open-door paths agree. These related guides help gather the information before the order review.
Record Appliance Details Plan Fillers and PanelsOpen the refrigerator doors in the plan before the order closes
Use StilePath to place the refrigerator, surrounding cabinets, island, counters, and traffic routes in 2D and 3D. Start with the information you know, label assumptions, and bring the result to the appliance, cabinet, and installation review.
Start Planning Free