
The backsplash is a small sample and a room-size decision
A backsplash sits beside the counter, cabinets, hood, windows, outlets, and lighting—all at once. That is why a tile you love in your hand can feel completely different across a full wall. Before you order material, settle these ten decisions in the context of the whole kitchen.
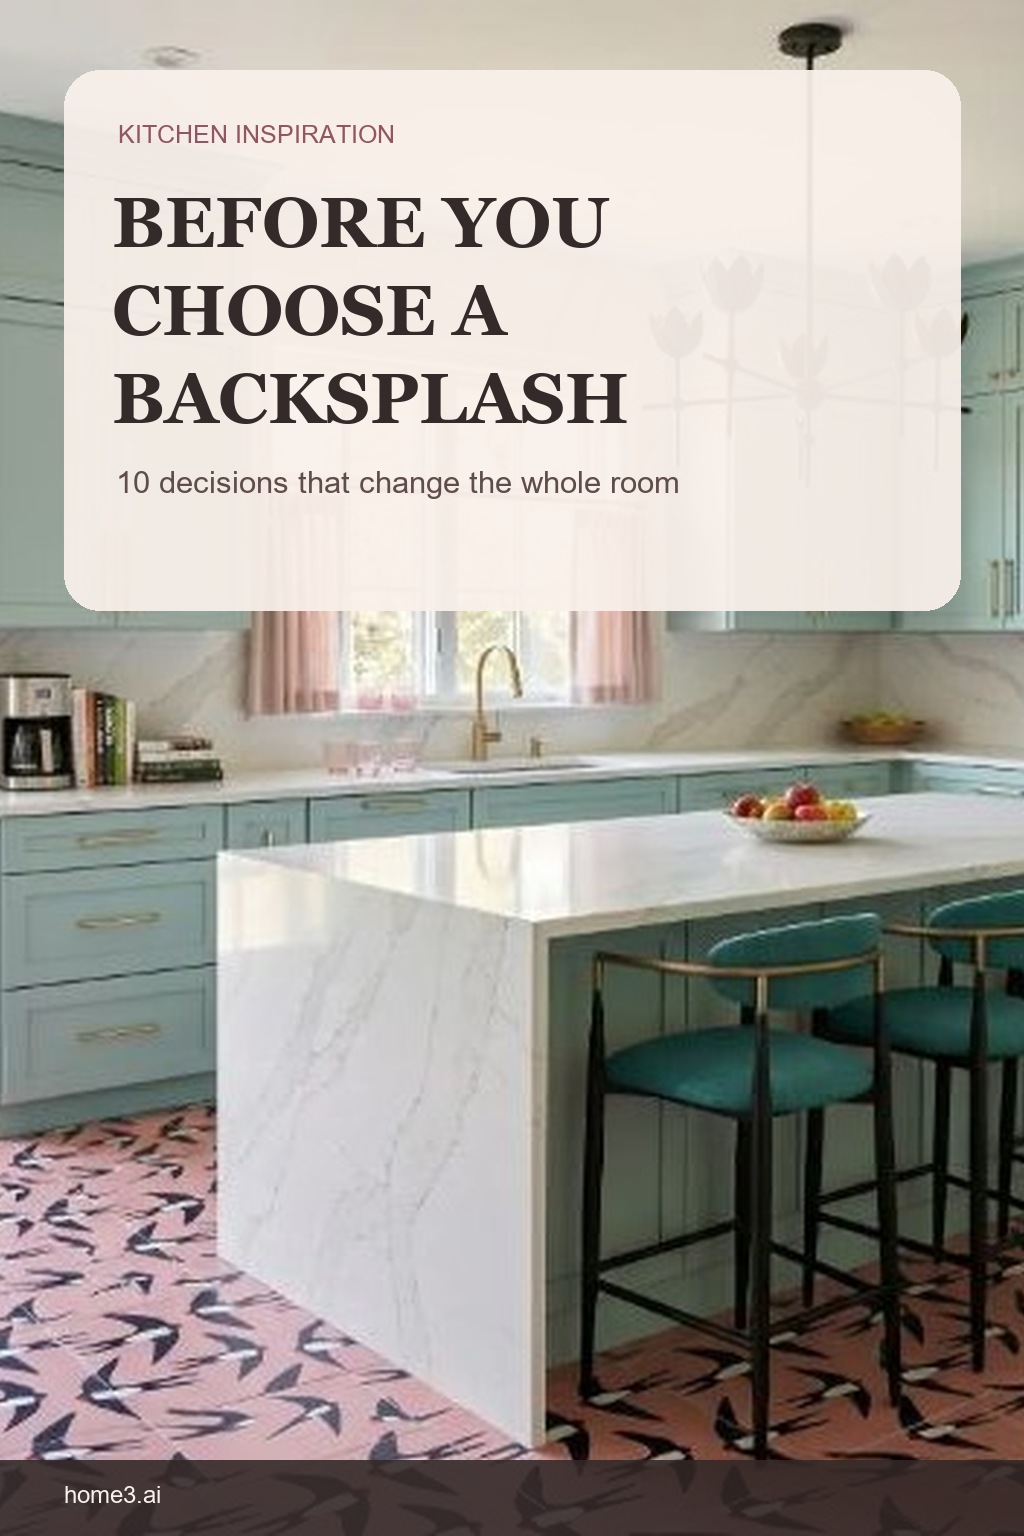
1. Decide exactly where the backsplash stops
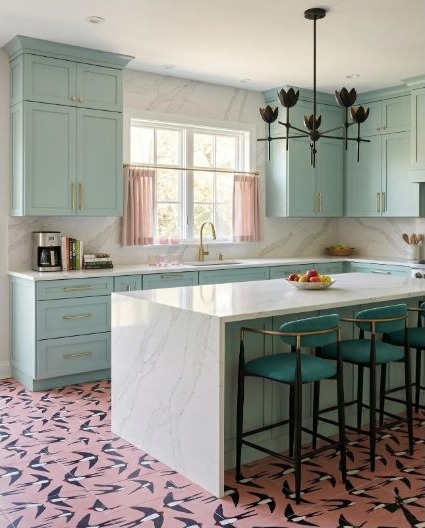
Choose the top and side boundaries on every wall: underside of cabinets, hood, ceiling, window edge, or the end of the counter. Draw those lines first so the finish does not appear to stop wherever the installer runs out of surface.
2. Judge it from the doorway
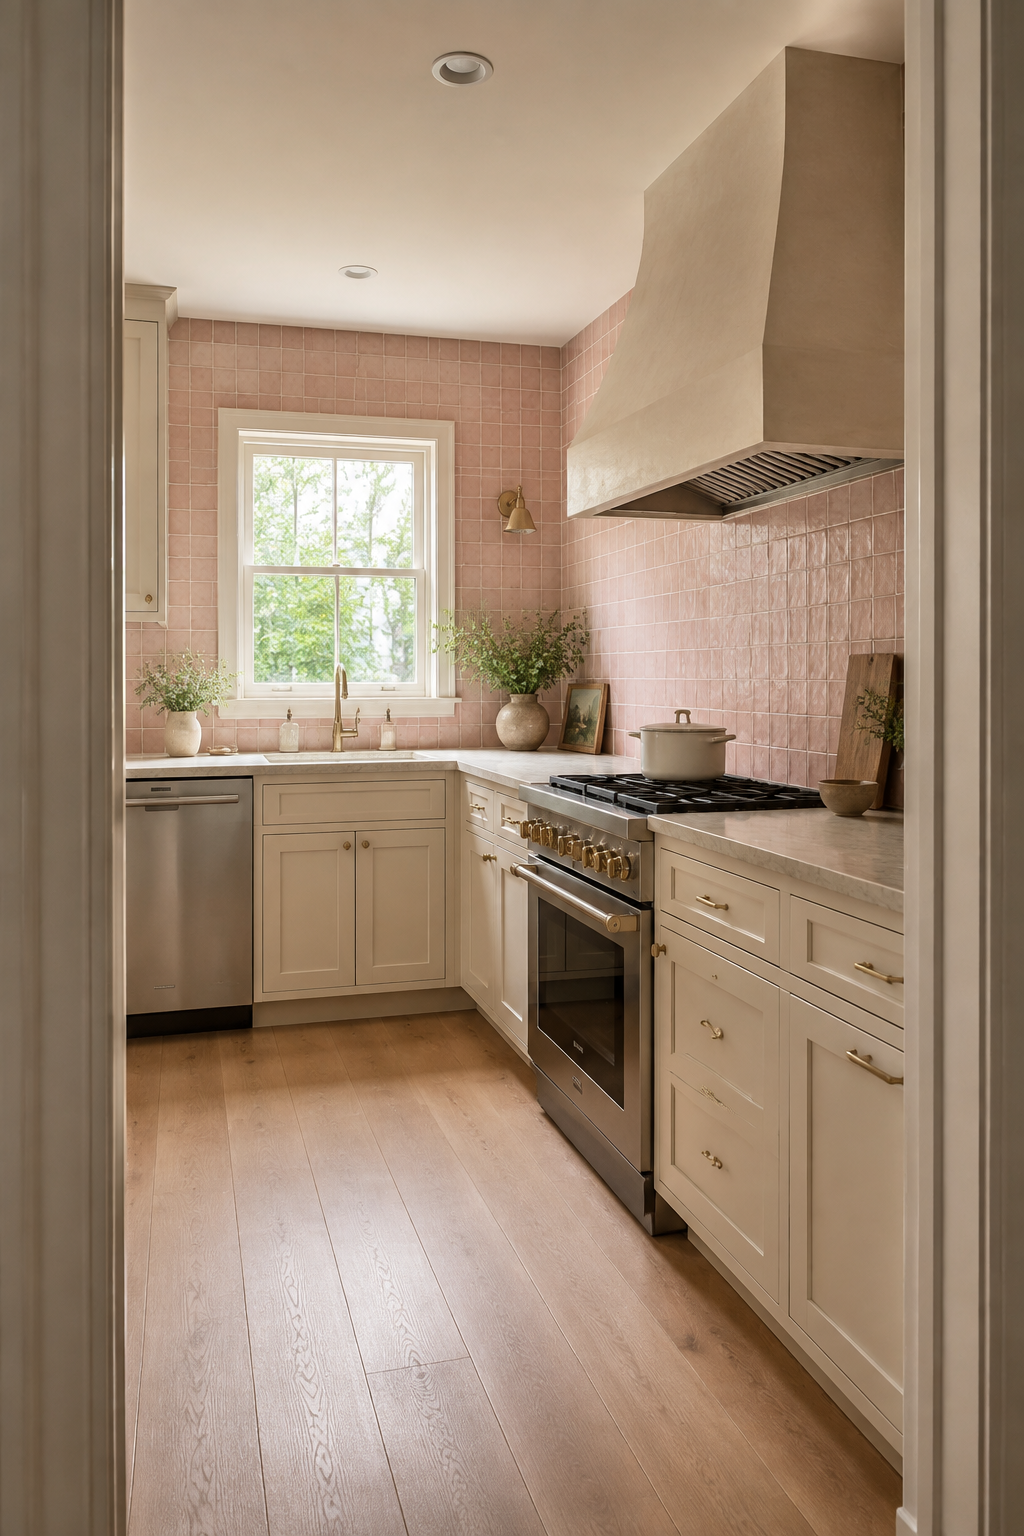
Step back to the room's main entrance. A quiet sample can become a large field of color, and a busy sample can become the first thing seen from the next room. The doorway view tells you how much visual weight the backsplash will carry.
3. Test the pattern at full scale
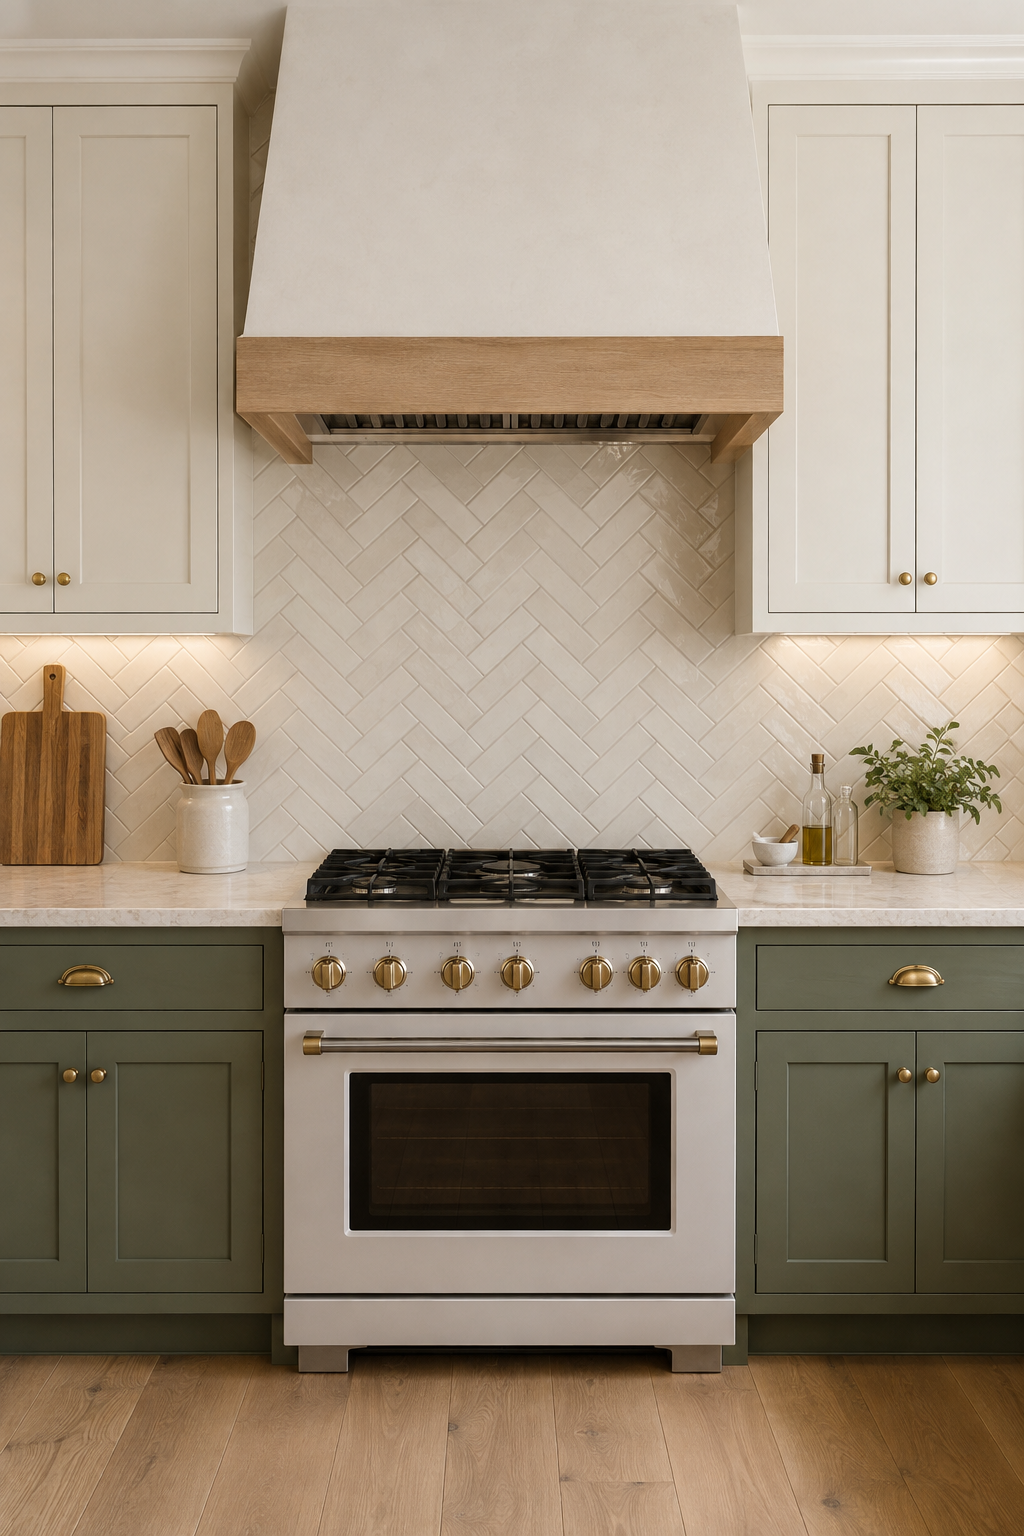
Repeat the sample across a poster-size board or mock up the actual pattern on the elevation. Shape, repeat, and direction become easier to judge when you can see several courses instead of one tile. A common mistake is falling in love with the individual piece and never checking the field it creates. Include grout width and likely cut pieces in the mockup; both can change the rhythm more than expected.
4. Choose grout for real life
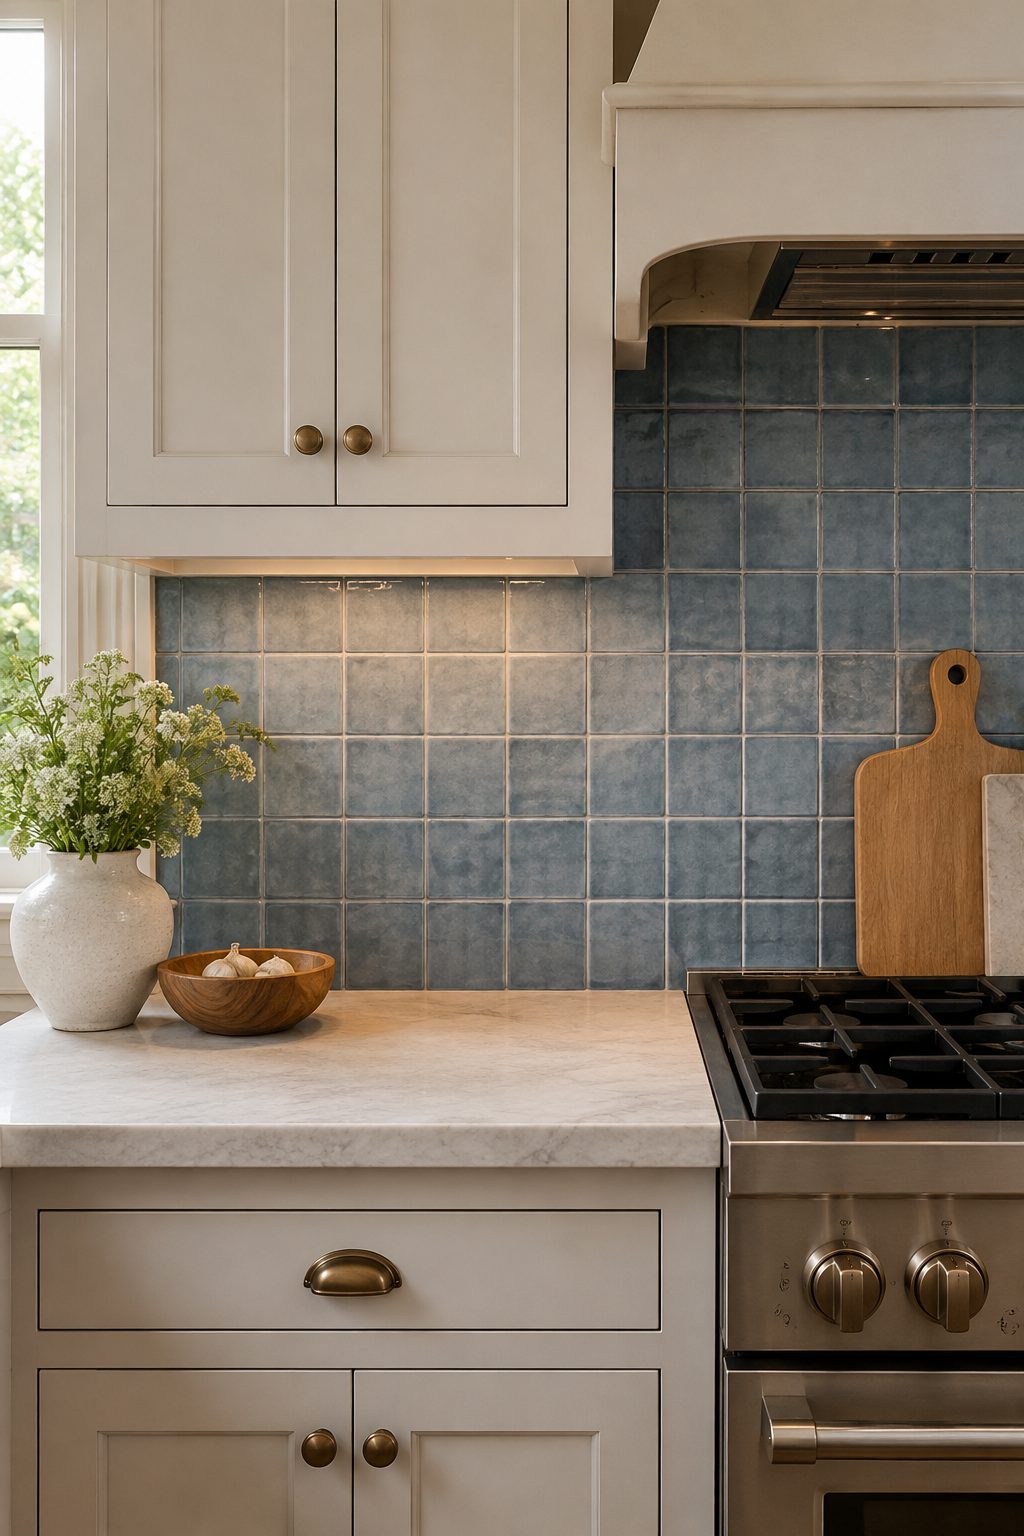
Contrasting grout outlines every piece; matching grout turns many pieces into a quieter field. Consider cooking splatter, cleaning habits, joint width, and the installer’s recommended system—not only the fresh showroom color.
5. Align the layout with cabinets and openings
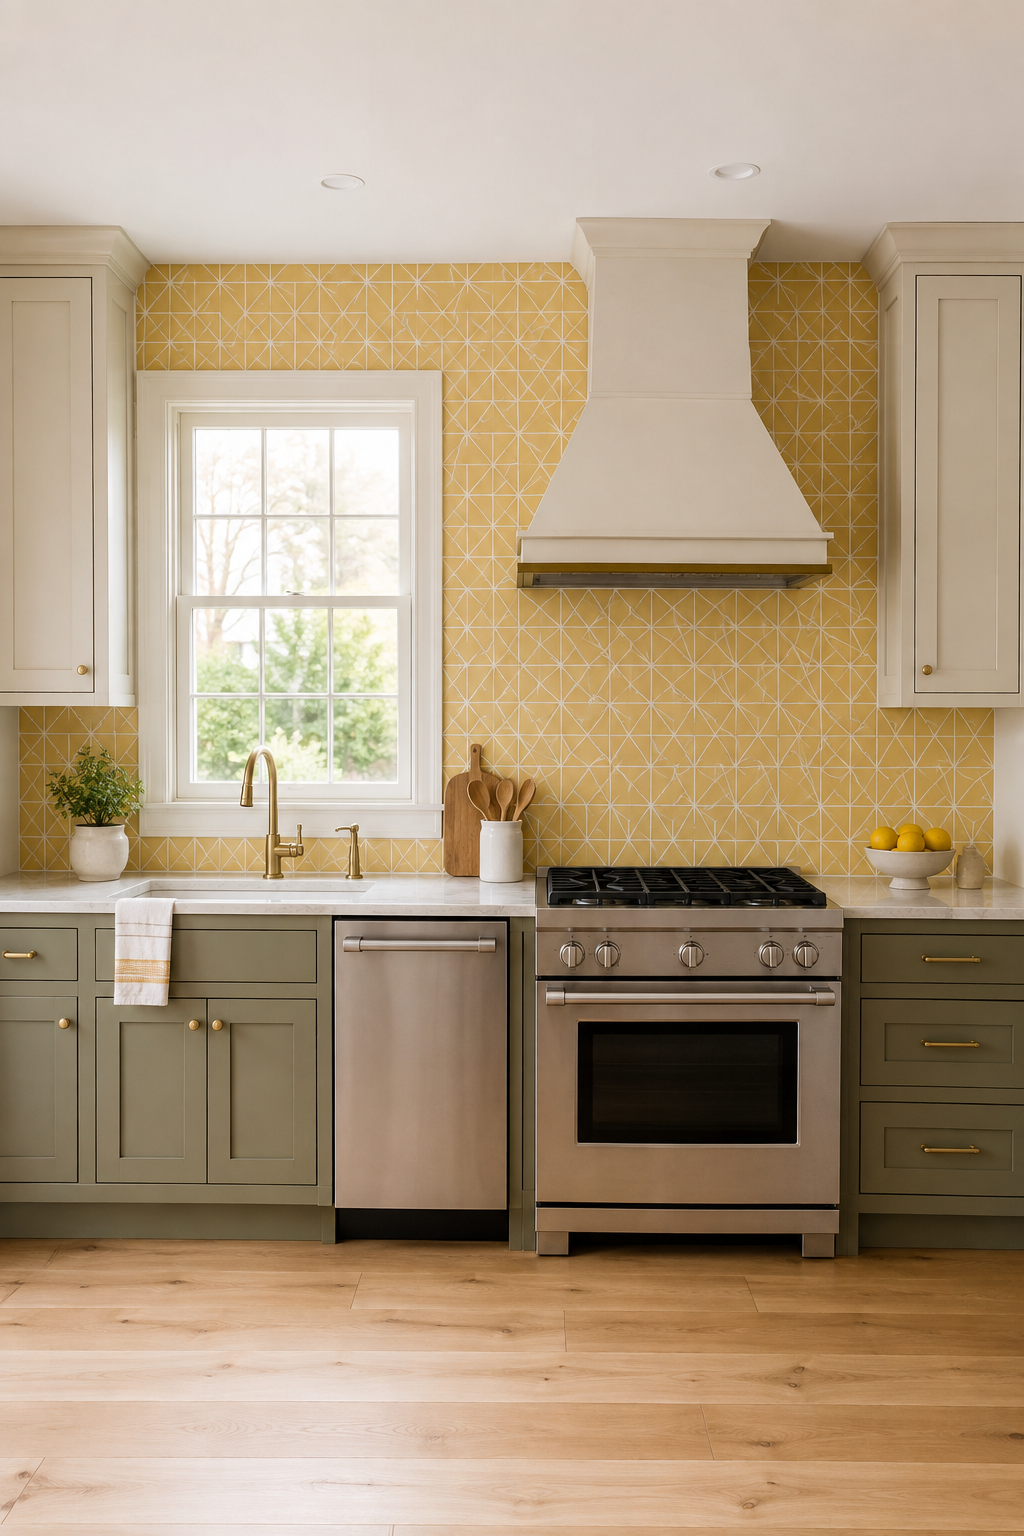
Locate the centerlines of the range, hood, sink, windows, and major cabinet runs. Decide where the pattern starts and how cuts land at each edge. A small adjustment to the starting point can make the finished wall feel intentional.
6. Balance movement in the counter
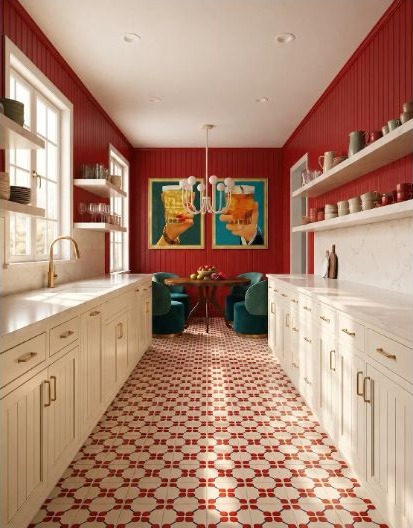
Veined stone, terrazzo, and patterned laminate already bring movement to the work surface. Pair a strong counter with a quieter wall, or repeat one restrained shape or color instead of asking both surfaces to compete. The common mistake is choosing each as a separate favorite sample. Stand them upright and flat in the same view, at roughly the proportions they will occupy, and decide which one should lead.
7. Build a color relationship
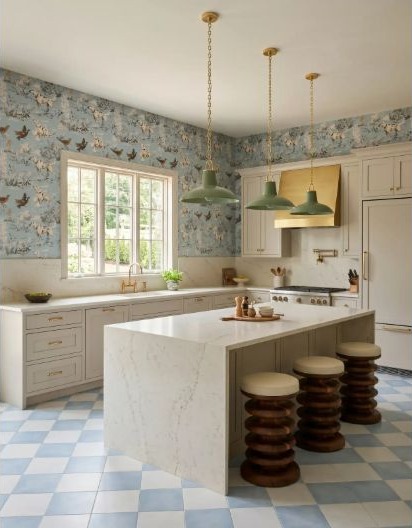
Place the backsplash beside the actual cabinet door, counter sample, floor, paint, and metal finishes. It does not need to match them; it needs a clear relationship through undertone, contrast, repetition, or deliberate tension.
8. Plan every outlet and cut
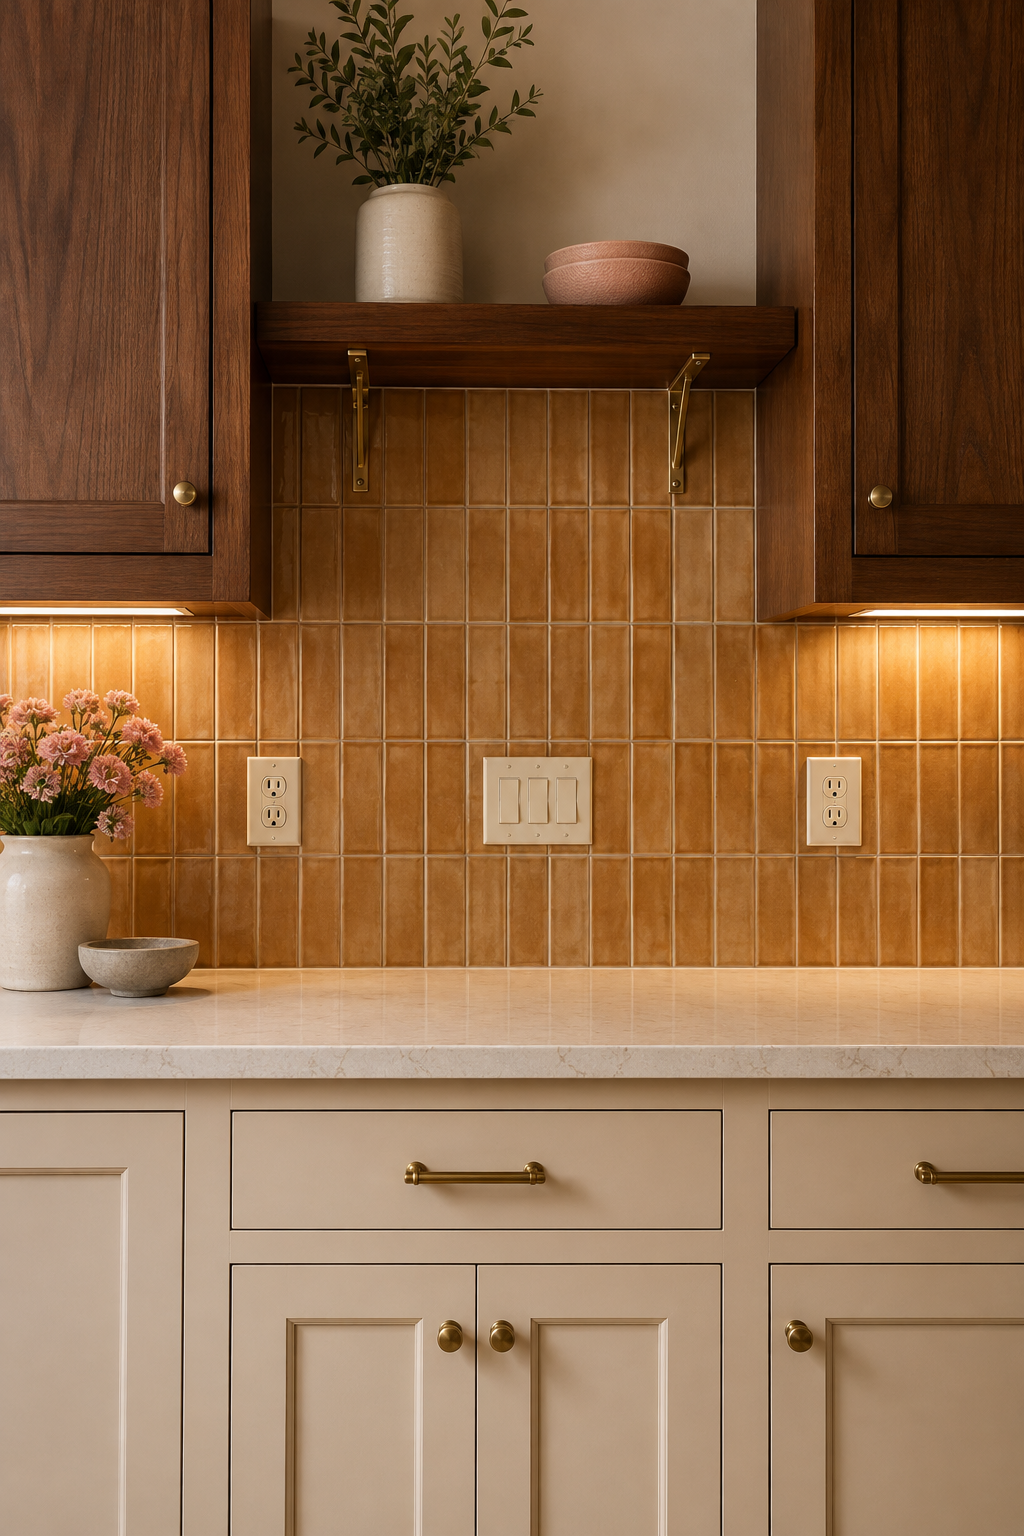
Map outlets, switches, pot fillers, brackets, and under-cabinet details on the elevation. A large motif or slab can be especially sensitive to interruptions, so solve those cuts before the material is on site. The common mistake is treating required devices as an installer's problem after the pattern has been approved. Mark each interruption now and adjust alignment, device color, or pattern placement while the options are still open.
9. Check it under task lighting
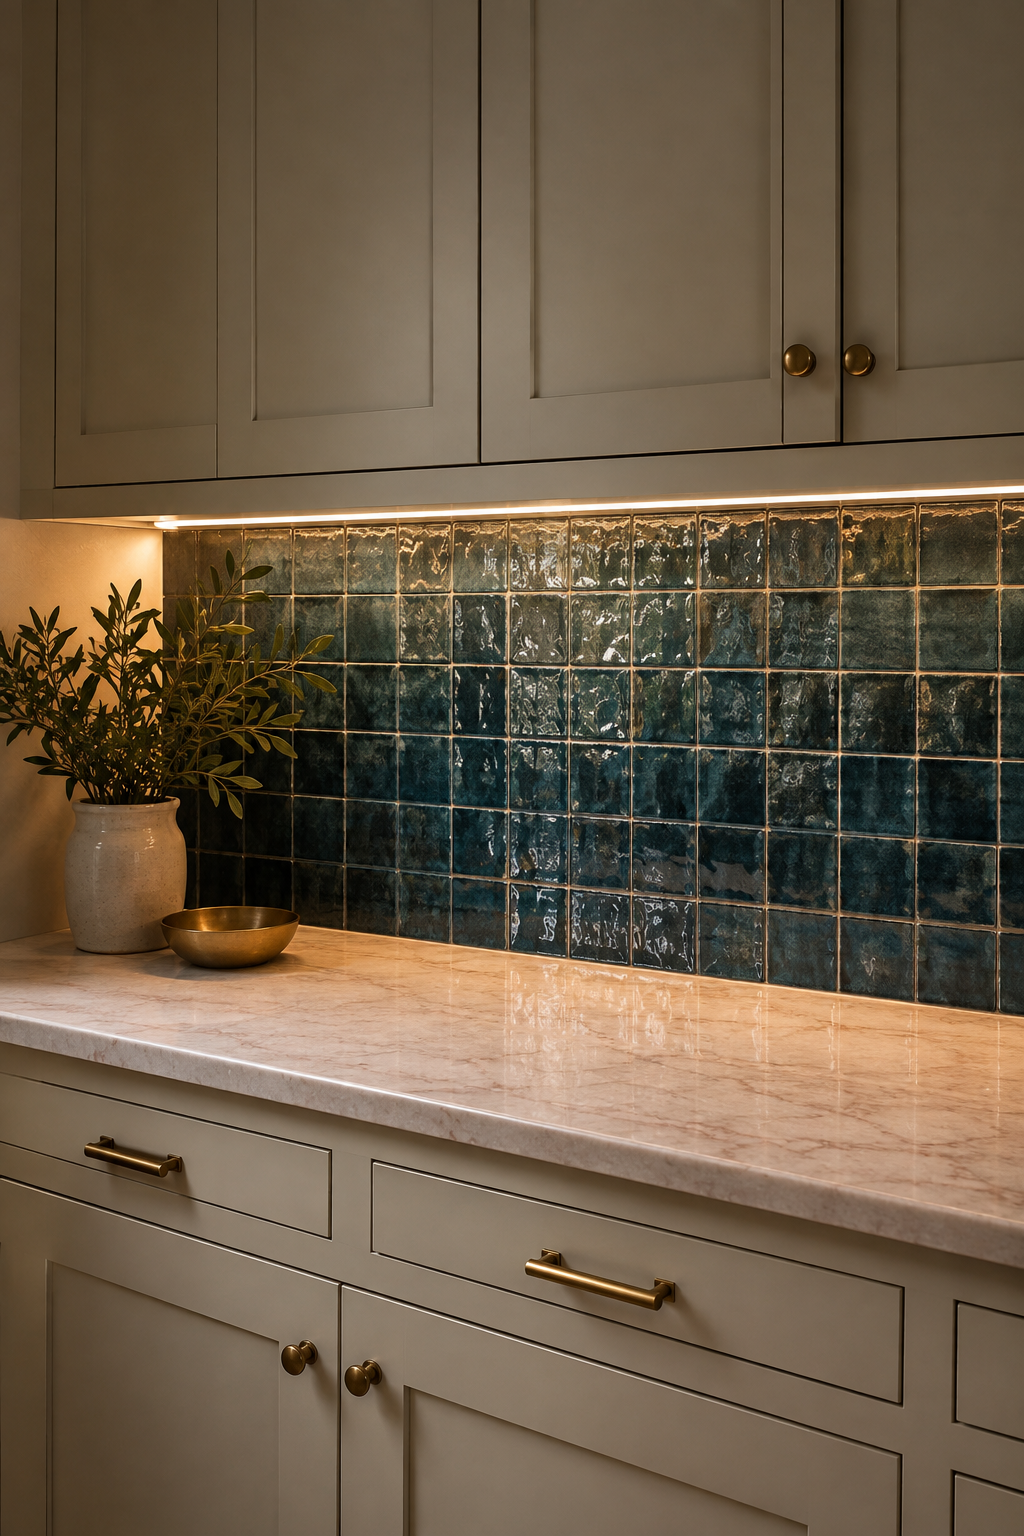
Gloss, handmade texture, metallic finishes, and pale grout can change dramatically beneath under-cabinet lights. View the sample vertically with the proposed light temperature so reflections and shadows are part of the decision.
10. Choose focal point or quiet backdrop
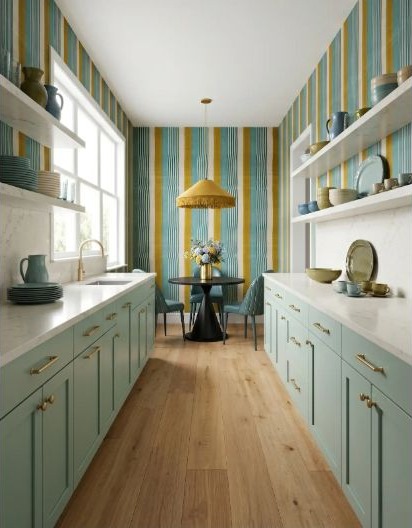
Name the role before choosing the material. If the backsplash is the focal point, let surrounding surfaces support it. If the hood, island, view, or cabinet color already leads, choose a wall finish that gives that feature space.
Make one board that tells the whole material story
Bring the backsplash, grout, cabinet, counter, floor, paint, and metal finish together in the room. Photograph the combination in daytime and evening light. The goal is not a perfect sample by itself; it is a complete group that still makes sense after the novelty wears off.
Learn How to Control PatternPlan the room around the backsplash—not after it
Use StilePath to organize the kitchen first, then compare the backsplash direction beside the decisions it has to live with.
Test a Backsplash Direction Free