
Choose the finish you understand in your own room
Paint can create a calm field of color; stain can keep the grain and natural variation visible. Neither is automatically easier, tougher, more timeless, or more expensive. The useful choice depends on the actual door material, finish system, sheen, construction, color, care, repair expectations, and all the surfaces around it. You can do the first round of comparison yourself. Gather the largest current samples available, a pencil, paper, and your phone for reference photos, then move the samples around the real room. These ten questions will help you notice what matters before ordering. Final material suitability, preparation, application, performance, cleaning, warranty, installation, and repair guidance must come from the cabinet and finish providers and responsible project professionals.
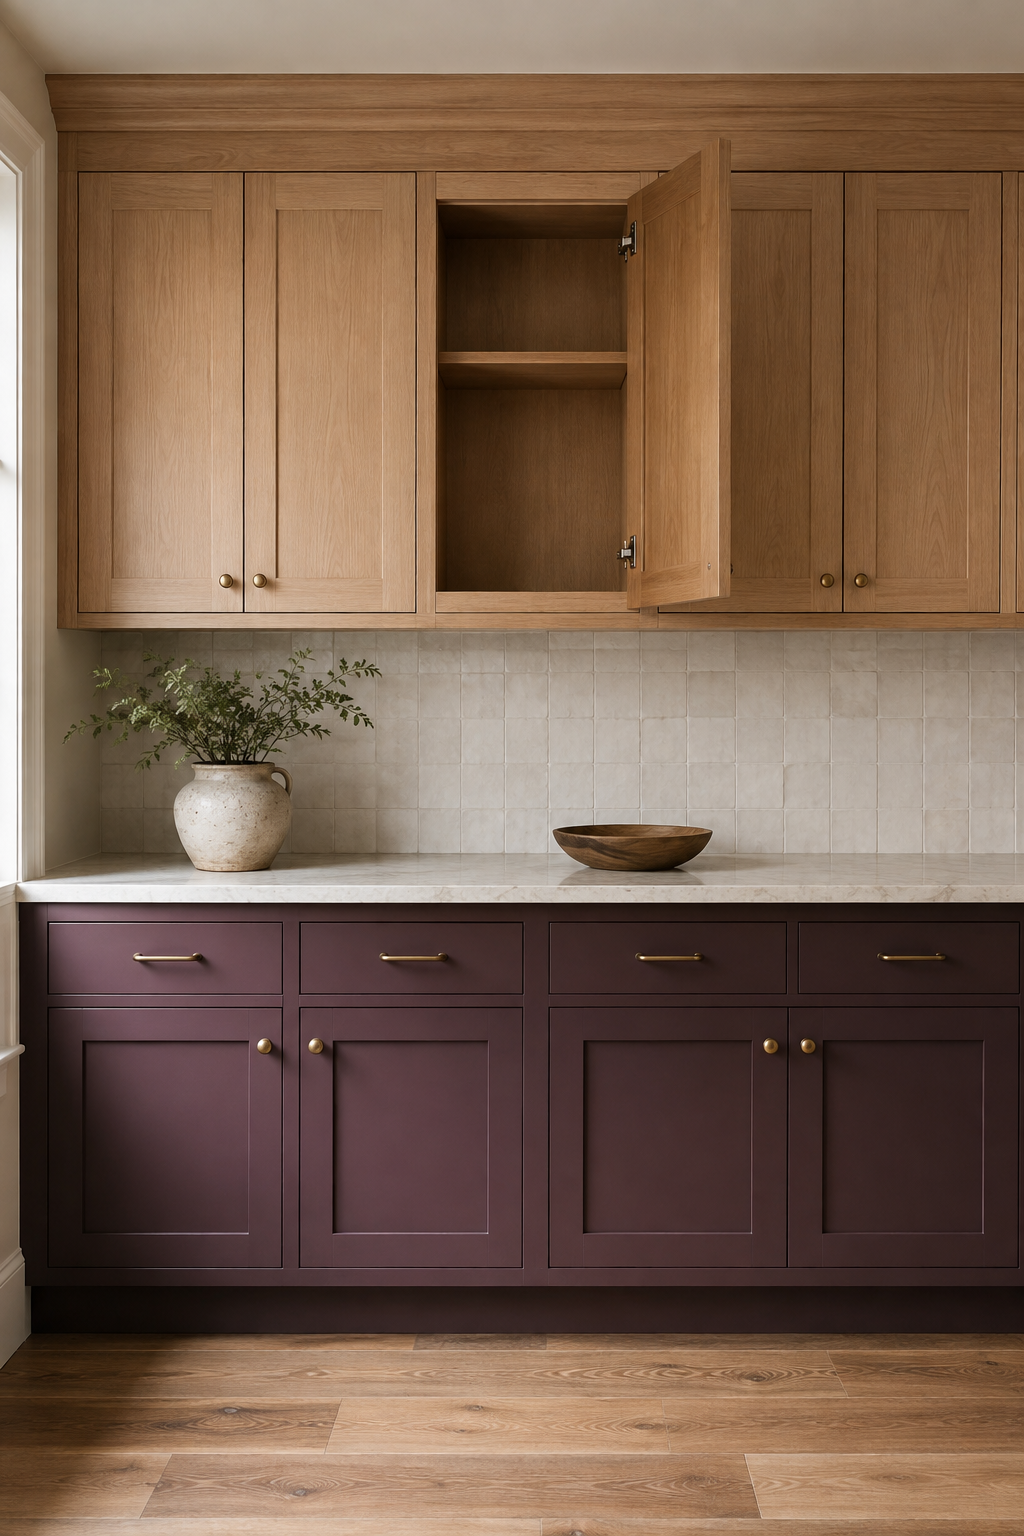
1. Compare complete door samples, not color chips
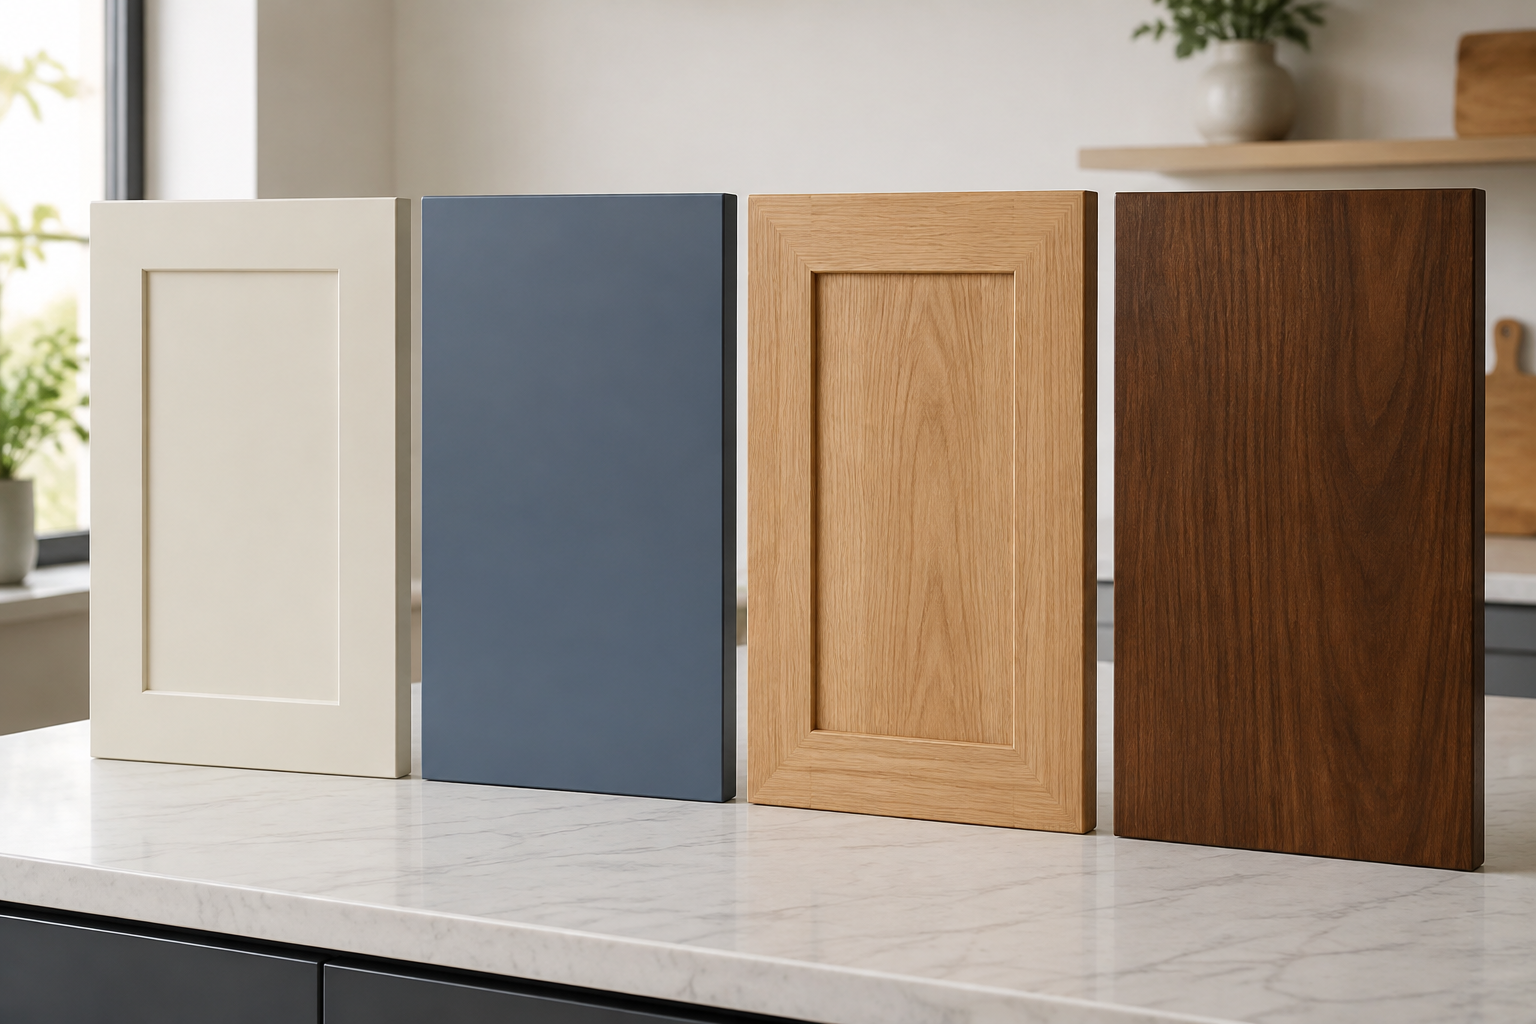
A small paint card or stain block cannot show how the finish behaves across rails, stiles, center panels, slab edges, end grain, profiles, and large uninterrupted faces. A common mistake is falling in love with a color under showroom lights and approving the door later. Another is comparing a painted Shaker sample with a stained slab sample, then attributing every difference to finish. Ask for the actual door profile and substrate in each finish you are considering. Stand several samples together, look along the edges, and feel the surface. Keep notes on sheen, grain, texture, corner detail, and how fingerprints or dust appear.
2. Decide how much natural grain variation you want to see
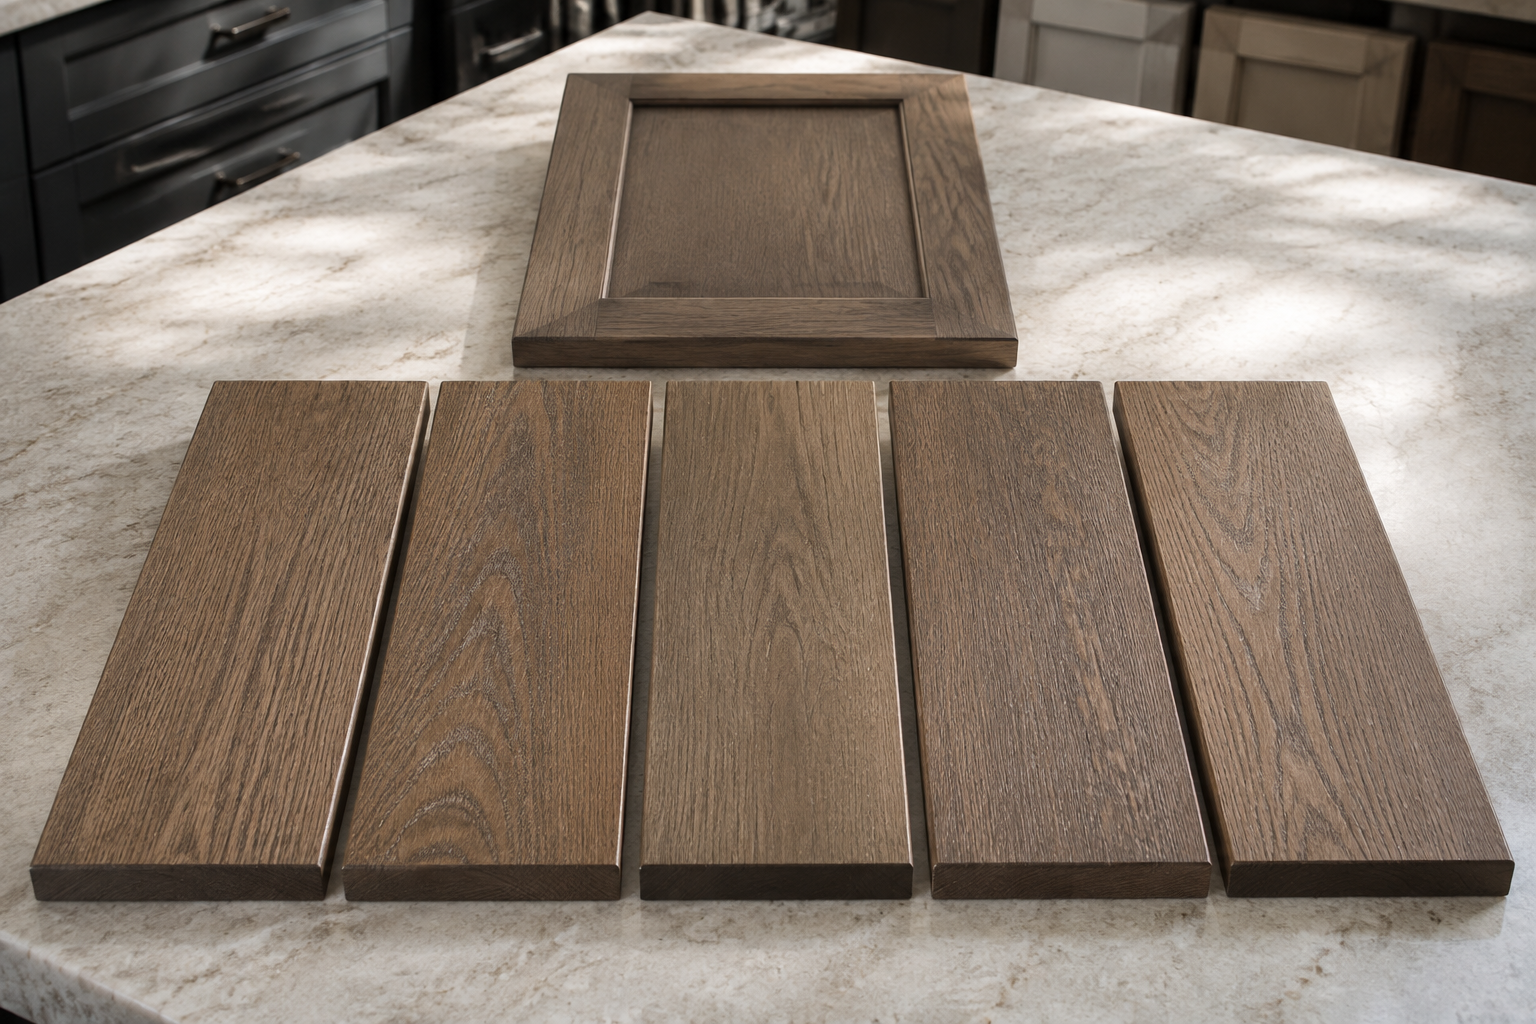
Stain changes the color of wood while allowing grain, pores, mineral streaks, and board-to-board variation to remain part of the result. Species, cut, grade, sanding, stain, glaze, and clear coat all affect what you see. The common mistake is treating one especially quiet sample as a promise that every door will match it. Another is calling normal variation a defect only after installation. Ask the supplier to show the acceptable range for the exact species and finish, including light and dark examples. Put several boards together rather than choosing the prettiest one. If variation makes you uneasy now, take that reaction seriously before ordering a whole kitchen.
3. Understand where painted joints may become visible
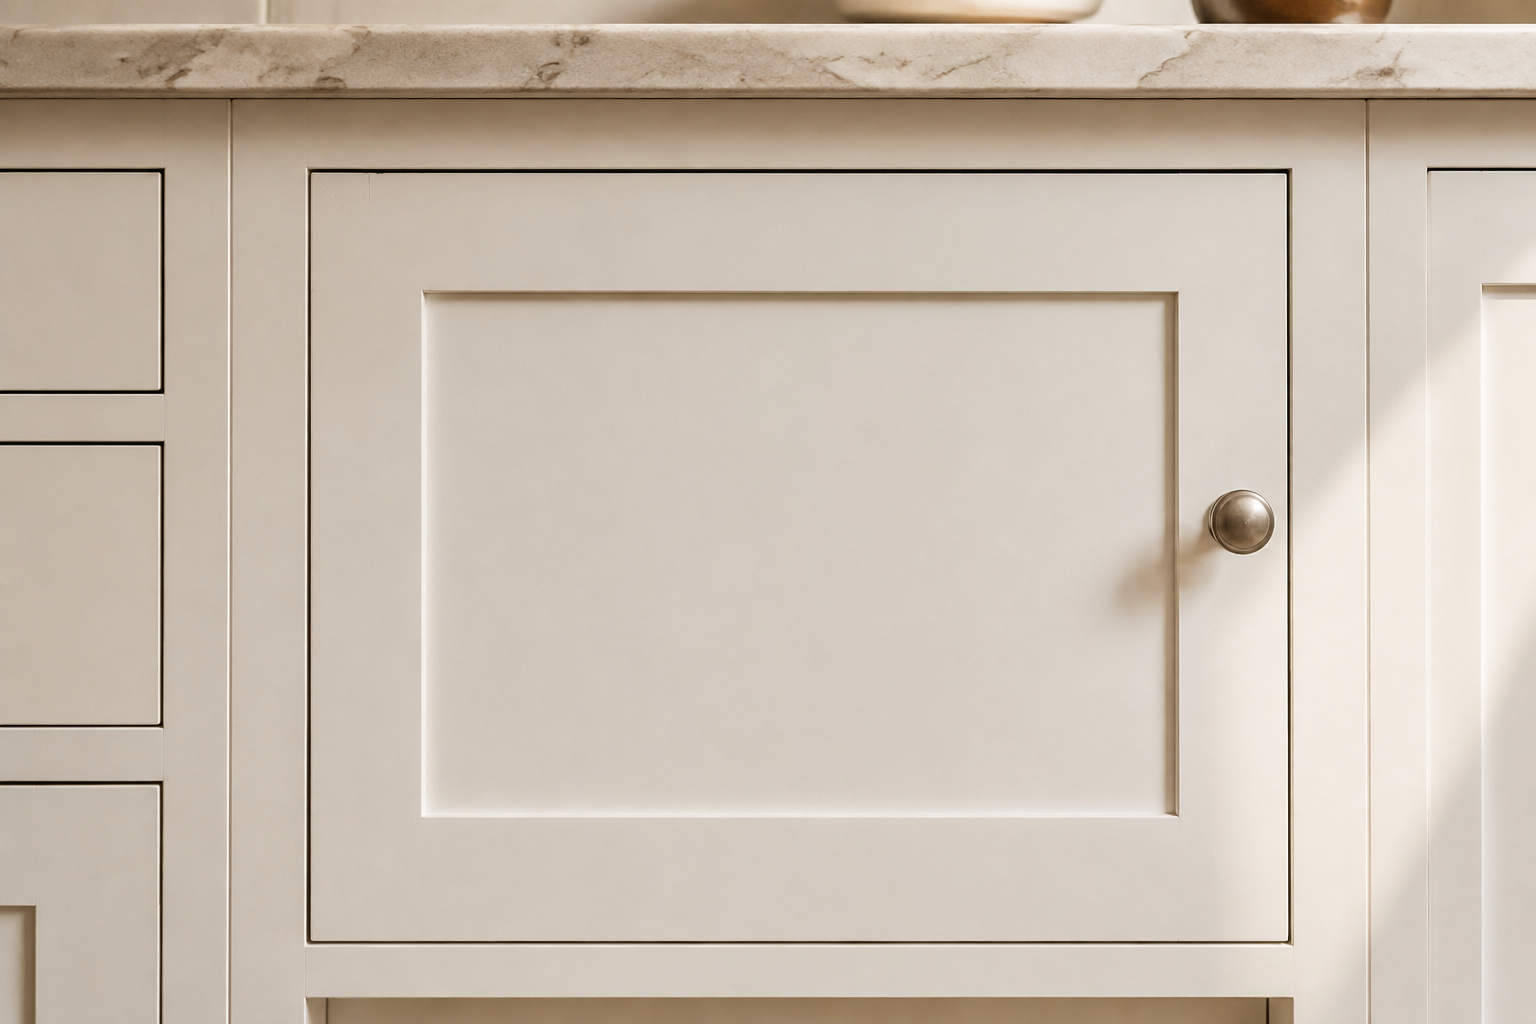
A five-piece painted door is assembled from separate rails, stiles, and a center panel. Wood and other components respond to humidity and temperature, so a fine joint line or seasonal movement may become visible depending on the material and construction. A common mistake is assuming opaque paint turns several pieces into one permanent surface. Another is seeing one normal hairline and trying an unapproved repair that creates a larger color or sheen mismatch. Ask the cabinet provider what movement is expected, what the warranty covers, and how repairs are handled. If you want the fewest visible joints, compare an appropriate slab construction rather than relying on extra paint.
4. Move large samples through daylight and evening light
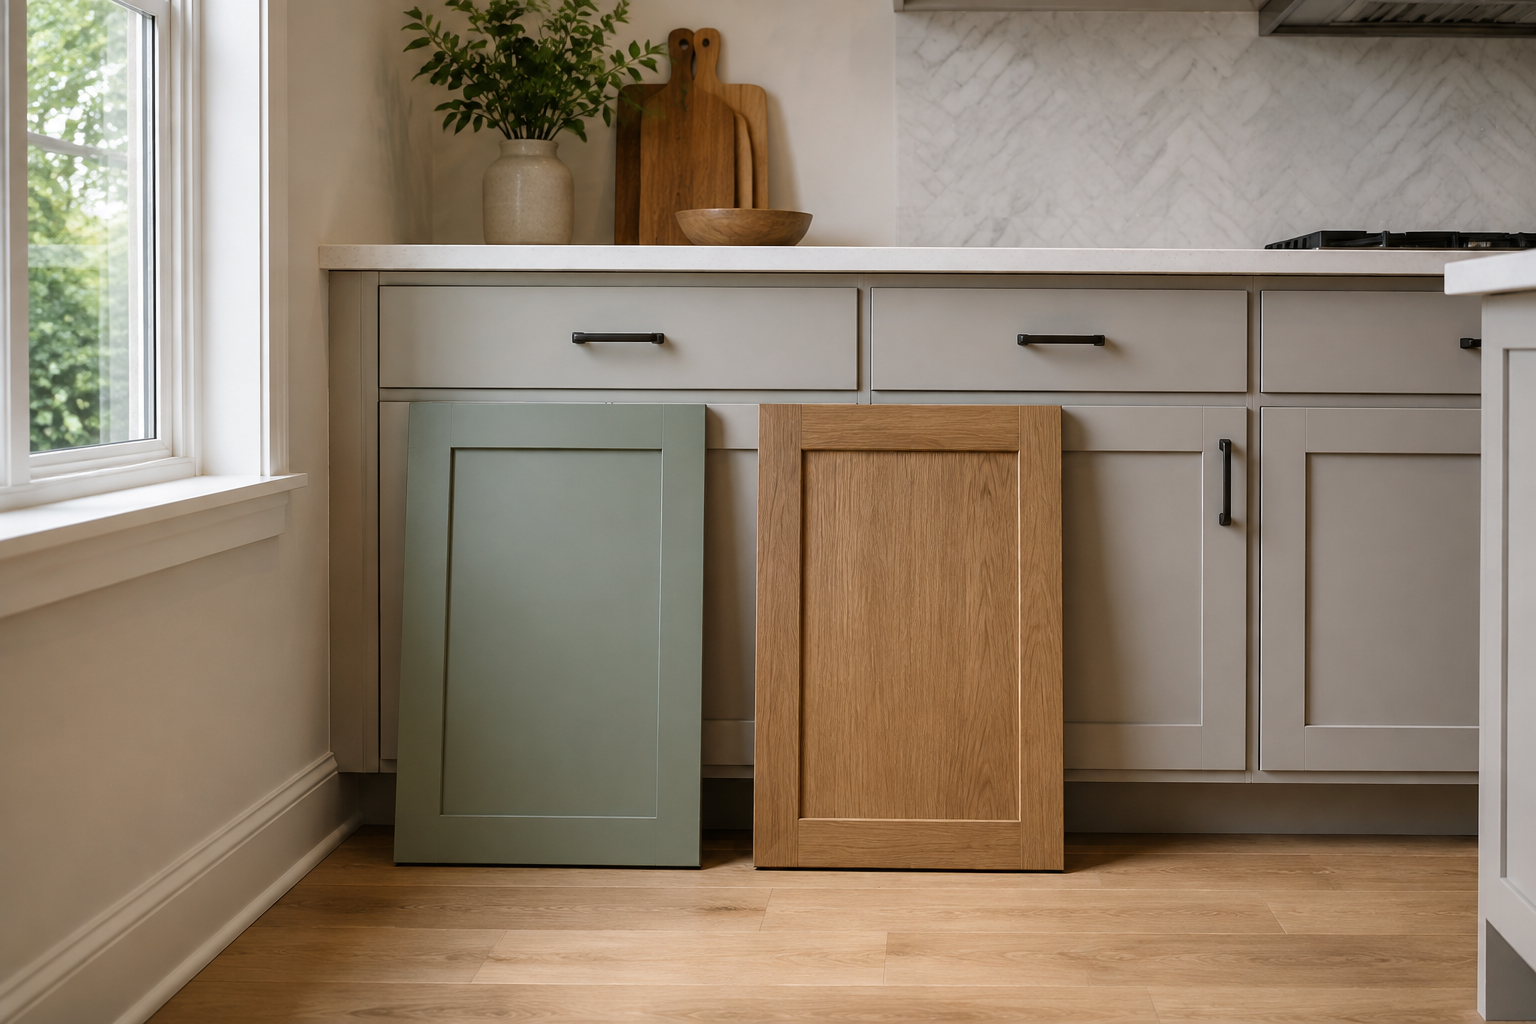
Paint and stain change with window direction, shadows, bulbs, sheen, and the colors that surround them. A warm white can look gray beside one stone and yellow beside another; oak can appear pinker, honeyed, or quieter as light changes. A common mistake is painting several small swatches directly beside one another, where each alters how the next looks. Another is trusting a phone screen more than the room. Place one large sample at a time near the floor, counter, range wall, island location, and darker corners. Look morning, afternoon, and evening, then write down what changed and what stayed comfortable.
5. Test cleaning on the exact sheen and texture
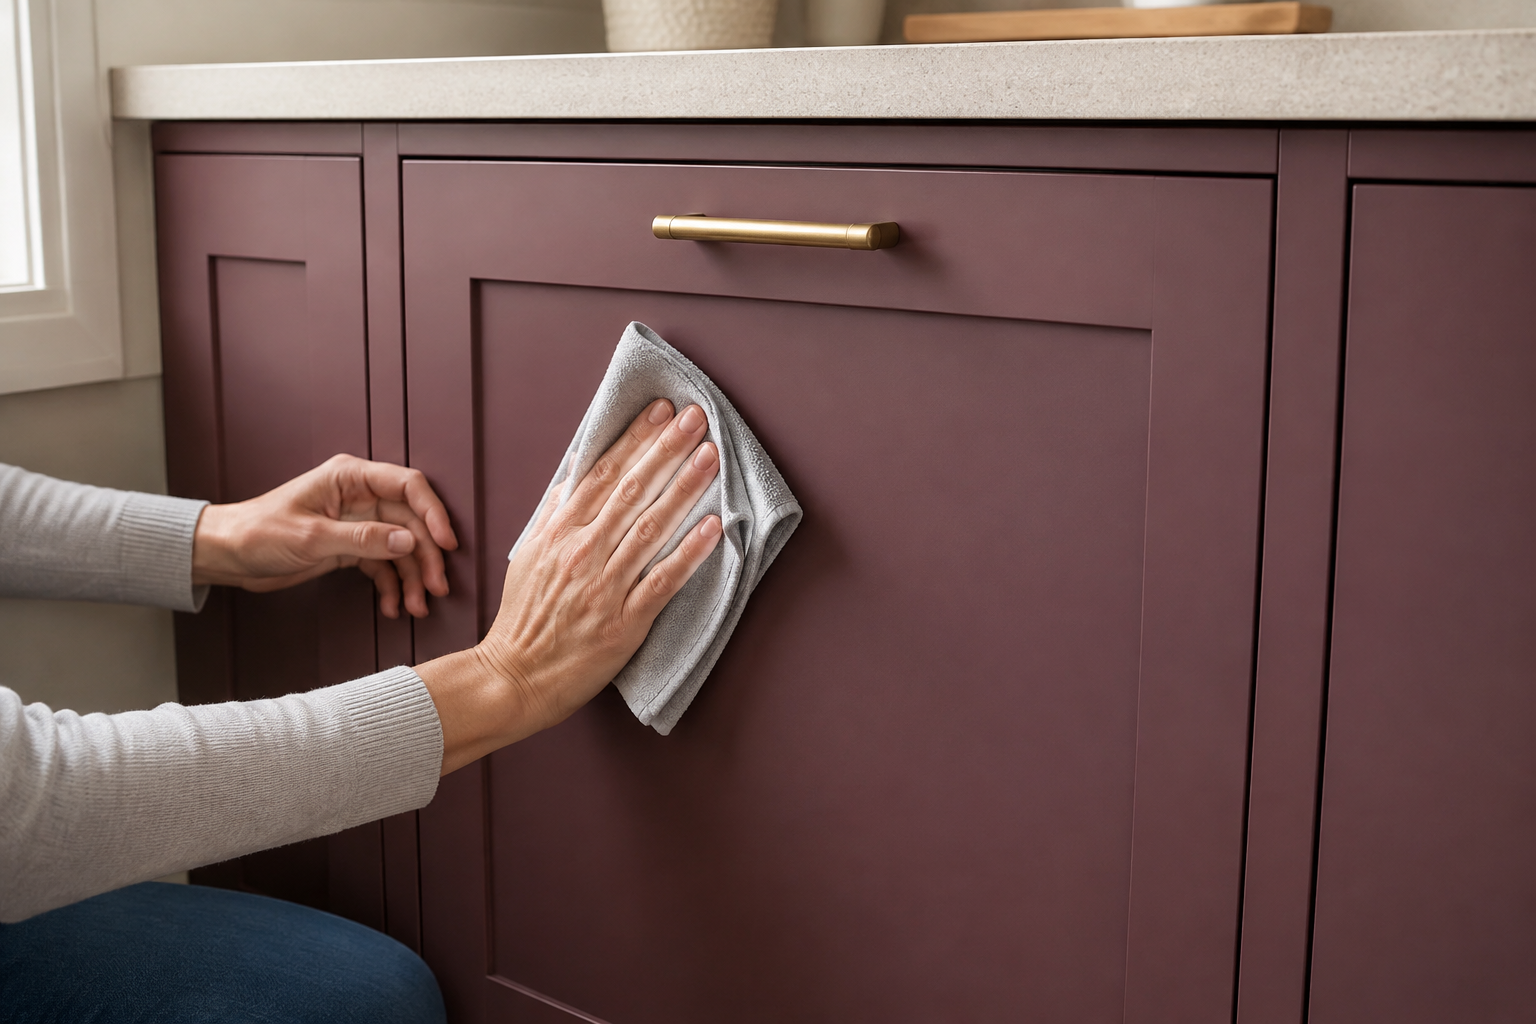
Fingerprints, cooking residue, water spots, dust, and repeated wiping can read differently on pale paint, dark paint, open grain, smooth wood, and various sheens. A common mistake is assuming dark cabinets hide dirt; they may show dust and oils more clearly. Another is choosing a heavily textured finish without considering how it will be wiped around pulls and profiles. Ask for the approved care instructions before testing anything. On a spare sample, use only the permitted method and observe the finish from several angles after it dries. Place handles where hands naturally land so daily use touches hardware instead of the door whenever possible.
6. Ask how touchups and future repairs will actually work
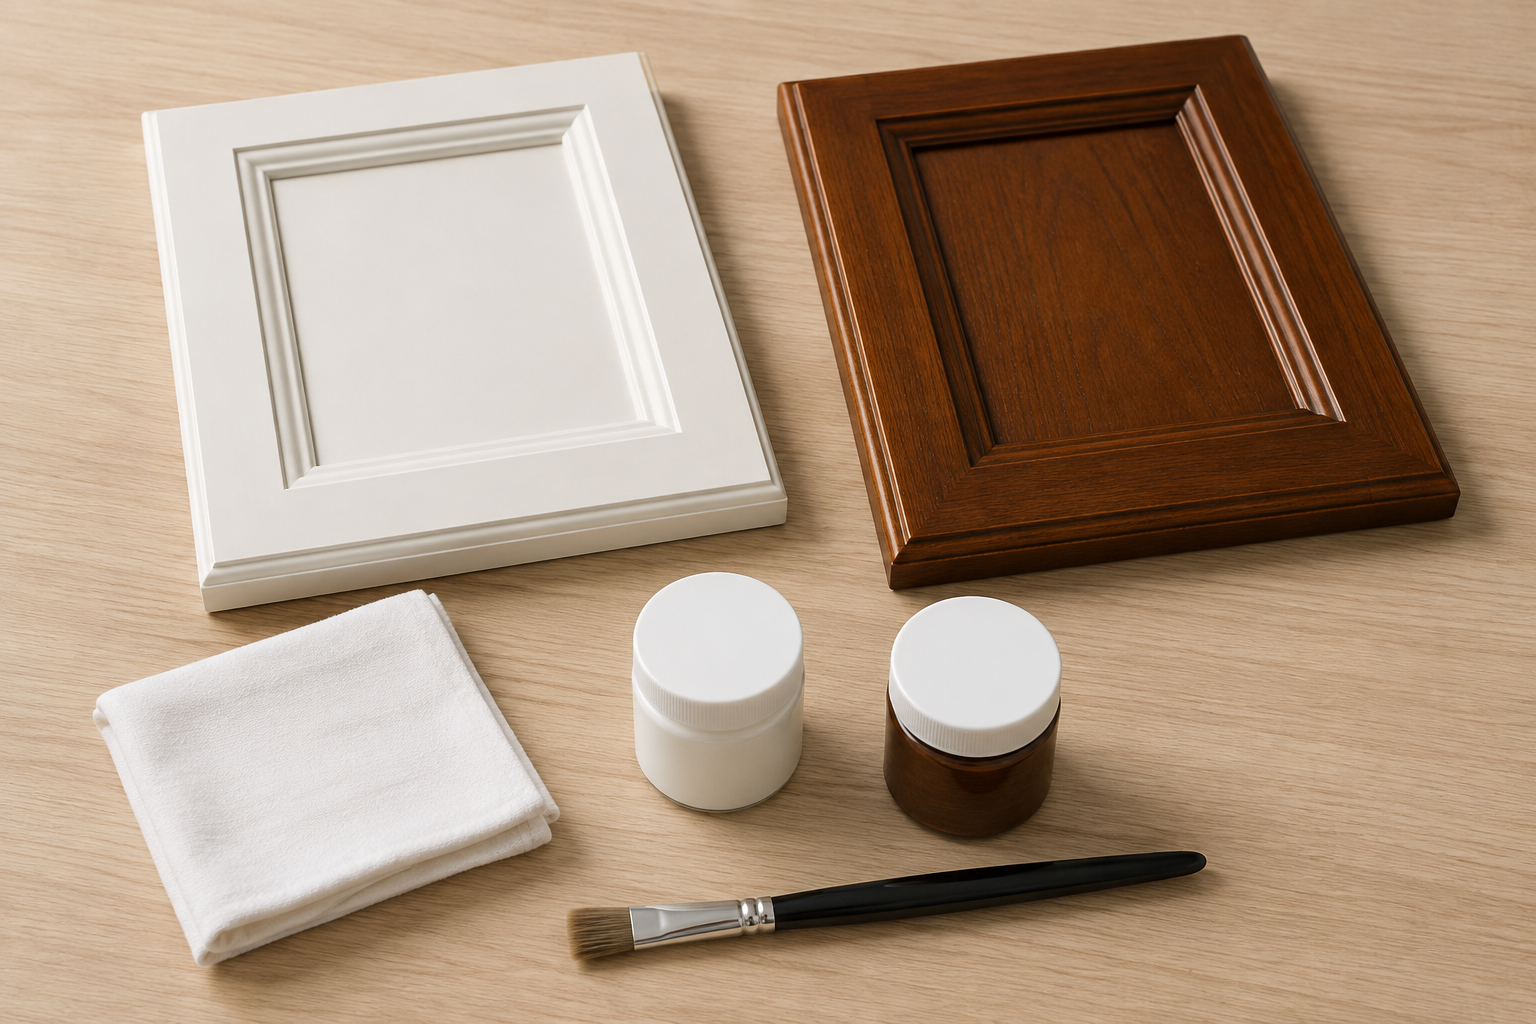
A small nick in opaque paint, a scratch through stain, a worn clear coat, and a damaged door edge are different repair problems. Color, sheen, grain, aging, and application method affect whether a touchup blends or simply protects the exposed area. A common mistake is hearing touchup kit and expecting an invisible repair. Another is storing an unidentified jar until the label or contents are unusable. Ask what kit is supplied, how it should be stored, what homeowners may safely do, and when the provider should handle the repair. Keep the order information and an approved spare sample; do not invent a repair method from a generic video.
7. Compare the cabinet finish with every repeated material
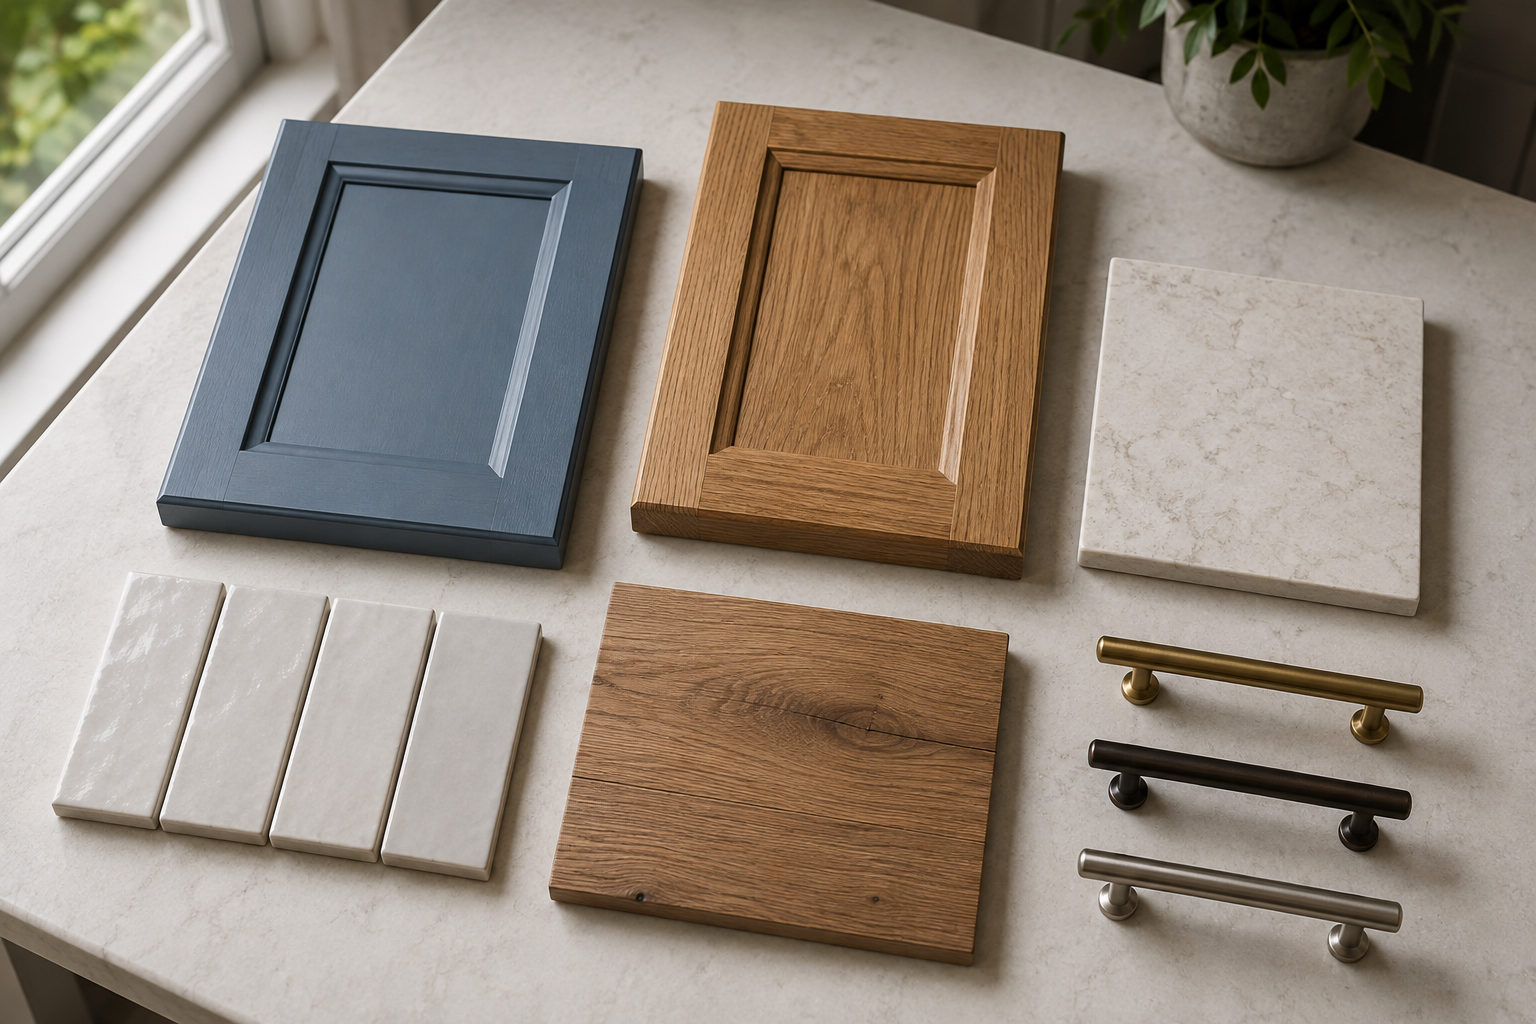
Cabinets occupy a large visual area, but they never appear alone. Countertop movement, backsplash color, floor grain, wall paint, appliance finish, faucet, lighting, and dozens of pulls can shift the whole combination. A common mistake is approving each material in a separate meeting. Another is matching undertones so closely that the room looks almost coordinated but slightly off. Group the actual current samples in the same orientation they will be installed: doors vertical, counter horizontal, backsplash behind, floor below. Step back, photograph the group for memory, and decide which material leads. The others should support it rather than compete to be the focal point.
8. Give mixed finishes a clear architectural boundary
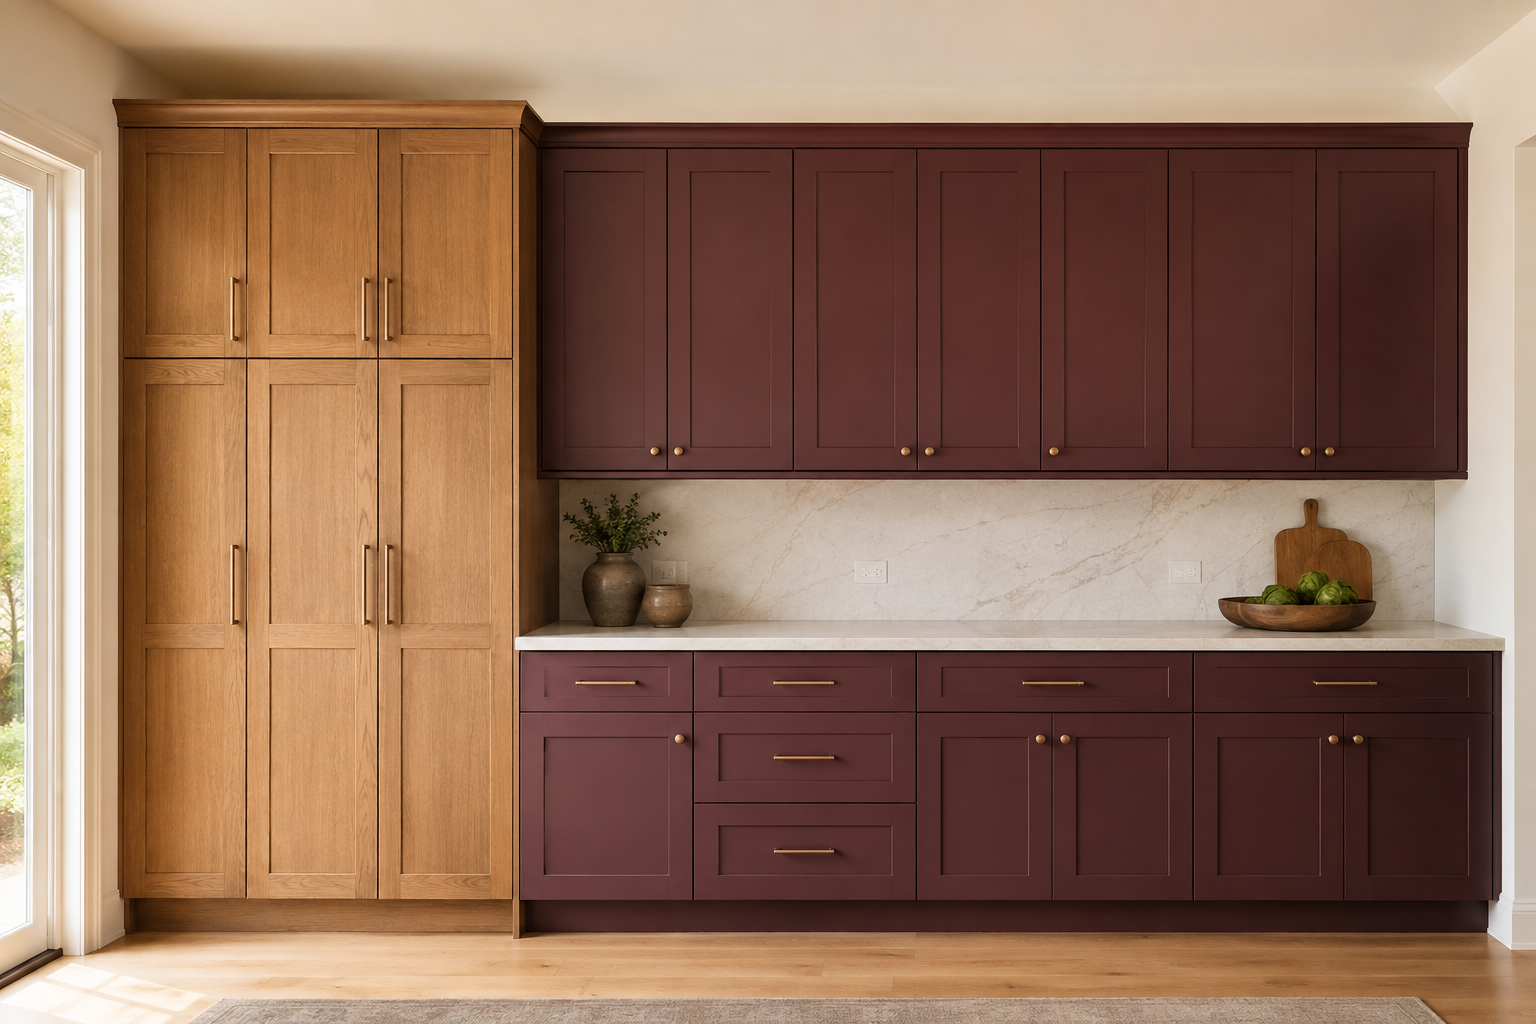
Paint and stain can work together when the change begins and ends at a whole island, tall-storage block, hutch, or complete functional run. The common mistake is changing finish halfway across an unrelated row simply to balance a rendering. Another is adding an island solely to create a second color before proving the island fits. Start with the working layout, then assign each finish to a cabinet group that already has a clear reason to exist. Mark every exposed end, back, toe kick, filler, trim piece, and appliance panel. A clean boundary is easier to order, install, explain, and live with than a finish map built from isolated doors.
9. Approve one complete finish schedule with the elevations
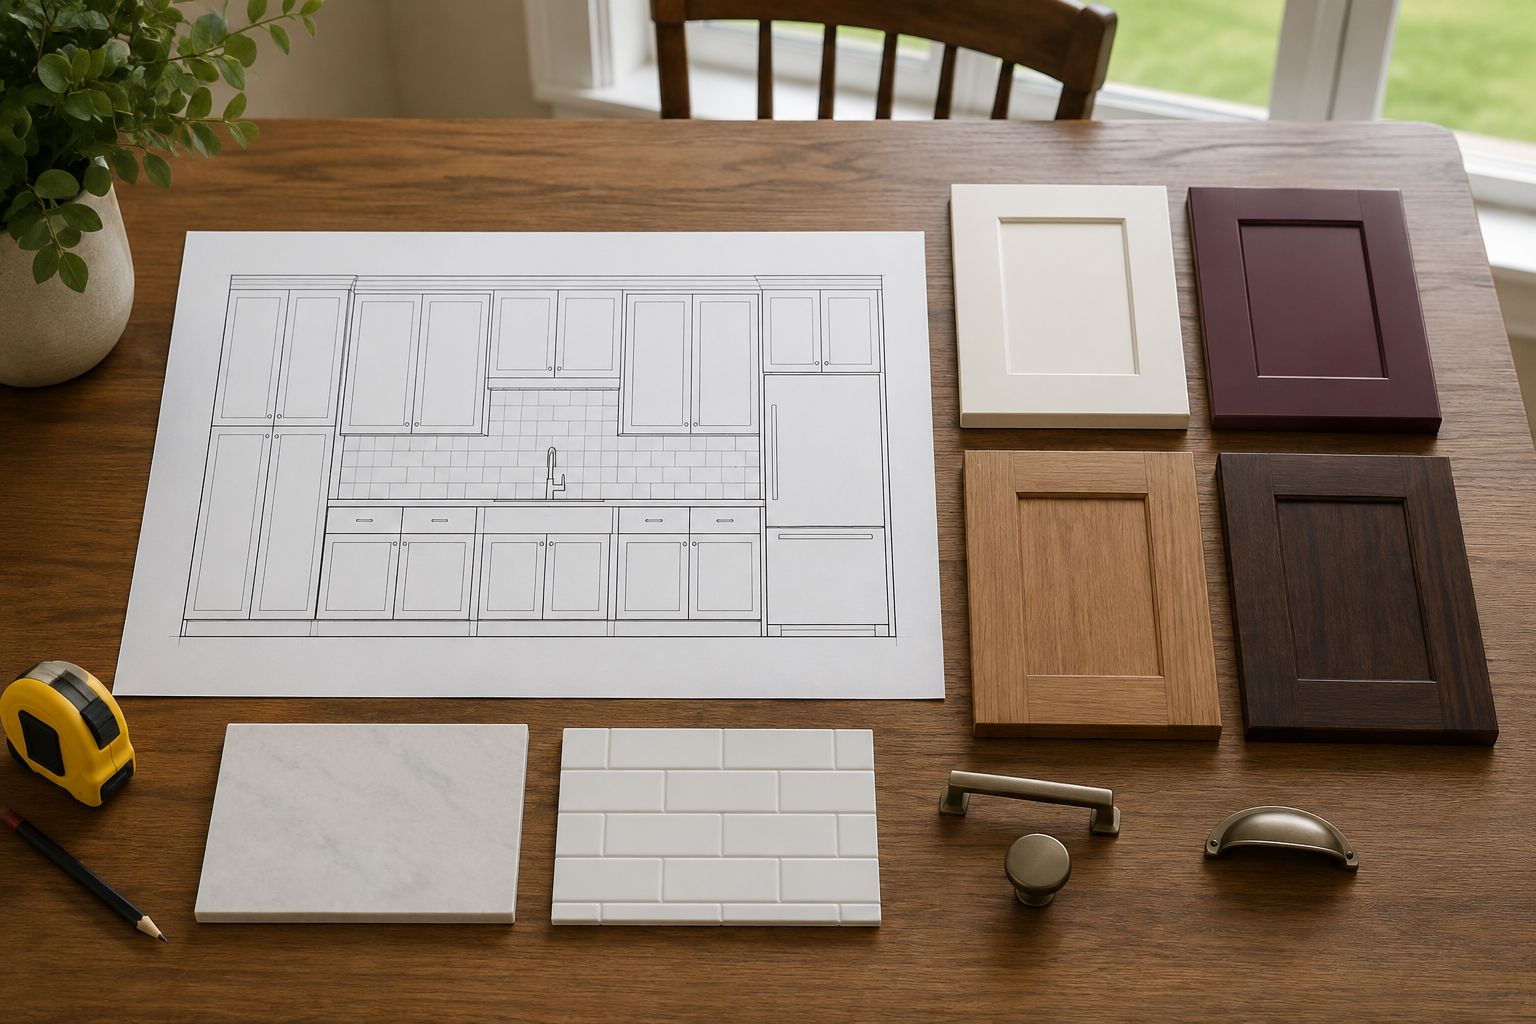
A finish decision is not complete until every visible cabinet part has an assignment. Build a schedule for doors, drawer fronts, box interiors, exposed sides, appliance panels, island backs, fillers, crown, light rail, toe kicks, open shelves, and any decorative elements. A common mistake is writing painted perimeter and stained island while leaving the transition pieces to interpretation. Another is attaching an old sample to a revised order. Put the dated approved samples beside the final plan and elevations, then ask the cabinet provider to identify every finish boundary. Keep a photograph and the written schedule together so the installer is not asked to make a design decision from memory.
10. Compare the complete finish systems, scope, and warranty
Compare more than the color and bottom-line price. Record the door and box material, preparation, finish layers, sheen, sample range, expected variation, care instructions, touchup provision, replacement process, lead-time assumptions, delivery protection, installation responsibilities, adjustments, exclusions, and warranty terms for each option. The final common mistake is repeating painted costs more or stain wears better without checking the cabinet lines actually quoted. You do not need to become a finish specialist to ask a good question. Ask each provider to explain what you will see on day one, what normal change may look like later, and what support is included when something needs attention.
Connect finish to door style and the full-room palette
Paint and stain behave through the door profile, repeated cabinet surfaces, light, and nearby materials. These guides help you test those relationships before the order.
Compare Cabinet Door Styles Plan a Two-Tone KitchenSee the finish map on the complete kitchen
Use StilePath to organize the cabinet groups, full elevations, appliances, and room views before assigning paint or stain. Start free, label each finish boundary, and bring the plan with your physical samples into cabinet-provider review.
Start Planning Free