
Plan the machines and service paths before filling the room with cabinets
Laundry rooms ask a lot of a small footprint: large appliances move and vibrate, doors project into the aisle, water and power need service, heat and moisture need safe paths, and the household still needs somewhere to sort, fold, hang, and store supplies. You can make a useful first plan without knowing every construction detail. Get a tape, pencil, paper, the exact appliance model information, and a few straight-on photos. Record what is there, mark what you do not know, and keep access as important as appearance. These ten checks will help you prepare a clearer cabinet brief and catch common conflicts before a countertop, tall cabinet, or beautiful wallpaper makes the machines harder to use or repair.
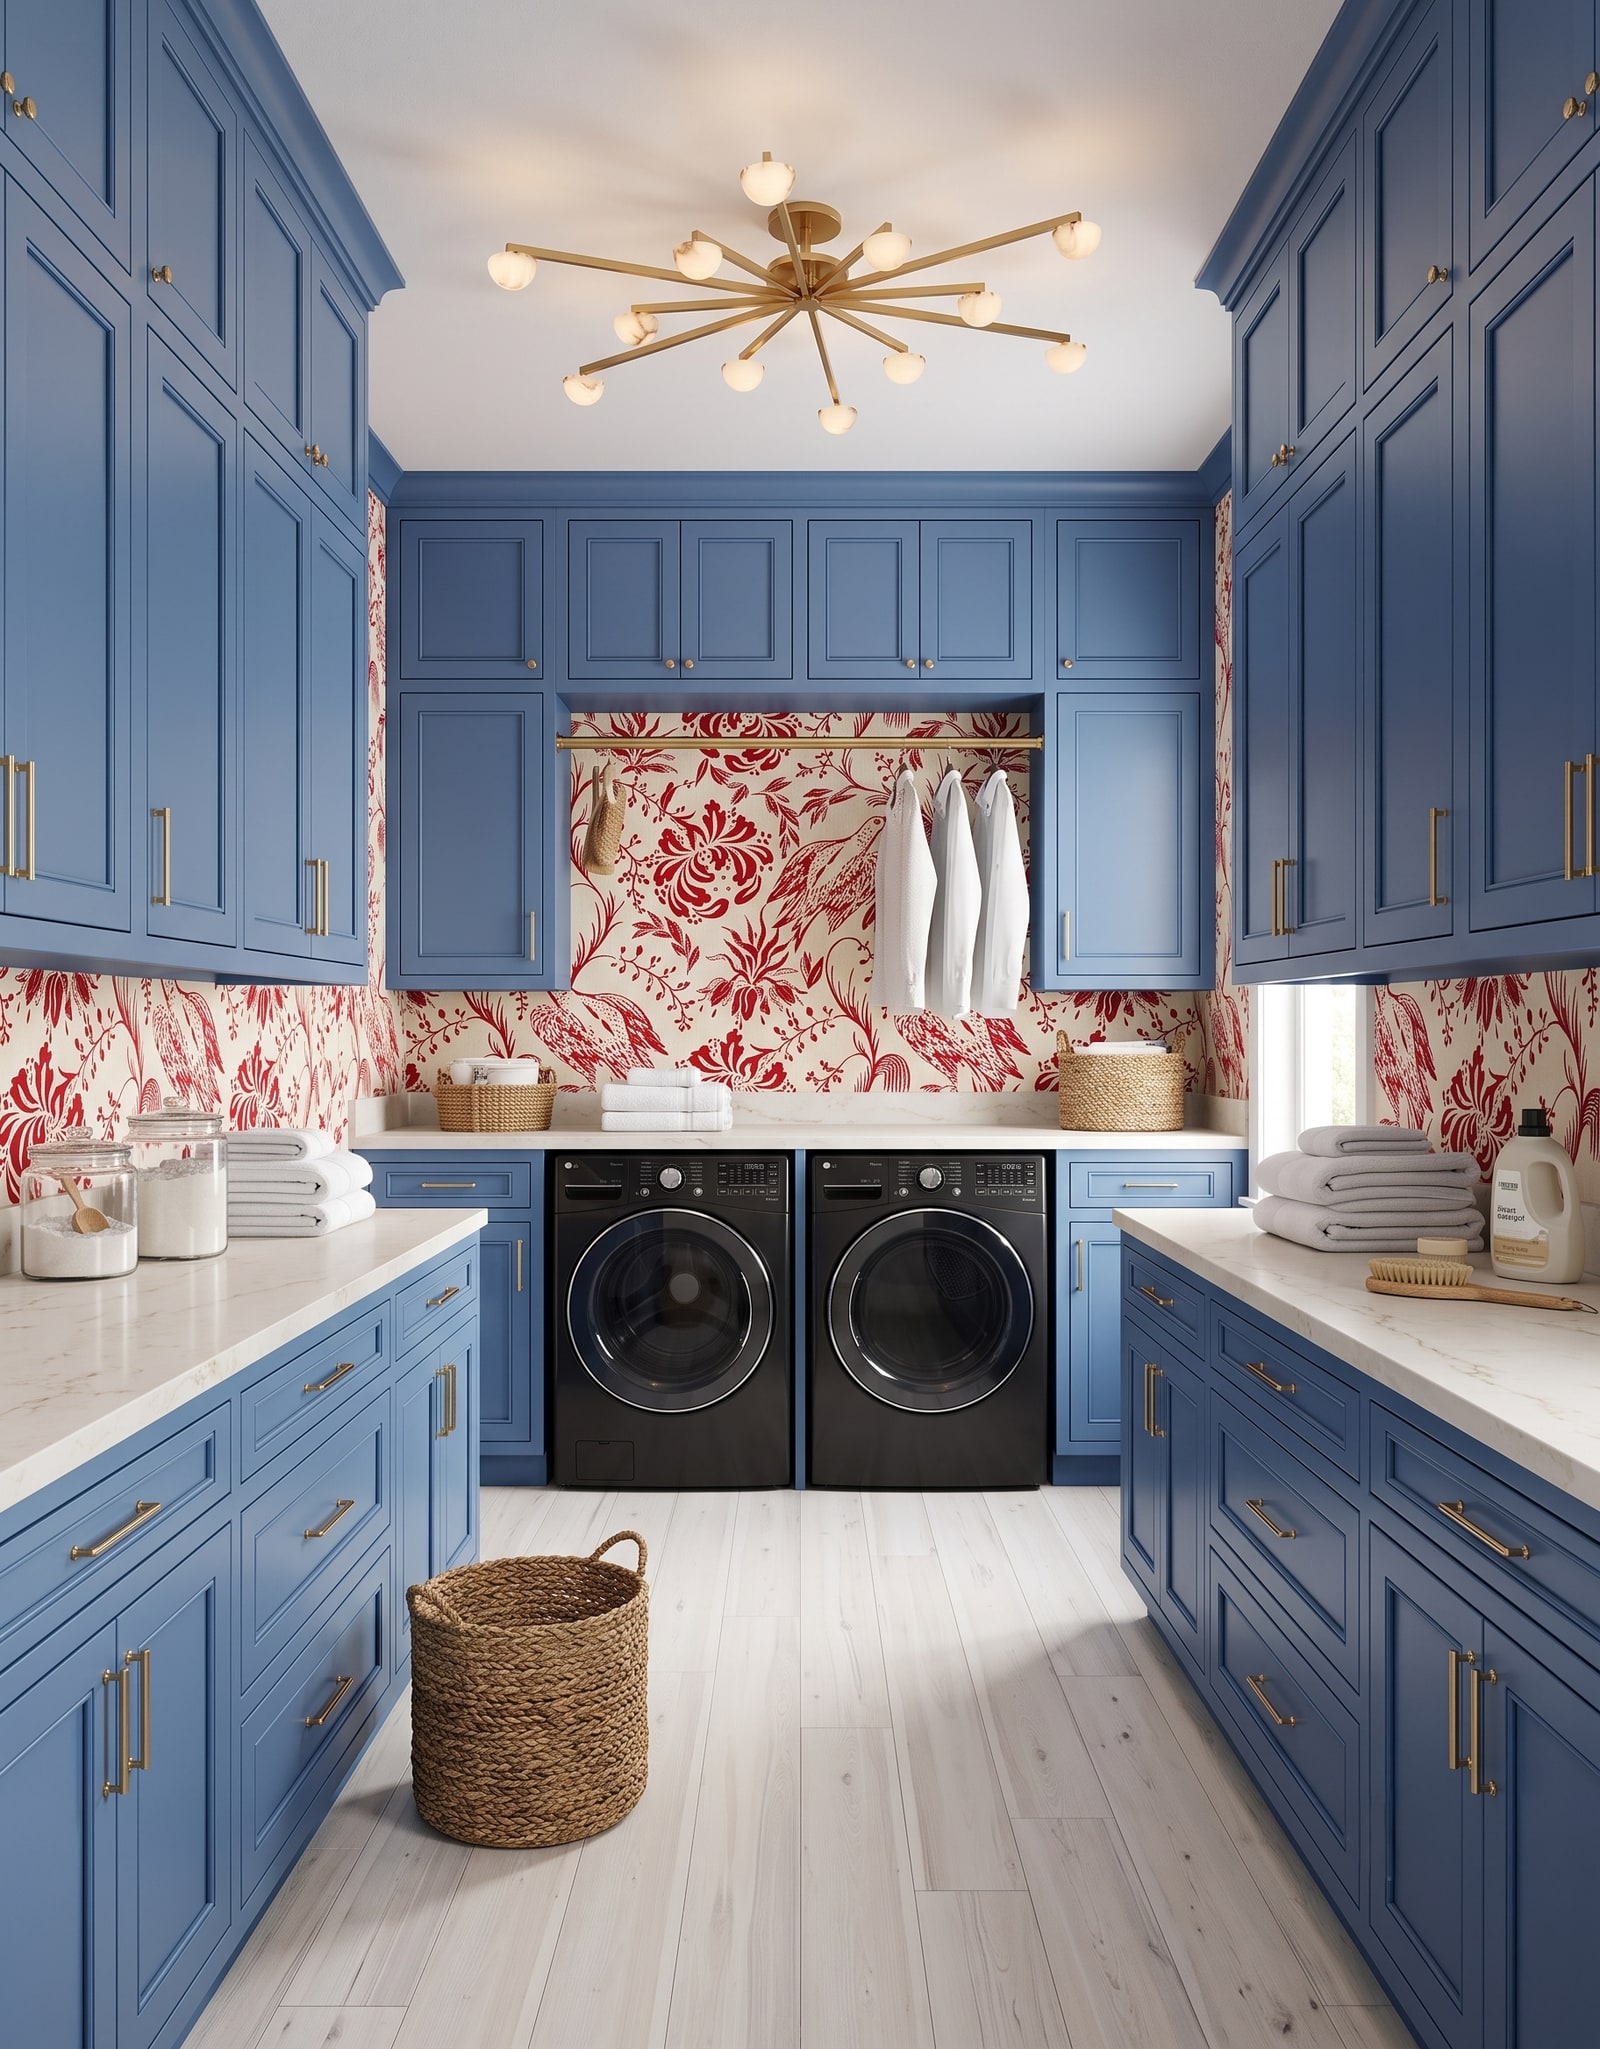
1. Start with exact appliance models, not a generic pair
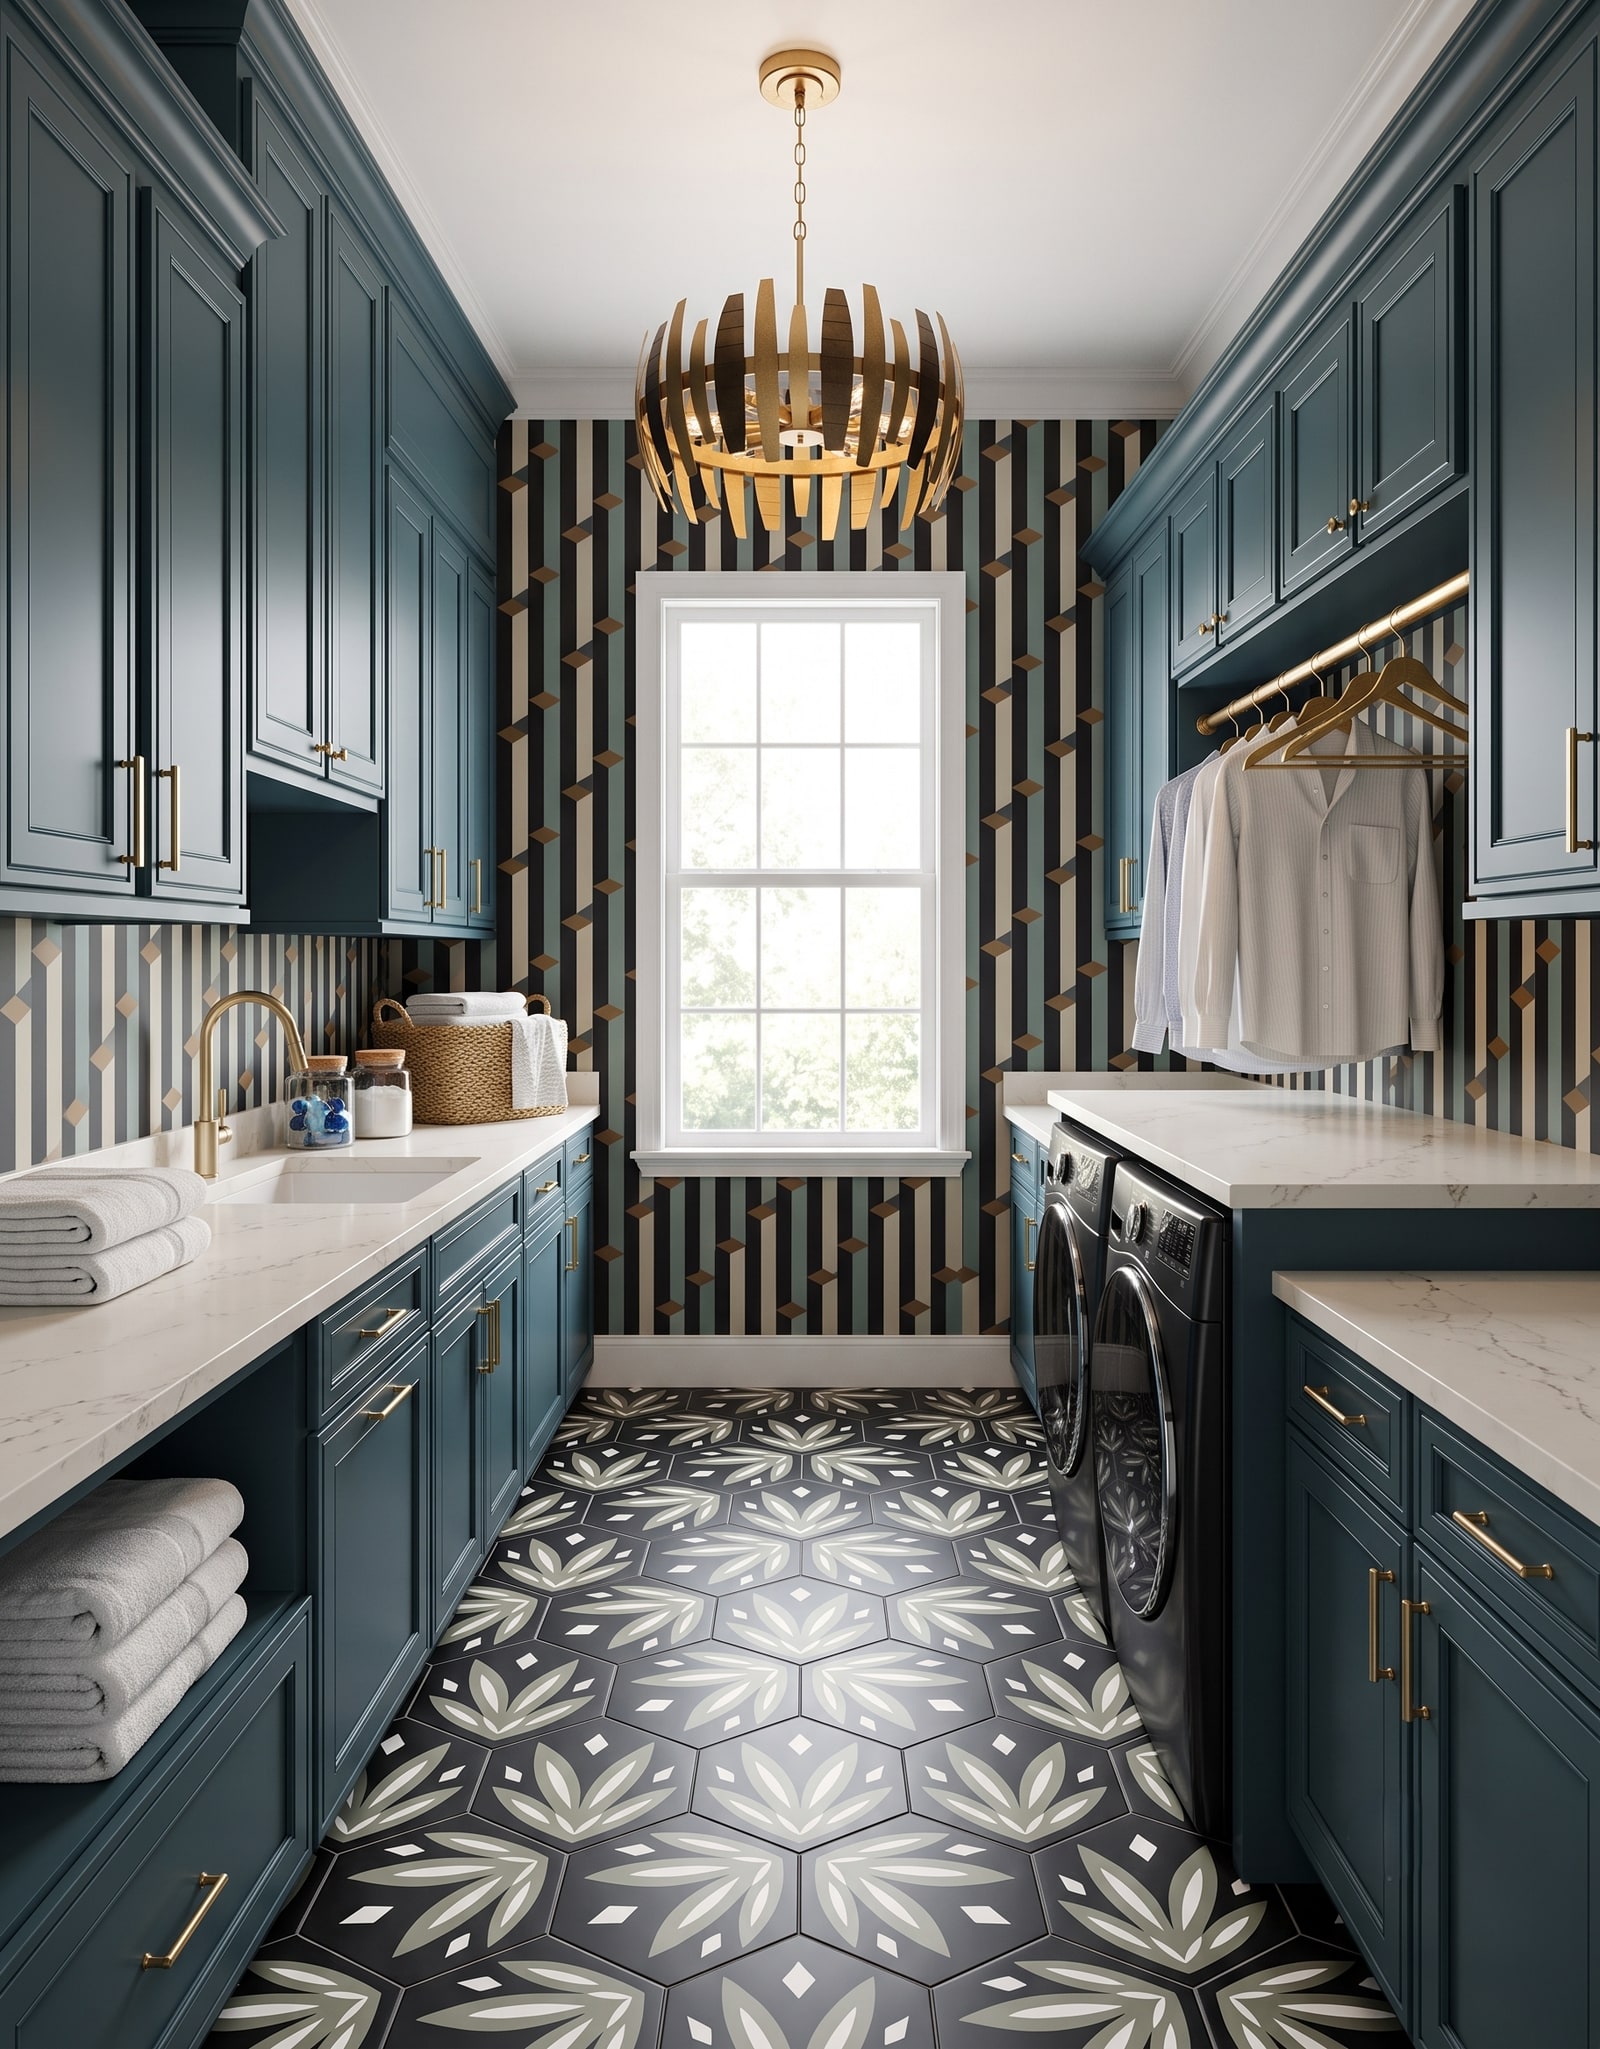
Download or photograph the specification sheet for the washer and dryer you plan to use. Record cabinet dimensions, required side and rear clearances, door projection, hinge side, hookups, vent direction, pedestal height, stacking kit, and service guidance. Measure the real appliances too if they are already in the room. A common mistake is drawing two standard rectangles and discovering that control panels, hoses, or a deeper dryer push the countertop forward. Another is replacing the machines later with models that no longer fit a tight surround. Give the cabinet provider model numbers and keep modest adjustment space where the manufacturer allows it. The machines are the working equipment; cabinetry should fit around their requirements, not make them conform to an ideal elevation.
2. Keep washer water, drain, and power reachable
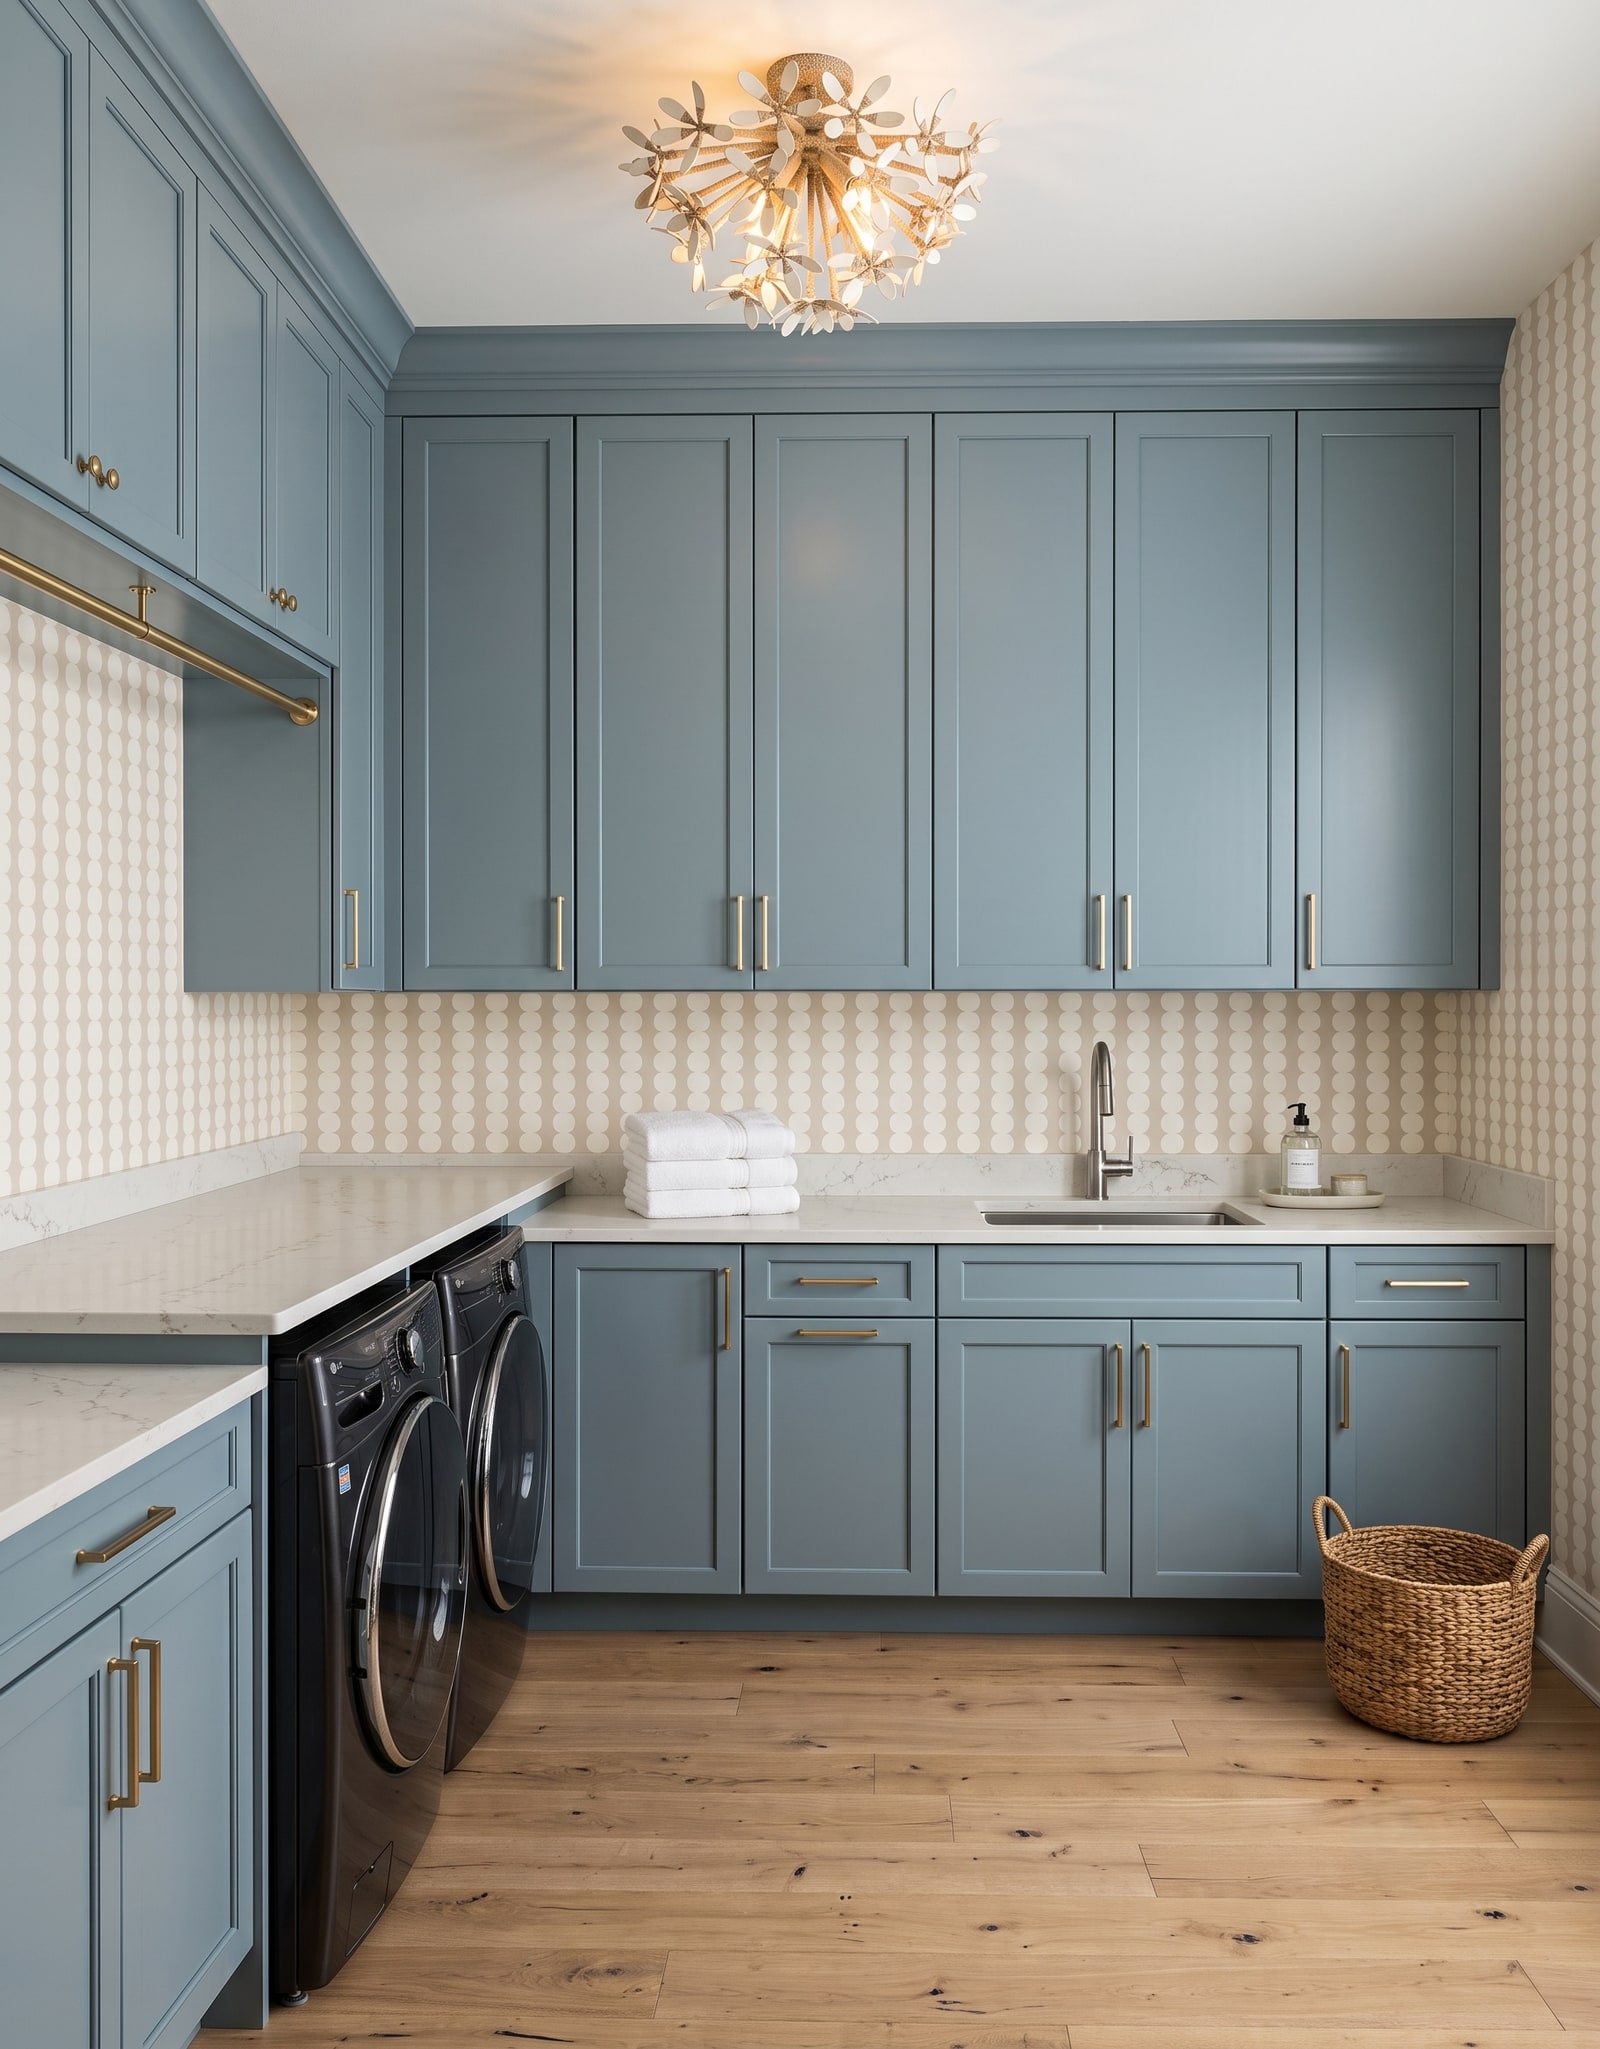
A finished laundry-room photo will not show whether hot and cold shutoffs, the drain standpipe, outlet, supply hoses, and any leak pan or sensor are reachable. Locate those items in the actual room, then plan a service zone that lets someone shut off water and disconnect the washer without removing fixed cabinetry. Hoses should follow approved paths without sharp bends, stretching, or being crushed behind the machine. A common mistake is hiding valves under a continuous counter with no access. Another is assuming the drain and power can share any convenient cavity. Plumbing and electrical rules vary, so have qualified trades verify location, protection, and code requirements. Your plan should show that the connections exist, who can reach them, and how the machine can move forward when service is needed.
3. Open appliance and room doors on the same plan
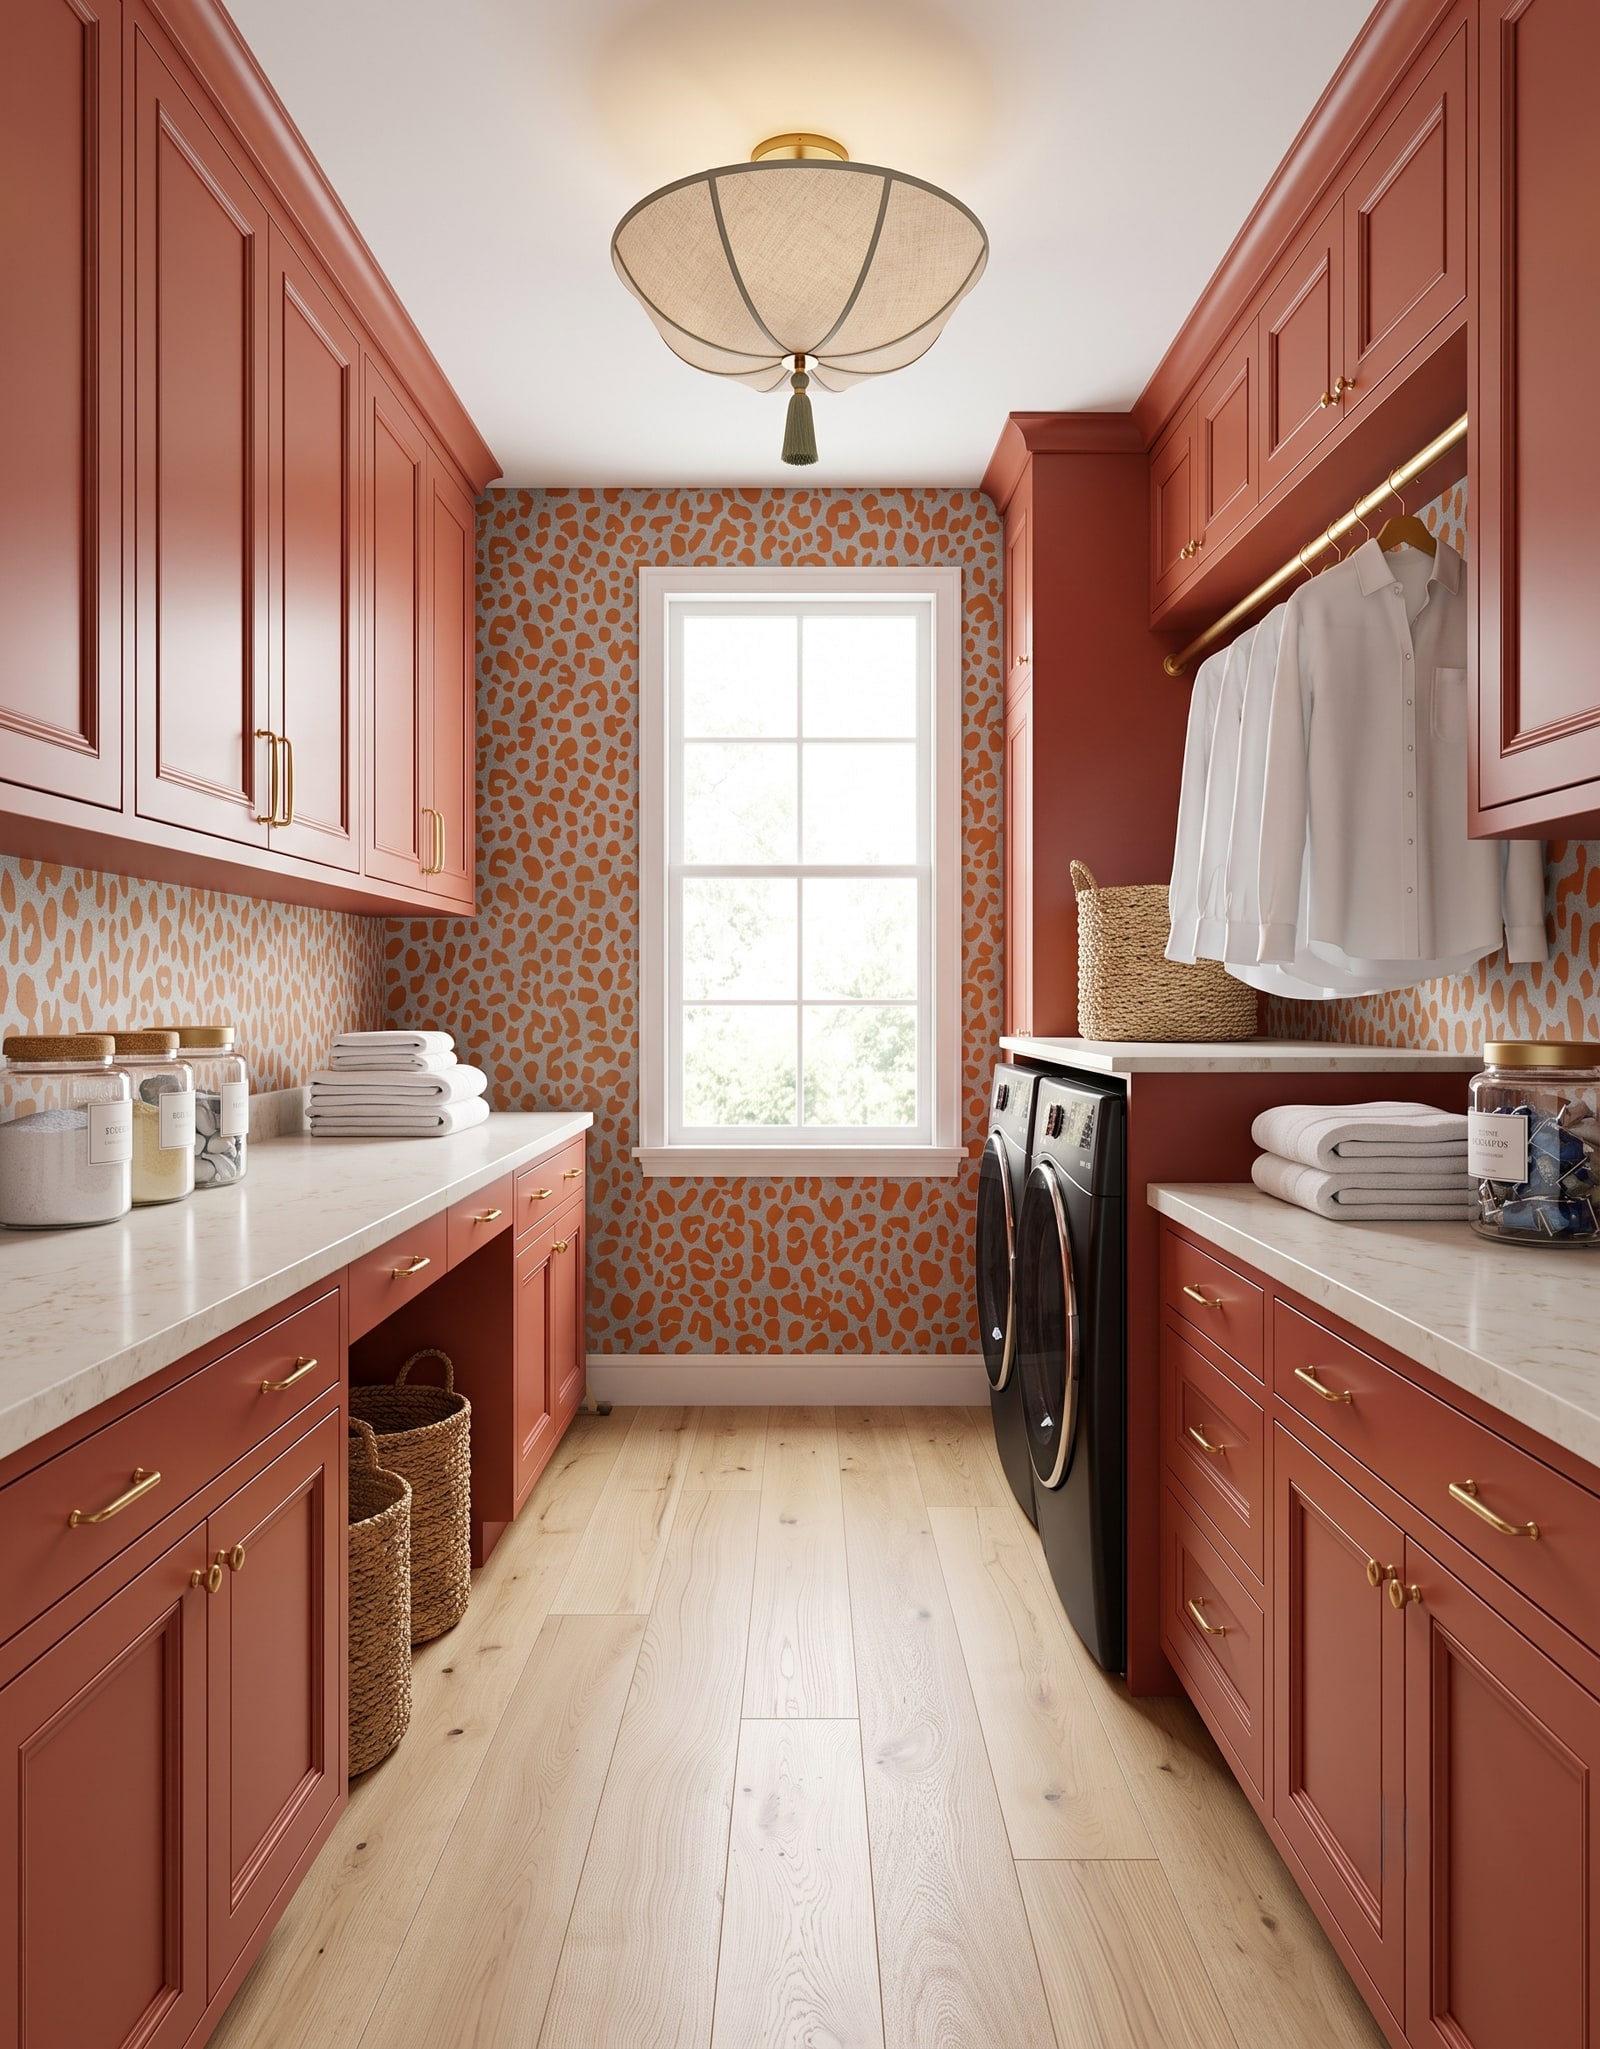
Draw every swing: washer, dryer, entry door, tall cabinet, base cabinet, pullout, and hamper. Then stand in the room and reproduce the arcs with tape or the actual doors. Front-loaders need room not only for the door but also for the person loading a basket. A common mistake is placing a sink cabinet opposite the machines and checking the aisle only with everything closed. Another is choosing mismatched hinge directions that make transfers awkward. If doors collide, consider changing appliance positions, hinge options the manufacturer actually offers, cabinet width, or storage type. Do not assume a reversible door until the specification confirms it. Protect one clear working route so a load can move from sorting to washing, drying, folding, and leaving the room.
4. Support the folding counter and preserve service gaps
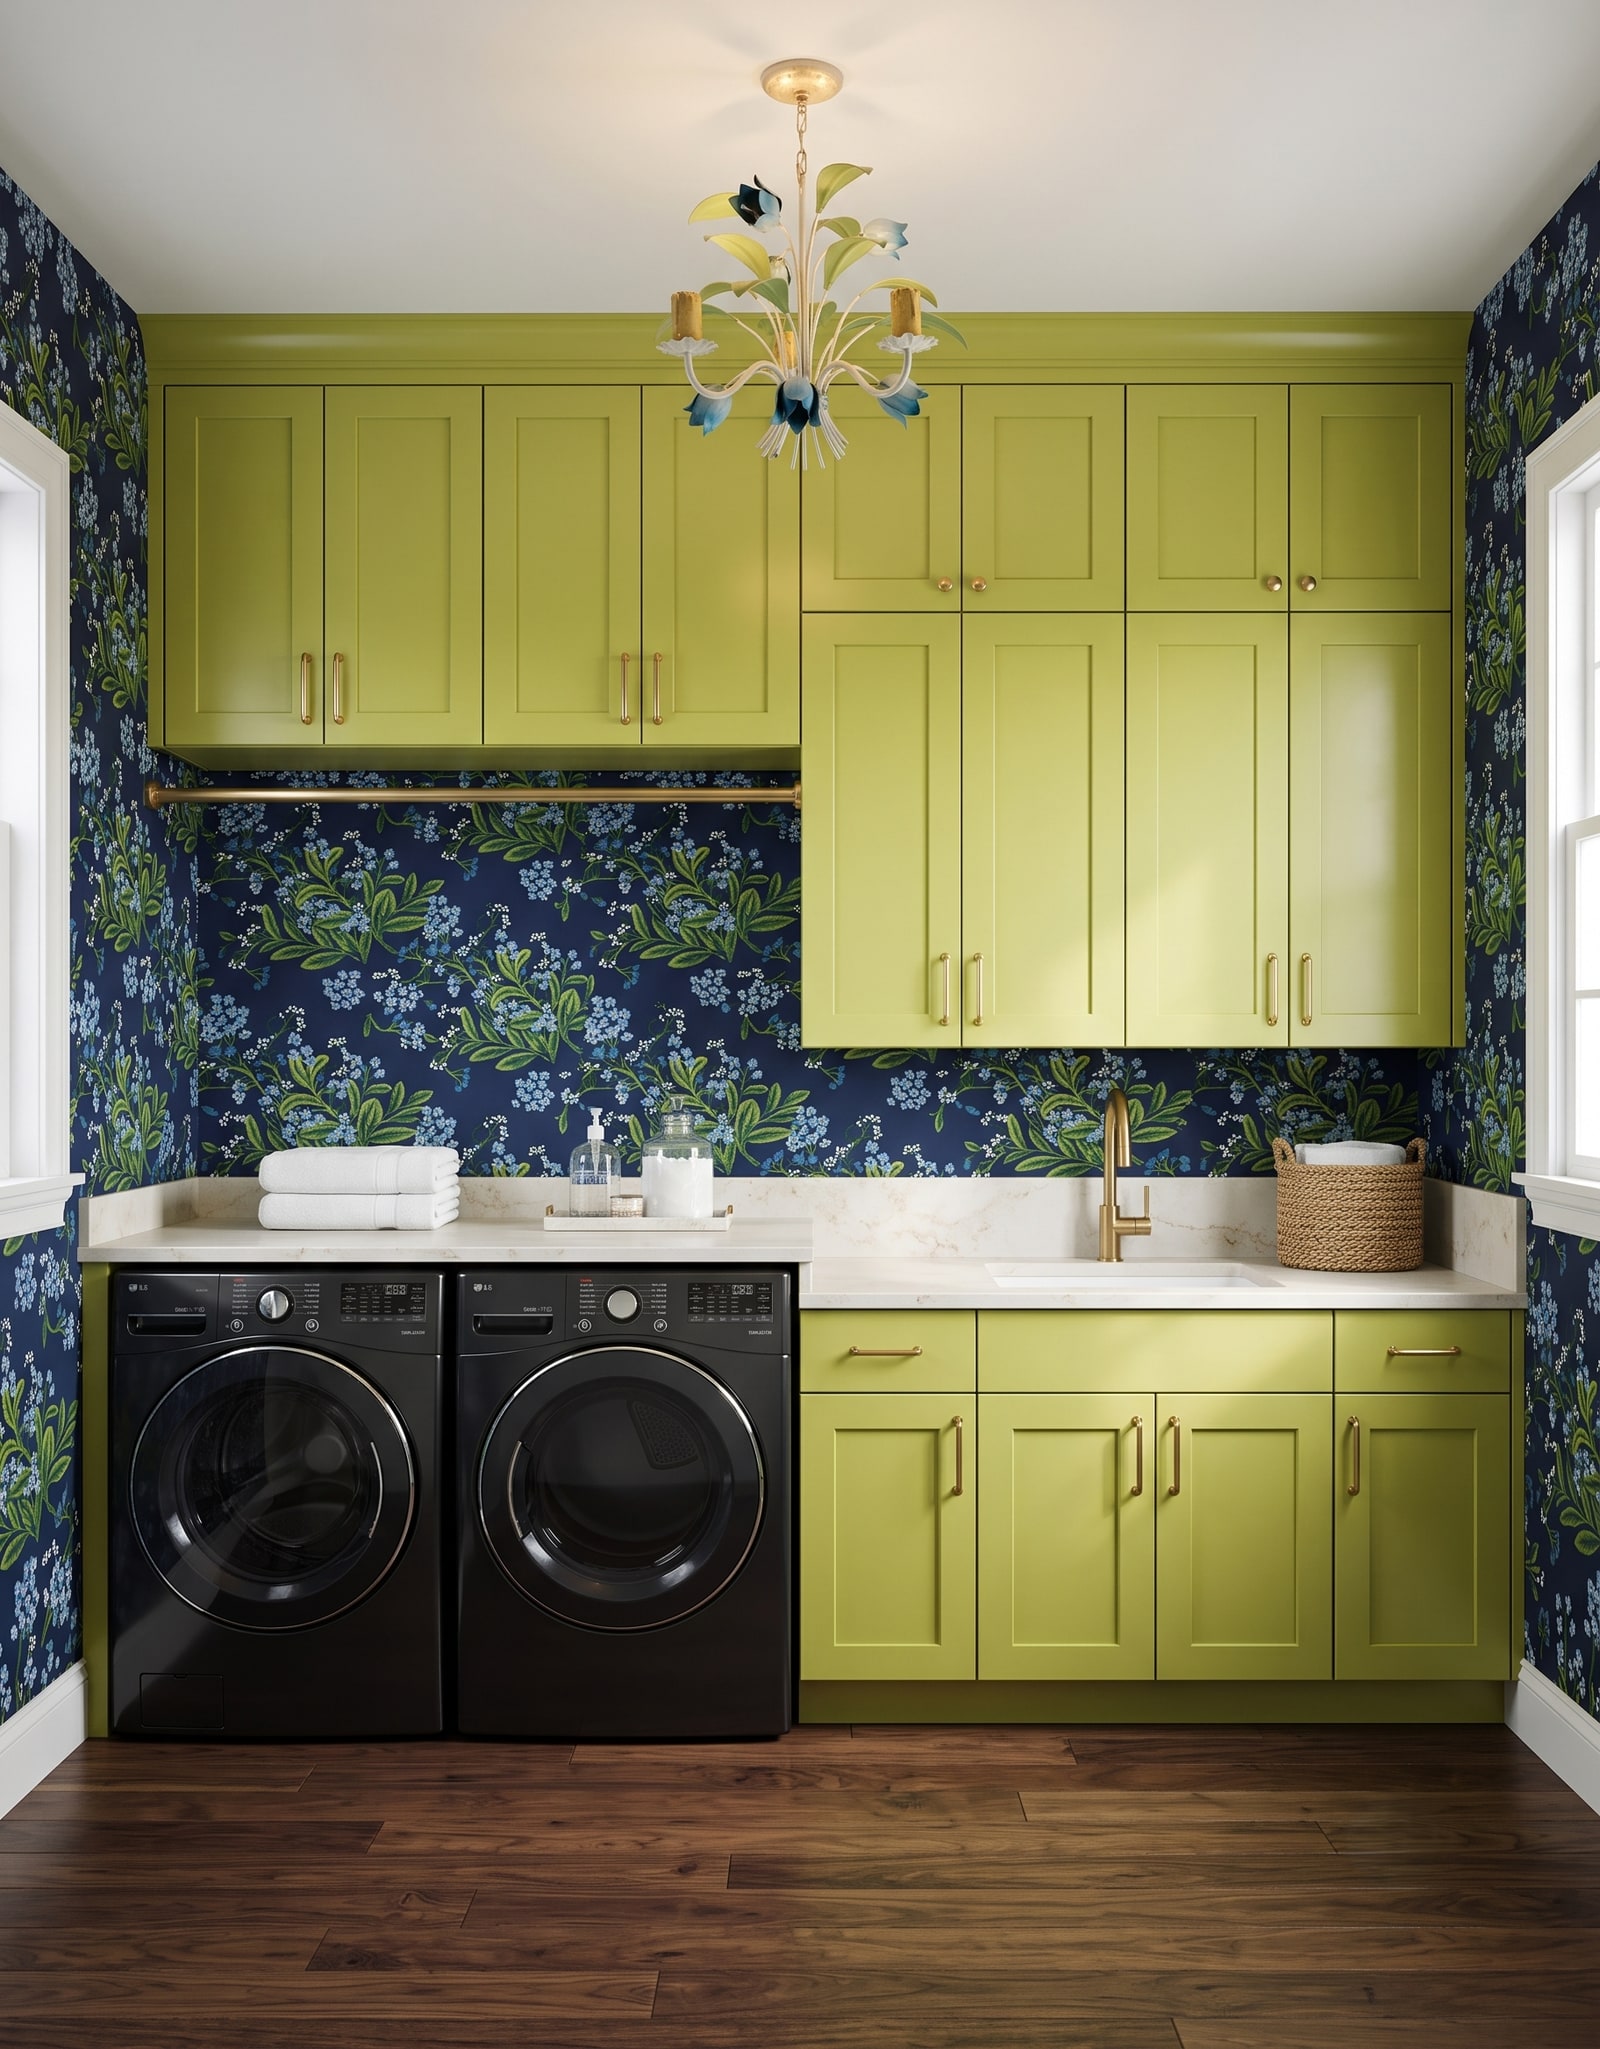
A counter above front-load machines can create valuable folding space, but it needs a real support plan. Ask where the slab bears: cabinet gables, finished panels, cleats, a rear ledger, or an engineered frame. Keep required ventilation, vibration, and removal clearances around each appliance, and plan how the counter can be removed if major service requires it. A common mistake is drawing stone apparently floating between two walls. Another is lowering the counter for appearance until it conflicts with the detergent drawer or control panel. Confirm span and support with the countertop fabricator and cabinet provider. A slightly thicker edge or visible side panel is a small price for a surface that feels solid and lets the machines be replaced later.
5. Give the utility sink honest plumbing space
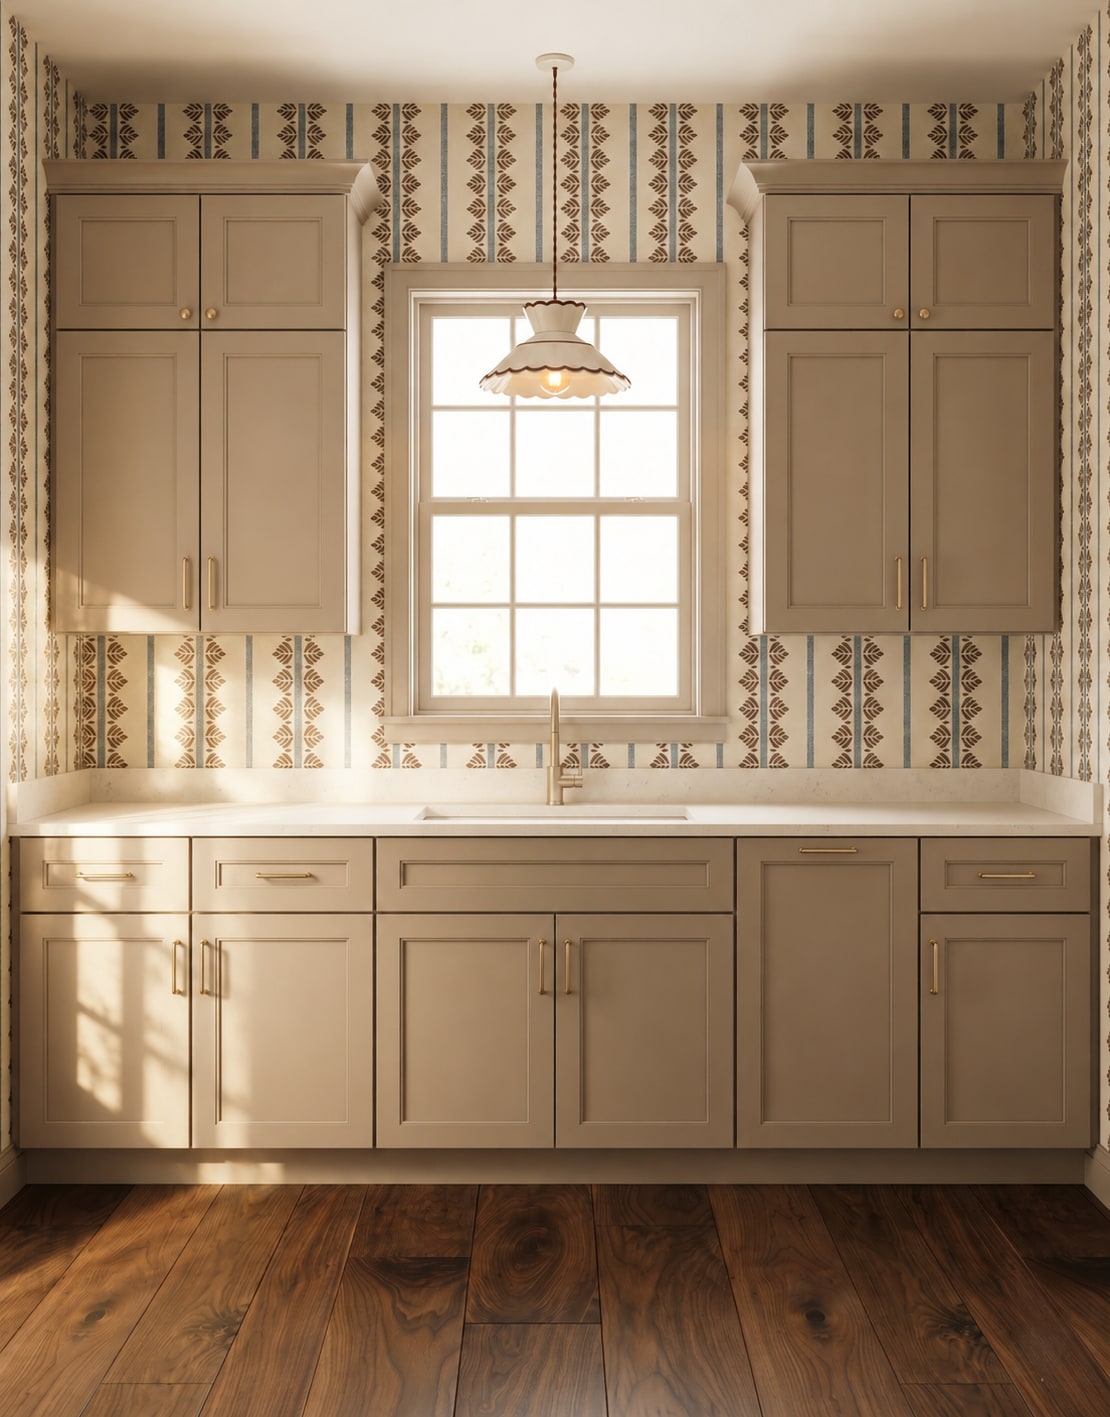
Choose the sink size and faucet before finalizing the base cabinet. Record bowl depth, drain position, P-trap, shutoffs, supply lines, disposer or pump only if specified, and any wall plumbing. Keep cleaning products away from pipes and leave room to reach valves. A common mistake is filling the under-sink drawing with shelves or pullouts that occupy the same space as the trap. Another is placing the faucet under an upper cabinet or window detail without checking handle and spout movement. A plumber should verify routing, venting, and code. You can still help by keeping the cabinet interior honest: it is a service space first, with storage added only where the actual plumbing leaves room.
6. Put hang-dry space over a truly clear surface
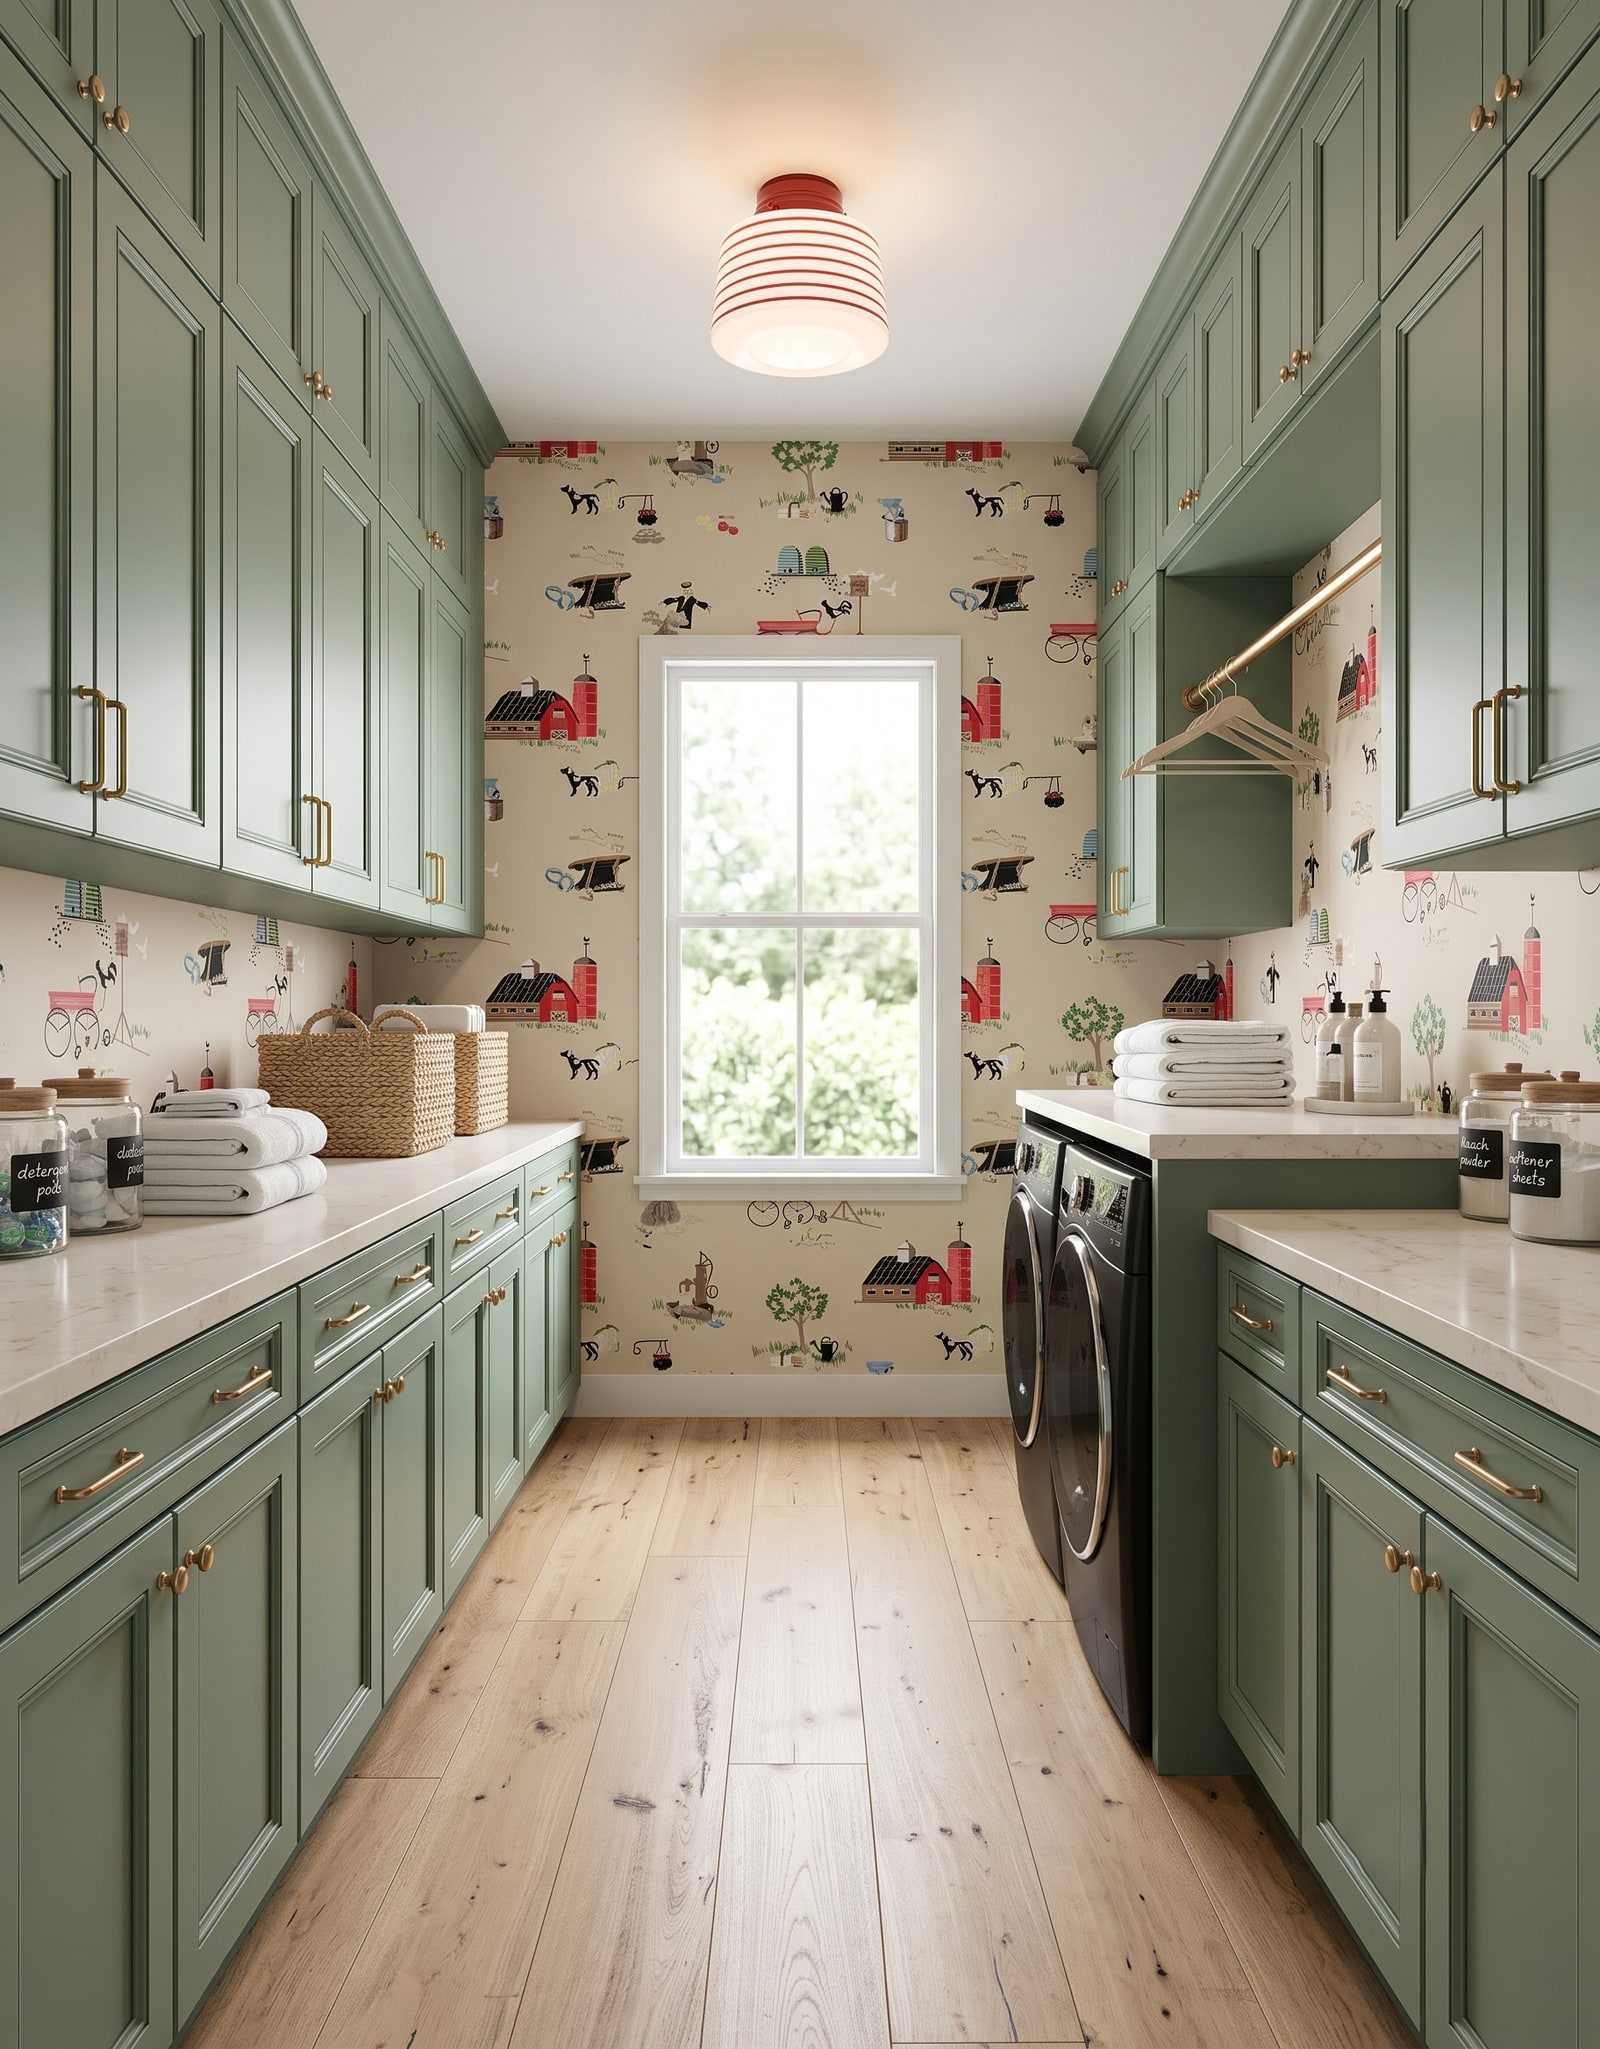
Measure the longest shirts, trousers, or delicates you expect to hang and set the rod high enough that hems clear the counter. Socket the rod into solid side panels or approved wall supports, and keep it away from cabinet-door arcs, the sink faucet, and heat sources. A common mistake is centering a rod over the prettiest part of the elevation even though wet clothes then drip onto machines, controls, or stored supplies. Another is spanning too far without support. A separate alcove over clear folding space is often easier to use. Check that hangers can be placed and removed without hitting upper cabinets. The zone does not have to be large; it has to stay available when a load needs it.
7. Show the dryer vent and other service access
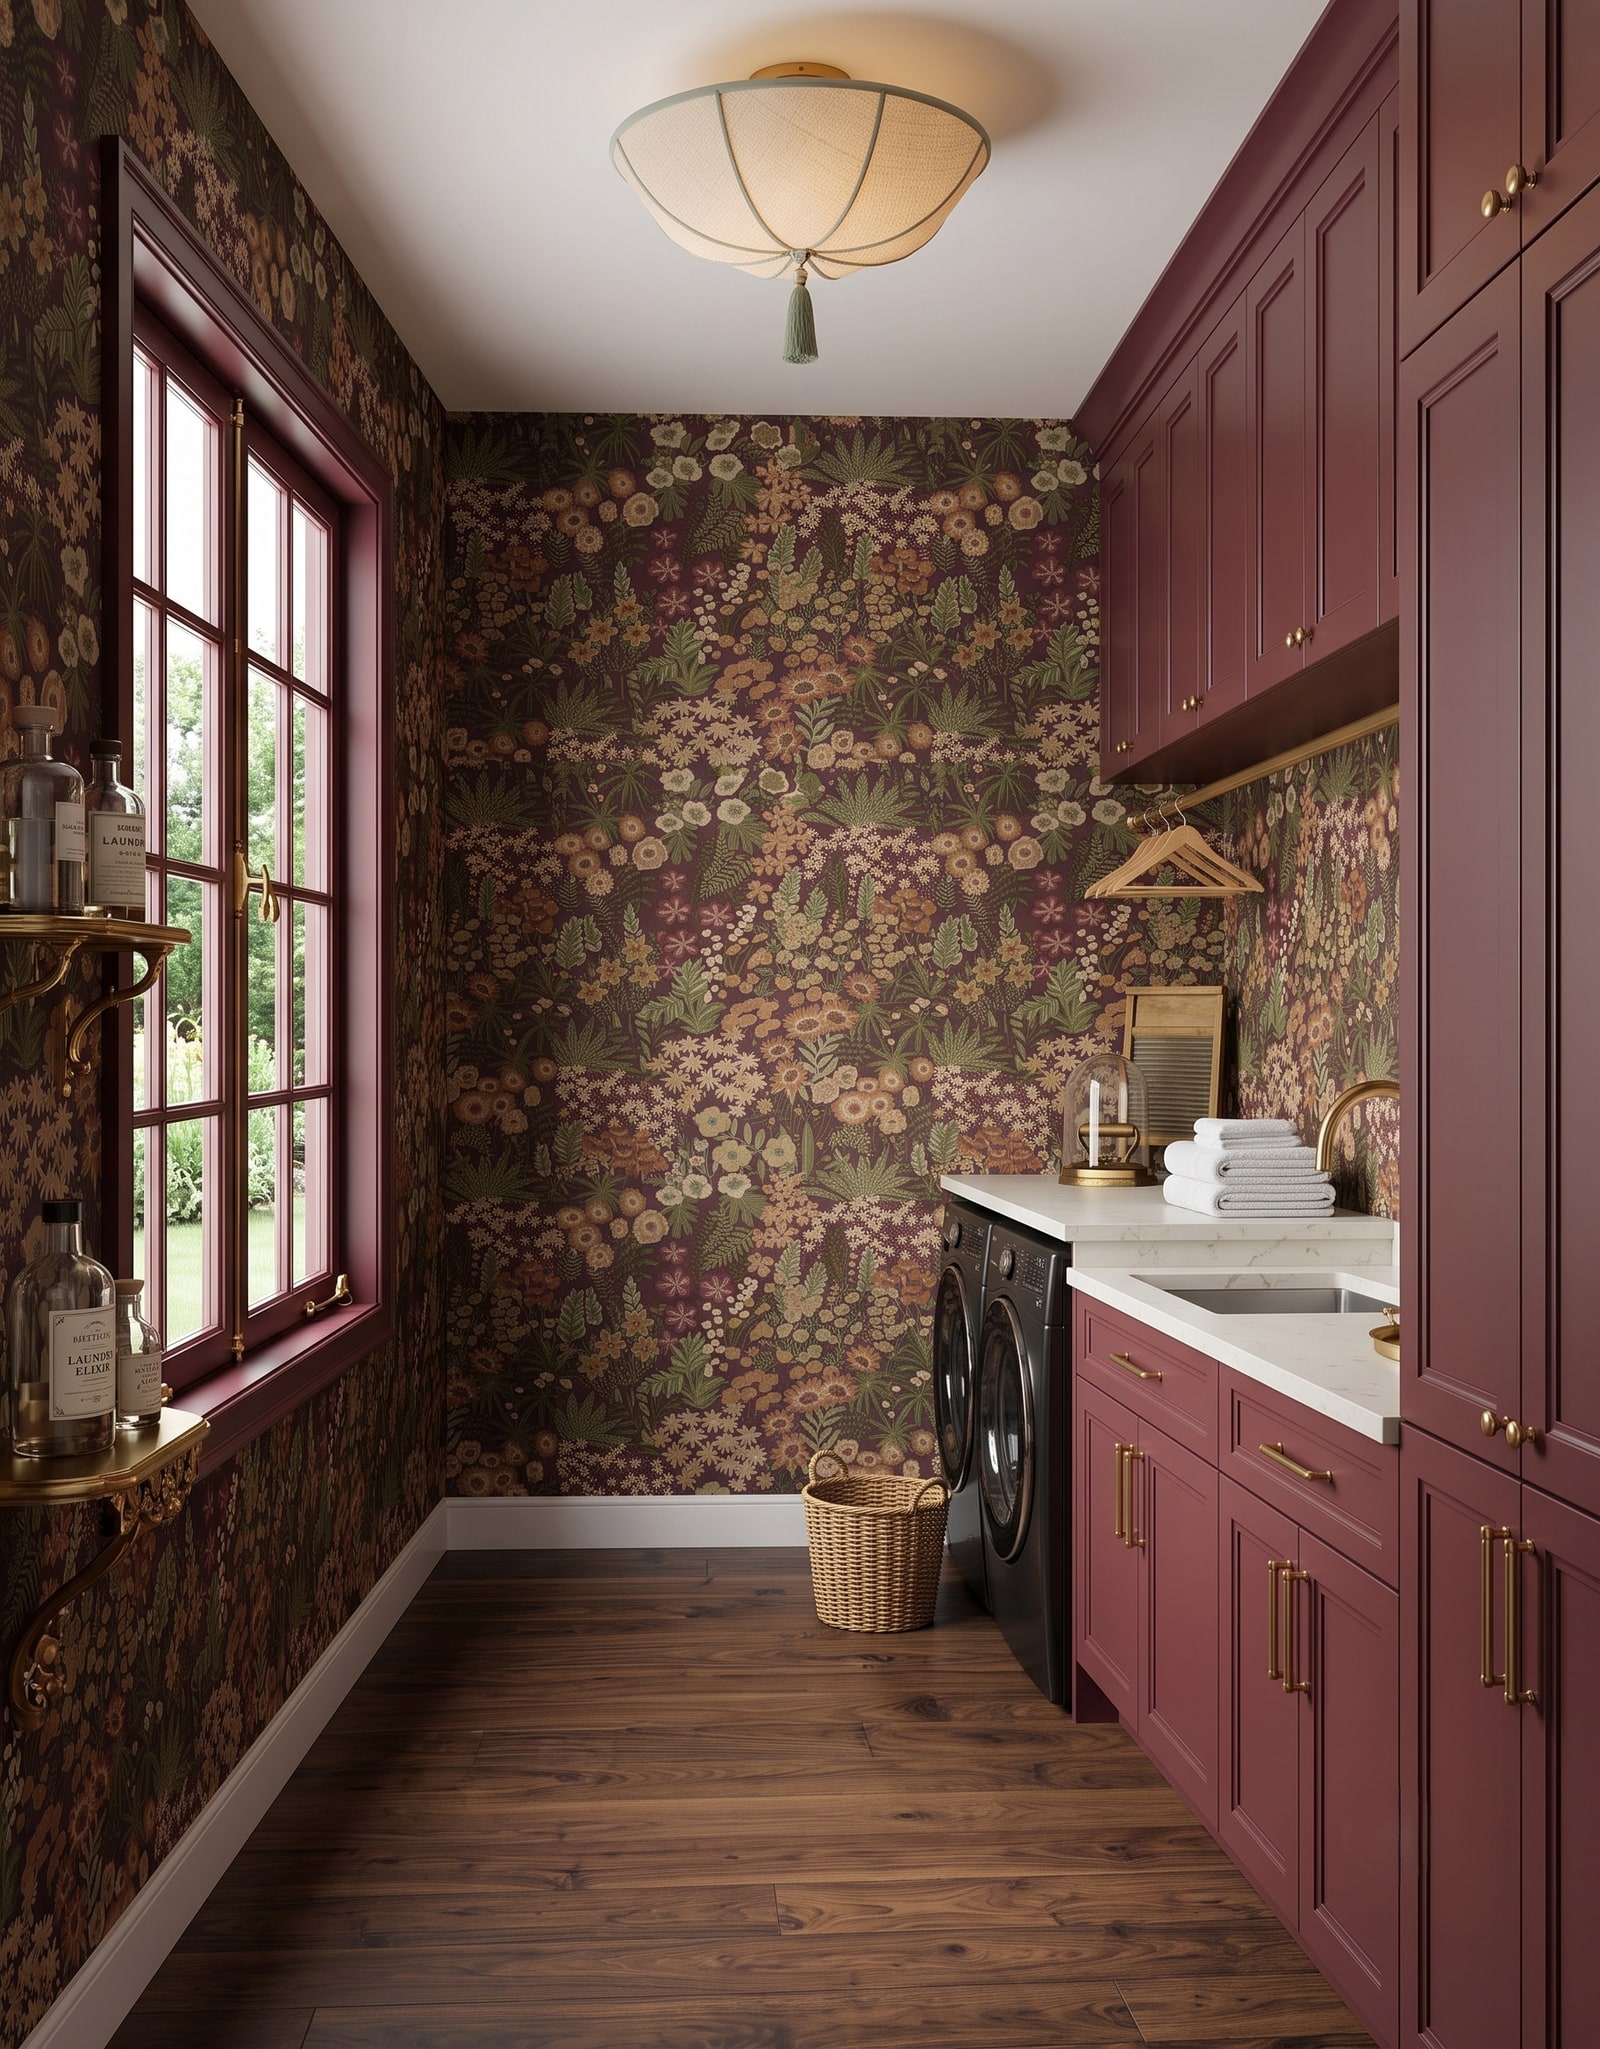
A finished image is useful for studying cabinet proportions and floor clearance, but it cannot confirm the dryer exhaust, power, or gas route hidden behind the machine. Follow the dryer's installation instructions for approved vent material, diameter, length, bends, termination, and clearances. Draw the connection from the appliance to the wall or floor duct and preserve a way to inspect and clean it. Mark the gas shutoff or high-voltage power as applicable, plus floor drains, cleanouts, HVAC registers, and access panels. A common mistake is crushing a flexible duct behind a deep dryer to keep the front flush. Another is covering a floor drain with fixed cabinetry or a rug. A qualified installer should verify the final vent, gas, and electrical work. Your plan should make the service route visible and allow the dryer to move forward without dismantling the room.
8. Test upper storage from the floor
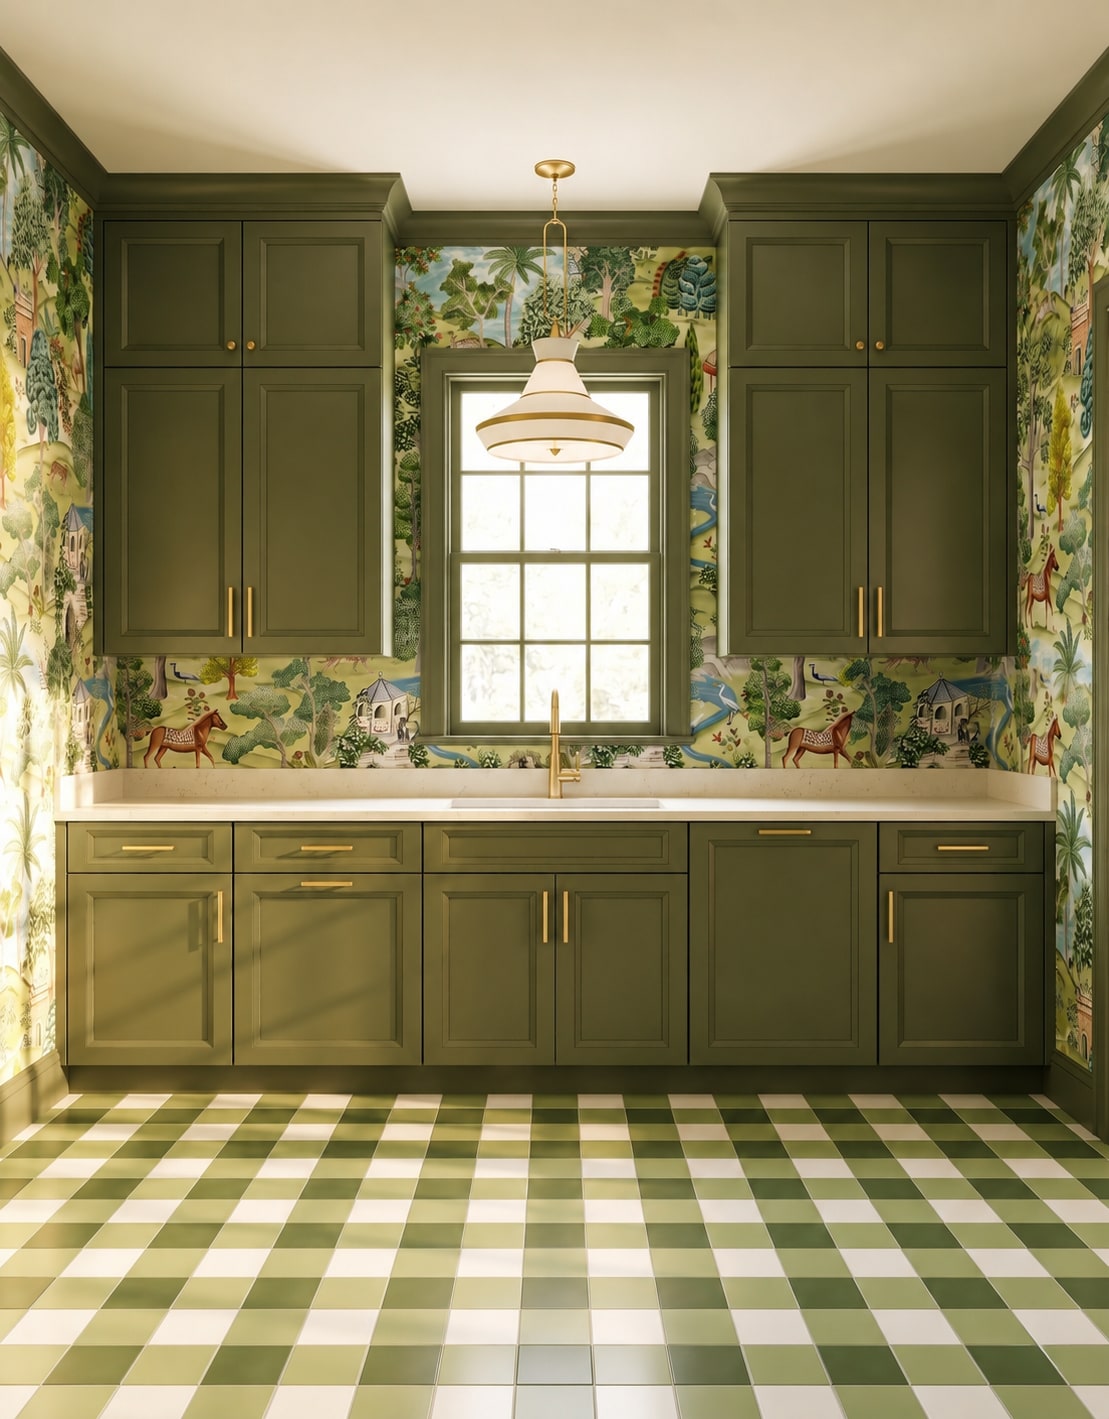
Stand where you will actually fold and reach toward the proposed upper cabinets. Keep everyday detergent, stain treatment, and cloths within a comfortable range; reserve high shelves for light, infrequent items. Check door projection above the counter and make sure open fronts do not meet a window casing, tall door, or hanging rod. A common mistake is running uppers to the ceiling for maximum capacity while storing heavy containers where they require an unsafe reach. Another is leaving a step stool in the only working aisle. Plan a stable stool location if one is needed, keep child safety in mind, and group supplies by task. Useful storage is measured by safe access, not simply cubic volume.
9. Hand off one coordinated utility-and-cabinet plan
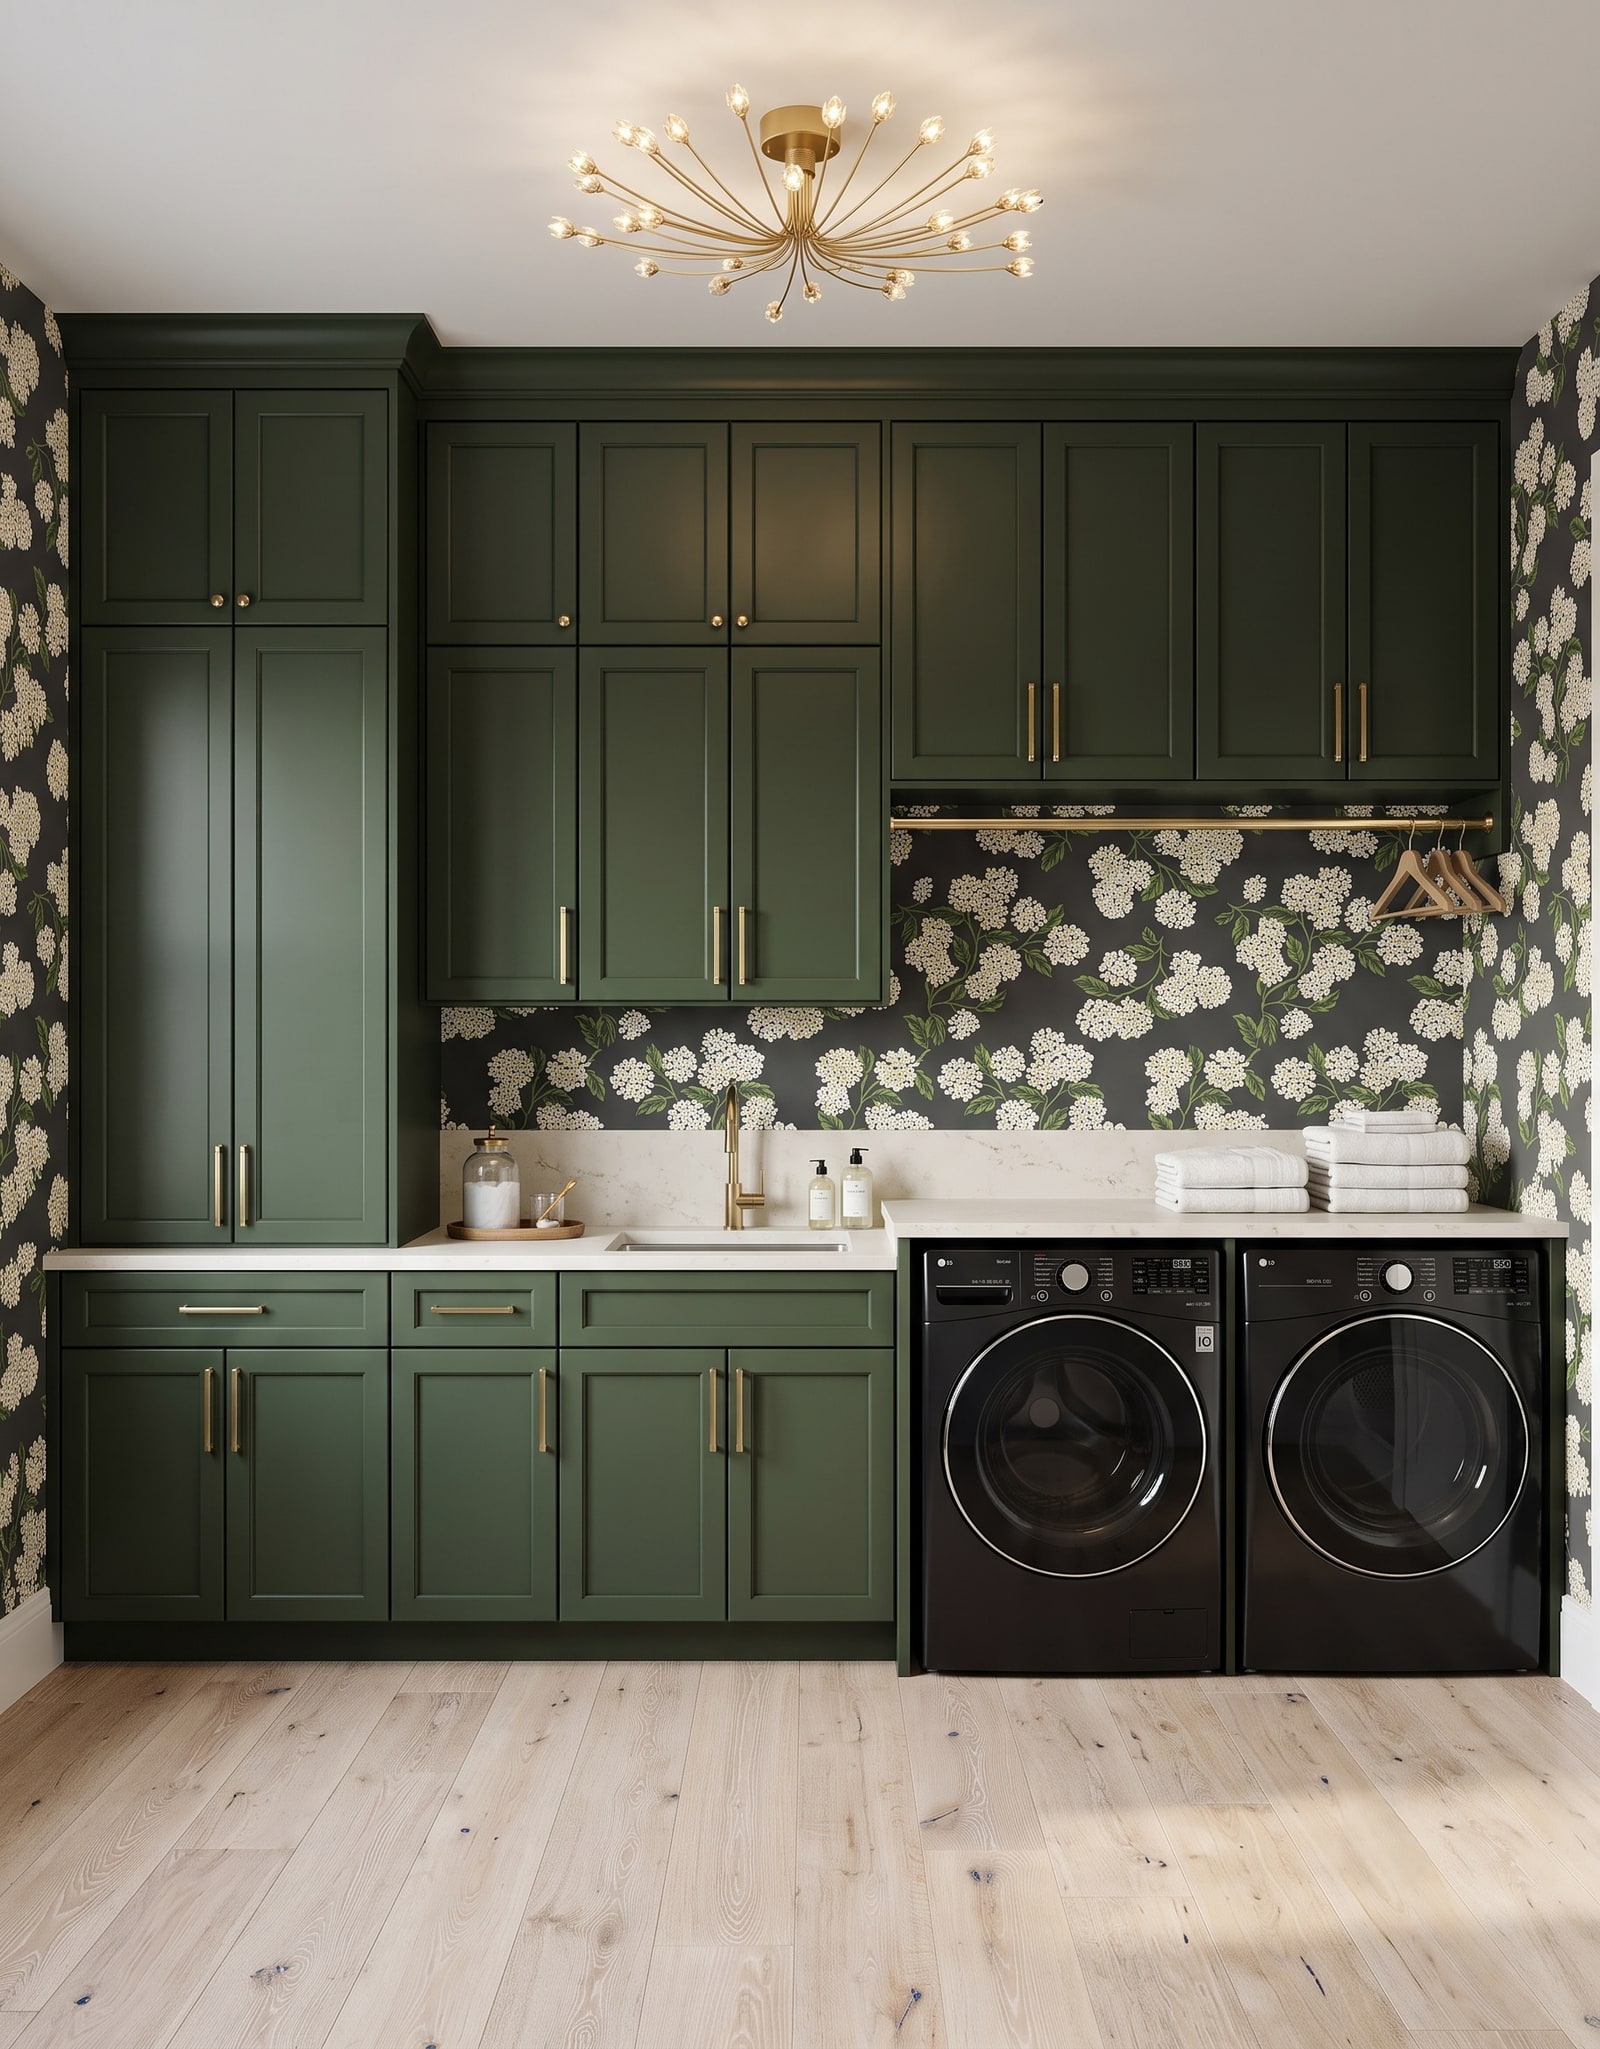
Combine the measured plan, wall elevations, exact appliance specifications, door swings, water and drain locations, dryer vent route, power or gas requirements, sink plumbing, counter supports, lighting, storage list, finish notes, and room photos. Compare that packet with the cabinet quote and trade scopes. A common mistake is assuming the cabinet installer will move plumbing or that the plumber will know the final cabinet dimensions. Another is approving a continuous countertop without deciding who disconnects and reconnects appliances. Ask each provider what they verify, supply, move, protect, and finish. Final plumbing, electrical, gas, venting, structural support, and code decisions belong with qualified professionals. Your careful homeowner plan is still essential: it gives those professionals the same room, same equipment, and same priorities to coordinate.
10. Verify the delivery and installation path
Draw the room perimeter and measure each wall at multiple heights. Mark doors, trim, windows, sills, baseboards, ceiling changes, floor transitions, and the narrowest part of the delivery route from outside the house. Measure doorways with the door and stop in place, and check turns in halls or stairs. A common mistake is proving the appliances fit the finished alcove but not the route used to bring them in. Another is measuring an open doorway while ignoring the handle, casing, or nearby cabinet projection. Photograph the path and note whether a door can be temporarily removed. You are not expected to plan rigging; you are making sure the installer sees the real route before delivery day.
Use inspiration to support the workflow
Compare colorful laundry-room ideas after the equipment and service checks are on paper. That order lets pattern and cabinetry make the work better instead of hiding a conflict.
See 10 Laundry Room Cabinet Ideas Use the Room-Measuring MethodTake the same careful first pass into your kitchen
StilePath currently focuses on kitchens. Use it to map the room, place cabinets and appliances, and test clearances in 3D before asking suppliers to price the kitchen.
Start Planning My Kitchen Free