
Plan the window wall from the parts that really move
A kitchen window brings in light and gives the sink wall a natural focal point, but the opening is more than a rectangle on a plan. Trim projects, sashes travel, screens come out, shades lower, faucets stand up, and cabinet doors swing nearby. Anyone can make a useful first record. Get your tape measure, pencil, paper, and phone, then sketch the wall and work through these ten checks. Do not order from homeowner measurements alone: the cabinet provider, countertop fabricator, window provider, installer, plumber, electrician, contractor, and responsible project professionals must verify the dimensions, products, services, structure, flashing, safety, and code conditions they rely on.
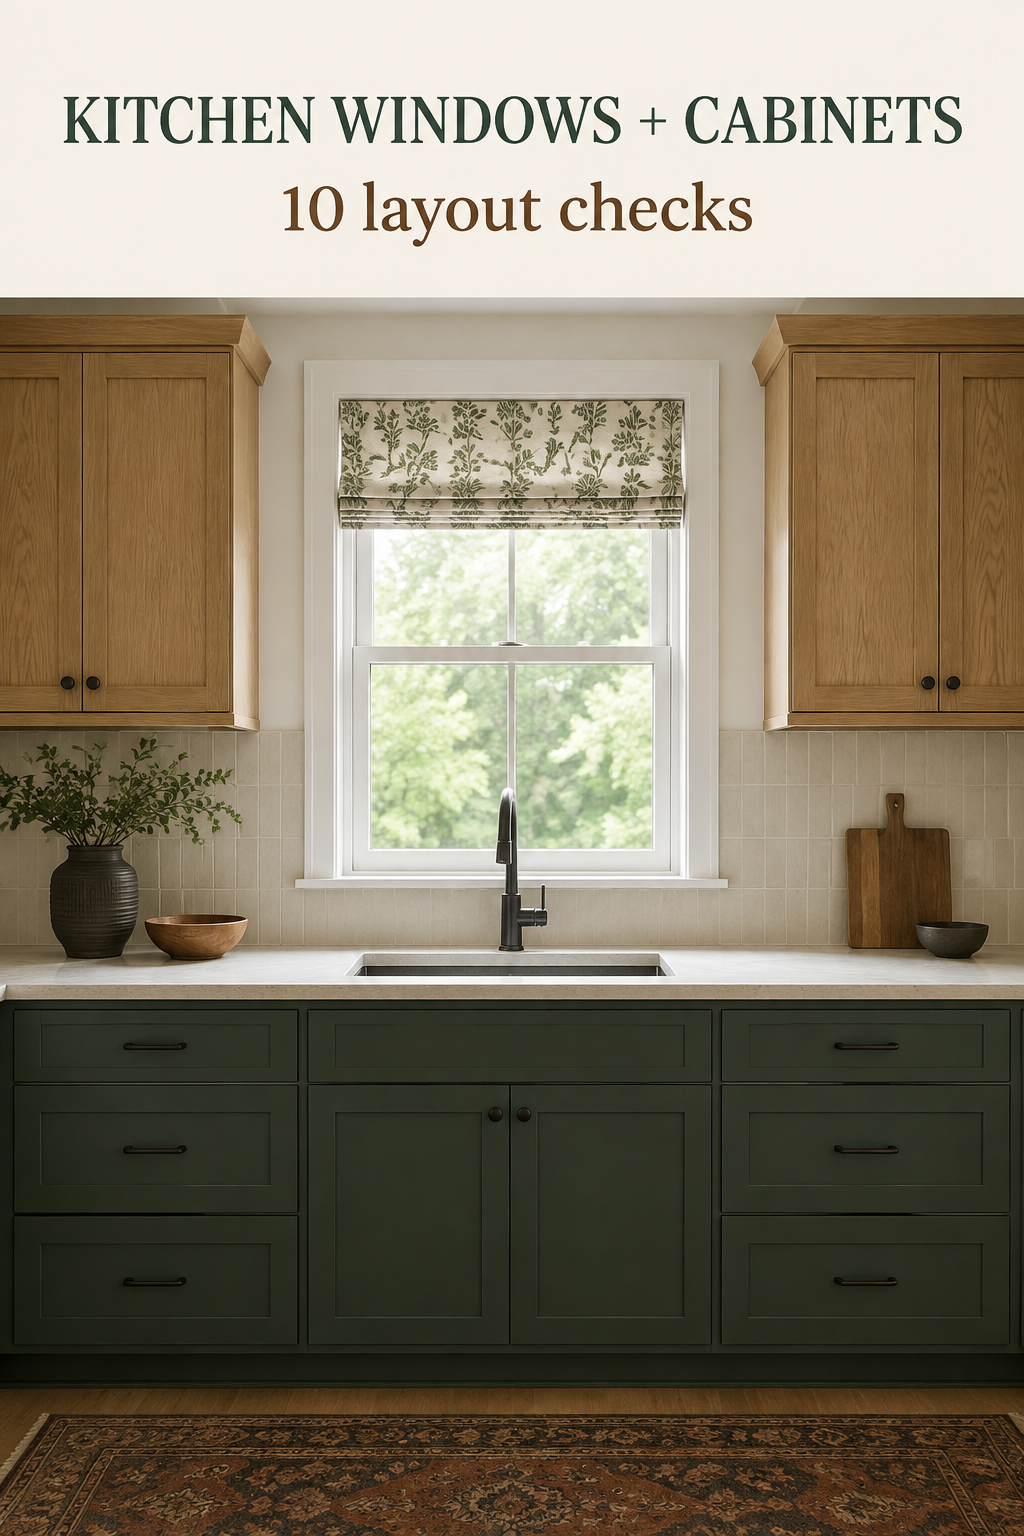
1. Measure the opening and every piece of trim
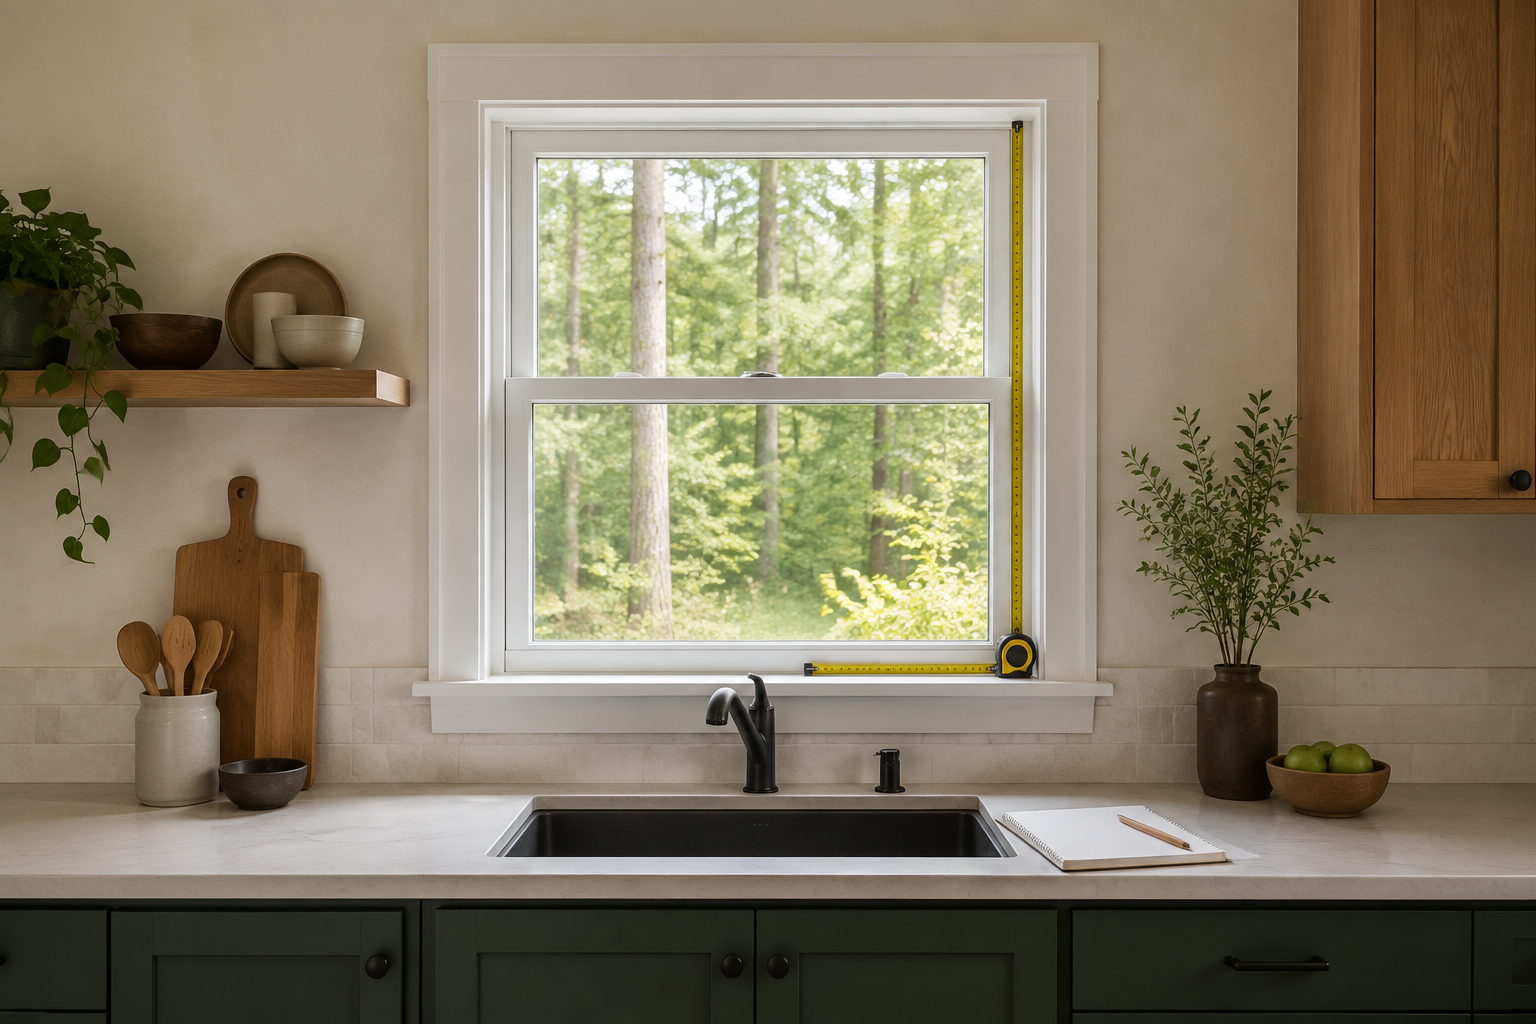
Sketch the whole wall first. Record the visible window opening, the outside edges of side and top casing, the sill or stool, the distance to adjacent walls, and the height from the finished floor and planned counter reference. Measure in more than one place because old openings are not always perfectly square. A common mistake is writing one width for the glass and treating it as the finished trim width. Another is measuring before drywall, flooring, replacement windows, or new casing are complete without labeling that condition. Date the sketch and circle anything unfinished. If your check differs from the current drawing, ask the responsible provider to remeasure and revise the document.
2. Record how far the casing and sill project
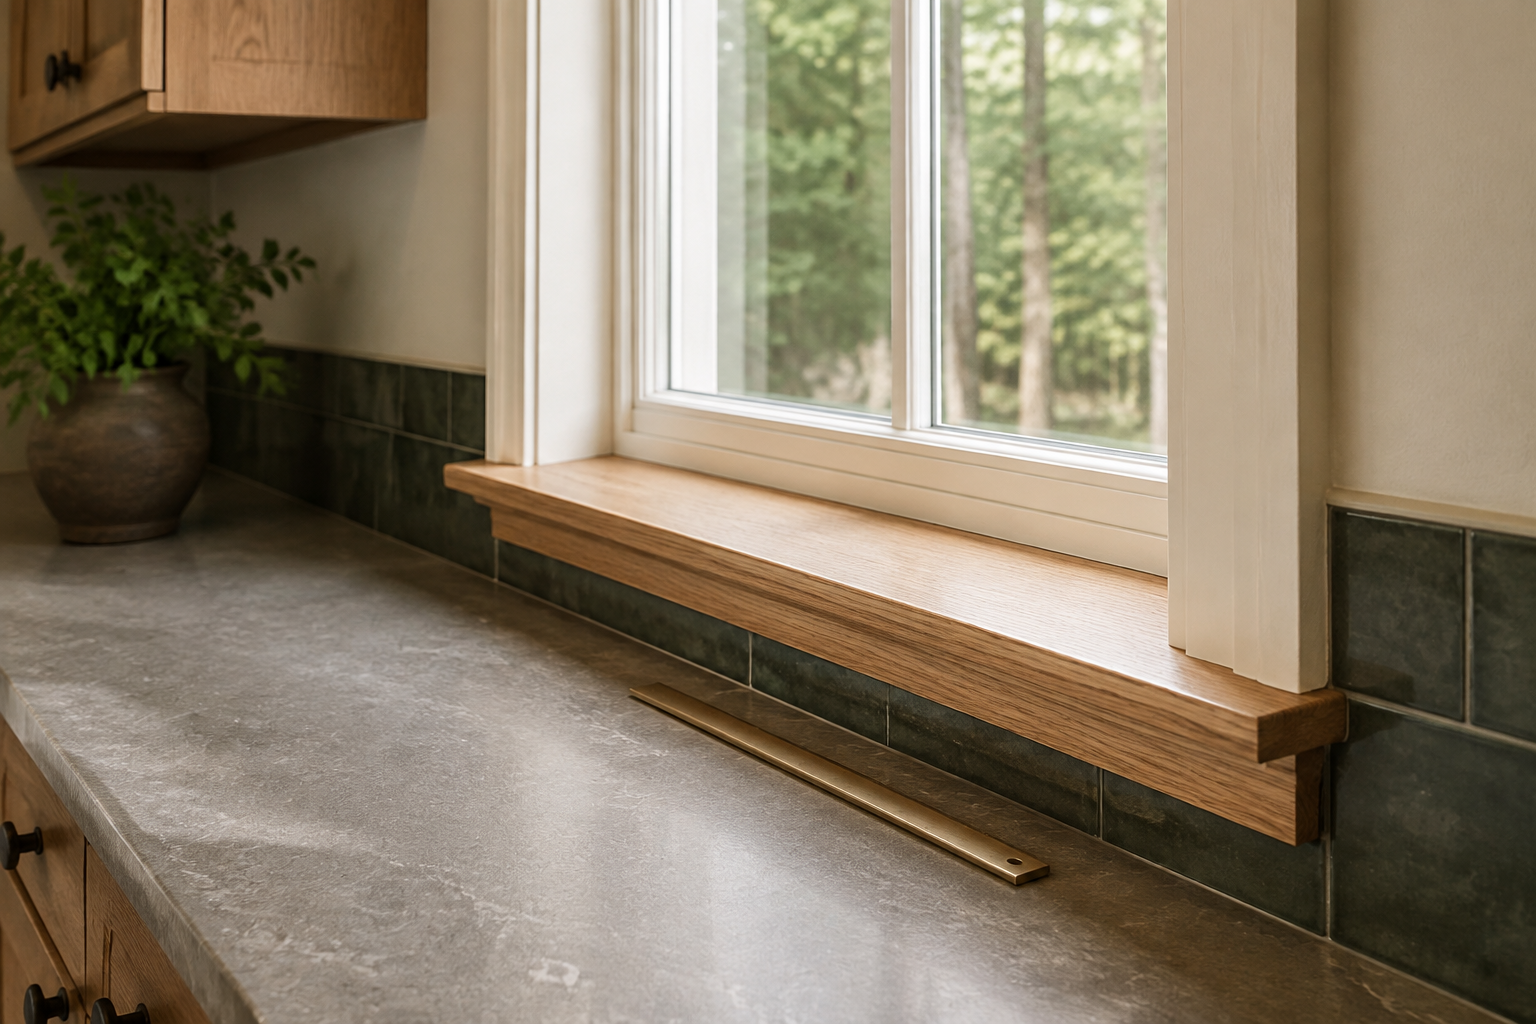
Projection matters as much as location. Thick casing can meet an upper cabinet, a deep sill can compete with a faucet or backsplash, and an apron below the sill can overlap the space planned for counter or trim. A common mistake is drawing the opening as a thin line and forgetting the three-dimensional trim around it. Another is assuming the old sill will remain when the window specification changes. Take side-view photographs and note the deepest point from the wall plane. Ask the window, cabinet, and countertop teams to agree on which trim stays, which surface finishes first, and how the edges meet without trapping an unfinishable sliver.
3. Test the sash against the faucet and anything on the sill
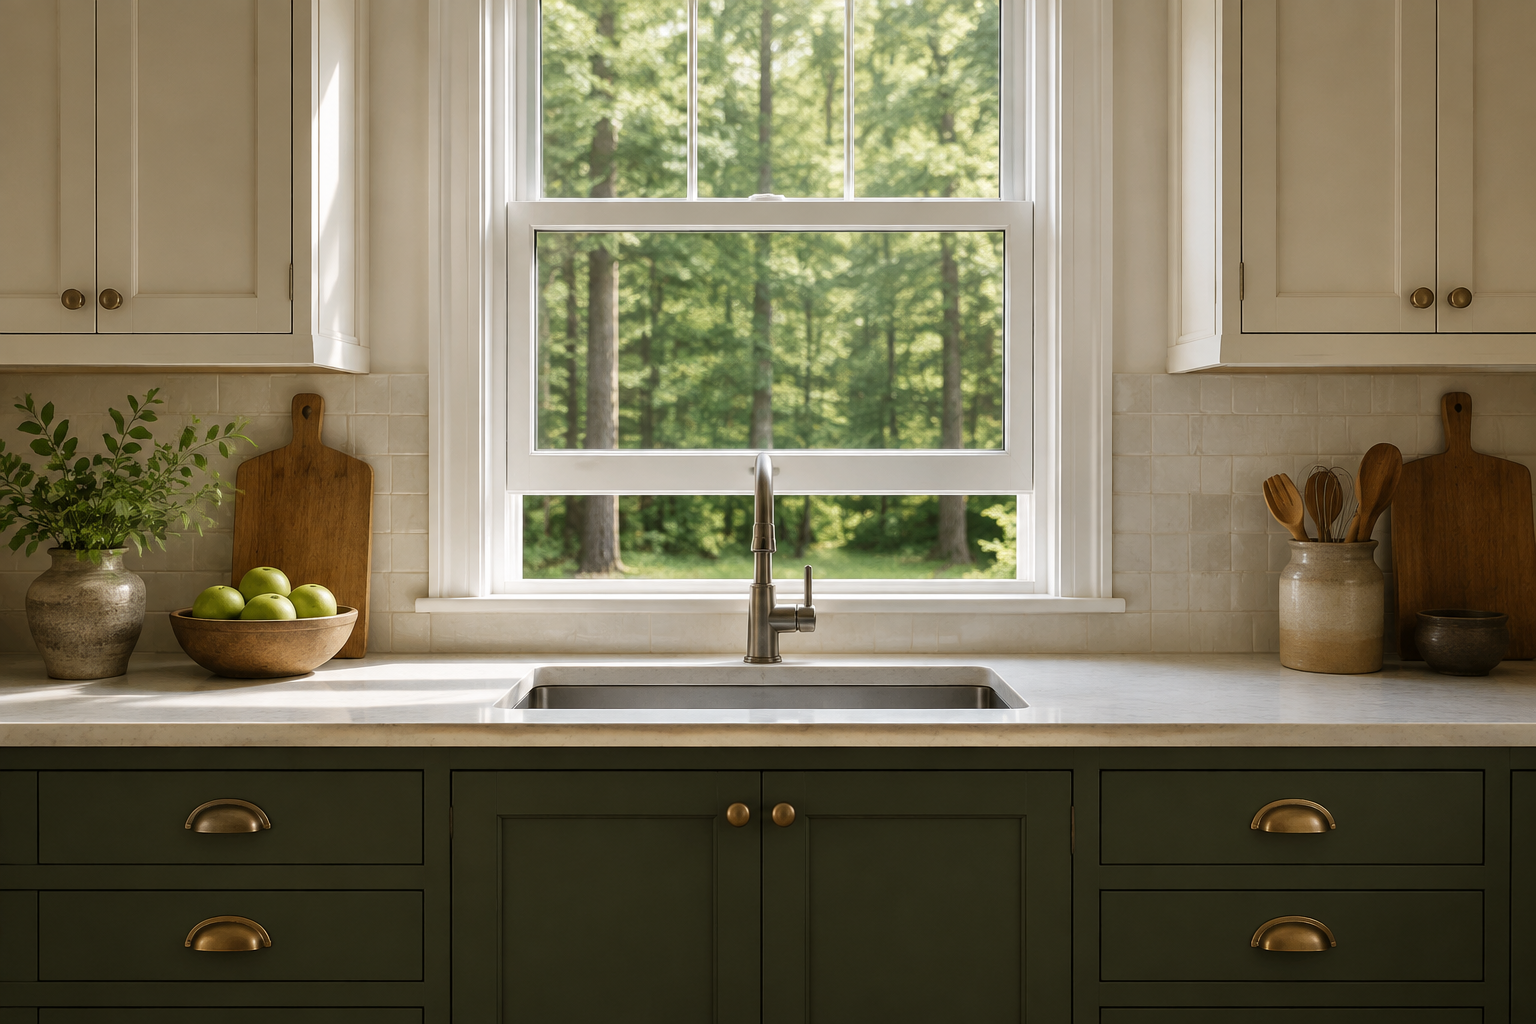
Open the actual window through its full normal movement. Note which sash slides, tilts, cranks, or swings, where the lock sits, and how the screen is removed. Then place the faucet specification in the same section view. A common mistake is checking the closed window only. Another is choosing a tall faucet from a front elevation and discovering it blocks a tilt-in sash or crank. A cardboard faucet outline taped at the planned location can make the conflict obvious, but it does not replace current product dimensions. Confirm the finished counter height, sink position, faucet body, handle travel, window movement, and service access with the relevant providers before ordering.
4. Open nearby cabinet doors on the drawing
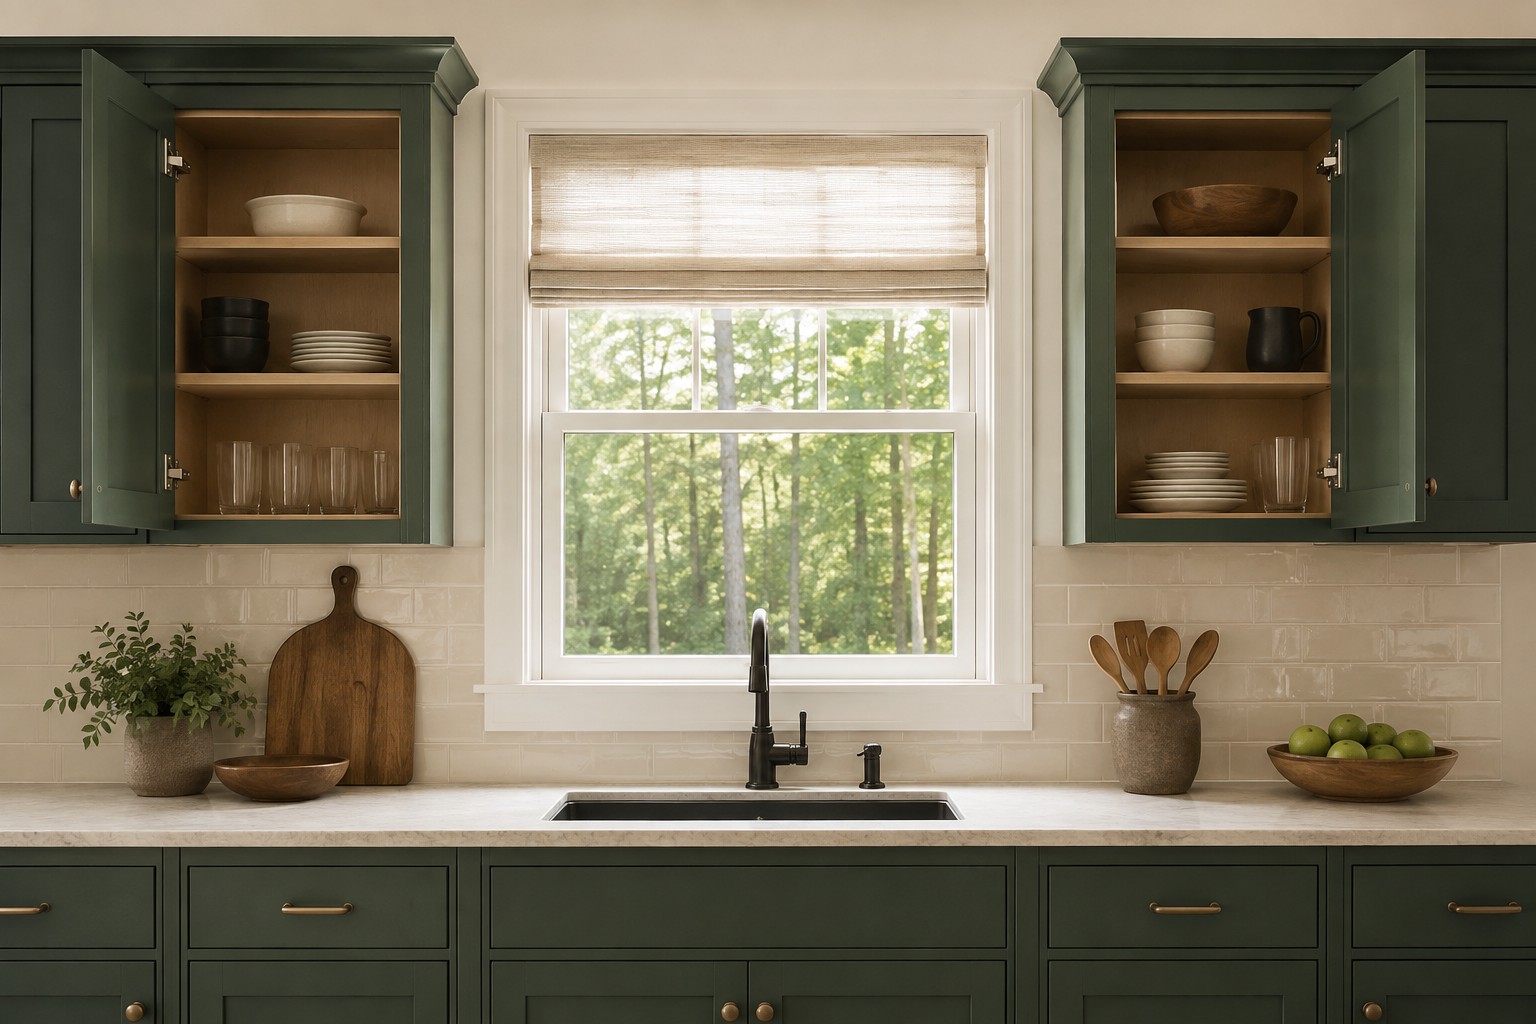
Upper cabinet doors, appliance doors, corner fronts, and a window shade can all occupy the same air. Draw each cabinet front in the open position and note hinge sides, handles, wall fillers, and casing projection. A common mistake is centering equal cabinets beside the window while both doors swing inward and meet the trim or shade. Another is omitting a filler because it looks like wasted space on the closed elevation. Ask the cabinet provider for the actual overlay, hinge angle, handle projection, and required wall clearance. Sometimes reversing a hinge, narrowing one cabinet, or accepting an intentional asymmetry makes the wall calmer and far easier to use.
5. Detail the counter, backsplash, and sill junction
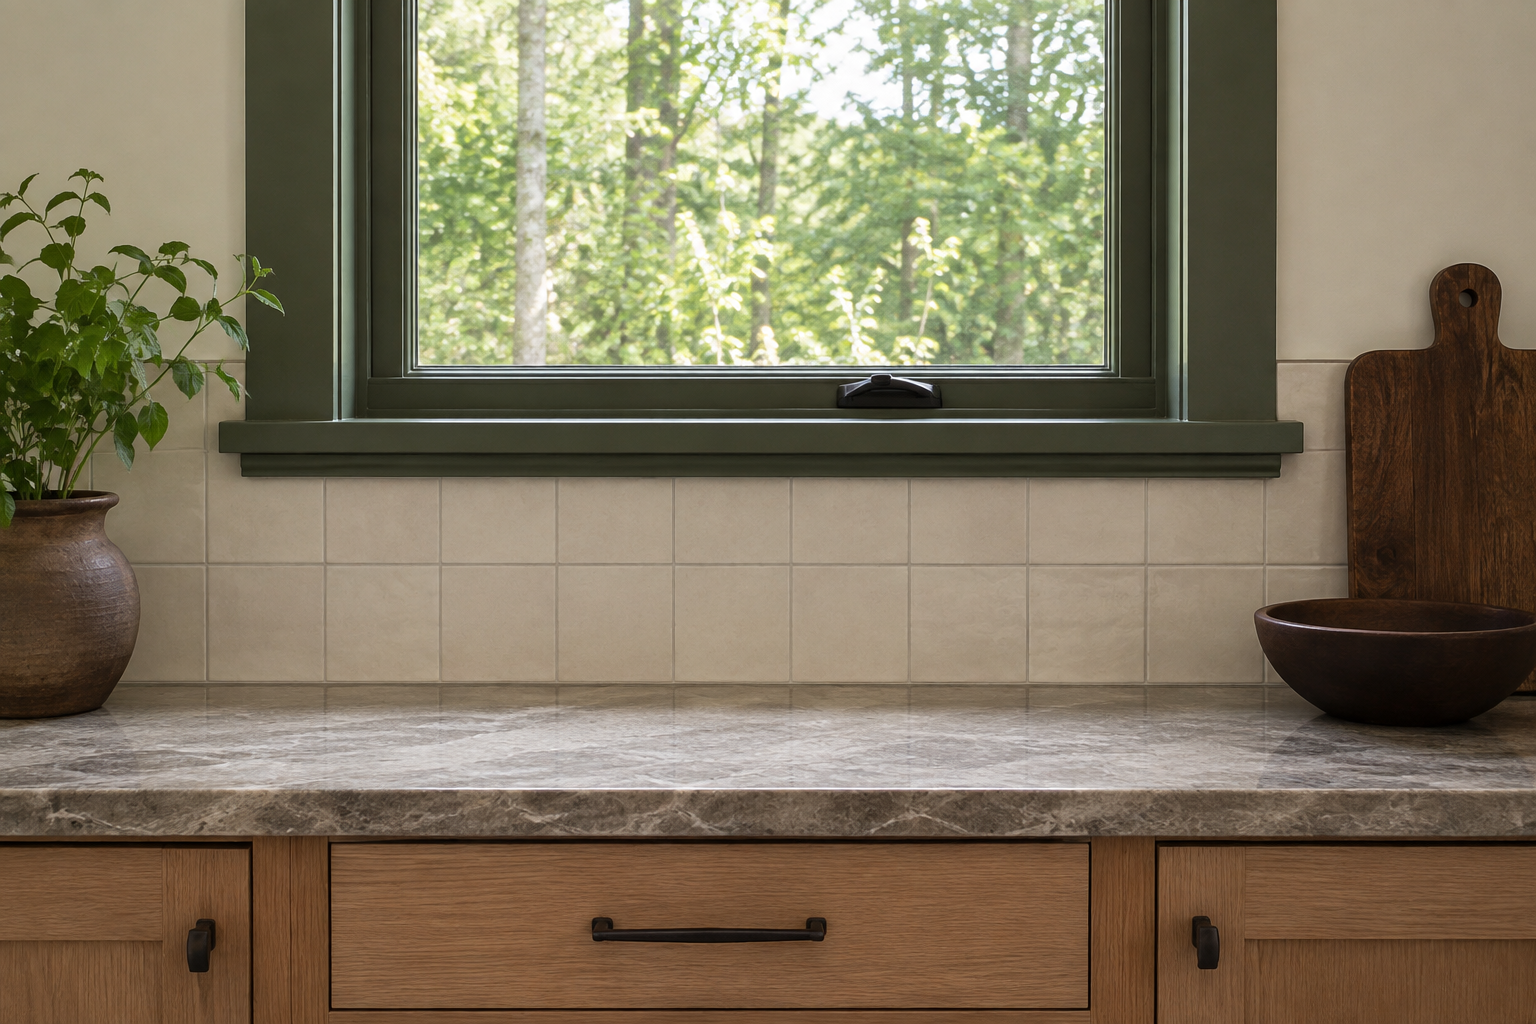
The counter and backsplash need a deliberate stopping point at the window. Ask whether the sill sits above the counter, meets it, is replaced by countertop material, or remains separate with a finished joint. A common mistake is choosing these materials independently and leaving the installer with a thin exposed strip or awkward notch. Another is drawing the backsplash through trim that actually projects into its path. Use a simple section sketch showing wall, window, casing, sill, cabinet, countertop, backsplash, and sink rim. The fabricator, window provider, installer, and finish trades should resolve the substrate, sequence, movement joints, waterproofing, and serviceable finish for the real condition.
6. Coordinate daylight, task light, shade, and privacy
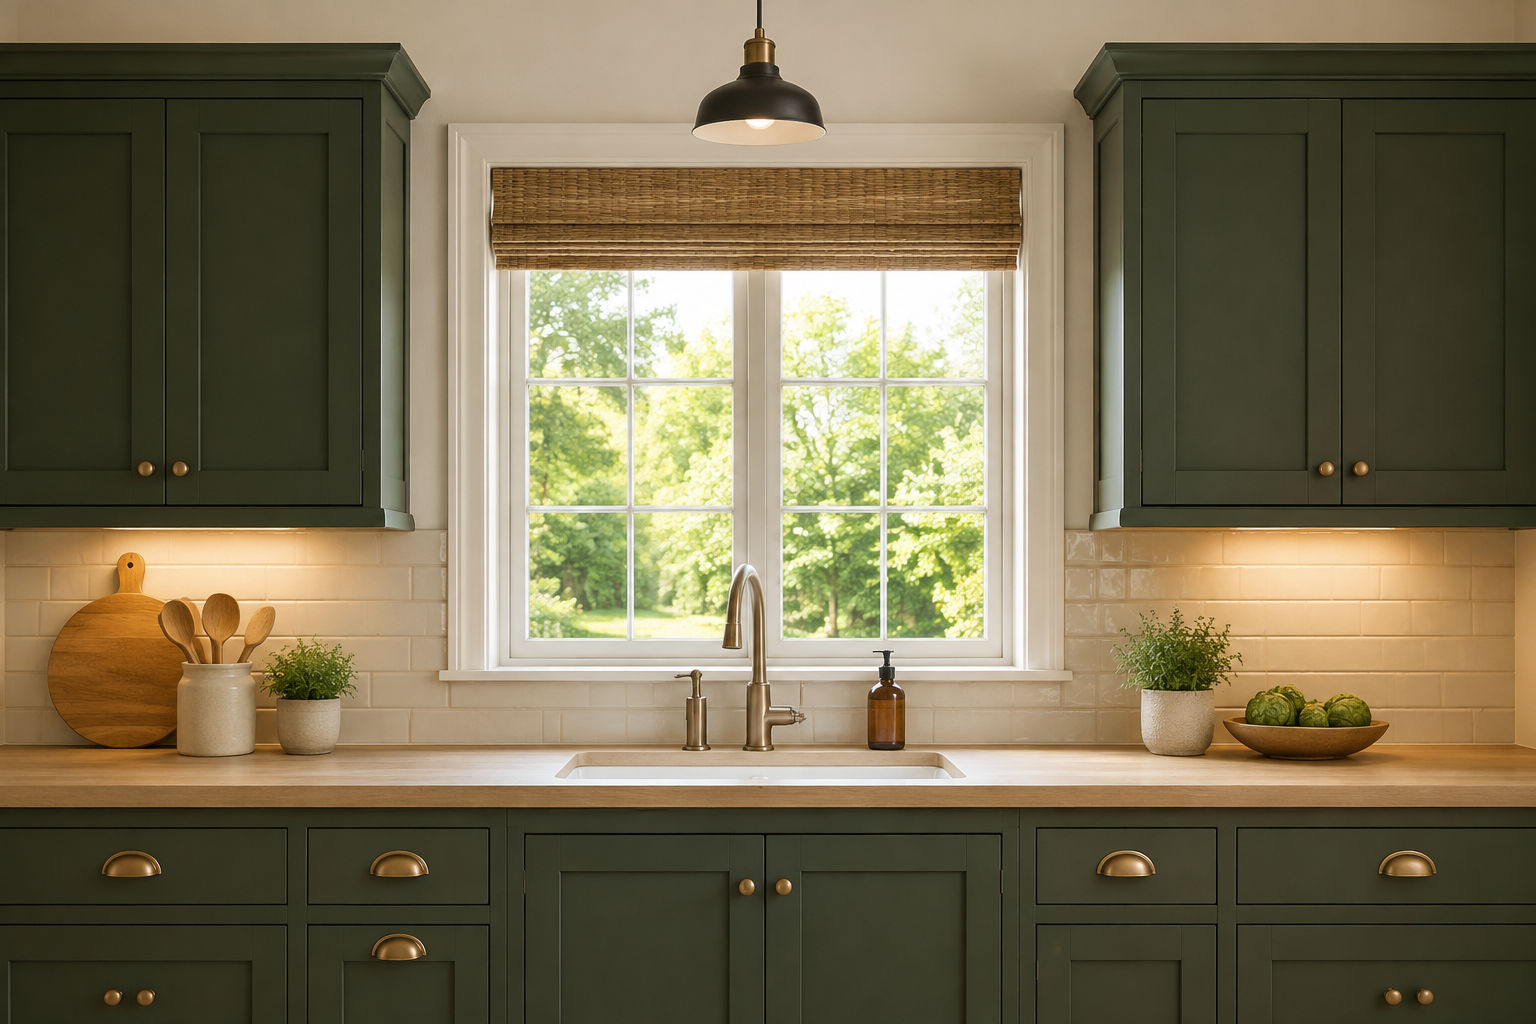
Daylight is generous but variable. At night the sink still needs comfortable task light, and a shade may be needed for privacy, heat, glare, or a close neighbor. A common mistake is placing a pendant on the elevation without checking the view, window operation, or reflected glare. Another is fitting a shade inside a jamb that must also hold a screen, crank, lock, or replacement-window hardware. Stand at the sink morning and evening, photograph the light direction, and sketch the shade fully raised and lowered. Let the window-covering provider and electrician confirm mounting, moisture suitability, controls, wiring, clearances, and any required ratings.
7. Map plumbing, outlets, ventilation, and service access
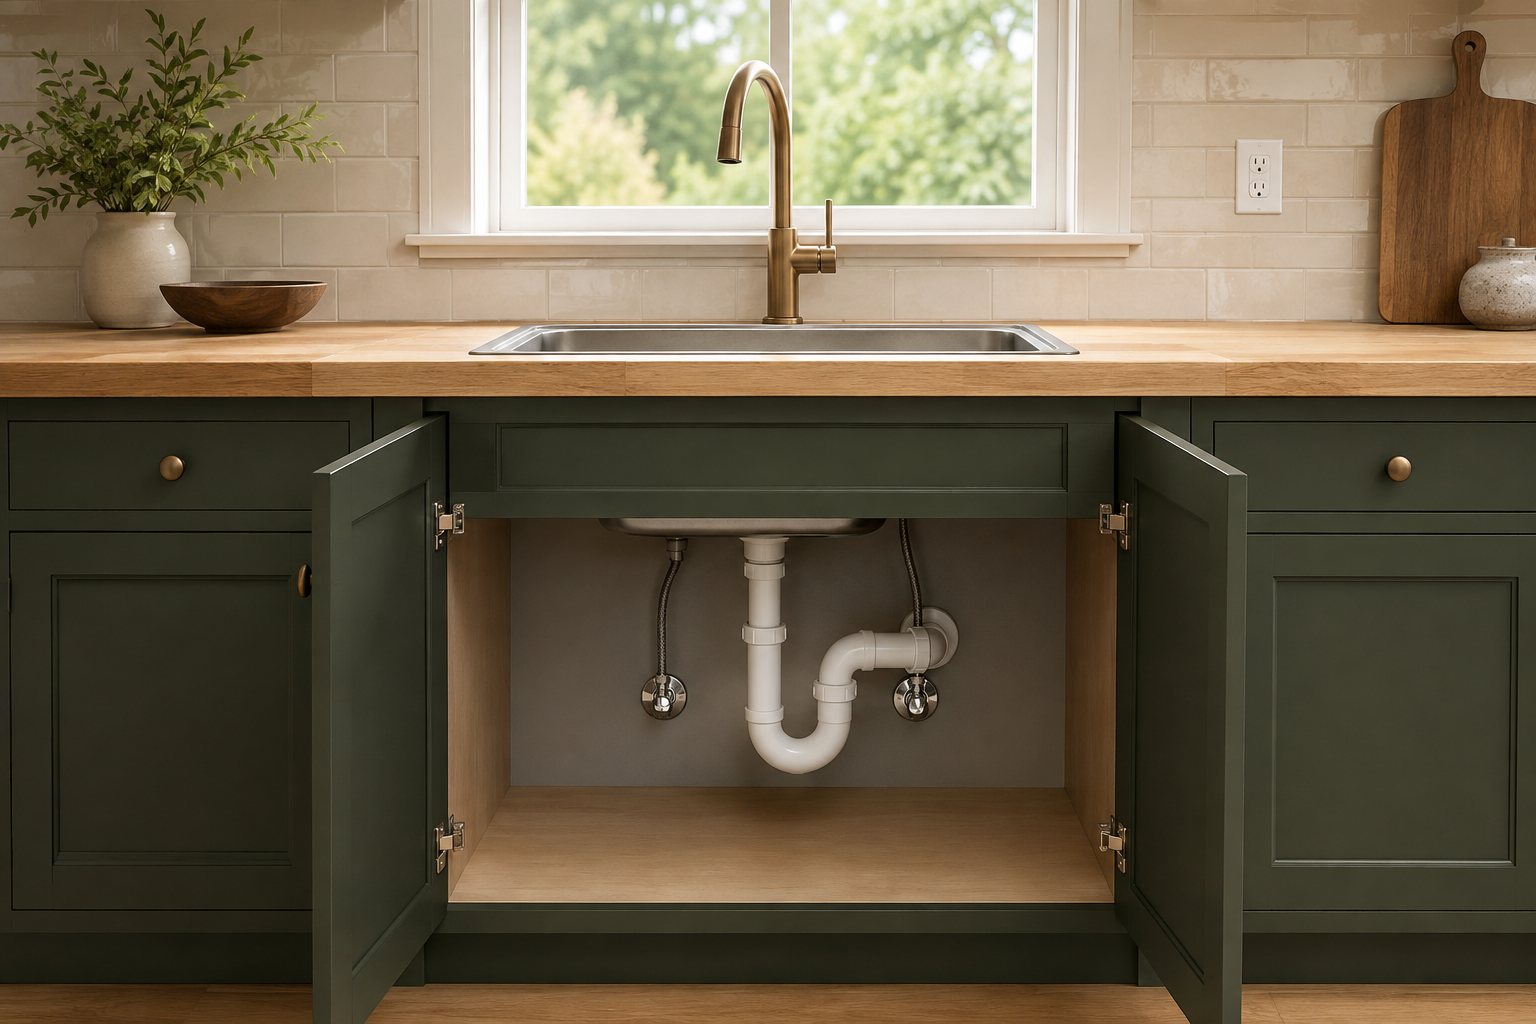
A window often anchors the sink, but the cabinet below may also contain the drain, water supplies, disposer, filter, dishwasher connections, controls, and cleaning storage. Nearby outlets, switches, heat registers, and vents need their own space. A common mistake is centering the sink on the glass while ignoring a structural or service condition below. Another is drawing pipes as a dot and later losing the drawer or organizer expected in that cabinet. Do not move utilities from a layout sketch. Give the current sink, faucet, appliance, cabinet, and window documents to the licensed trades and providers so they can coordinate locations, access, protection, and applicable code requirements.
8. Solve an off-center opening honestly
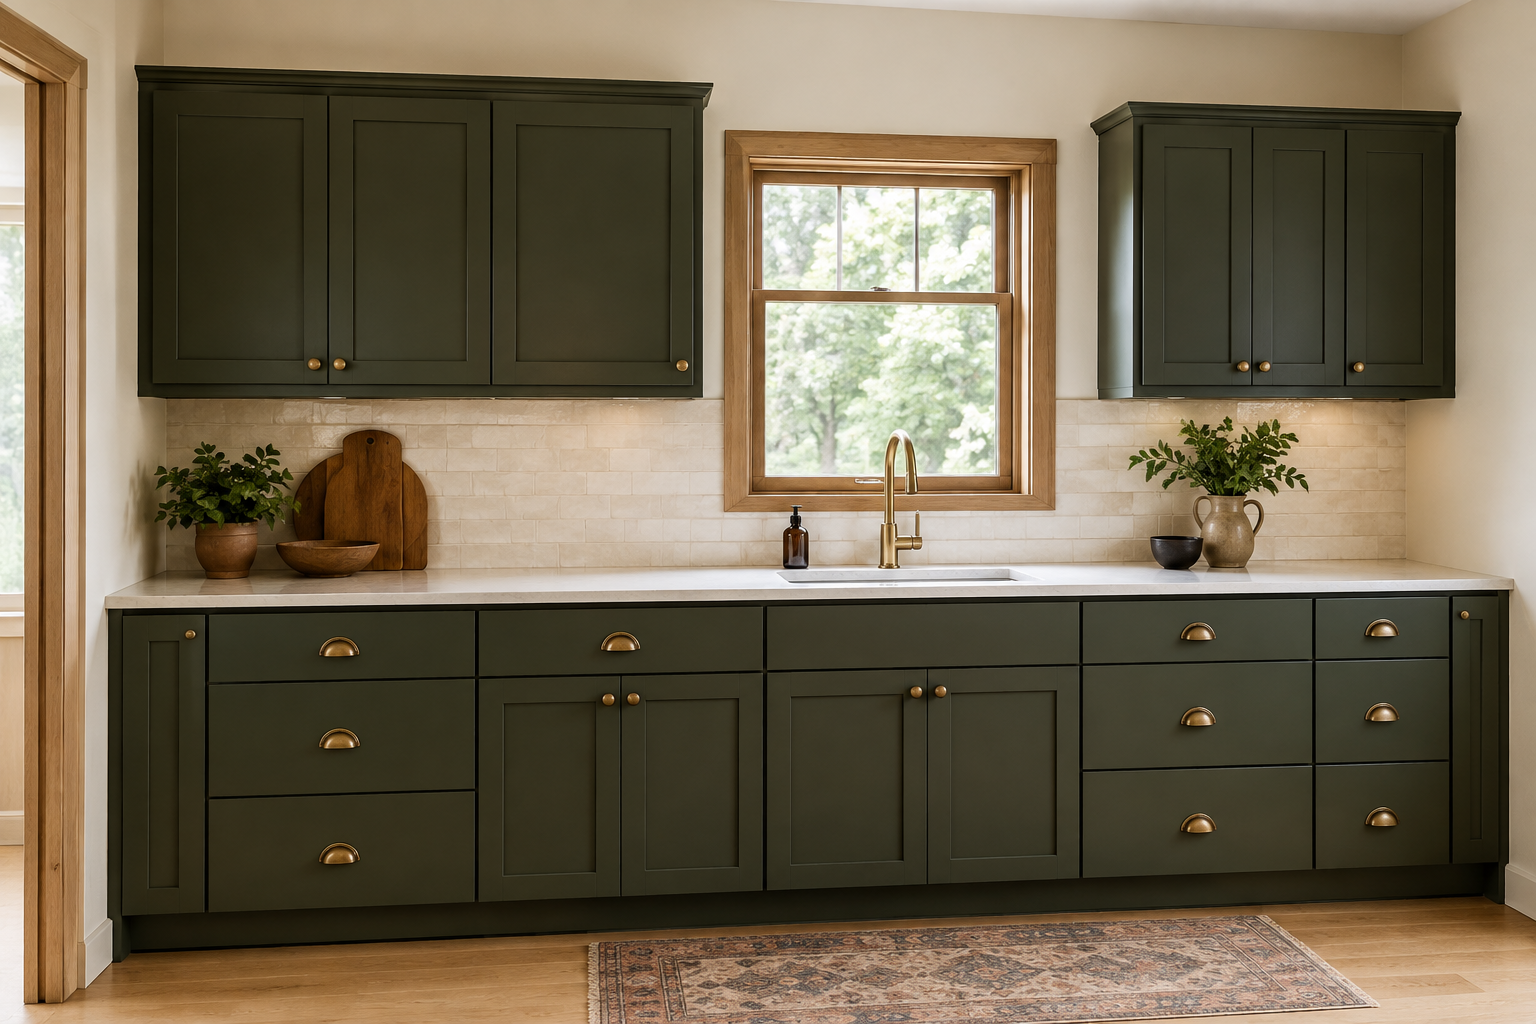
Not every existing window lands at the center of the usable wall or cabinet run. Trying to hide that fact with random filler widths can create small cabinets, poor drawer access, and a sink that still looks almost centered. A common mistake is sacrificing function for mathematical symmetry that the room cannot support. Another is moving a window on paper without accounting for structure, exterior finish, utilities, permits, cost, and schedule. Compare three honest options: center the sink on the window, center it on the cabinet run, or build a deliberately asymmetrical composition. Label the tradeoffs and ask the responsible team which changes are physically and legally feasible.
9. Check ventilation, privacy, and screen access
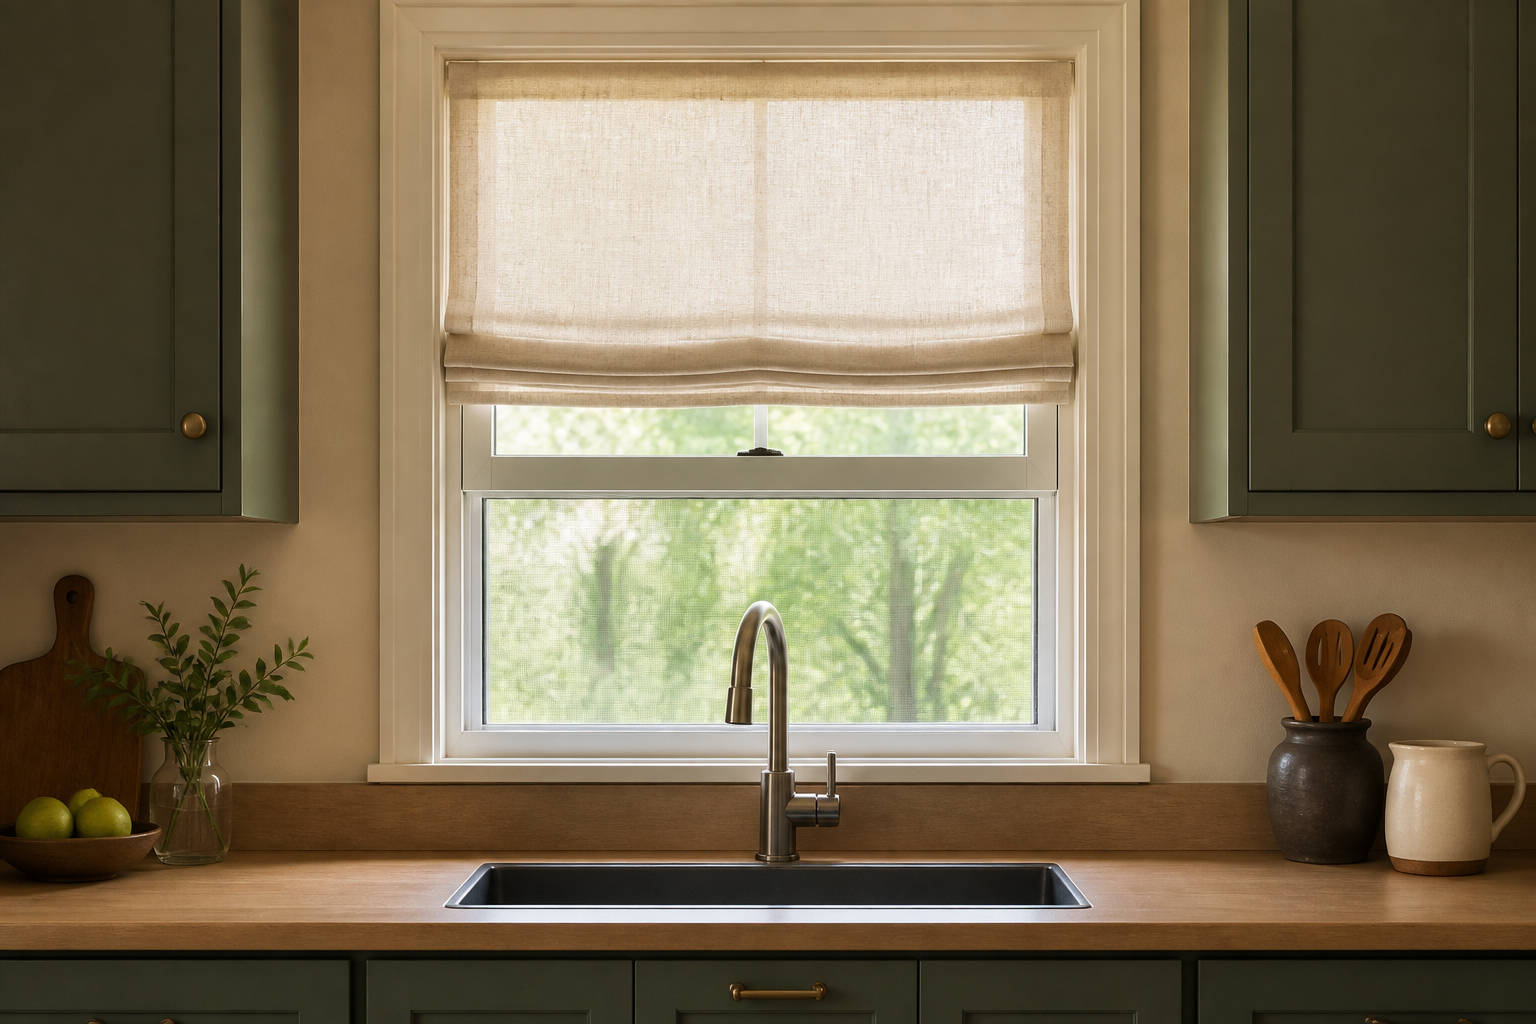
If you expect to open the window while cooking or cleaning, make sure the lock, sash, screen, shade, and faucet remain reachable after the kitchen is finished. A common mistake is treating an operable window as decoration, then placing objects or fixtures in front of the controls. Another is choosing privacy glass or a permanent covering without seeing how it changes daylight and the exterior view. Practice removing or cleaning the screen and operating the sash from the planned standing position. Ask the window provider about safe operation, cleaning, insect screens, hardware, condensation, care, and any location-specific glazing or ventilation requirements.
10. Field-verify the complete wall before release
Put the latest field dimensions, window specification, cabinet elevation, sink and faucet sheets, countertop detail, lighting, shade, backsplash, outlets, plumbing, trim, and finish schedule on the same page. The final common mistake is letting one trade update the window wall while everyone else keeps an older drawing. You do not need to become a carpenter or draftsperson to notice that two documents disagree. Mark the conflict, keep the revision dates visible, and ask the responsible providers to confirm who measures, who changes the drawing, and what must be approved before the cabinets, window, countertop, or fixtures are ordered.
Connect the window wall to measuring and sink planning
The opening becomes easier to plan when the trim, sink, faucet, services, light, and cabinet fronts share one drawing. These guides help you build that record.
Measure Your Kitchen Plan the Sink CabinetSee the entire sink wall before you order it
Use StilePath to place the window, sink, cabinet runs, appliances, and moving fronts in one kitchen plan. Start free with the dimensions you have, flag every field condition still awaiting professional verification, and review the wall as a complete system.
Start Planning Free