
The sink cabinet is a small space with a long coordination list
A sink cabinet may look like one box on an elevation, but it has to coordinate the sink, countertop, faucet, plumbing, disposal, filtration, waste, dishwasher, nearby windows, and future service. You can begin the planning with a tape measure, the current product specifications, and a simple cabinet sketch. These ten checks will help you see what belongs in the conversation before an order is approved. The first pass is valuable precisely because it exposes questions; final compatibility, cutting, support, services, installation, codes, and field conditions still require the responsible suppliers, fabricator, plumber, electrician where applicable, installer, contractor, and professionals.

1. Start with the exact current sink specification
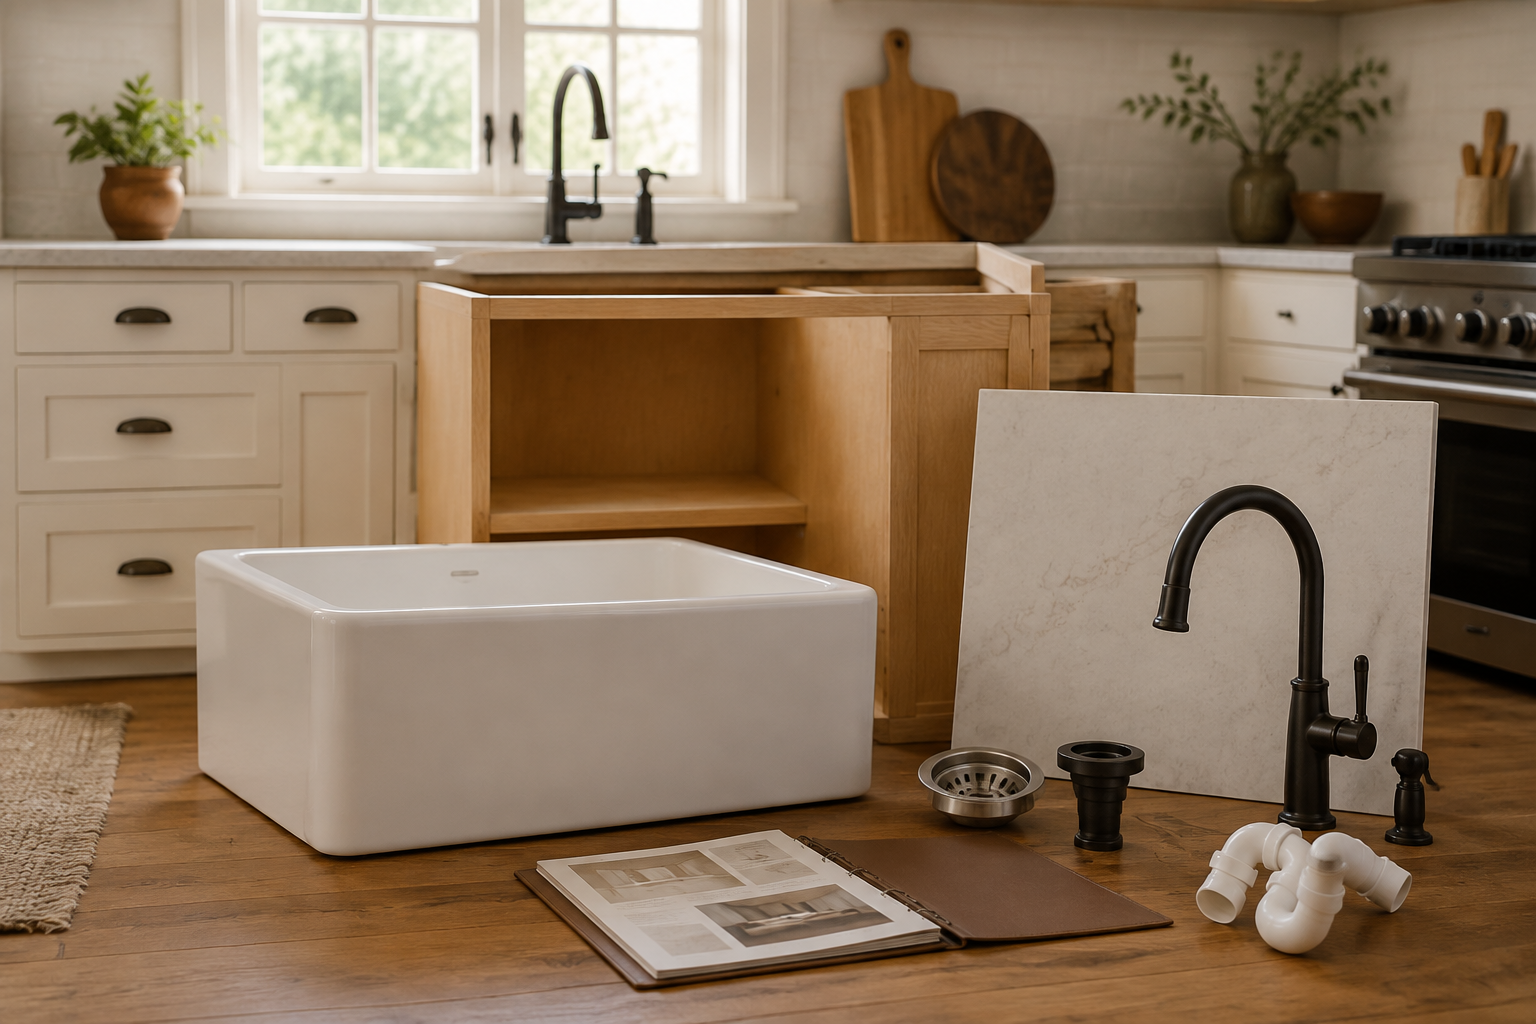
Record the exact sink model, outside dimensions, bowl shape and depth, drain location, mounting method, accessory ledges, required cabinet size, and current revision of the installation information. A common mistake is using only the advertised sink width or the dimensions of an old sink. The rim, clips, rails, supports, and clearances can matter as much as the bowl. Do not rely on a retailer thumbnail or memory. Keep the full manufacturer document with the cabinet plan, and ask the cabinet supplier and countertop fabricator to confirm that the selected sink and cabinet are compatible before either is ordered.
2. Coordinate mounting and countertop fabrication
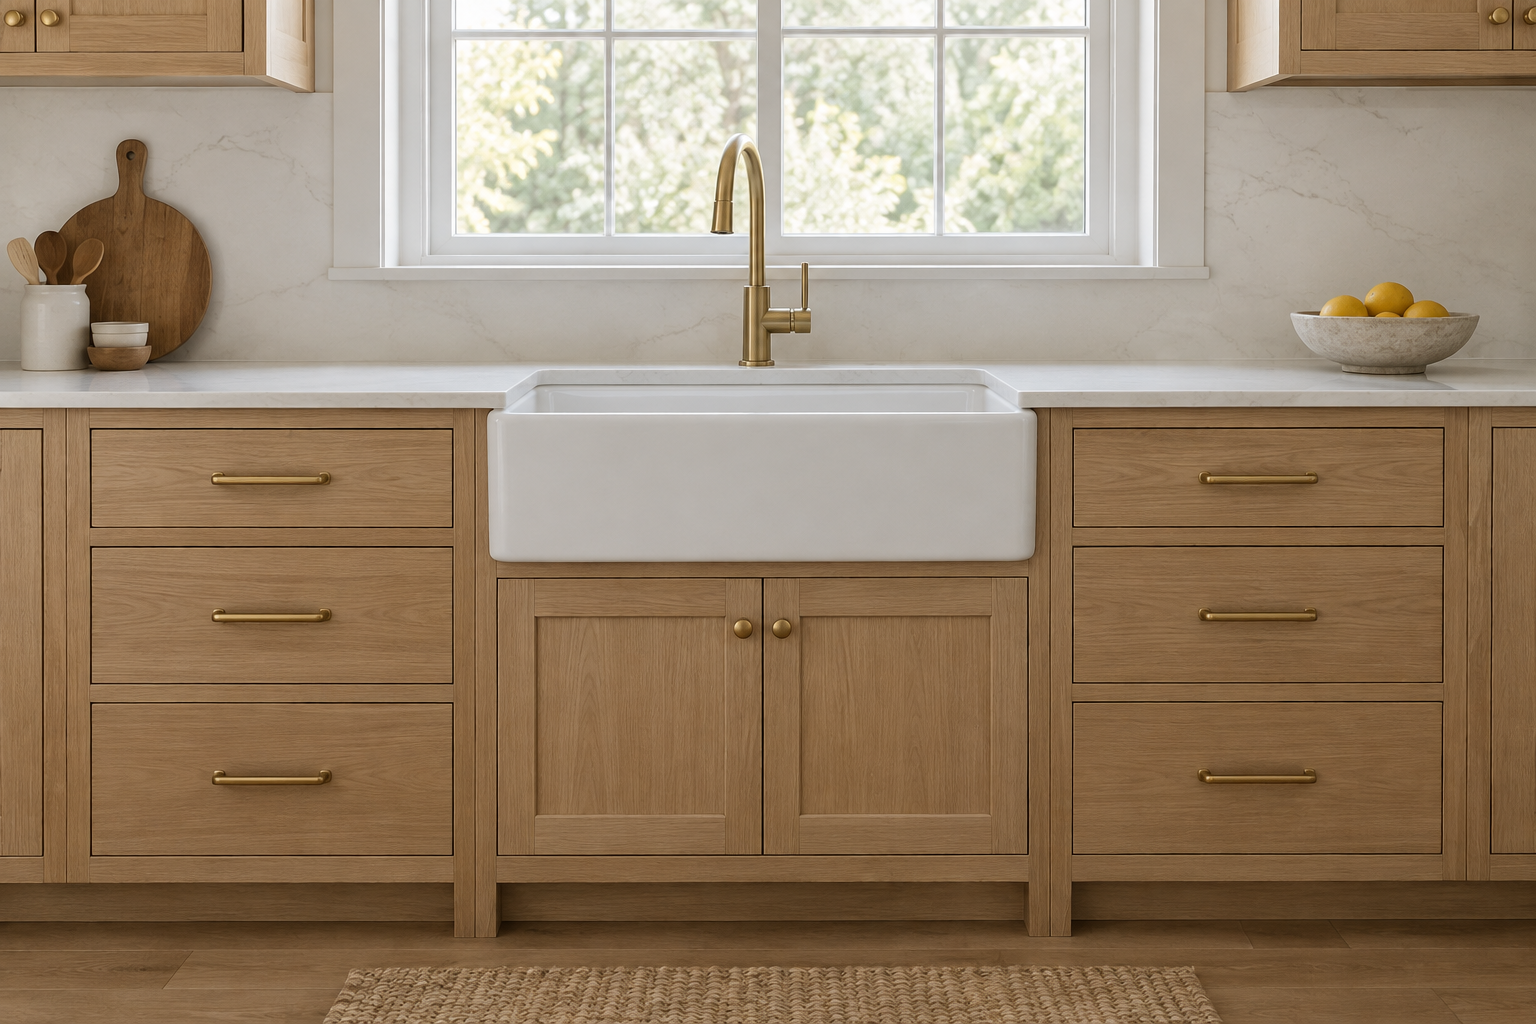
Top-mount, undermount, flush, integrated, and apron-front sinks meet the countertop and cabinet in different ways. Countertop material, thickness, cutout, reveal, edge treatment, supports, seams, and the cabinet's top structure all belong to one detail. The usual mistake is approving the cabinet, sink, and countertop as three separate purchases. A beautiful sink can still conflict with rails, drawers, doors, or stone support. Ask the fabricator and cabinet supplier to reconcile their drawings, including who provides templates, supports, finishing, and cutouts. Never field-cut a cabinet or top from a casual plan without the responsible party's approval.
3. Test the faucet against windows and backsplashes
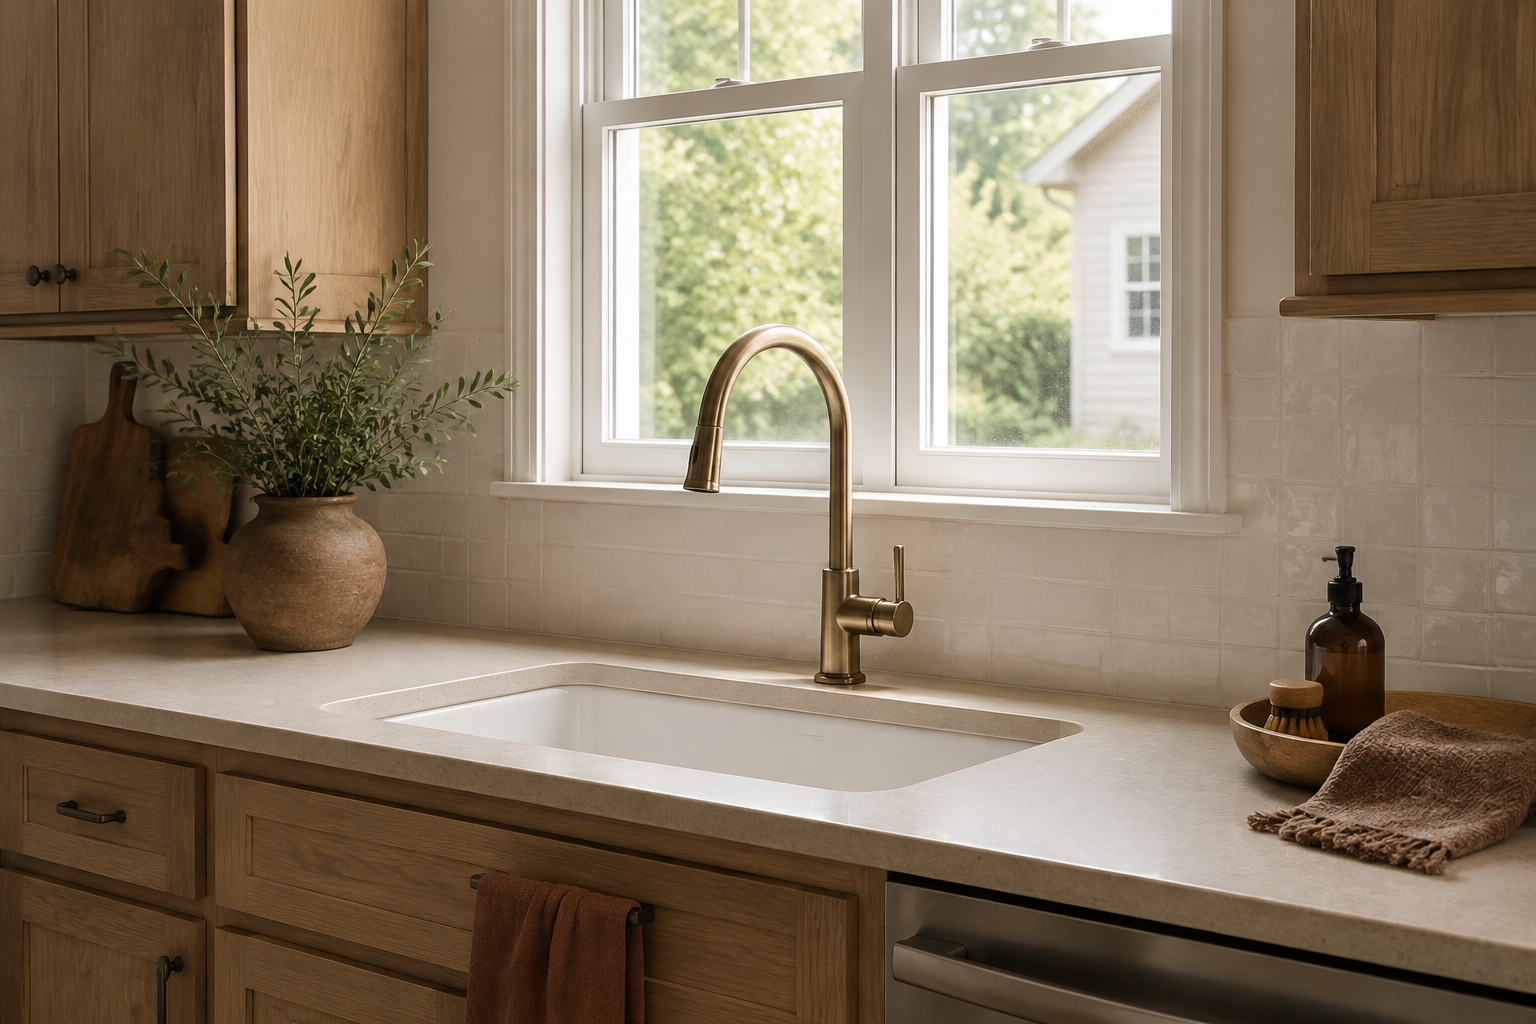
The faucet needs a mounting location, hole pattern, handle sweep, spout reach, pull-down path, supply connections, and room beside a window sill, casing, backsplash, shelf, or raised ledge. A common mistake is centering the faucet on the sink in elevation without checking what happens when its handle moves or the window opens. Place a full-size paper outline at the planned surface and move every control. Confirm the counter hole location and clearances with the faucet information, sink, fabricator, plumber, and surrounding finish details before drilling. A few minutes with cardboard can expose a conflict while it is still easy to change.
4. Draw the plumbing route inside the cabinet
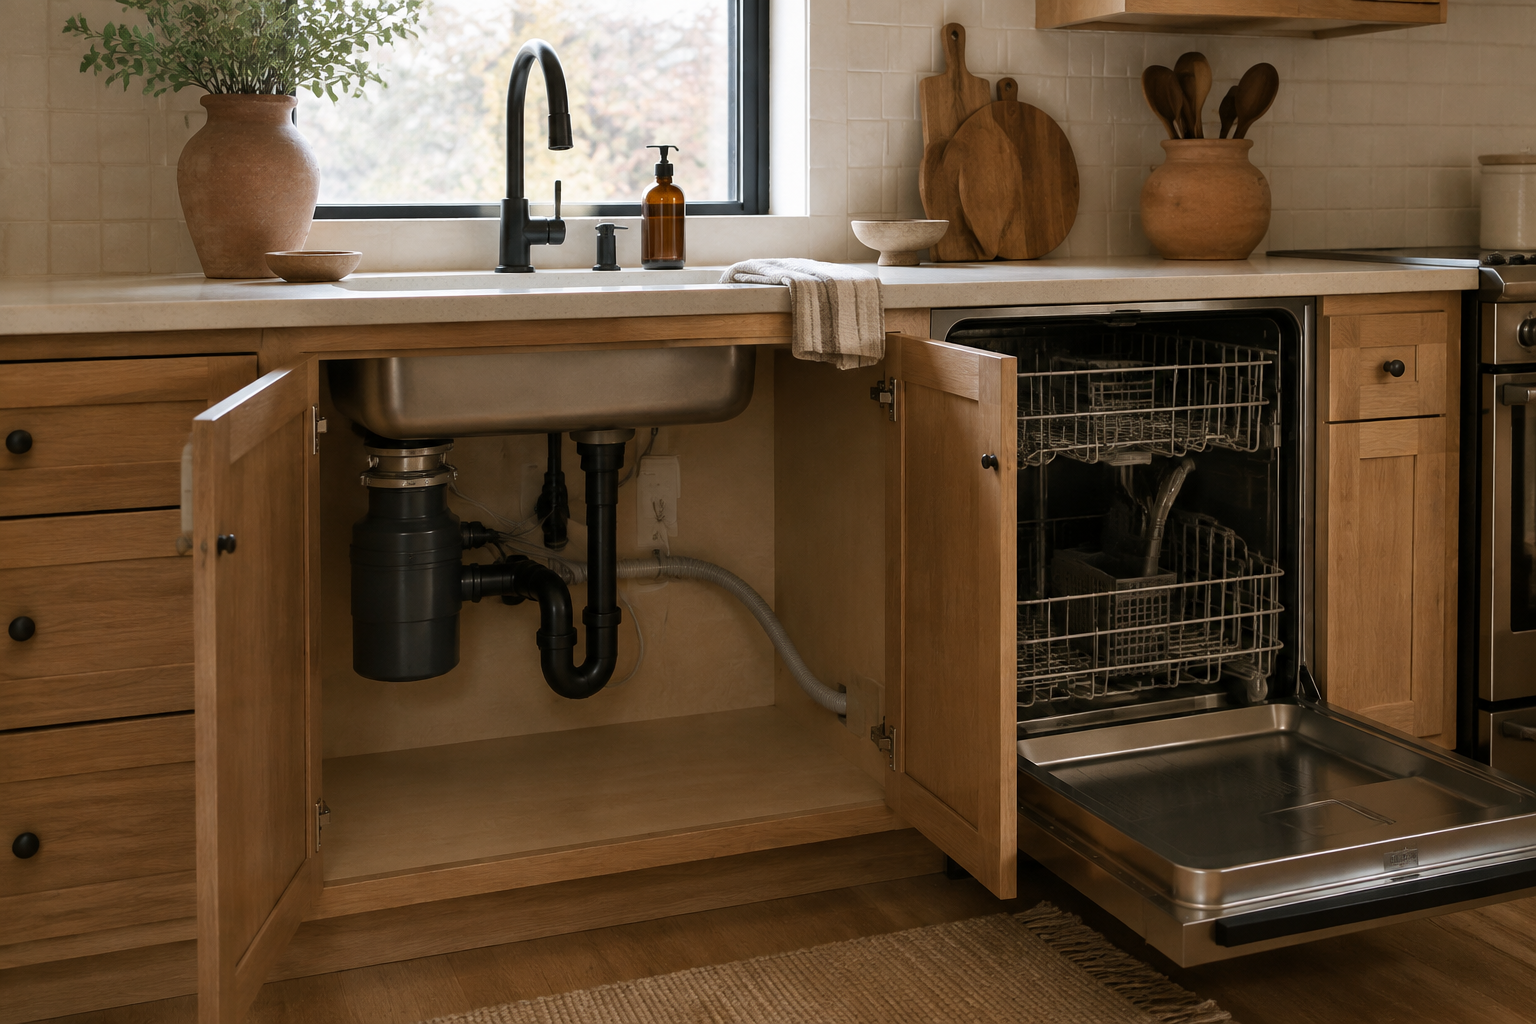
Show the hot and cold supplies, valves, drain, trap, vent relationship where relevant, dishwasher connection, and the way those services enter the cabinet. Existing rough-ins do not automatically suit a new sink depth or drain position. The classic mistake is drawing plumbing as a dot on the wall and filling the rest of the cabinet with storage. Pipes occupy volume and need space to assemble, inspect, shut off, and repair. Ask the plumber to confirm the route and applicable requirements before cabinets close the wall, especially when the sink moves, the cabinet contains drawers, or an exterior wall changes the installation condition.
5. Reserve space for disposal and filtration choices
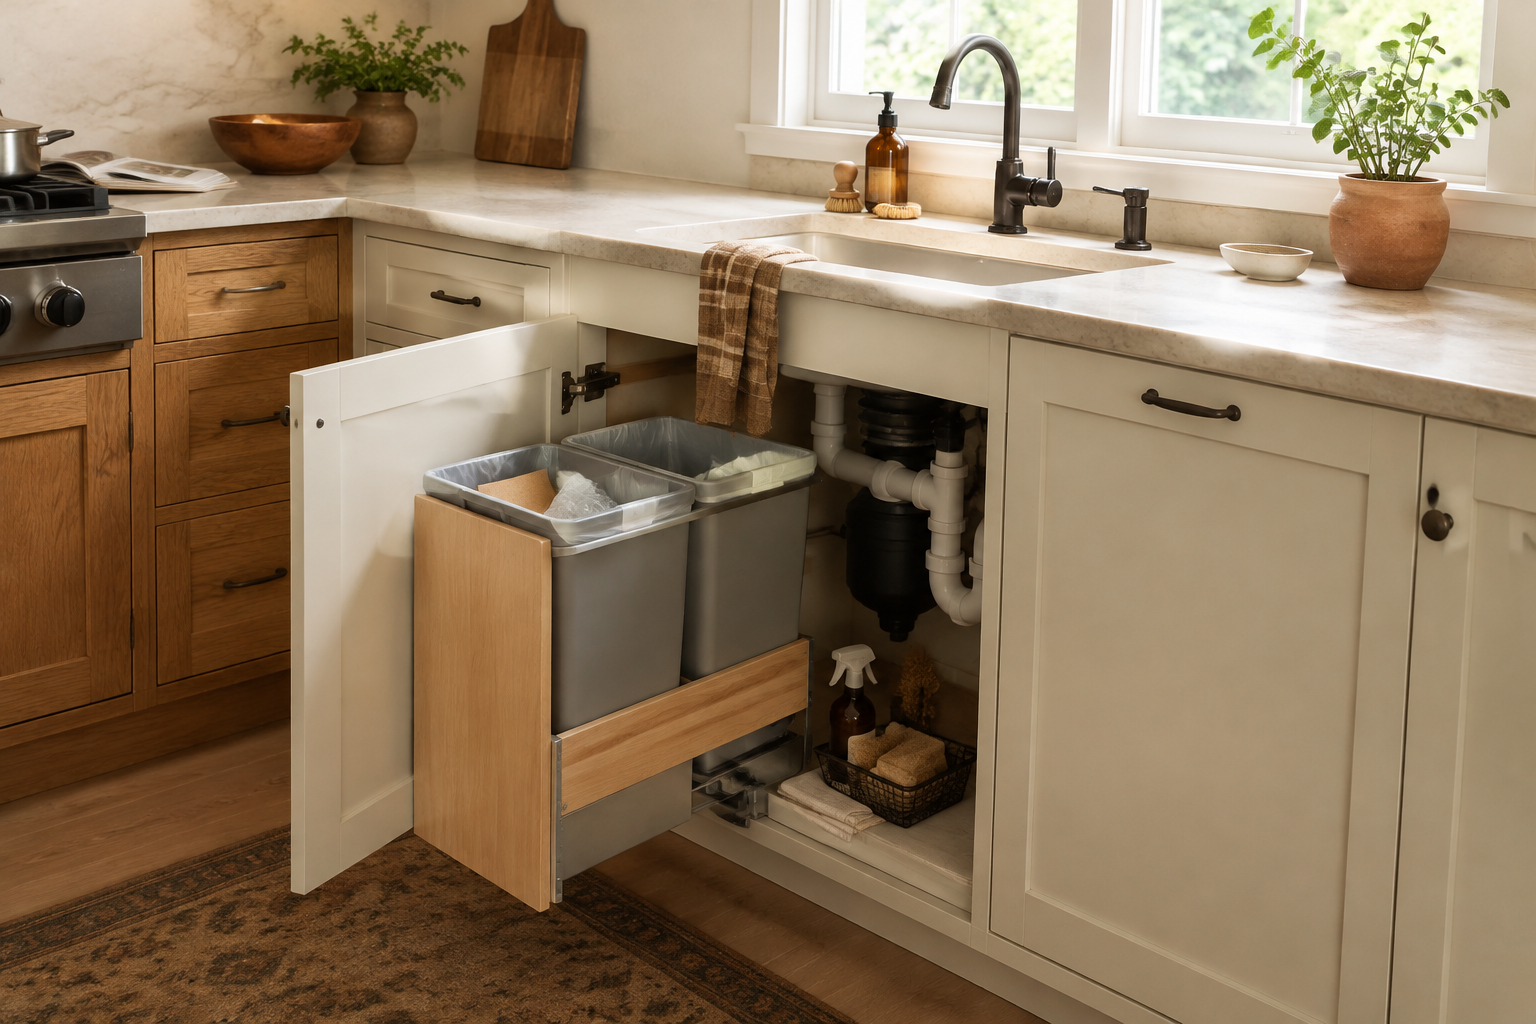
A disposal, filter, instant-hot unit, leak sensor, water-treatment equipment, or other approved accessory can compete for the same central cabinet space. Each may add plumbing, electrical, ventilation, mounting, cartridge-change, or service needs. A frequent mistake is selecting these items after a waste pullout or drawer system has already claimed the volume. List the equipment that is truly planned, obtain current specifications, and draw the maintenance path as well as the installed shape. The plumber, electrician where required, cabinet supplier, and installer should confirm compatibility and responsibility before any assumption becomes a hole, outlet, or custom cabinet modification.
6. Fit waste and cleaning storage around service access

Waste, recycling, compost, dishwasher supplies, towels, and cleaning products often migrate under the sink because the location is convenient. Measure the actual containers and check how they move past pipes, hinges, and the sink bowl. The common mistake is filling every leftover space and making a shutoff valve or filter impossible to reach. Keep incompatible or hazardous items out of inappropriate storage, follow product guidance, and protect access for inspection and leaks. A separate waste cabinet may be better than a compromised sink cabinet. Choose storage after services are drawn, not before, and leave the people who repair the system a workable path.
7. Place the dishwasher for loading and connections
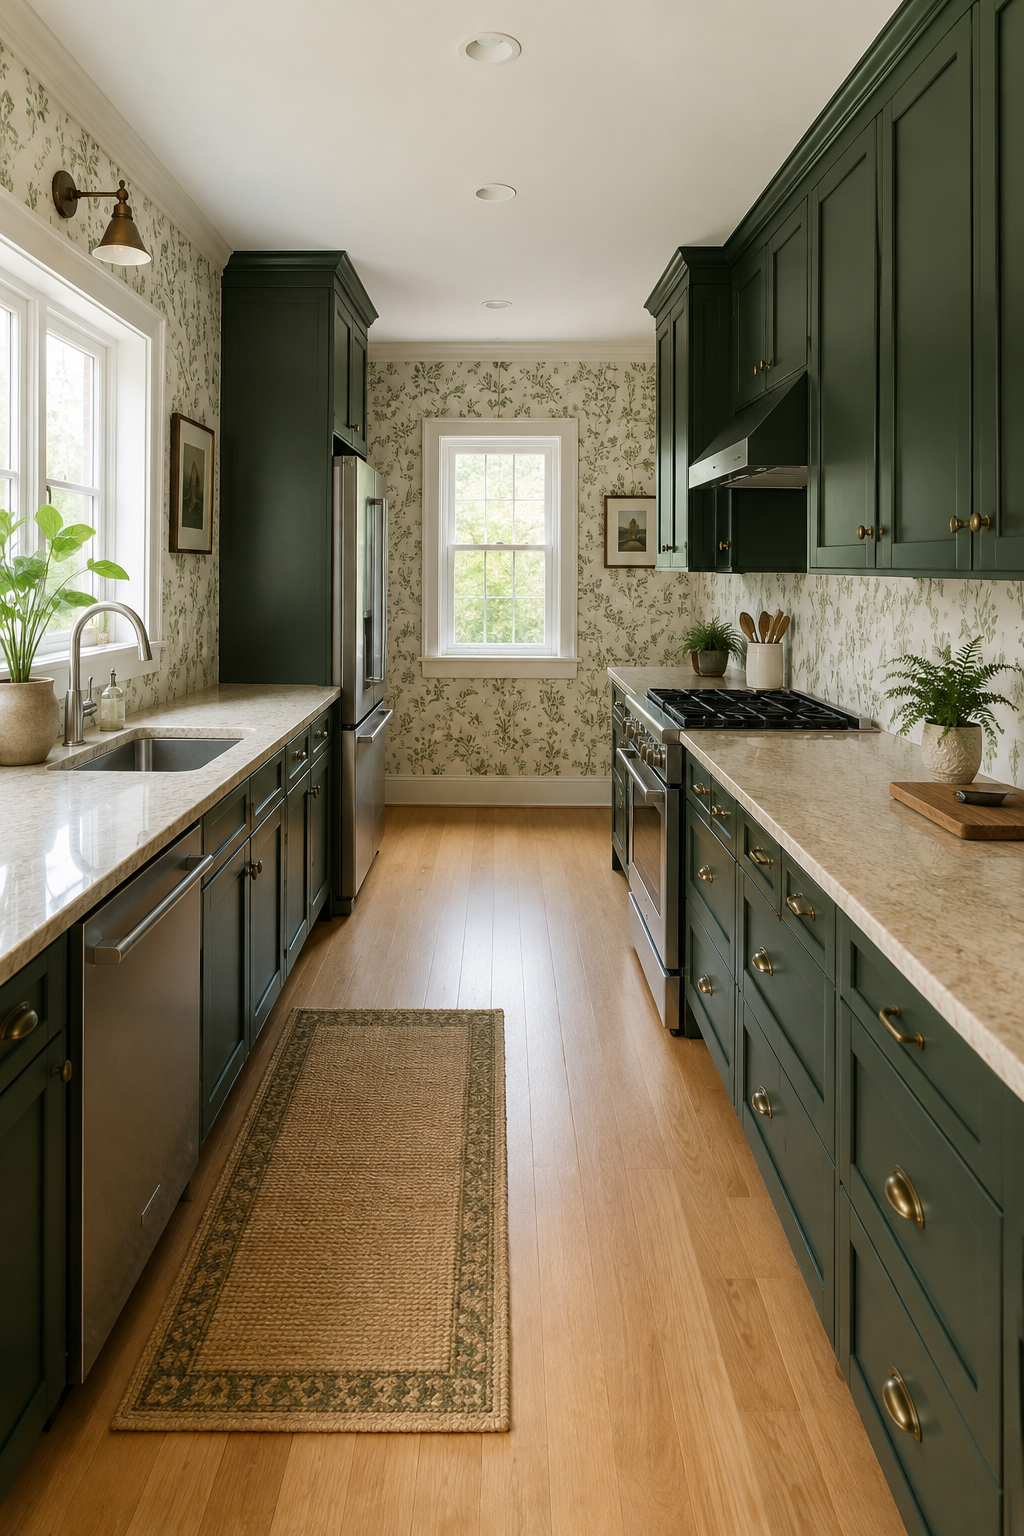
The dishwasher needs an approved opening, utility route, attachment detail, finished side where exposed, and a door path that works with the sink, island, corner, and traffic. Think about scraping, loading, unloading, and putting dishes away. A common mistake is placing it beside the sink but forgetting that its open door blocks the only standing position or traps someone at a corner. Another is routing services casually through finished cabinet parts. Use the exact appliance information and let the cabinet supplier, plumber, electrician where applicable, fabricator, and installer coordinate the opening and connections before the order is final.
8. Check the sink run against corners and neighboring fronts
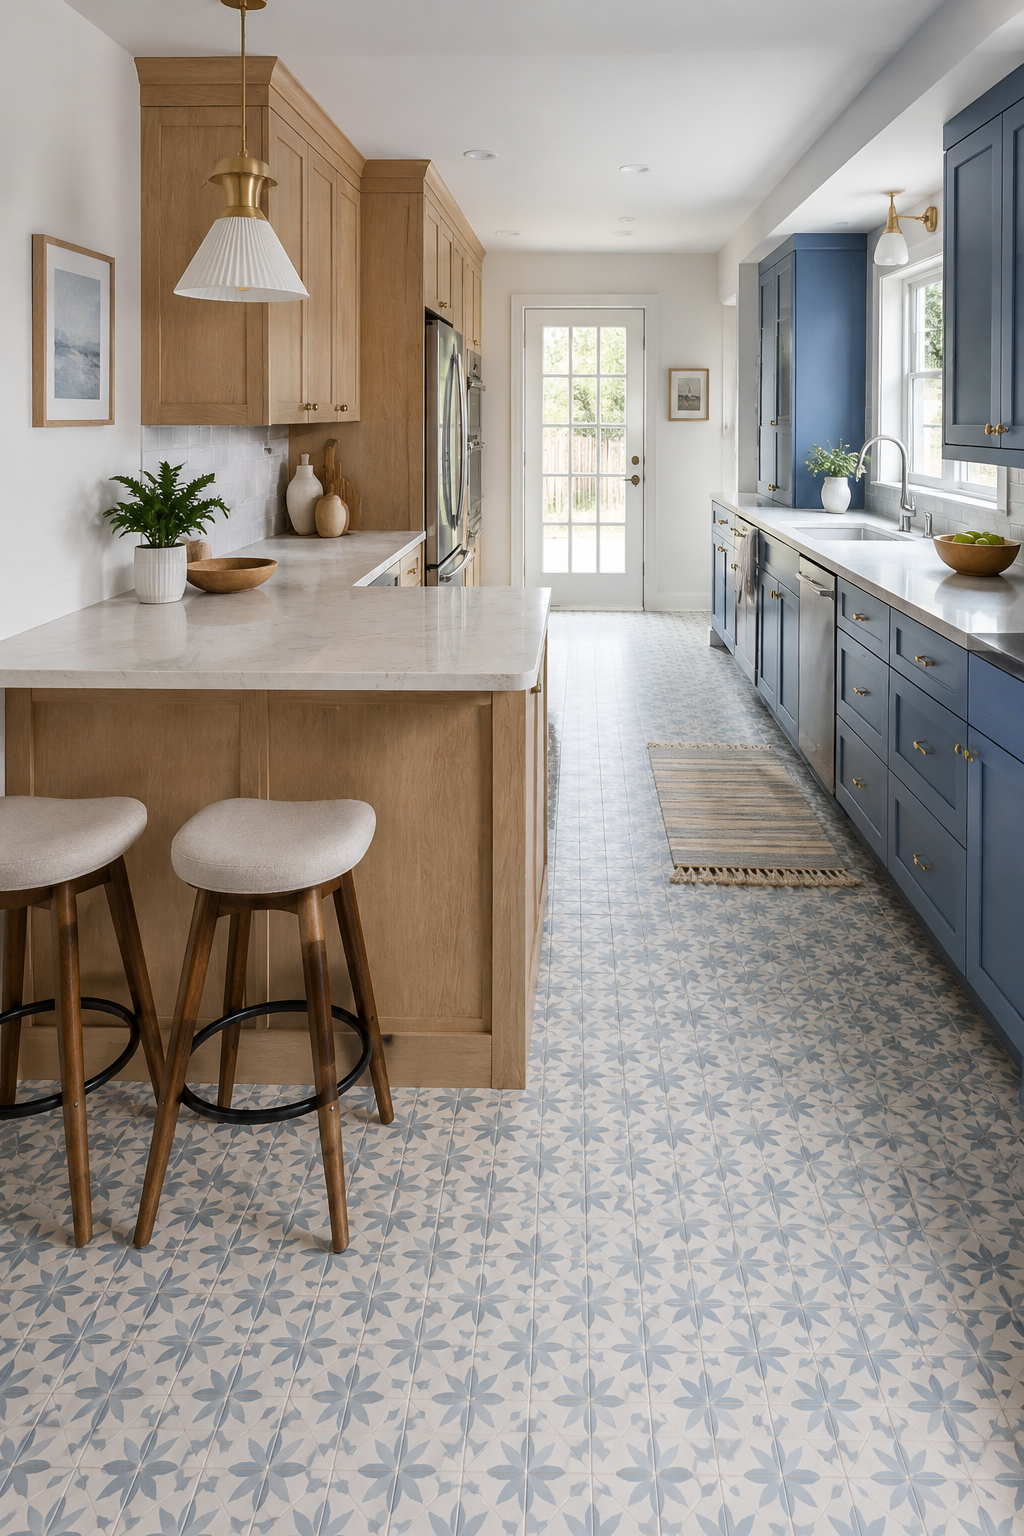
A centered sink can shift cabinet seams, waste storage, dishwasher position, corner fillers, window alignment, and the widths available to drawers on both sides. Open the sink doors or approved drawer system at the same time as nearby fronts and appliances. The common mistake is centering on one feature while ignoring the rest of the run. Sometimes the best sink position is aligned to the window; sometimes the usable cabinet plan asks for a deliberate offset. Compare the whole elevation and plan, then resolve fillers, finished ends, hardware projection, and appliance clearances before treating symmetry as the only correct answer.
9. Plan for leaks, cleaning, and future service
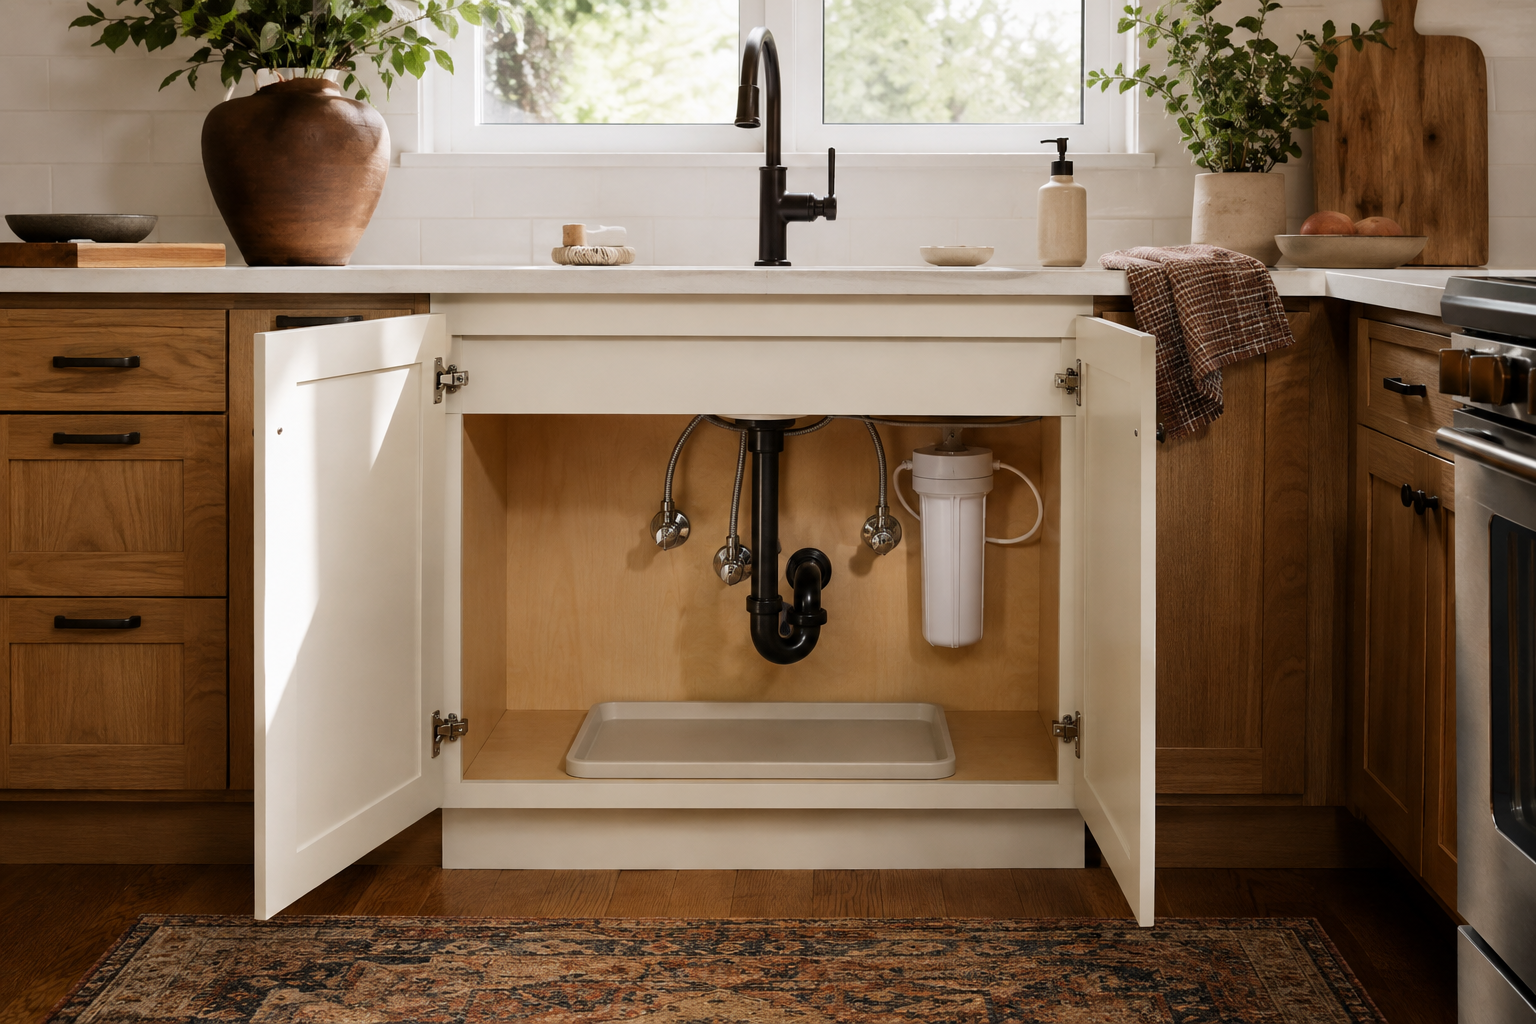
Water connections eventually need inspection, cleaning, cartridge replacement, adjustment, or repair. Keep shutoffs visible and reachable, protect cabinet materials as approved, and consider how stored items can be removed quickly. A frequent mistake is designing a perfect interior photograph that cannot be serviced without dismantling custom organizers. Another is assuming a decorative panel will never need access behind it. Ask who maintains each component and how it comes out. Follow manufacturer and trade guidance for leak protection, electrical safety, ventilation, and cabinet modifications. A serviceable cabinet can still be organized; it simply keeps the permanent systems from disappearing behind the storage.
10. Reconcile every drawing before approving the order
Put the latest room plan, cabinet elevation, sink and faucet specifications, countertop detail, plumbing plan, appliance information, electrical needs, waste or filter equipment, finish schedule, and field changes side by side. The final common mistake is approving each document independently even though they describe one small volume. Mark every assumption and assign the party who verifies it. Have the cabinet supplier, fabricator, plumber, electrician where applicable, appliance provider, installer, contractor, and responsible professionals confirm the information they use. A conflict found now is not a setback; it is exactly what coordinated planning is supposed to reveal before ordering.
Connect the sink cabinet to its appliances and cabinet run
The sink works inside a cabinet, countertop, service plan, cleanup zone, and full elevation. These guides help you gather the room and product information that the final coordination needs.
Record Appliance Details Check Cabinet DimensionsSee the sink zone before the order is fixed
Use StilePath to place the sink cabinet, dishwasher, nearby storage, corners, and circulation in the kitchen plan. Start with known information, label assumptions, and bring the result into supplier and trade review.
Start Planning Free