
Put waste where the kitchen actually creates it
A waste pullout is opened during food preparation, cleanup, unpacking, and ordinary life, so its location and hardware matter more than its closed cabinet front suggests. You can begin with a tape measure, pencil, paper, the containers you use now, and a quick walk through one meal. Count waste, recycling, compost, bags, and cleaning needs; then trace who stands where when the pullout is open. These ten checks will help you plan a cabinet that works without pretending you are the cabinet engineer. Final cabinet construction, hardware capacity, container compatibility, clearances, sanitation, accessibility, and installation still require current supplier information and the responsible cabinet provider, installer, contractor, and project professionals.
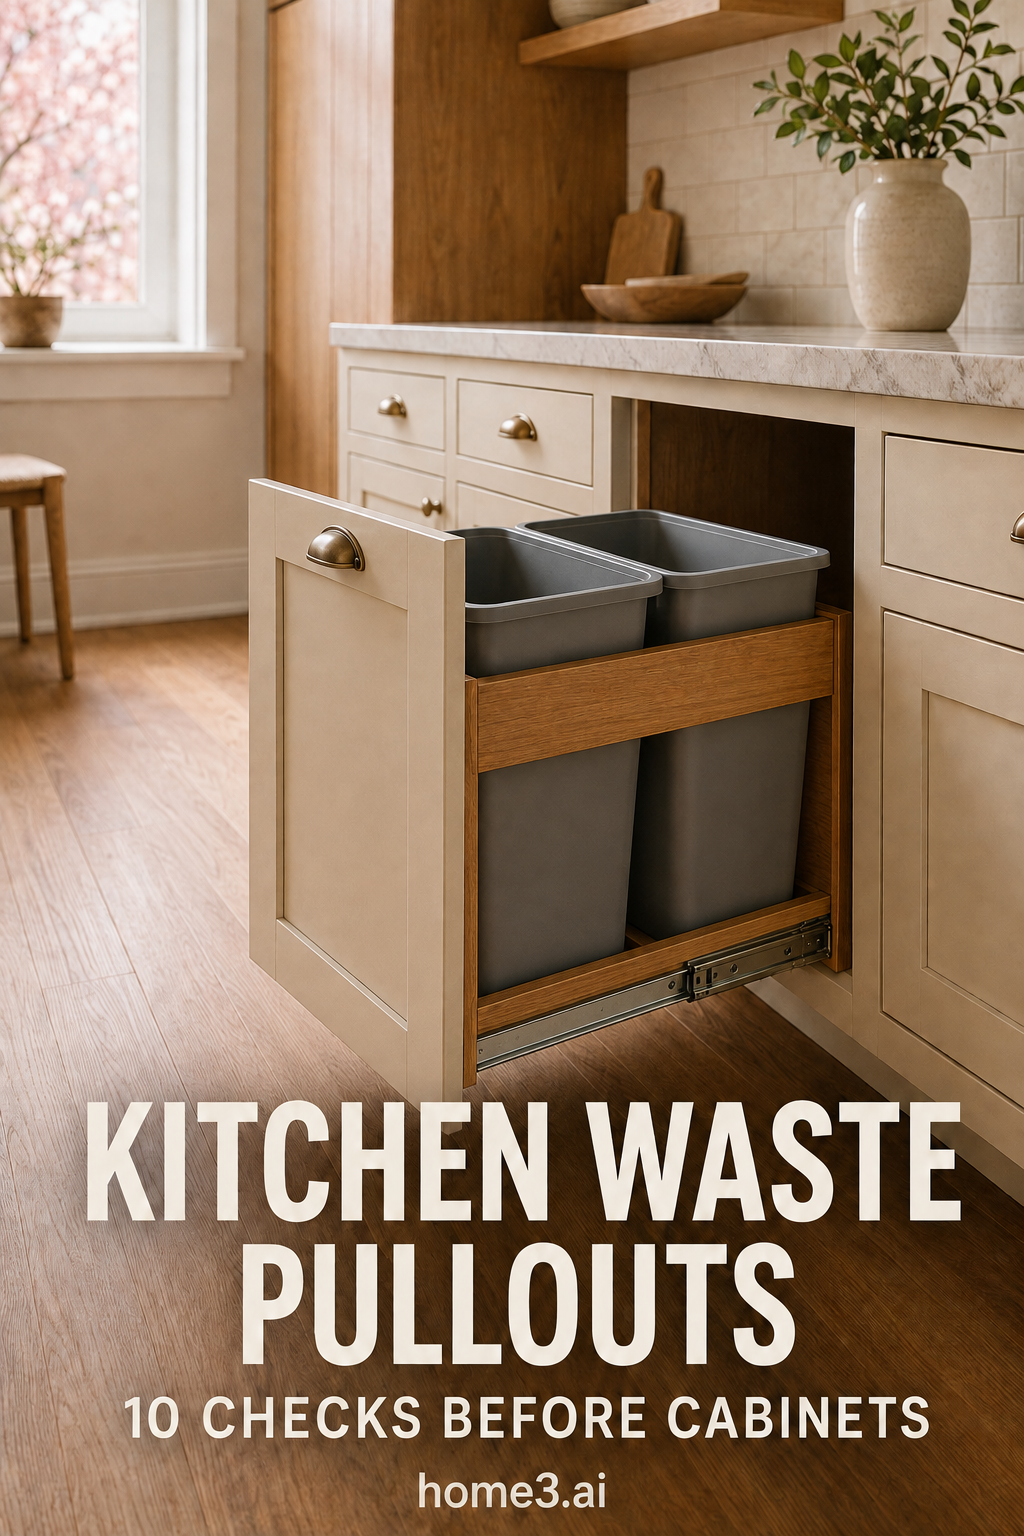
1. Inventory the streams and containers you really use
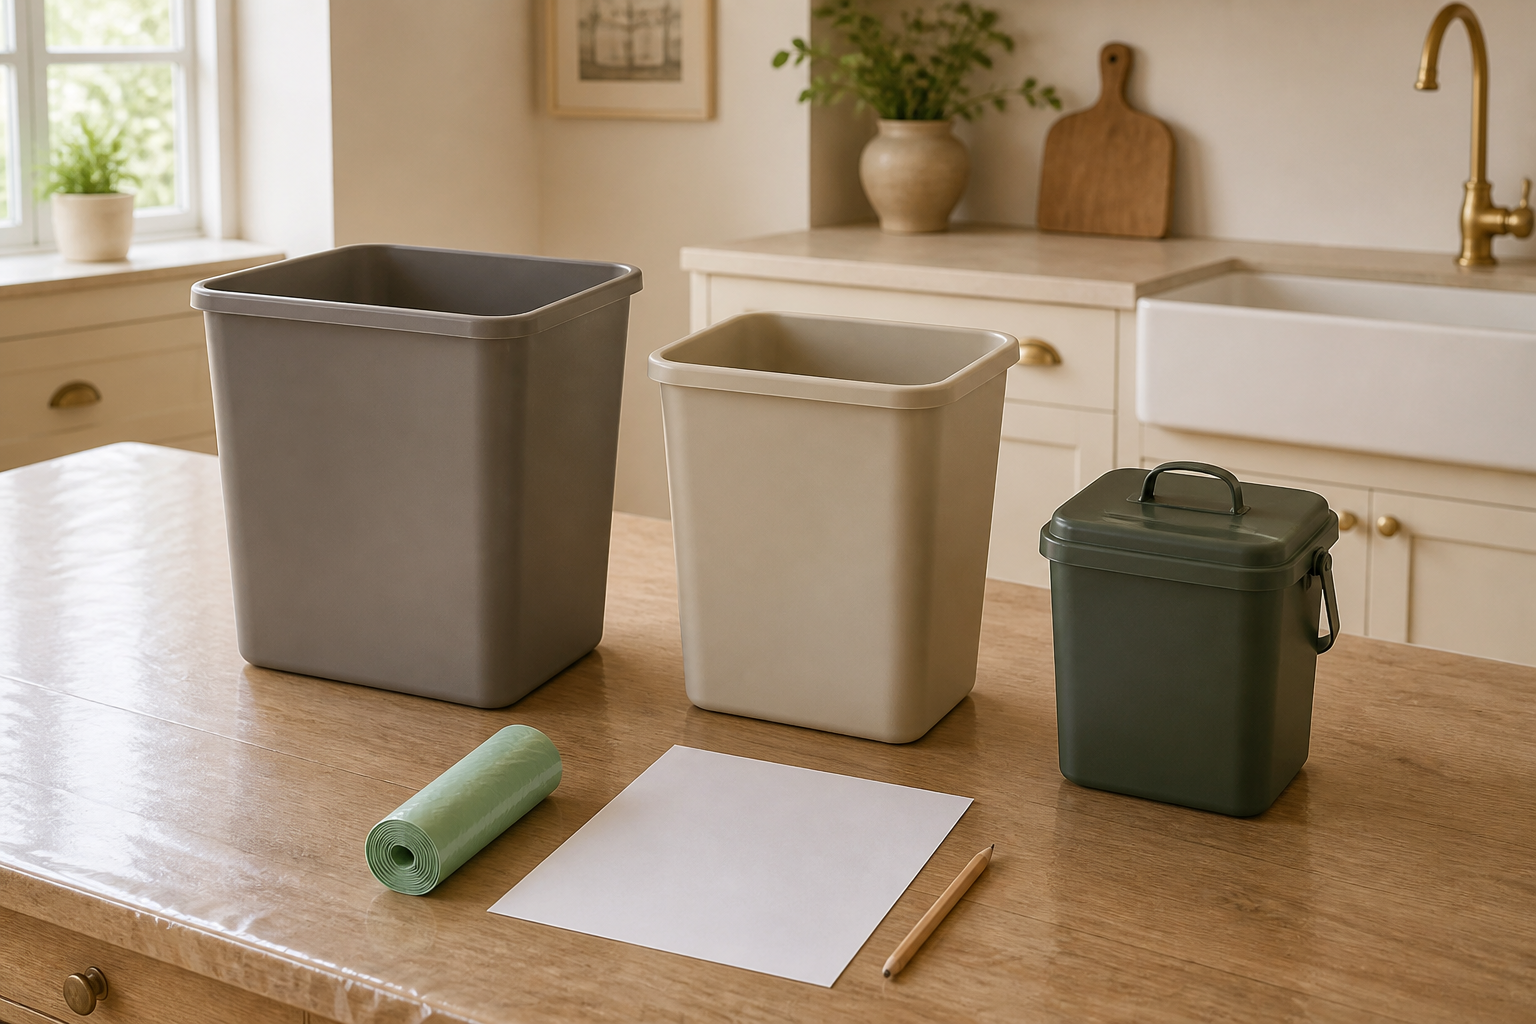
List every stream the kitchen must handle: everyday waste, recycling, compost, returnable containers, bags, or something local to your household. Record the real bin footprints, heights with lids, how liners fold over the rim, how often each fills, and where full containers go next. The common mistake is ordering a fashionable two-bin cabinet before checking whether two equal containers match the household's volume. Another is forgetting the hand space needed to lift a full liner. You do not need a perfect waste audit; save one typical week of observations and let that simple evidence guide the number, size, and arrangement of containers.
2. Place the pullout beside the task, not in leftover space
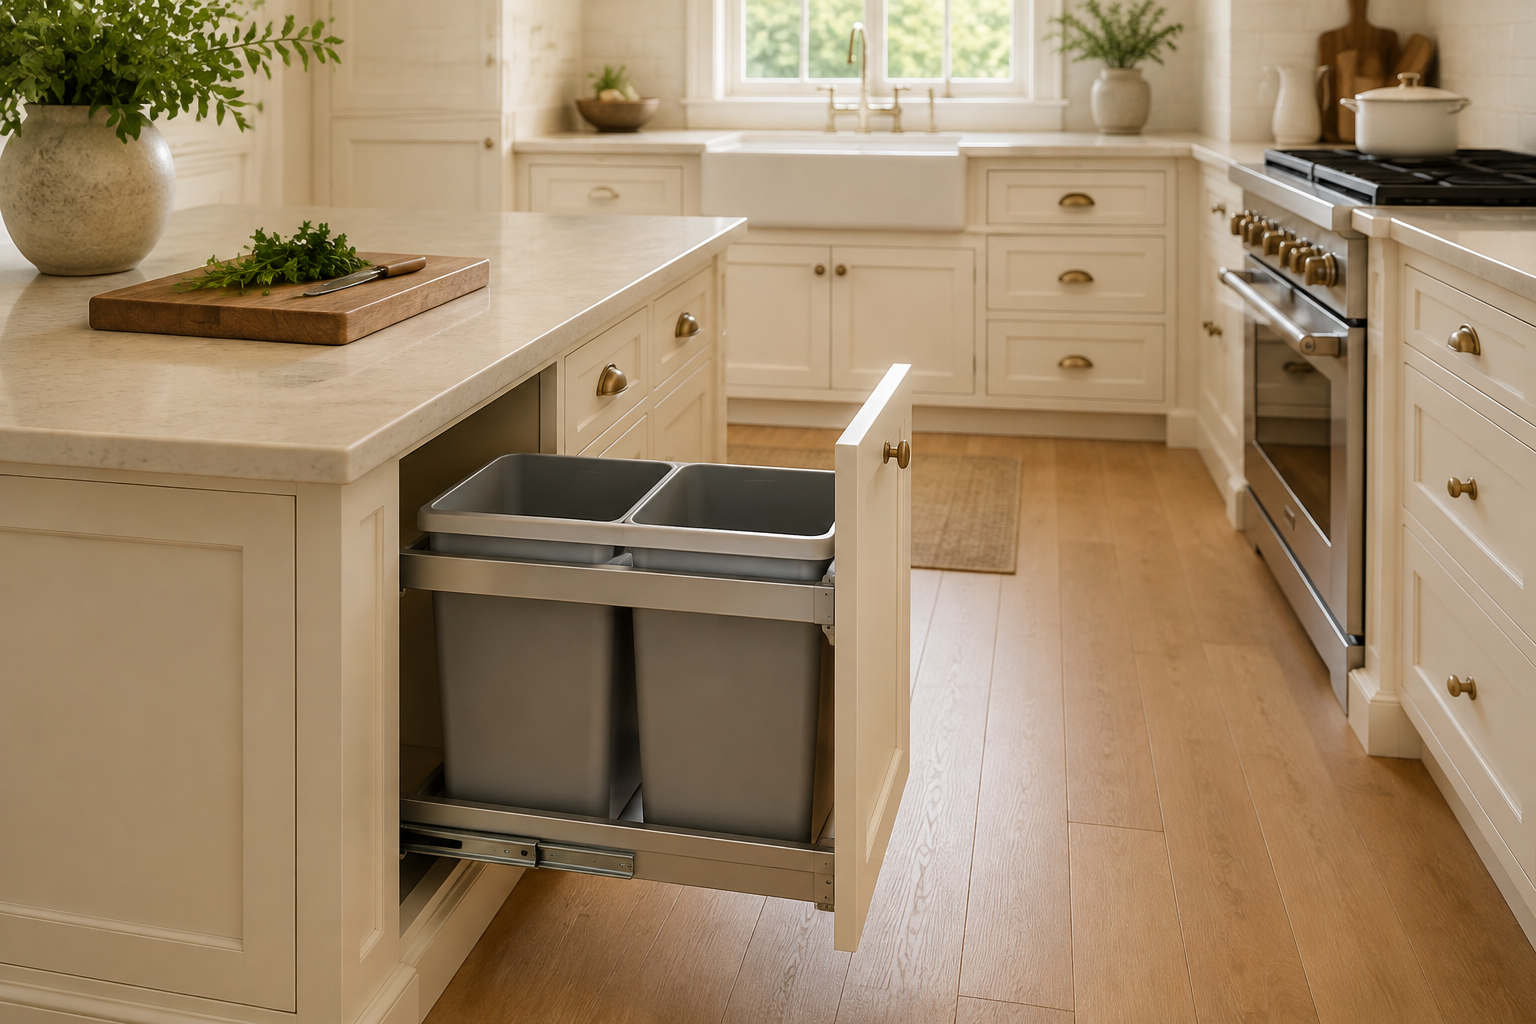
Follow scraps from the cutting board, packaging from the grocery landing, and dirty plates from the table. A pullout near the main preparation surface can reduce repeated steps, while one near cleanup may serve scraping and recycling. The common mistake is hiding it in whichever narrow base remains after the other cabinets are planned. Another is forcing the cook to cross the sink or range path with every handful. Mark two possible locations, open a cardboard cabinet front in each, and rehearse breakfast and dinner. Choose the location that supports the most frequent routine without trapping another person at an appliance or doorway.
3. Match the cabinet to the exact container system
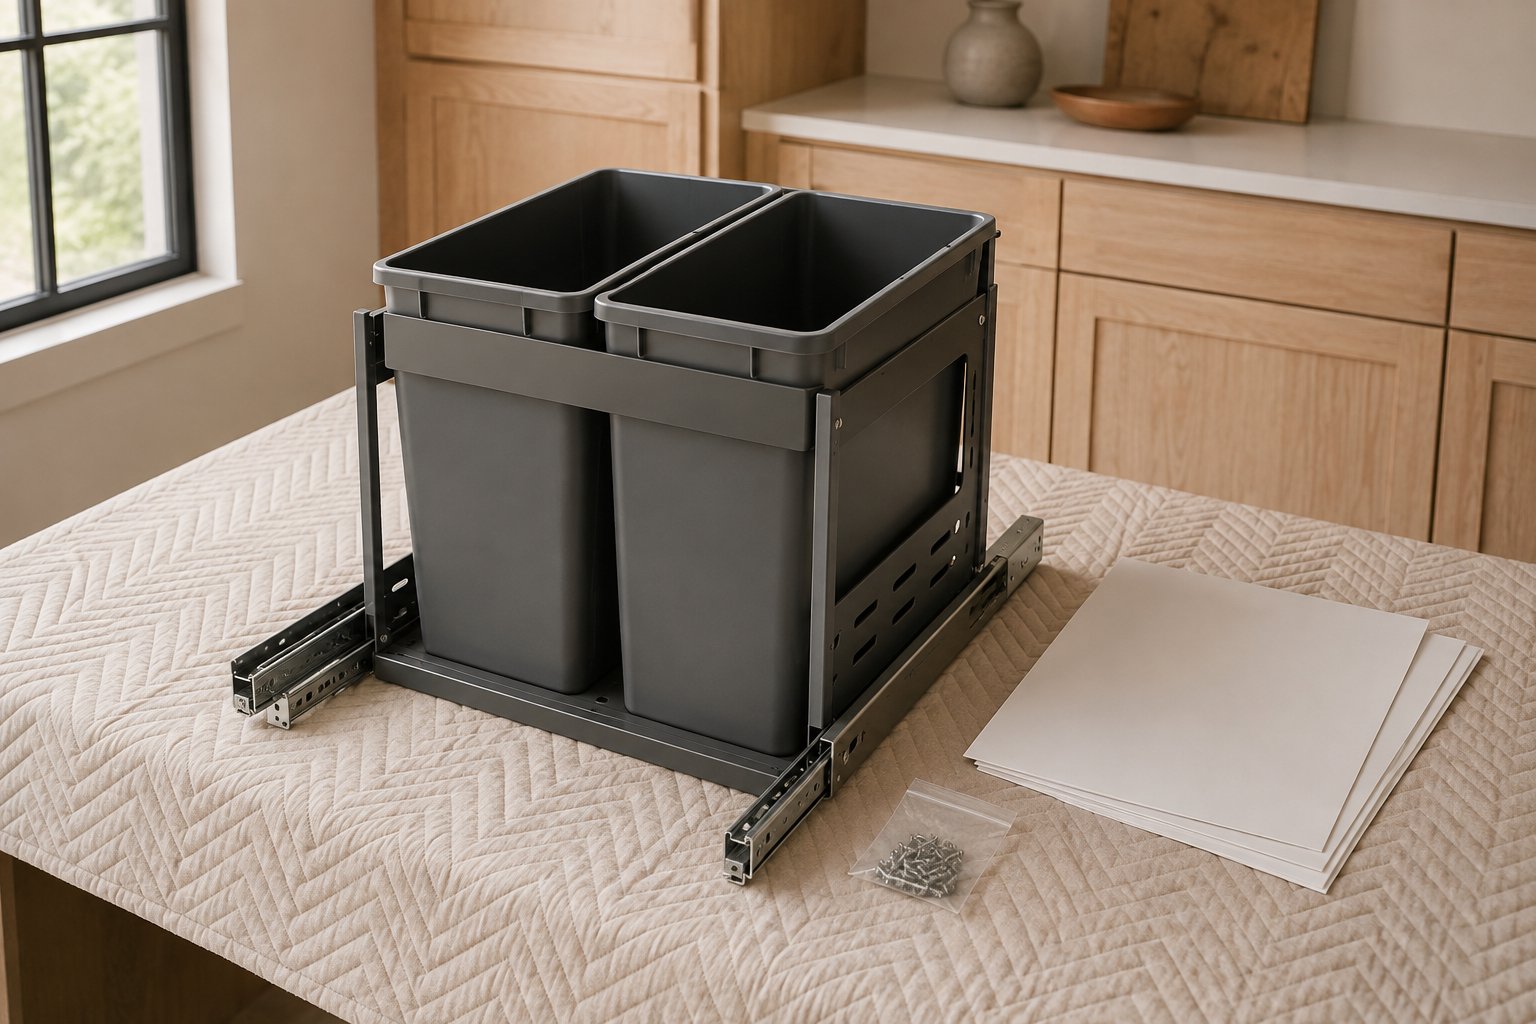
Collect the current pullout, bin, slide, mounting, door-attachment, and cabinet requirements before assigning the box. The nominal cabinet width does not describe the clear interior after face frames, hinges, door thickness, hardware, and fastening space. A common mistake is choosing the bins from an online photograph and asking the installer to find hardware later. Another is assuming any replacement bin will fit the frame. Keep the exact system with the cabinet order, and have the cabinet provider confirm clear opening, interior depth, load, mounting, door style, pull location, and serviceability. The image is a planning arrangement, not a dimensional specification.
4. Test full extension, lid movement, and liner removal
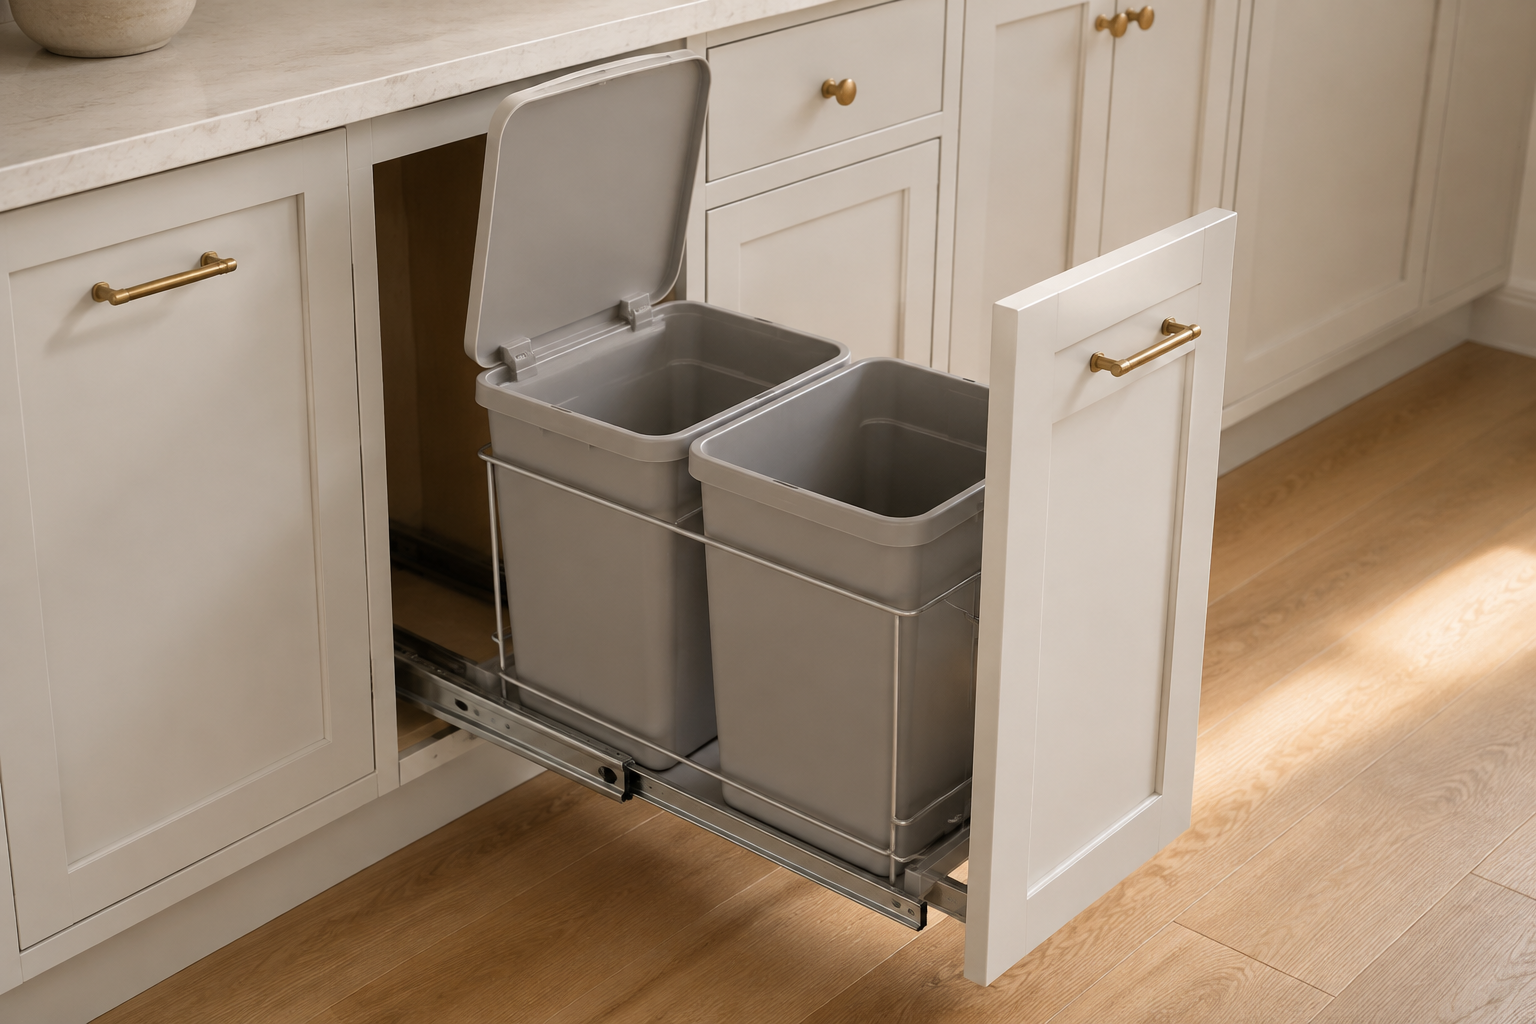
Pull the system to its complete operating position and check whether every bin can lift out, a lid can open, a liner can wrap over the rim, and a full bag can clear the counter edge and door hardware. A familiar mistake is testing the empty slide only halfway and discovering later that the rear bin is difficult to reach. Another is adding a countertop overhang or handle that narrows the lifting path. Mock up the bin height with a box and practice removing it from the proposed cabinet. Easy maintenance is part of function; if every bag change requires twisting or unloading another bin, revisit the system before ordering.
5. Give the door and pull a durable, comfortable job
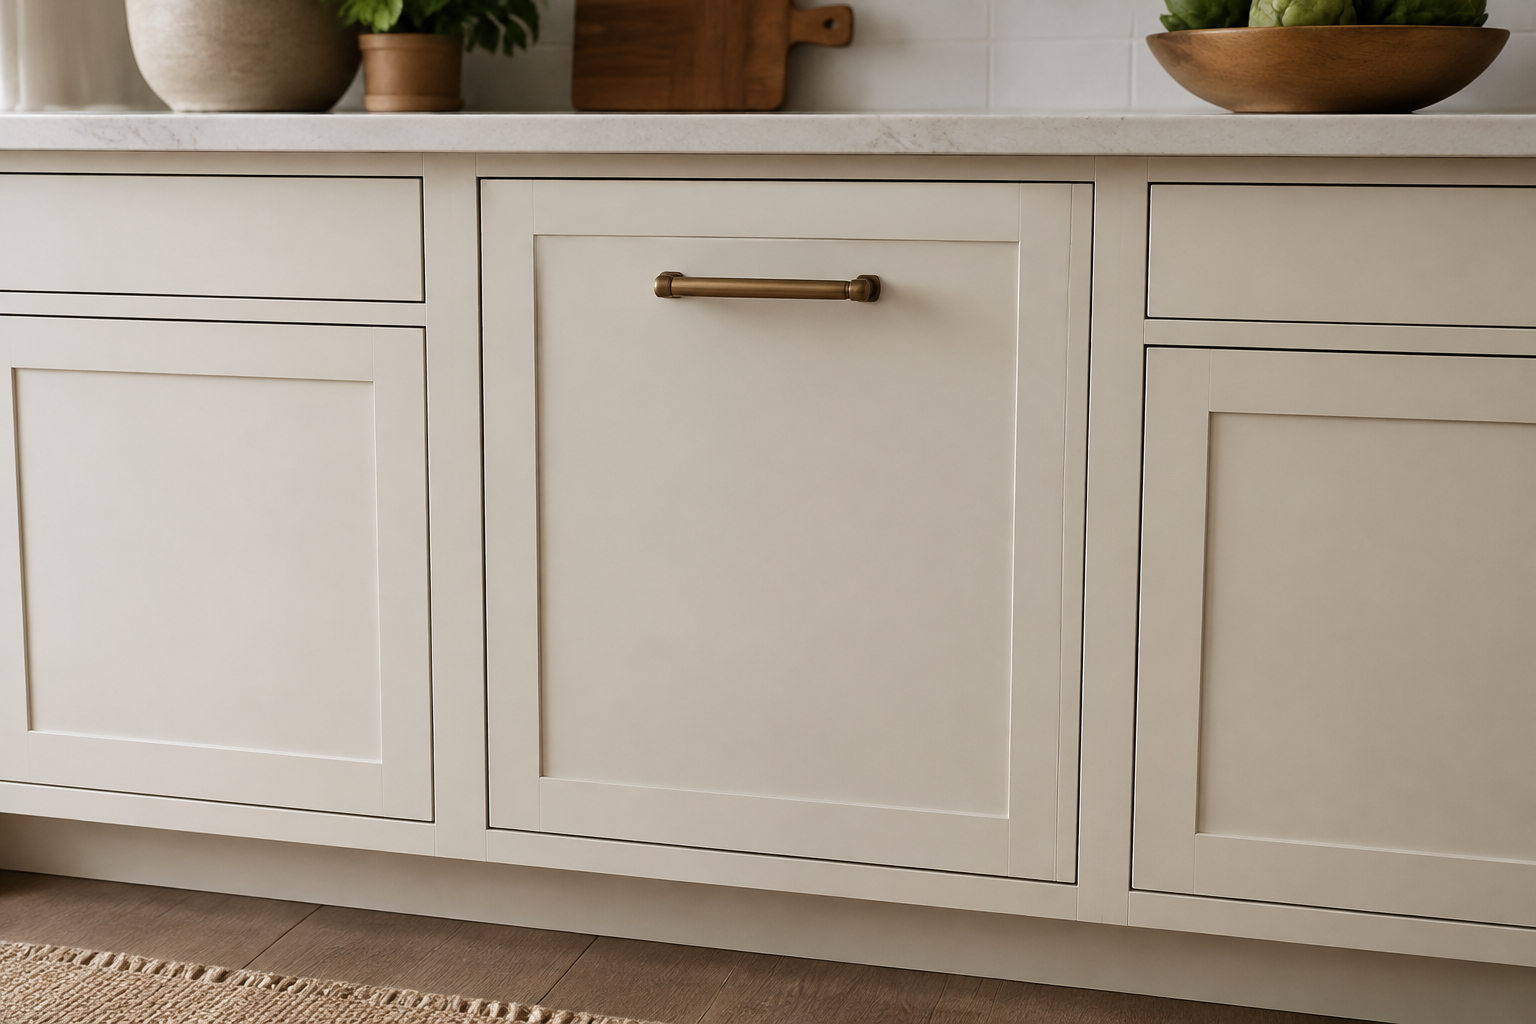
The cabinet front may be pulled many times a day, sometimes with wet hands or while carrying scraps. Review the door construction, attachment brackets, pull length and location, grip, neighboring hardware, and the force needed to move a loaded system. A common mistake is using a tiny knob because it matches the elevation even though the wide front wants a confident two- or four-finger grip. Another is drilling the pull where the attachment hardware needs to sit. Try the proposed handle on a sample front, then have the cabinet and hardware suppliers confirm the door, fasteners, slides, and load as one assembly.
6. Draw the open pullout into the aisle
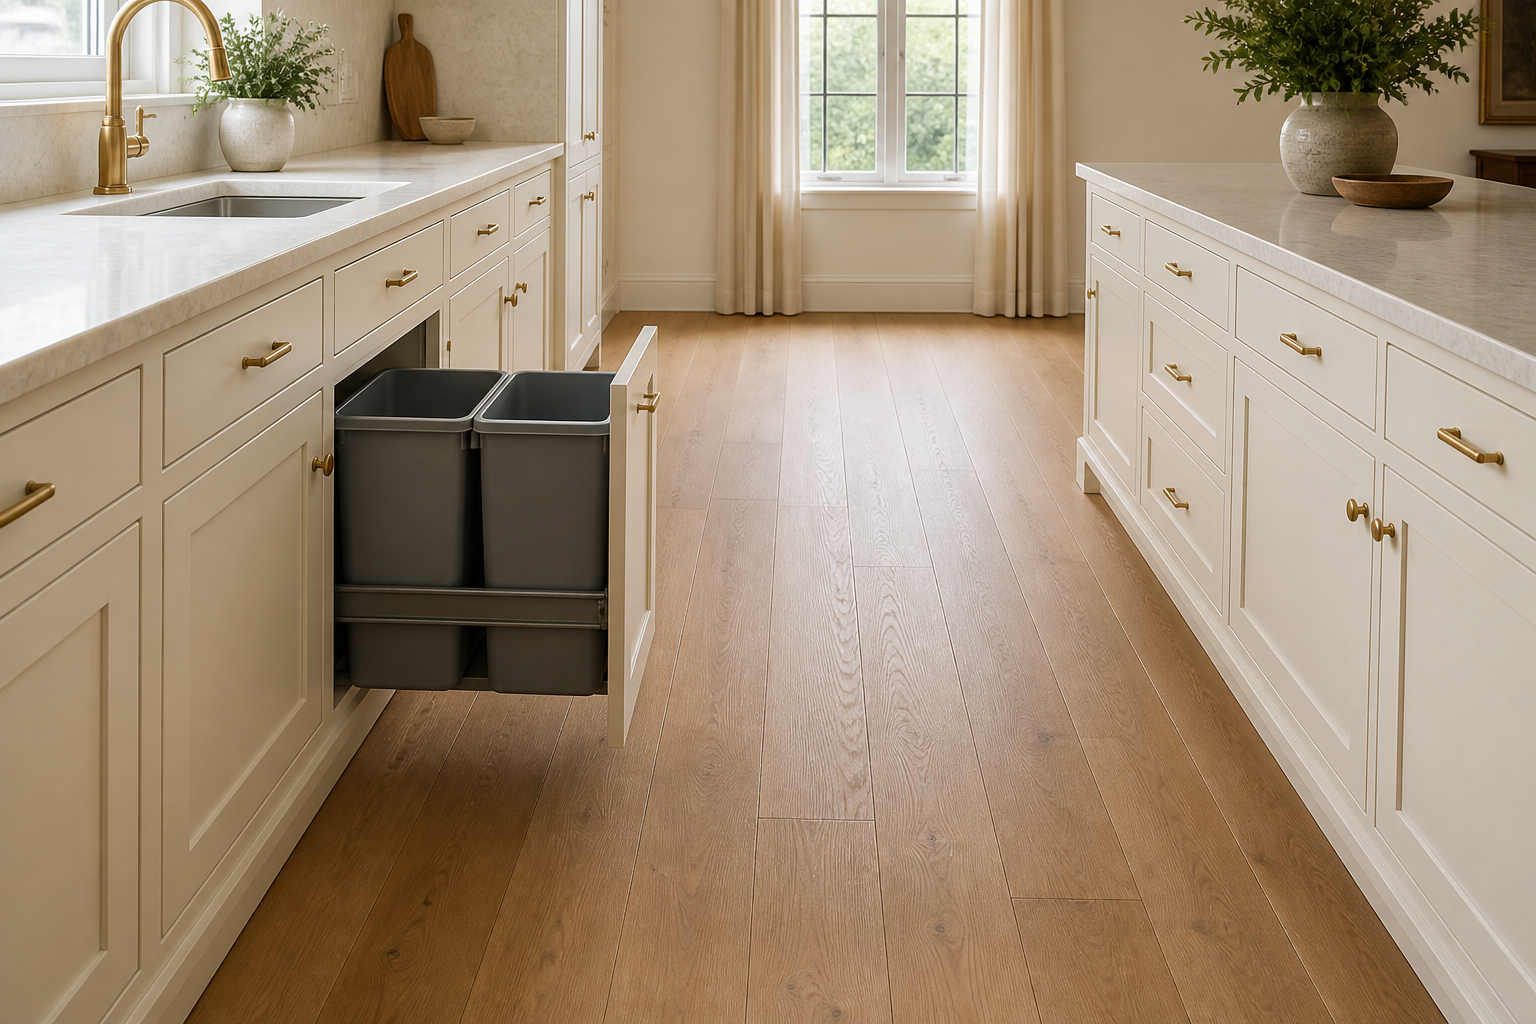
Add the full cabinet-front and bin projection to the floor plan, then add the person standing behind it. Check the island, table, doorway, and busiest passage. The common mistake is measuring the closed aisle and forgetting that the waste cabinet often stays open through several preparation steps. Another is placing it directly opposite the refrigerator or oven so two routine actions cannot happen together. Painter's tape and a cardboard front are enough for a useful first test. Preserve a clear route around the open pullout where the room allows, and let the responsible designer or professional verify the final circulation and accessibility requirements.
7. Keep cleanup equipment from competing for one spot
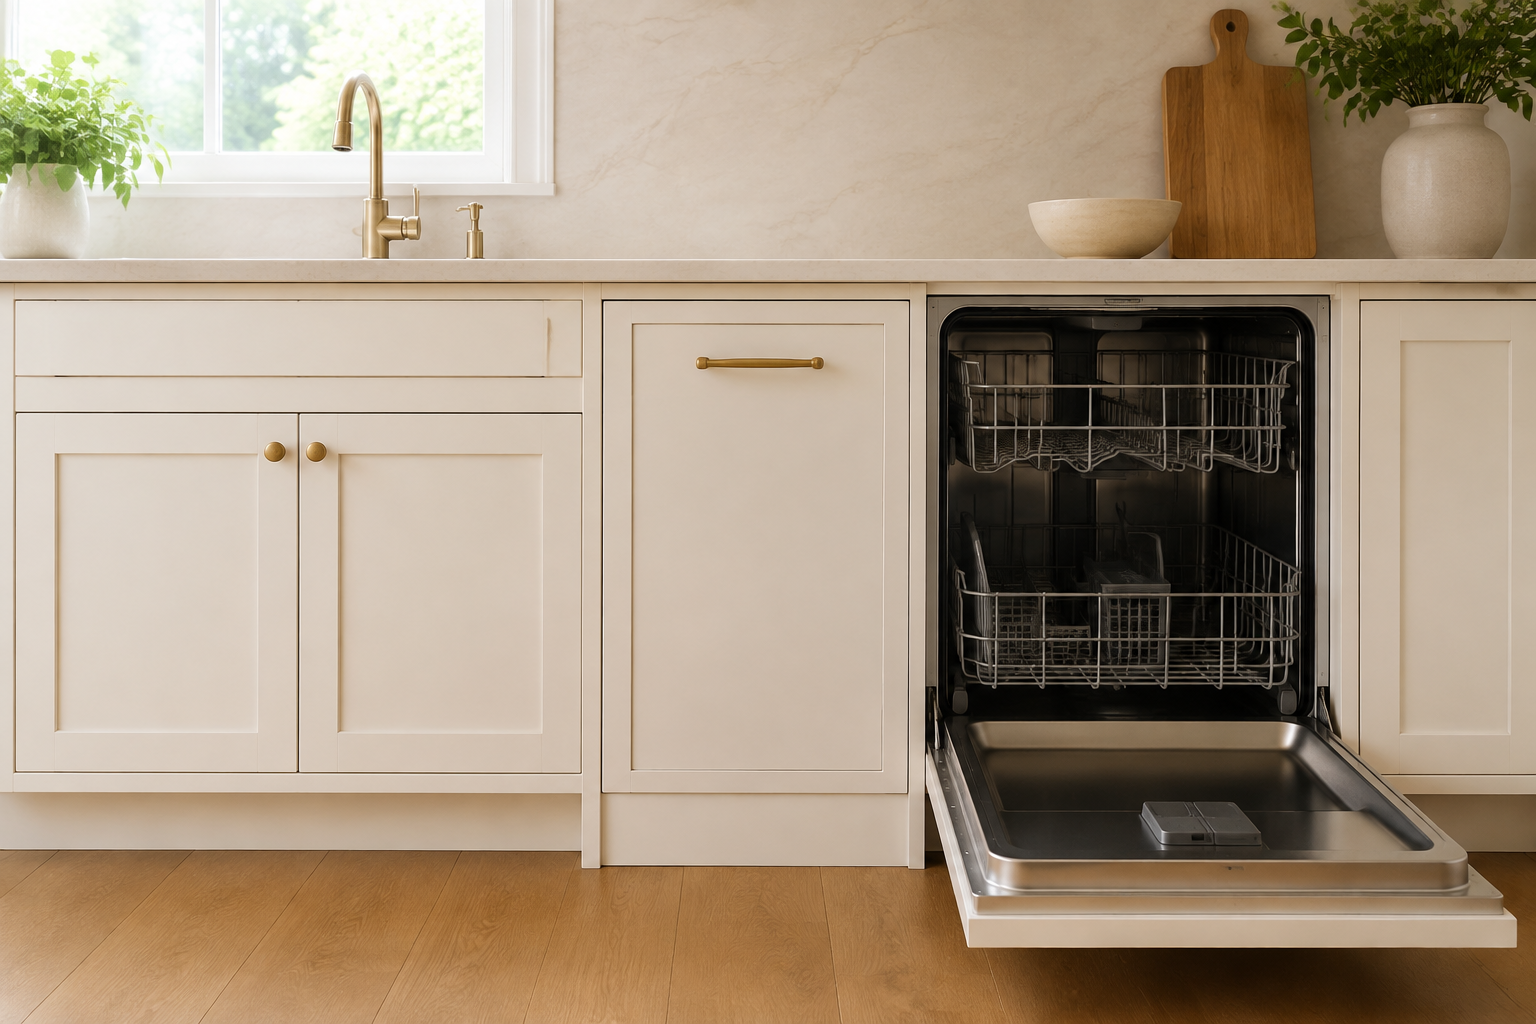
The sink, dishwasher, waste pullout, dish storage, and table route form one cleanup system. Open the dishwasher door and racks, then test whether someone can still scrape a plate, reach the sink, and move clean dishes without standing on the waste cabinet's path. A common mistake is putting the pullout immediately beside the dishwasher because both belong to cleanup, while their open fronts overlap. Another is burying it under the sink where plumbing, filters, and repairs already need the space. Compare the sequence, not just the proximity. A small shift to the other side of the sink may make the whole routine calmer.
8. Plan for spills, crumbs, and ordinary cleaning
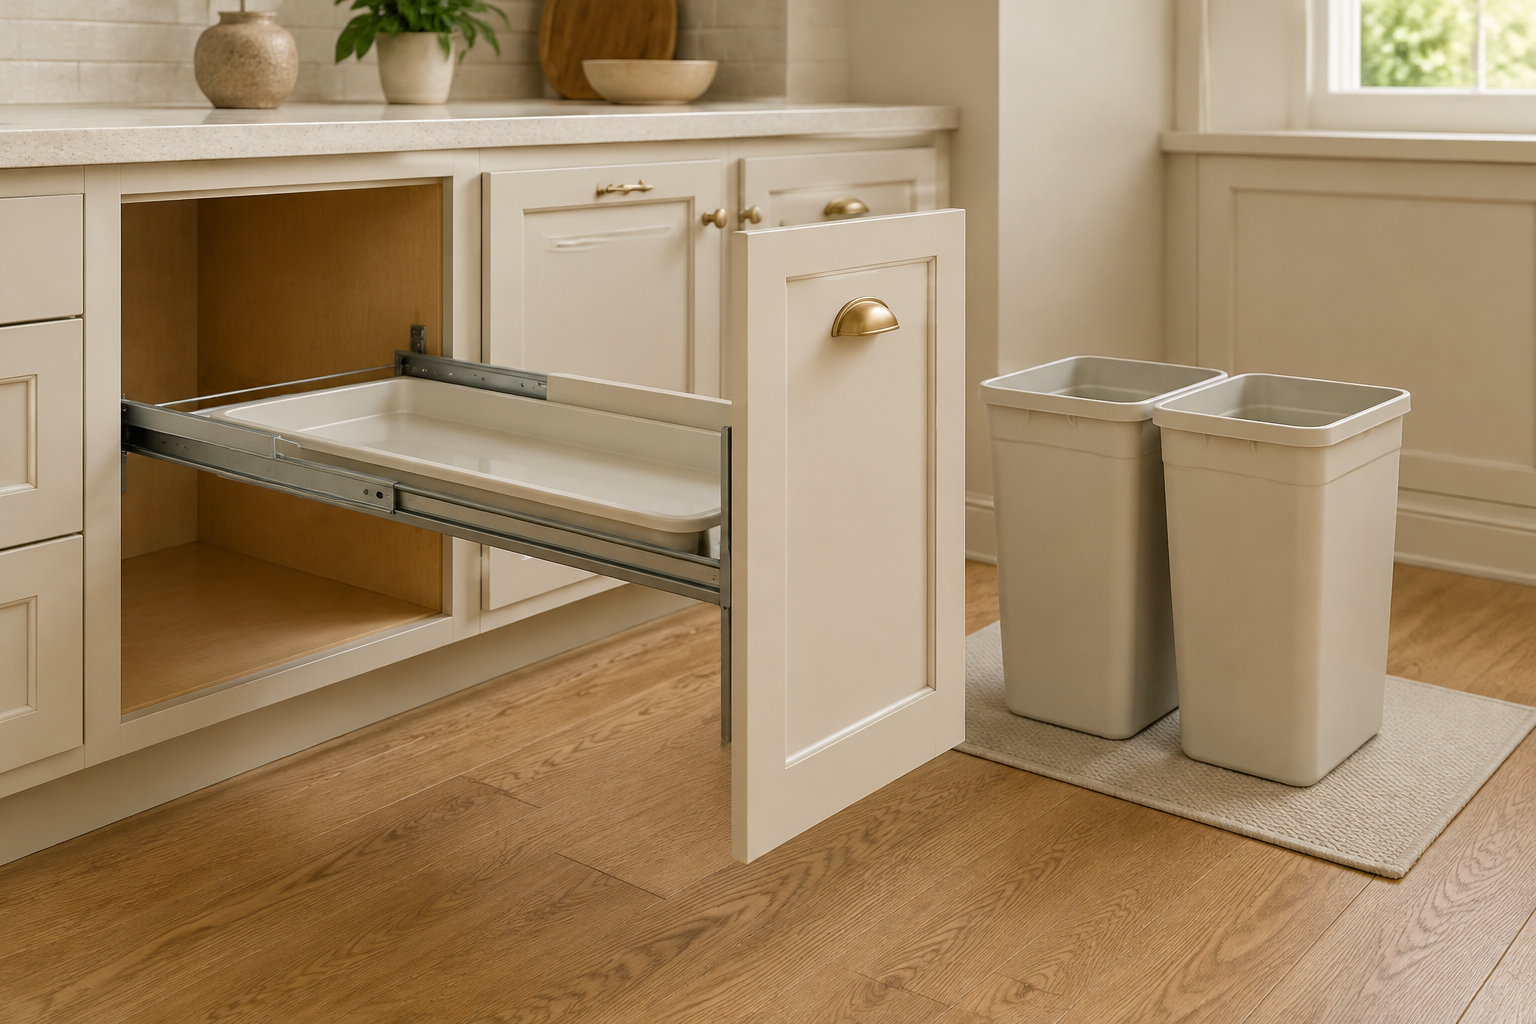
Look at every surface that catches drips, torn liners, crumbs, and dust: bin rims, lid, frame, slide channels, door back, cabinet floor, and the gap beside the front. Confirm that containers can be removed and the cabinet can be wiped without dismantling the mechanism. The common mistake is choosing an elaborate enclosure whose hidden corners cannot be reached. Another is storing cleaners where they leak into the waste system or block fasteners. Follow local and product guidance for sanitation and storage. A simple removable tray and clear access may provide more everyday value than a complicated feature that looks tidy only when new.
9. Make compost and odor control easy to maintain
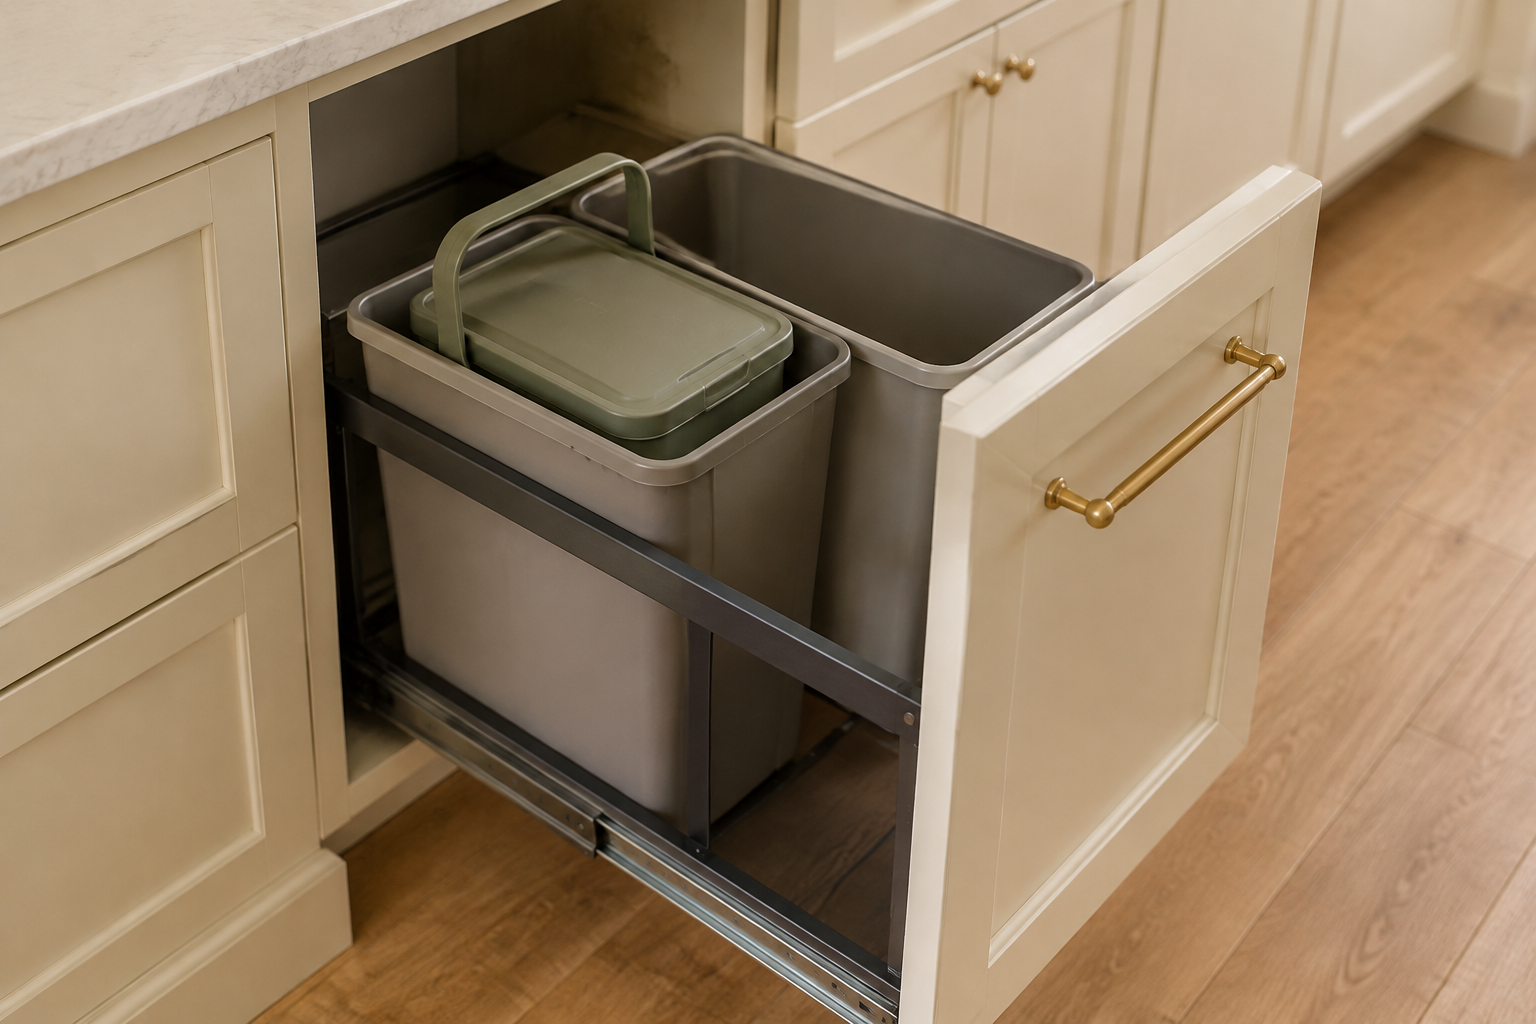
If compost or food waste is included, decide how often it leaves the kitchen, whether a fitted lid is appropriate, where replacement liners live, and how the container reaches the outdoor destination. A common mistake is making the compost bin too large for the household's removal schedule and then treating odor as a cabinet defect. Another is hiding a small container behind the larger rear bin so it is annoying to empty. Choose a container and routine that are easy enough to use every day, follow local collection and sanitation guidance, and preserve airflow or closure only as the selected system and responsible provider direct.
10. Confirm the loaded cabinet before release
Combine the container inventory, exact hardware system, cabinet construction, door attachment, pulls, clear opening, full projection, aisle, nearby appliances, cleaning access, floor protection, and replacement parts in one approval set. Mark who supplies the bins and frame, who builds and drills the cabinet, who installs and adjusts the slides, and who confirms capacity. The final common mistake is approving an empty cabinet elevation while the loaded moving assembly exists only in a separate product listing. You are not expected to engineer the system yourself. Ask the cabinet provider to show that the selected parts, cabinet, front, and everyday load were reviewed together.
Connect waste storage to preparation and cleanup
A good pullout supports the real containers, the preparation counter, the sink and dishwasher route, clear movement, and simple cleaning. These guides help connect the surrounding decisions.
Plan the Sink Cabinet Compare Drawers and DoorsTest the pullout in the room before assigning the cabinet
Use StilePath to place the preparation counter, waste pullout, sink, dishwasher, storage, island, and household routes together. Start free, label the intended containers and open positions, and bring the plan into cabinet and installation review.
Start Planning Free