
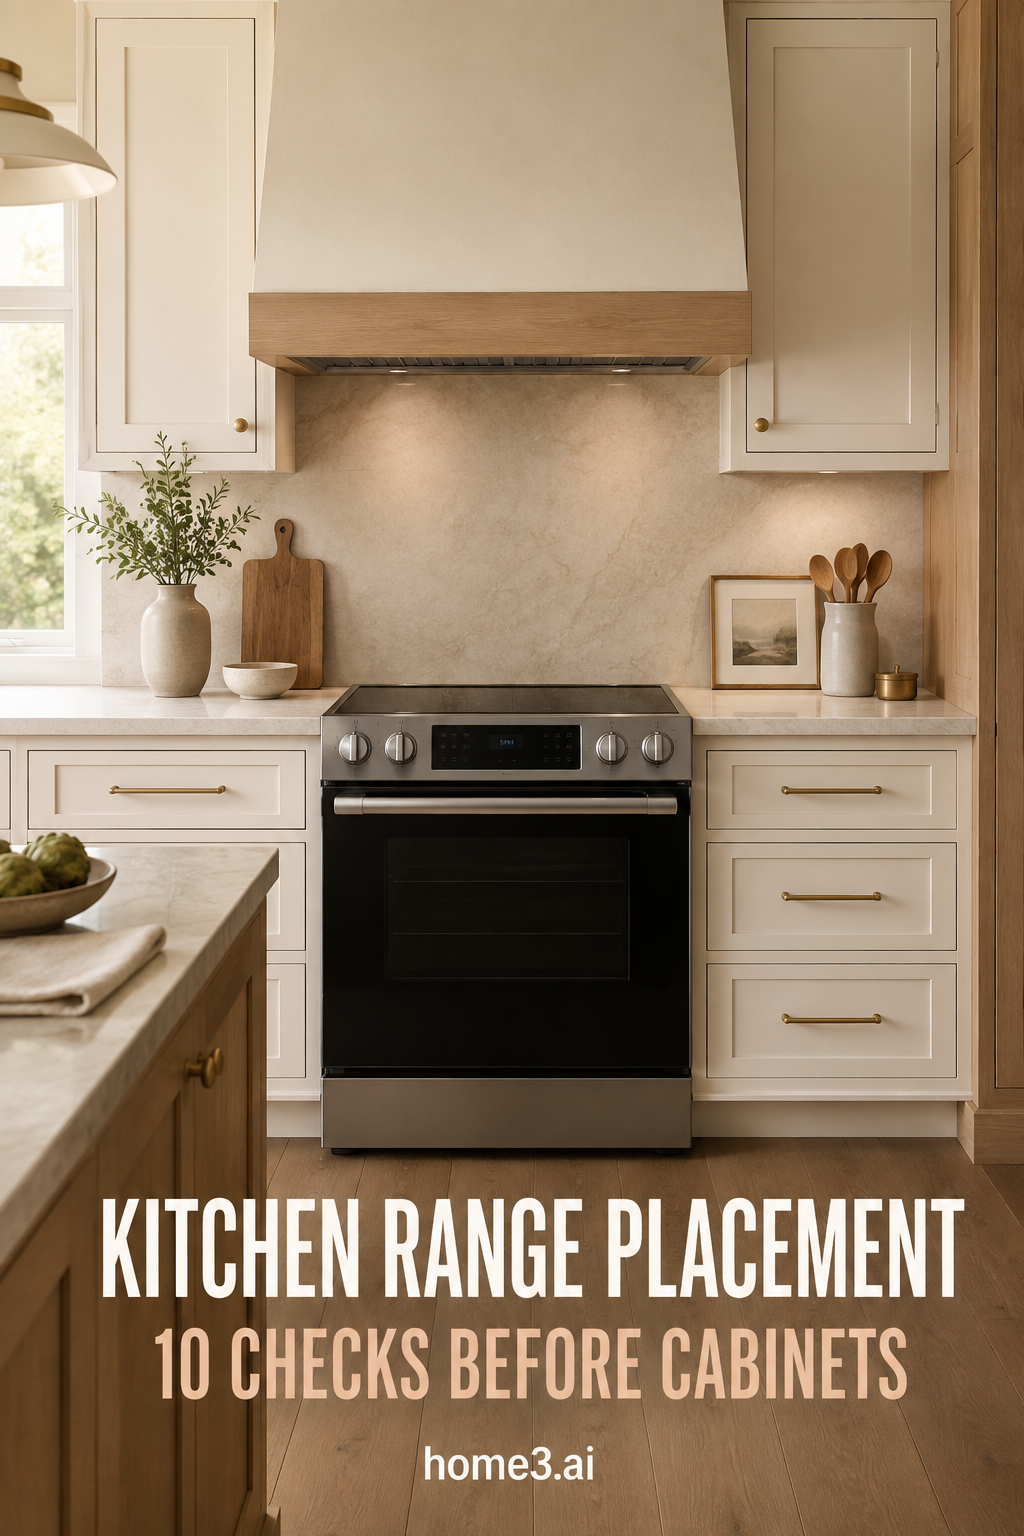
Give the range a safe, useful place in the whole kitchen
A kitchen range may look like one familiar rectangle, but its body, door, controls, heat, utility connection, ventilation, landing space, and neighboring cabinets all affect the plan. You can begin with the exact appliance information, a tape measure, pencil, paper, and painter's tape. Mark the opening, lower an imaginary pan, open a cardboard oven door, and walk the busiest routes. These ten checks will help you catch ordinary mistakes while cabinets and counters can still move. Final clearances, utilities, anti-tip protection, ventilation, materials, installation, accessibility, field conditions, and code compliance still require the current manufacturer instructions and the responsible appliance provider, cabinet supplier, trades, installer, contractor, and project professionals.
1. Choose the exact current range before drawing the gap
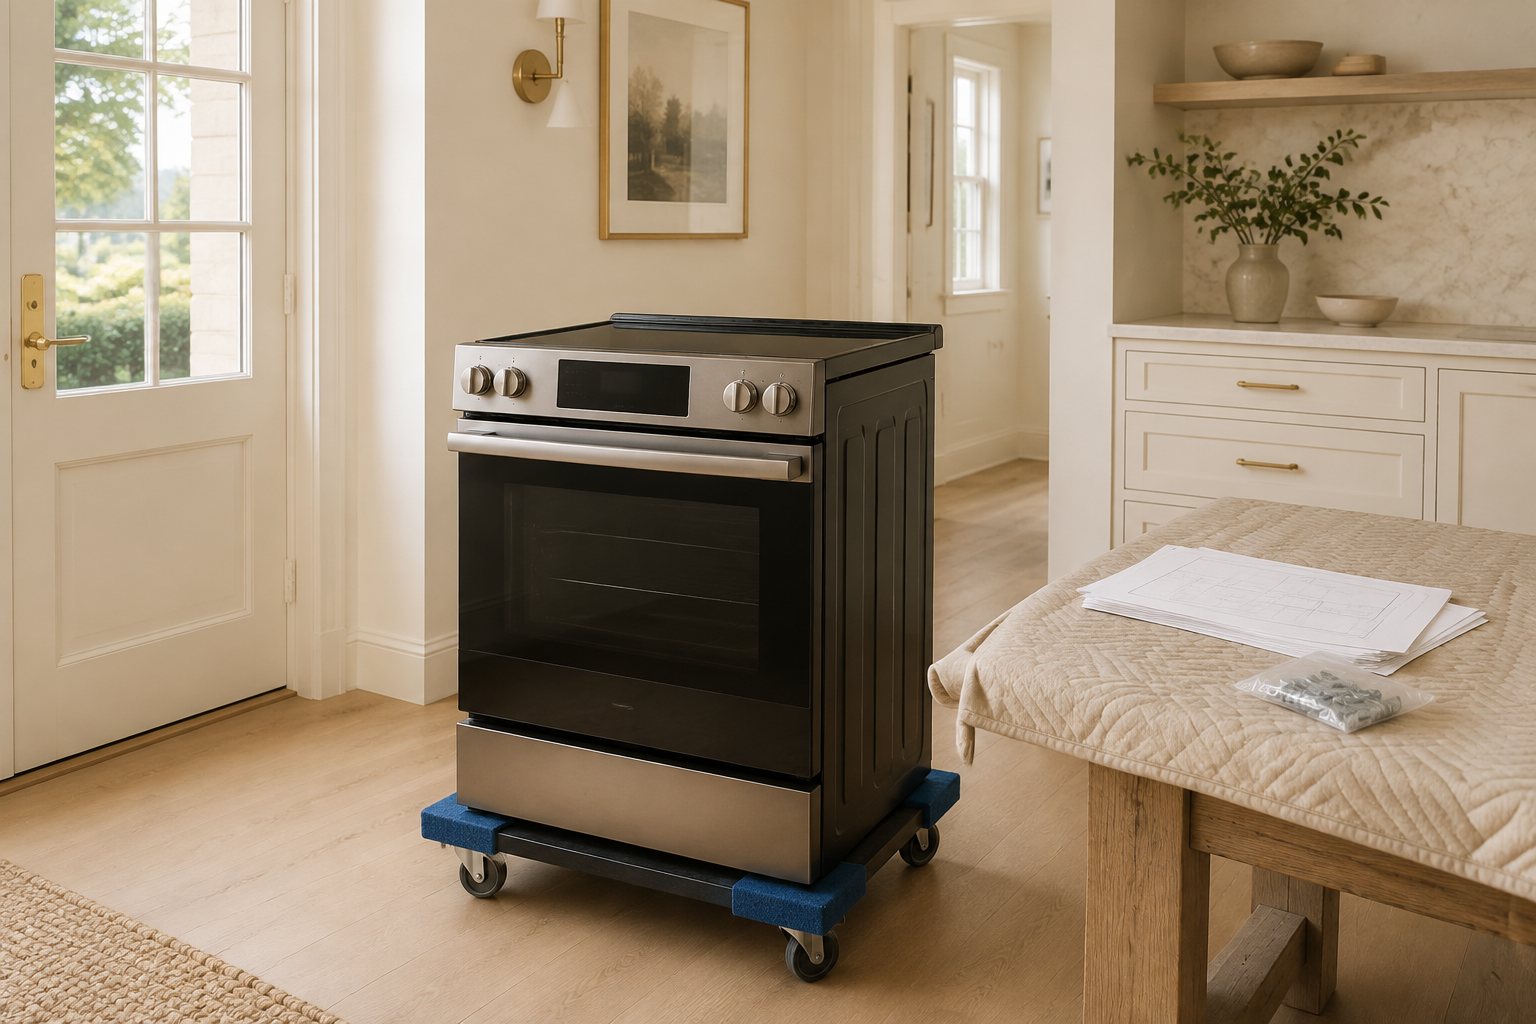
Start with the current model and installation document rather than a nominal width or the appliance being removed. Freestanding, front-control, slide-in, induction, radiant-electric, gas, dual-fuel, and professional-style ranges can differ in body depth, side treatment, controls, backguard, handle projection, ventilation, electrical or fuel needs, anti-tip method, and approved surroundings. A common mistake is leaving a generic opening and choosing the appliance after cabinet fabrication. Another is switching product types without reopening the utility and ventilation plan. Keep the model and revision date in the private project file, and ask every responsible provider to confirm that the same exact product is being reviewed.
2. Reconcile the finished opening with both cabinet runs
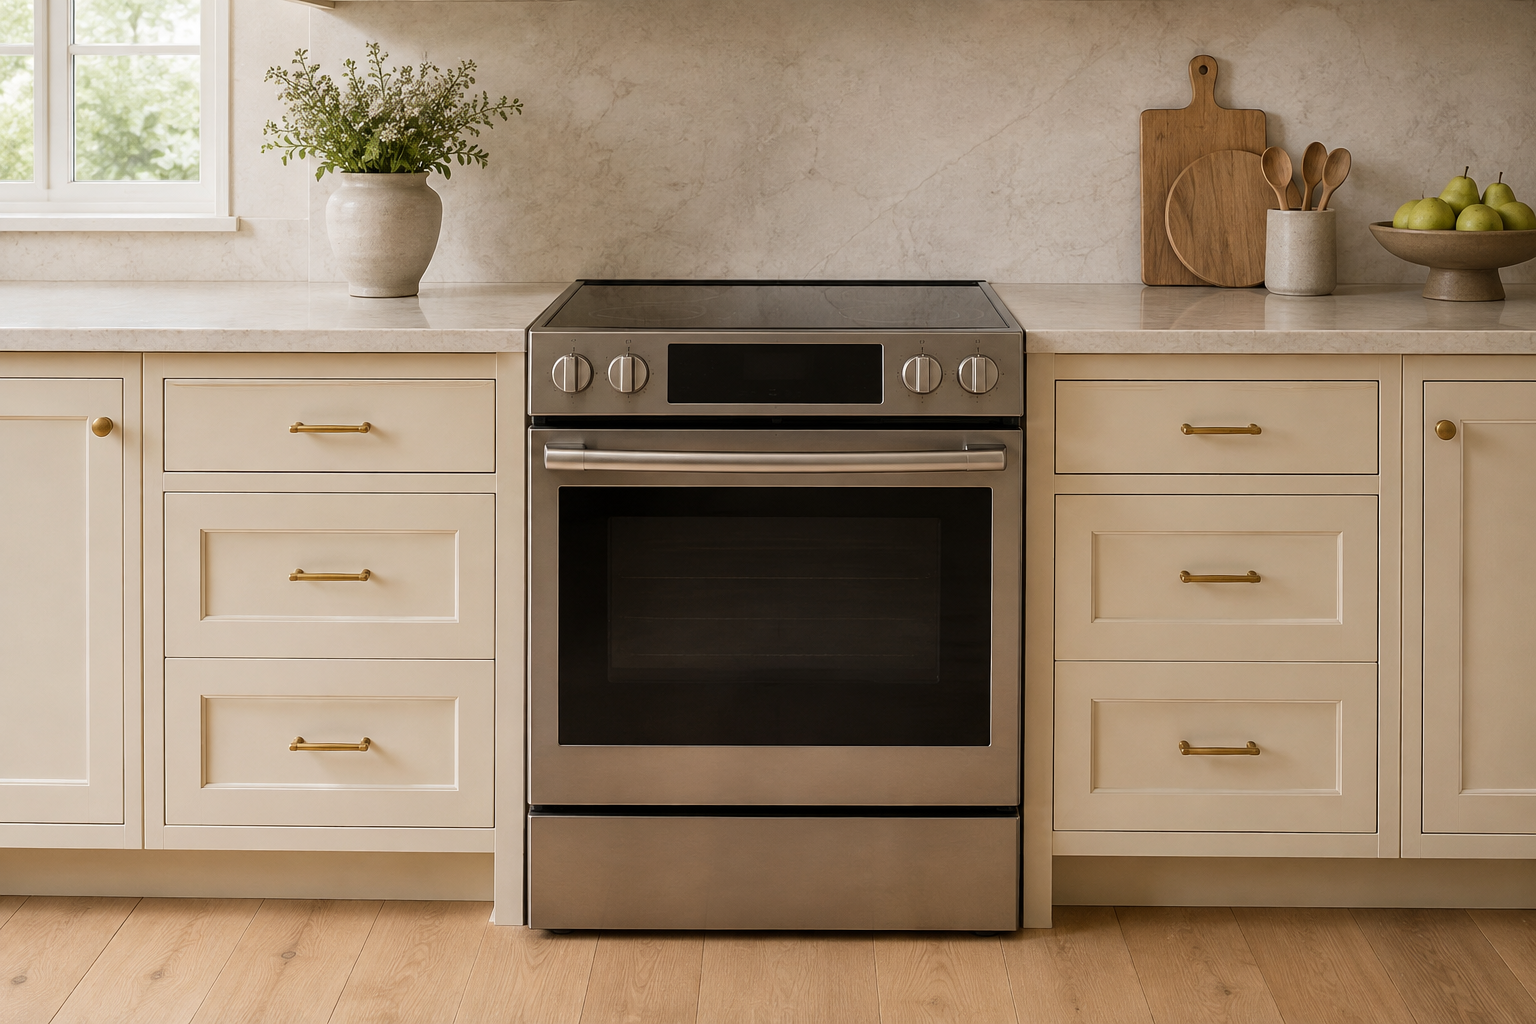
Draw the finished cabinet faces, countertop edges, wall, floor, range body, and required spaces in plan and elevation. Check whether the range face aligns with nearby doors and whether the oven handle projects beyond them. The common mistake is measuring between unfinished cabinet boxes while overlooking applied panels, countertop build-up, wall irregularity, or the appliance's true widest point. An opening can also be too generous, leaving a dirt-catching gap that trim cannot responsibly hide. Do not invent the final dimension from this guide. Make the relationship visible, then let the appliance instructions, cabinet supplier, countertop fabricator, installer, and field measurements establish the actual finished opening.
3. Open the oven door and protect the working aisle
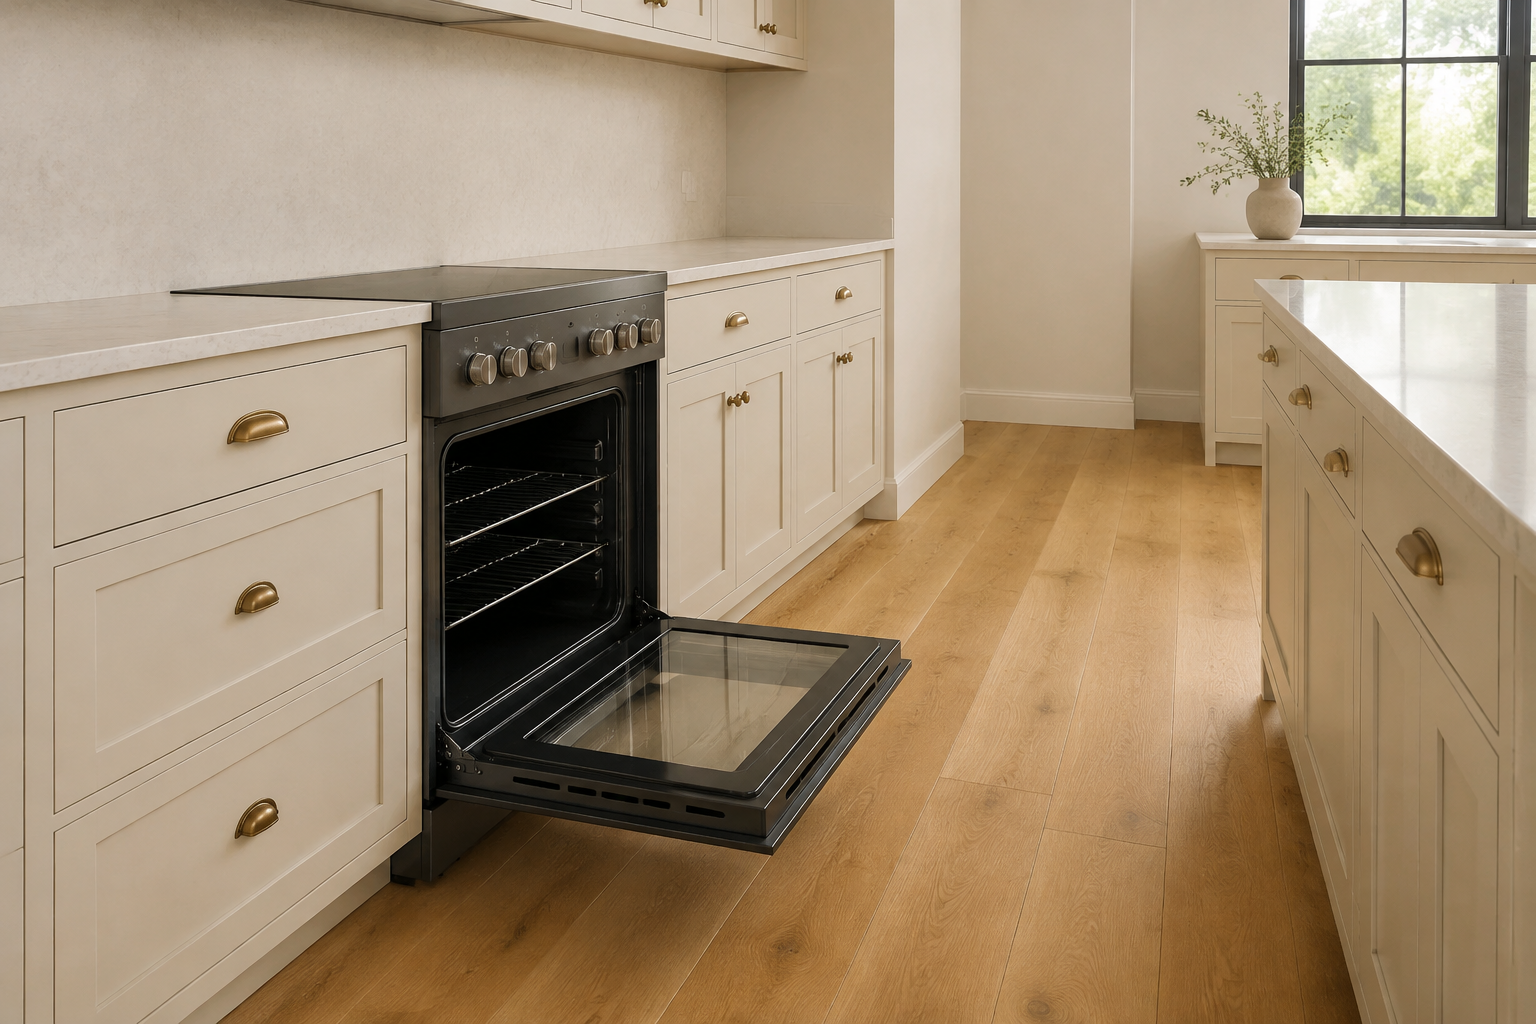
Tape the full oven-door projection on the floor and add the person bending, turning, or lifting a roasting pan. Then open the island drawer, refrigerator, dishwasher, and passage doors most likely to compete with that space. A frequent mistake is approving the closed appliance face and treating the remaining aisle as permanently available. Another is putting the oven opposite the busiest storage so every dinner creates a negotiation. Use a cardboard panel to rehearse the door if the drawing feels abstract. You are not setting a code clearance; you are proving that the planned sequence can be reviewed with the real appliance and responsible professionals.
4. Give hot cookware an immediate landing place
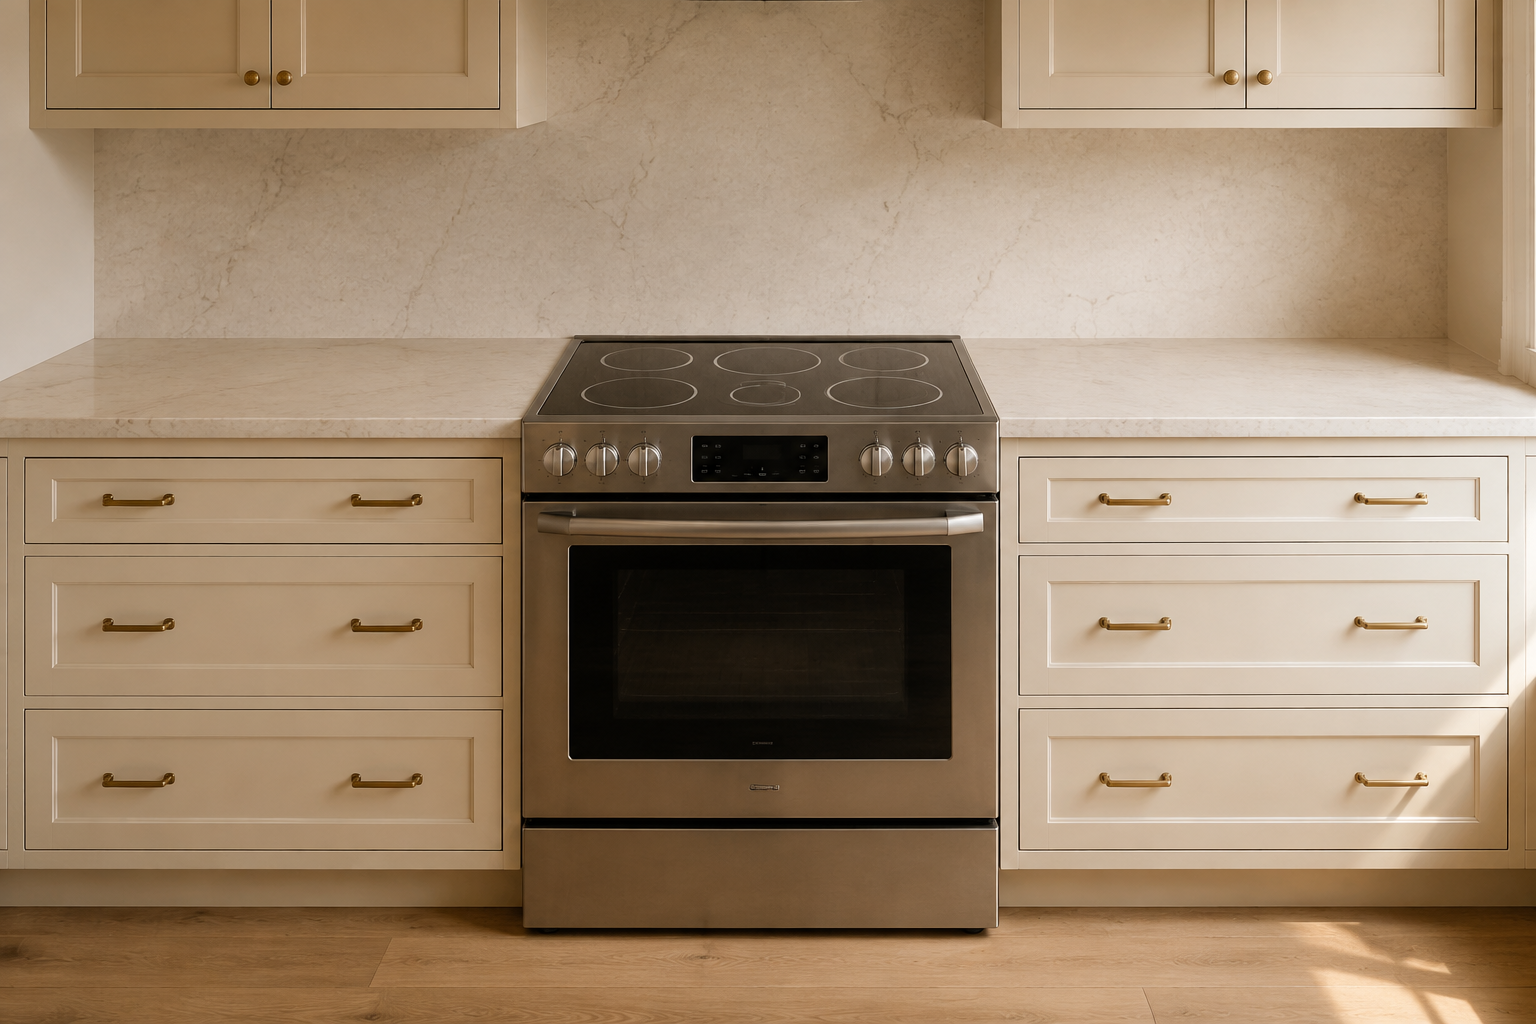
Identify where a hot sheet pan, heavy pot, spoon, oil bottle, and ingredients can land without crossing traffic or balancing on a decorative edge. Counter on both sides can support cooking, but only the clear usable portions count. The familiar mistake is calling a narrow filler, occupied appliance parking, or counter around a corner a landing surface. Another is centering the range for symmetry and leaving one side too short for the household's real routine. Put a tray on your current counter, act out removing it from the oven, and use that experience to protect a dependable surface in the new plan.
5. Reserve one approved utility connection zone
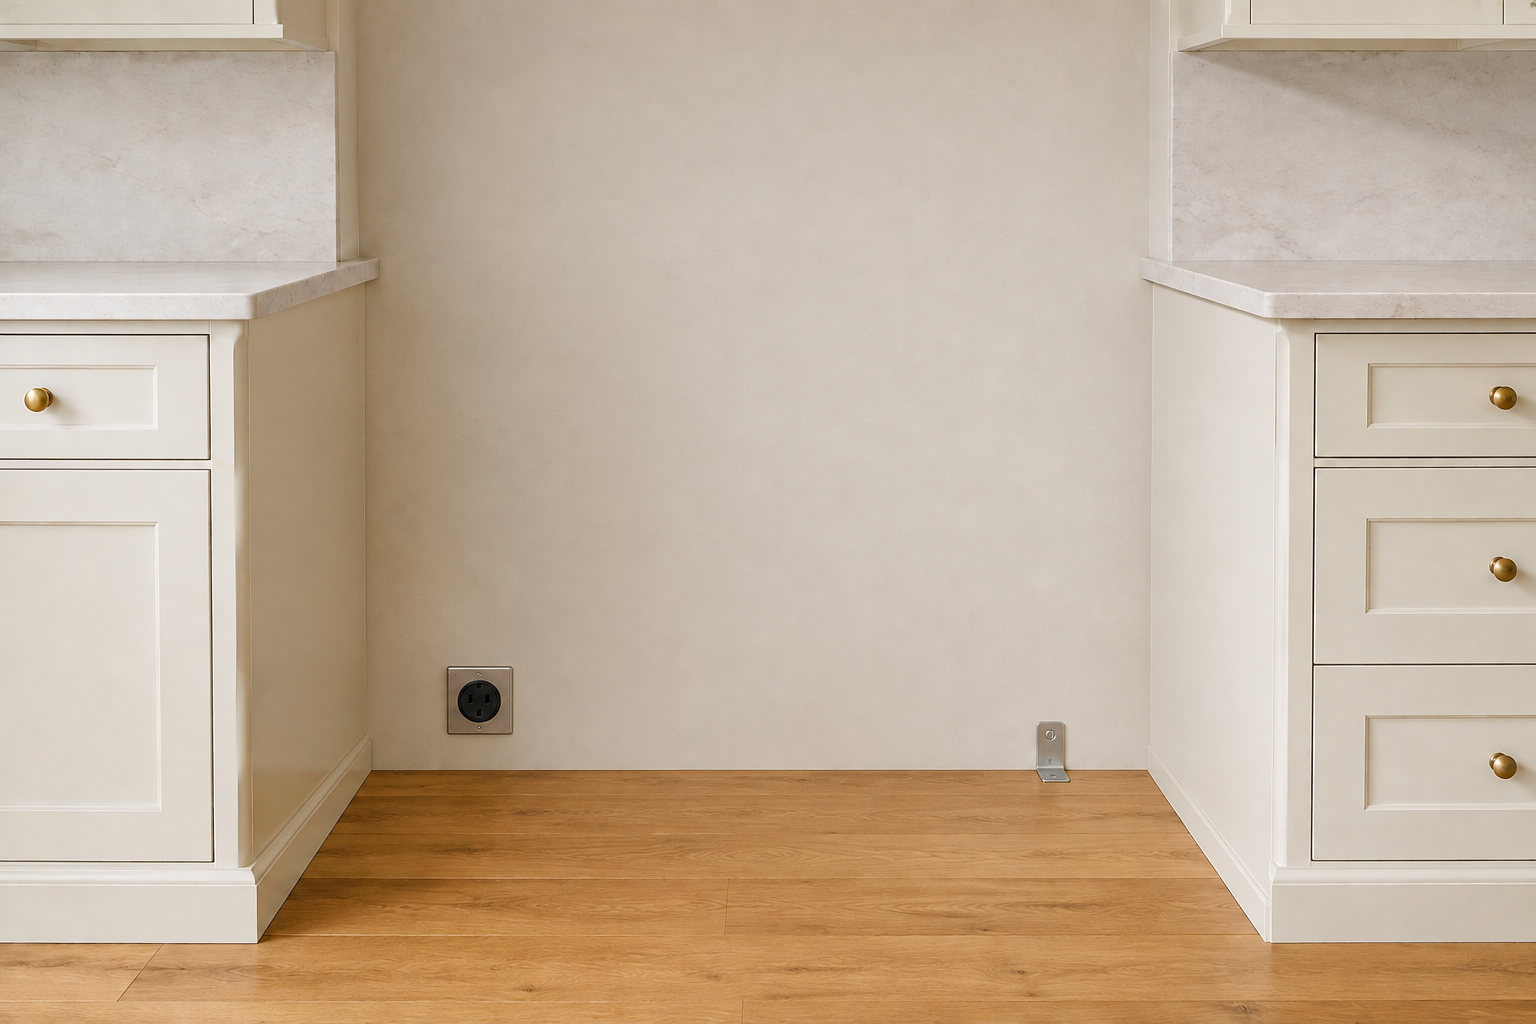
Show the product-approved power or fuel connection area, shutoff and access where applicable, cord or connector path, anti-tip location, and the appliance body that must slide into the same volume. A common mistake is centering a receptacle or valve where the range cannot sit against the wall. Another is hiding the connection so future service requires cabinet damage. This image illustrates an electrical condition only; it is not a universal detail. A licensed electrician or fuel professional, appliance provider, installer, contractor, and authority must determine the real service. Your plan should reserve the question, prevent cabinet conflicts, and keep access visible.
6. Coordinate the range and hood as one assembly
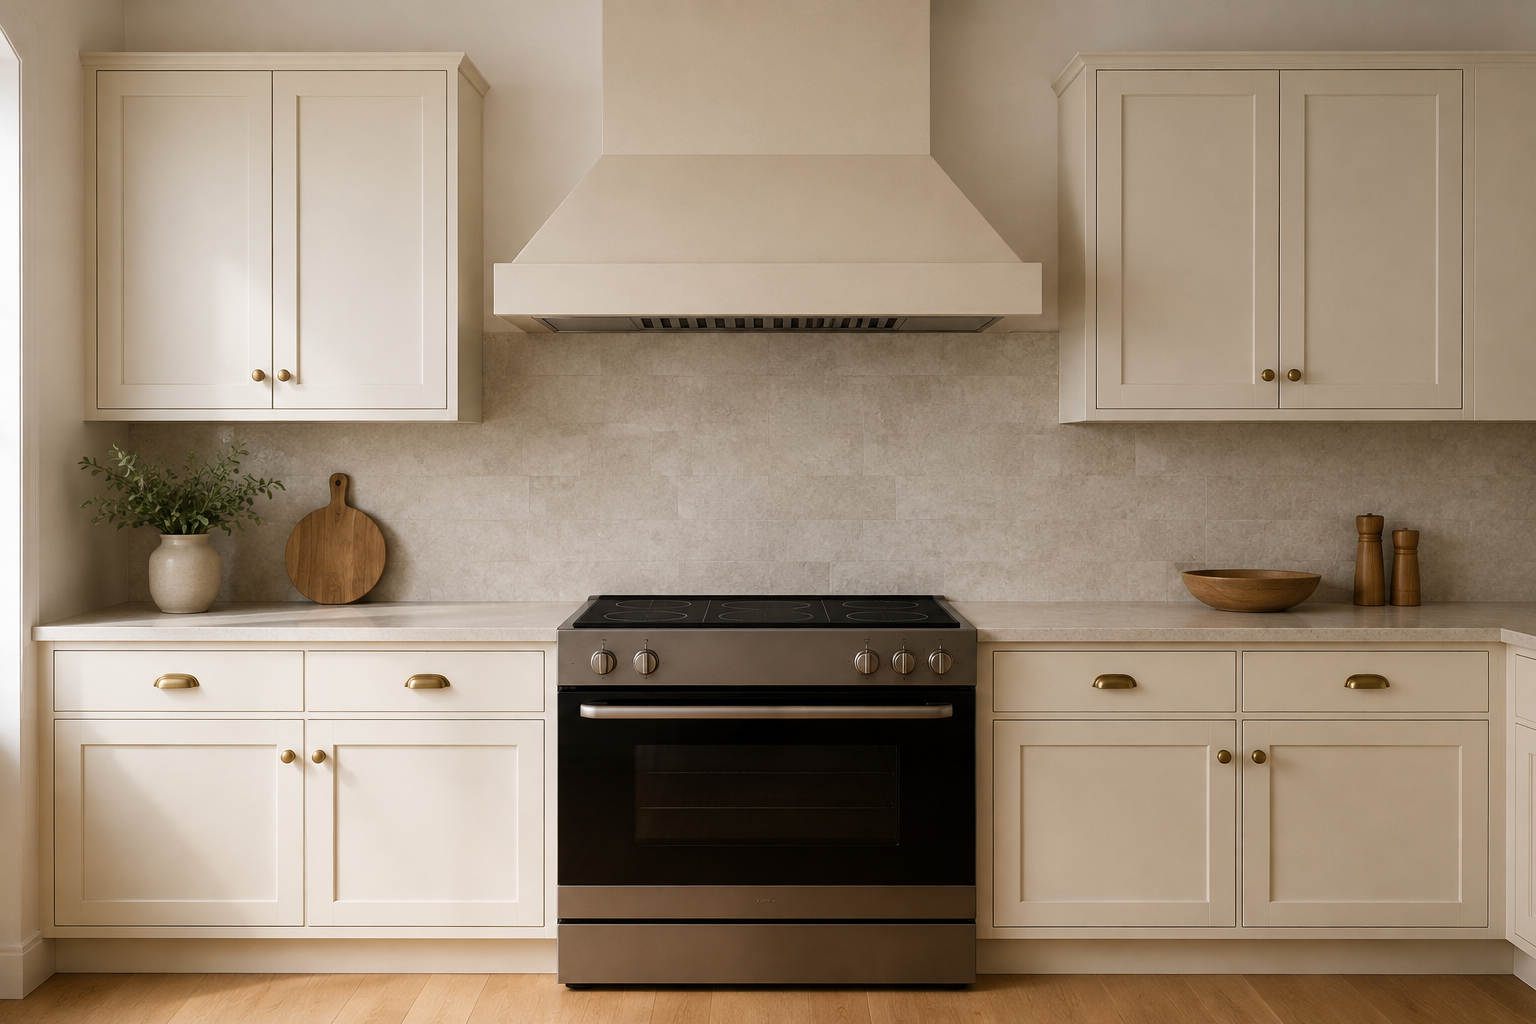
Place the actual range beneath the selected hood, then draw the capture area, mounting, duct route, exterior termination, cabinet shell, lighting, controls, cleaning access, and replacement-air question where applicable. The common mistake is treating the hood as an upper-cabinet decoration chosen after the range wall is fixed. Another is assuming a visually wide canopy proves performance without checking the current product and project conditions. Do not size ventilation from a generic photograph. Let the appliance and hood manufacturers, responsible designer, ventilation professional, trades, installer, contractor, and authority establish the system, while your cabinet plan keeps the full assembly centered and serviceable.
7. Resolve the wall, backguard, controls, and nearby materials
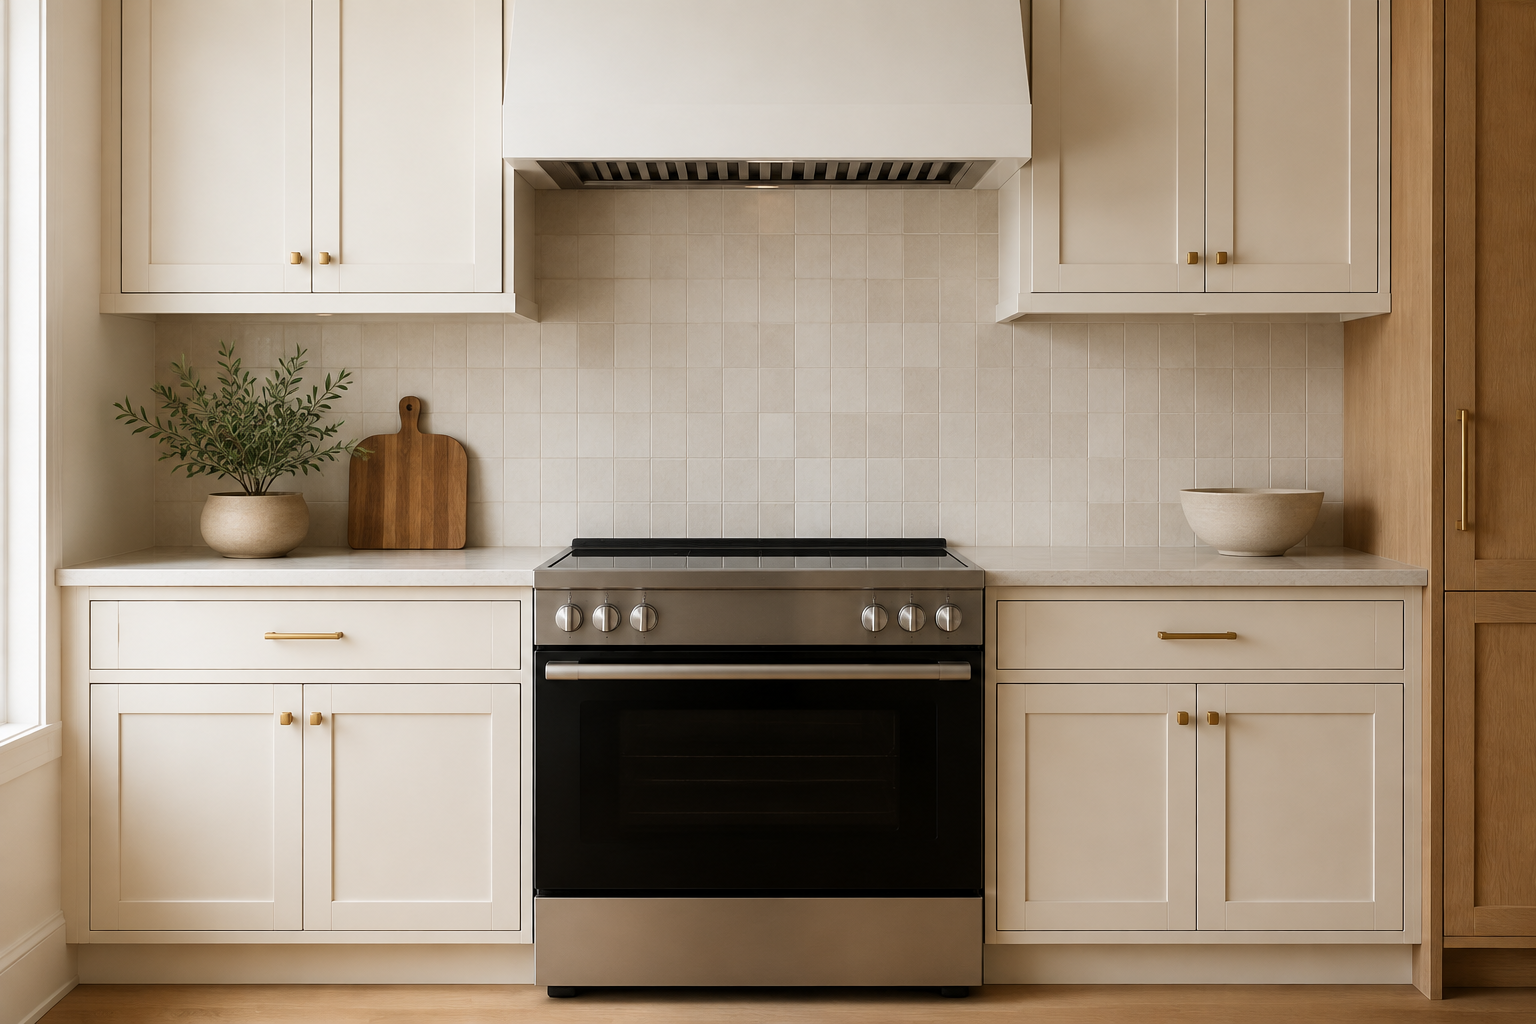
Review the range back, backguard if present, wall finish, countertop returns, control location, outlet or connection, hood, and any shelf or rail as one elevation. A material that looks suitable elsewhere may have restrictions beside heat, flame, steam, or a hot pan. A common mistake is adding a decorative shelf after the appliance plan and discovering it conflicts with approved clearances or hood capture. Another is hiding rear controls behind deep cookware. Use the product documents and material instructions, then have the responsible supplier, fabricator, trade, installer, designer, contractor, and authority confirm the finished surrounding conditions.
8. Test neighboring drawers, doors, and hardware
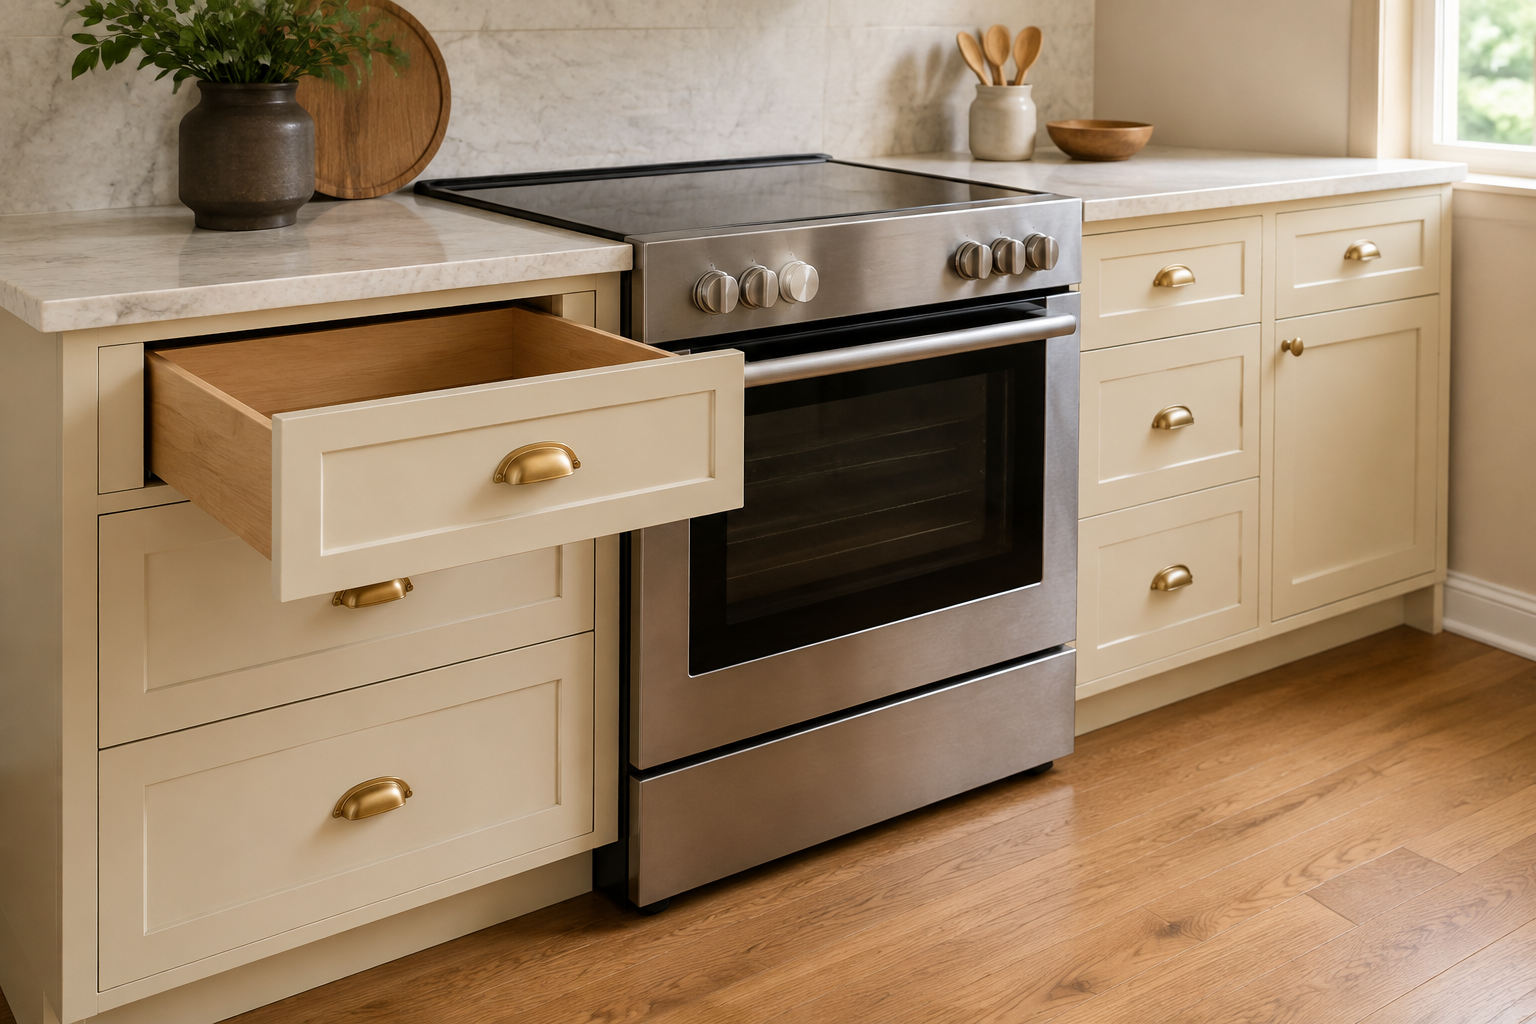
Open each drawer and door beside the range and include the pulls, knobs, countertop edge, oven handle, towel bars, and any corner turn. The ordinary mistake is seeing a clean closed elevation and missing that a wide drawer front strikes the range handle or a corner door cannot pass. Another is storing the heaviest cookware in a drawer that must stay closed whenever the oven is in use. Test likely combinations rather than opening everything theatrically at once. A filler or different cabinet width may solve the conflict, but it must be included before the cabinet and countertop dimensions are approved.
9. Plan the floor, delivery, and future replacement route
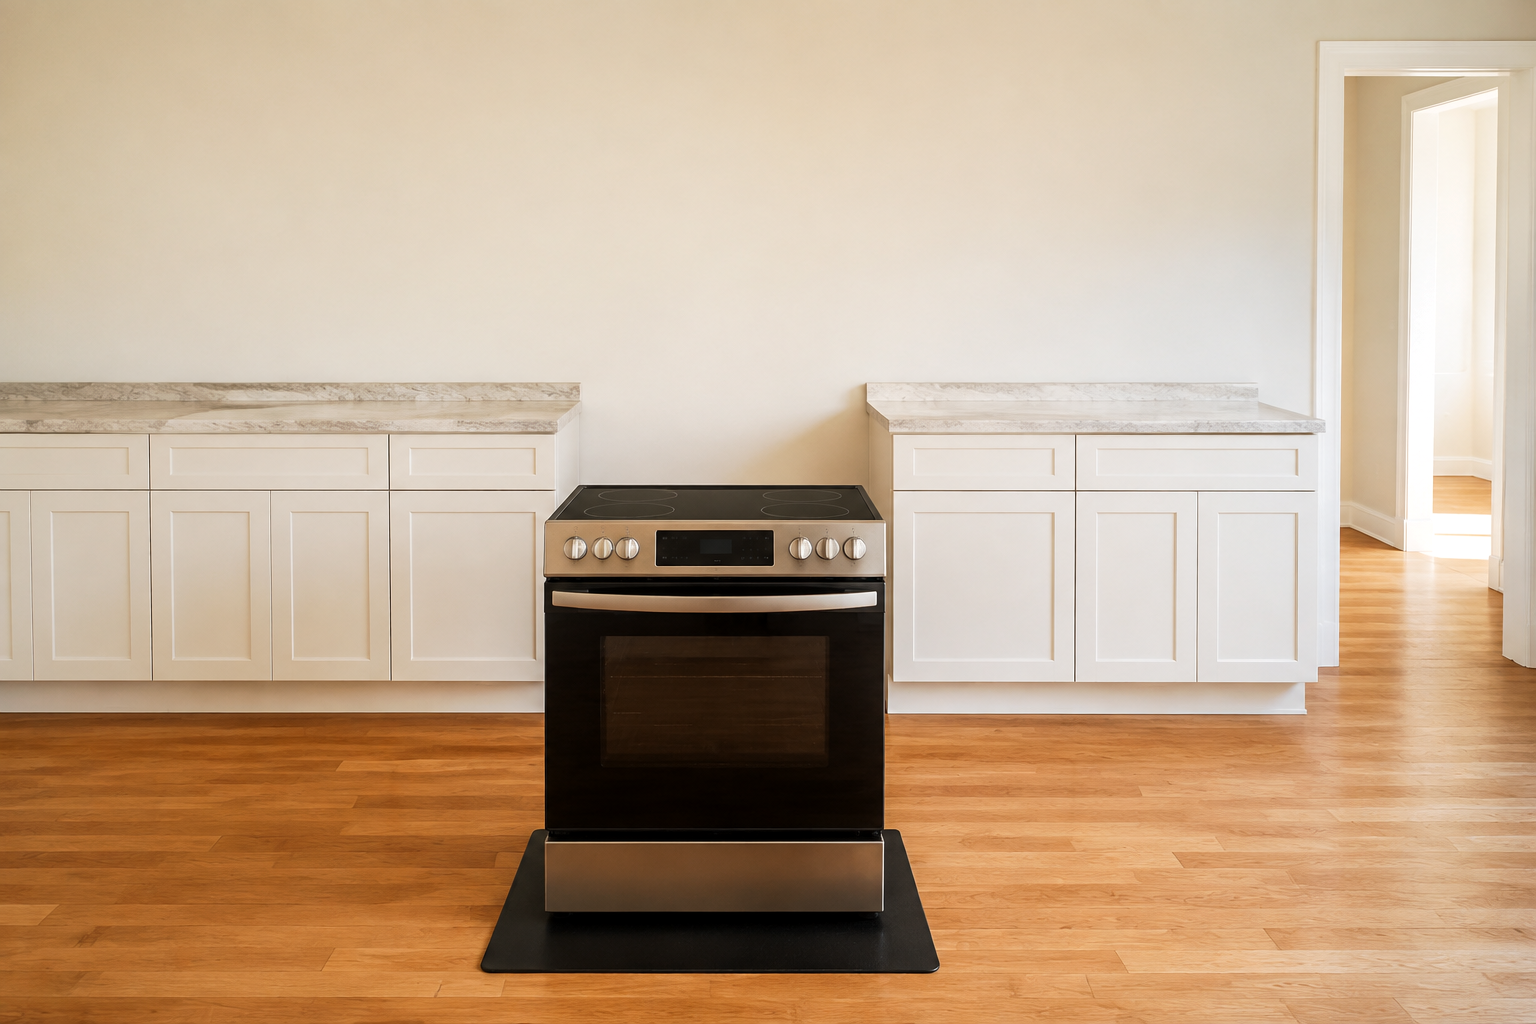
Trace the packaged range from the delivery entrance through doors, turns, flooring, islands, and the final opening. Decide how finished surfaces are protected and how the appliance can be pulled forward later without trapping it behind flooring, trim, or countertop projections. A common mistake is stopping the finished floor at the visible toe line and creating a ledge that complicates leveling or removal. Another is building an island before checking whether the appliance can turn into place. Ask the supplier and installer about delivery, anti-tip work, connection, leveling, testing, and removal needs while the route and floor sequence can still be coordinated.
10. Release one range-wall approval package
Put the current range and hood documents, cabinet plan and elevations, finished opening, countertops, landing, utilities, wall finish, adjacent fronts, floor, delivery route, installation steps, and service access into one review set. Mark who supplies, verifies, connects, installs, secures, tests, adjusts, and warrants each part. The final common mistake is approving the appliance, cabinets, counter, electrical or fuel work, and ventilation as separate purchases while their shared conditions belong to nobody. You do not need to solve every technical interface yourself. A clear question assigned to the right person before ordering is already valuable progress.
Connect range placement to the appliance and cabinet plan
A useful range wall connects the exact appliance to the opening, hood, utilities, counters, moving fronts, aisle, and delivery route. Use these guides to strengthen the decisions around it.
Plan the Range Hood Record Appliance DetailsPlace the range in the complete room before cabinets are ordered
Use StilePath to test the range, hood, counters, cabinets, island, doors, and household routes together in 2D and 3D. Start free, label every assumption, and bring the plan into product, cabinet, trade, installation, and professional review.
Start Planning Free