
An island seat needs room before and after someone sits down
Island seating is often counted as a row of stools, but the real design includes bodies, knees, countertop support, pulled-back seats, nearby doors, and the route behind them. You can make a strong first pass with a tape measure, painter's tape, and the chairs or stools you already own. These ten checks will help you test whether seating belongs on the island and what it asks from the room. There is no universal dimension that fits every household, product, or code condition, so keep the countertop fabricator, cabinet supplier, installer, contractor, and applicable requirements in the final review.

1. Decide what the seats are actually for
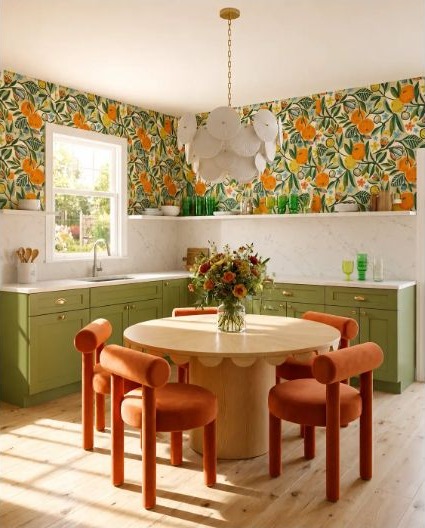
Breakfast for two, homework for children, a quick coffee, guests talking to the cook, and full family meals place different demands on an island. Write down the routines you expect and how long people will sit. A common mistake is adding the maximum number of stools because an elevation can fit them, even though the household needs only two comfortable landing places. Another is expecting casual counter seats to replace a dining table without testing comfort. Let the purpose set the seat count, orientation, back support, and relationship to the work zone before the countertop shape is fixed.
2. Measure real seats, not imaginary circles
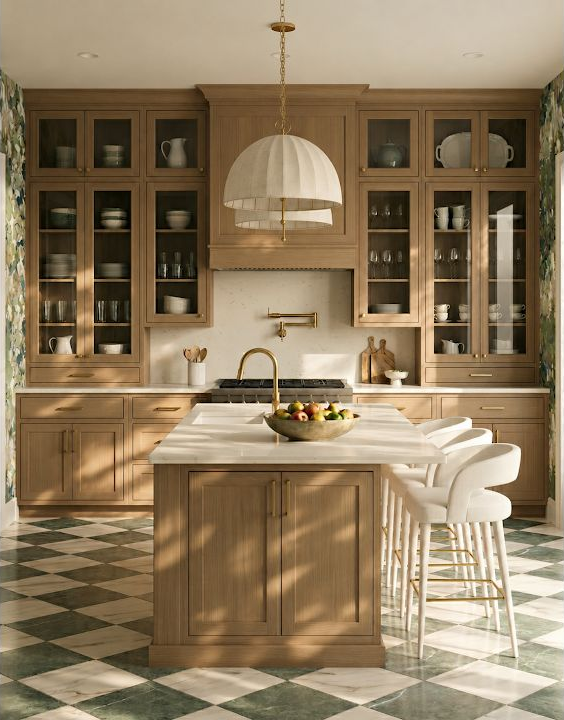
Stools vary in overall width, seat height, back depth, arm shape, footrest, swivel path, and how far their legs spread across the floor. Measure the actual candidate or a similar chair, including the widest and deepest points. The familiar mistake is spacing tiny symbols evenly on a plan and buying larger backed stools later. Mark each real footprint with tape and sit beside another person. Check whether elbows, knees, and bags have room, whether the seat can turn, and whether it tucks under the overhang. Product dimensions are useful, but a physical test reveals the motion around them.
3. Test knee space with the complete countertop assembly
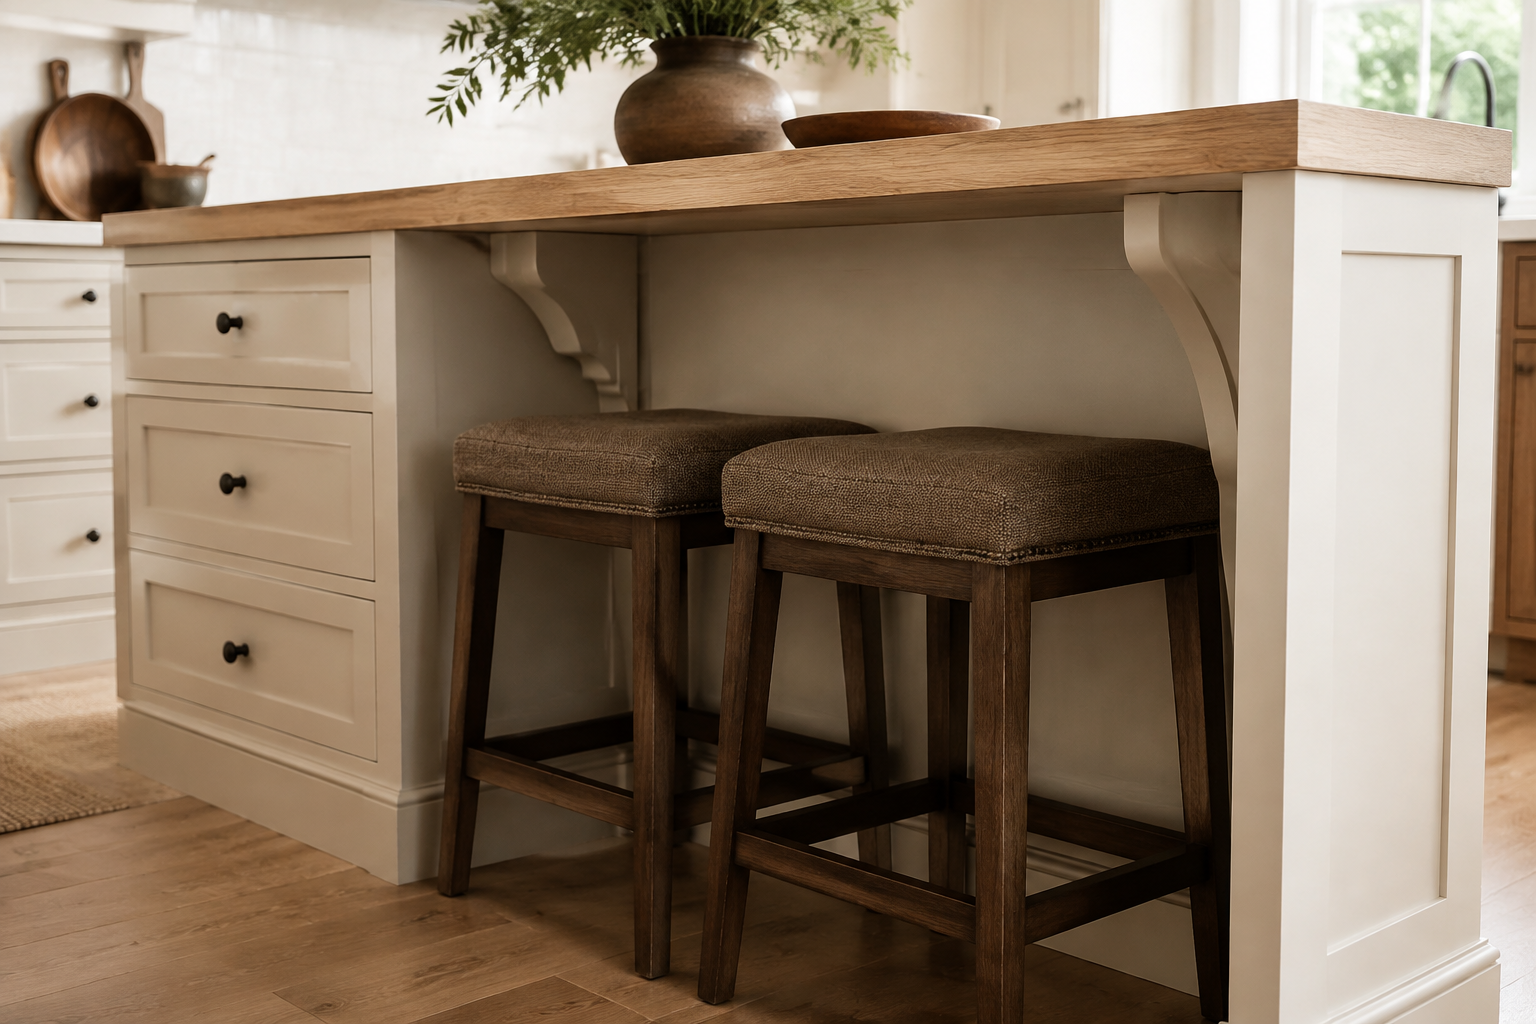
Comfort depends on seat height, counter height, overhang depth, the sitter's body, the cabinet or panel below, and any apron or support hidden under the top. A common mistake is measuring only from the countertop edge to the cabinet face and ignoring brackets, thick build-ups, decorative panels, or a raised surface. Mock up the finished edge and everything beneath it at full size. Have the people who will use the seats try it. Then ask the fabricator and cabinet supplier to confirm the approved overhang, support, material limits, and attachment detail rather than treating the mockup as engineering.
4. Leave room for a stool to pull back
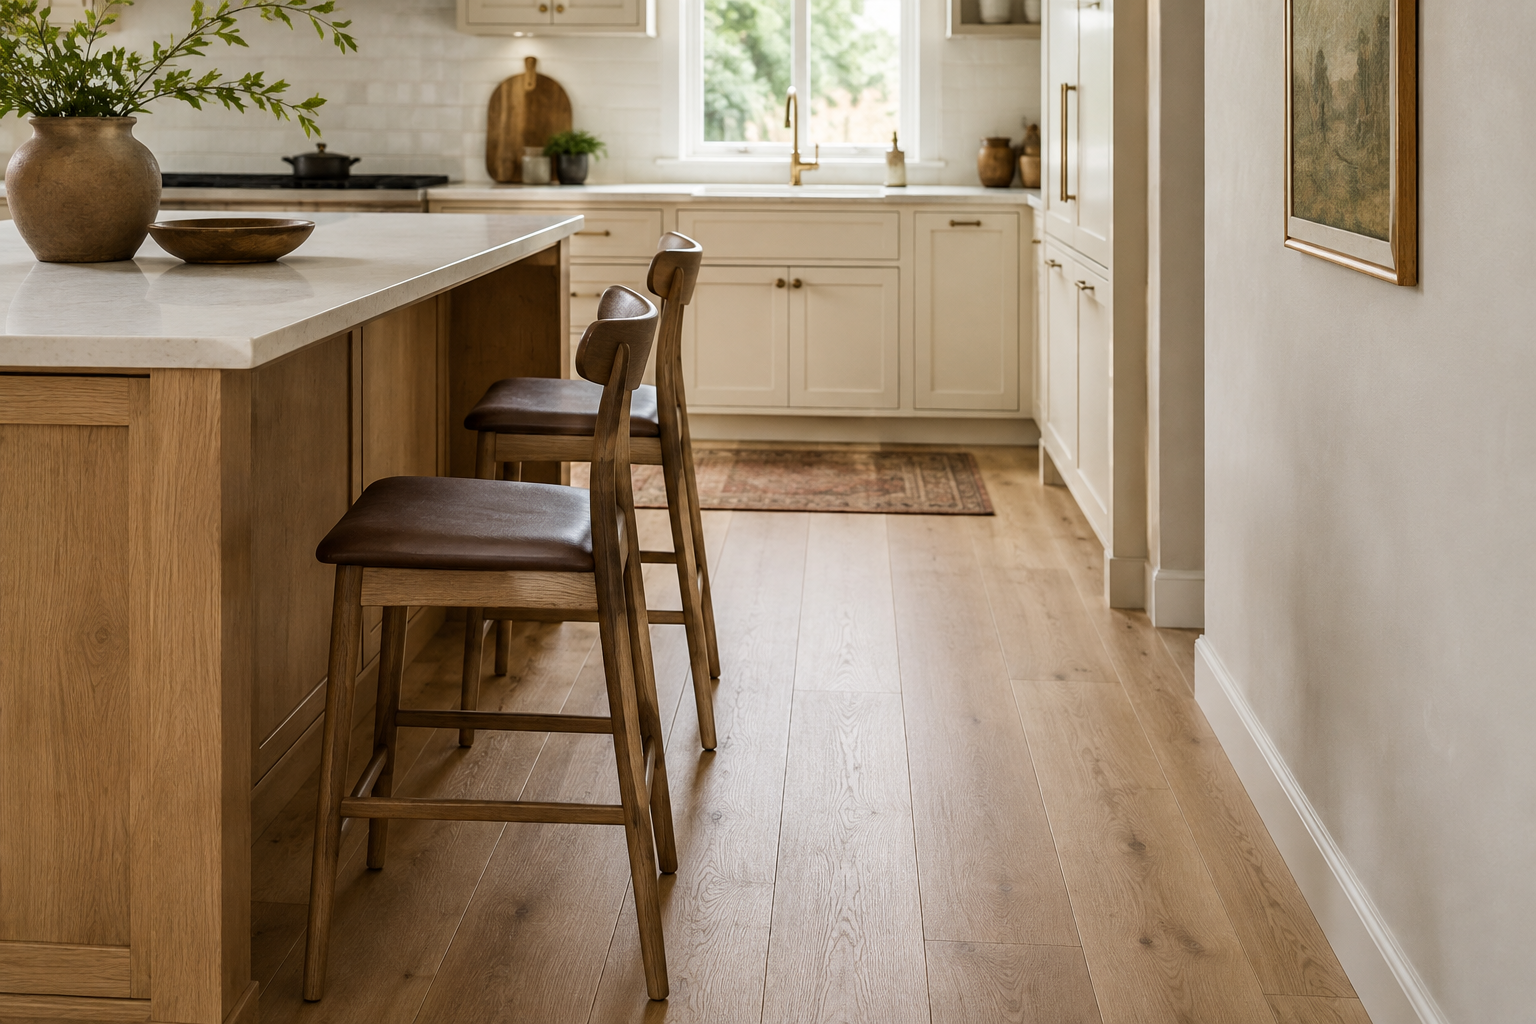
A tucked stool shows the island at rest. A working seat slides backward, turns, and leaves a person standing behind it. Tape the island edge and move a real chair through sitting and standing. The common mistake is measuring the walkway while every stool is hidden under the counter, then discovering that one occupied seat closes the route. Check the deepest chair position and where feet land. If the room cannot support that motion comfortably, reduce the seat count, change the seat style, move the seating edge, or preserve a separate circulation route instead of squeezing the aisle on paper.
5. Protect the traffic route behind occupied seats
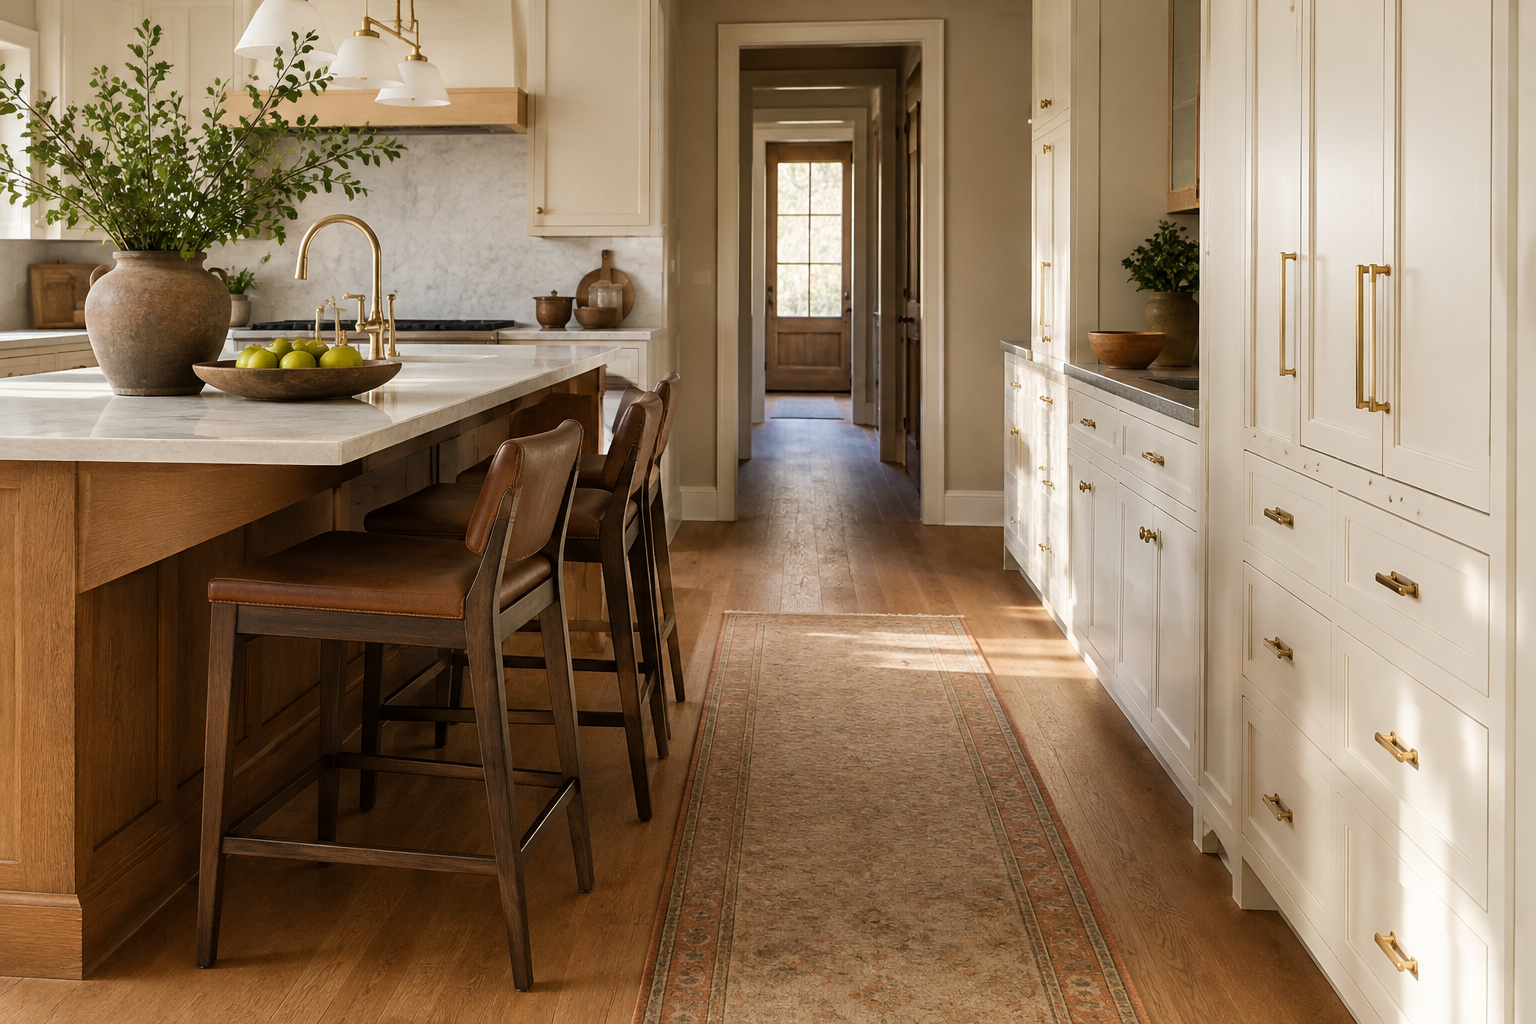
The space behind a seat may be a quiet edge, a path to an exterior door, the main route through the kitchen, or a place where another cabinet opens. Those uses are not interchangeable. A frequent mistake is applying one generic aisle number without asking who passes, what opens, and whether the seat is occupied. Draw the full route from doorway to doorway, add the stool in its pulled-back position, and open nearby doors and drawers. Use current accessibility, building, appliance, and project requirements where they apply, and have the responsible professionals verify the final circulation condition.
6. Treat corner seats as a different conversation
Turning seating around an island corner can improve conversation and shorten a long row, but the two corner places share knee, foot, elbow, and stool-pullback space. The common mistake is counting both legs independently and placing a full seat at each end as though the corner belonged to neither. Set up two real chairs at the proposed angle and let both positions move. Check support locations and cabinet doors below. A corner may work beautifully with fewer well-spaced seats, a clipped shape, or one intentionally open end; it rarely improves by forcing an extra stool into the overlap.
7. Coordinate brackets, legs, panels, and seams
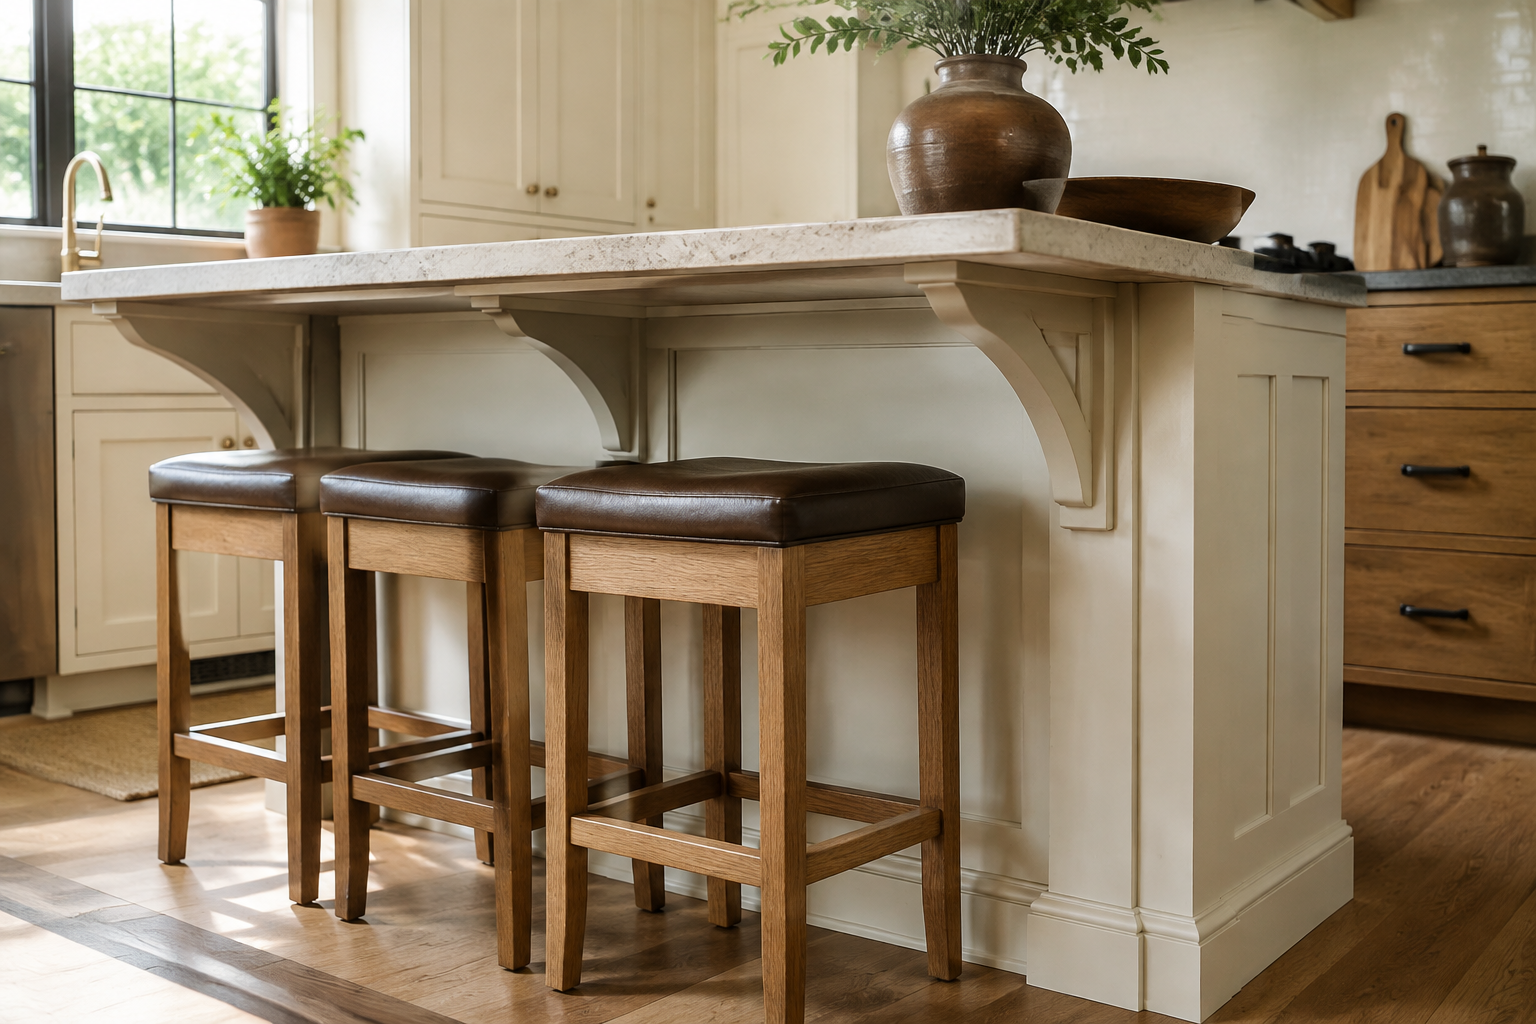
A seating overhang may need brackets, concealed reinforcement, legs, panels, or another approved support system. The countertop material, thickness, seam locations, cabinet anchorage, appliance cutouts, and unsupported span all matter. A common mistake is choosing the cleanest inspiration image and deleting visible support before anyone has designed the structure. Another is placing a decorative leg where knees or a stool must go. Show the complete assembly in plan, elevation, and section, then let the fabricator, cabinet supplier, installer, and responsible professional determine the permitted support and fastening detail for the actual project.
8. Keep seating outside the busiest work collision
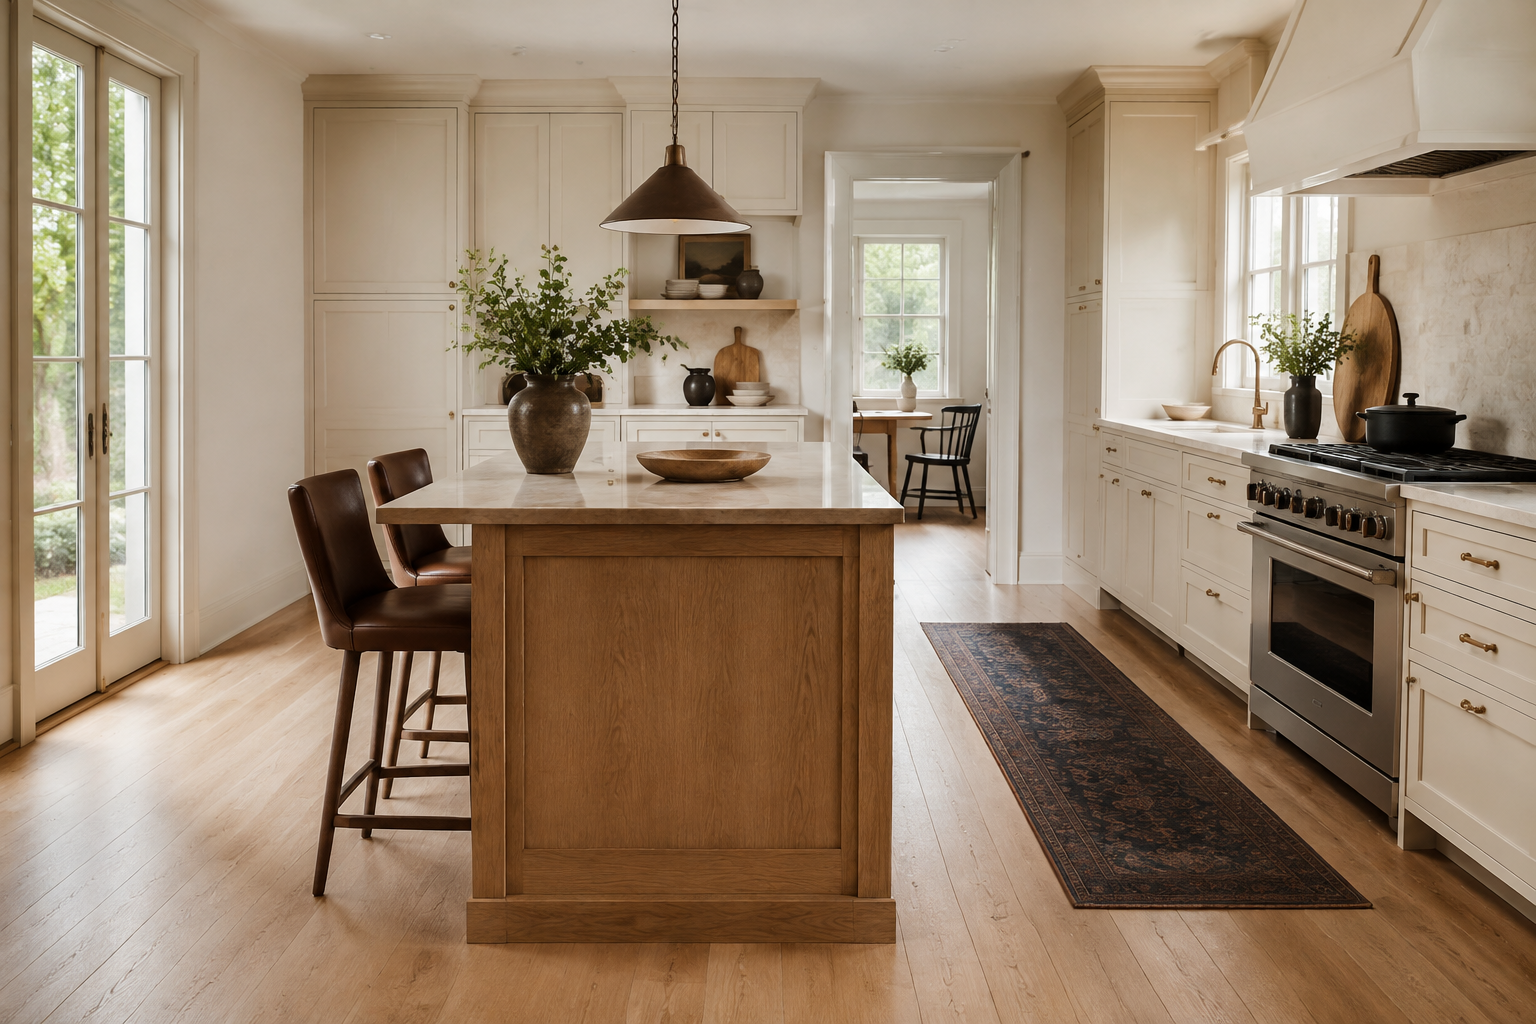
A seat beside the preparation surface can feel connected; a seat inside the refrigerator-to-sink path can make every snack a traffic event. Map who cooks, who sits, who crosses the room, and which appliance doors open during those routines. The common mistake is putting stools wherever the countertop edge is longest, even when that edge faces the most active aisle. Consider a social side, a protected end, or a deliberately shared surface with enough room for both jobs. Test busy moments, not an empty kitchen, and preserve a safe place for hot cookware and sharp preparation tools.
9. Match the seat and surface heights as one decision
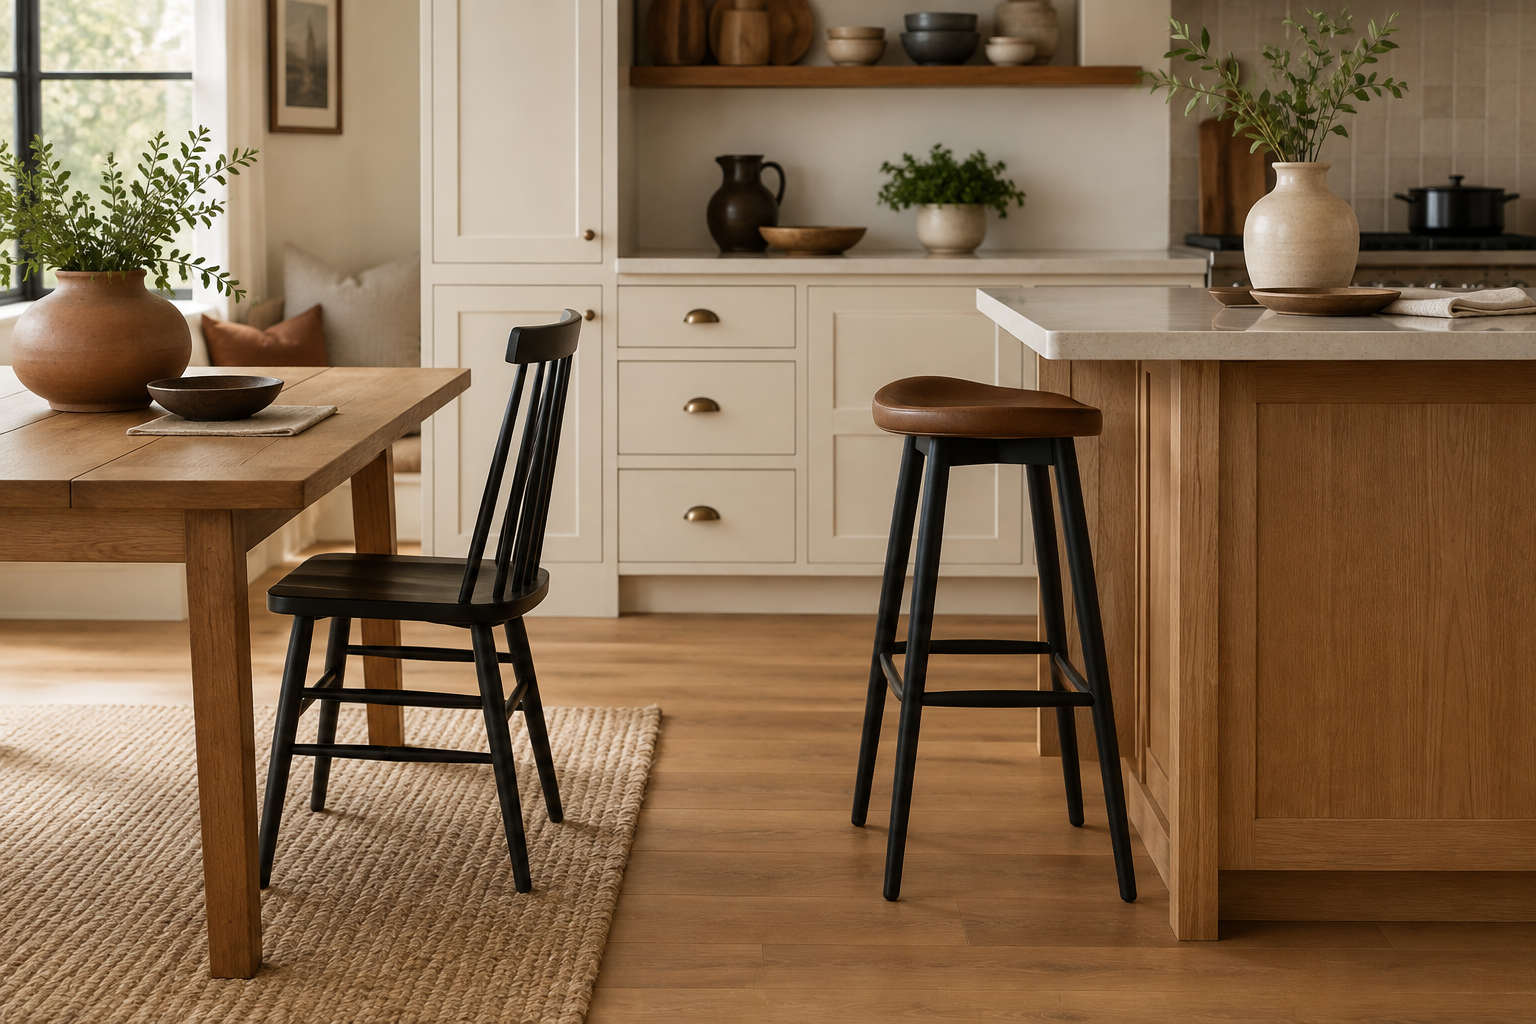
Counter-height, table-height, and raised seating change the stool, foot support, knee relationship, sightline, cleaning, and how the island connects to work surfaces. A split level may separate activities, while one level can be visually calmer and more flexible. The mistake is choosing a dramatic height change from a photograph without testing how it feels to sit, serve, and work. Build a simple cardboard or table mockup, pair it with the intended stool, and compare the full room. Confirm finished floor, cabinet, countertop, and accessibility conditions before finalizing the assembly.
10. Tape the complete island and live with it
Mark the cabinet footprint, countertop edge, support locations, each real stool, the pulled-back position, appliance doors, and the route around them. Walk through a normal morning, unload groceries, imagine a guest sitting down, and open everything nearby. The final common mistake is testing only the island box while all the moving parts remain invisible. Adjust the plan until the room still works with seats in use. Then ask the supplier, fabricator, installer, contractor, and responsible professionals to verify field dimensions, structure, services, product specifications, and applicable requirements before anything is ordered or built.
Fit seating into the island and the room around it
A comfortable seat depends on island size, surrounding clearances, the countertop assembly, and the routines moving through the kitchen. These guides help connect the pieces before the island becomes fixed.
Check Island Clearances Plan an Island That FitsSee the seats in the plan before building the island
Use StilePath to place the island, inspect the surrounding kitchen in 2D and 3D, and compare alternatives while the footprint can still move. Bring real stool and countertop information into the professional review.
Start Planning Free