
Plan the island from the space around it
An island can add preparation space, storage, seating, cleanup, or cooking, but it has to earn the center of the room. Start with a tape measure, painter's tape, a pencil, and paper. You do not need to be a carpenter to make a useful first plan. You only need to record what is there, test how the kitchen feels in use, and keep a clear list of details for the cabinet supplier and trades to verify. These ten checks will help you catch the common mistakes before size, finishes, and wish-list features take over.
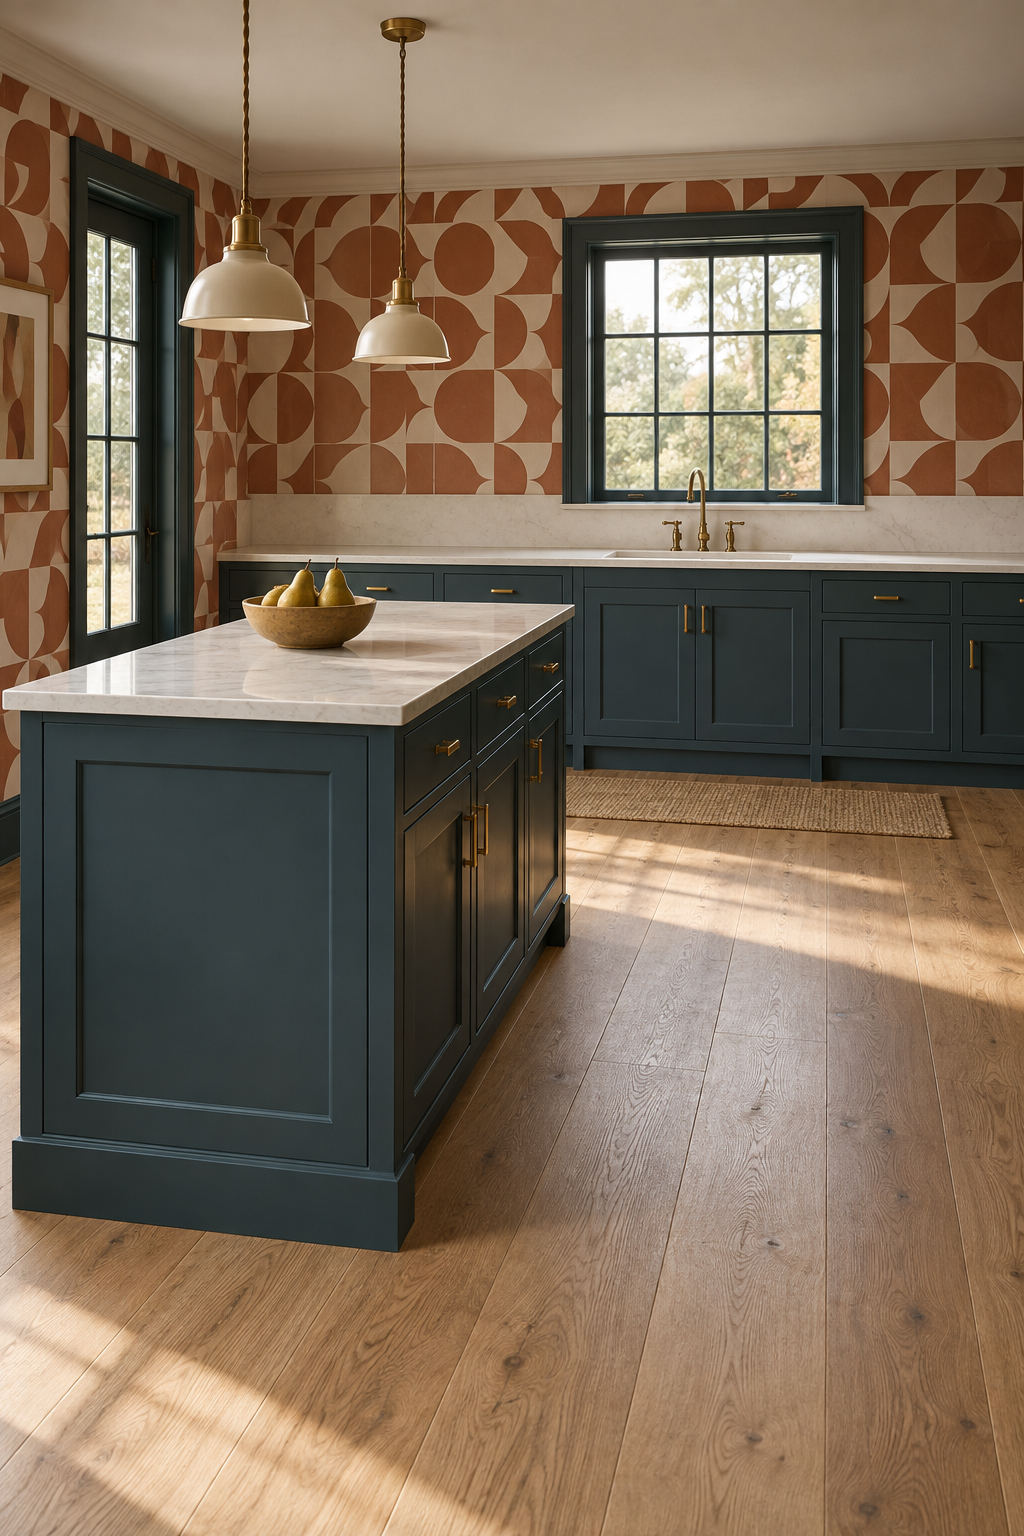
1. Give the island one primary job
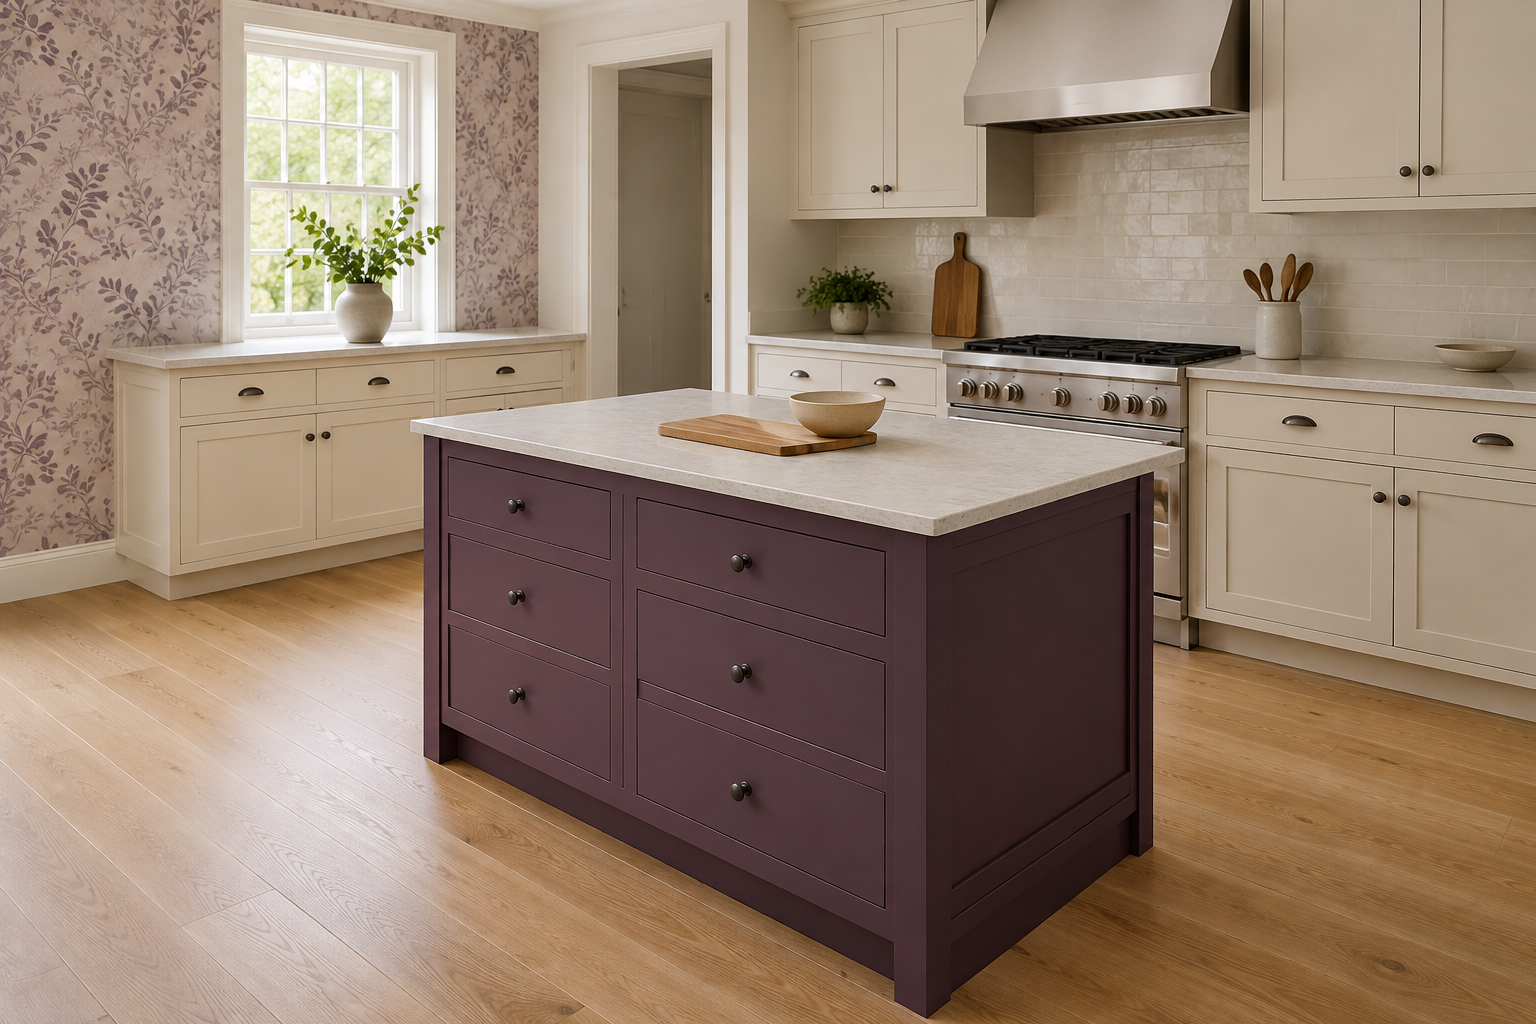
Write down the one thing the island must improve: food preparation, everyday meals, gathering, storage, cleanup, or cooking. Then choose at most one supporting job. The familiar mistake is starting with a feature list—sink, cooktop, four stools, deep drawers—and hoping the room will absorb it. Every added function brings openings, equipment, knees, cords, or service needs. A prep-first island may only need a durable surface and useful drawers, which can be better than a crowded all-in-one island. A clear purpose gives you a reason to say no when an extra feature makes the room work worse.
2. Record the fixed conditions first
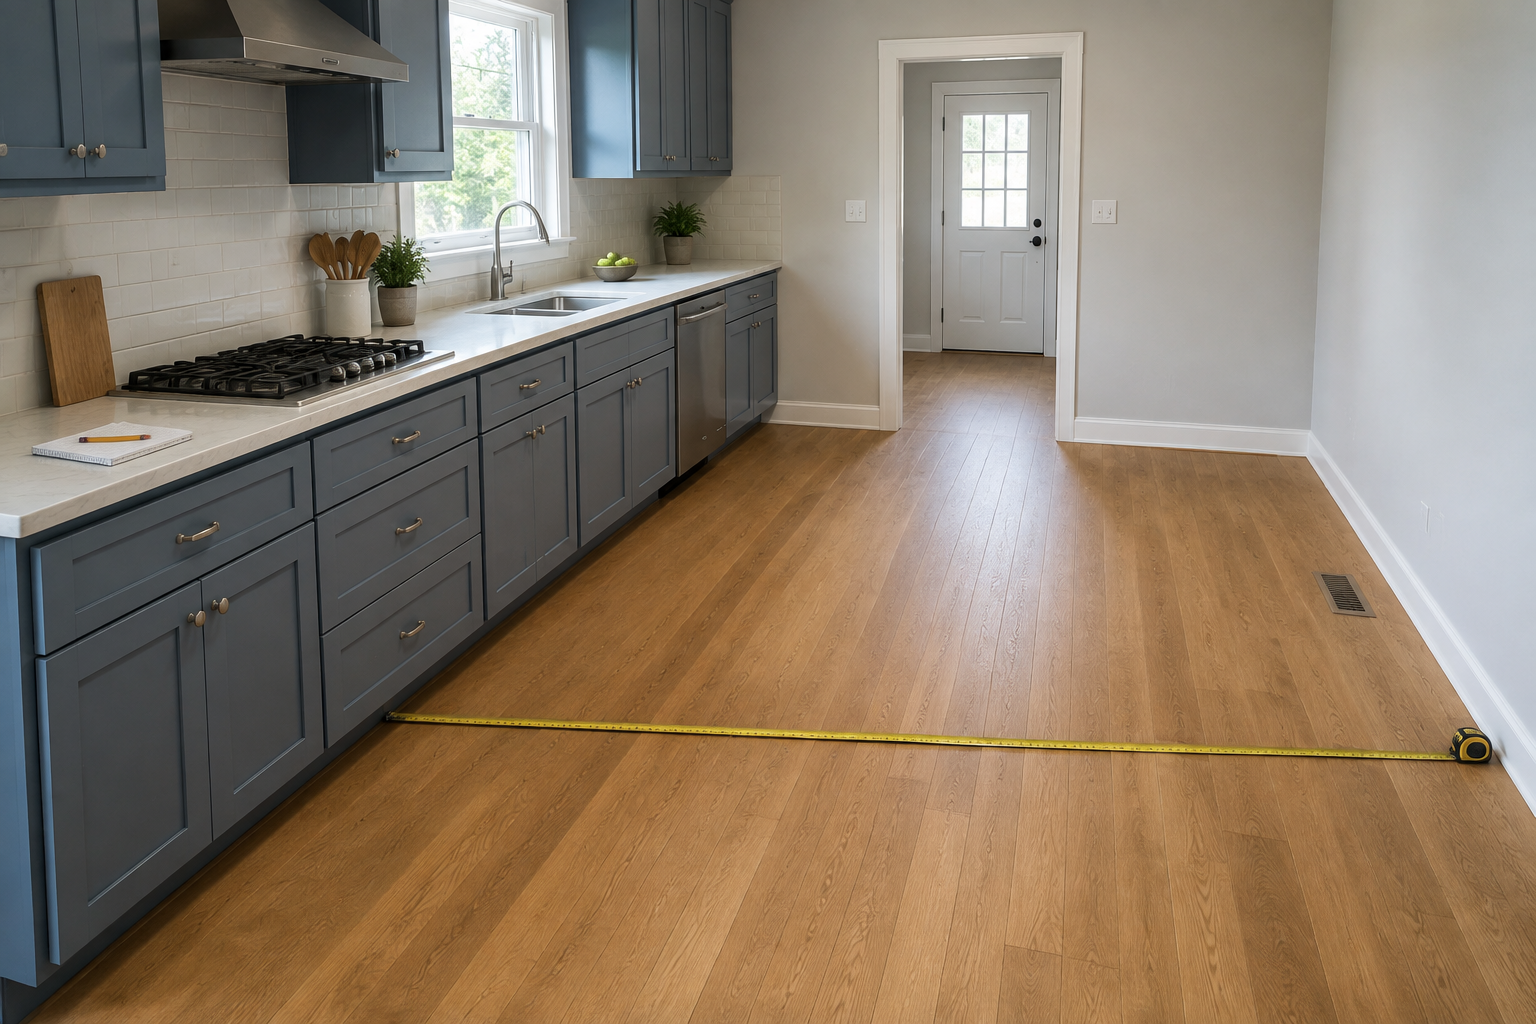
Measure the room, base-cabinet faces, appliance handles, doorways, trim, windows, floor registers, and the paths to nearby rooms. Mark anything that cannot casually move. A common mistake is recording the wall-to-wall width but forgetting that counters, pulls, and appliance doors project into it. Another is centering an island on the room even when the working kitchen is off-center. Your sketch can be rough as long as every number points to the correct object. Final field dimensions should be confirmed by the people responsible for the cabinets, counters, appliances, and installation.
3. Tape the full footprint on the floor
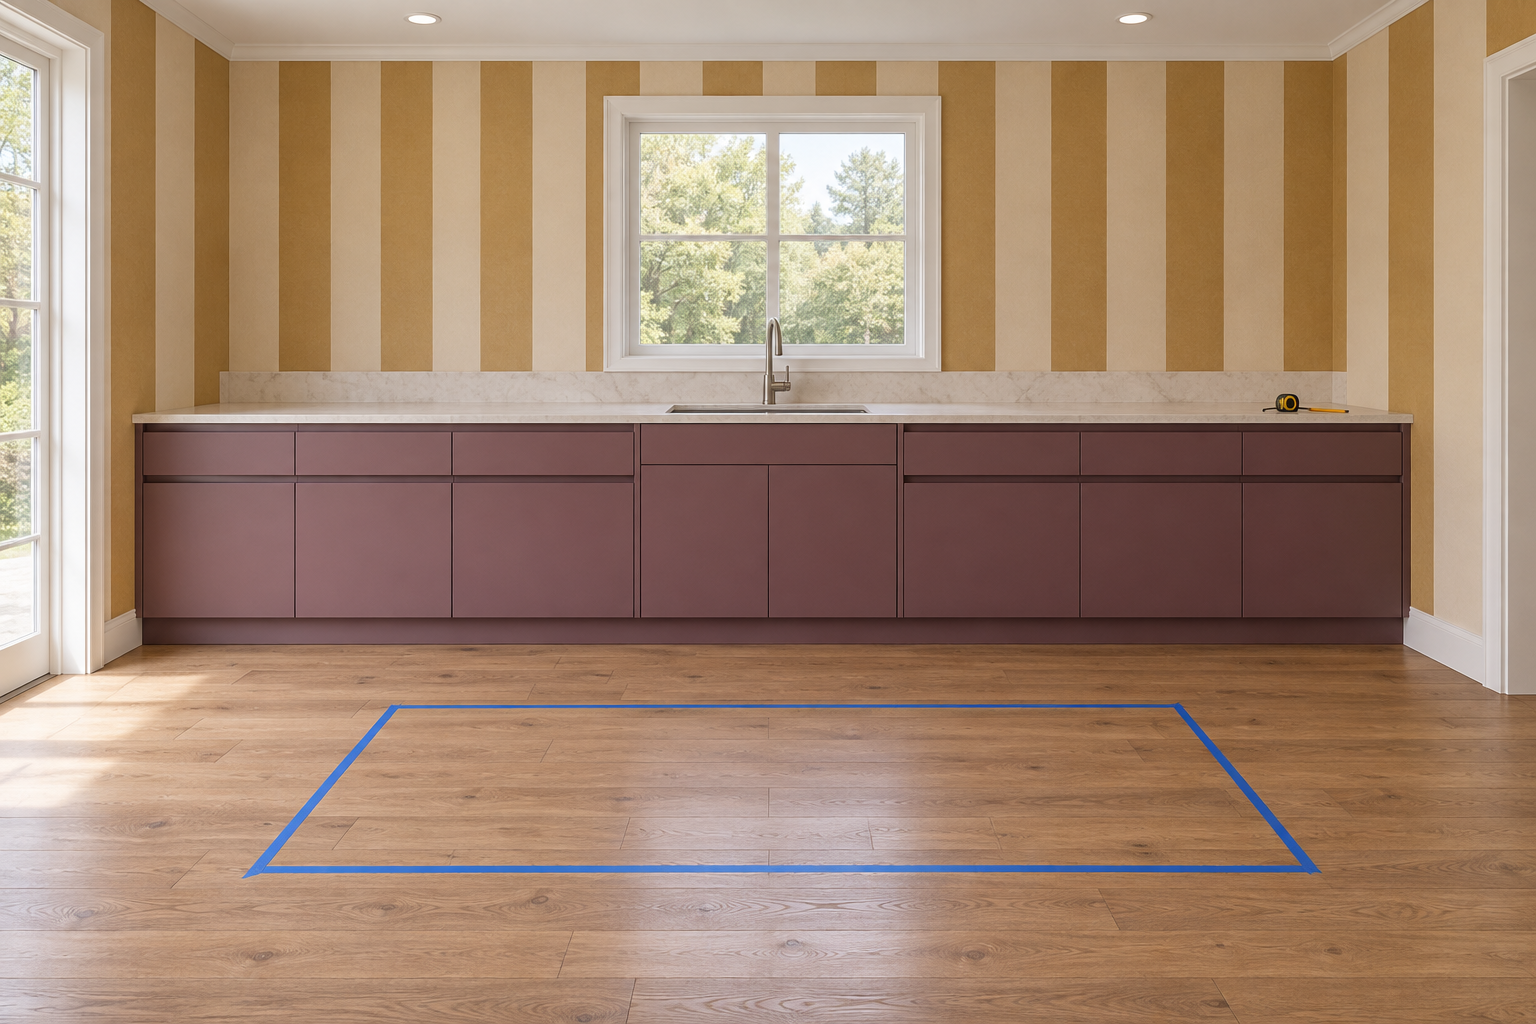
Use painter's tape to mark the proposed cabinet and countertop edges, including any overhang. Put boxes or a table inside the outline if a flat line is too easy to ignore. Then make breakfast, unload groceries, and carry dishes through the room. People often tape only the cabinet box and forget the counter projects beyond it. They also test for a quiet minute instead of the busy part of the day. Begin slightly smaller than your imagined island. Add inches only when they improve a named task; a taped outline that already feels intrusive will not feel lighter after it becomes cabinetry and stone.
4. Open every nearby appliance and front
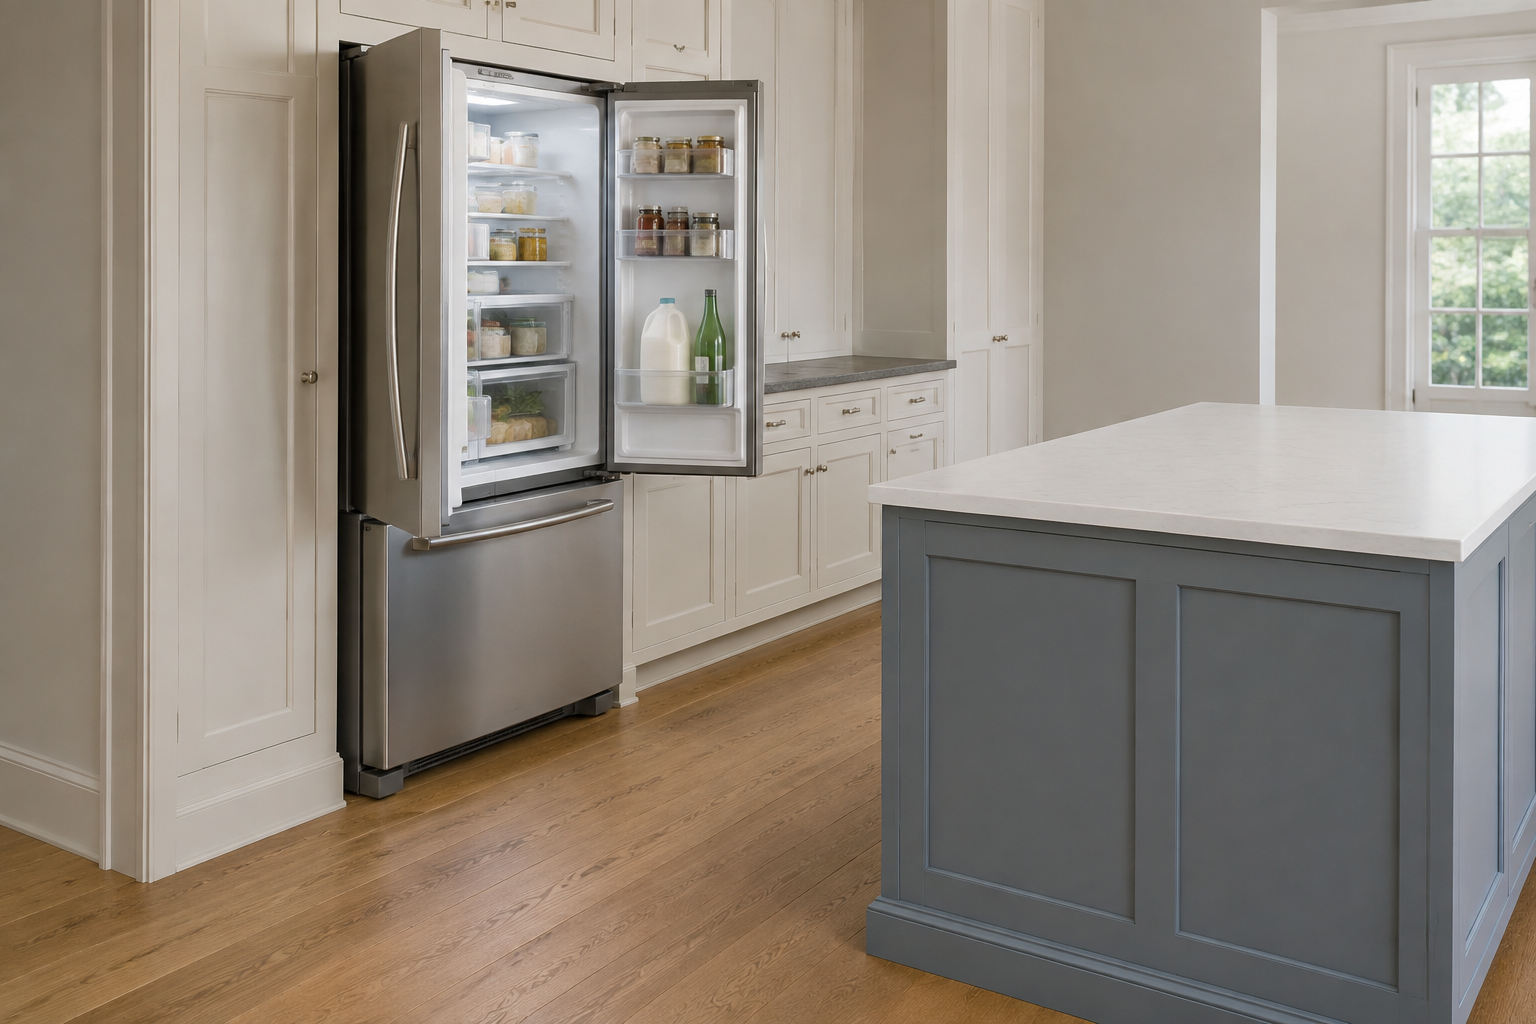
Draw or act out the refrigerator doors, freezer drawer, dishwasher, oven, waste pullout, and island drawers in their open positions. Leave room for the person using each one, not only the moving panel. The common mistake is approving a generous-looking aisle between closed fronts while a refrigerator door or dishwasher turns it into a dead end. Check two simultaneous actions too: can someone pass while the dishwasher is open, or reach the refrigerator while another person preps? Use the exact appliance specifications when available, and ask the supplier or installer to verify the final opening clearances.
5. Measure seating with people in it
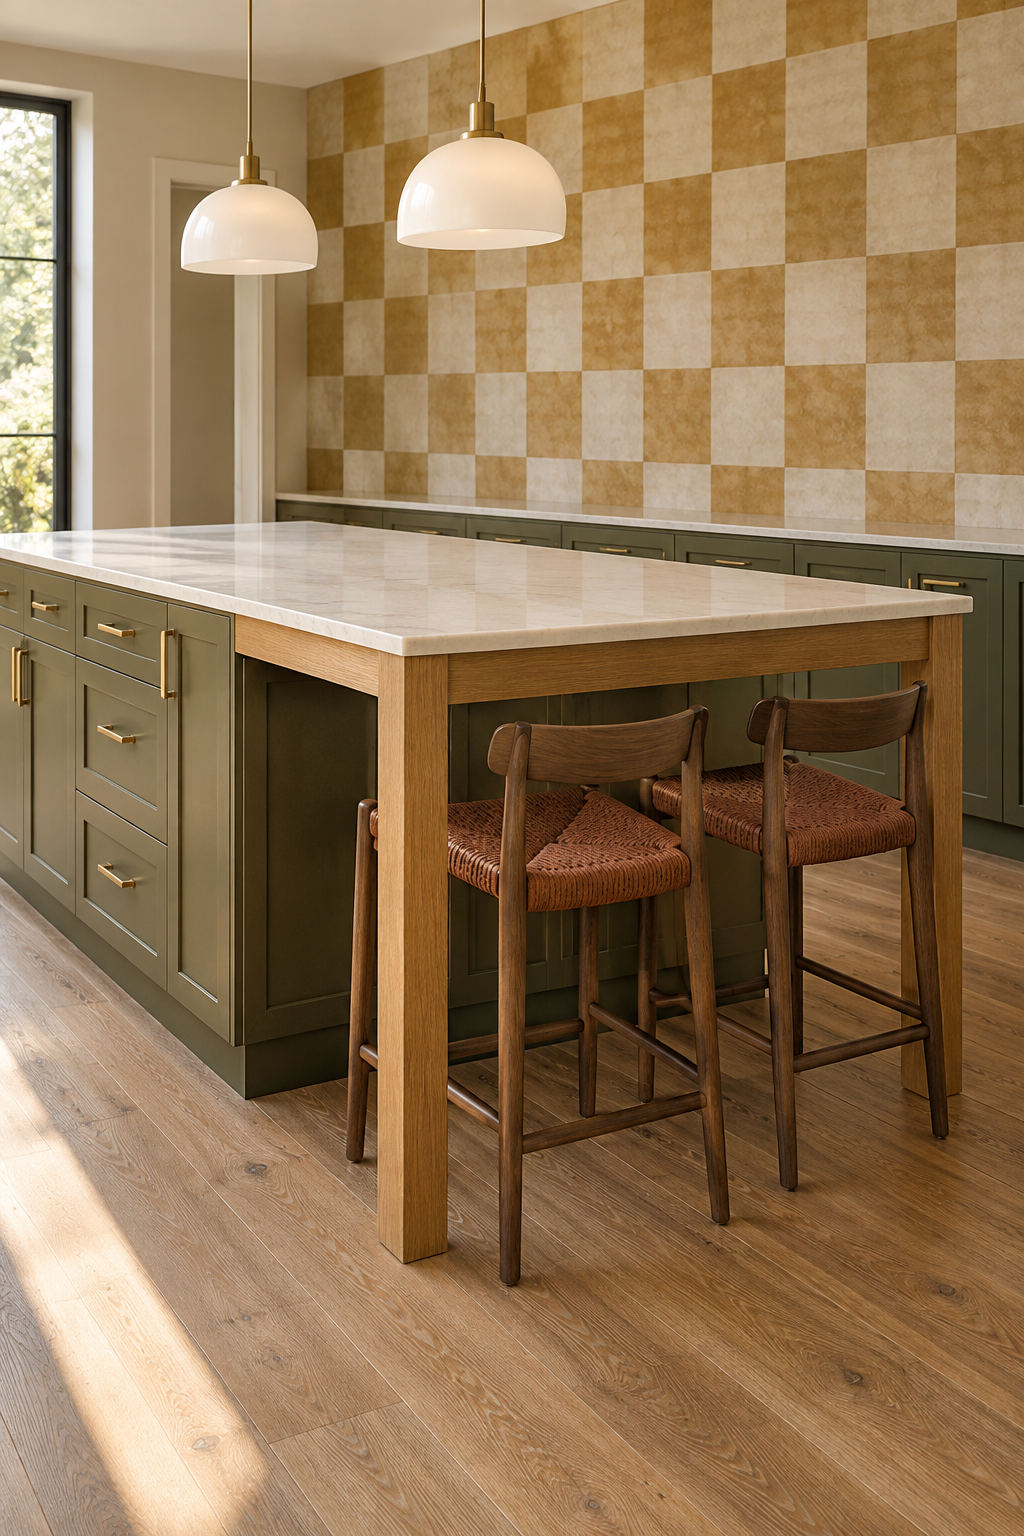
A tucked-in stool is not the space seating uses. Pull the chairs back, imagine knees and elbows at the counter, and preserve the path behind occupied seats. A frequent mistake is counting the number of stools that fit along the edge without checking whether each person has usable width or whether a doorway lands behind them. Another is putting all family traffic through the seating zone. Mock it up with real chairs if possible. Fewer comfortable seats often serve a household better than a crowded row that blocks the kitchen whenever someone sits down.
6. Put storage on the working side
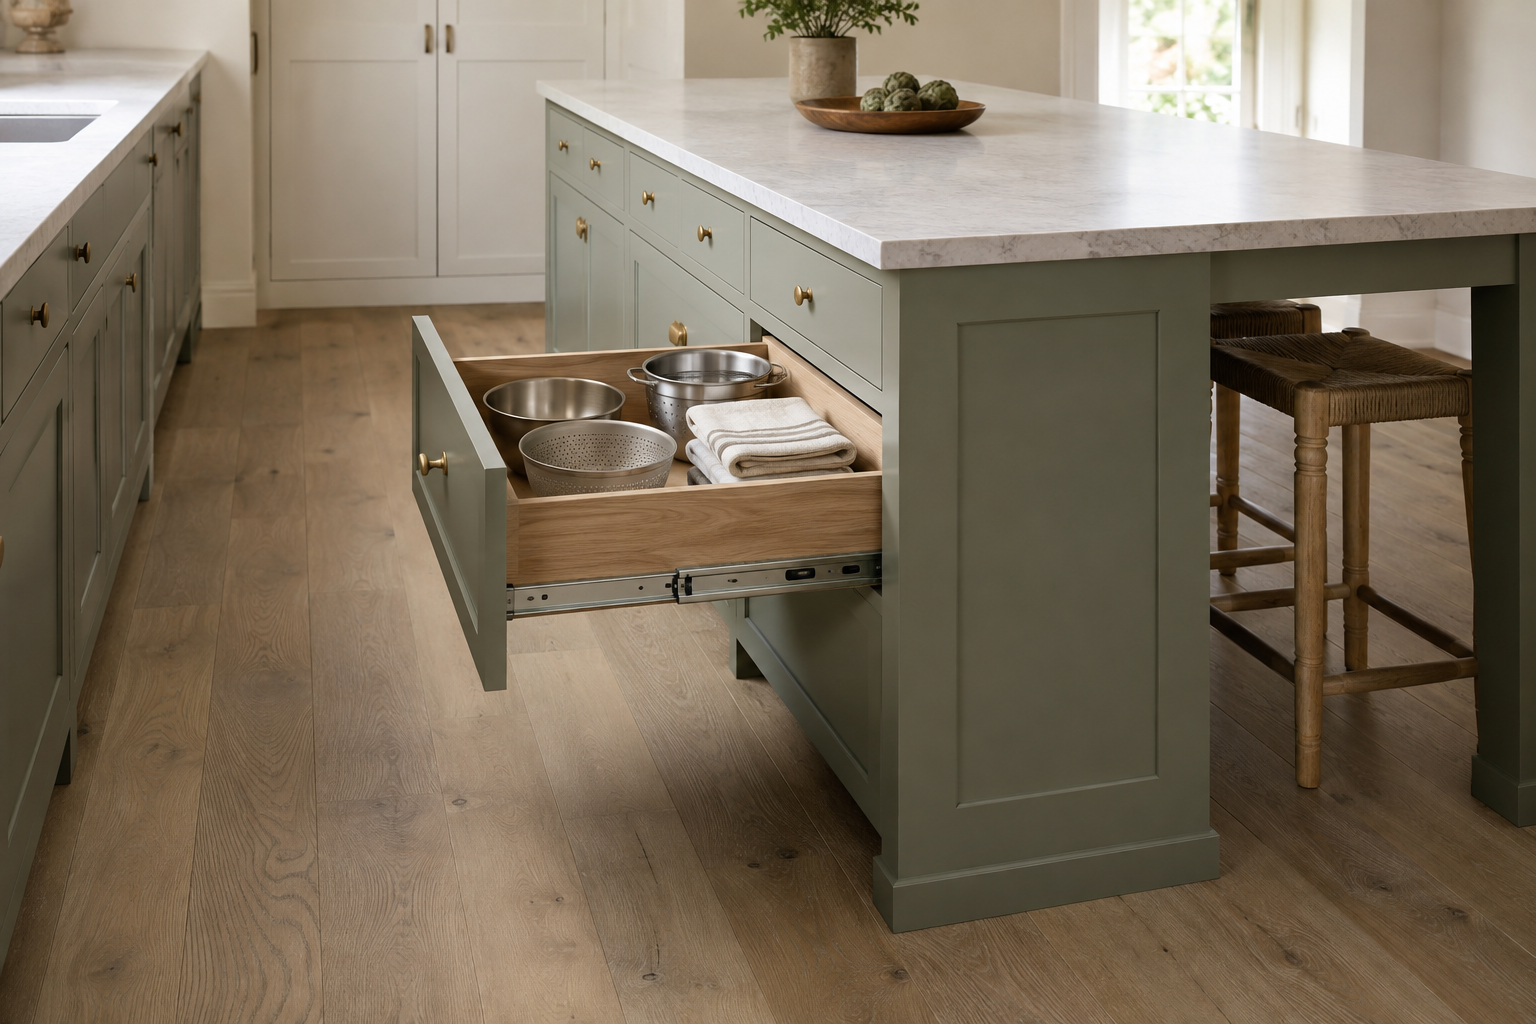
Match island storage to the work happening there: prep bowls and knives near prep, serving pieces near the dining side, or lunch supplies where they can be reached without crossing the cook. The common mistake is adding doors to every exposed panel because the elevations look fuller, then discovering the cabinets are blocked by stools or open into a traffic path. Sketch the user standing in front of each drawer or door and open the neighboring fronts at the same time. If a cabinet has no believable inventory or access position, a finished panel may be the more honest choice.
7. Coordinate utilities before depending on them
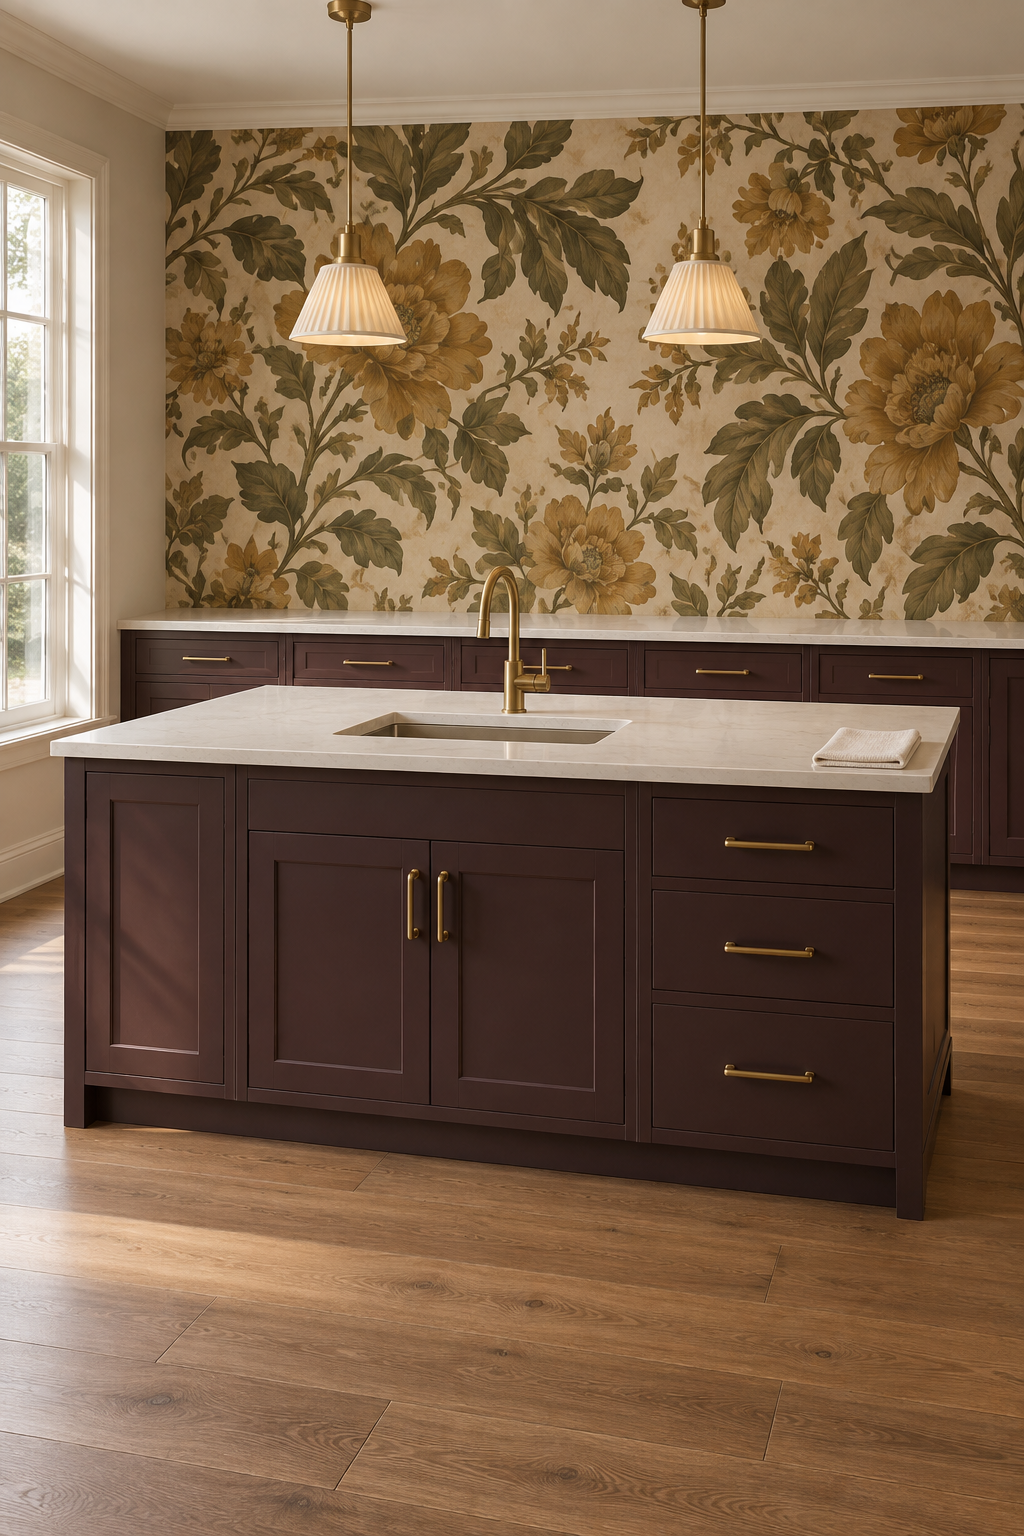
A sink, cooktop, dishwasher, outlets, or ventilation can change the island from furniture into a coordinated construction project. Mark every service the concept requires, but do not assume a line can be moved because it looks easy on paper. A common mistake is falling in love with the appliance location before checking structure, plumbing route, electrical capacity, ventilation, local requirements, and service access. Bring the concept to the responsible designer, cabinet supplier, appliance supplier, electrician, plumber, and contractor early enough to revise it. The goal is not to solve trade work yourself; it is to expose the questions before orders depend on them.
8. Show how the overhang will be supported
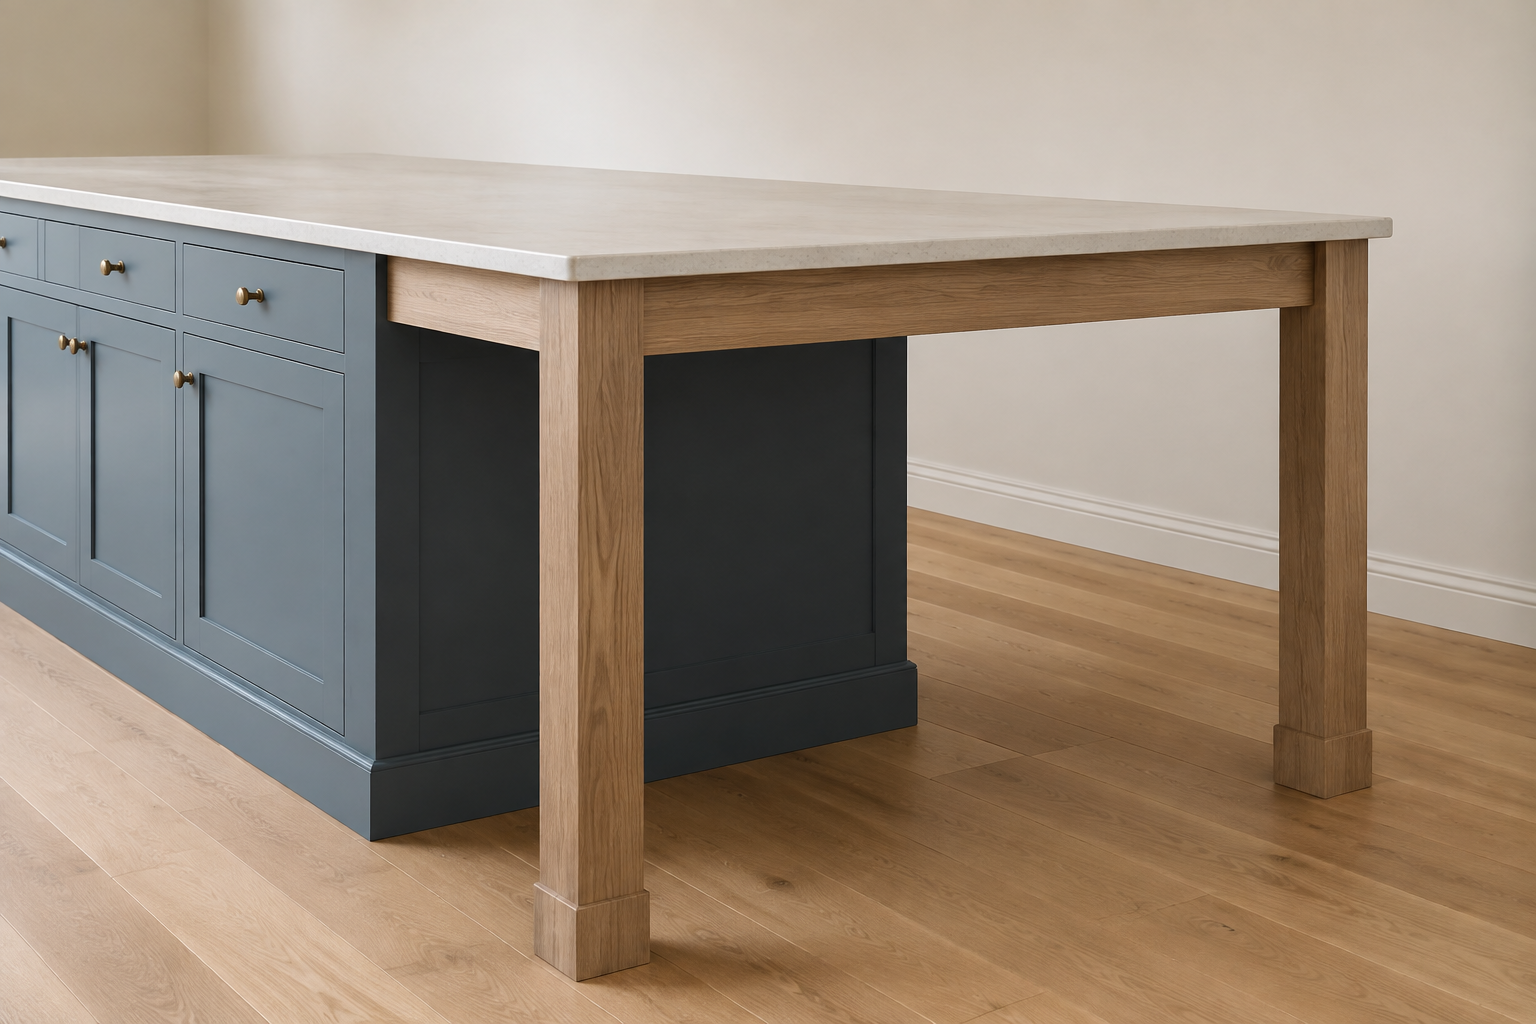
Countertop material, thickness, span, seams, overhang, cabinets, legs, brackets, and hidden reinforcement have to work as one assembly. The mistake is drawing a deep, floating seating ledge because it looks clean while leaving support for someone else to invent after the slab is selected. Support should also avoid the knee and stool zones it is meant to serve. Ask the countertop fabricator and cabinet or structural professional to specify what the actual material and span require. Confirm the design before cabinet production so visible legs, panels, or brackets are intentional parts of the composition.
9. Compare a worktable, peninsula, or no island
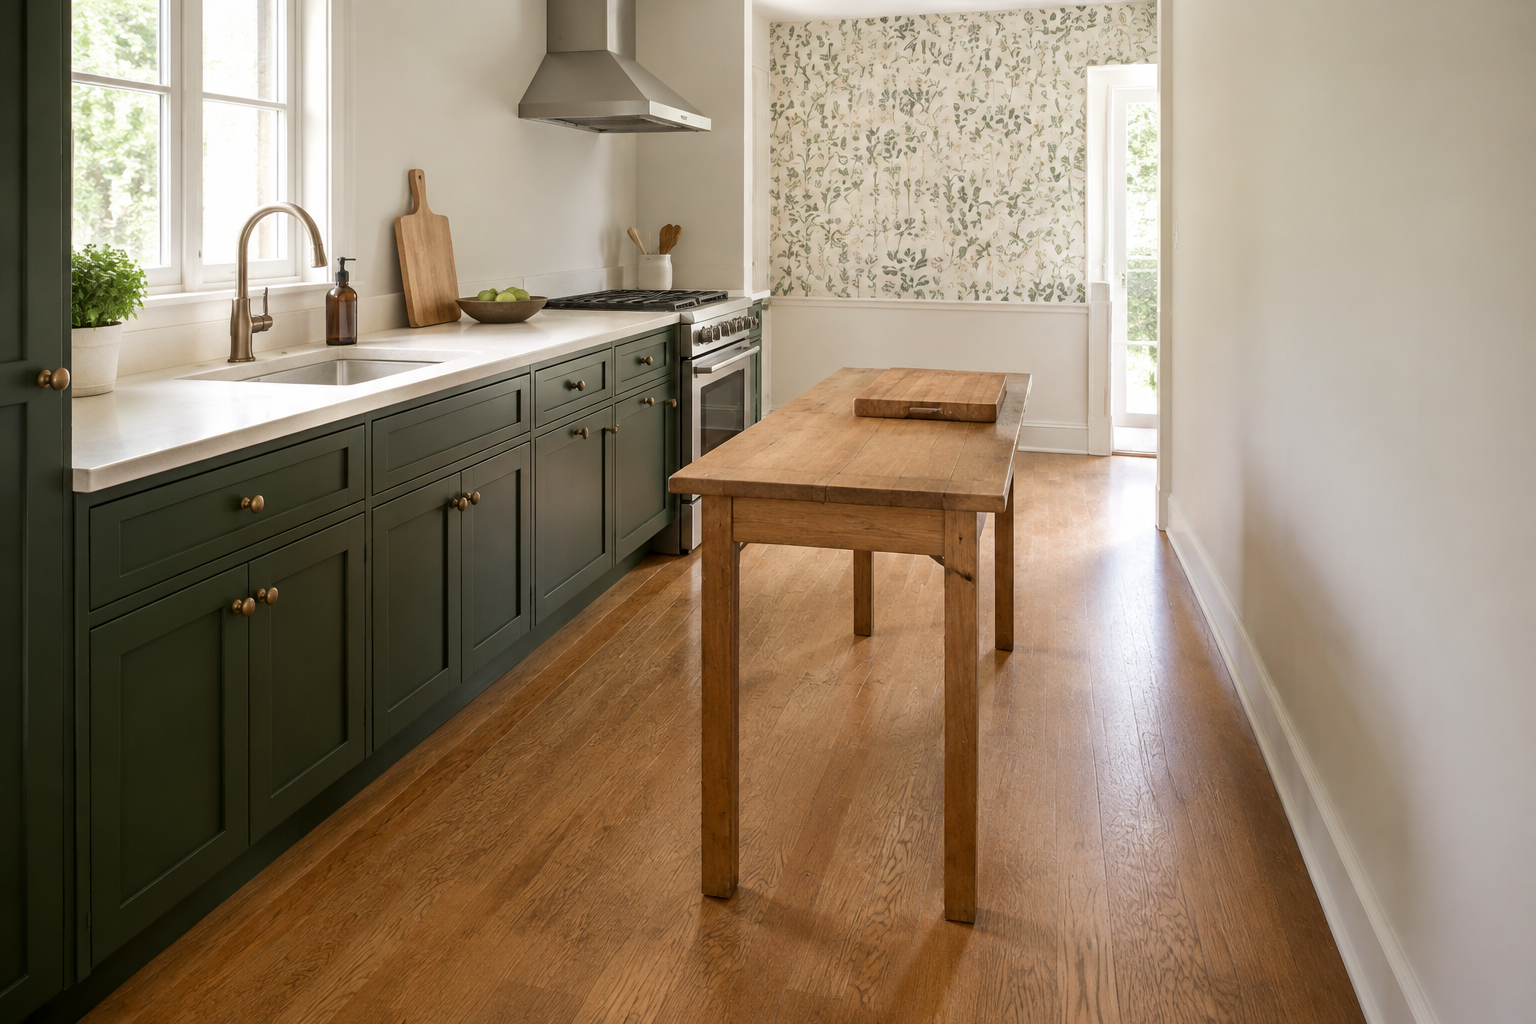
If the island needs narrow aisles to exist, test alternatives without treating them as a downgrade. A movable worktable can add preparation space without utilities. A peninsula may provide counter and storage while leaving the center more open. Sometimes the strongest layout has no center element at all. The common mistake is assuming an island is required for a kitchen to feel finished. Compare each option against the same jobs, paths, storage list, and budget. A smaller solution that keeps the room calm is a better design than a fashionable island everyone has to squeeze around.
10. Make a final responsibility list
Before ordering, write down the chosen island job, footprint, countertop edge, open-front clearances, occupied seating zone, storage contents, utilities, supports, appliance models, and every item that still needs confirmation. The common mistake is allowing an attractive rendering to become an accidental promise that all details are solved. Your visual plan is a decision tool, not a substitute for field verification or professional documents. Ask each responsible party to confirm the conditions within their scope, and keep the answers with the plan. You can absolutely lead this planning conversation without being a carpenter; careful questions are useful project work.
Compare More Island Planning GuidesSee whether the island earns its space
Try the smaller option, open the doors, and compare the alternatives before the center of the room becomes permanent.
Try an Island in StilePath