
A useful island begins with the space around it
An island can add preparation space, storage, and seating, but only when the room can support all three without squeezing the kitchen around it. Start with a tape measure, pencil, and paper. You do not need to be a carpenter to make a useful first pass. Record what is actually in the room, mark anything you are unsure about, and test the island as a working object rather than a rectangle you hope will fit. These ten checks help you find a believable footprint before cabinets, stone, wiring, or plumbing make the decision costly to change.
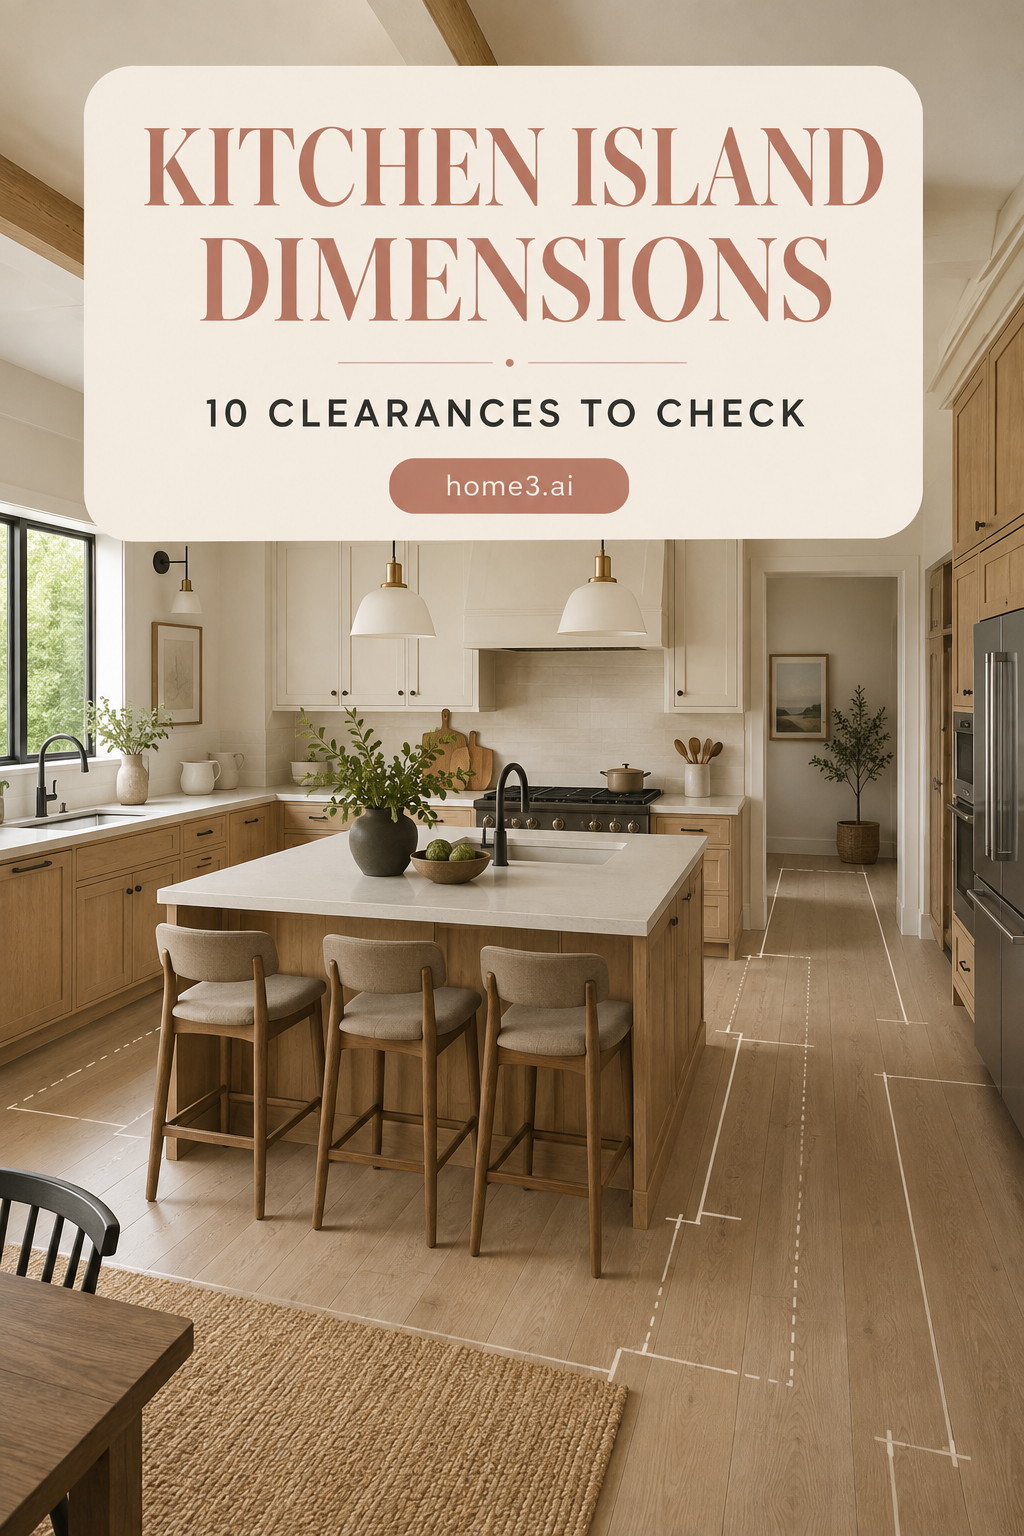
1. Measure the room shell before the island
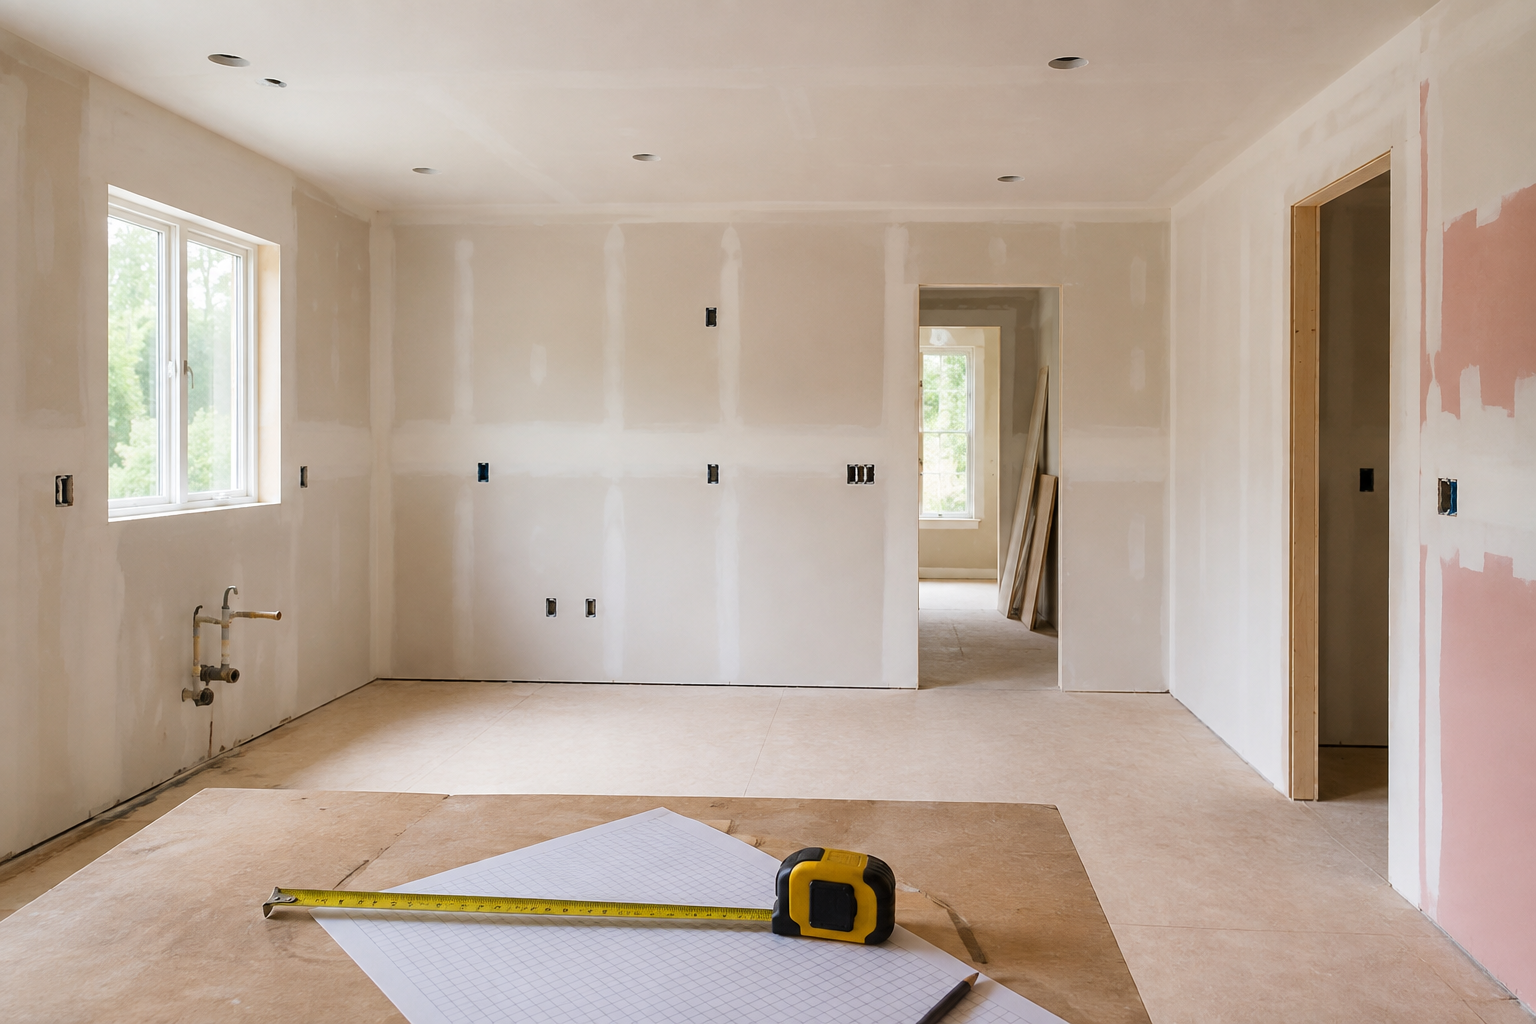
Measure every wall, then locate doors, windows, cased openings, columns, radiators, floor registers, and changes in wall depth. Record trim as well as the empty opening because casing can affect where a cabinet, countertop, or stool ends. A common mistake is measuring the open floor in the middle and skipping the fixed edges that define it. Draw a simple outline and note uncertain numbers with a question mark. A slightly messy plan with honest unknowns is much more useful than a neat plan built on guesses.
2. Protect the working aisle
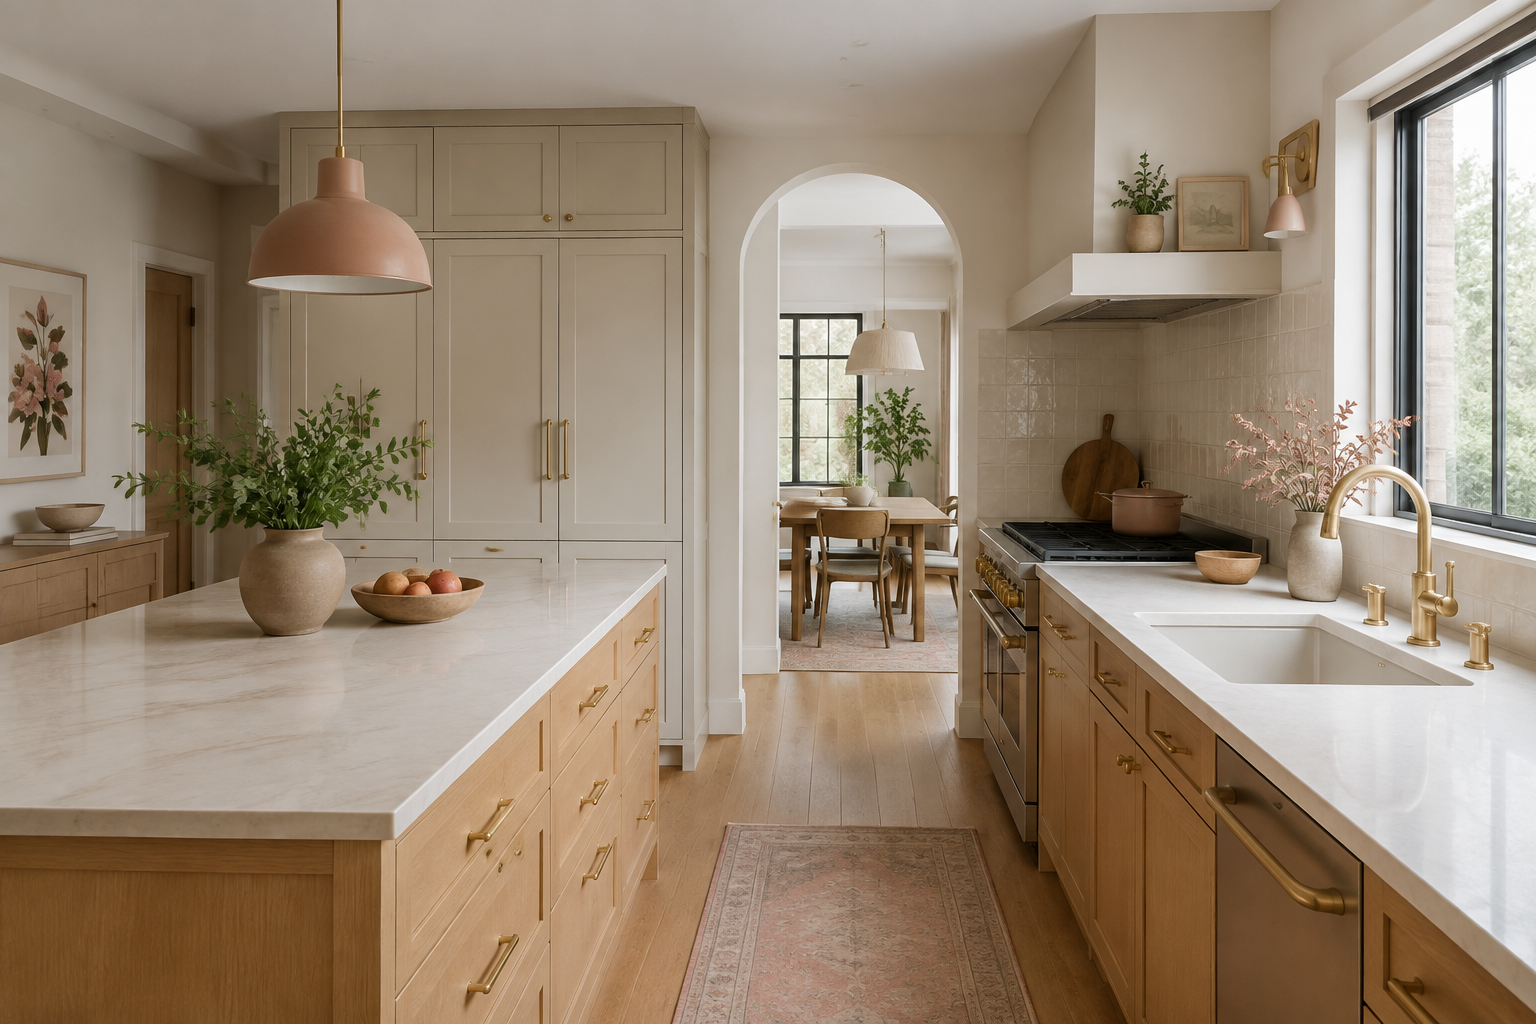
The aisle between an island and a sink, range, or main preparation run has to support the work that happens on both sides. Think about one cook, two cooks, an open drawer, a hot pan, and someone arriving at the sink. The frequent mistake is approving a distance while every door is closed and no one is moving. Measure from the finished counter edge, not only from the cabinet box, and include handles or projecting appliance fronts. Then walk the path with a chair or box standing in for the island.
3. Give seating room to belong
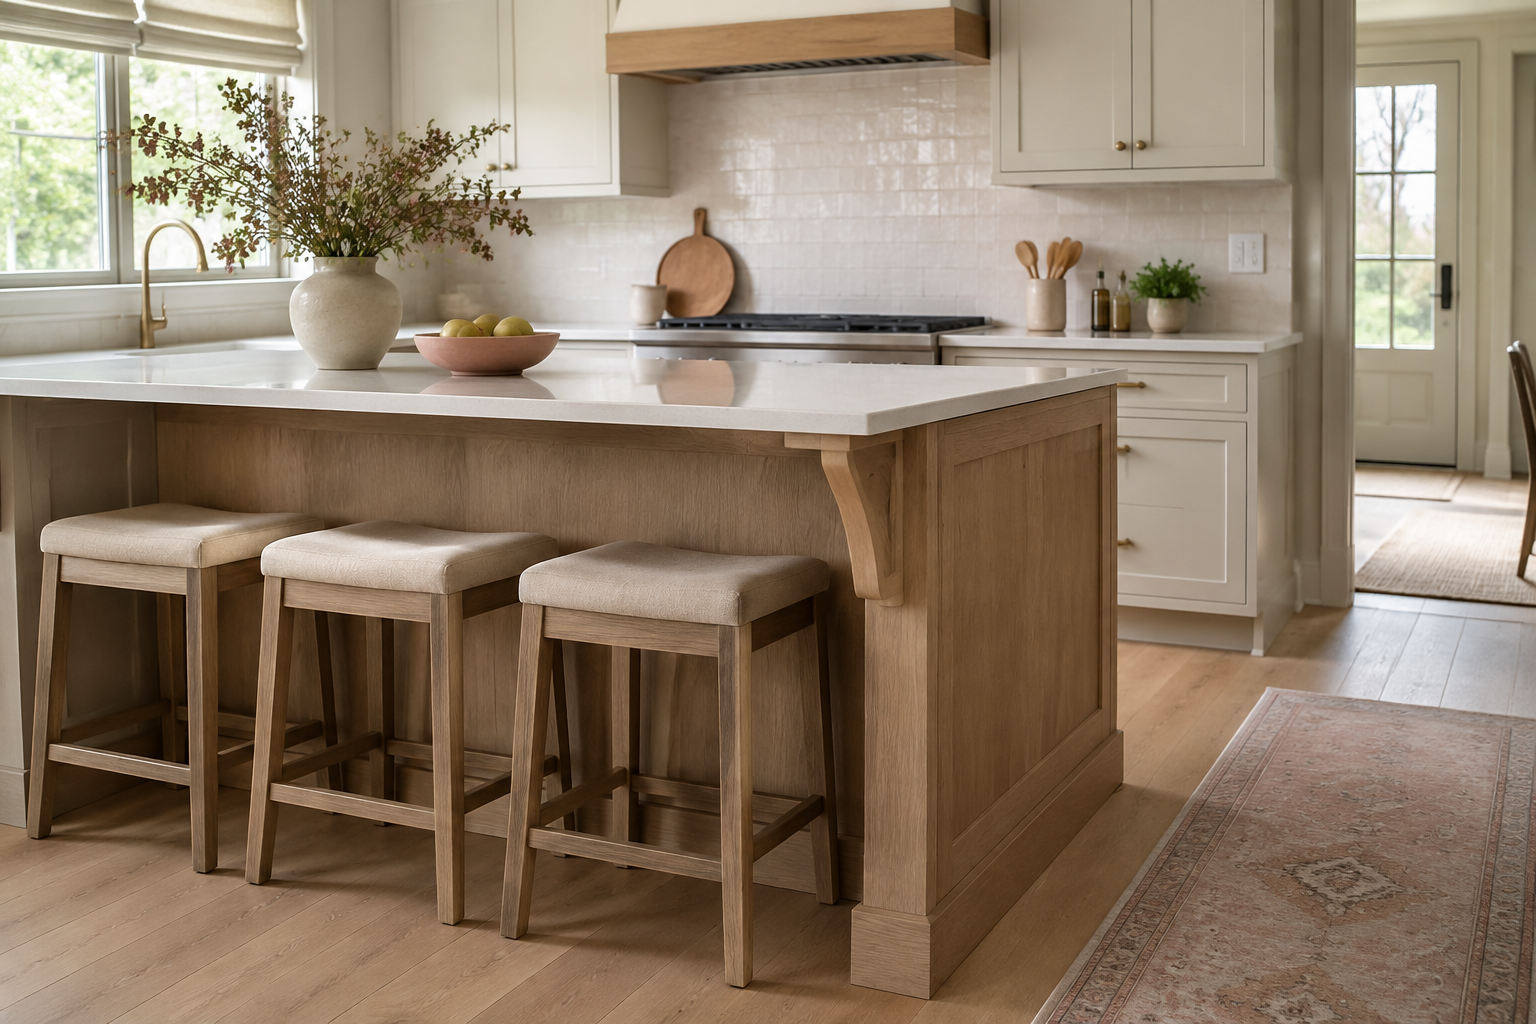
Island seating needs more than a row of stools in an elevation. Test the overhang, knee space, seat width, support brackets, and the room behind a seated person. Pull each real stool away from the counter and imagine someone passing behind it. A common mistake is counting how many stools fit when they are tucked in, then discovering that occupied seats block a doorway or dining path. If the room cannot support the number you hoped for, fewer comfortable seats are better than a crowded promise the kitchen cannot keep.
4. Open every appliance in the plan
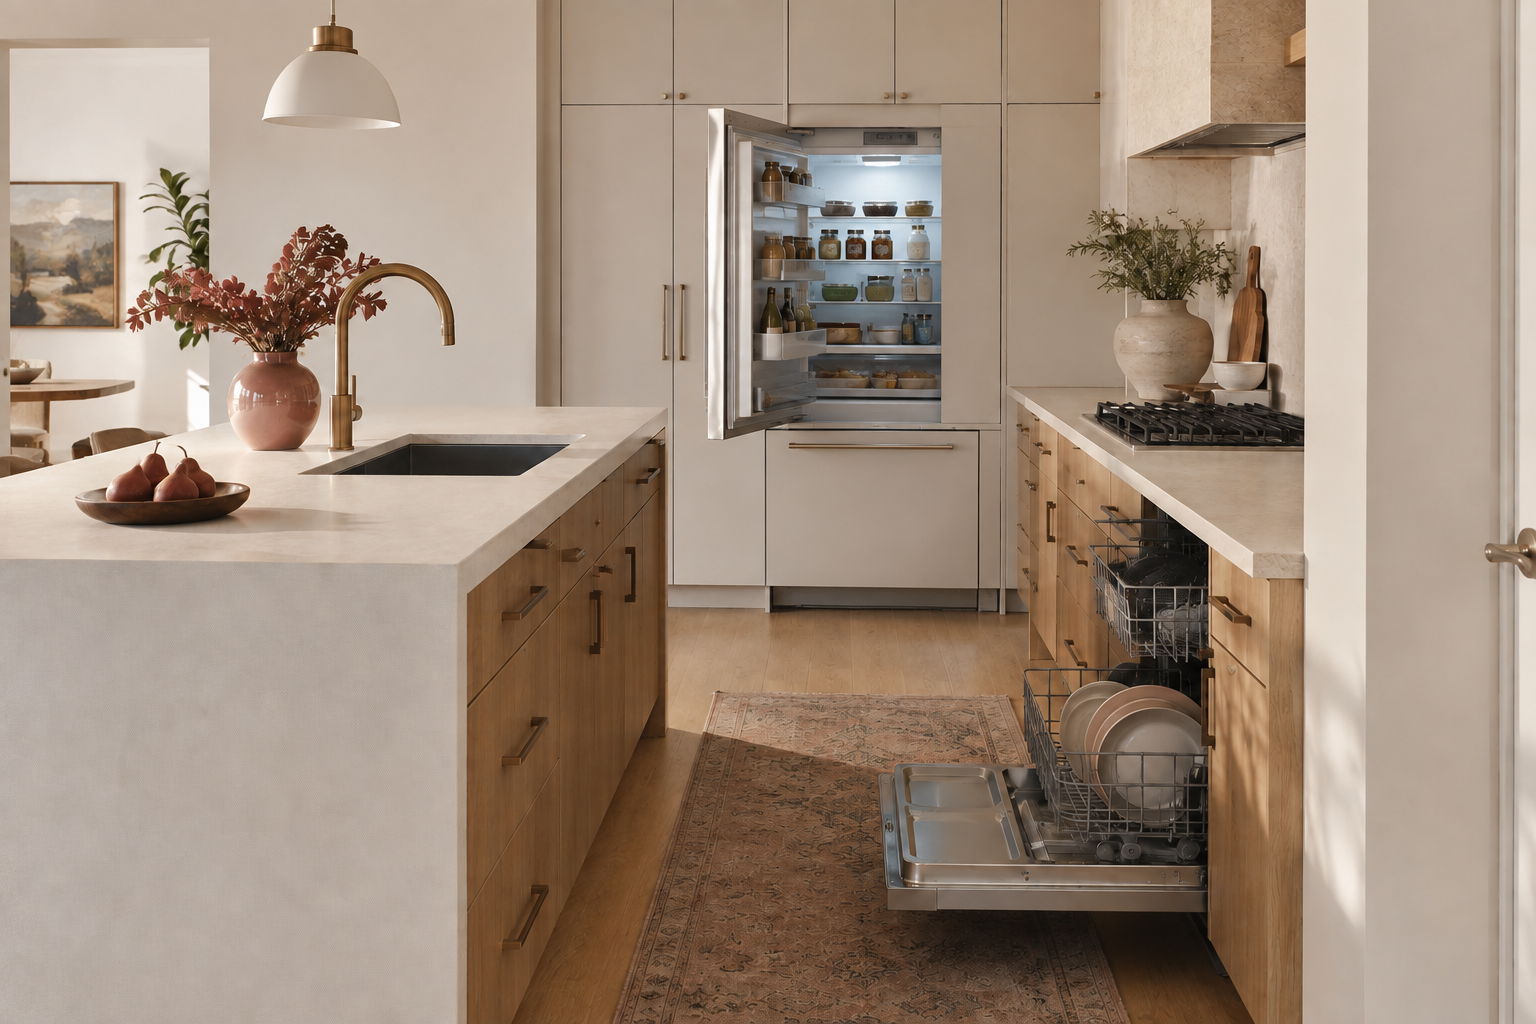
Use the actual appliance specifications and draw the refrigerator, dishwasher, oven, and waste pullout in their open positions. Check who stands in front of each one and whether another person can still move through the room. The classic mistake is measuring only the appliance body or assuming the door swing from a showroom model. Handles, hinges, bottom-freezer drawers, and dishwasher racks all change the occupied space. Keep the model numbers with your plan and have the supplier confirm current dimensions before final cabinet approval.
5. Keep household traffic outside the work zone
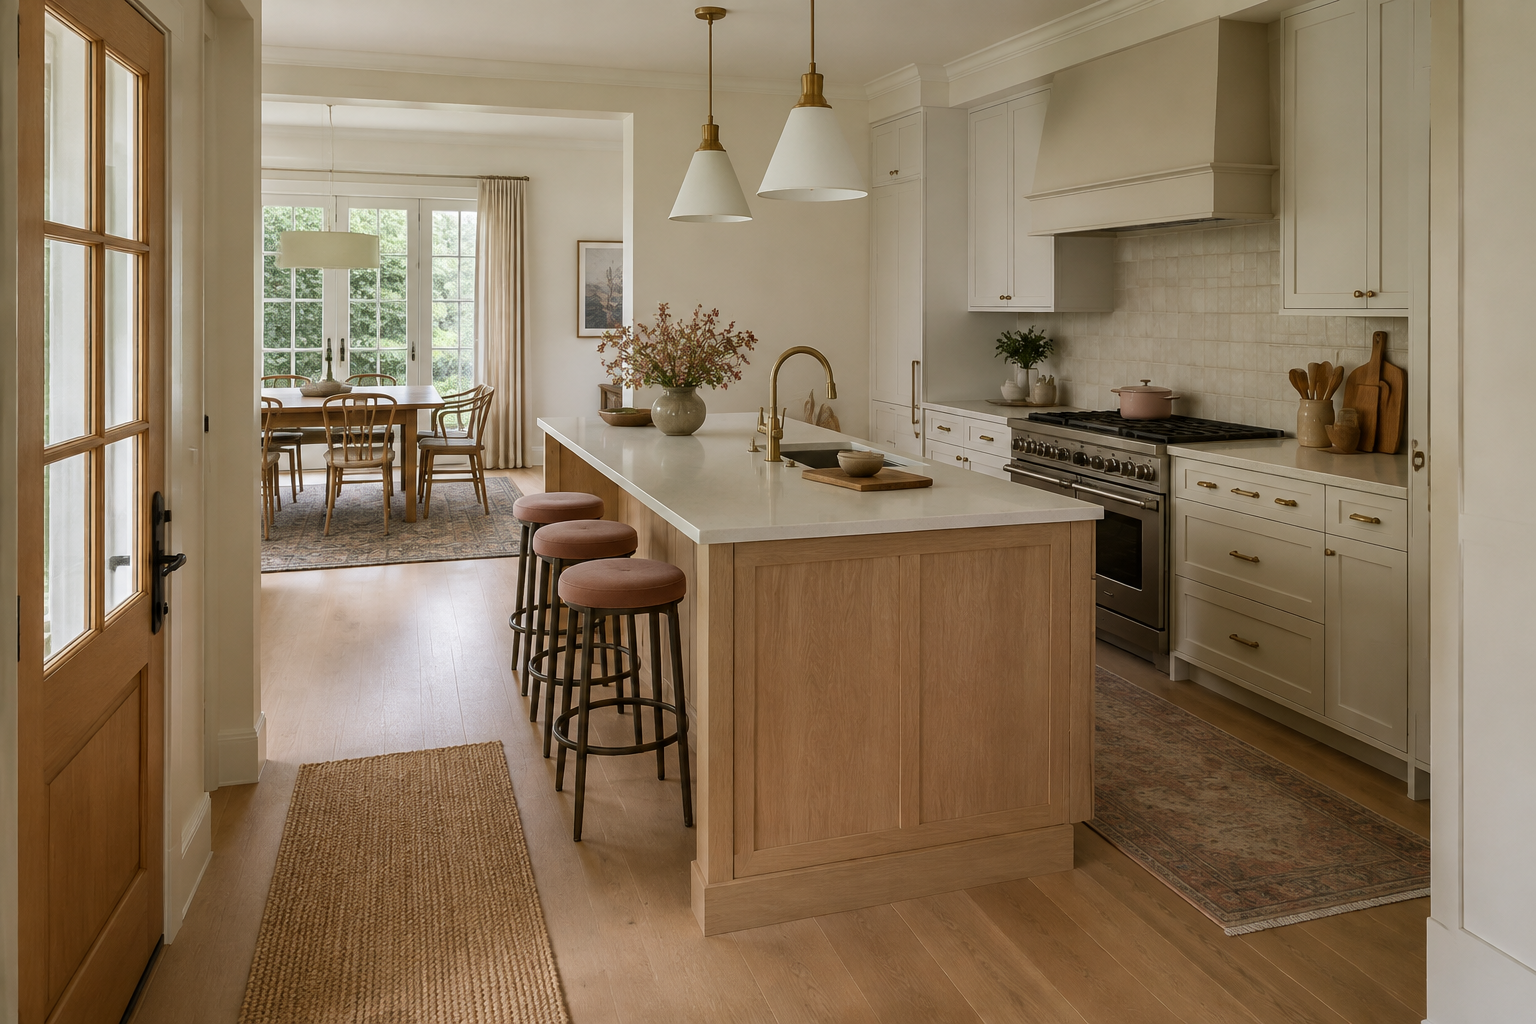
Trace the routes from the entry to the refrigerator, patio, dining table, pantry, and nearby rooms. An island can guide traffic helpfully, or it can force everyone through the cook's busiest space. A common mistake is studying the kitchen as an isolated room and missing the shortcut the household already uses. Draw those paths directly on the plan. If a route repeatedly cuts between the sink and range, shift or shrink the island before asking people to change a habit the architecture encourages.
6. Let the island stay proportional
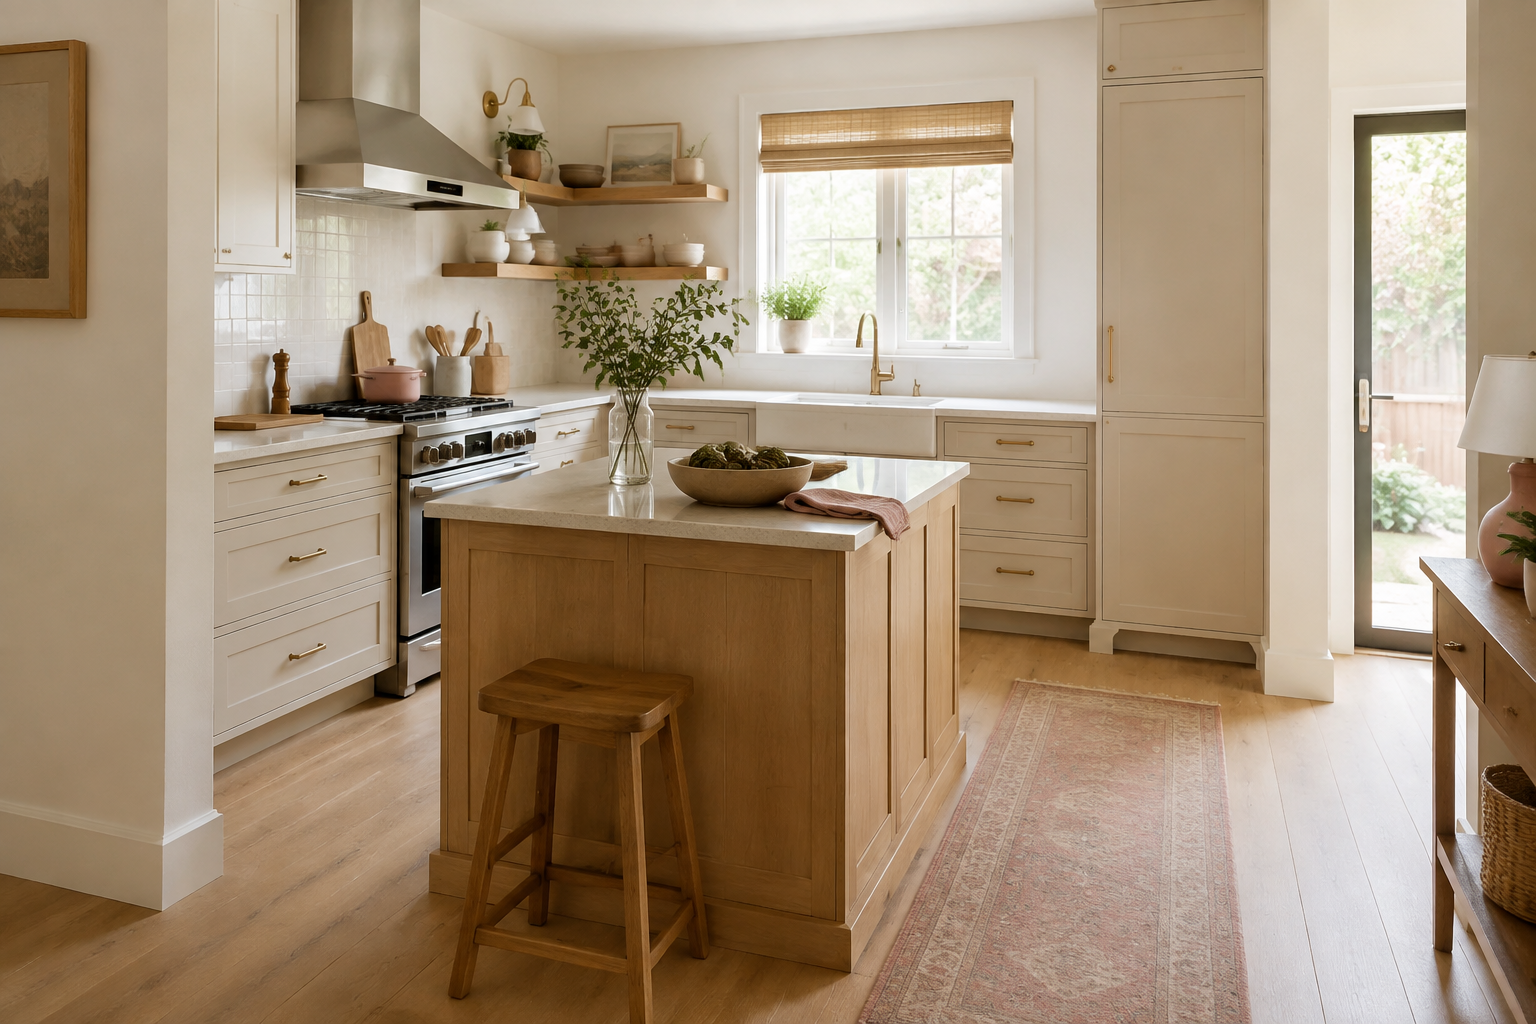
A smaller island that preserves circulation can be more useful than a large one that dominates the room. Start with the jobs it must perform, then size the cabinet modules and countertop around those jobs. The easy mistake is treating maximum surface area as the goal. Oversizing may create a deep center that is hard to clean, long walking routes, awkward seams, or narrow surrounding aisles. Give the room breathing space first. You can always compare a larger version after the compact option works.
7. Coordinate utilities and fabrication early
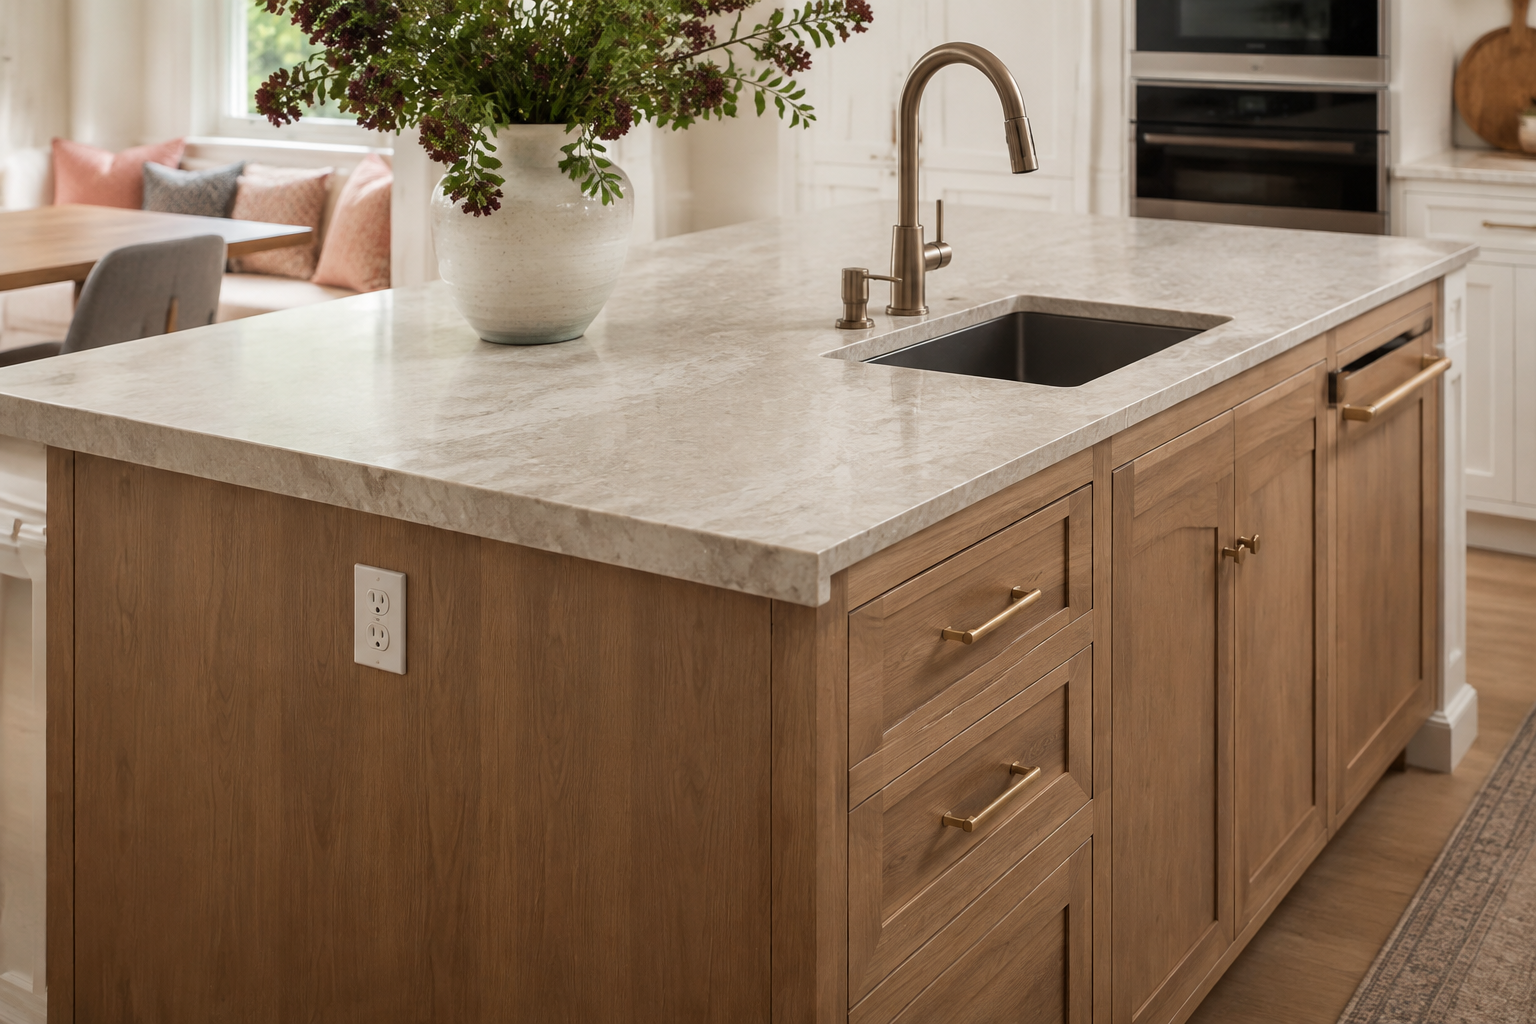
A sink, dishwasher, cooktop, outlet, or large stone slab turns the island into a coordination project. Mark plumbing, ventilation, electrical supply, required clearances, supports, seams, and access before finalizing cabinet widths. A frequent mistake is choosing the island feature first and assuming the trades or fabricator can solve it later. Ask the responsible contractor, trades, appliance supplier, and countertop fabricator what the site and product require. If a simpler dry island performs the same daily job, compare that version too.
8. Assign every cabinet a storage job
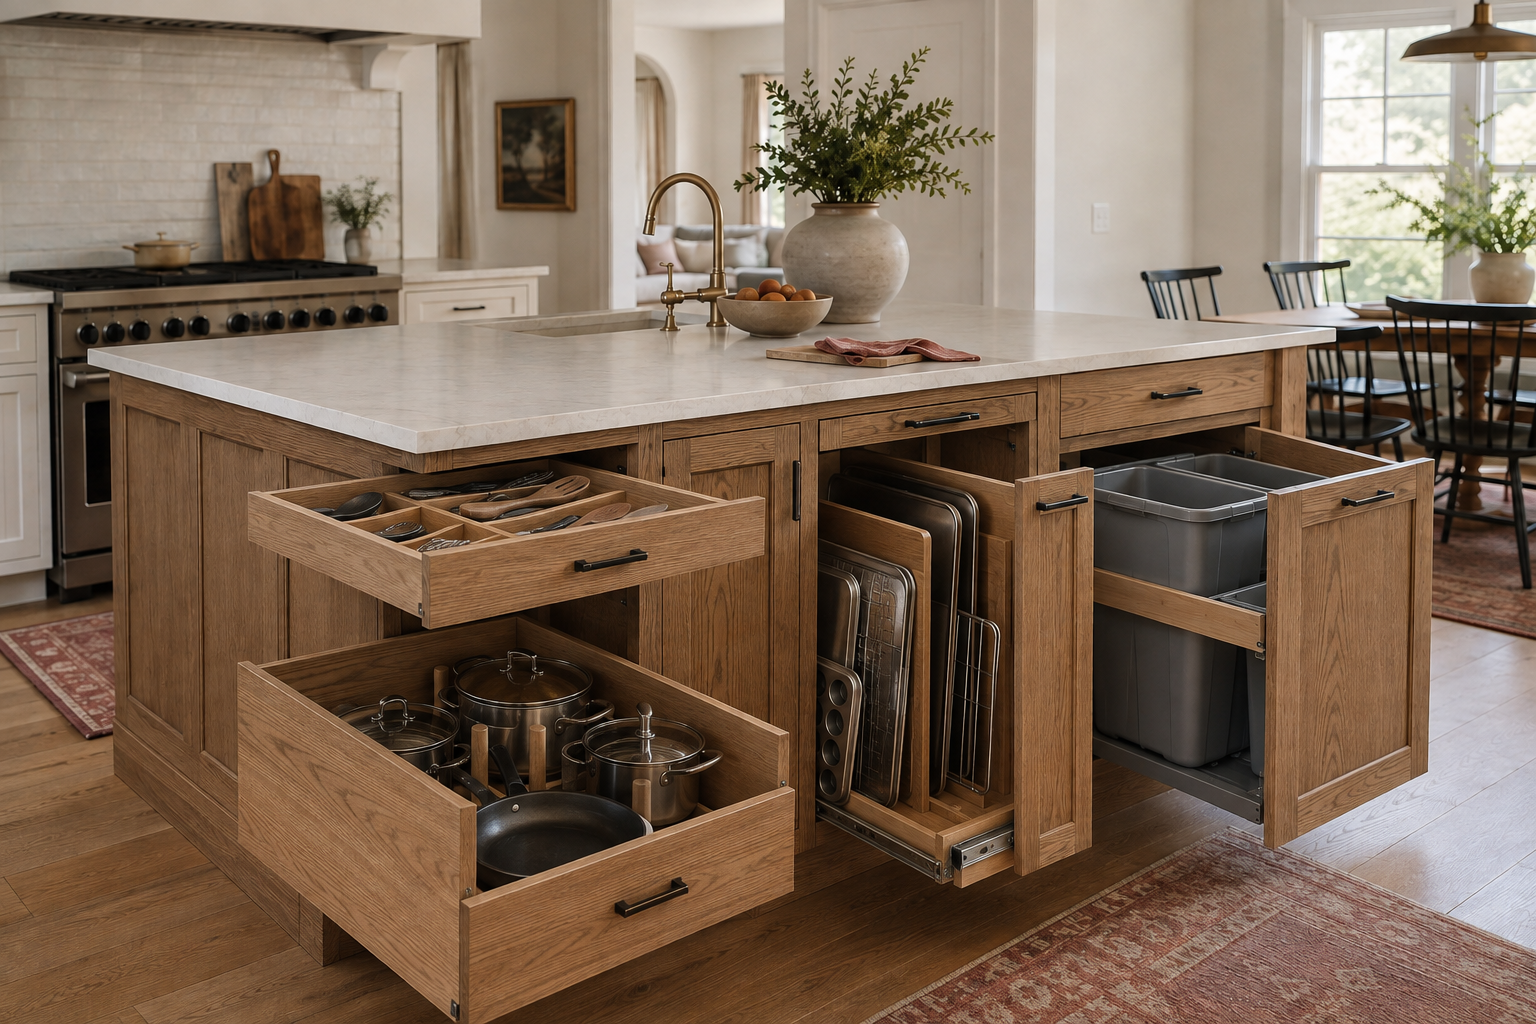
Write down what the island should hold before filling it with generic doors and drawers. Deep drawers may suit mixing bowls and pots; a shallow drawer may belong to preparation tools; waste should sit near the task that creates it. The common mistake is celebrating the total cabinet volume while ignoring where doors open and how far you must carry an item. Place the inventory near its point of use and keep the most frequent items easiest to reach. Storage that supports the routine earns its floor space.
9. Mock up the footprint on the floor
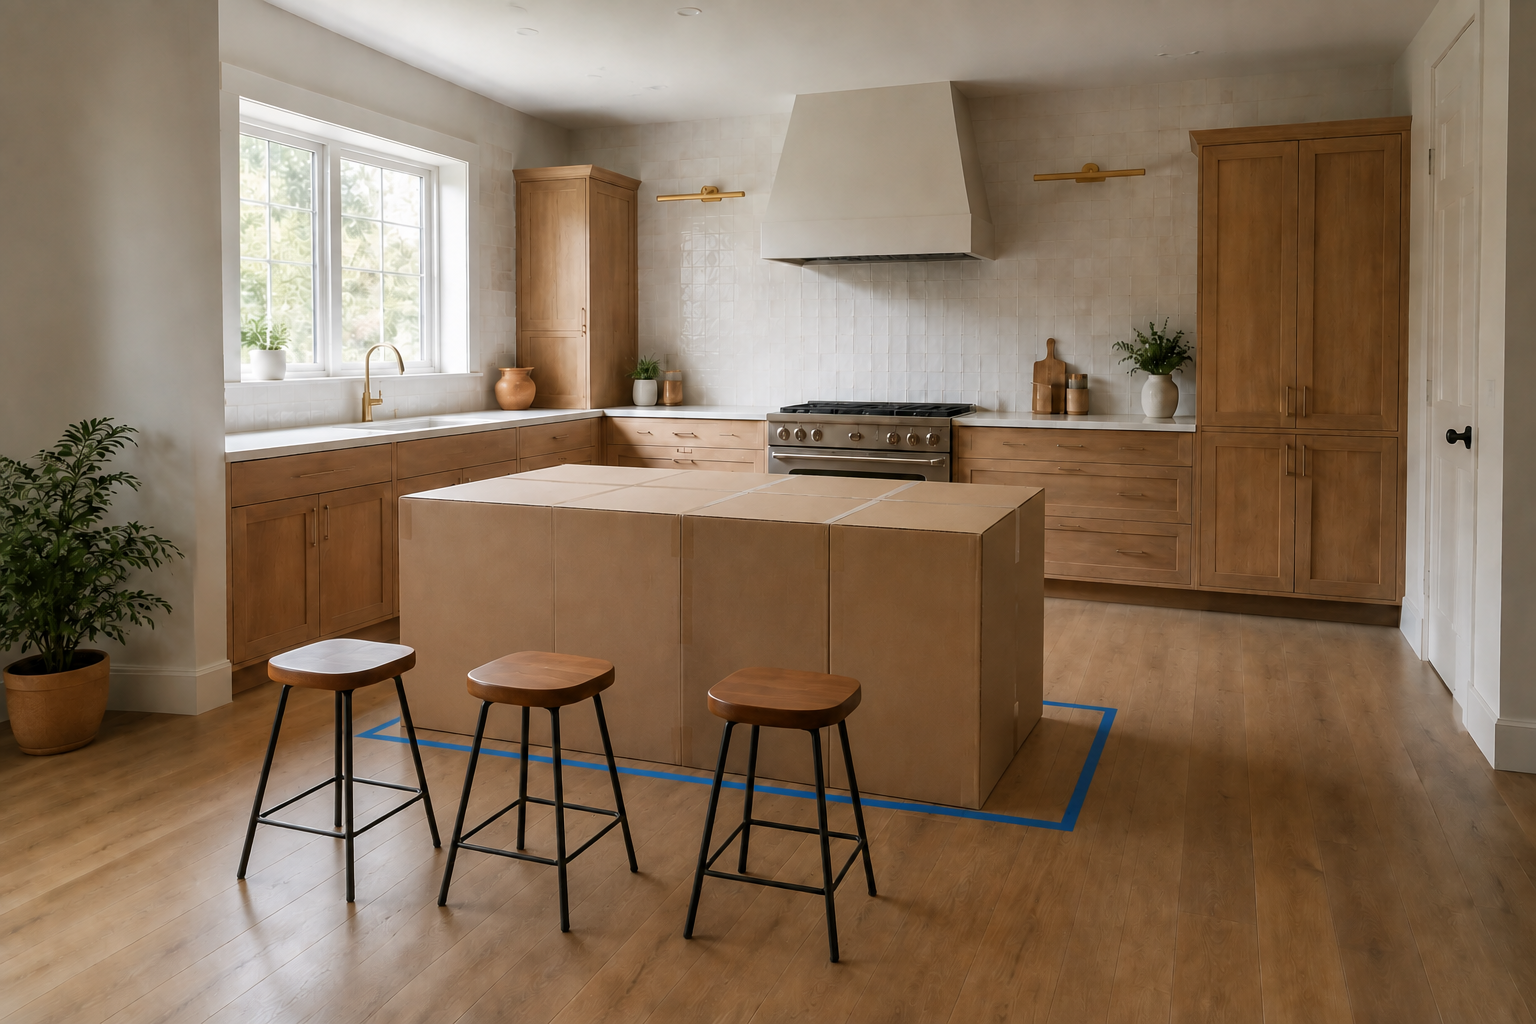
Use removable tape to mark the countertop edge, then add stools and boxes so the test has height and mass. Walk every route, open nearby doors, carry a laundry basket, and stand where a second cook would work. A tape rectangle alone is easy to step over and mentally ignore. The common mistake is testing for a few minutes in an empty room. Leave the mock-up in place if you can and notice where you naturally detour. That small inconvenience is valuable evidence before the real island arrives.
10. Verify the finished dimensions before ordering
Your planning measurements are enough to compare layouts, but they are not the final cabinet, stone, electrical, plumbing, or construction dimensions. Update the plan after demolition or wall changes, confirm finished surfaces, and reconcile it with current cabinet and appliance specifications. A common mistake is carrying an early room sketch unchanged into the order. Give the cabinet supplier, fabricator, installer, responsible trades, and contractor the same current plan, then have each verify the dimensions and requirements they rely on. Careful checking is part of a confident project, not evidence that you started badly.
Keep testing the island in context
The island belongs to the whole room. Compare its fit with the broader layout and use a complete measuring pass to strengthen the first plan.
Plan an Island That Fits Measure Your Kitchen in 10 StepsTest the island while changes are still easy
Use StilePath to draw the room, place the cabinet runs and island, and compare the surrounding paths in 2D and 3D. Begin with the measurements you have, mark assumptions, and improve the plan as the project becomes more certain.
Start Planning Free