
Settle the decisions that become holes, seams, and edges
A countertop can look like one quiet surface after installation, but it begins as a network of cabinet supports, appliance openings, seams, cutouts, overhangs, wall conditions, edges, and drilled fixtures. Once material is fabricated, casual changes can become expensive or impossible. You can prepare without pretending to be the fabricator. Gather your tape measure, pencil, paper, current cabinet plan, appliance specifications, sink and faucet sheets, and material samples. These ten checks will help you ask better questions before template day. Final field dimensions, material suitability, engineering, support, seams, fabrication, transport, installation, utilities, code, and warranty decisions belong with the fabricator, cabinet provider, licensed trades, installer, contractor, and responsible project professionals.
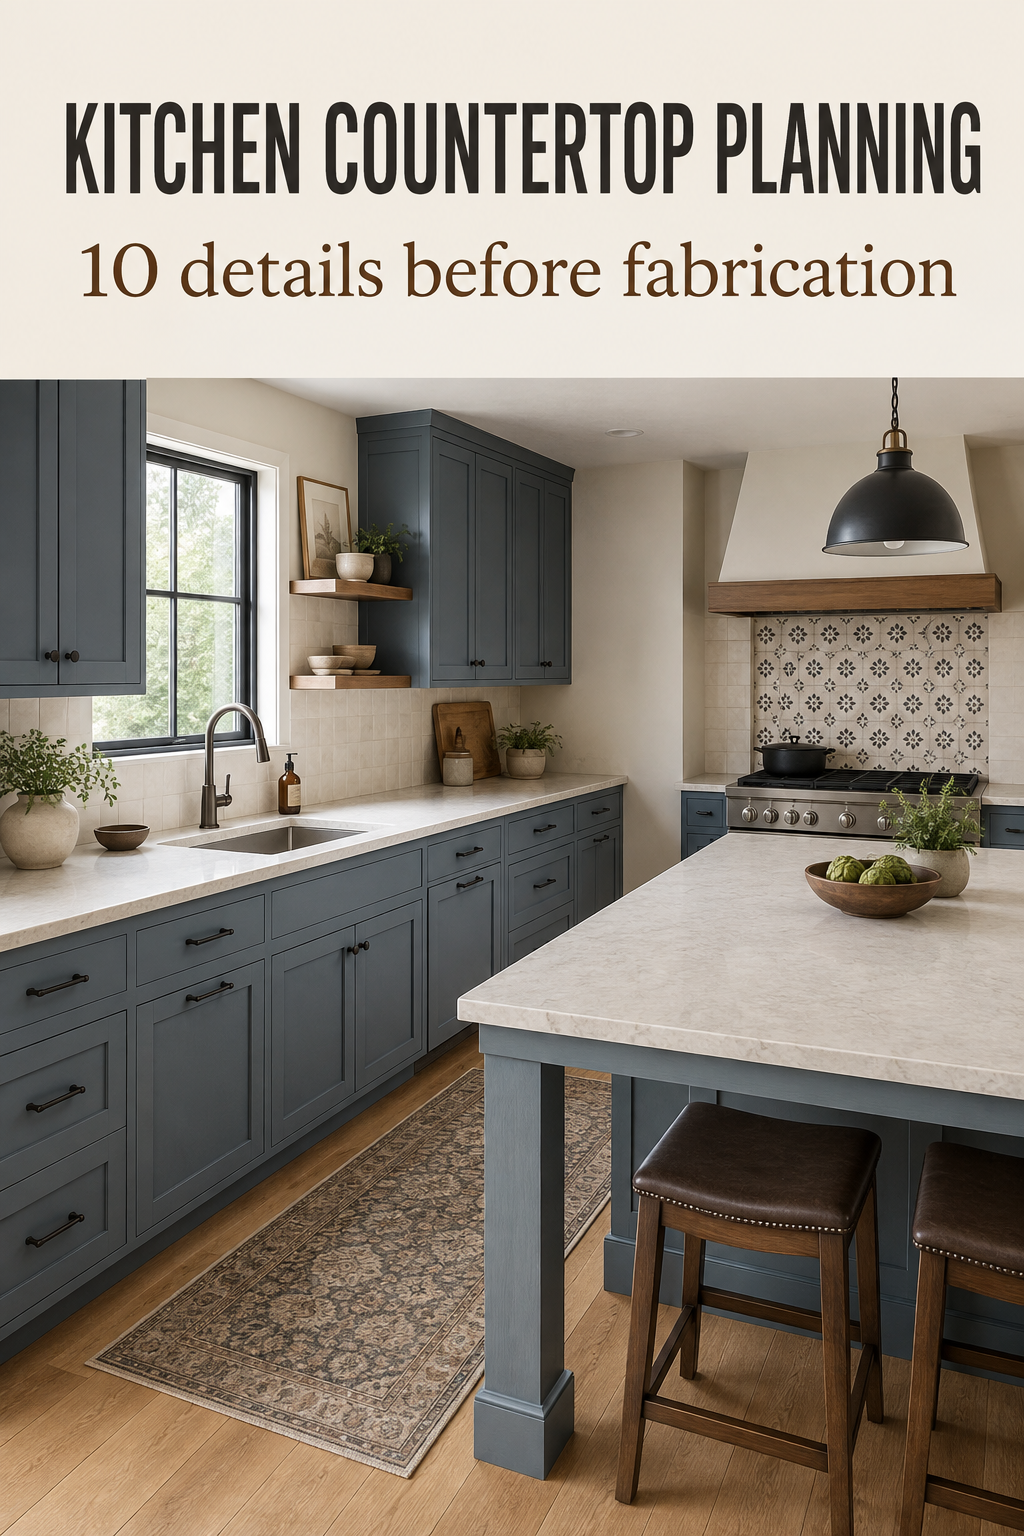
1. Freeze the cabinet and appliance layout first
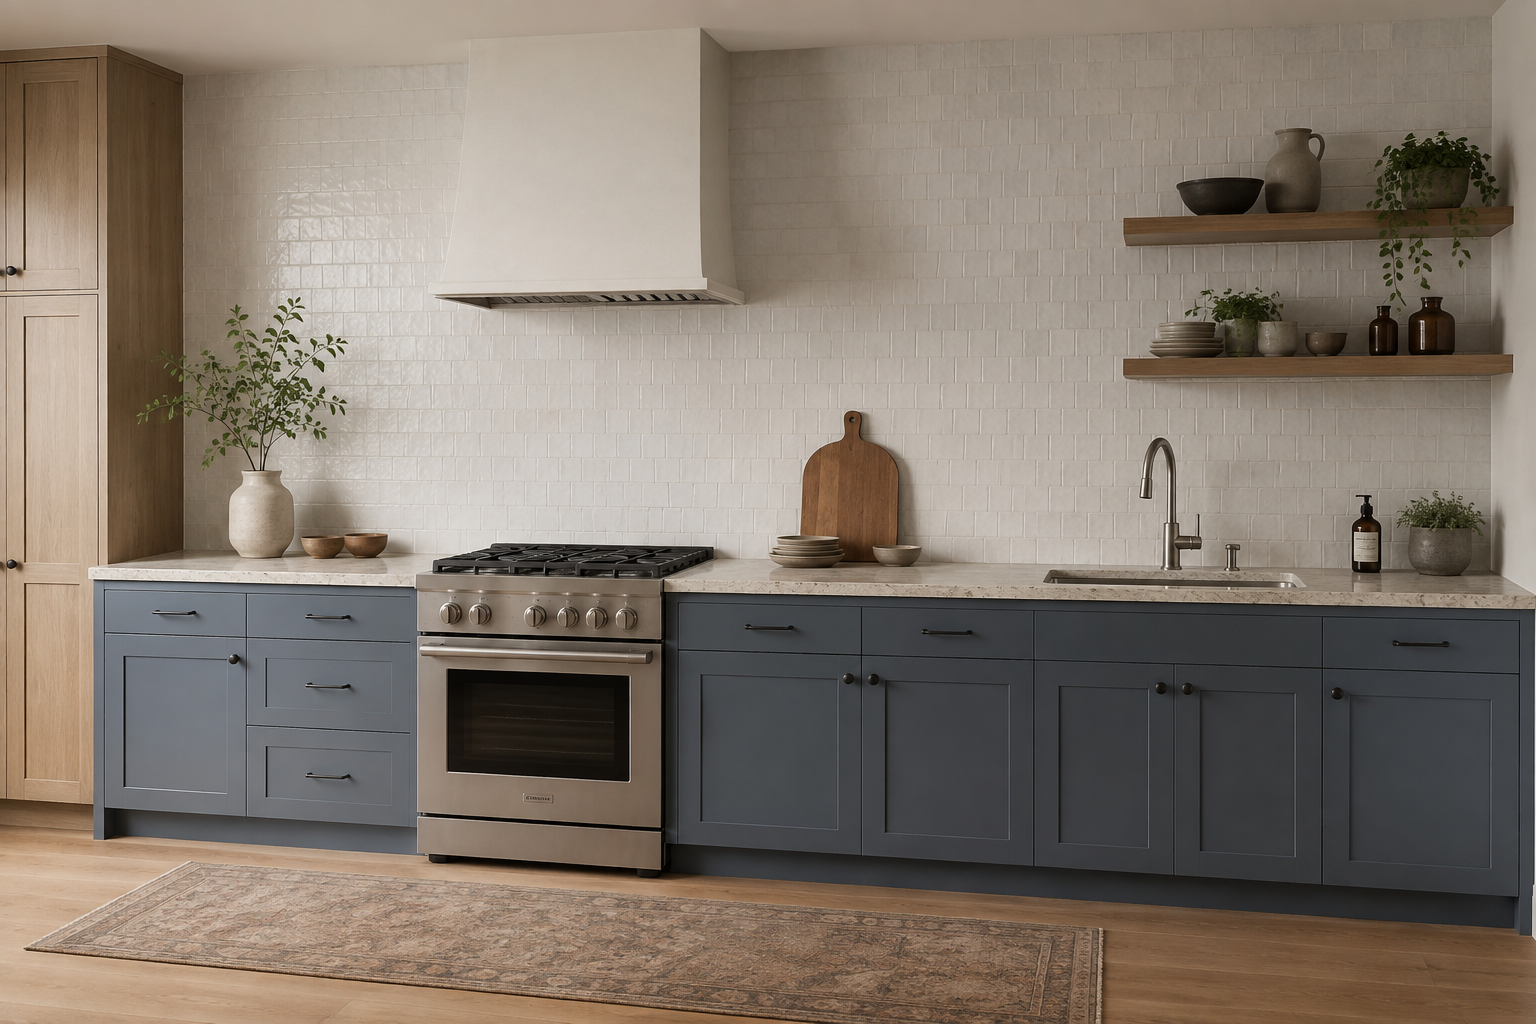
Countertops are shaped by what supports and interrupts them. Confirm the cabinet run, finished ends, fillers, panels, sink base, range, cooktop, refrigerator panels, dishwashers, beverage appliances, and every height or depth change. A common mistake is templating while a cabinet is still out of level, loose, missing, or scheduled to move. Another is using the advertised appliance width instead of the current installation document and verified opening. Walk the elevation left to right and label every transition. Ask the cabinet installer and fabricator to state when the bases are ready for template and who confirms each appliance opening, support point, finished surface, and item that must be present on site.
2. Discuss every seam before the slab is cut

Seams may be needed because of slab size, pattern, access, fabrication, transport, support, sink placement, or the geometry of the room. They are real joints, not lines that a rendering can promise to erase. A common mistake is assuming the fabricator will hide every seam without discussing where it lands. Another is choosing a seam from appearance alone and ignoring support, stress, handling, or the sink and cooktop cutouts. Ask the fabricator to mark proposed seams on the current plan and, where applicable, on a slab layout. Review the joint location, support below, pattern transition, expected appearance, edge alignment, access route, and who has final approval.
3. Lock the sink, cooktop, and cutout specifications
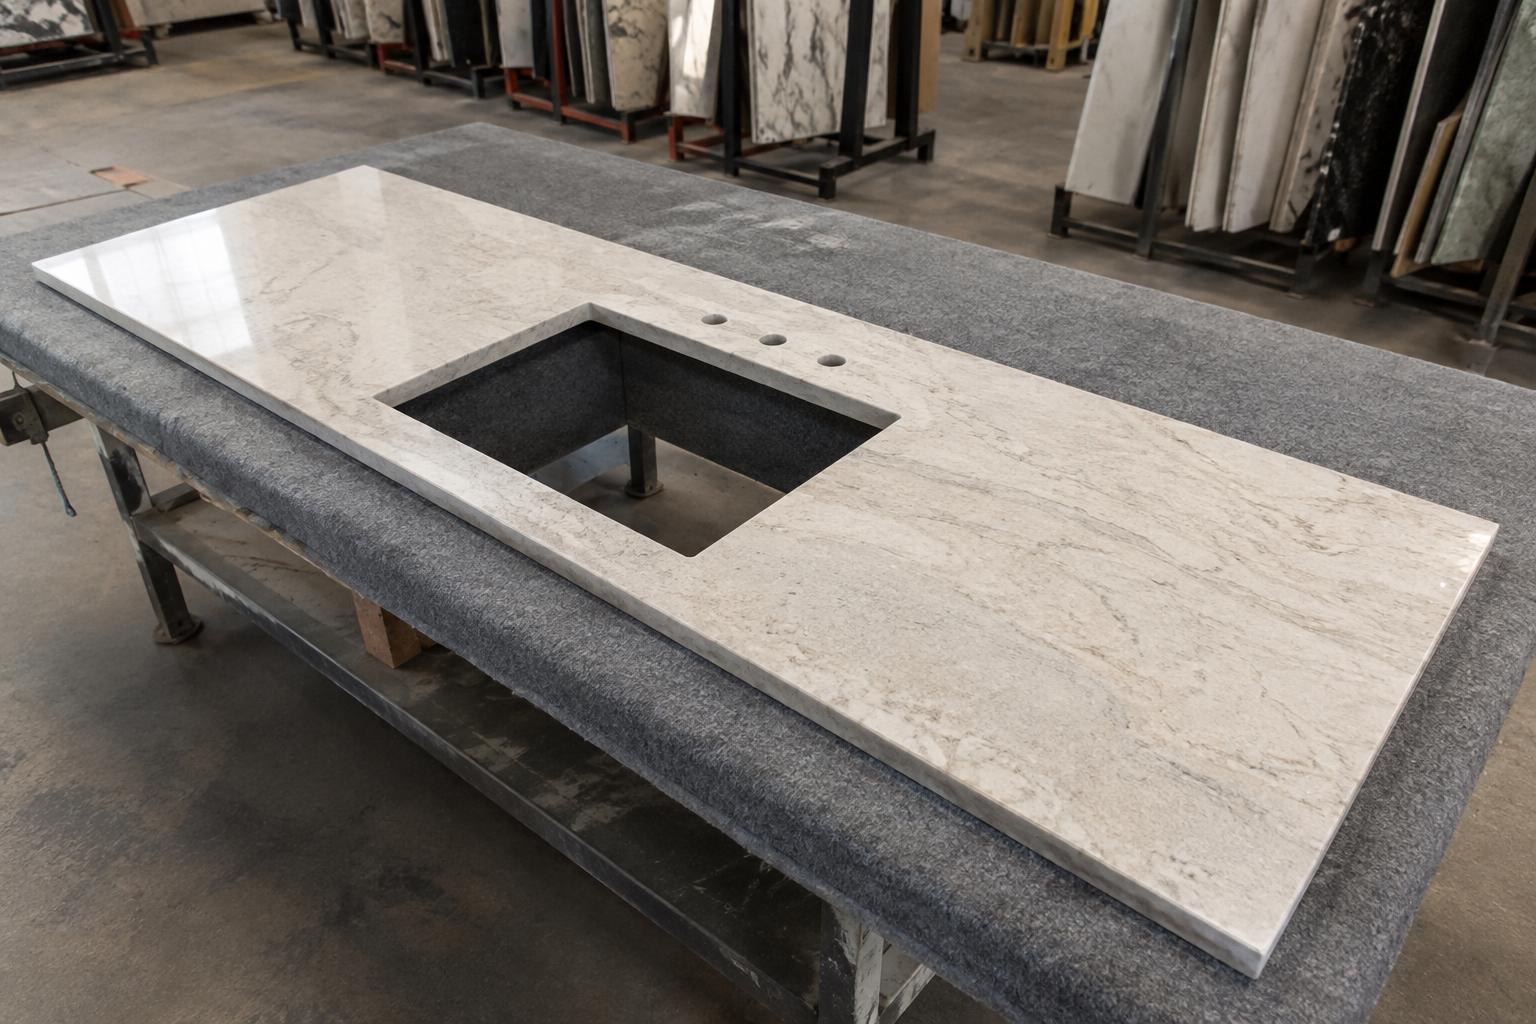
Give the fabricator the exact current model information and required templates for the sink, cooktop, downdraft, faucet, soap dispenser, filter, or other penetrations. A common mistake is ordering from a product photo or nominal size while the actual rim, clips, corner radius, reveal, mounting rail, or control clearance differs. Another is changing a sink after template and expecting the same cutout to work. Confirm which physical items must be on site and who supplies each template. Ask the fabricator, cabinet provider, appliance provider, plumber, electrician, and installer to coordinate cutout support, attachment, heat or moisture conditions, access, utilities, and warranty requirements before fabrication.
4. Size overhangs only with a real support plan
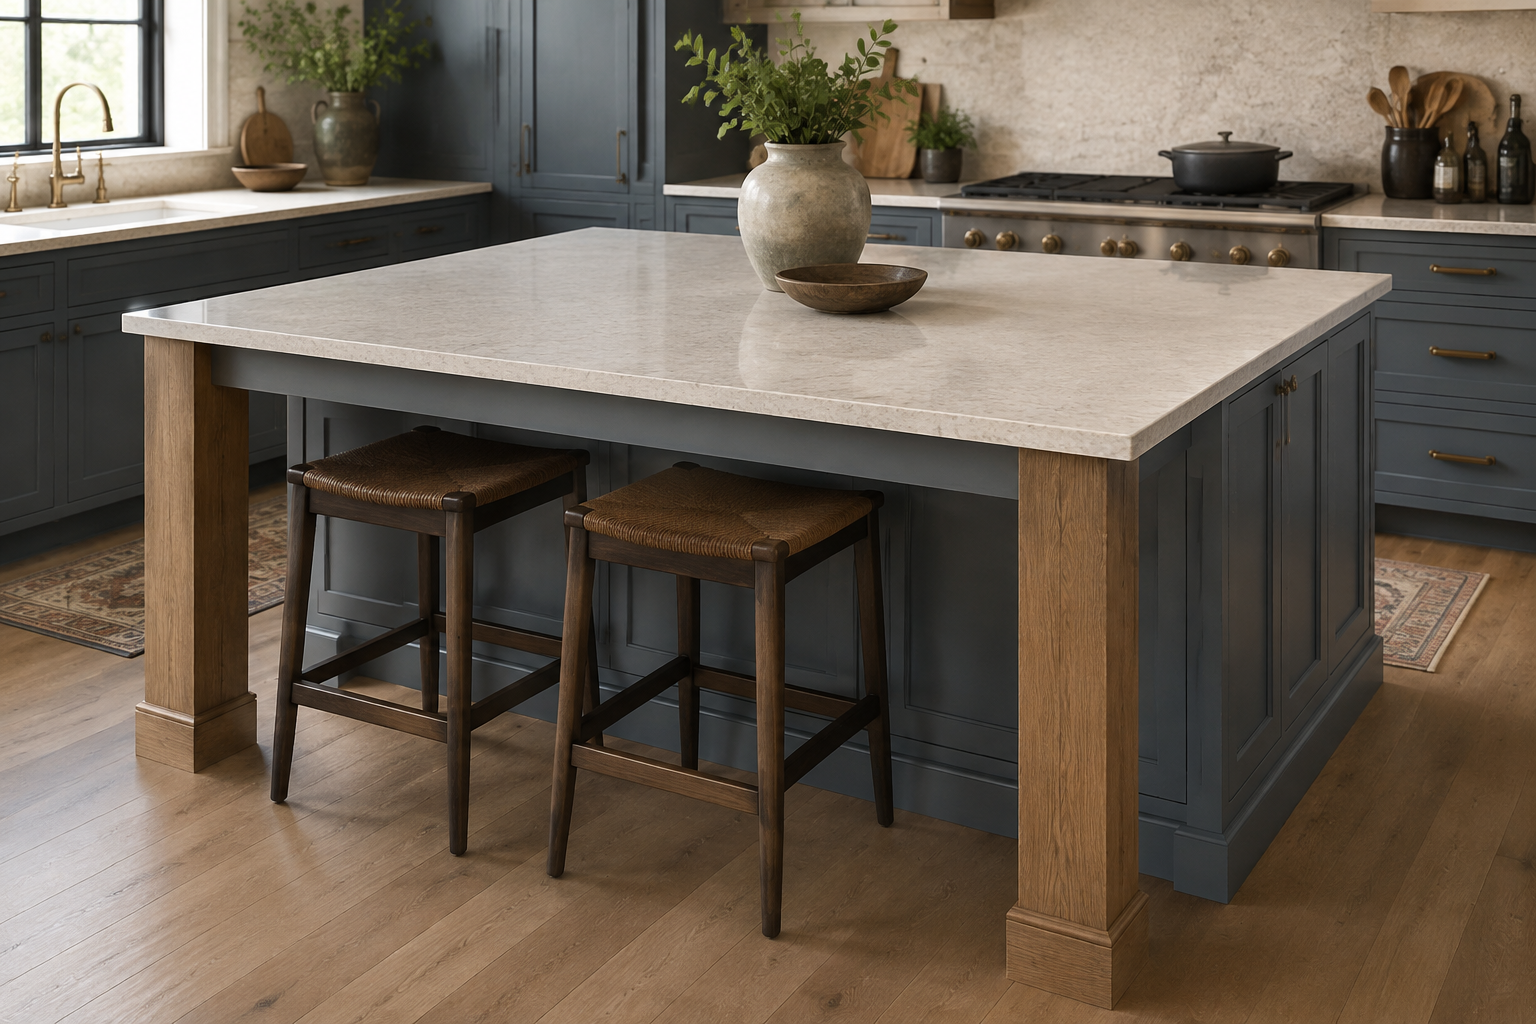
An island overhang affects seating depth, knees, stools, aisle space, slab handling, edge exposure, and structural support. The acceptable span depends on the actual material, thickness, layout, reinforcement, cabinet construction, attachment, and provider requirements. A common mistake is copying an overhang dimension from a photograph. Another is adding decorative legs after the layout is finished and discovering they occupy the stool or walkway. Draw the top, cabinet, support, stool, and seated person together. Let the fabricator, cabinet provider, installer, contractor, and engineer when required approve the support method and attachment before cabinets, floors, utilities, or stone are committed.
5. Protect appliance clearances and service paths
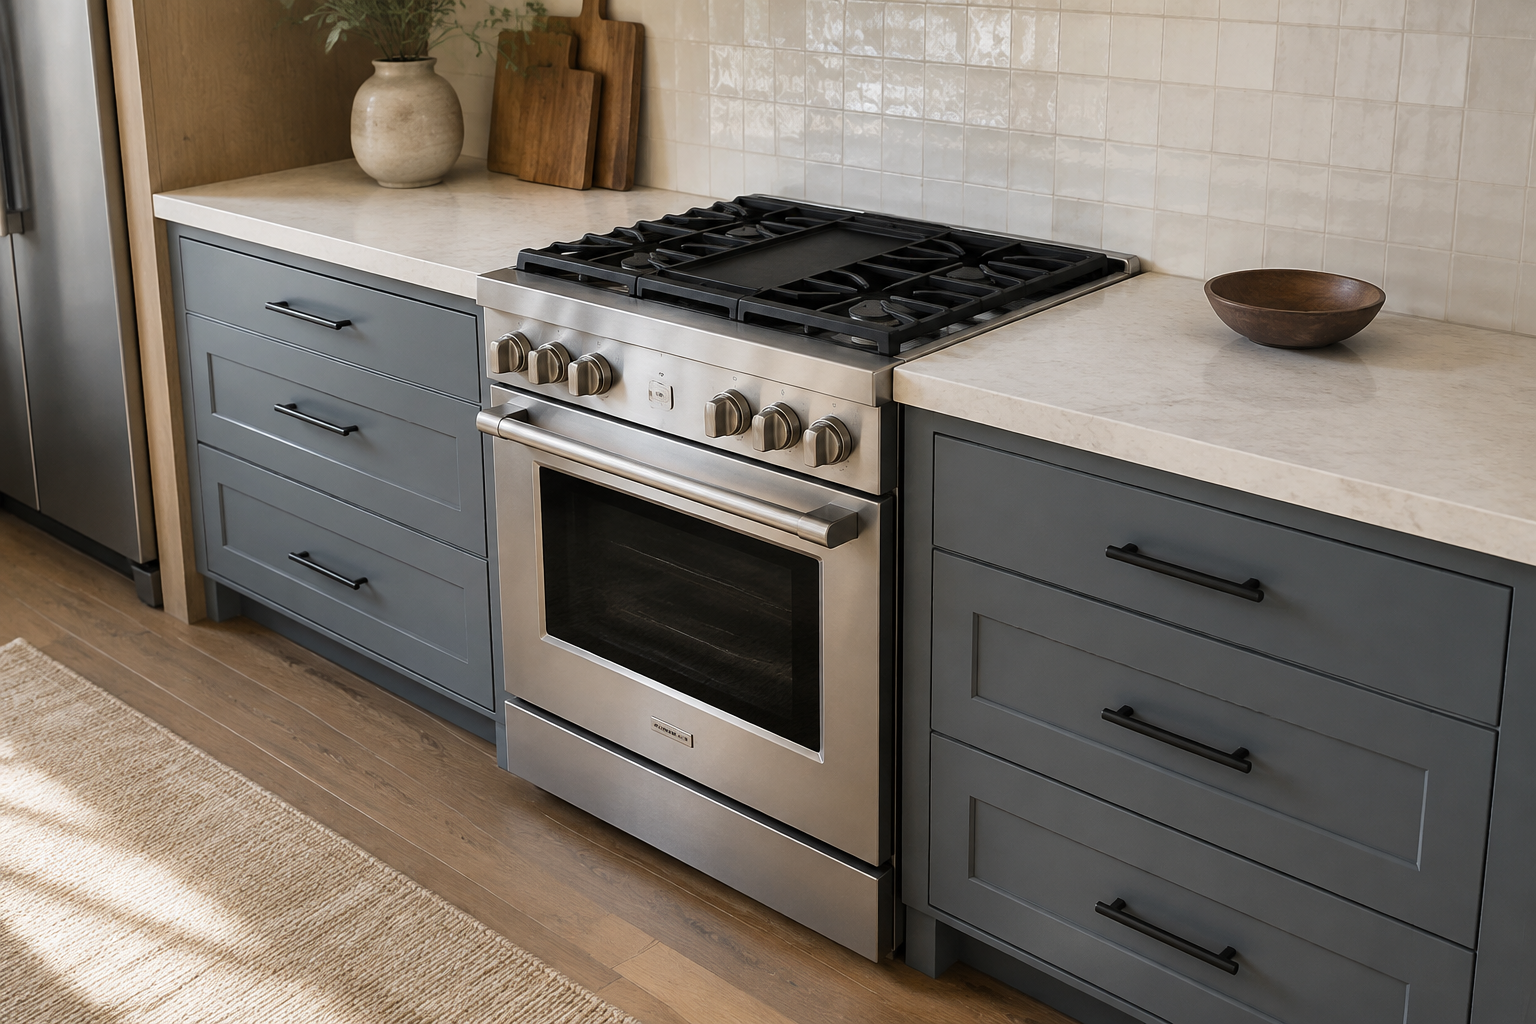
A range, cooktop, dishwasher, undercounter refrigerator, and other appliance may need specific gaps, support, ventilation, heat protection, leveling, electrical or plumbing access, and removal clearance. A common mistake is asking the countertop to close a gap that the appliance instructions intentionally require. Another is letting a projecting edge, waterfall panel, seam, or support bracket block service or door movement. Put the current appliance installation pages beside the cabinet and countertop drawings. Ask each provider to identify who verifies the finished opening, counter edge, adjacent material, anti-tip or support condition, utilities, ventilation, and service route. Use the manufacturer's current requirements, not a similar model seen online.
6. Plan for real walls, scribes, and backsplash transitions
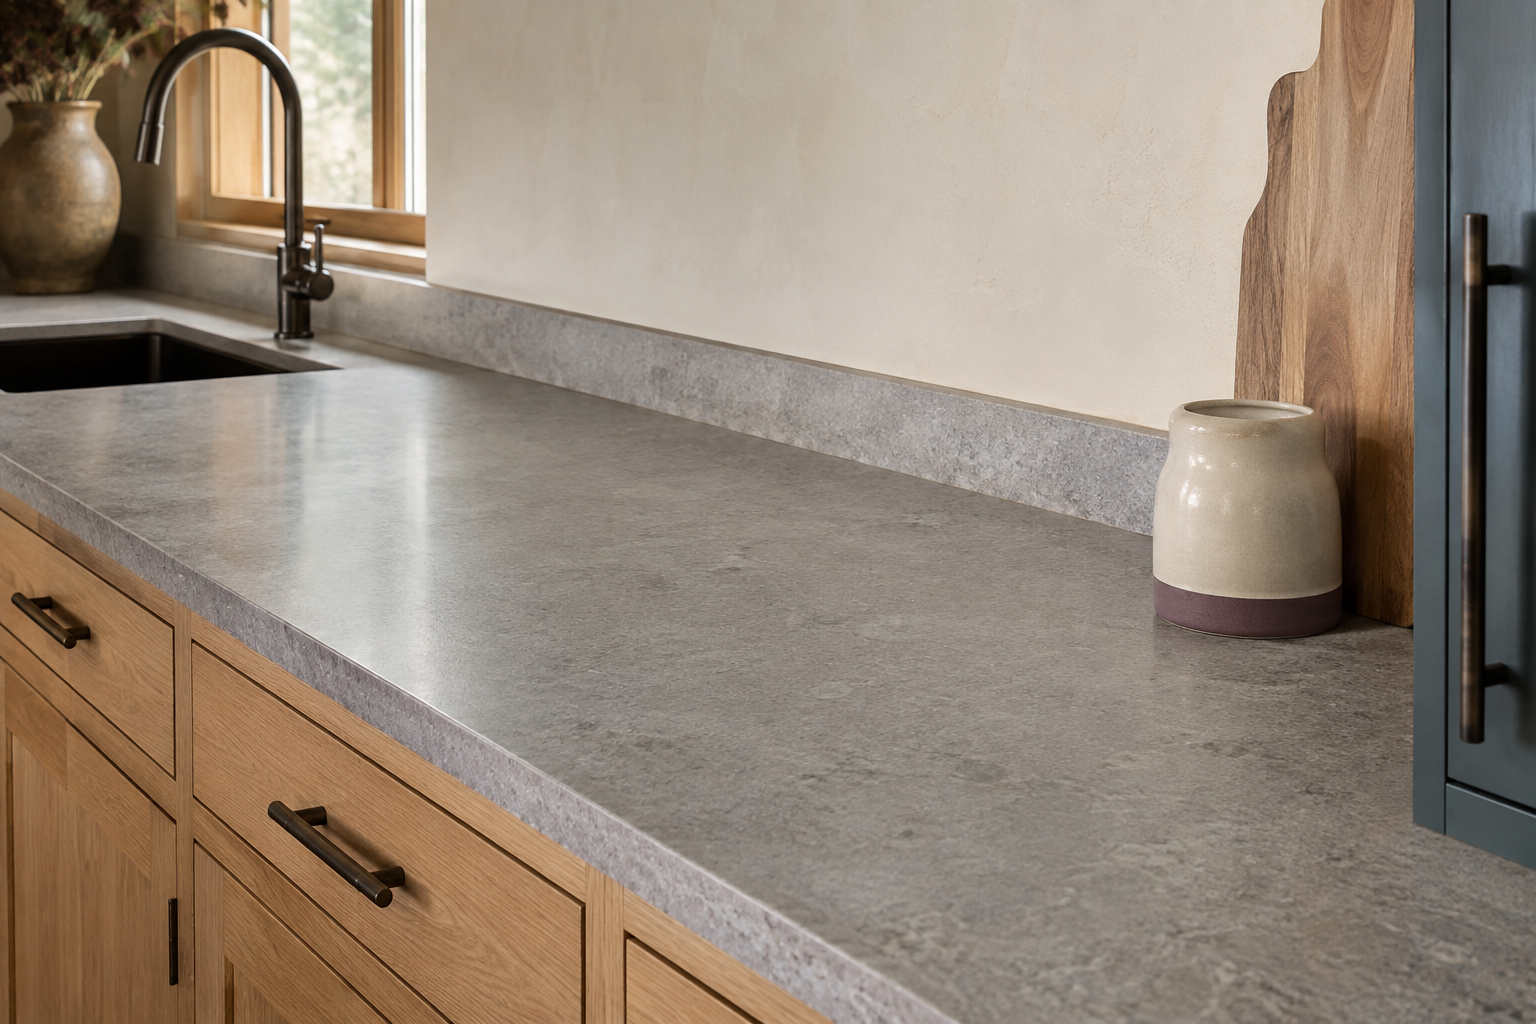
Walls can bow, lean, step, or meet out of square. The final top may need a planned scribe, controlled joint, backsplash, return, or other finish rather than a perfect digital line. A common mistake is pushing cabinets tight to an irregular wall and expecting the fabricator to make every variation invisible. Another is deciding the backsplash after the counter edge and window sill are fixed. Note wall changes, casing, outlets, finished panels, and where the backsplash begins and ends. The fabricator and finish trades should agree on template assumptions, acceptable gaps, joints, substrates, sequence, waterproofing where applicable, and which conditions need correction before the surface is installed.
7. Choose the edge from a real full-thickness sample
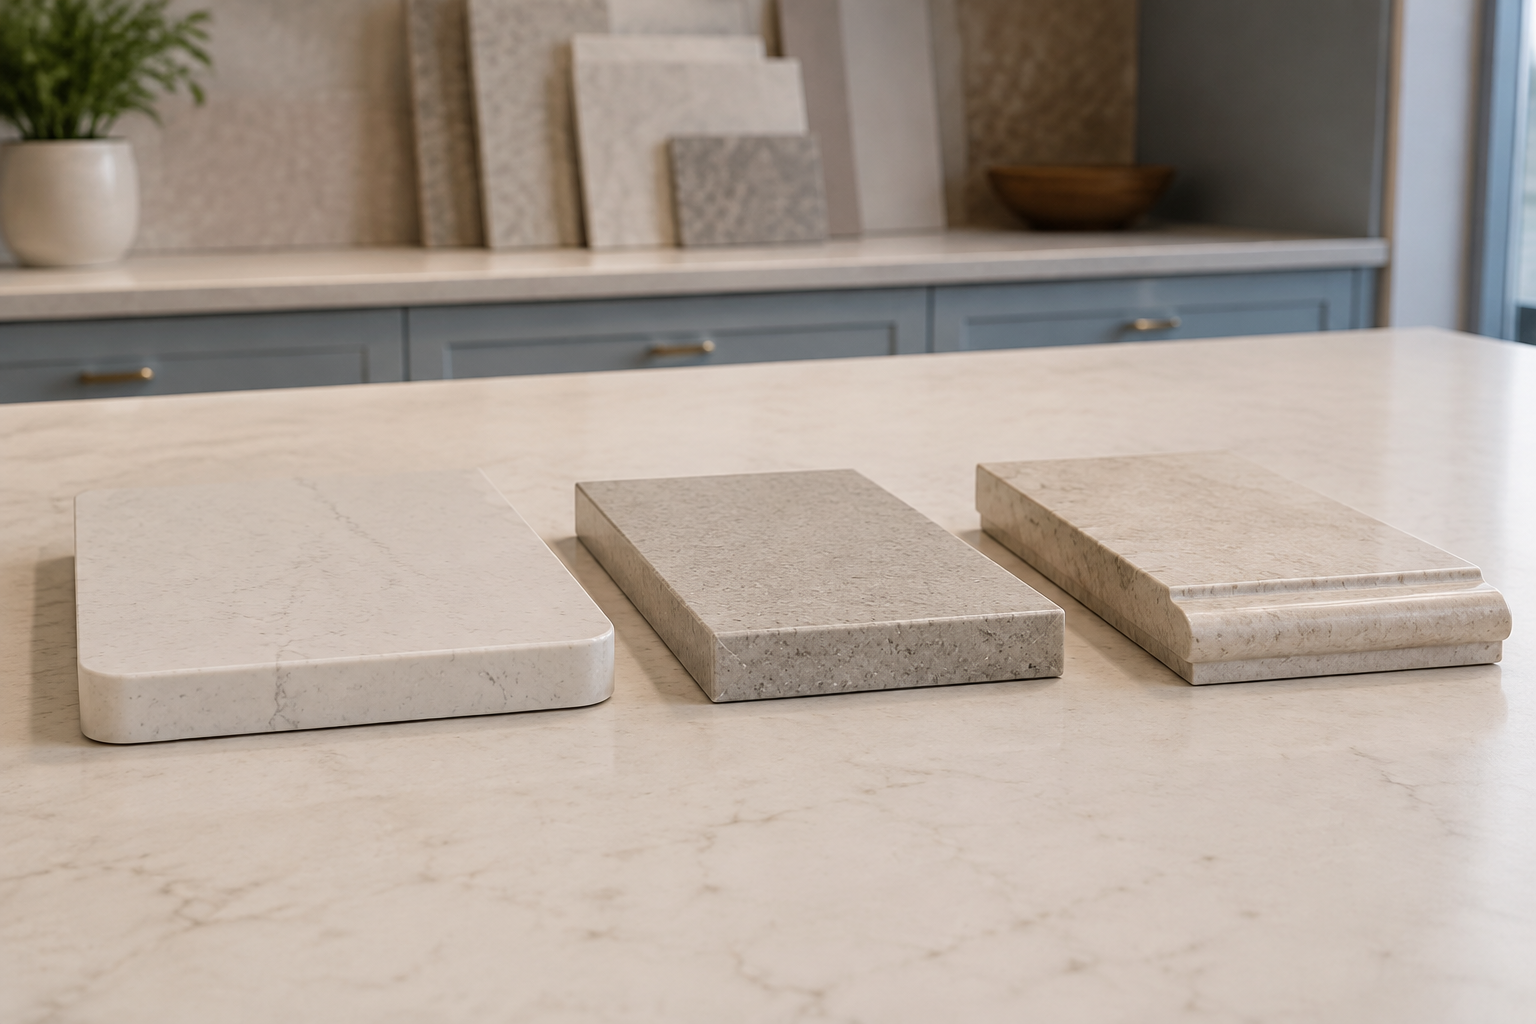
An eased, bevel, rounded, ogee, mitered, or other edge changes the shadow, apparent thickness, touch, cleaning, corner treatment, fabrication, and price. Names can vary among providers, so the label alone is not enough. A common mistake is approving a tiny drawing and expecting the finished edge to have the same scale. Another is using an elaborate profile at a tight aisle or sink without considering touch and maintenance. Hold a real sample at counter height, look at inside and outside corners, and ask how it transitions at appliances, seams, waterfalls, backsplashes, and exposed ends. Record the provider's exact edge designation on the approved order.
8. Judge the slab or sample in the room's light

Color, pattern, gloss, translucency, texture, and movement can change beside cabinet paint, wood, floor, wall color, backsplash, and daylight. A small sample may not represent the full variation of a natural or patterned slab. A common mistake is choosing under cool showroom lighting and never seeing the material in the kitchen. Another is approving a dramatic pattern without discussing which parts will land at the island, sink, seam, or most visible edge. Compare the largest current sample available in morning, afternoon, and evening light. Ask how slabs are selected, documented, laid out, bookmatched if relevant, approved, and substituted if availability changes.
9. Finalize faucet and accessory holes together
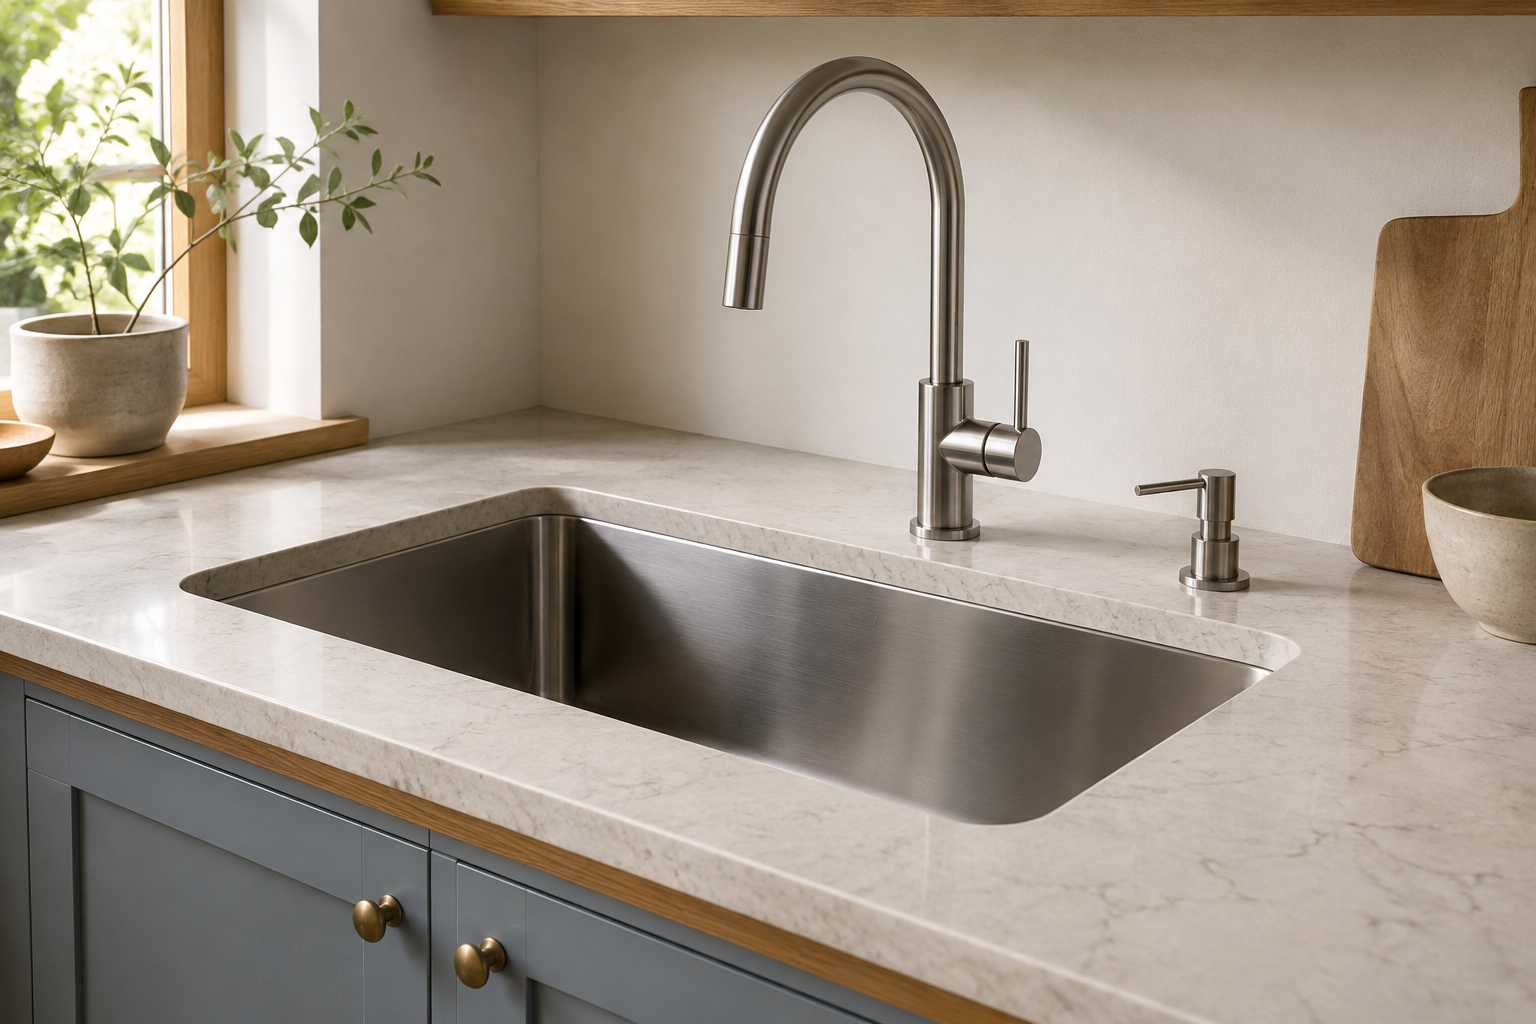
List every intended hole: faucet body, separate handles if the selected model has them, side spray, soap dispenser, filtered-water faucet, air switch, air gap where required, or other approved accessory. Then check spacing against the sink rim, clips, cabinet rails, backsplash, window sill, operable sash, wall, and hand access below. A common mistake is drilling a just-in-case hole or forgetting a fixture until installation. Another is placing the faucet from the sink centerline without checking the actual spout reach and handle movement. Use the current fixture specifications and let the fabricator and licensed trades confirm hole sizes, positions, access, and local requirements.
10. Treat template and final approval as a handoff
Before fabrication, gather the current cabinet plan, field template, seam plan, slab or material approval, edge, backsplashes, supports, overhangs, cutouts, appliance openings, fixture holes, finished ends, delivery path, installation sequence, exclusions, care, warranty, and change process. The final common mistake is assuming template day automatically resolves every design question. Another is approving from memory while an older sink or appliance sheet remains in the file. You do not need to direct fabrication. Ask the fabricator to explain what is now fixed, what can still change, who signs off, and which people must receive the approved revision before cutting begins.
Connect the countertop to cabinets, sink, and island
The top is only as coordinated as the cabinets, appliances, fixtures, and clearances beneath and around it. These guides help you continue the same review.
Plan the Sink Cabinet Check the Kitchen IslandGive the fabricator one coordinated kitchen plan
Use StilePath to place cabinet runs, appliances, sinks, islands, overhangs, and household routes before template. Start free, label every specification or field condition that still needs provider verification, and bring one current layout into the countertop handoff.
Start Planning Free