
Kitchen Cabinet Organizers: 10 Choices Before You Order Inserts
Cabinet organizers are satisfying because they promise a place for everything. The useful question is not how many inserts you can add; it is which few remove friction from the way you cook, unload dishes, and put groceries away. You can do the first part yourself. Get a tape, pencil, and paper, open the cabinets, and make an honest list of what you reach for every day. You do not need professional measuring skills to notice a stack of pans that falls over or a mixer you never lift from a low shelf. These checks help you choose organizers that fit the cabinet, clear the door and plumbing, carry the load, and still make sense after the kitchen is no longer perfectly styled.
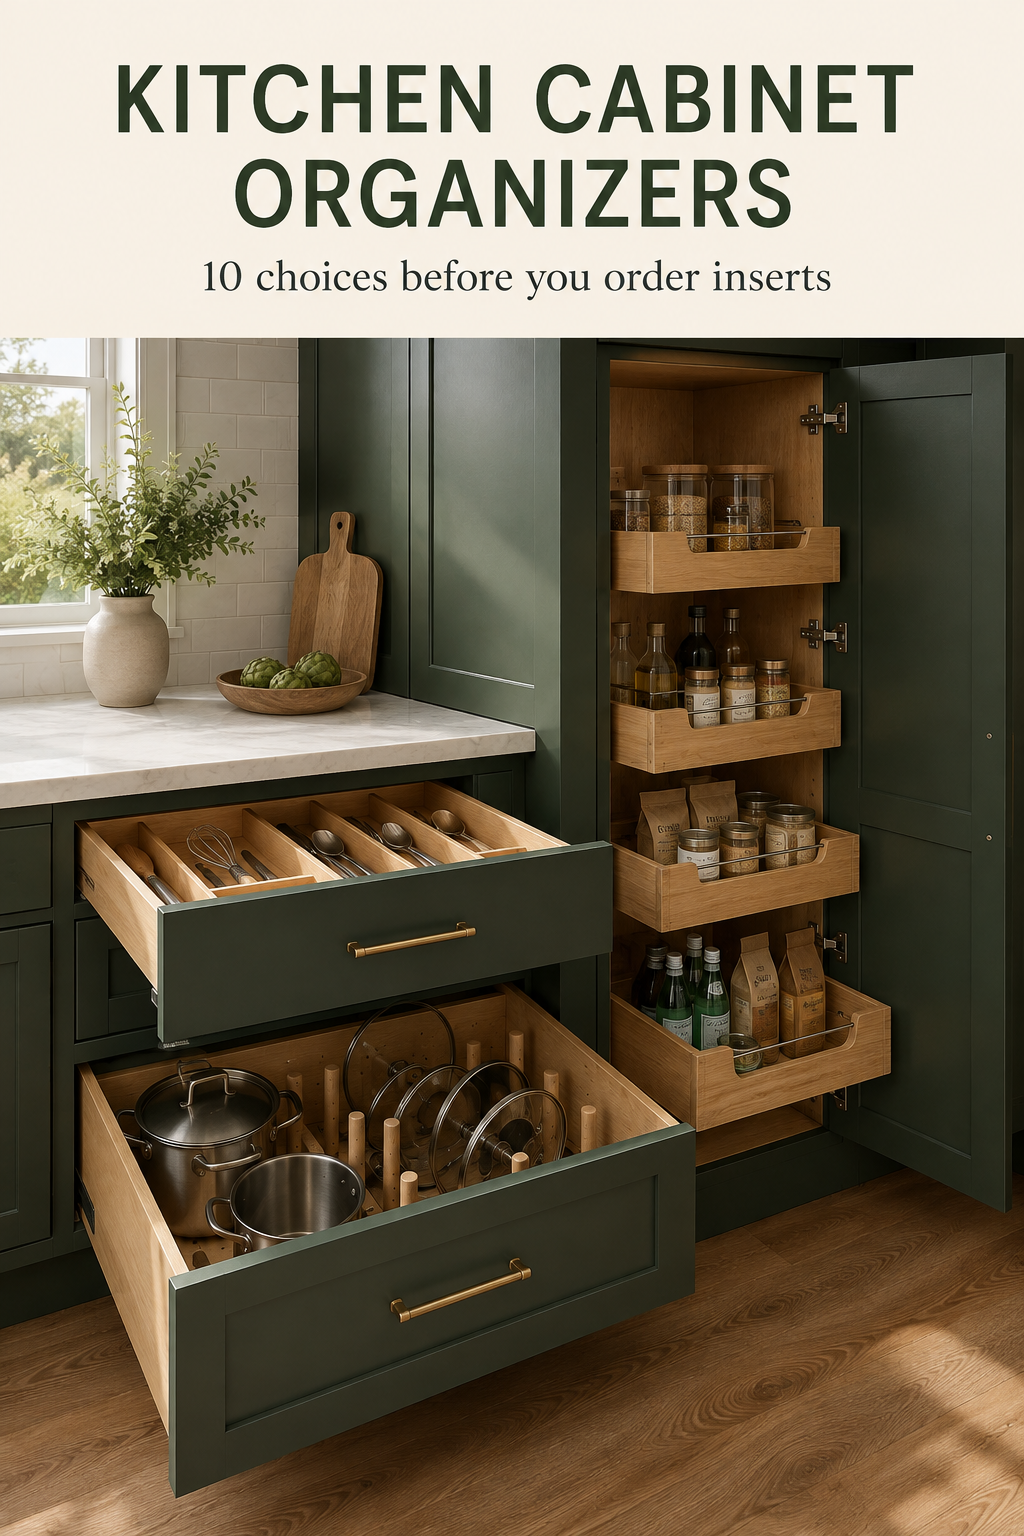
1. Inventory the objects before shopping for inserts
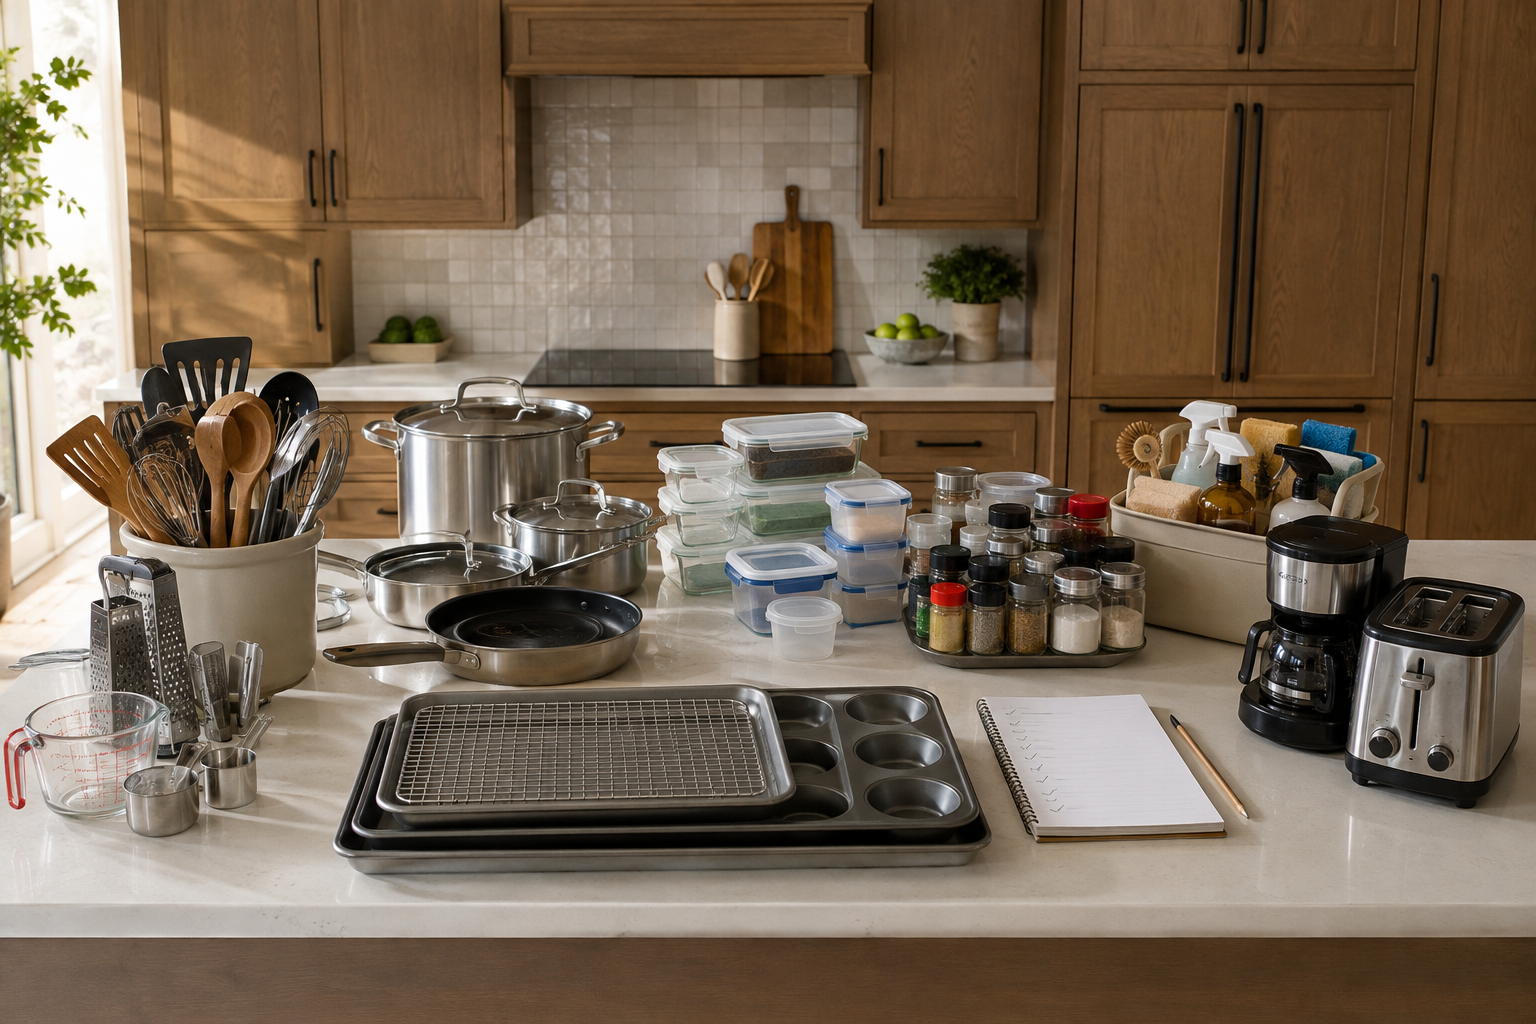
Pull out the items that create the most frustration and group them by job: cooking, baking, food storage, cleanup, coffee, lunch packing, and serving. Measure the tallest, widest, and heaviest pieces in each group. A common mistake is buying a popular organizer first and then searching for something that fits it. Another is planning around a fantasy inventory while the air fryer, oversized pan, and mismatched containers still need homes. You do not have to empty the whole kitchen in one day. Start with one problem cabinet, photograph the group, and write down how often each item is used. The organizer should serve the routine, not become another thing to organize.
2. Measure the clear opening and the inside box
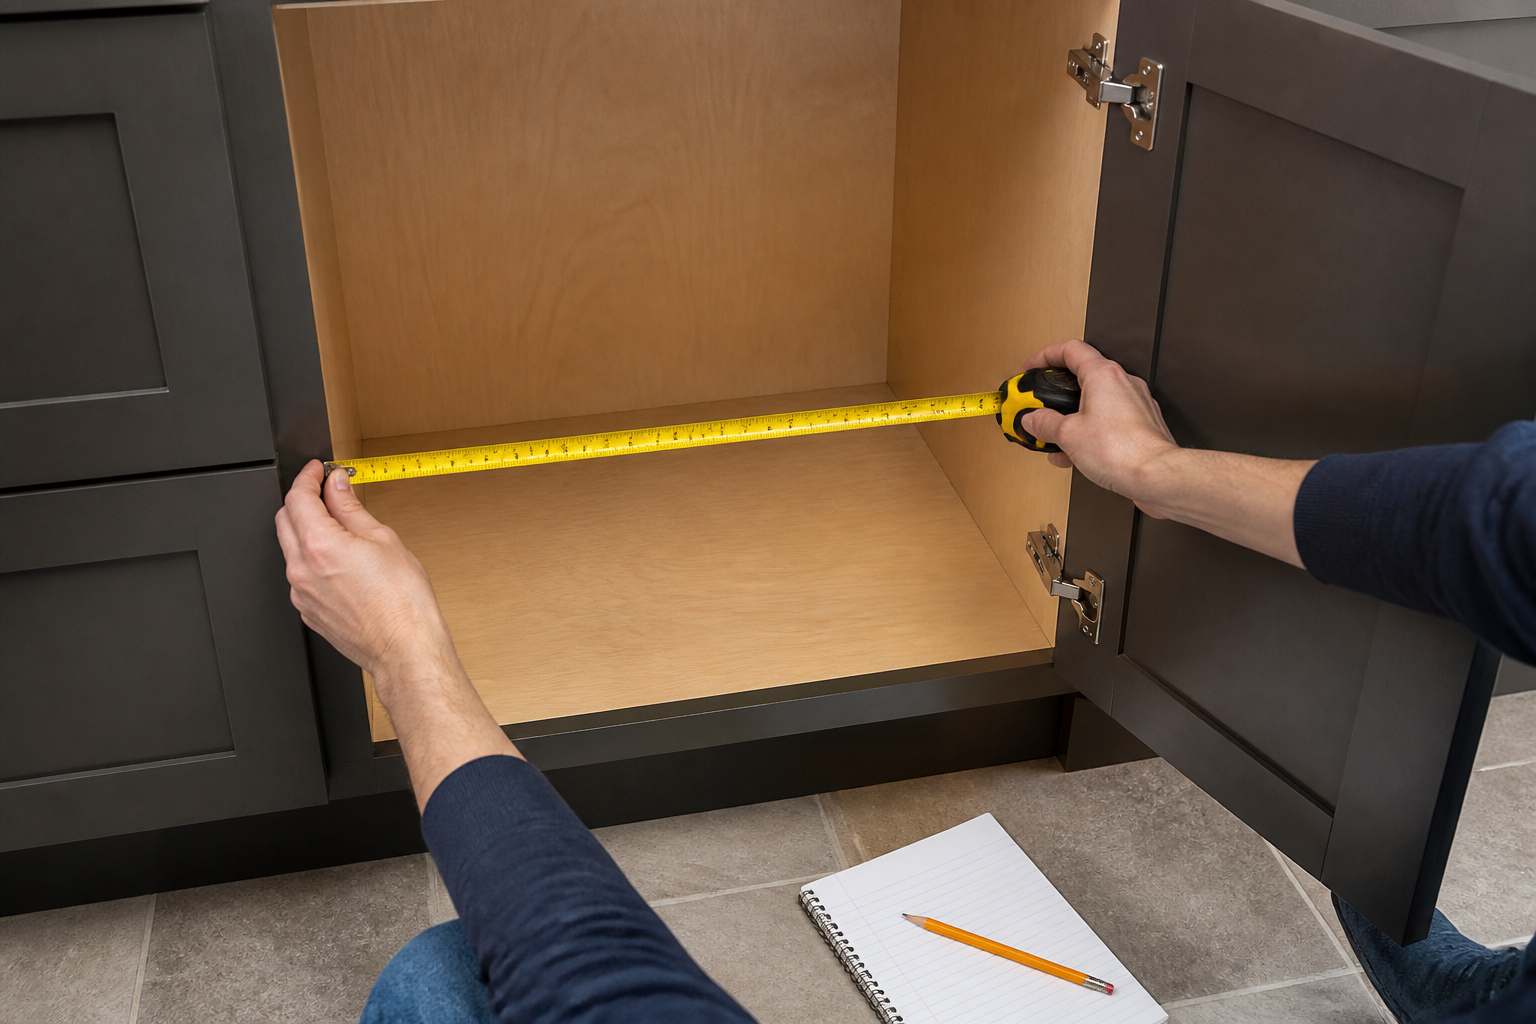
Record the clear opening width, interior width, interior depth, and usable height. Check face-frame rails, center stiles, exposed hinges, shelf pins, pipes, and the amount the door opens. Measure in more than one place because boxes and openings can vary. A common mistake is ordering from the nominal cabinet size—such as a thirty-inch base—when the insert must pass through a much smaller opening. Another is measuring wall to wall inside the cabinet but ignoring a center stile at the front. Write down what you measured, not only the number. Product instructions and the cabinet or hardware provider should confirm the required clearances before you buy or drill anything.
3. Choose drawers or pullout shelves by access and load
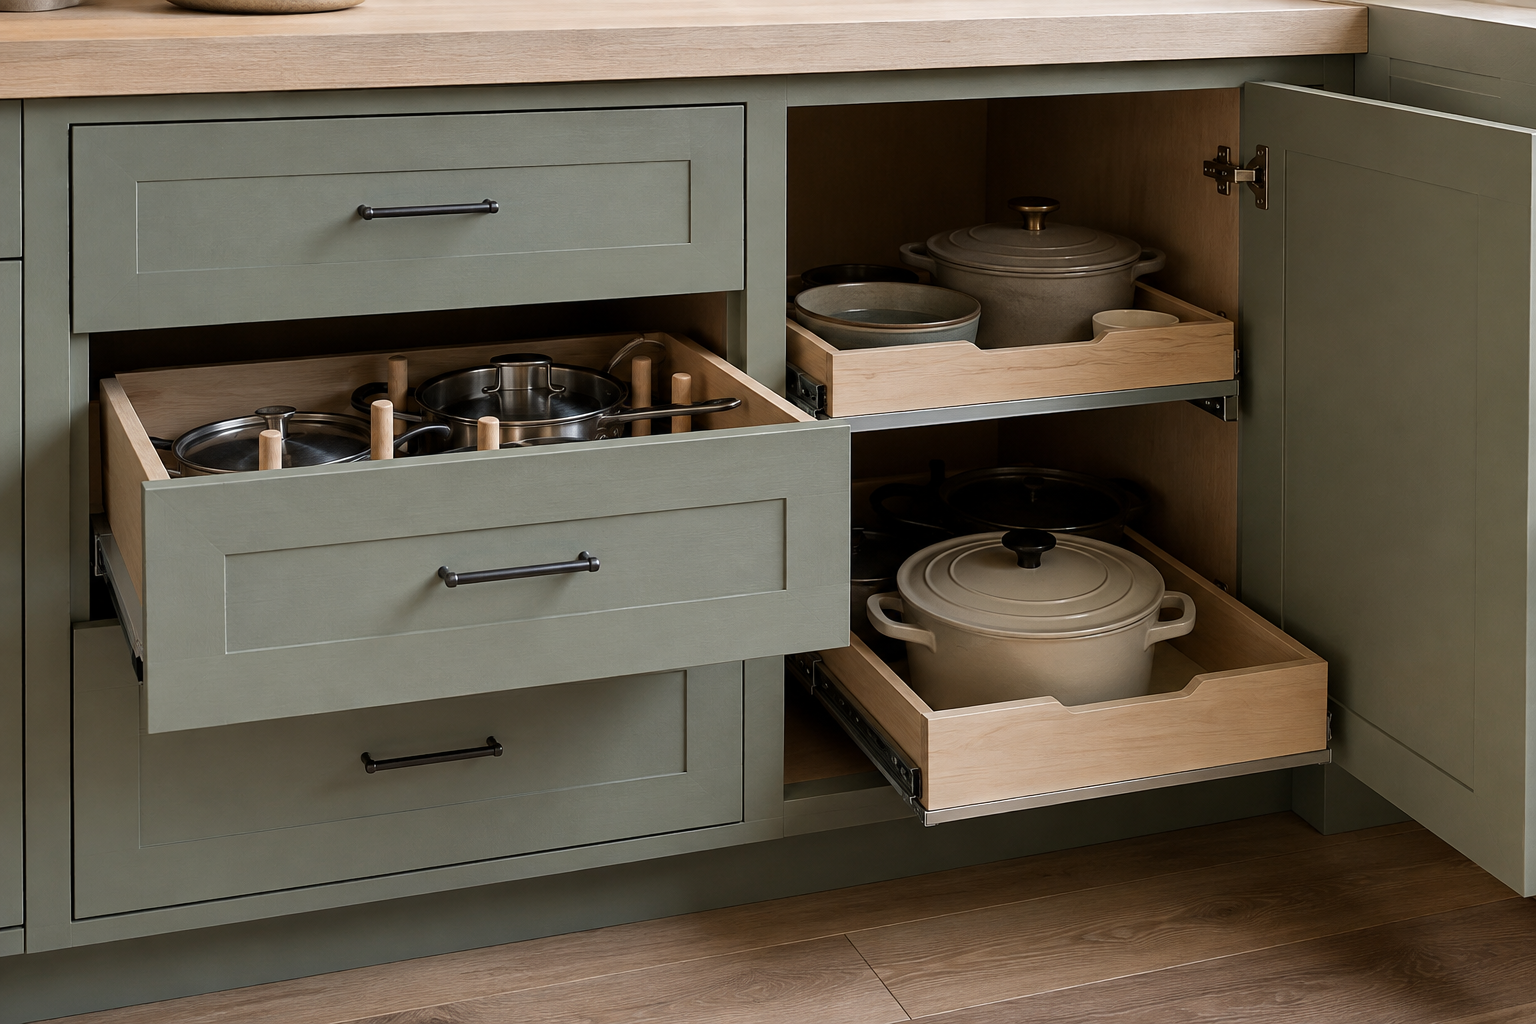
Deep drawers bring the contents to you and avoid opening a door first. Pullout shelves can improve an existing door cabinet or hold tall items with adjustable spacing. Compare the usable width, side height, handle clearance, extension, and rated load. A common mistake is calling every sliding part a drawer and overlooking that a pullout behind a door needs the door fully open before it can move. Another is loading heavy cookware onto light-duty hardware because the sample moved smoothly while empty. Put the heaviest expected group on your list and ask for the hardware rating. Keep frequently used pots where they can be lifted with a comfortable grip instead of from behind another stack.
4. Store trays and boards vertically without wasting width
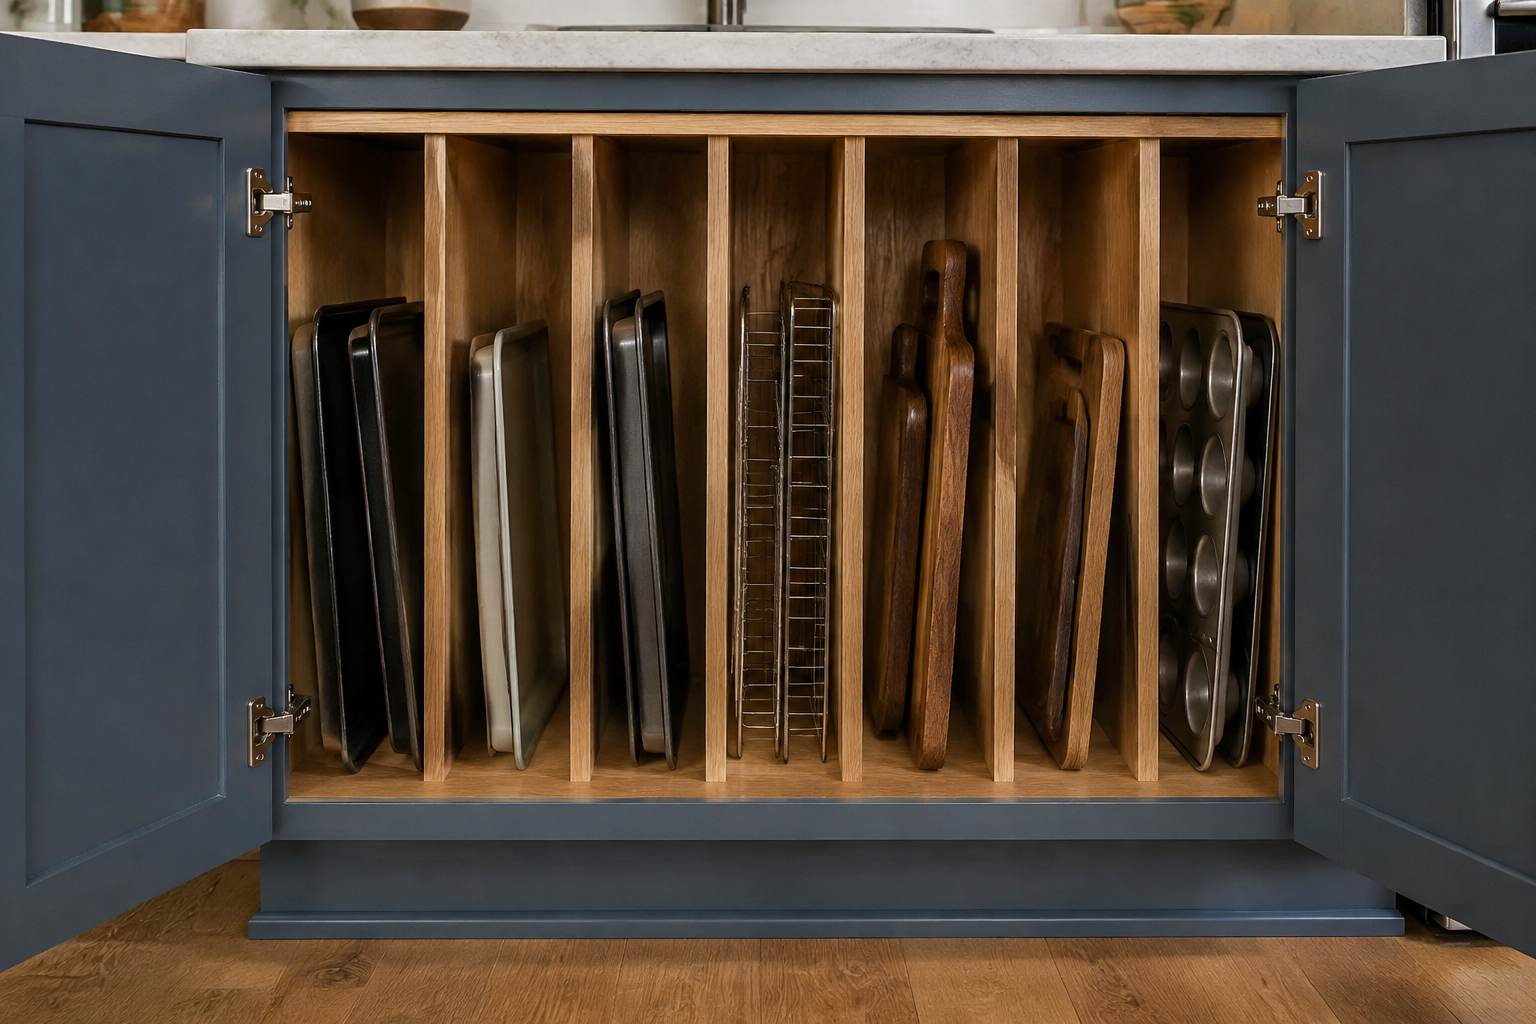
Vertical dividers work well for baking sheets, cutting boards, racks, platters, and muffin tins because each piece can come out without lifting a stack. Measure the tallest board and the depth of pans including handles or lips. A common mistake is spacing every divider equally; a cutting board and a muffin pan do not need the same slot. Another is using thin dividers without a secure top or bottom connection, allowing them to bow under weight. Decide whether slots should be adjustable and leave a slightly wider space for irregular pieces. Keep heavy stone boards low and make sure the cabinet shelf and fastening method are appropriate for the load.
5. Fit utensil dividers to the drawer and the hand
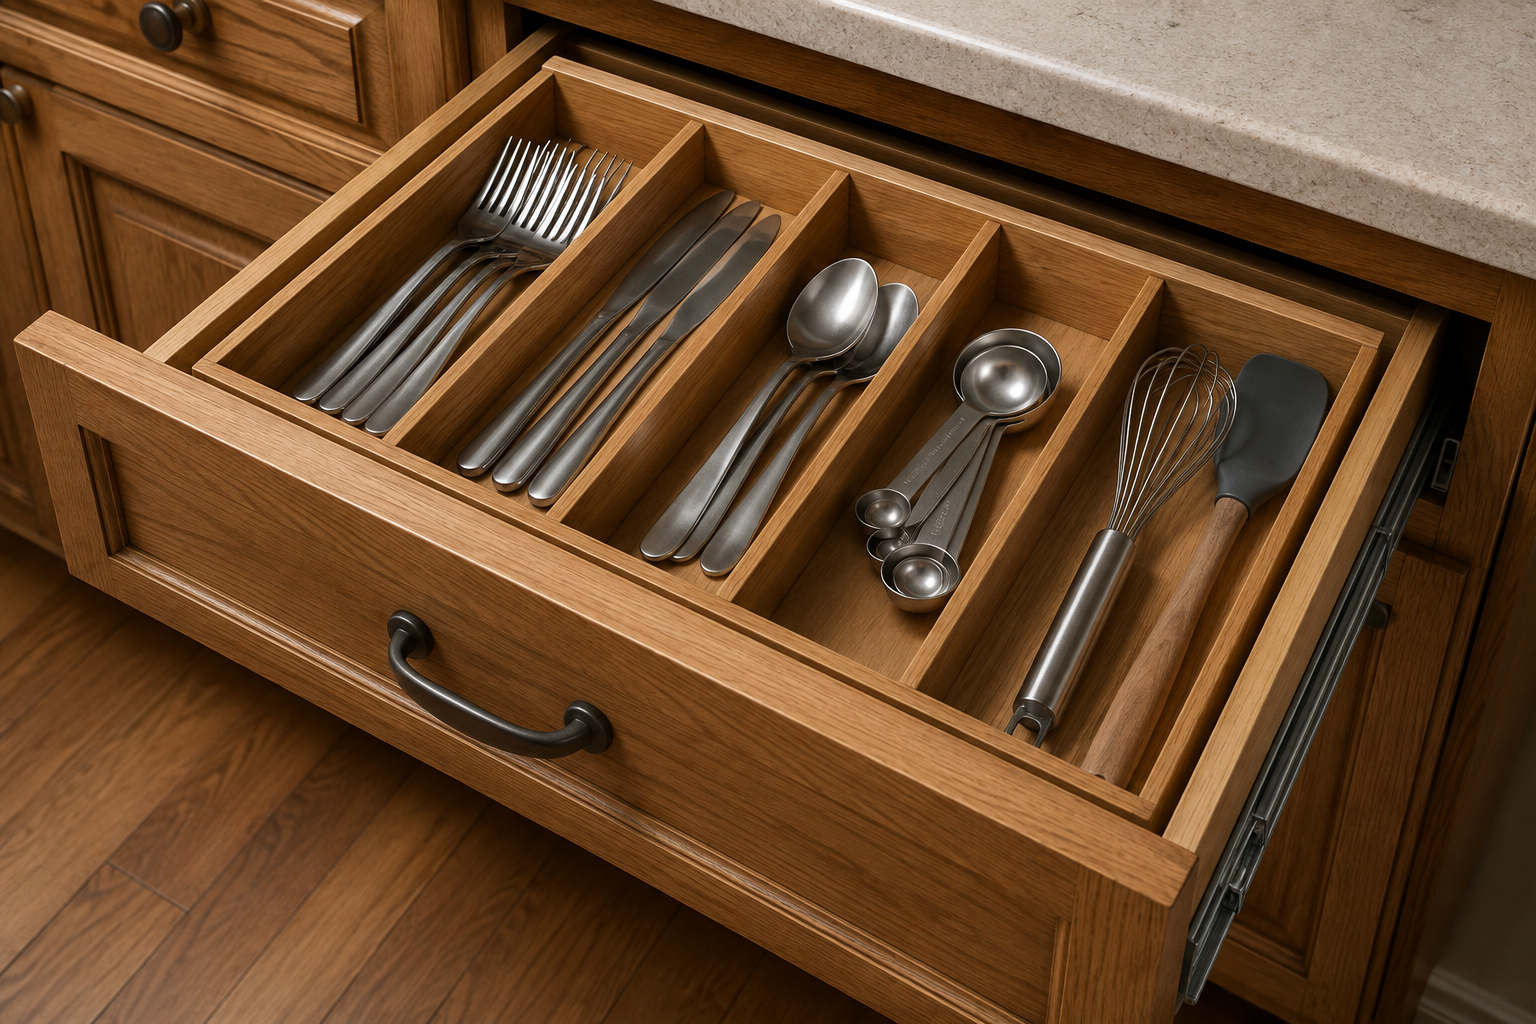
Lay out the utensils by how they are grabbed, not by making every compartment symmetrical. Measure the longest spatula, the width of a nested spoon set, and the height of stacked handles. A common mistake is choosing many narrow compartments that look tidy when empty but will not hold the actual tools. Another is letting an insert or tall whisk rise above the drawer box and catch the cabinet rail when closing. Check that knives are stored safely and do not slide into fingers reaching for another item. A removable or adjustable divider can adapt as tools change. Leave one flexible section instead of designing a permanent slot for every gadget you own today.
6. Keep spices readable, stable, and away from heat
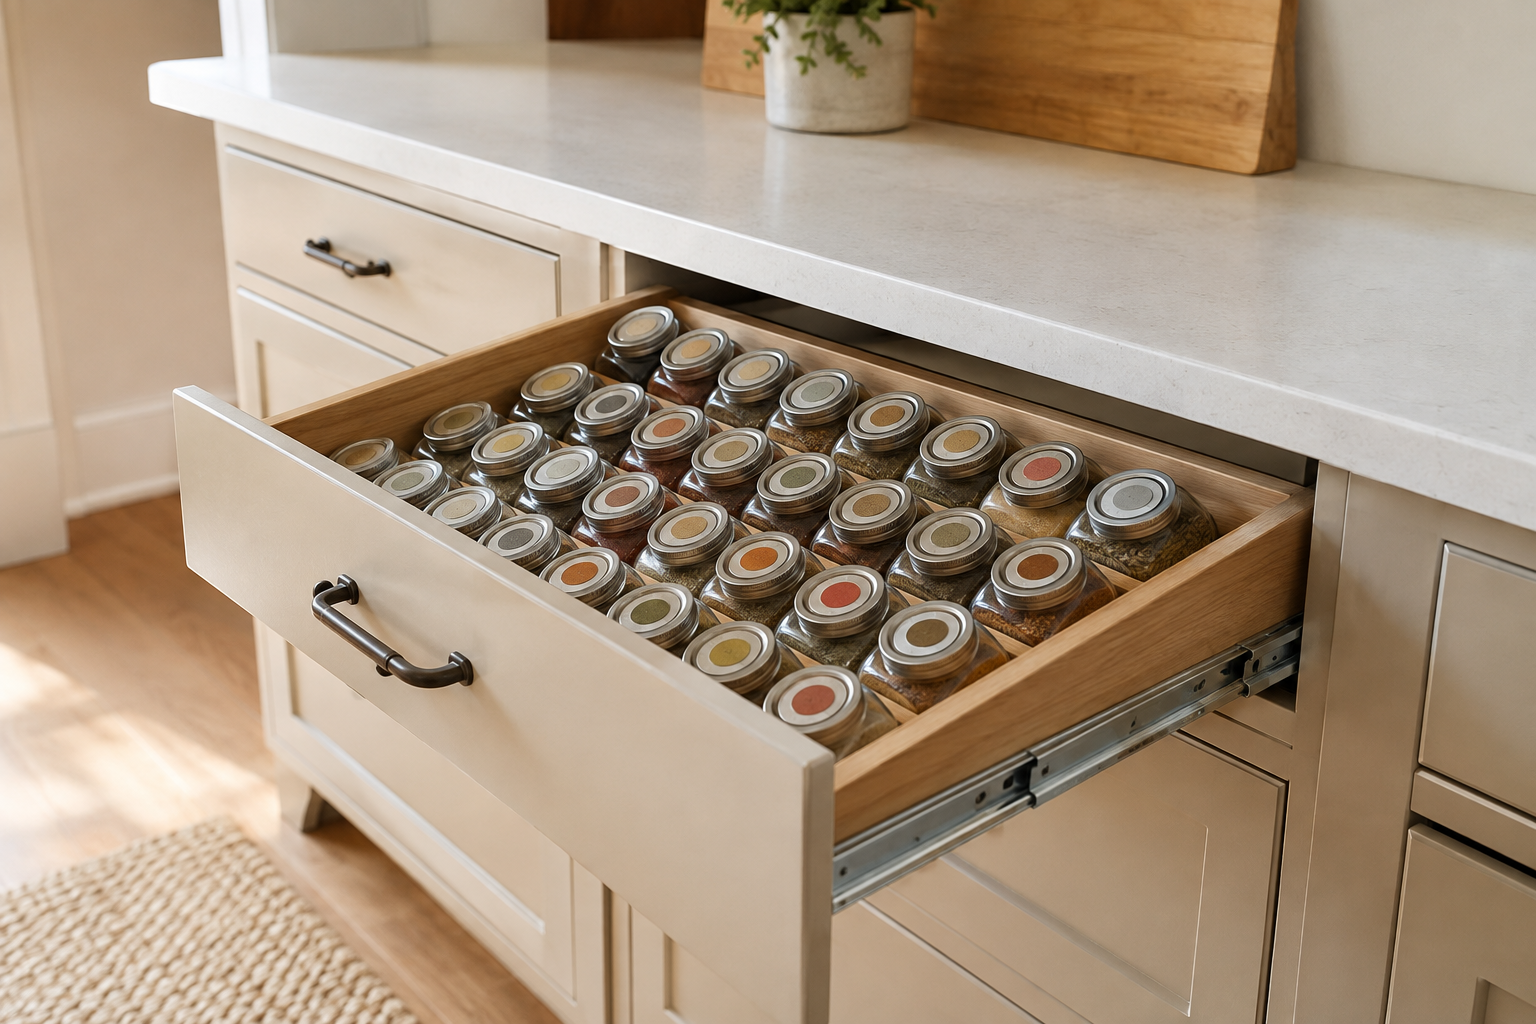
Choose a location where labels can be read without lifting several jars and where heat, steam, and direct sun are limited. Measure jar height and diameter, including the odd bottles that do not match the set. A common mistake is placing a beautiful spice drawer beside an oven without considering heat or using angled inserts that make the drawer too shallow for real jars. Another is buying matching containers before deciding whether the transfer and relabeling routine will last. Test one row first. Make sure jars stay below the closing line, the insert cannot slide, and the drawer still has enough useful capacity for the spices your household actually uses.
7. Organize under the sink without hiding plumbing
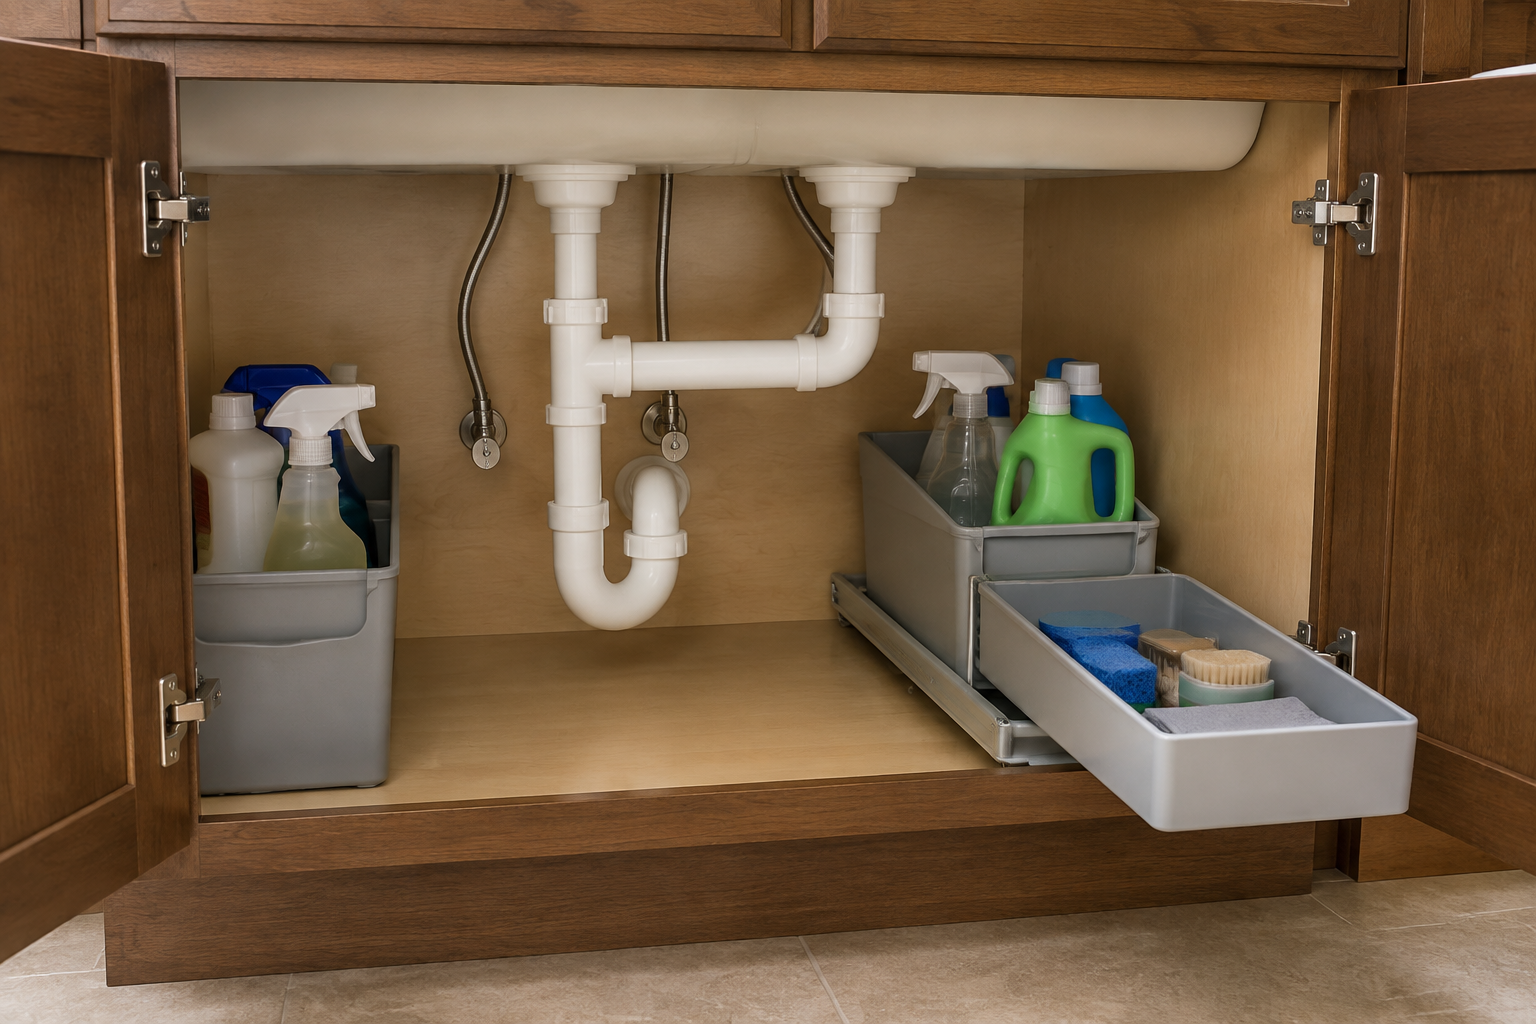
Photograph the drain, trap, disposal if present, supply lines, valves, dishwasher connection, and any filter before choosing a tray. Measure the clear zones on both sides and the path needed to reach every shutoff. A common mistake is drawing one full-width shelf through the plumbing or blocking a valve with a fixed bin. Another is storing so many bottles that a slow leak goes unnoticed. Removable caddies are often more useful than a complicated permanent insert because they lift out for cleaning and service. Keep chemicals appropriately separated and secured for the household. A plumber and the organizer manufacturer should confirm clearances around actual equipment and connections.
8. Give small appliances supported shelves and cord discipline
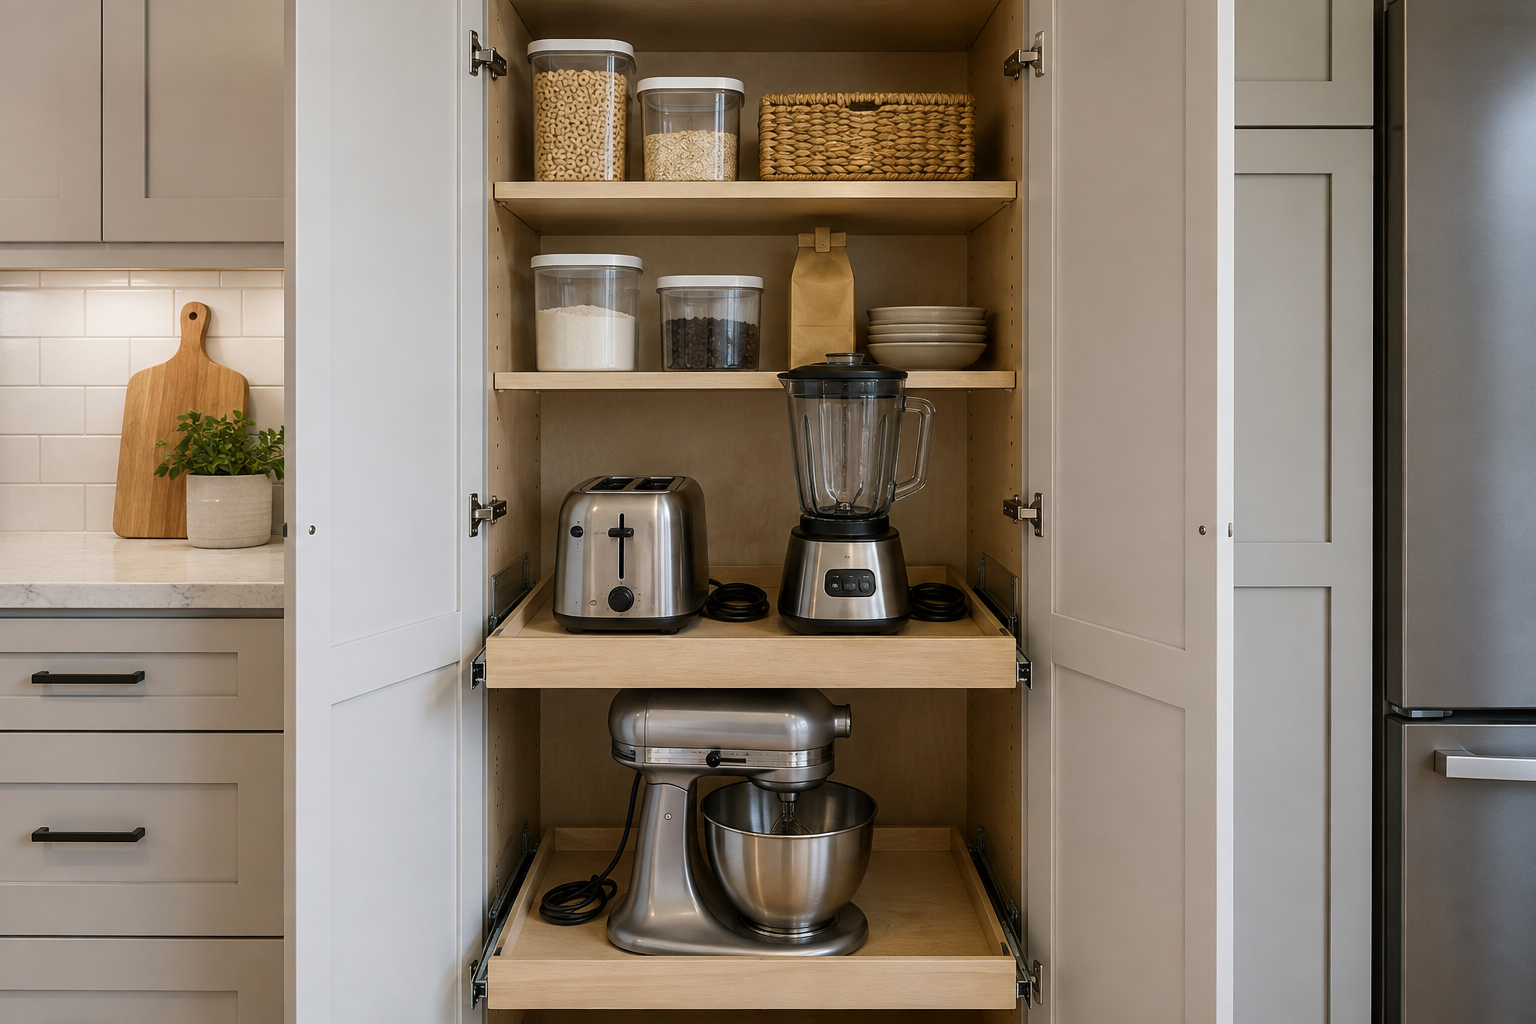
Measure each appliance footprint, height, weight, handle, lid, attachments, and cord. Decide whether it is stored only or expected to operate in place. A common mistake is putting a heavy mixer on a low fixed shelf that still requires an awkward lift, then discovering the chosen rollout is not rated for the load. Another is operating a heat- or steam-producing appliance inside a closed cabinet without manufacturer-approved clearance or ventilation. A sturdy pullout can improve access, but it does not automatically make in-cabinet use safe. Keep cords unplugged during storage, and ask the cabinet, hardware, electrical, and appliance providers to verify ratings and operating requirements.
9. Map organizers to work zones before buying hardware
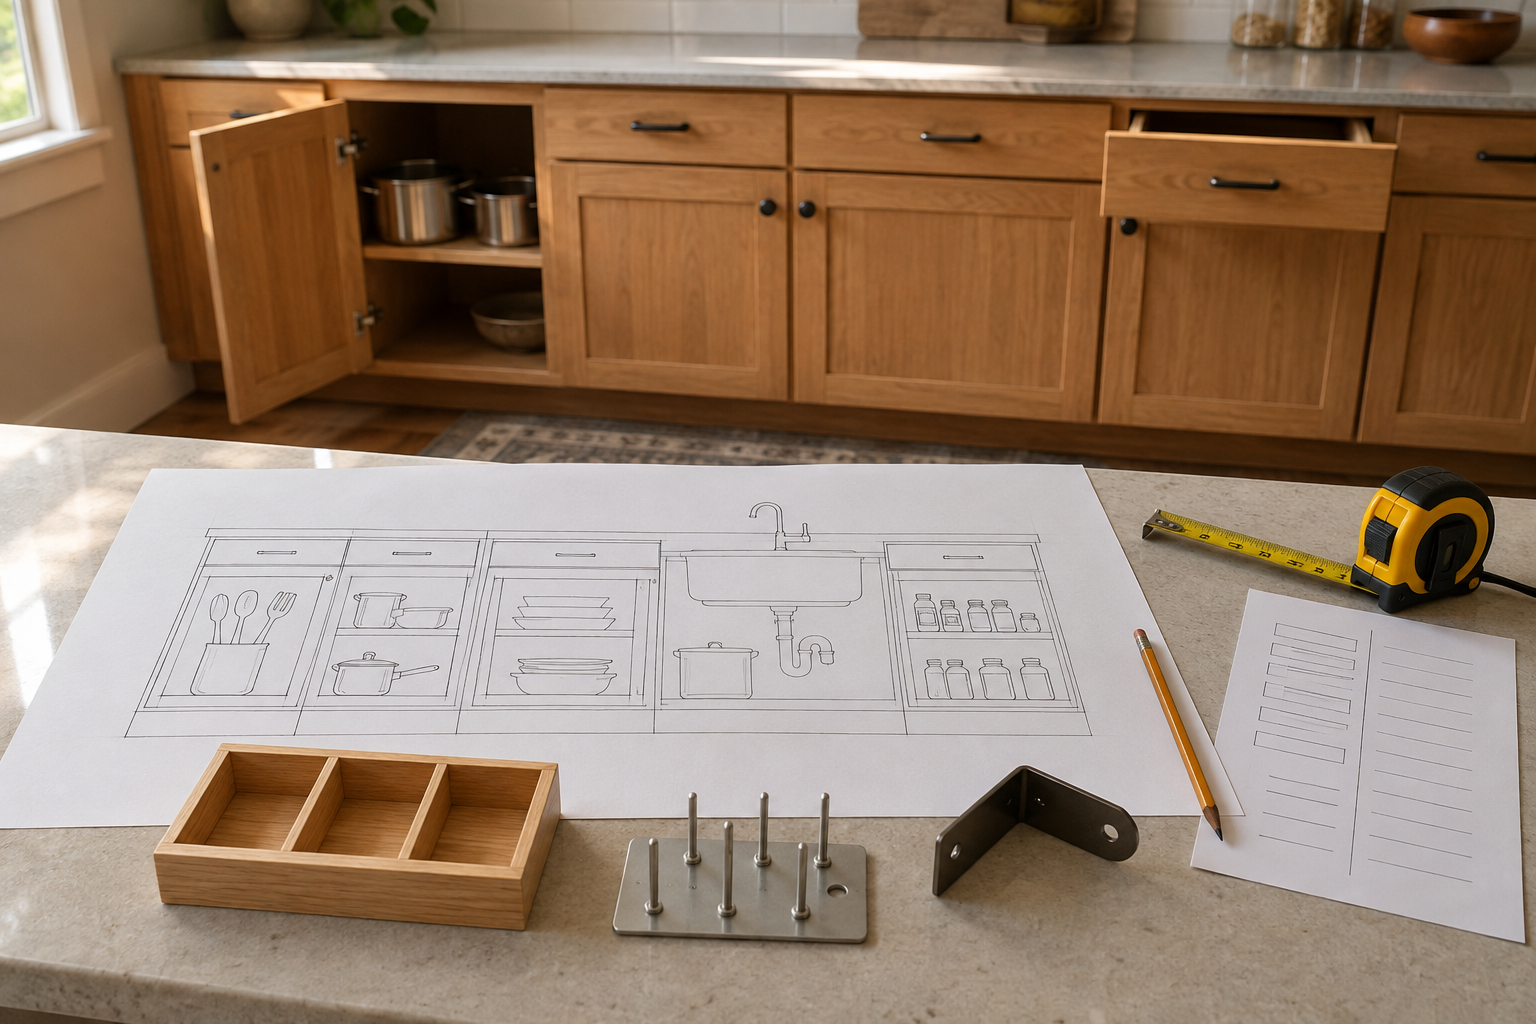
Mark each organizer on the current cabinet elevation and connect it to the job nearby. Utensils belong where food is prepared or cooked, dishes near the dishwasher, waste near prep and cleanup, and lunch supplies near the route used in the morning. A common mistake is approving inserts from a product list without noticing that the pot drawer moved across the room in a later layout. Another is filling every cabinet with fixed accessories and leaving no flexible storage for future needs. Keep one coordinated plan, show door directions and appliance clearances, and label which dimensions are field-verified. The best organizer is easy to reach at the moment it is needed.
10. Confirm fit, capacity, service, and the final order
Before ordering, gather the cabinet plan, interior measurements, door style, hinge type, organizer model numbers, hardware ratings, fastening instructions, plumbing conditions, electrical or appliance notes, finishes, delivery timing, installation responsibility, warranty, and return policy. The final common mistake is assuming an insert listed for a cabinet size will fit every cabinet with that label. Construction style, face frame, hinges, stiles, plumbing, and opening angle can all change the usable space. You can collect the facts and identify the routine; the cabinet or hardware provider should confirm compatibility and installation. Ask what remains adjustable, what requires drilling, and whether service parts will be available if slides or hinges need attention later.
Match organizers to cabinet layout and daily storage
Interior accessories work best after the cabinet sizes, door clearances, and household routines are clear. Continue with these planning guides.
Plan Cabinet Storage Around Daily Life Compare Drawers and DoorsPlan the cabinet first, then choose the organizer
Use StilePath to place cabinet runs, appliances, sink, pantry, and work zones before inserts are ordered. Start free, label the items and field dimensions that still need provider verification, and bring one coordinated storage plan into the cabinet conversation.
Start Planning Free