
Make installation day feel like the next step, not a surprise
Good cabinet installation preparation is mostly organized observation: confirm the room, clear the route, protect what stays, collect the current documents, and make sure everyone is working from the same plan. You do not need to be a professional carpenter to help. Get your tape measure, pencil, paper, and the latest cabinet drawings, then walk the room slowly. Your measurements are a planning check, not permission to fabricate; the responsible cabinet supplier and installer still need to verify the field conditions they rely on. These ten steps will help you find common gaps early and ask clearer questions. Structural attachment, utilities, code, sequencing, installation methods, and final dimensions belong with the appropriate suppliers, licensed trades, installer, contractor, and project professionals.
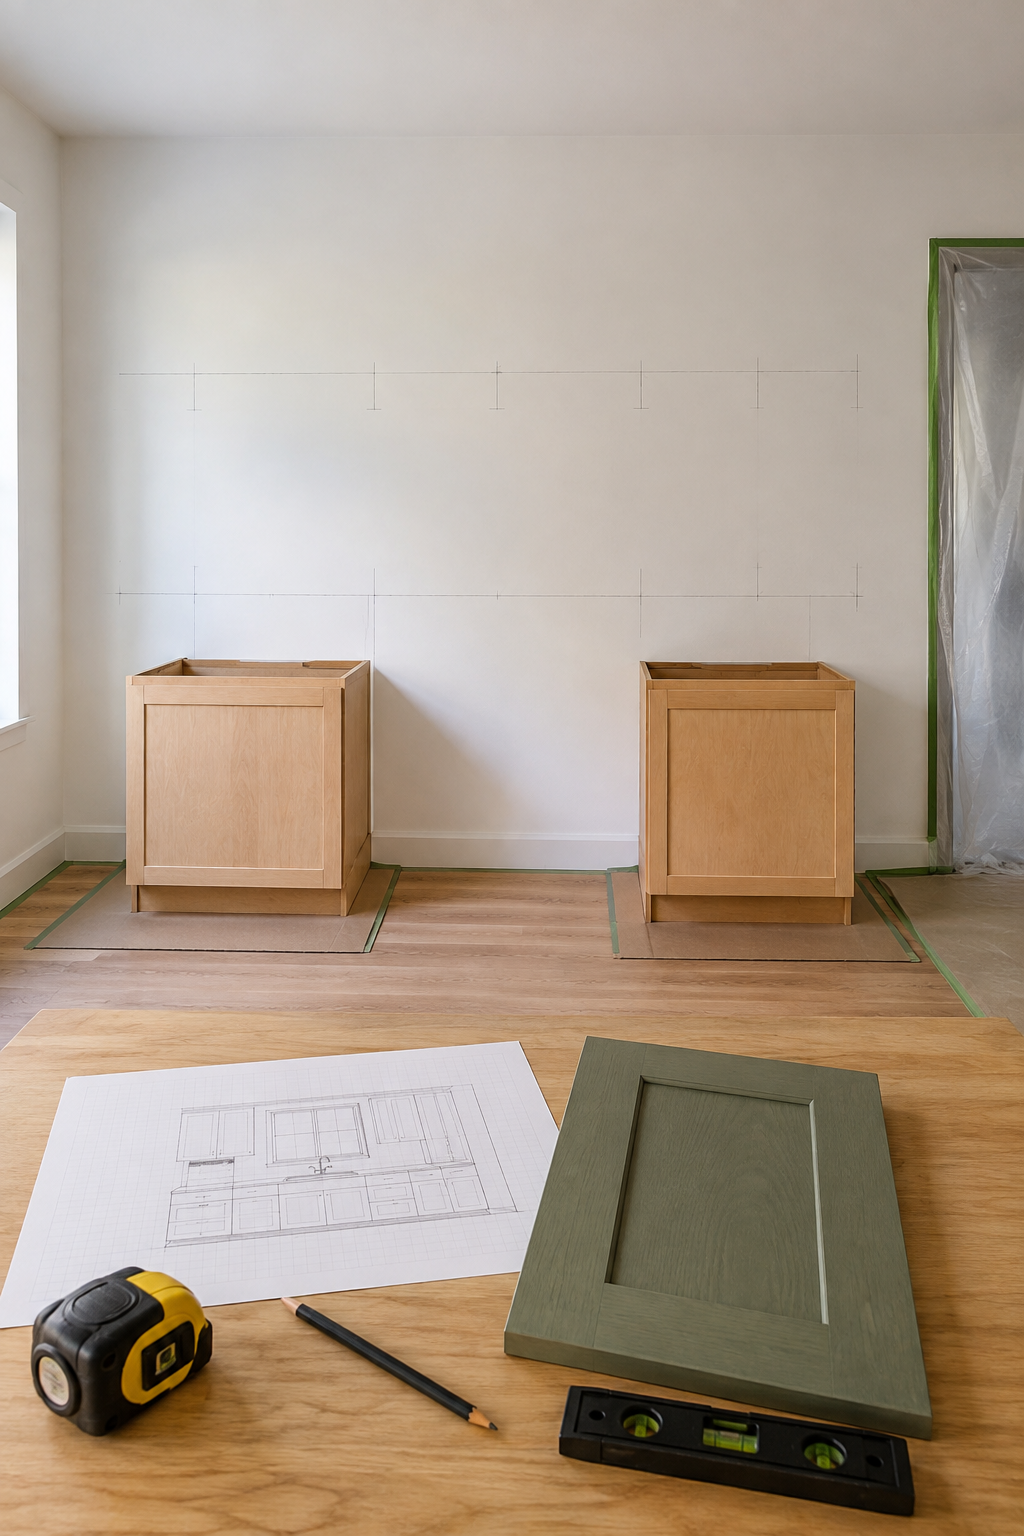
1. Recheck the finished room and label what is not finished

Measure each wall at more than one height, the ceiling height in several places, door and window locations, casing, protrusions, and the finished openings for appliances. Write the date and whether drywall, flooring, trim, or other work is complete. A common mistake is comparing a finished-room measurement with an early rough dimension as if both describe the same surfaces. Another is quietly changing the cabinet plan to match a homeowner check. If your number differs from the approved drawing, circle it and stop that assumption. Ask the cabinet provider and installer to verify the actual condition and decide which document changes before anything is fabricated or placed.
2. Record floor level and wall conditions without trying to fix them
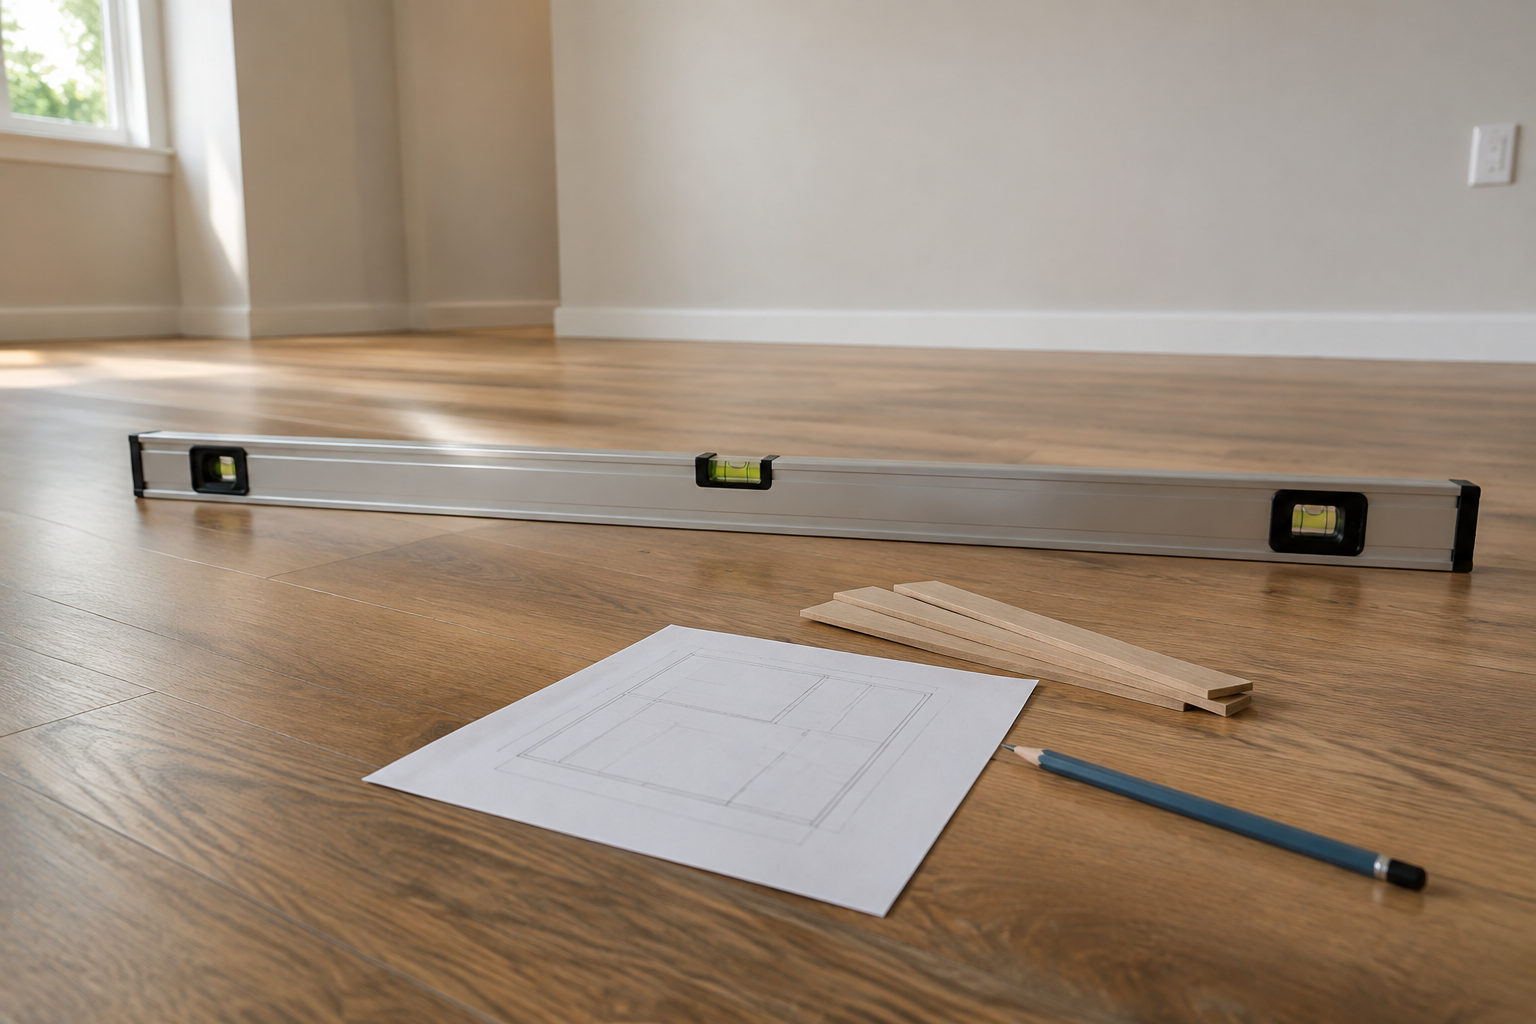
Cabinet boxes are square and countertops need a coordinated support condition, while real floors and walls can rise, fall, bow, or lean. You can look for obvious variation with a long straightedge or level, but do not turn that observation into an installation method. A common mistake is assuming a small floor change will disappear behind the toe kick. Another is trimming or packing something before the installer has established the correct reference. Mark where you noticed a gap or change and take a wide photograph that shows its location. The installer should determine the high point, layout line, fastening, shimming, and any condition that needs repair or professional review.
3. Confirm the wall layout against openings, trim, and structure

Put the cabinet elevation beside the actual wall and trace the major groups in your mind: tall units, bases, uppers, sink, cooking, refrigerator panels, fillers, and finished ends. Check that doors, windows, casing, switches, vents, and ceiling changes appear on the plan. A common mistake is laying out from one corner without noticing that the opposite end needs a fixed filler. Another is assuming a stud finder or old nail proves where every safe fastener belongs. Painter's tape can help you discuss positions, but the installer and responsible professionals must locate structure and choose attachment methods. Resolve any mismatch before boxes are unloaded into the work area.
4. Coordinate plumbing, electrical, ventilation, and other rough-ins
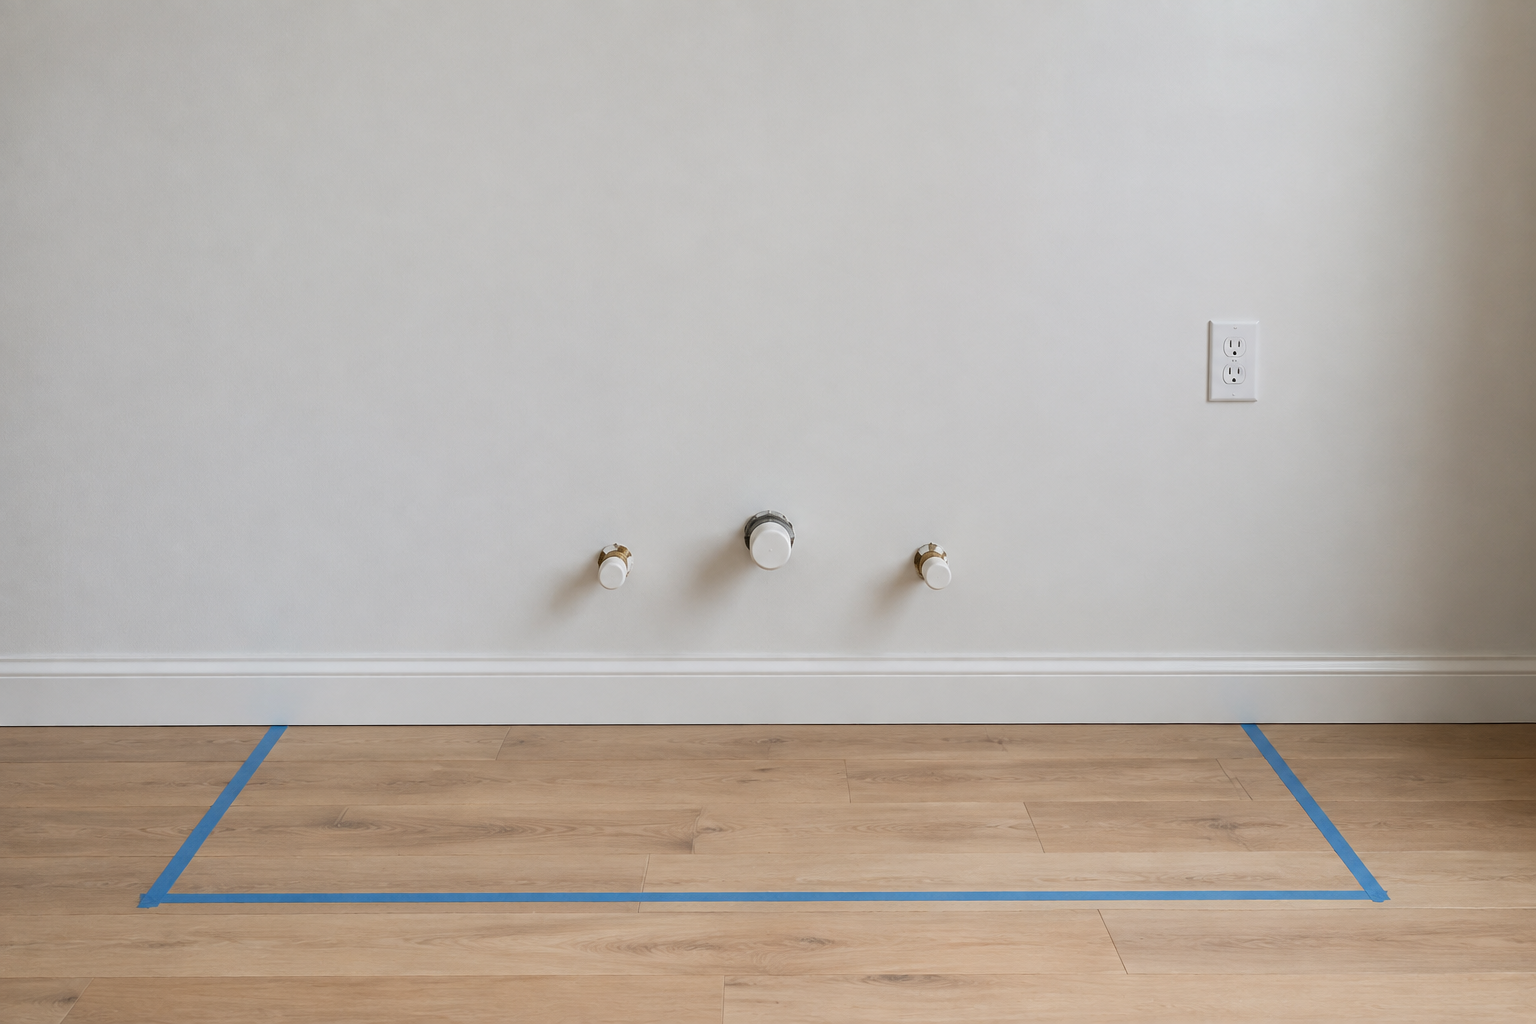
Place the current cabinet, appliance, sink, faucet, disposer, lighting, ventilation, and utility documents in one review. Confirm which cabinets contain pipes, outlets, controls, ducts, or access panels, and who protects each opening during installation. A common mistake is roughing in from a generic cabinet width before the final product documents arrive. Another is leaving an outlet directly behind a drawer, organizer, or appliance plug with no service access. Do not move or alter utilities from this checklist. Ask the licensed trades, cabinet provider, appliance providers, installer, and contractor to compare their drawings and resolve conflicts in writing before cabinet installation begins.
5. Walk the full delivery path with the largest cabinet size

Start at the delivery vehicle and follow the route through gates, steps, doors, halls, turns, stairs, and the kitchen entrance. Compare the narrowest and lowest conditions with the largest assembled cabinet, appliance panel, trim length, and countertop handling plan. A common mistake is measuring the doorway width while ignoring the turn immediately after it. Another is planning to remove a door, railing, or fixture on delivery day without assigning that work. Use a cardboard rectangle or taped floor outline to rehearse difficult turns without risking the cabinet. Confirm the real packaging dimensions, crew, equipment, protection, and any disassembly limits with the supplier and installer.
6. Reserve dry, stable storage and an inspection area

Ask where delivered cabinets may wait, how long they may remain packaged, and what temperature, humidity, floor support, and handling the provider requires. Keep boxes off damp or dirty surfaces and leave enough room to inspect labels and visible damage without climbing over the shipment. A common mistake is stacking cabinets tightly in installation order before checking the contents. Another is opening every package and discarding protection before the installer documents condition and parts. Follow the provider's receiving instructions, photograph concerns promptly, and keep tall or unstable items secured by the responsible crew. The storage room should not become an obstacle course or a substitute workshop.
7. Protect the route while leaving the cabinet footprint clear
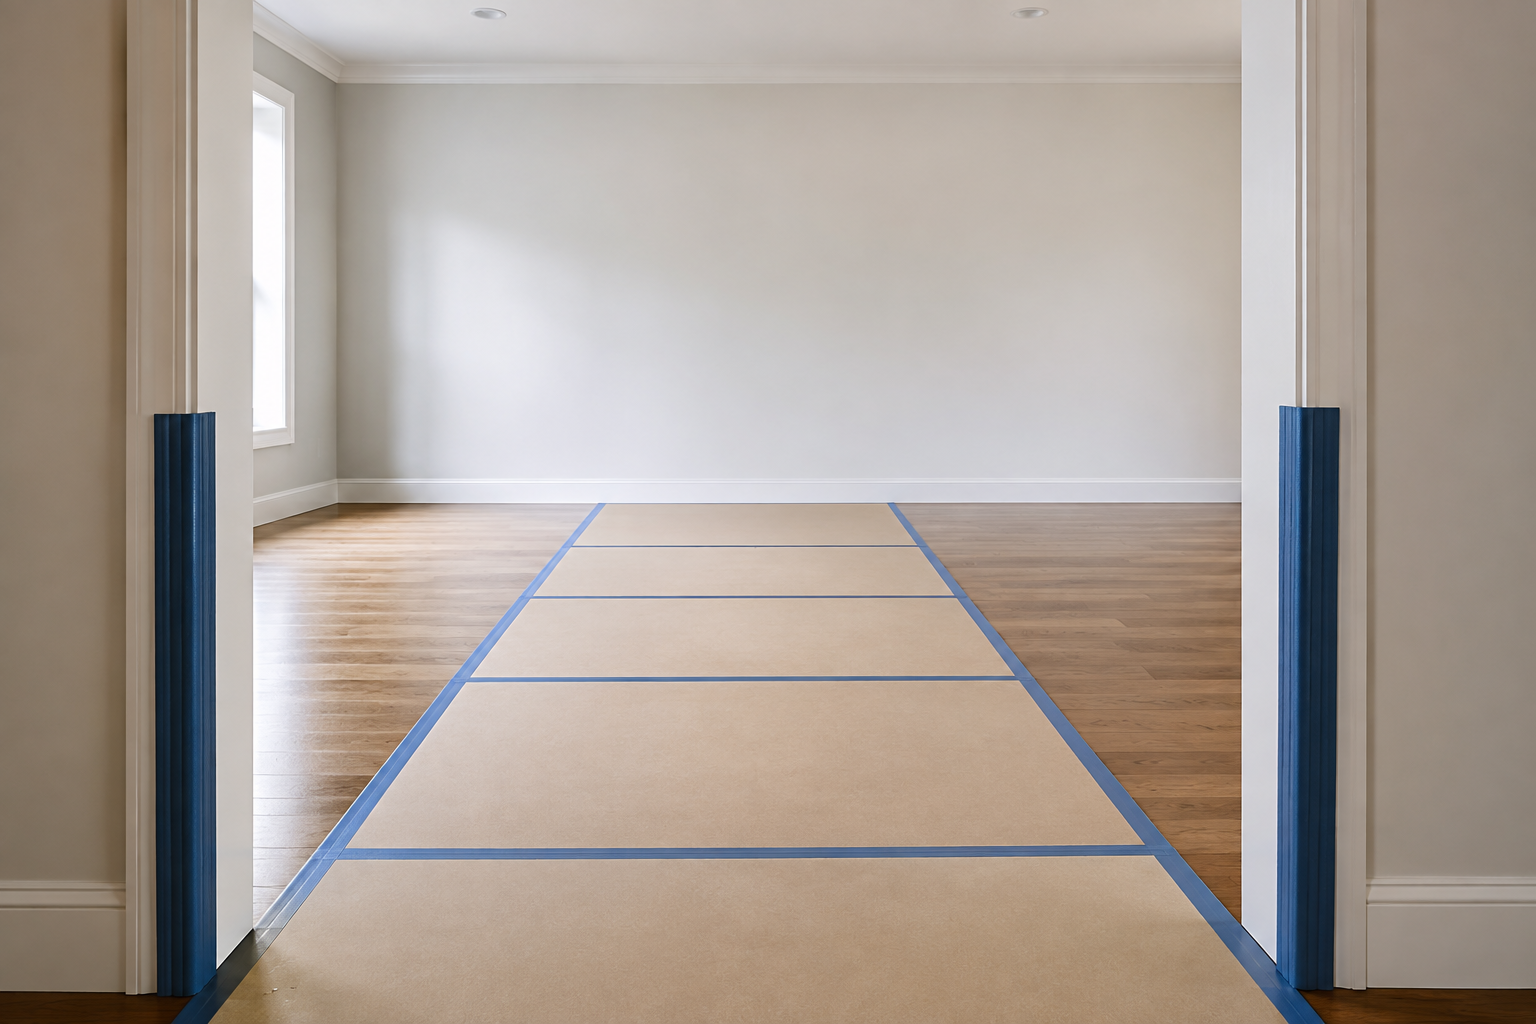
Protect finished floors, doorway edges, adjacent counters, and nearby rooms with materials approved for those surfaces. Keep seams flat, routes well lit, and the actual cabinet footprint free of stored tools and debris. A common mistake is covering a delicate floor with tape that can damage the finish. Another is protecting every inch, then leaving curled edges that catch a dolly or foot. Ask the installer what protection they bring and what the homeowner or contractor supplies. Check the route on delivery morning, remove pets and loose furniture, and provide a separate clean place for drawings and hardware. Safe access is part of installation preparation, not housekeeping after the crew arrives.
8. Put current appliance and countertop documents beside the cabinet plan
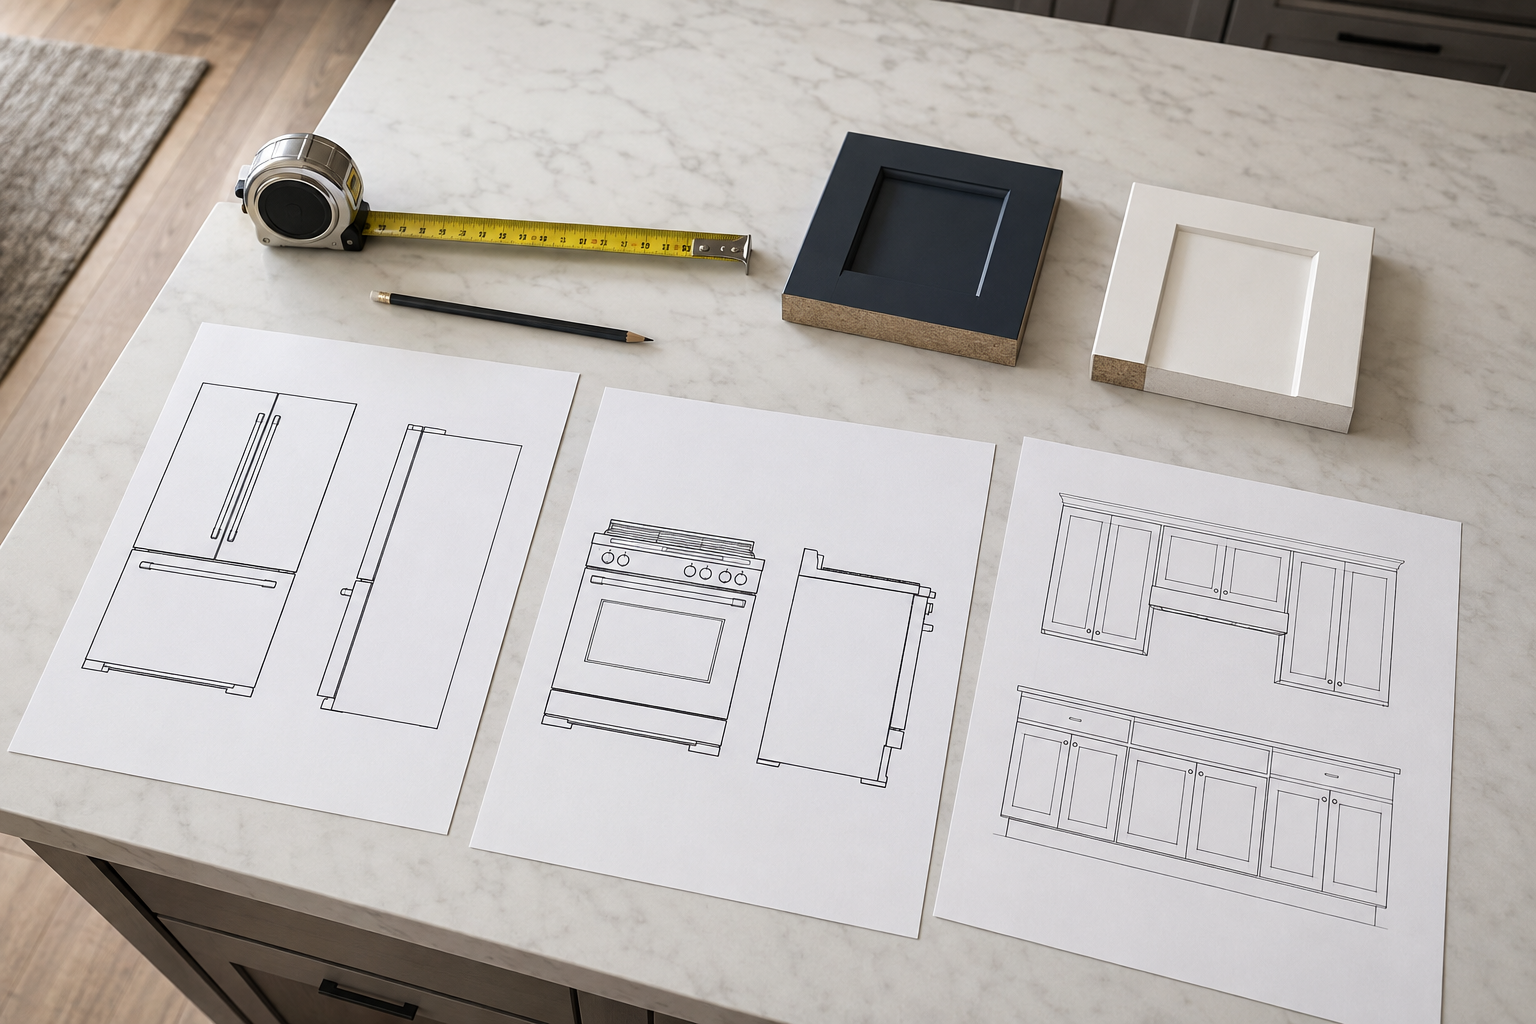
Confirm the exact appliance models, sink, faucet, hood components, countertop material, edge, overhang, support, backsplash, and any panels or fillers that connect them to cabinetry. Use current manufacturer documents rather than a retailer screenshot or an earlier model. A common mistake is assuming appliances with the same advertised width need the same opening. Another is scheduling countertop templates before the responsible parties agree that the cabinets are installed, adjusted, and ready. Ask who verifies each opening, support, cutout, panel, utility, and template condition. Keep revision dates together so an old specification cannot quietly return to the project during installation.
9. Build a punch list by operating every front
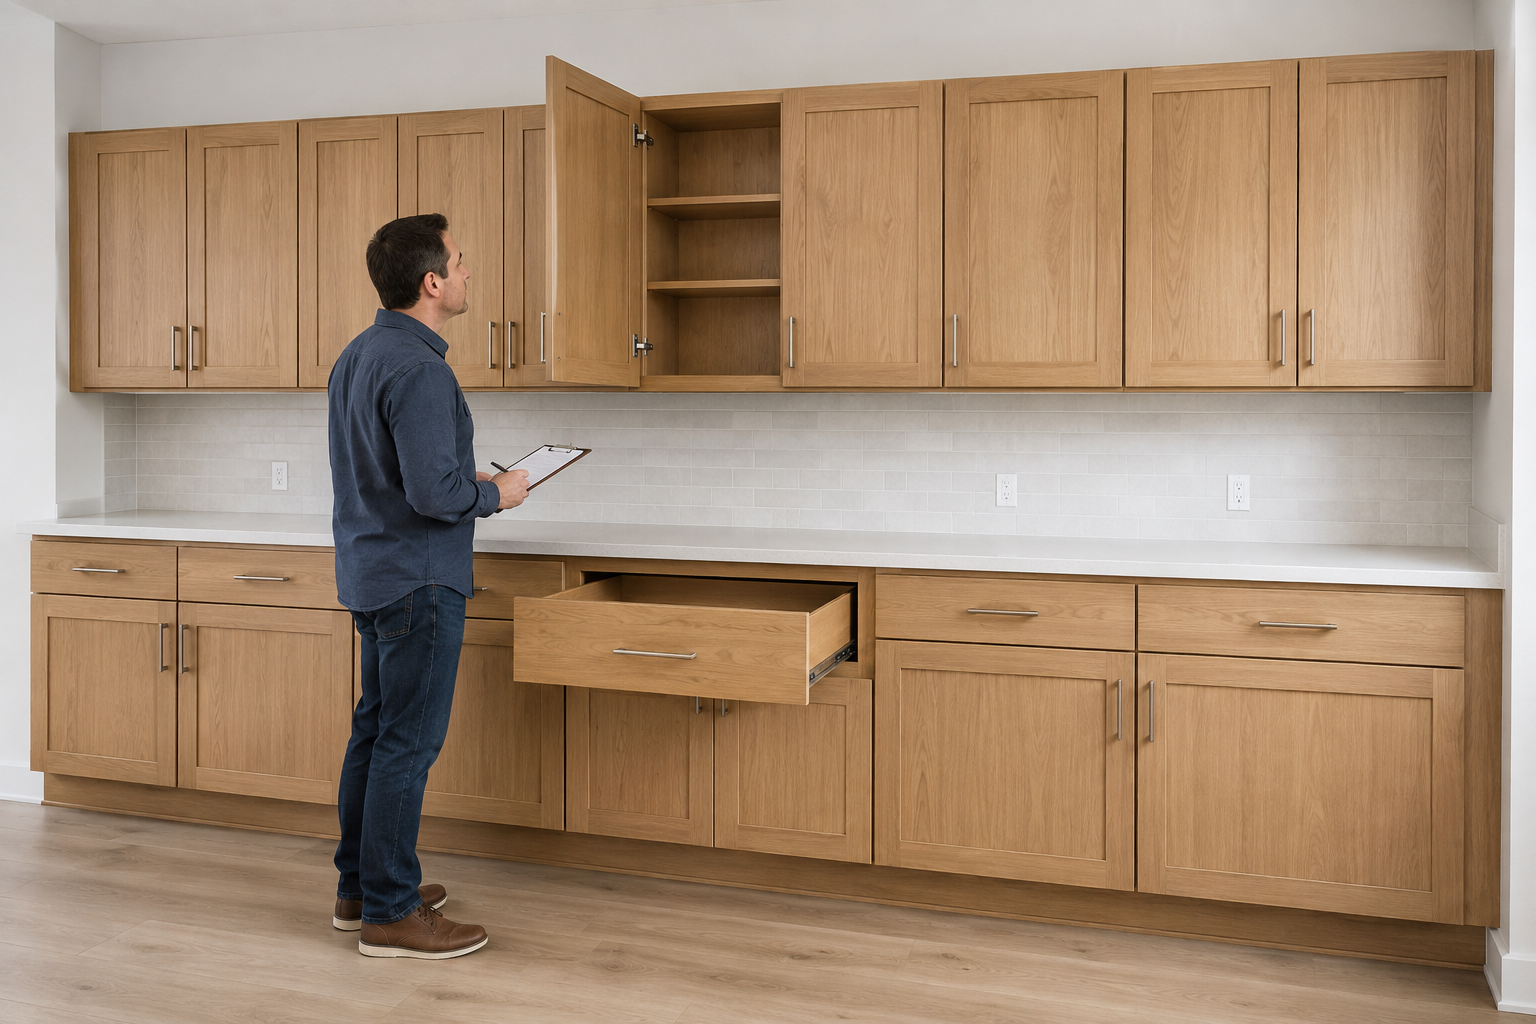
After the installer says the work is ready for review, open every door and drawer gently. Look for consistent reveals, smooth movement, complete hardware, shelf supports, finished ends, fillers, trim joints, toe kicks, access panels, and visible damage. Check appliance and traffic clearances with neighboring fronts in realistic positions. A common mistake is inspecting only the closed elevation from the doorway. Another is adjusting hinges or slides before the installer records the issue. Number each cabinet on the plan, take a wide and close photograph, and describe the condition without diagnosing the cause. Agree on who corrects it, when it will be checked again, and what must wait.
10. Release one shared sequence and responsibility list
Put delivery, room readiness, cabinet installation, utility connections, appliance panels, countertop template and installation, backsplash, trim, touchups, cleaning, punch-list work, and final approvals in one sequence. Name who supplies, protects, verifies, installs, adjusts, connects, and warranties each part. The final common mistake is hearing everyone say ready while each person means ready for a different next step. Another is treating a verbal date as a complete scope. You do not need to manage the technical work yourself. A short written list and one current drawing can help the responsible professionals see dependencies early, protect their work, and tell you what genuinely needs to happen next.
Connect installation preparation to measuring and ordering
Installation is easier when the room record, cabinet plan, specifications, and responsibilities have stayed connected from the beginning. These guides help you prepare that shared package.
Measure Your Kitchen Prepare Before Getting QuotesBring one current plan into installation review
Use StilePath to organize the room, cabinet runs, appliance openings, fillers, clearances, and notes before the installation handoff. Start free with the measurements you have, label every item awaiting verification, and keep the same plan beside the provider documents.
Start Planning Free