
Good hardware placement works for the hand and the whole room
Knobs and pulls may be among the last pieces installed, but their placement affects comfort, cabinet clearances, and the rhythm of every elevation. You do not need to be a cabinetmaker to make a useful first decision. Gather a few actual samples, removable tape, paper templates, and the door and drawer drawings. Then test the hardware where hands will use it instead of choosing a rule from a photo. These ten checks will help you create a consistent starting point and know what still needs supplier or installer verification before drilling begins.

1. Test the grip before choosing a location
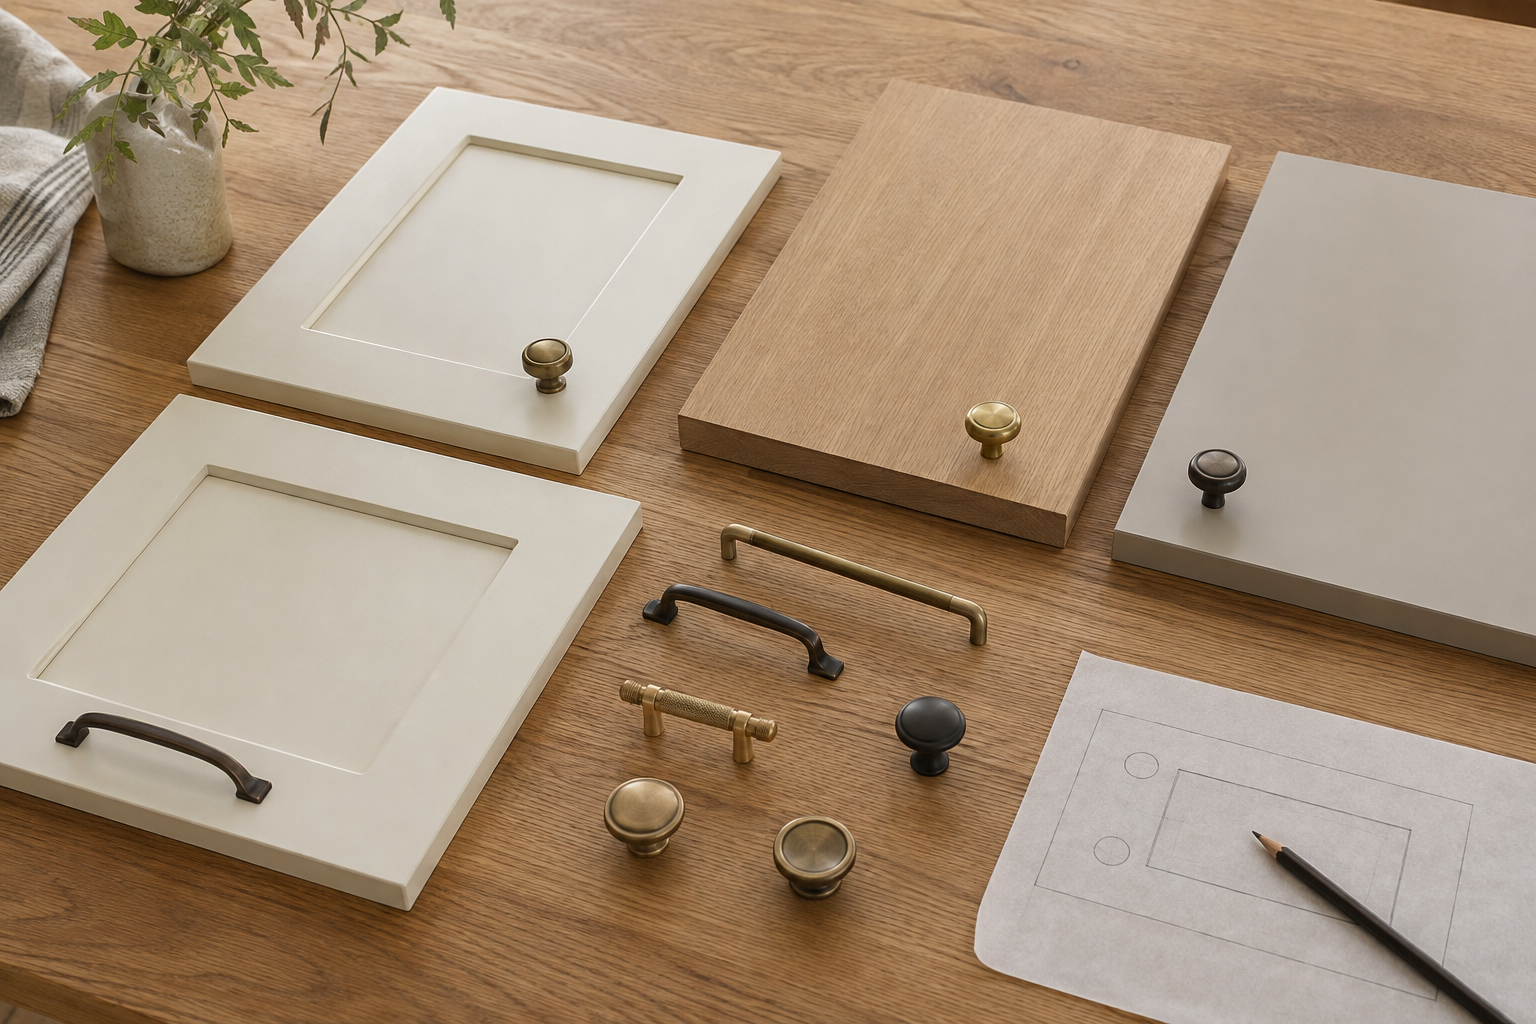
Hold the actual knob or pull against the real door sample. Notice finger clearance, sharp edges, grip depth, and whether the piece feels comfortable from the direction the door moves. A common mistake is choosing hardware from a close-up image and deciding placement only by appearance. Scale and comfort change when the sample is in your hand. If different household members use the kitchen in different ways, let each try it. Keep the favorite samples labeled so the final order and drilling template refer to the exact same item.
2. Match the placement to the door construction
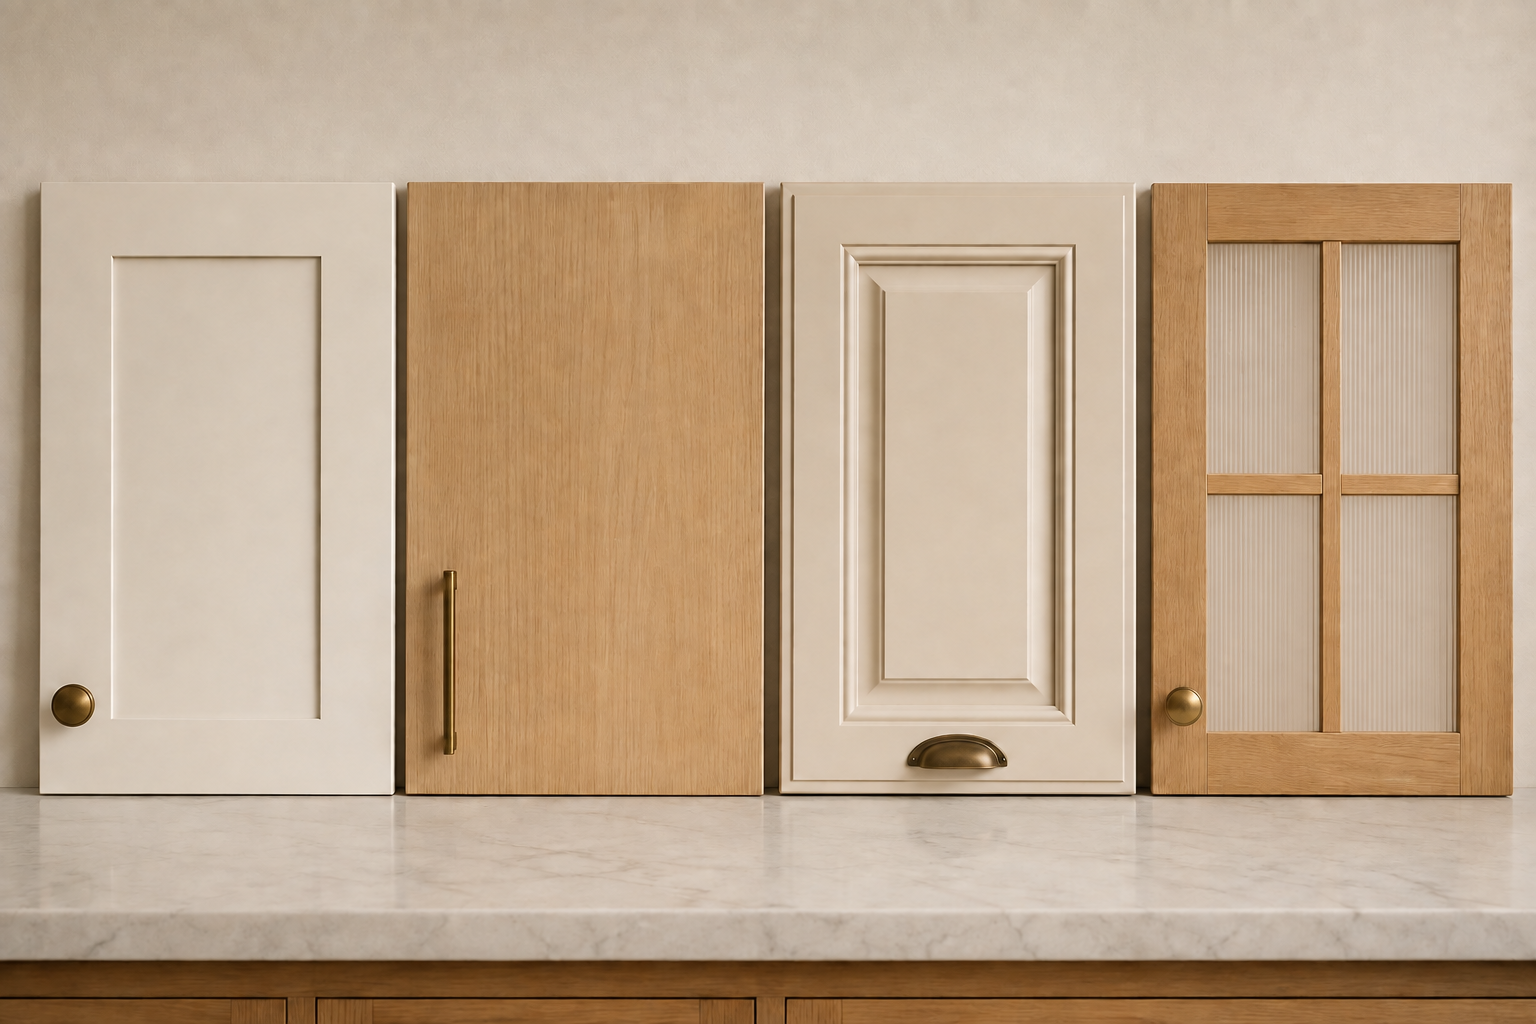
A slab door, narrow-frame Shaker, wide rail, raised panel, and glass front do not offer the same visual or structural landing area. Review where the hardware base sits and how fasteners pass through the door. The usual mistake is copying one placement across every door style without checking the actual profile. That can put a pull too close to an edge, over a moulded transition, or into a narrow frame. Ask the cabinet supplier what locations are approved for the selected construction, then judge the appearance on a real sample rather than a generic diagram.
3. Establish a repeatable visual line
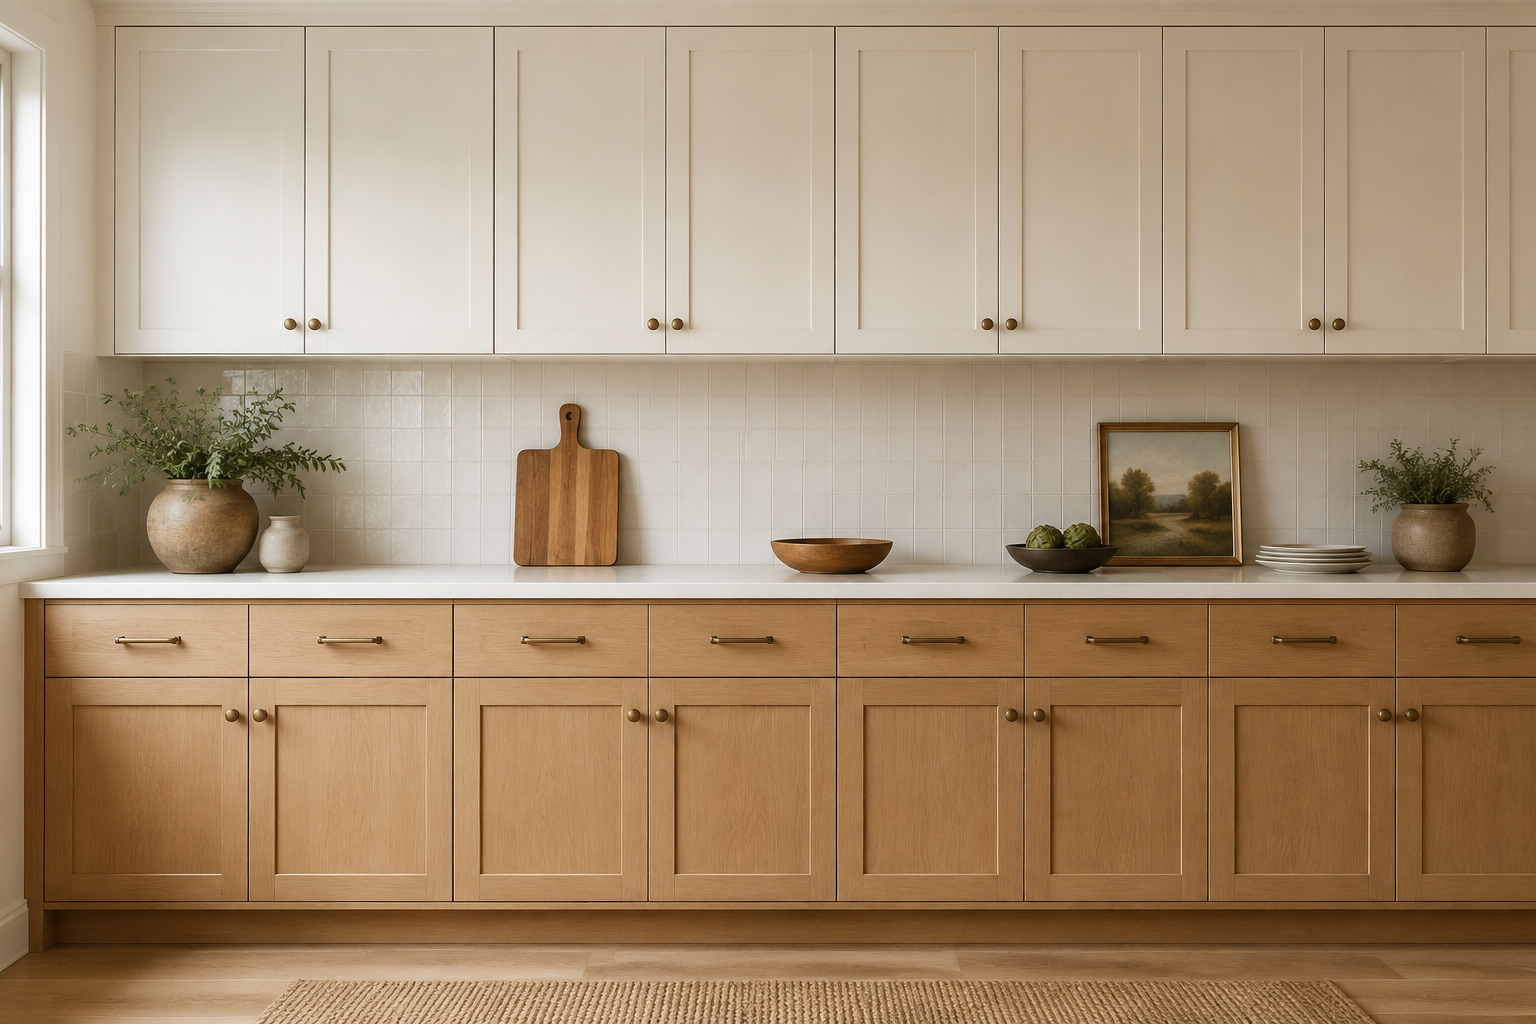
Choose a clear relationship to rails, stiles, door edges, or drawer centers and repeat it where the construction is truly the same. View the entire run from across the room. A frequent mistake is measuring each handle independently from the nearest edge, allowing tiny differences to accumulate into a wavy line. Another is forcing uniformity across components that are visibly different. Create a placement schedule by door and drawer type, use one reference edge, and have the installer confirm how the template will reproduce it. Consistency should feel calm, not mechanically blind.
4. Decide how wide drawers should read
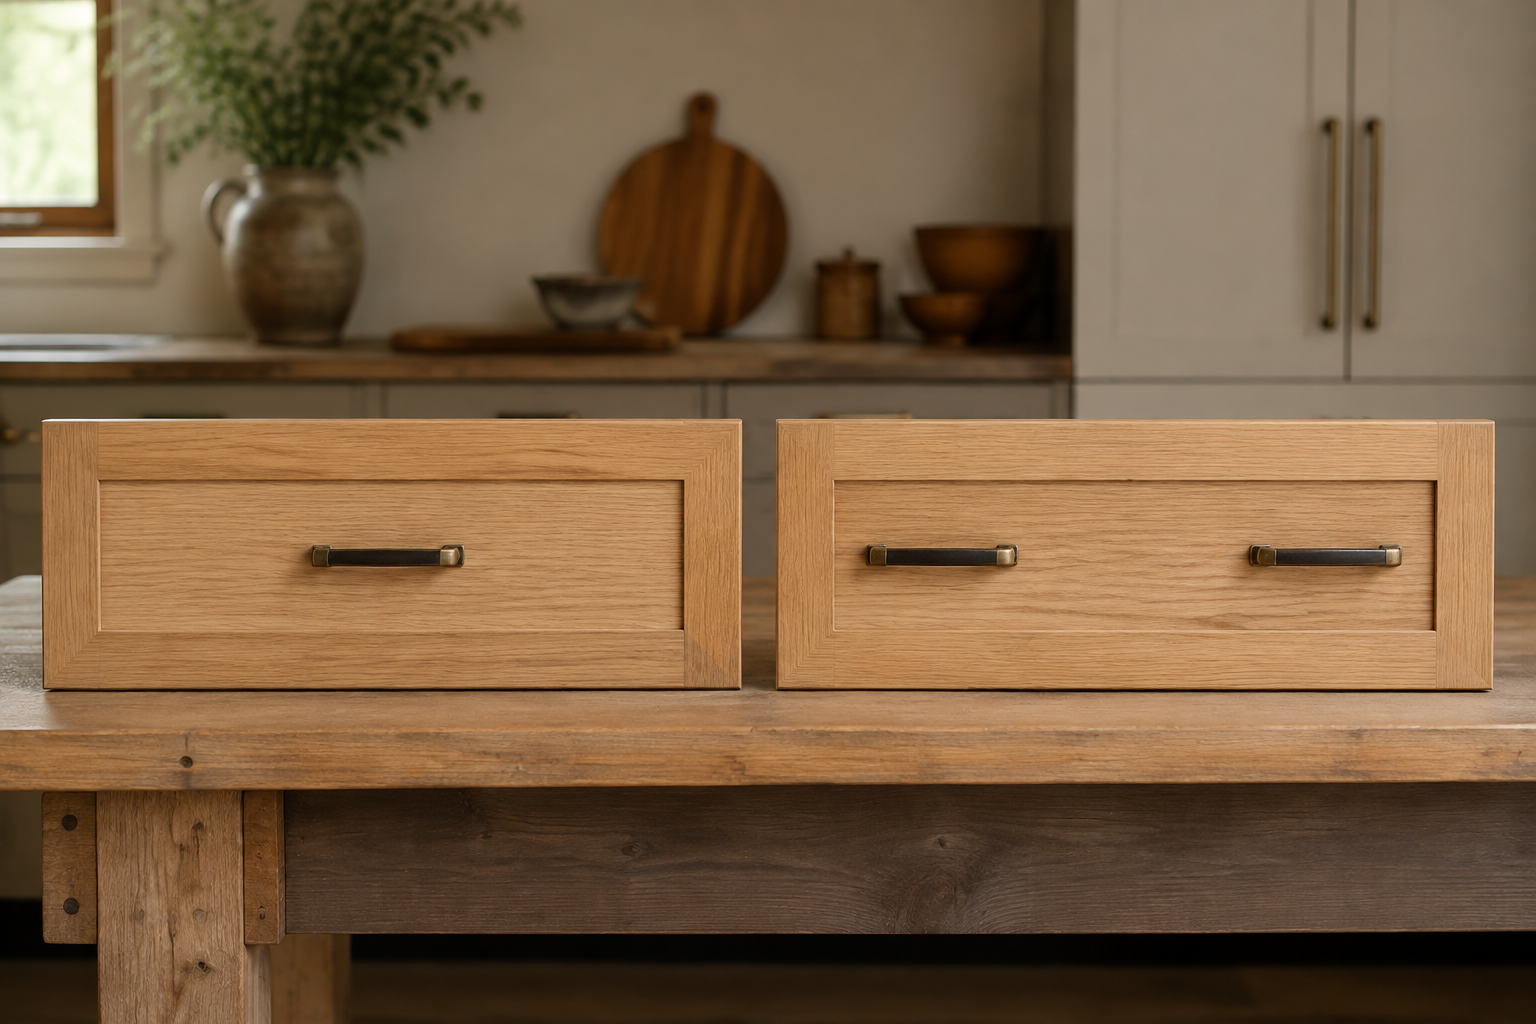
Wide drawers may use one longer pull, one modest centered pull, or a balanced pair, depending on the drawer construction, load, hardware family, and desired rhythm. Mock up each option on the full-size front. The common mistake is choosing two pulls because the drawer looks wide, then using only one hand and twisting the box; the opposite mistake is choosing an oversized pull that dominates the elevation. Follow the cabinet and hardware manufacturers' requirements, consider how the drawer will actually be opened, and compare the full run before deciding.
5. Treat tall doors as part of the same family
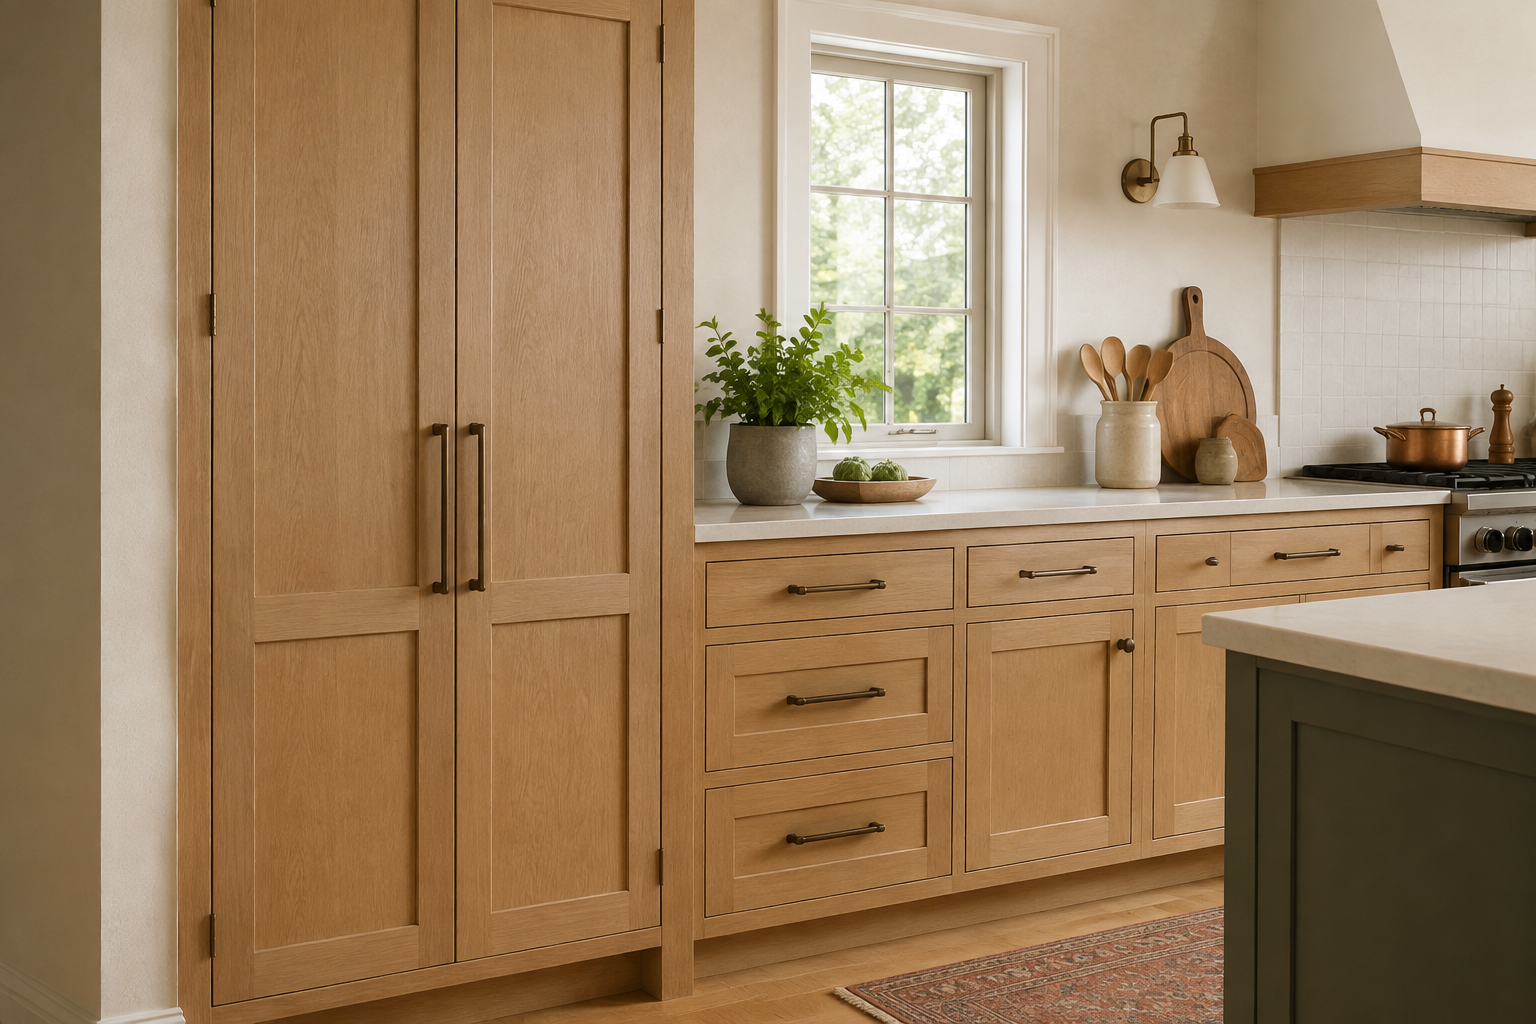
Tall pantry and broom doors need a comfortable grip, but their hardware should still relate to nearby base and wall cabinets. Tape the sample in place and open the door several times from the normal approach. A common mistake is centering the pull on the full door because it looks mathematically balanced, even when that puts the grip in an awkward zone. The reverse mistake is placing it by habit without checking the tall door's internal shelves and hinges. Let comfort lead, then connect the result to the surrounding elevation through alignment or shared hardware.
6. Open hardware beside corners and appliances
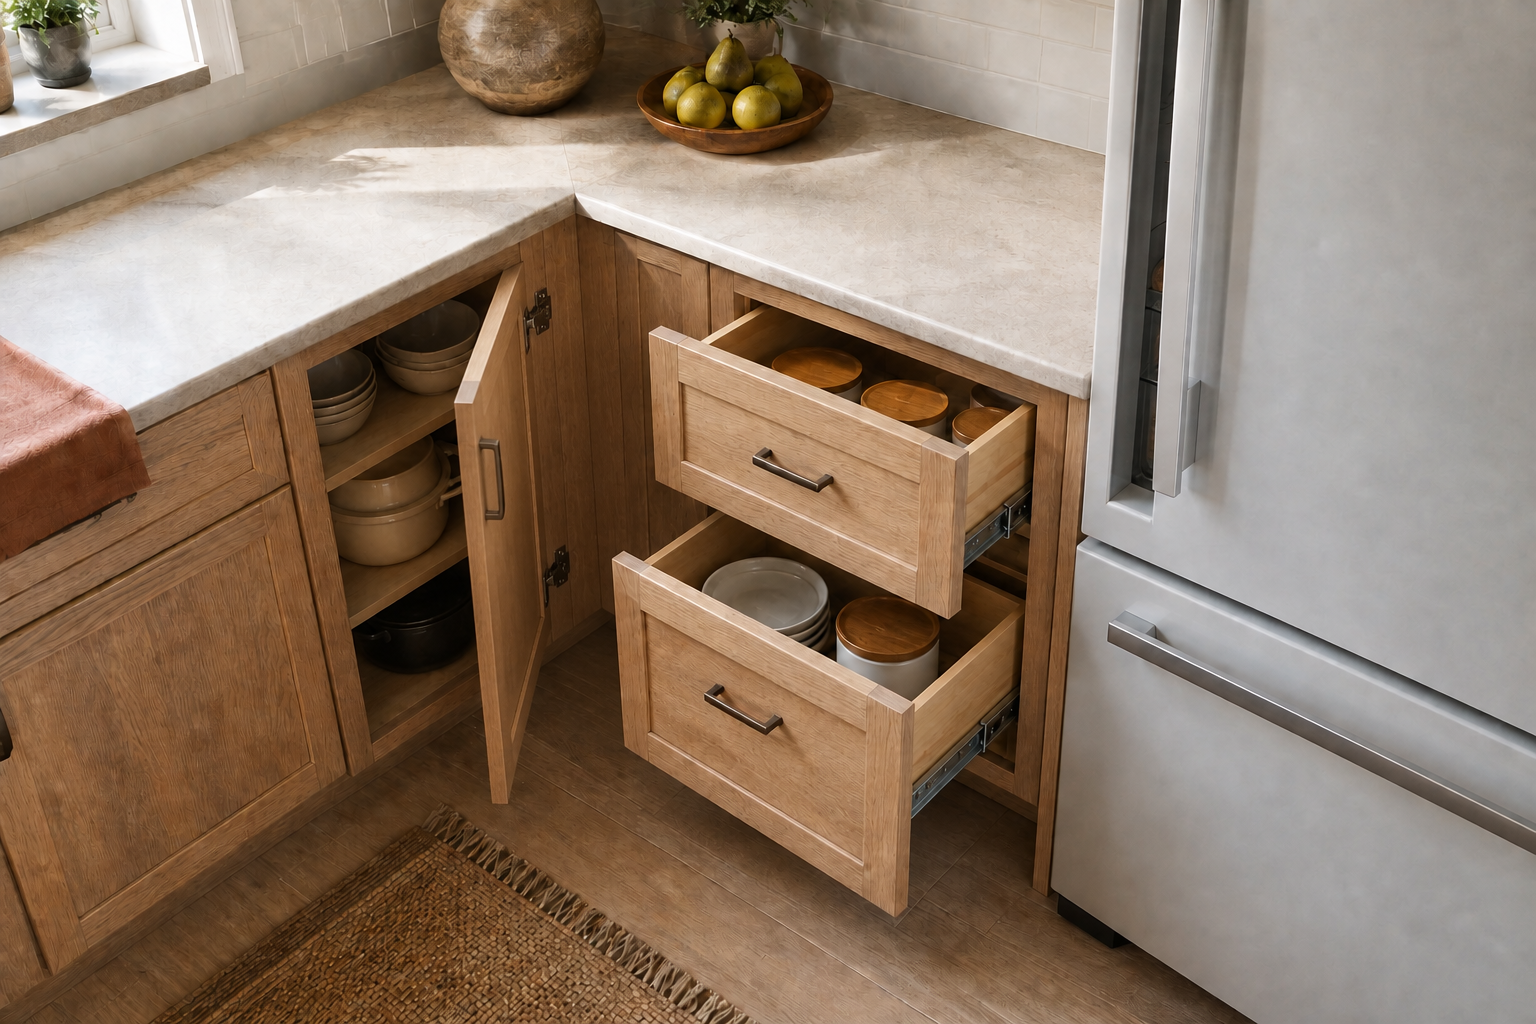
Handles project beyond cabinet fronts and can collide at inside corners, narrow returns, appliance openings, or opposing island runs. Draw every nearby door and drawer open, then add the hardware projection. The frequent mistake is approving the cabinet clearance before the pull is selected. A door may technically open while its hardware strikes an adjacent face or prevents a drawer from passing. Test the exact samples on the plan and in a simple mock-up, and have the supplier verify any restricted-hinge or corner condition before drilling.
7. Include handle projection in narrow paths
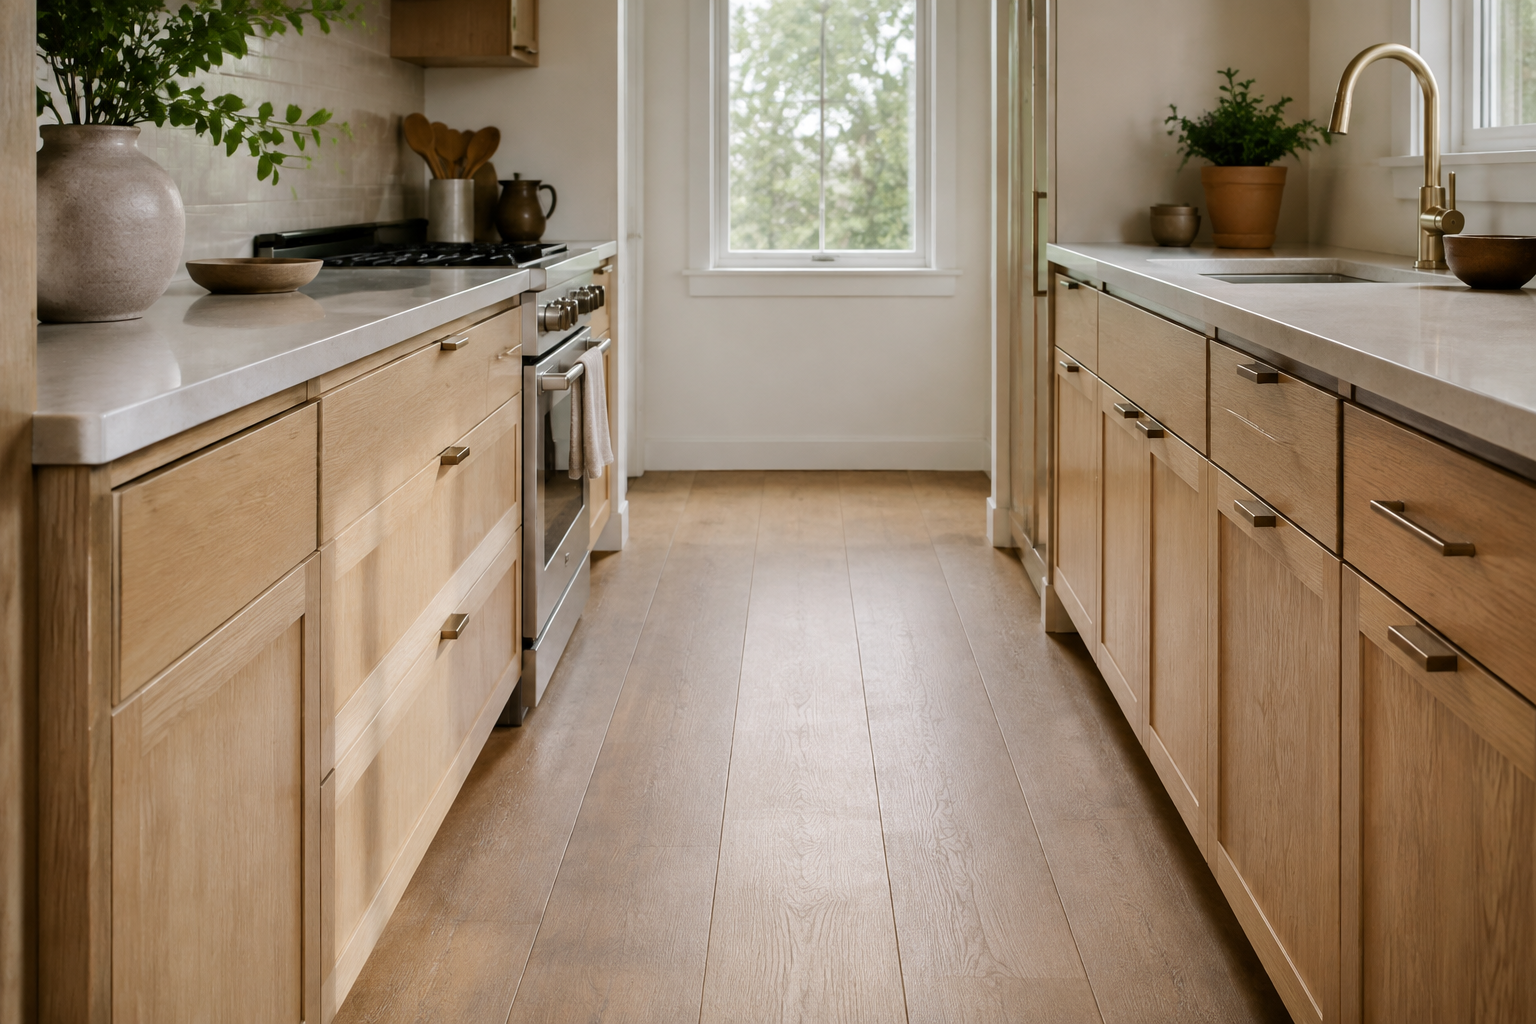
In a compact galley, island aisle, or busy passage, a projecting pull can catch clothing and reduce the usable path more than a drawing suggests. Compare knob, pull, edge-pull, and low-profile options that are approved for the door style. A common mistake is treating hardware depth as too small to matter, even where people repeatedly brush past the cabinets. Walk the room with a sample temporarily attached and open the busiest doors. If the path feels tight, solve the cabinet and circulation problem first rather than expecting a tiny handle change to rescue a crowded layout.
8. Plan for reach, visibility, and varied hands
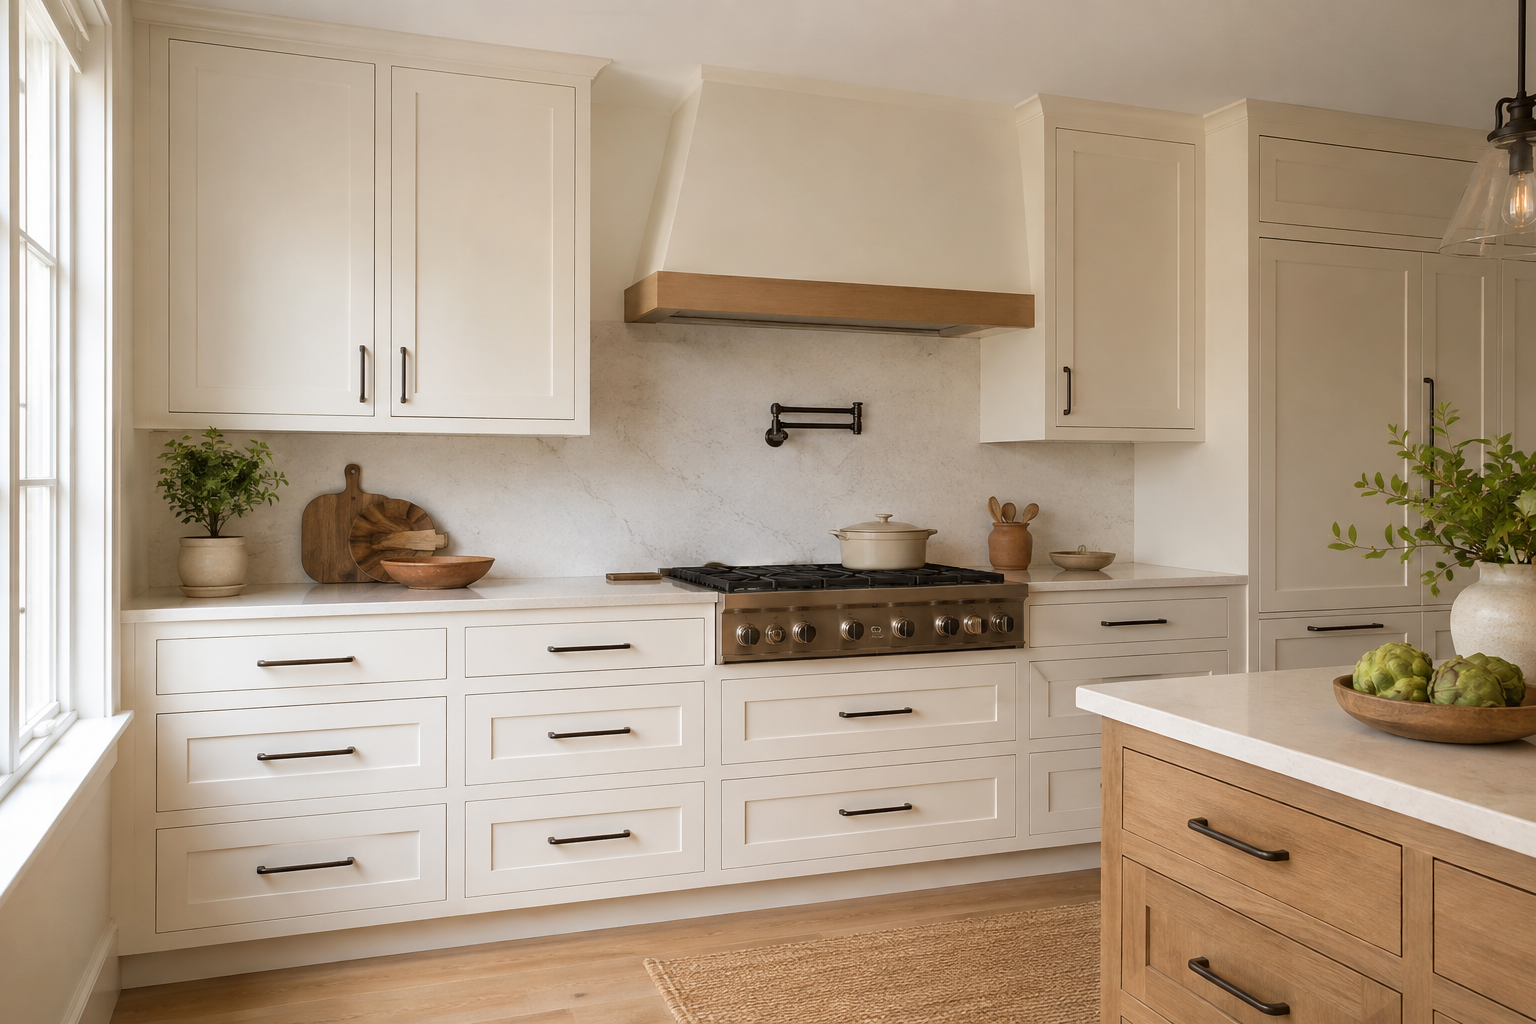
Hardware should be easy to see, reach, and grasp for the people who use the kitchen. Consider hand strength, mobility, height differences, wet hands, and whether a contrasting finish helps the grip stand out. The common mistake is treating accessibility as a special add-on after every hole location is fixed. Try the samples during the first plan and invite the household to use them. If a specific accessibility standard or accommodation applies, involve the responsible designer, occupational professional, supplier, contractor, or code authority before finalizing the cabinet and hardware details.
9. Build a full-size drilling mock-up
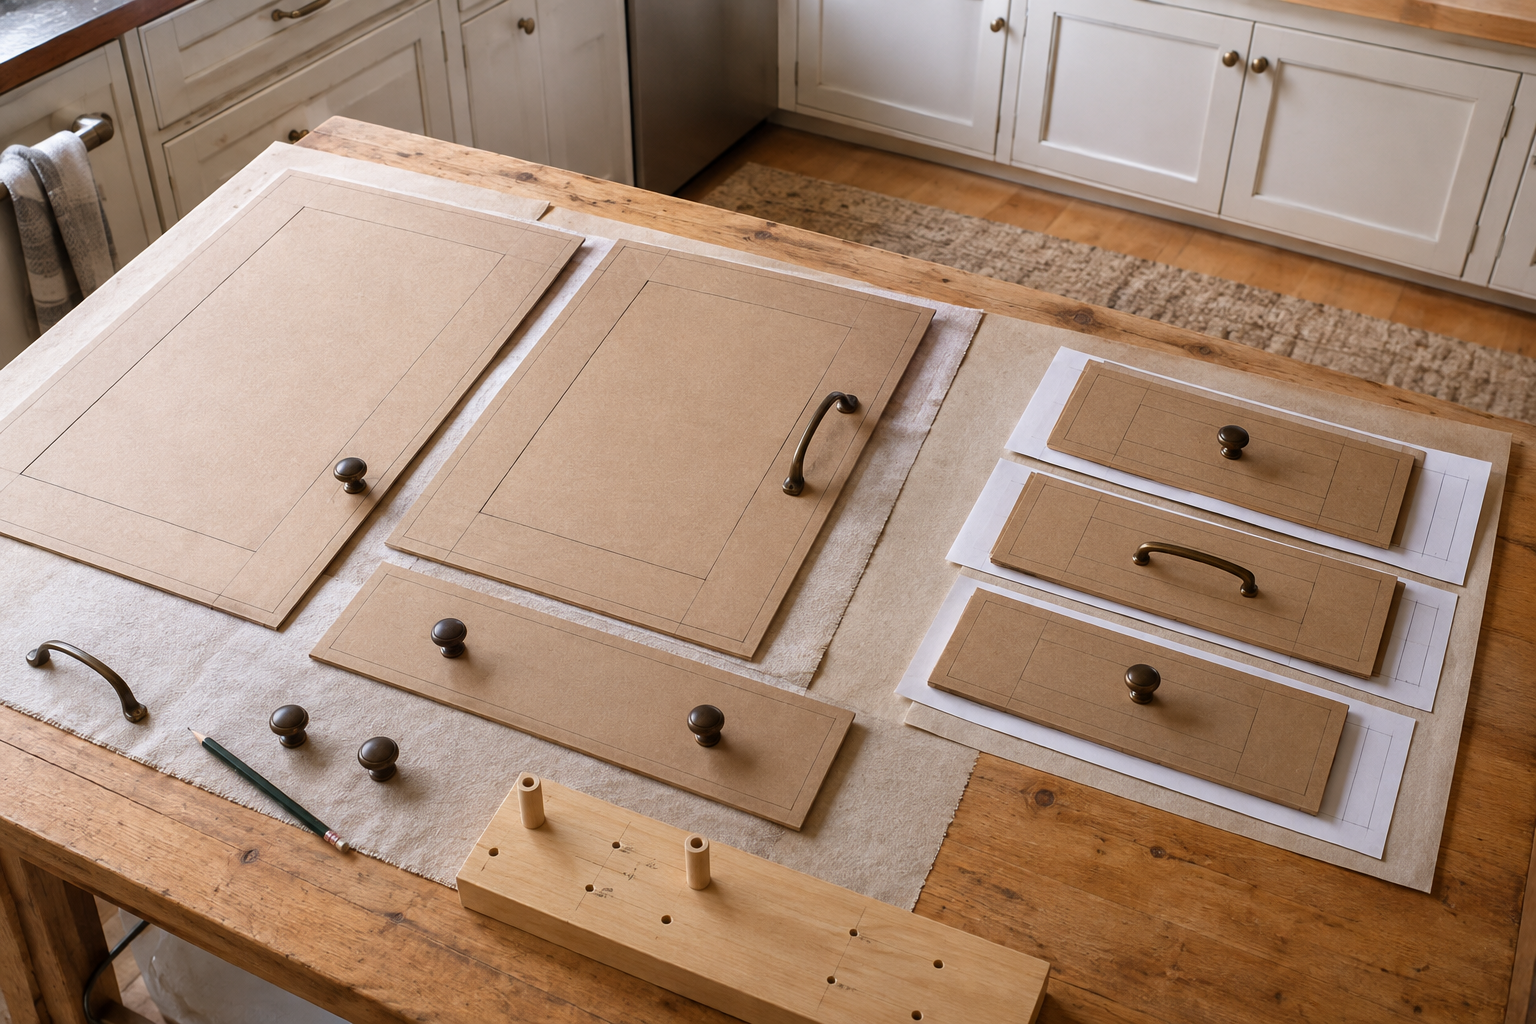
Cut paper or cardboard to the size of several real fronts, draw their rails and stiles, and attach the hardware with removable fasteners or tape. Place the mock-ups at their planned heights and view them from the room entrance. A common mistake is trusting a small sample board that removes the hardware from the scale of the kitchen. Check grip, alignment, screw spacing, and the relationship between doors and drawers. Photograph the approved mock-up and turn it into a clear schedule before anyone drills an irreversible hole.
10. Verify the template on the first real front
Before drilling the entire kitchen, confirm the exact hardware, fasteners, door construction, orientation, and template against one correctly identified front. Measure from the same reference edges used in the approved schedule and check the result before repeating it. The classic mistake is trusting a universal jig without noticing that a door is upside down, a drawer front differs, or the selected pull has changed. The cabinet supplier and installer should approve the drilling method. Taking a deliberate pause after the first piece is careful workmanship, not hesitation.
Make hardware part of the cabinet plan
Hardware placement becomes easier when the door style, exposed panels, corners, and working paths are already visible. Use these related guides to connect the small detail to the full room.
Compare Cabinet Door Styles Plan Fillers and PanelsReview the cabinet rhythm before drilling begins
Use StilePath to place the cabinets and review doors, drawers, corners, appliances, and circulation in context. The first plan will not drill the holes for you, but it can reveal where hardware and clearances deserve a closer look.
Start Planning Free