
Kitchen Cabinet Crown Molding: 10 Details Before You Order
Cabinet crown molding can make a kitchen feel finished, but it is not a strip of decoration pasted onto the top. It has height, depth, joints, returns, backing, and a relationship with every ceiling, beam, hood, tall cabinet, and wall. You can do the useful first pass yourself. Get your tape, pencil, and paper, take straight-on photos of every cabinet wall, and mark anything that interrupts the ceiling line. The cabinetmaker and installer will determine the buildable profile and fastening, but your observations can prevent the common surprise: a beautiful molding chosen from one sample that has nowhere sensible to end in the actual room.
1. Check the ceiling at several points, not just one
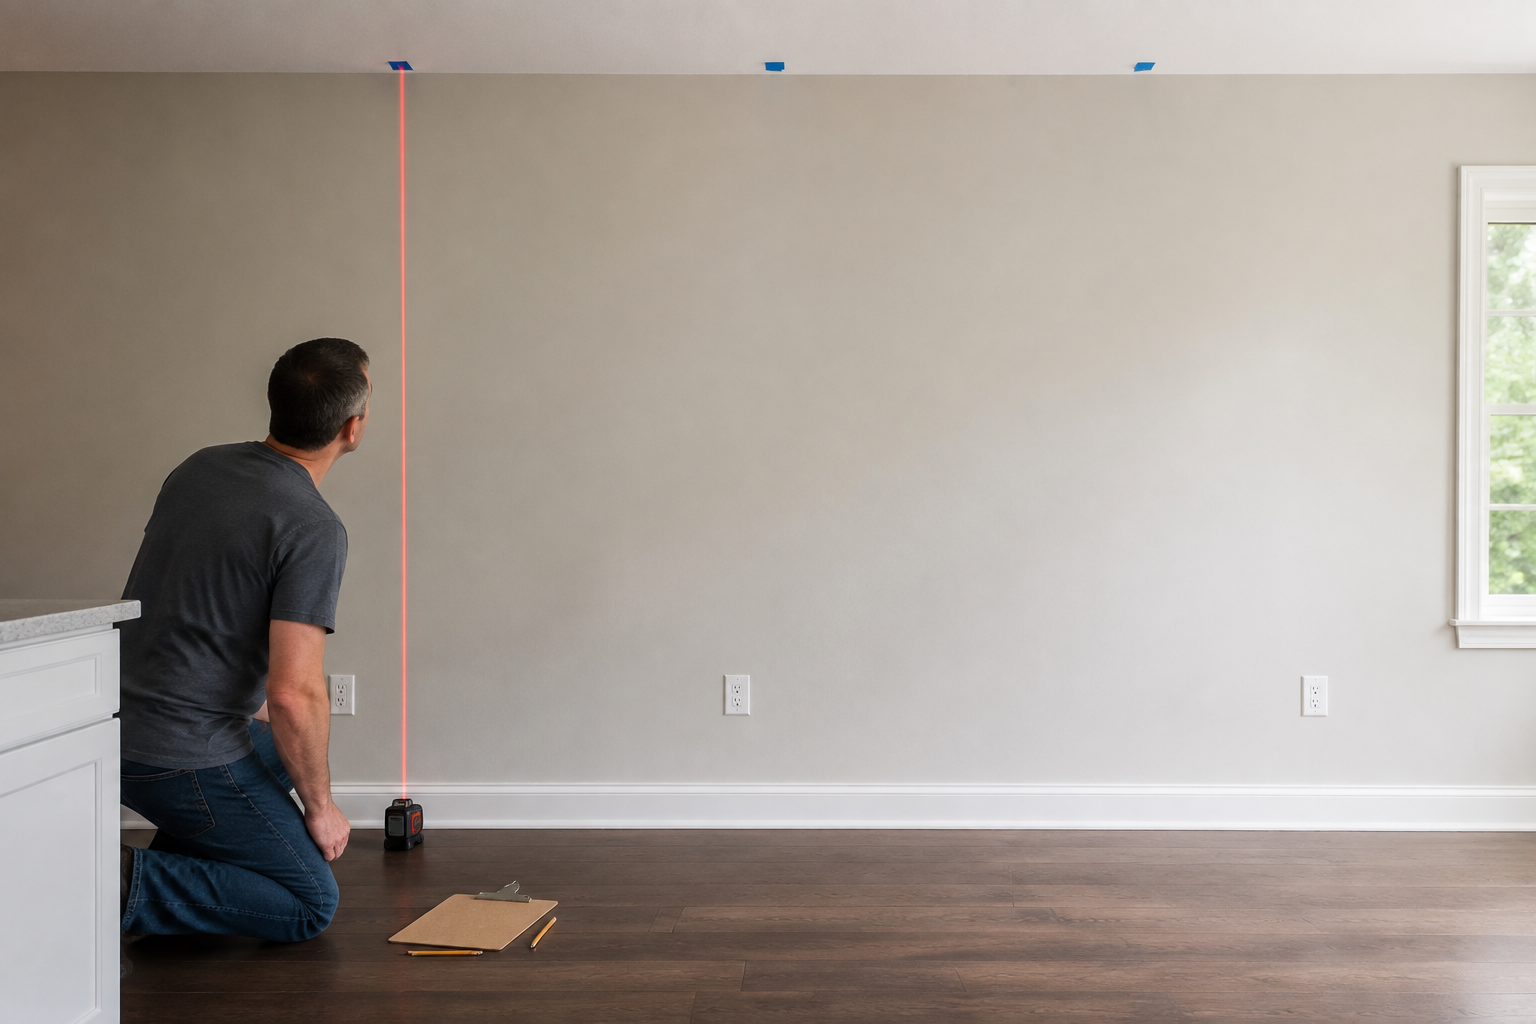
Measure floor-to-ceiling height near both ends of the run and at several points between. Use a long level or laser if you have one, and photograph gaps or slopes that become visible against a straight reference. A common mistake is recording one ceiling height and assuming the whole wall matches it. Another is asking rigid cabinetry and crown to hide a large wave with no filler or scribe allowance. Your readings are not fabrication dimensions; they are an early warning. Mark the highest and lowest observations and let the cabinetmaker or installer field-verify them. A small variation may disappear in a planned reveal, while a larger one may change cabinet height, molding build-up, or ceiling repair.
2. Choose the whole build-up, not one pretty profile
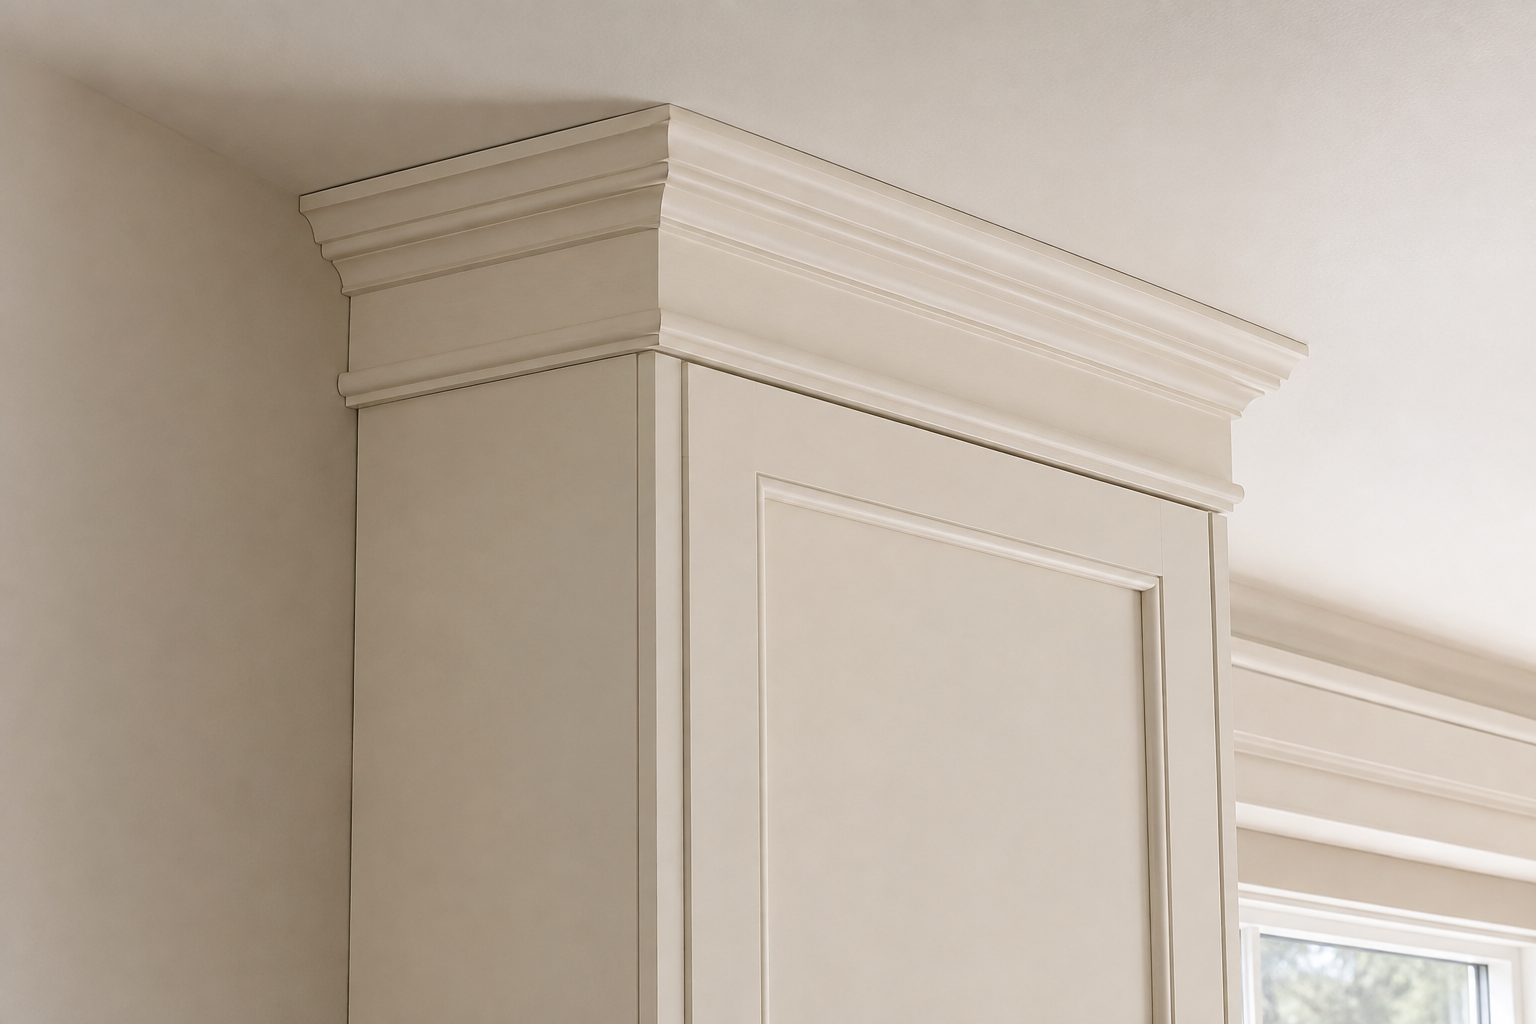
Ask for a section drawing that shows the cabinet box, top rail or riser, backing, crown profile, ceiling, and finished side. Crown often works as a build-up of flat stock and profile rather than one oversized piece. A common mistake is selecting a deep room-crown sample that projects beyond the cabinet door plane or leaves no fastening surface. Another is scaling the molding from a close-up photo without considering ceiling height and cabinet width. Hold a cardboard mock-up above a door or tape the proposed height on the wall. The installer should confirm the actual parts, fastening, joints, and tolerances, but you can judge whether the proportion feels calm or top-heavy from normal eye level.
3. Draw the complete wall elevation
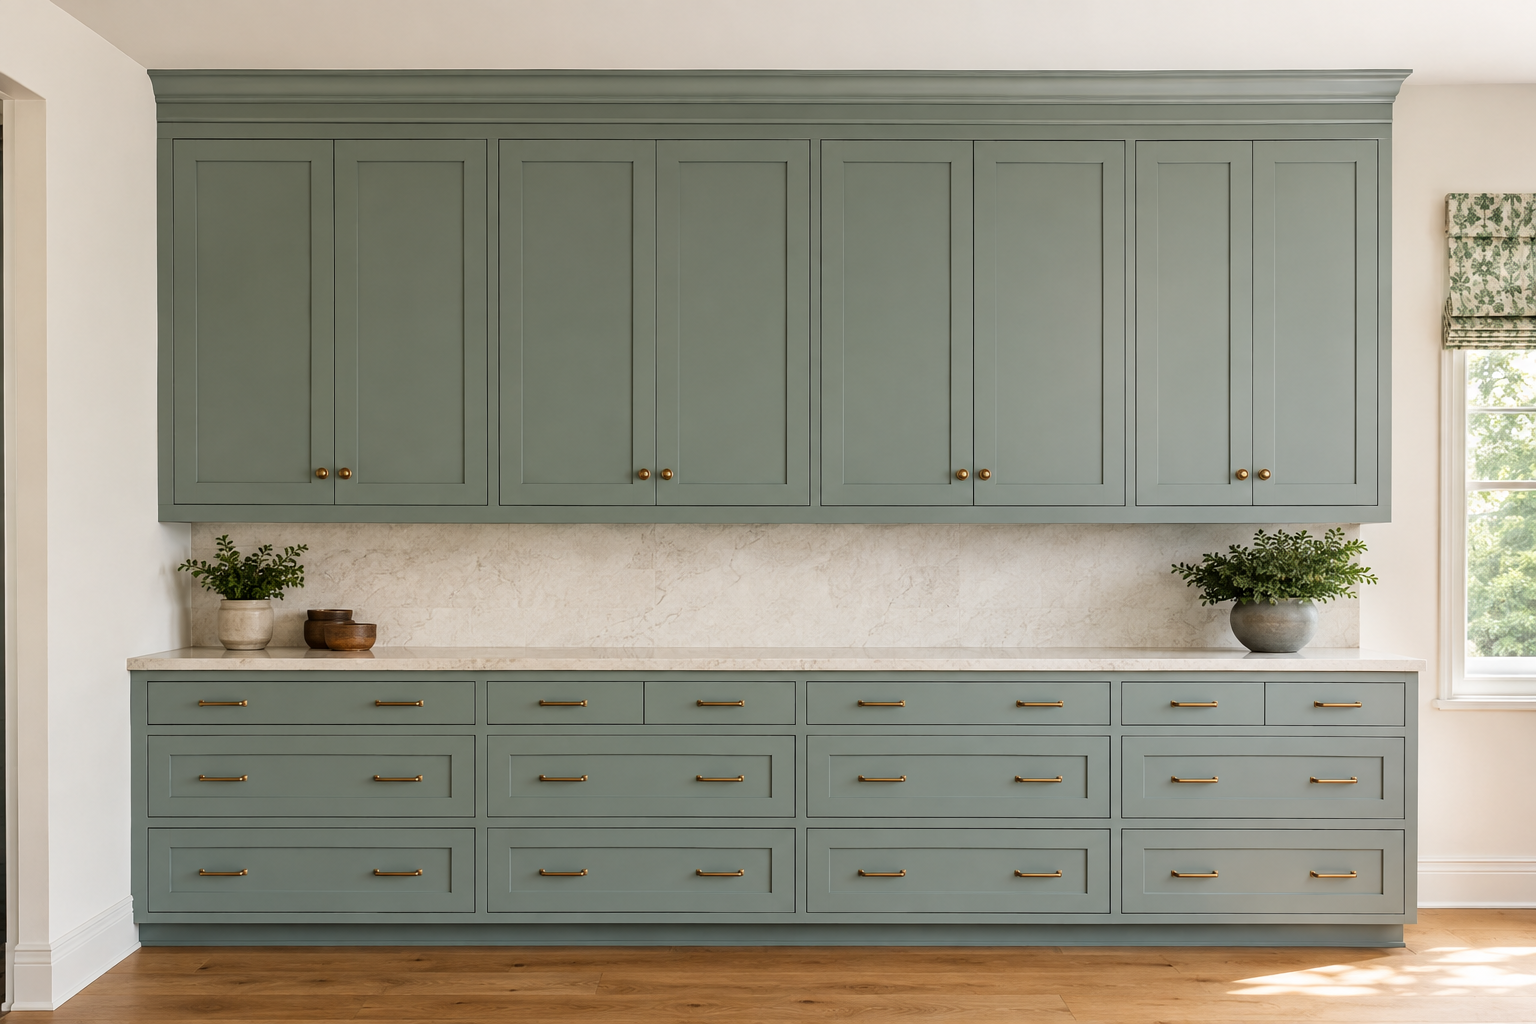
Sketch every upper cabinet on one wall, including finished ends, fillers, open spaces, windows, hoods, and tall units, then draw the crown as one line that must start, turn, and stop somewhere real. A common mistake is approving crown above each cabinet group in isolation; the profiles meet later at different heights or die into open wall. Another is centering doors while ignoring how the top treatment reads across the room. Your elevation can be simple boxes with labels. The goal is to see continuity. Ask where every molding run begins, where it returns, and whether a finished end panel or vertical filler exists to receive it. If an ending looks improvised on paper, it will look more obvious after paint.
4. Plan inside and outside corners as joints
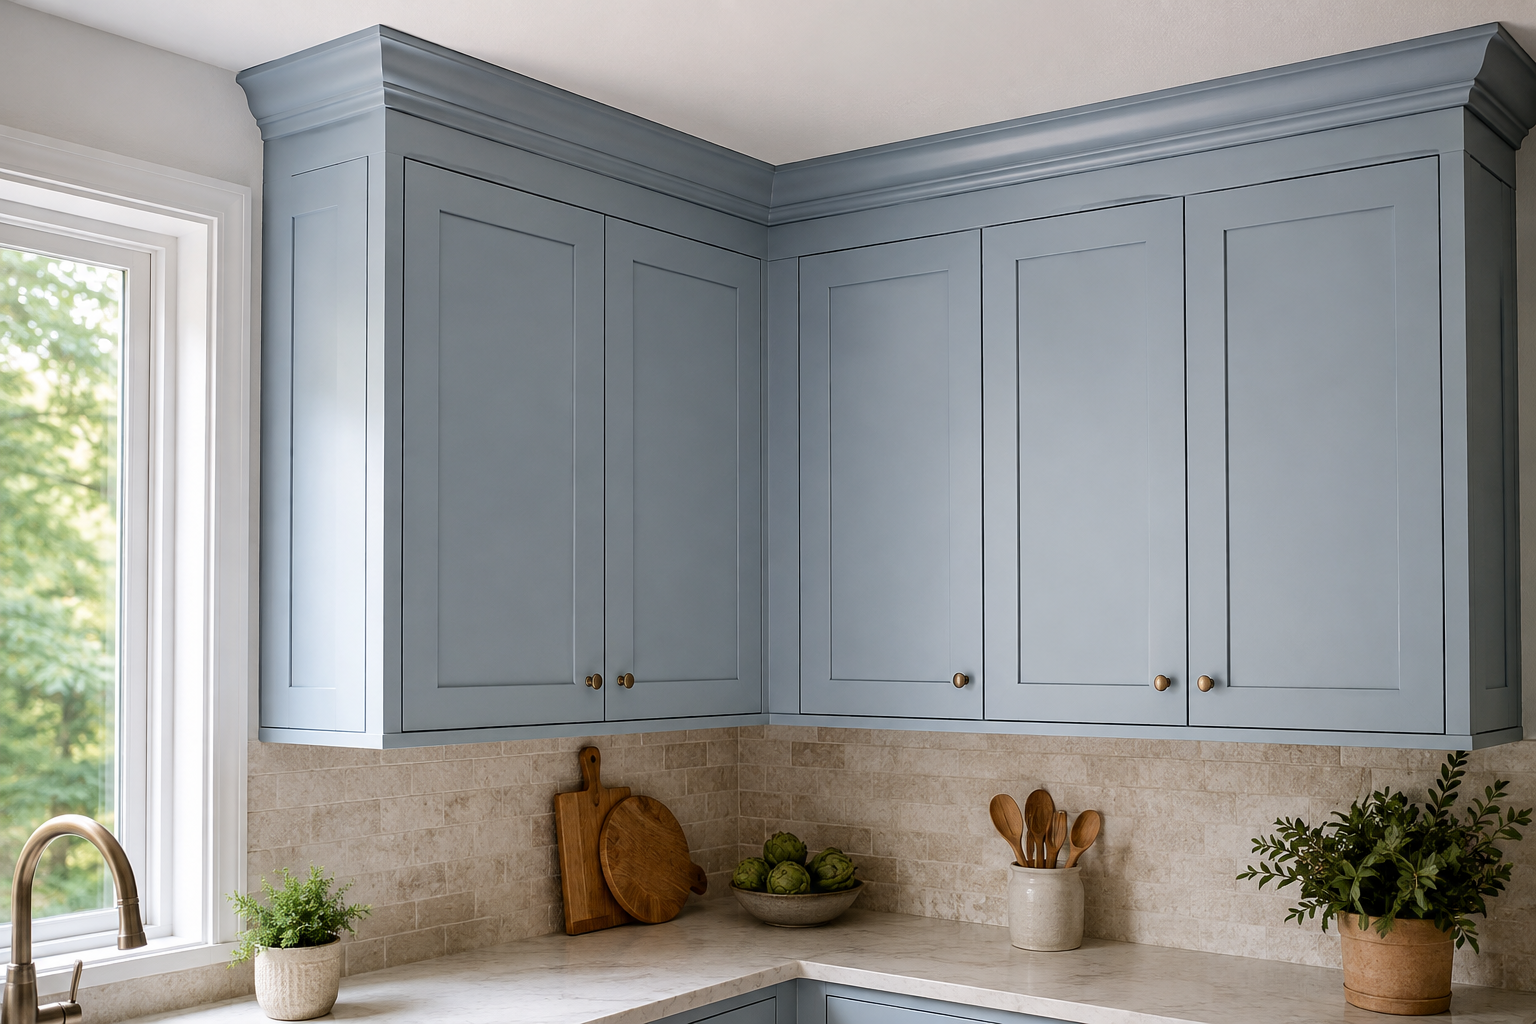
Corners reveal whether cabinet heights, depths, face planes, and crown profiles truly agree. Mark every inside corner, outside corner, angled wall, and change in cabinet depth. A common mistake is assuming two crowns will simply miter because their cabinets meet; one run may sit farther forward or higher. Another is adding a decorative corner cabinet without checking how doors, fillers, and crown share the turn. Ask the cabinetmaker for a plan and elevation of unusual corners, and let the installer field-check the actual angle—walls are rarely a perfect 90 degrees. You do not need to calculate the cut. You need to make sure the joint has been designed rather than left as an installation-day improvisation.
5. Give beams and ceiling changes a deliberate return
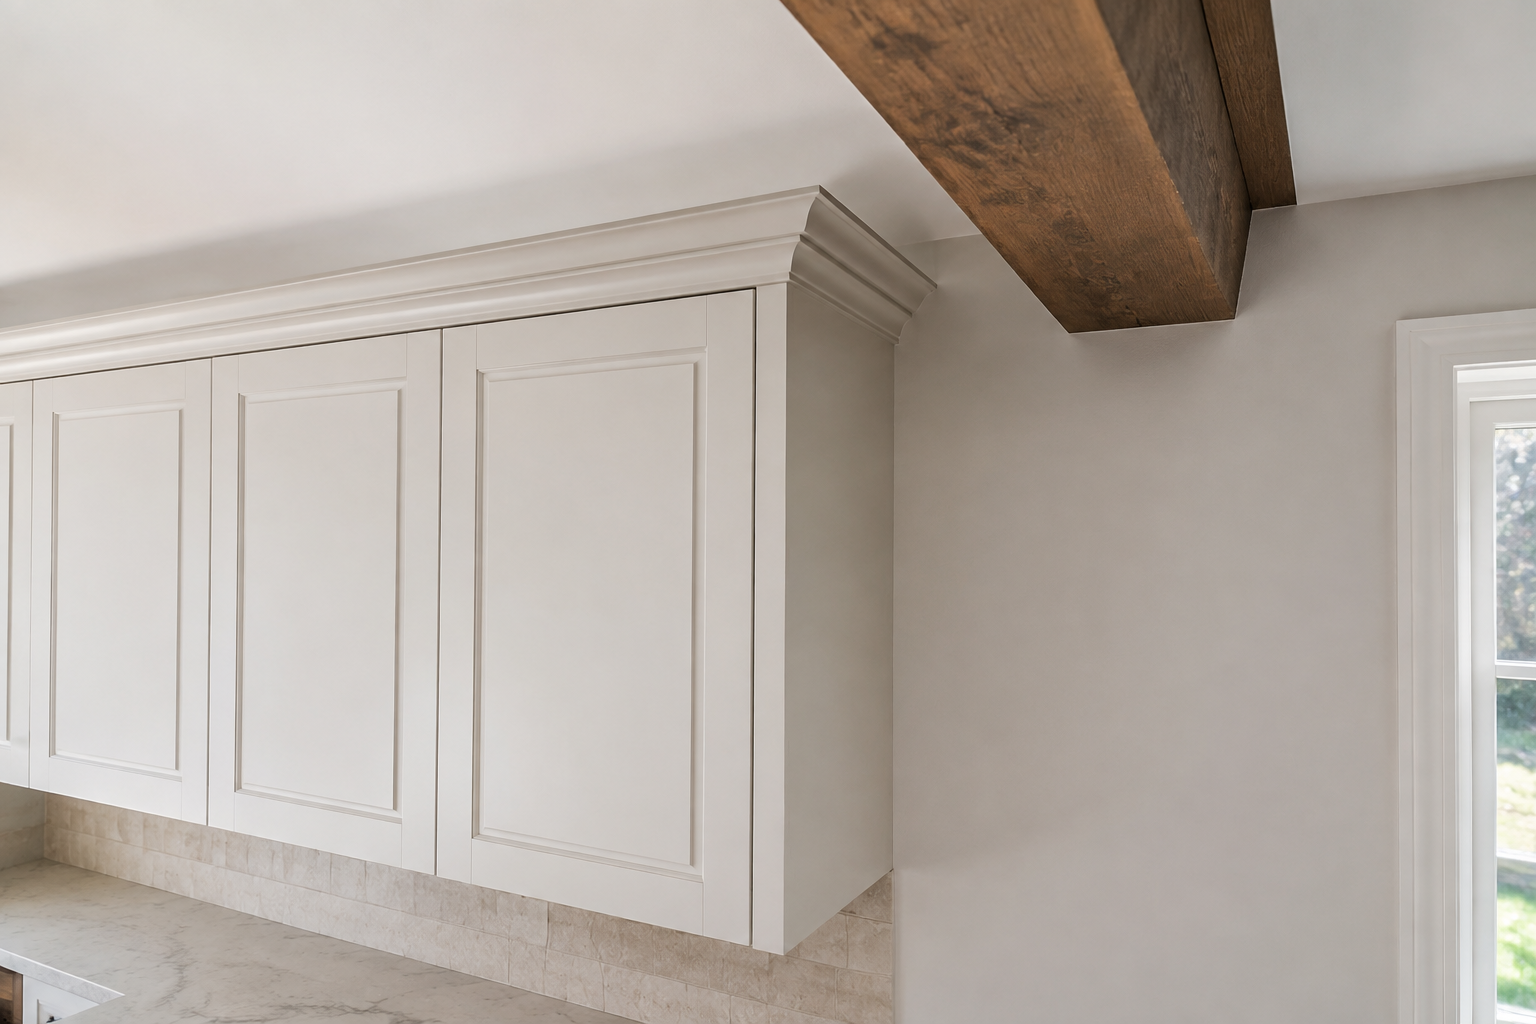
A beam, soffit, slope, tray ceiling, or lower ceiling section breaks the assumption that crown can run forever. Measure its face, underside, distance from the cabinet run, and relationship to nearby doors and trim. A common mistake is letting cabinet crown crash into a beam with the curved profile exposed. Another is wrapping trim around an architectural feature until the lines become busier than the cabinetry. A short finished end panel and a mitered return may be cleaner, but the right answer depends on the profile and room. Ask for a close elevation or detail of the stopping point. A planned return looks intentional; an open profile or tiny leftover gap looks like something was forgotten.
6. Coordinate tall cabinets and refrigerator surrounds
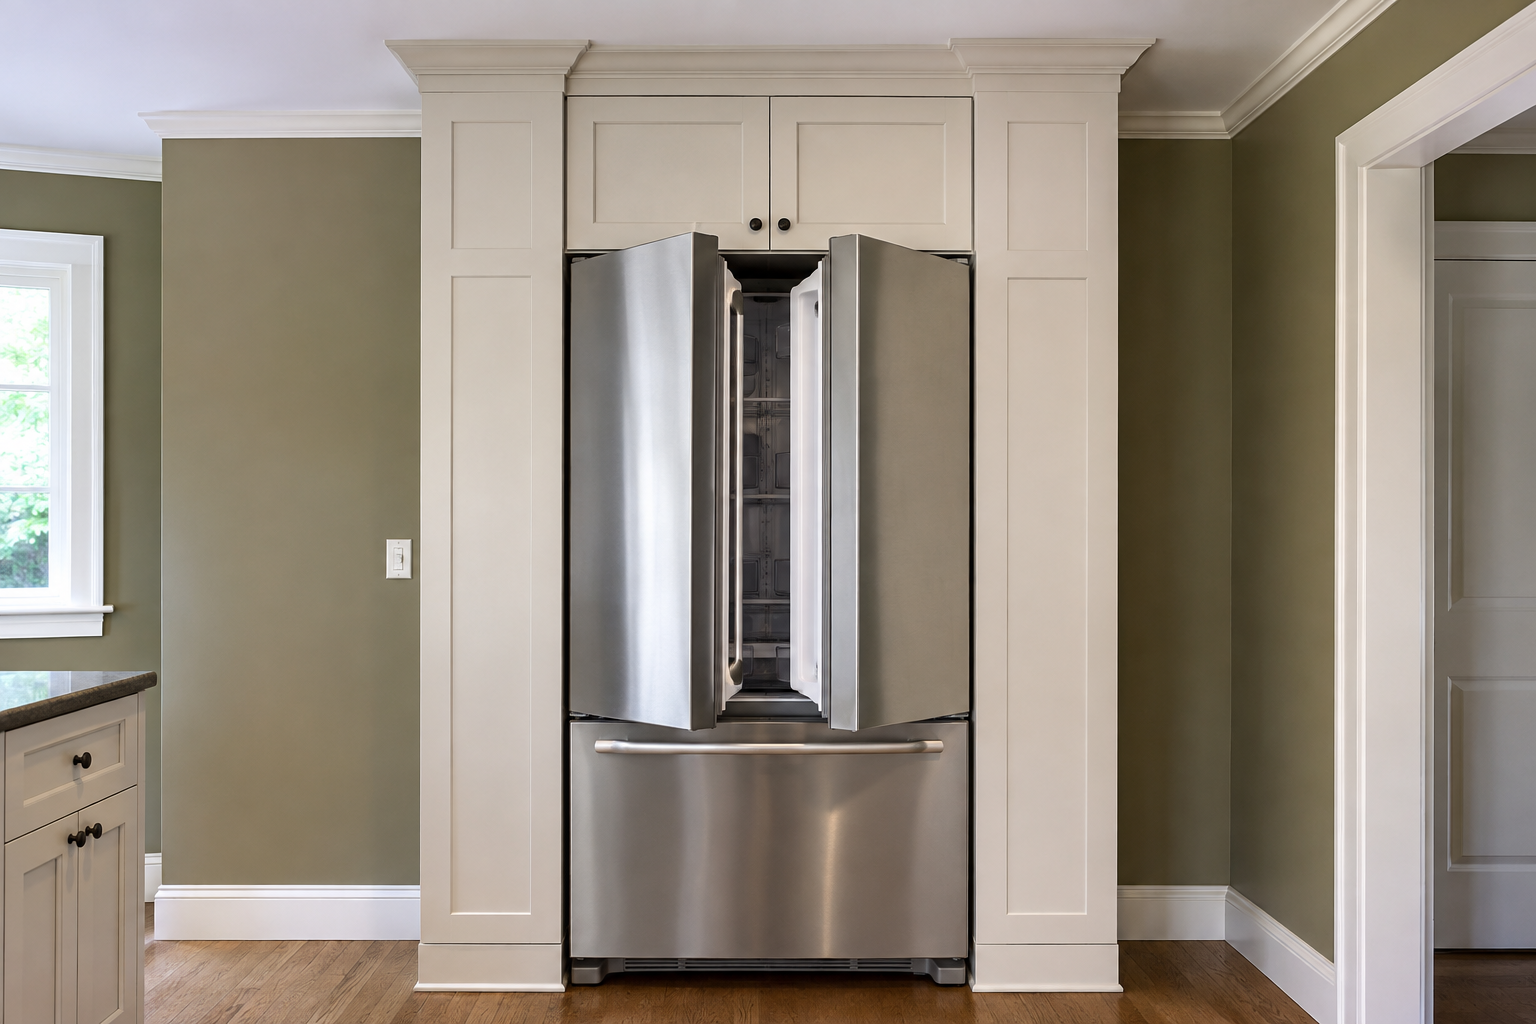
Tall pantry cabinets and refrigerator panels often sit deeper or use larger finished sides than wall cabinets. Add the appliance body, required ventilation, door swing, handles, top cabinet, side panels, fillers, and crown to one detail. A common mistake is aligning the crown face while the refrigerator doors project too far to open against the side panel. Another is making the tall section higher than the neighboring crown with no intentional transition. Use the exact appliance specification, not a generic refrigerator box. Open both French doors in the plan and check service access. The appliance installer and cabinetmaker should confirm ventilation, clearances, anti-tip requirements, panel dimensions, and whether the top treatment can be installed without blocking future removal.
7. Design clean stops around hoods and openings
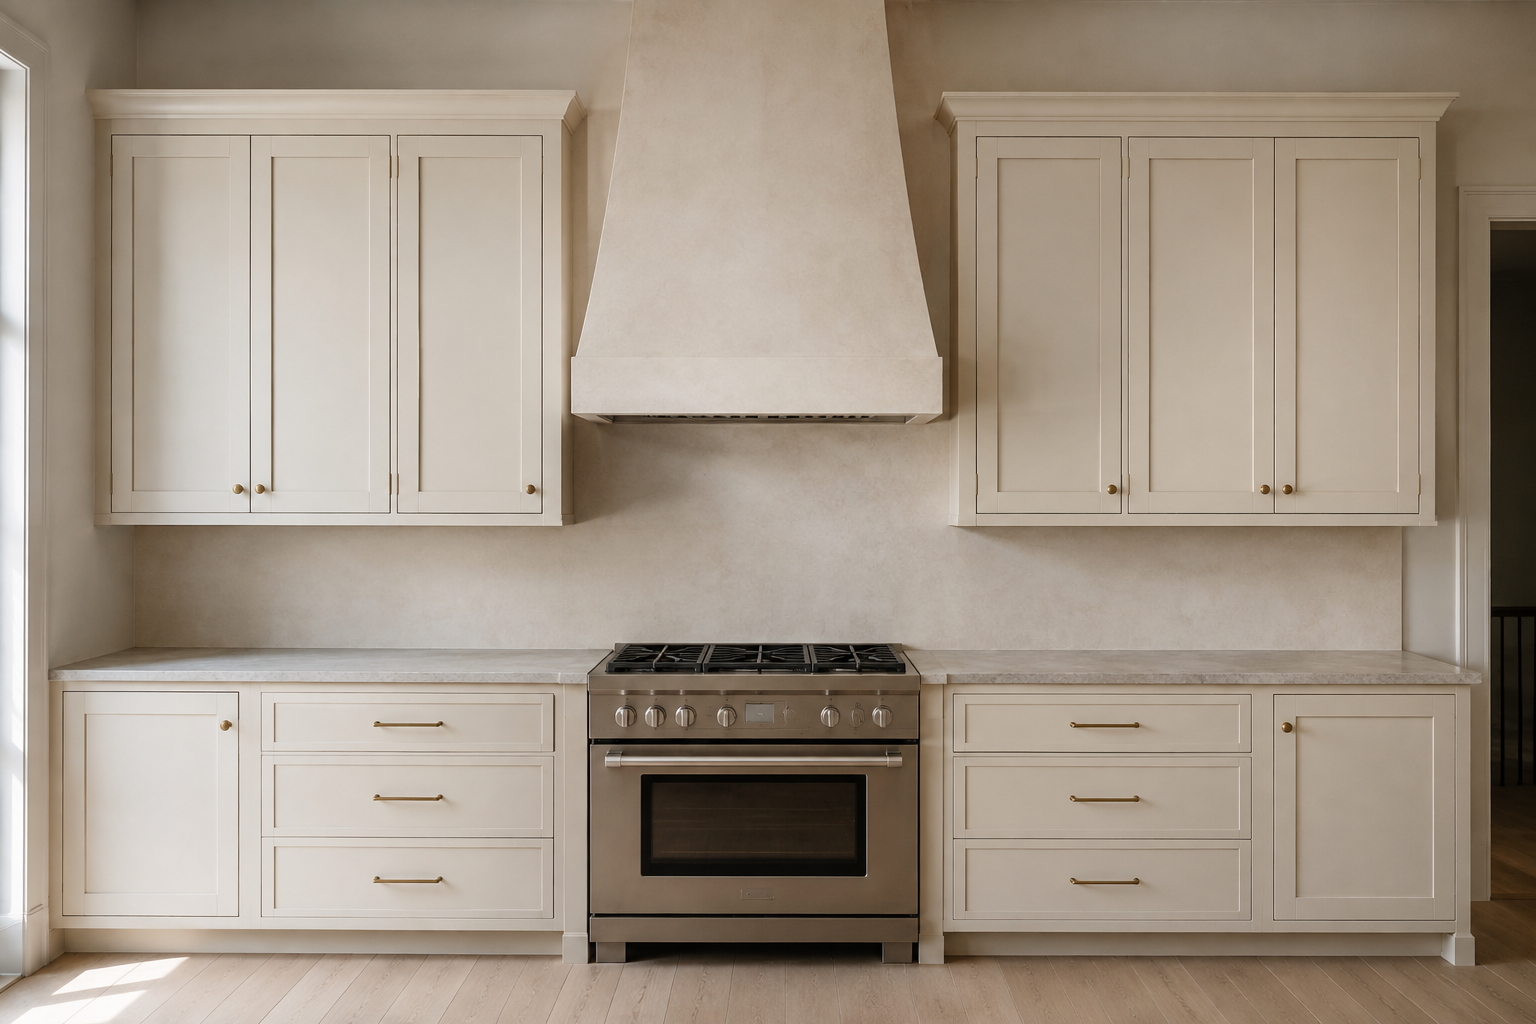
Range hoods, windows, open shelves, doorways, and exposed walls need a clear relationship with cabinet crown. Decide whether the hood stands above the cabinet line, aligns with it, or receives its own separate trim. A common mistake is running crown across the face of a hood that should read as one solid volume. Another is stopping a shaped profile in midair with no return or supporting panel. Draw the front view and a small top view so the projection is visible. Keep the number of competing lines low. A clean square filler or finished end can give the molding somewhere believable to return. Ventilation, hood clearances, and combustible-material rules still need review by the appliance professional and installer.
8. Use fillers and scribes where real walls demand them
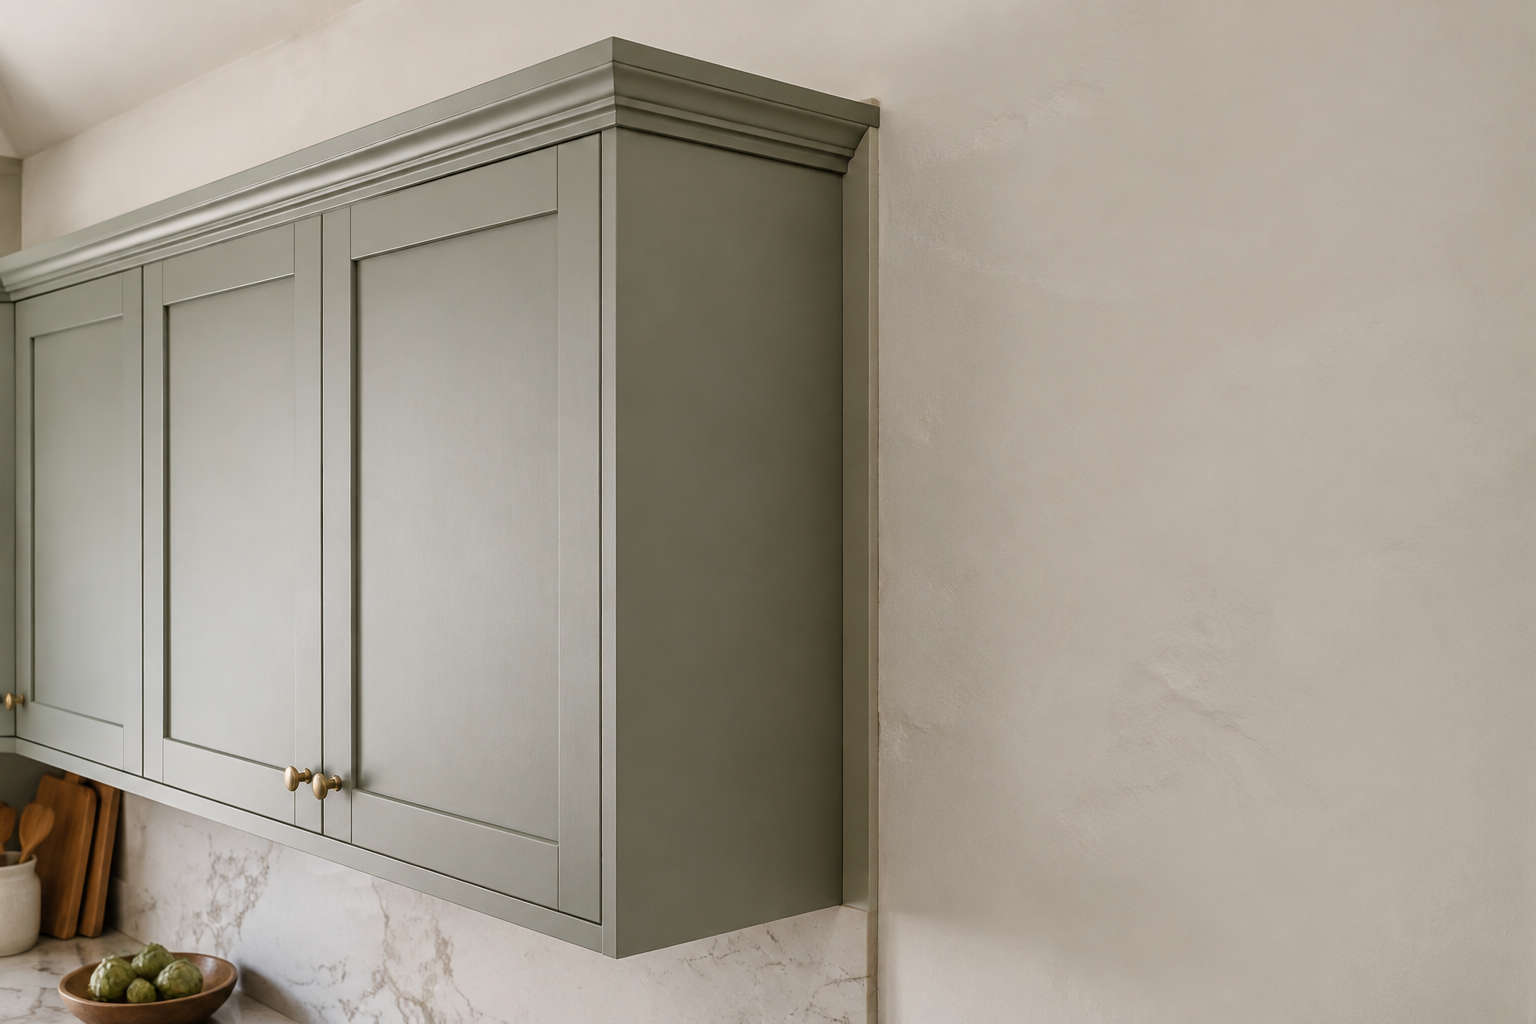
At a wall, leave room for door clearance, an out-of-plumb surface, and the installer to scribe a filler rather than forcing the cabinet box into drywall. Show the filler from countertop to crown so every horizontal line has a controlled ending. A common mistake is drawing the cabinet tight to the wall because the rendering looks cleaner. Another is ordering a crown piece to an exact plan length before the cabinets are leveled and the wall is checked. Measure the visible condition and ask what gets cut in the field. A narrow, intentional scribe can disappear into the architecture; a tapered caulk joint or door that rubs the wall announces that the tolerance was never planned.
9. Agree on finish quality and how seams will age
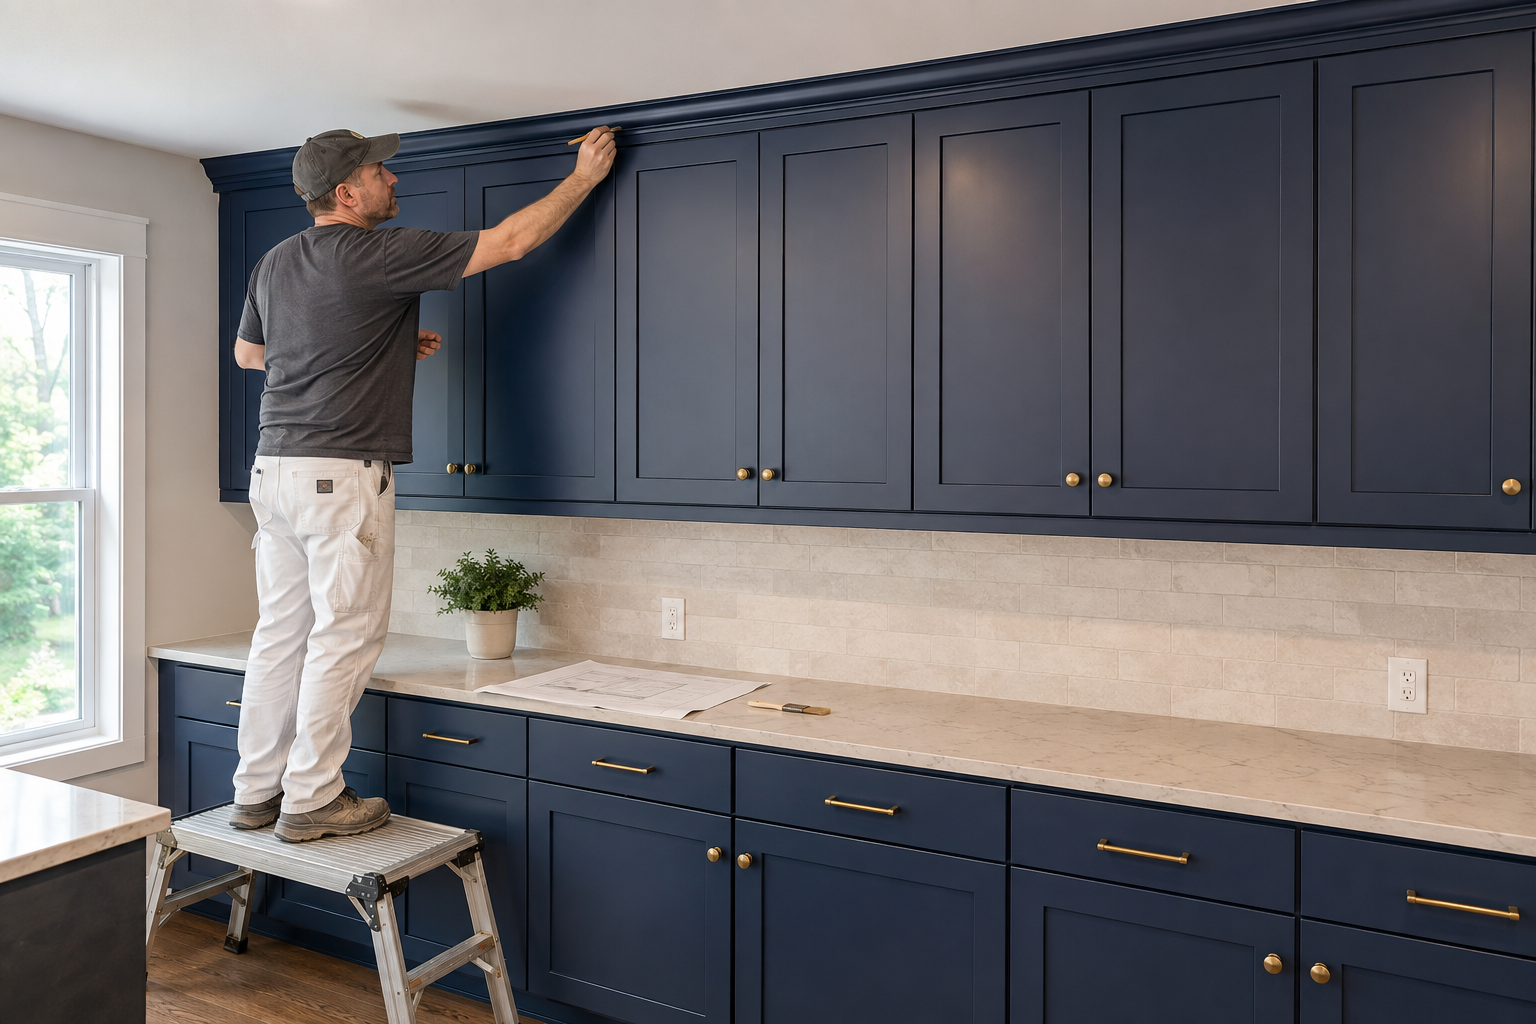
Painted crown has miters, nail holes, caulk lines, and seasonal wood movement; stained crown also asks every joint and grain change to remain visible. Discuss factory finish versus site finish, touch-up, sheen, caulk, acceptable seams, and who returns after movement appears. A common mistake is judging a joint only on installation day when fresh filler hides it. Another is expecting a hairline paint seam to behave like carved stone. Ask for a sample of the profile and finish, and view it in the room's daylight and evening light. The goal is not perfection that materials cannot deliver. It is a shared, realistic standard and a detail that can be maintained without repainting half the kitchen.
10. Put crown into the order and installation sequence
Before ordering, collect field-verified ceiling notes, wall elevations, crown section, fillers, finished ends, hood and appliance details, beam returns, lengths, extra material, finish method, touch-up, installer responsibility, and the point when countertops or ceiling repairs occur. The final common mistake is treating crown as a last-minute accessory after cabinet heights and panels are locked. It affects what is ordered and how the installation is staged. Ask who supplies backing, who cuts the returns, which pieces arrive finished, and what must remain loose for field fitting. You do not need to write the cut list yourself. A complete handoff simply makes sure the person who will cut and install the molding has been included before the boxes arrive.
Coordinate crown with the cabinets below it
Cabinet style, fillers, panels, ceiling gaps, and appliance surrounds all affect whether the top line feels intentional.
Plan Cabinet Fillers and Panels Compare Cabinets to the Ceiling or a GapSee the entire top line before you order it
Use StilePath to place cabinets, tall panels, appliances, hoods, openings, and ceiling conditions in one 3D kitchen plan. Start free, review every place the crown turns or stops, and bring a clearer elevation to your cabinetmaker and installer.
Start Planning Free