
Kitchen Banquette Seating: 10 Checks for Comfort and Clearances
A kitchen banquette can turn an overlooked wall or corner into the place where breakfast, homework, and long conversations happen. The inviting look depends on unglamorous details: seat depth, table reach, chair pullback, storage access, and the locations of windows and vents. Anyone can start checking those details. Get your tape, pencil, and paper, sit in a comfortable dining chair, and notice what your body needs. You are not trying to engineer the bench yourself. You are giving a cabinetmaker or contractor a much clearer brief—and catching the common layout mistakes that make a beautiful nook feel cramped, upright, or surprisingly hard to use.
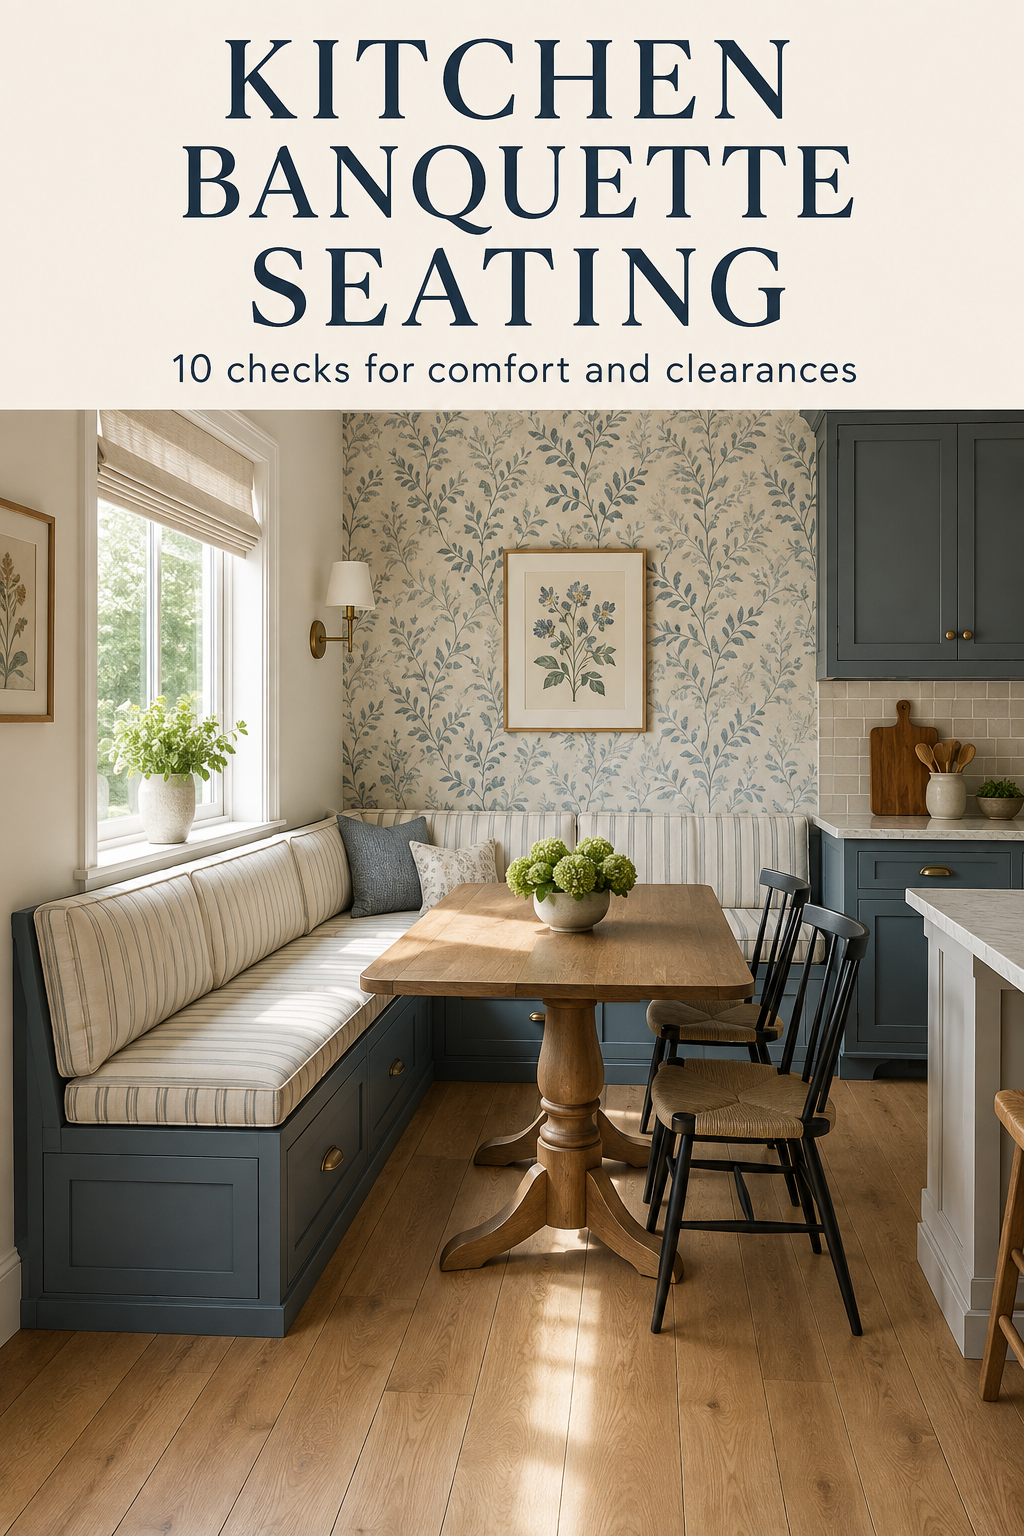
1. Start with a comfortable seat, not a cabinet box
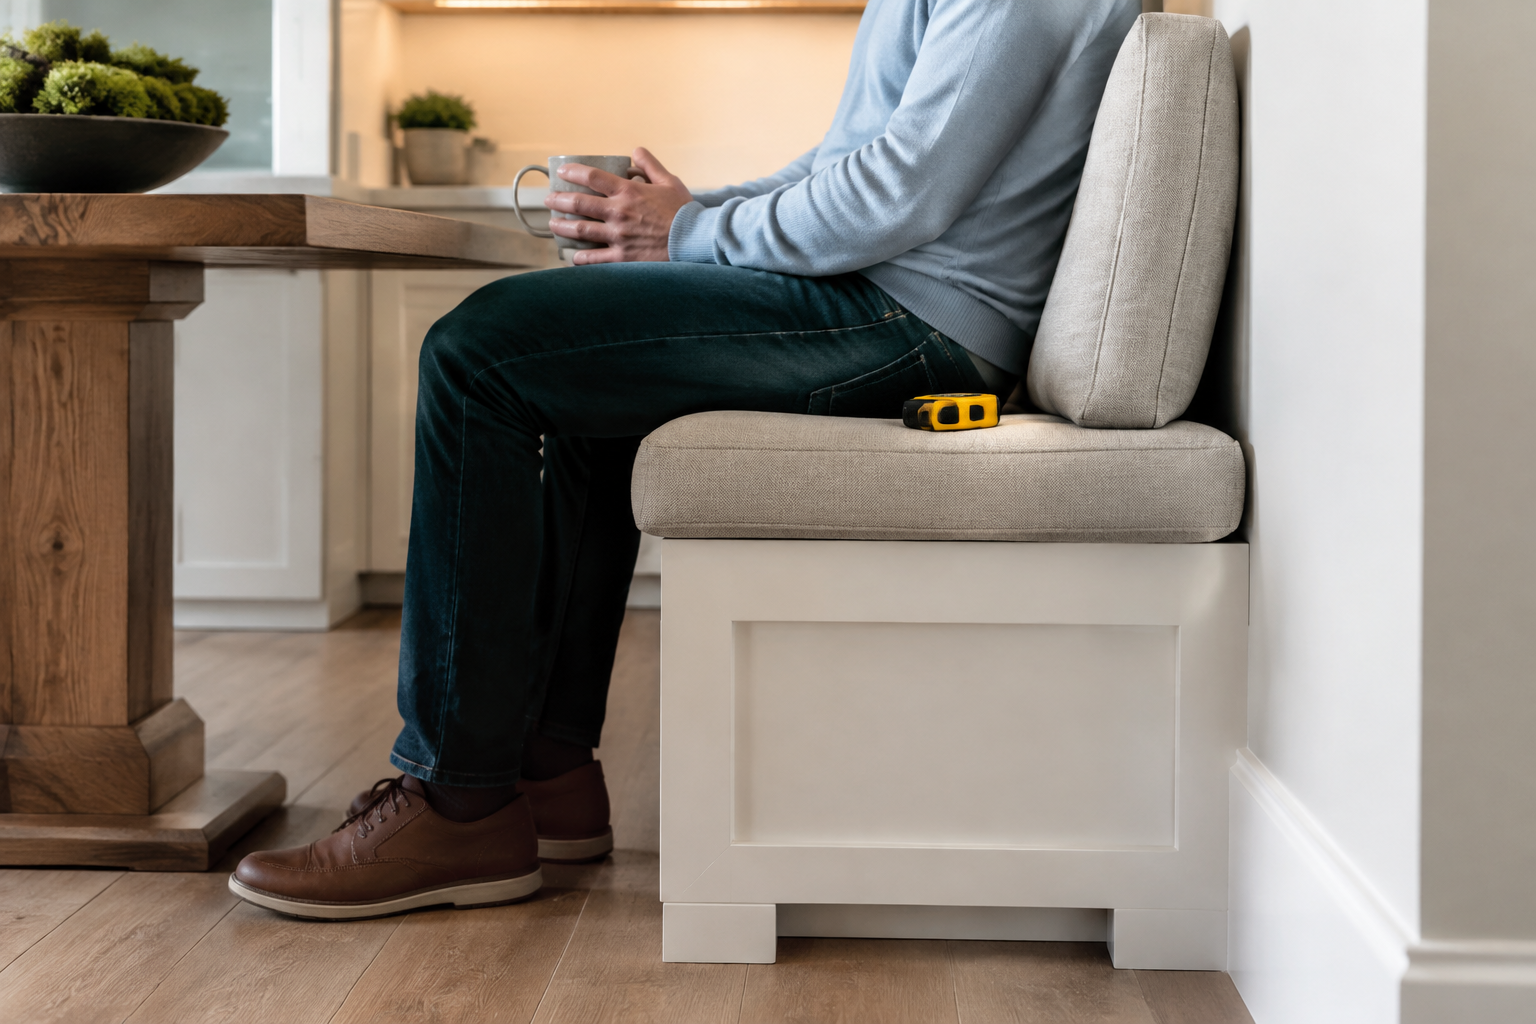
Measure a dining chair that already feels comfortable: floor to finished seat, front edge to back, and the angle and thickness of the back cushion. The finished cushion compresses, so the wood base alone is not the final seat height. A common mistake is building a standard cabinet-height box, adding a thick cushion, and ending up too high for the table. Another is using a deep seat with a vertical back, which leaves shorter diners leaning forward. Mock up the seat edge and table height with boxes or painter's tape, then sit and reach. Your body will tell you more than a pretty elevation, while the builder can confirm the structure and final dimensions.
2. Choose a table base that leaves room for knees and feet
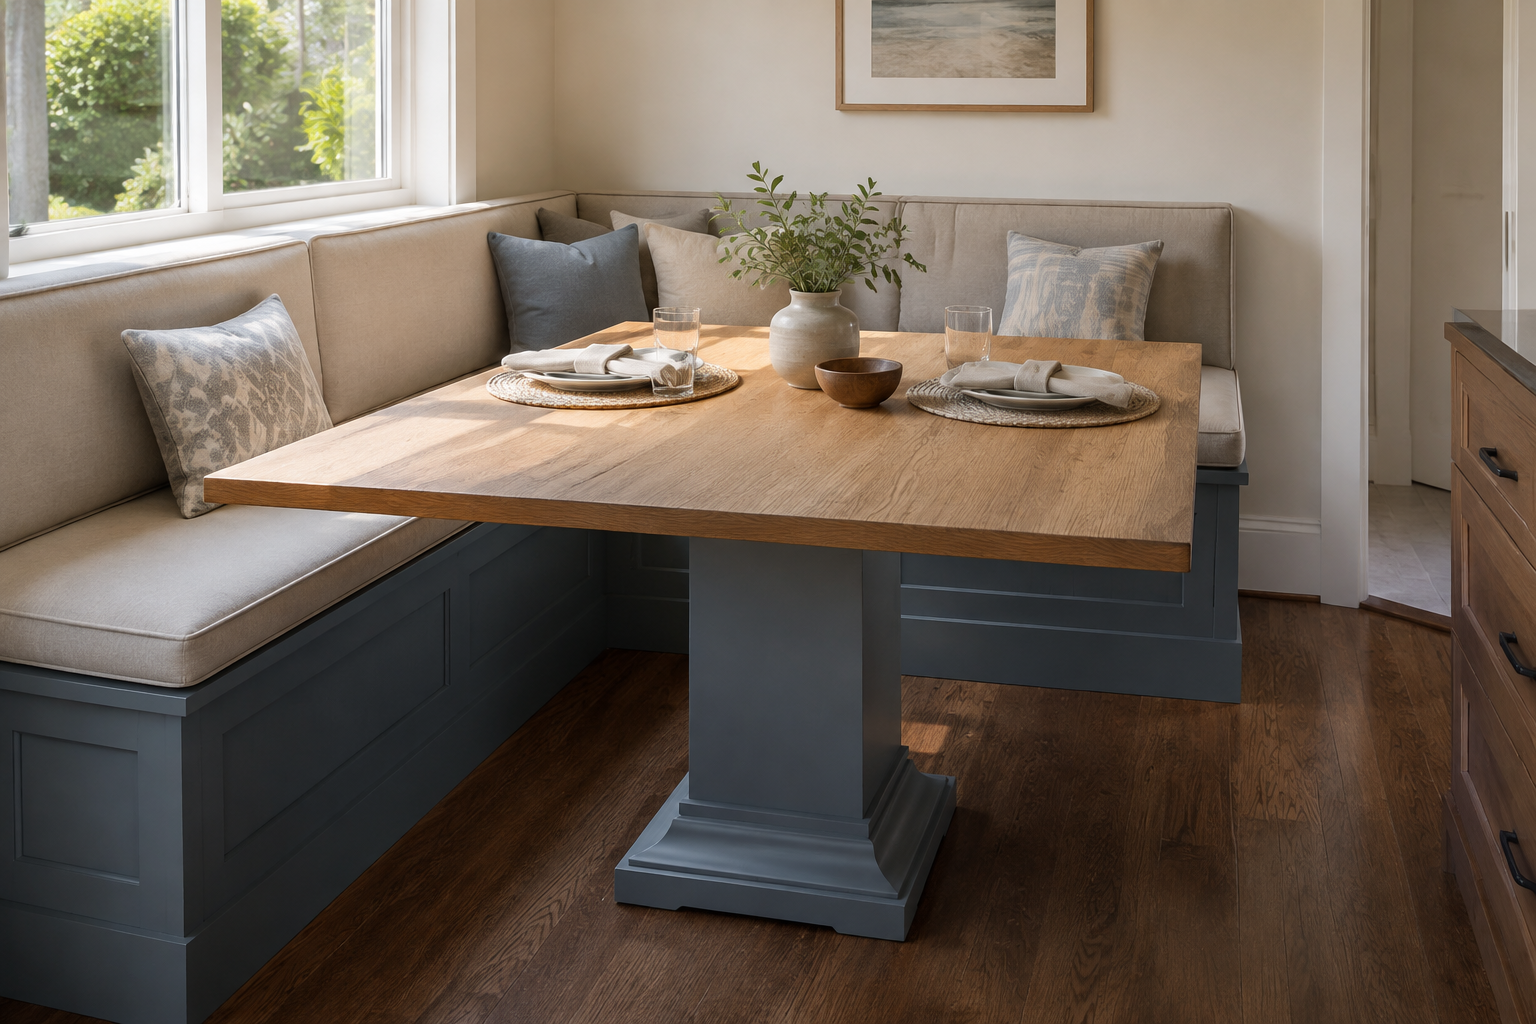
A pedestal or trestle base often makes entry easier than four legs at the corners, but its location still matters. Sit at each planned place and check where knees, shoes, and the pedestal land. The tabletop should overlap the seat enough to reach comfortably without trapping a diner behind a heavy, immovable table. People often center the base on the top without checking whether it blocks the most-used seat. Another common mistake is choosing the table after the bench is fixed, then discovering the top is too wide to slide past. Record the top size, base footprint, overhang, and whether the table must move for cleaning or access.
3. Measure each wall separately and record obstacles
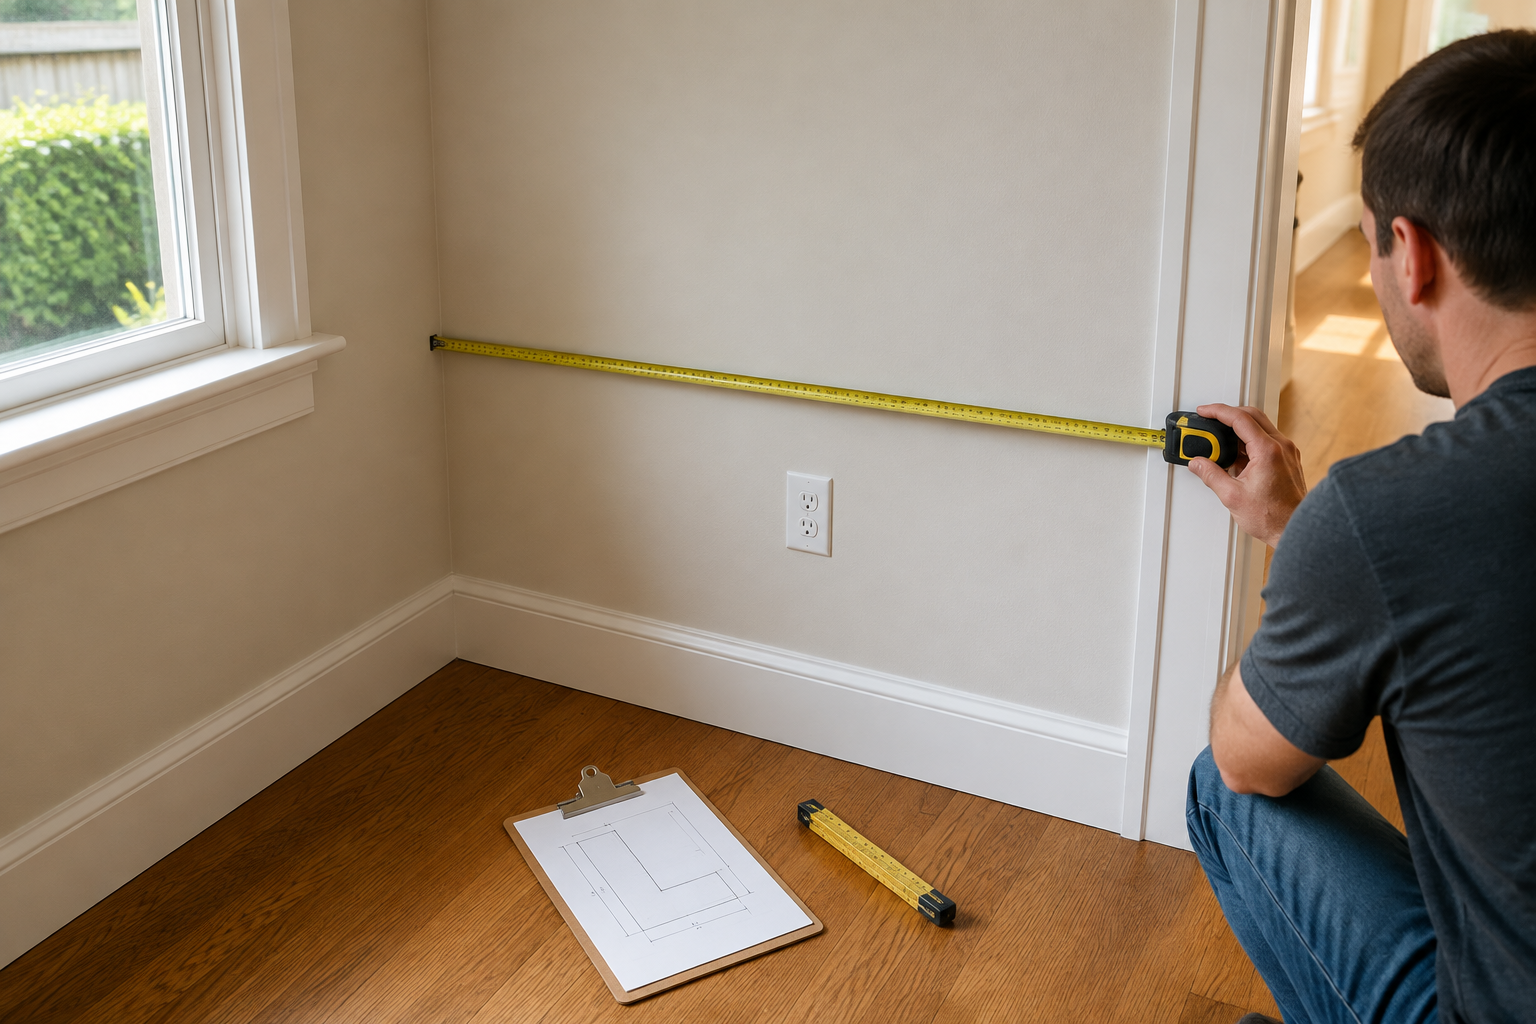
Measure one wall at a time from the inside corner to the next casing, cabinet, or opening. Then measure the second wall separately. Add the window width and sill height, door swing, outlet, baseboard, thermostat, radiator, floor vent, and any counter overhang nearby. A common mistake is bending one tape around the corner and treating the combined distance as two reliable wall lengths. Another is measuring above the baseboard even though the bench must fit at the floor. Your drawing does not need to look professional. Use clear labels, straight-on photos, and a second measurement if something seems odd. The builder should still verify before fabrication.
4. Protect chair pullback and the path behind it
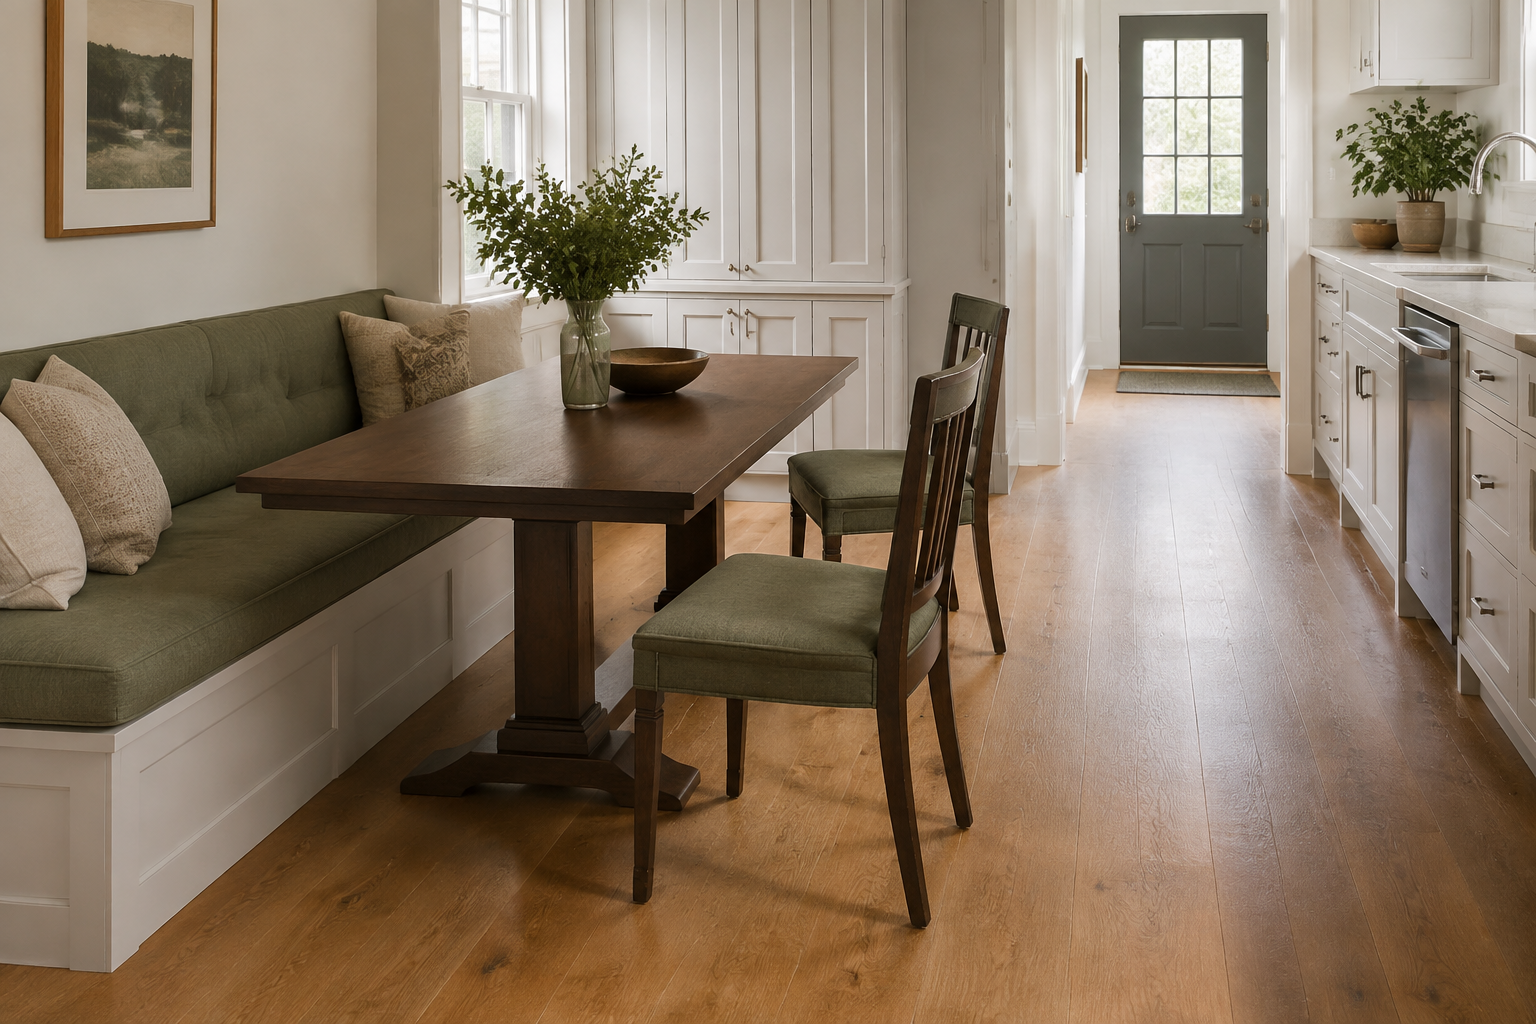
Draw loose chairs in both their occupied and pulled-back positions, then add the route to the door, refrigerator, sink, and adjacent rooms. A chair that fits neatly under the table can consume the whole aisle when someone stands up. People often measure the table only and forget the body and chair behind it. Another mistake is placing the nook where every trip through the kitchen passes behind a seated person. Use a chair you own to test the footprint on the floor, or mark it with tape. If the route feels like a squeeze in an empty room, it will not improve when bags, people, and open cabinet doors arrive.
5. Keep the inside corner simple and usable
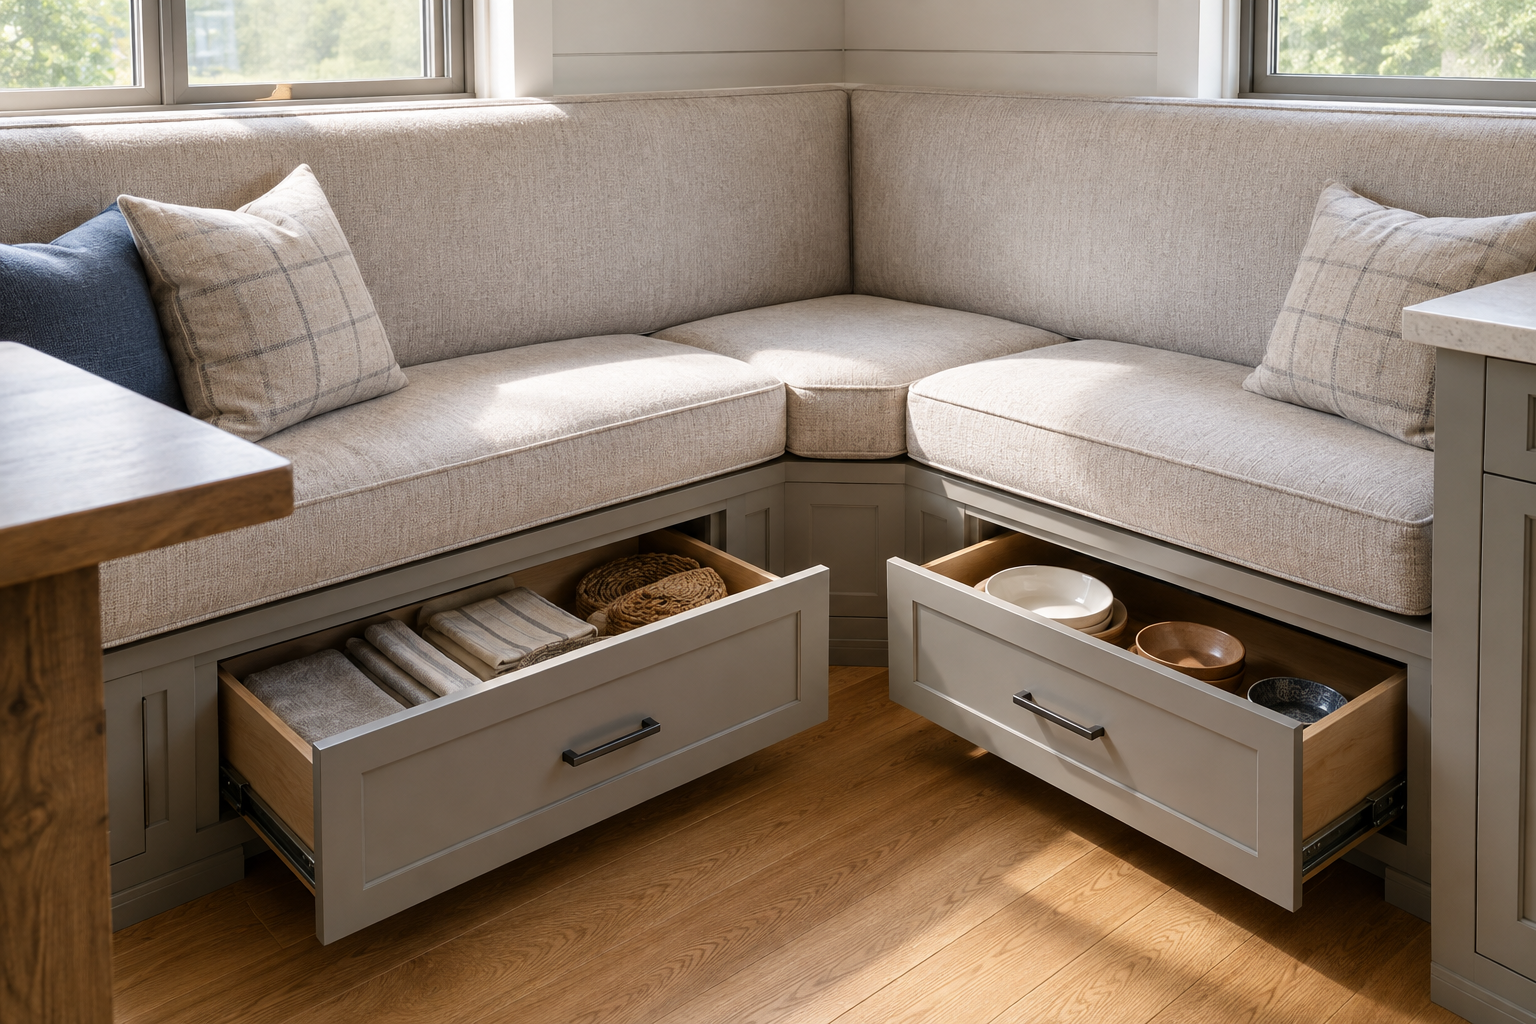
The inside corner is usually the least comfortable seat and the hardest storage to reach, so do not force it to do too much. Let straight drawer boxes stop before the turn, use a fixed corner panel, and treat the cushion intersection carefully. A common mistake is drawing two full-width drawers that occupy the same hidden corner volume or collide when open. Another is creating a deep hinged compartment that requires removing the table and three cushions to reach a holiday platter. Ask which areas need frequent access and which can hold lightweight seasonal items. Simple, separate mechanisms are easier to understand, build, and use than a clever corner that only works in a rendering.
6. Choose storage access that matches the routine
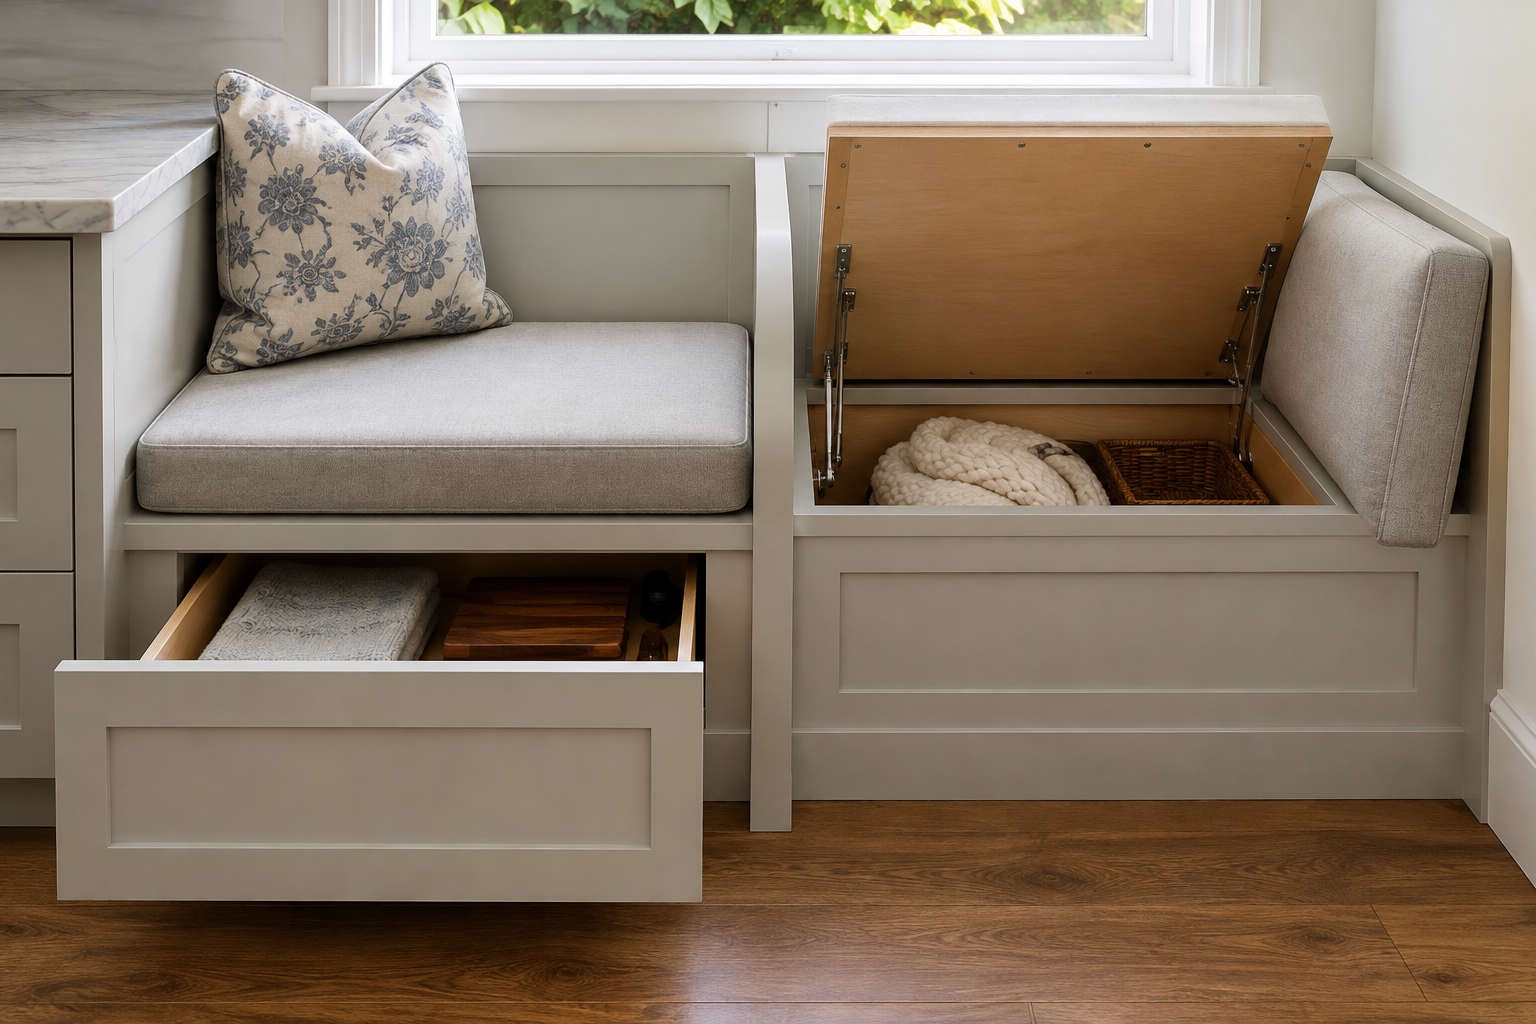
Front drawers are easy to reach without moving cushions, but they need clear floor space to extend. Hinged seat lids can use more of the box, but the table and cushion may block them, and a heavy lid needs appropriate supports. A common mistake is adding storage everywhere because it sounds efficient, then making each compartment frustrating to open. Decide what belongs there and how often you need it before choosing the mechanism. Test the drawer path against table feet and chairs. For a lid, plan safe hinges or lid stays and an easy way to lift it. The hardware provider should confirm support, travel, finger safety, and load ratings.
7. Specify upholstery for spills, seams, and cleaning
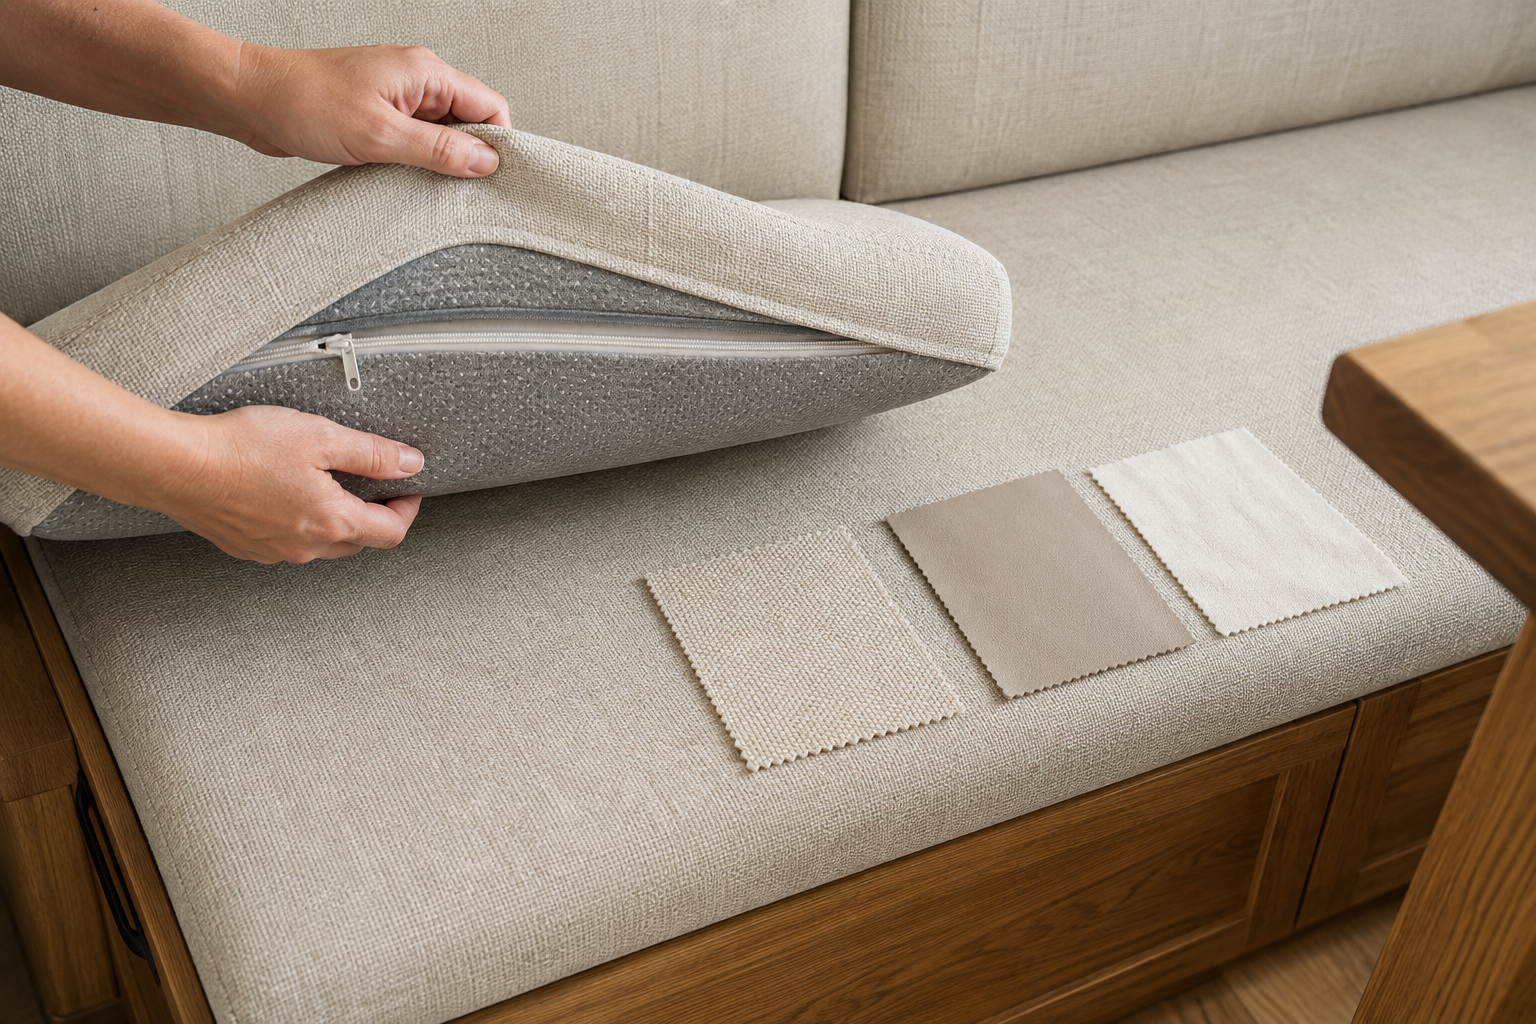
Kitchen seating meets coffee, tomato sauce, crumbs, pets, and repeated sliding. Ask for fabric performance information, cleanability, seam placement, foam density, and whether covers can be removed. A common mistake is choosing only by a tiny swatch and discovering that the pale weave holds every crumb or the vinyl feels sticky in sunlight. Another is fixing one long cushion where it cannot be lifted for cleaning. Bring home samples, view them in morning and evening light, and test them against the cabinet and floor. If children or pets use the nook, say so plainly. Durable does not have to mean commercial-looking; it means the material fits the actual household.
8. Work around windows, outlets, heat, and air
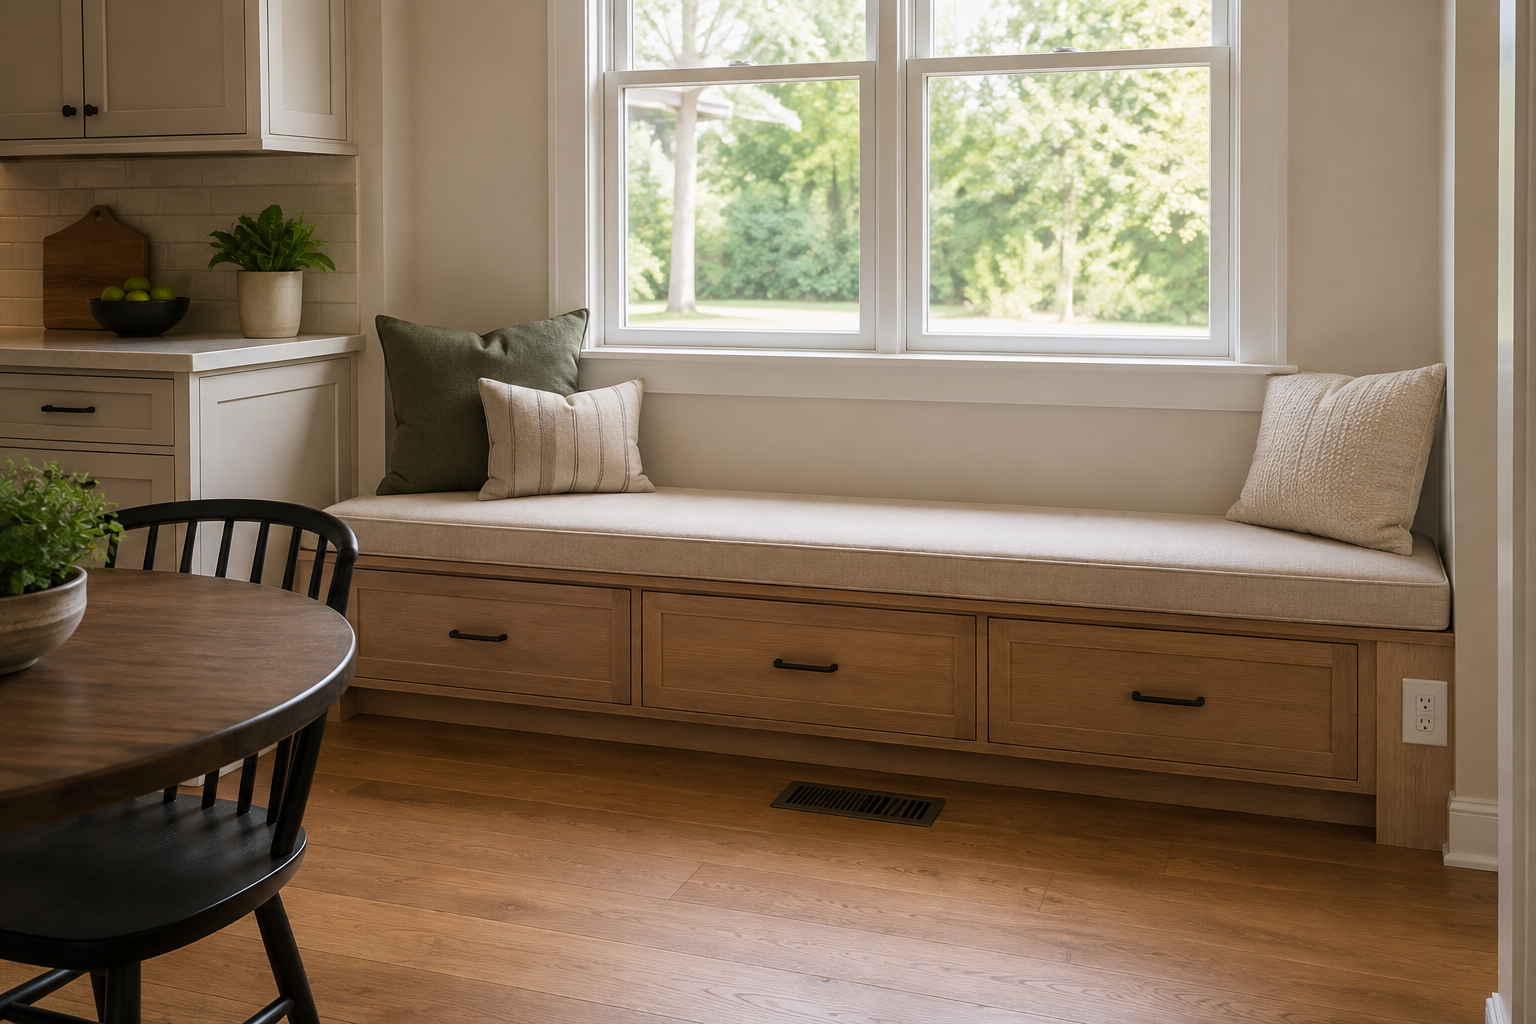
Record the operable window sash, sill, trim, outlet, baseboard heater, radiator, supply register, and return grille before setting the bench height and depth. A common mistake is covering a floor vent with a closed box or trapping an outlet behind a cushion. Another is building above the sill so the seat interferes with the window or makes cleaning difficult. Do not assume that cutting a grille into the bench solves airflow; that may require proper ducting and trade review. Keep required access and egress clear. A licensed electrician, HVAC professional, and builder should verify relocations, ventilation, code, and structure, while your plan makes the conflicts visible early.
9. Draw the table, chairs, doorway, and banquette together
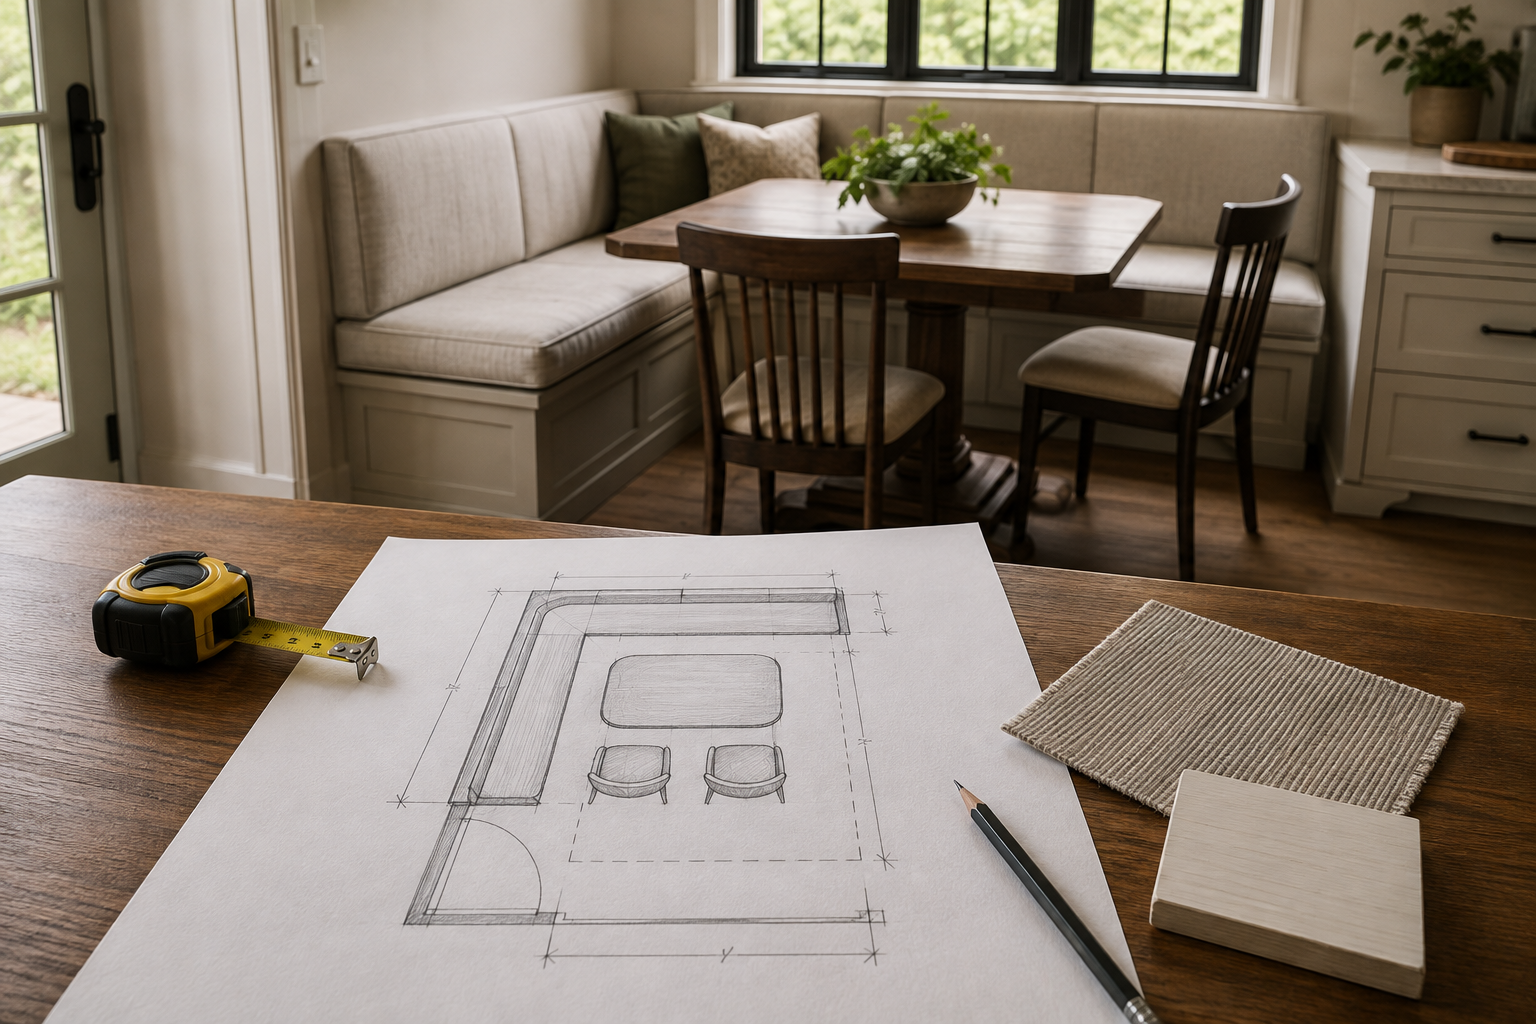
Put the nook on one overhead plan at a consistent scale. Include the finished seat edge, back cushion thickness, tabletop, pedestal base, loose chairs, chair pullback, door swing, window, adjacent cabinets, and the main walking path. A common mistake is approving a front elevation that makes the banquette look balanced but says nothing about how a person enters. Another is shrinking chairs in a sketch until the plan works. Measure real furniture or use the manufacturer's dimensions. Mark unresolved items rather than guessing. When the plan, seat section, and table specification agree, the builder has a clear starting point and you have a more honest picture of daily use.
10. Confirm structure, fastening, and the final handoff
Before work begins, gather field measurements, plan, seat section, table dimensions, storage mechanisms, upholstery specification, window and door conditions, electrical and HVAC notes, base details, trim, finish, installation responsibilities, care, warranty, and change process. The final common mistake is assuming a banquette is only decorative cabinetry. It must safely support people, handle repeated loads, attach appropriately, and respect utilities and required paths. You do not need to design that structure yourself. Ask the cabinetmaker or contractor to explain how the base, seat, back, lid supports, and wall attachment will be built and what licensed-trade review is still needed. One clear handoff protects both the comfort and the look.
Fit the banquette into the whole kitchen
Seating works when its table, chairs, aisle, and nearby work zones agree. These guides help you check the surrounding room.
Plan an Eat-In Kitchen Check Kitchen Traffic and Work ZonesTest the nook before the bench becomes permanent
Use StilePath to place the banquette, table, chairs, doors, cabinets, and walking paths in one 3D kitchen plan. Start free, try the ordinary breakfast route, and bring a clearer layout to your cabinetmaker or contractor.
Start Planning Free