
Hide the clutter without hiding the way appliances work
An appliance garage can make a kitchen feel calmer, but the cabinet still has to let every machine open, plug in, move, cool, and come out for cleaning. You can begin without special tools or professional measuring experience. Gather the appliances you expect to store, a tape measure, pencil, paper, and a cardboard box or painter's tape for a quick mockup. Measure the machines both closed and in use, including cords, lids, handles, and removable parts. These ten checks will help you shape a useful cabinet. Final electrical work, ventilation, heat and moisture conditions, cabinetry, installation, and code compliance require current product instructions and the responsible suppliers, trades, installer, contractor, and project professionals.
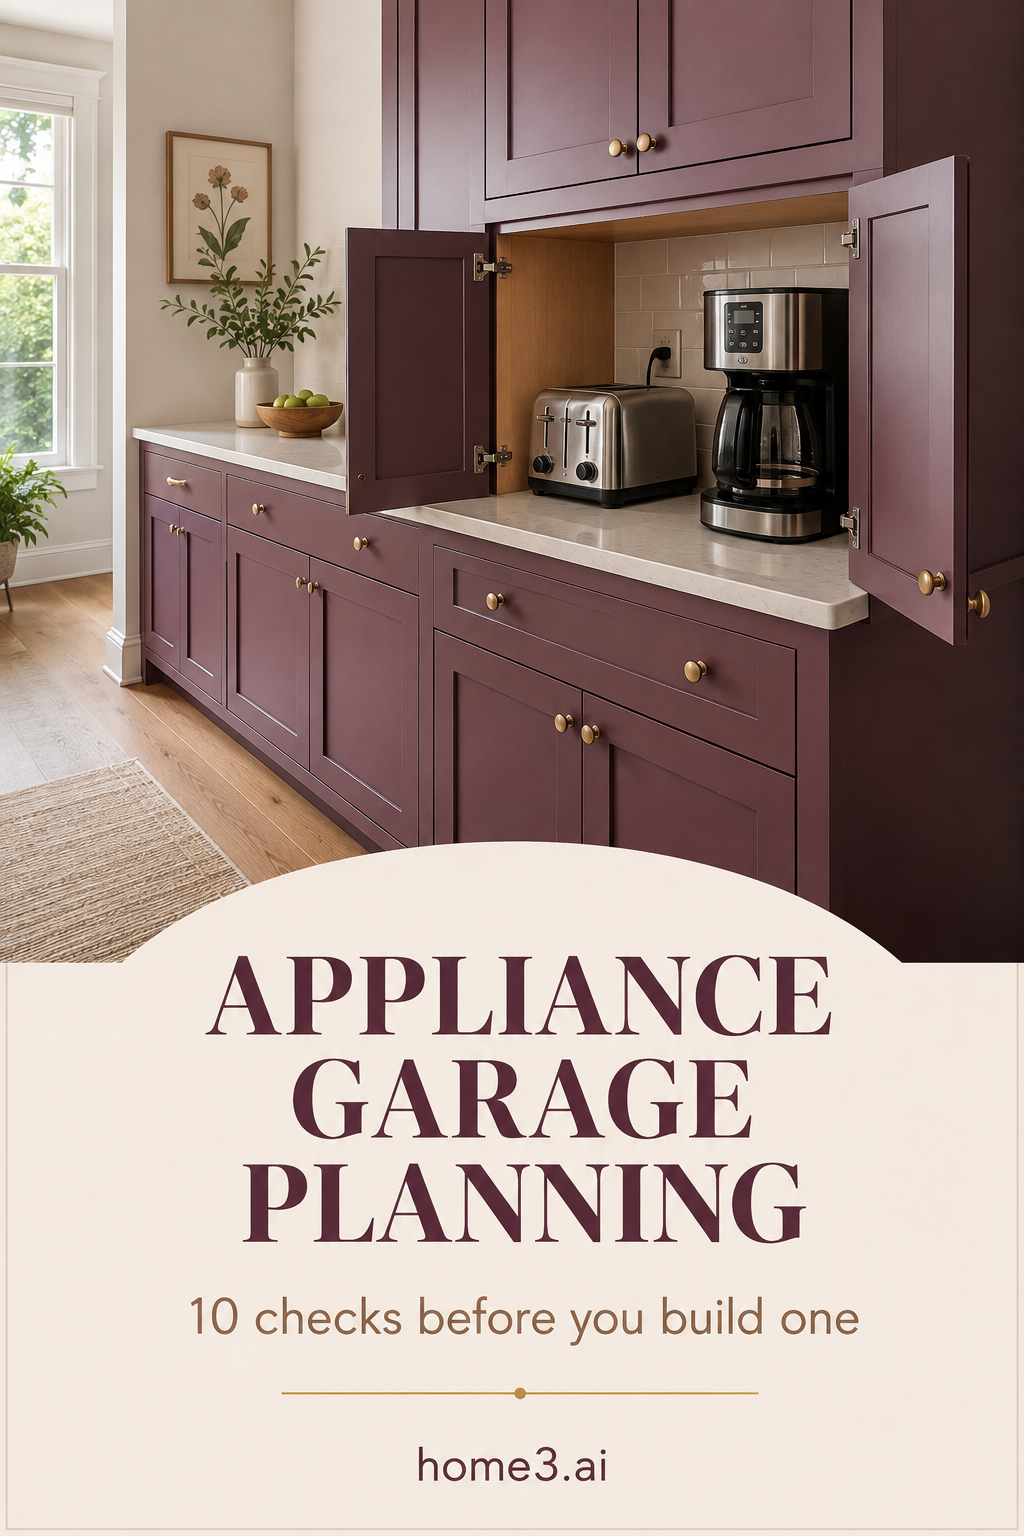
1. Inventory every appliance and its daily routine
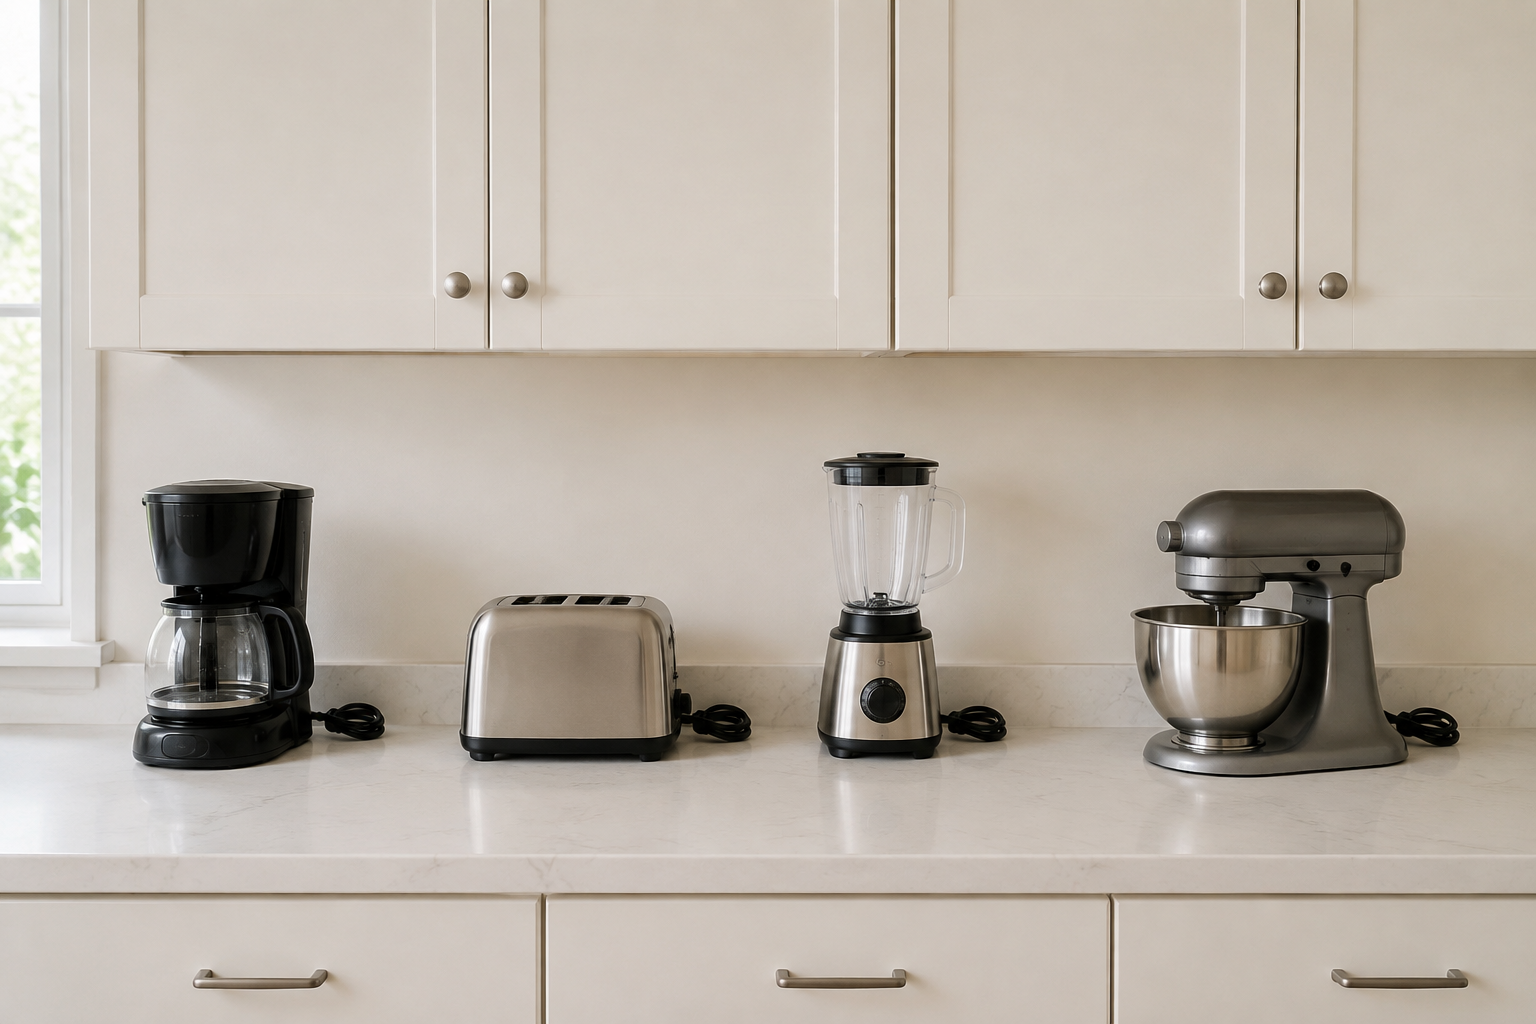
List the coffee maker, toaster, blender, mixer, kettle, air fryer, or other machines that may use the garage. Record what comes out daily, what stays stored, which items run hot, and which need water, ingredients, attachments, or nearby waste. A common mistake is designing one generous-looking opening before placing the actual group inside it. Another is giving rarely used equipment the easiest spot while the daily toaster stays on the main counter. Put the real appliances together, run through breakfast or baking, and let frequency and movement—not a styled photograph—decide what belongs in the cabinet.
2. Measure the operating height, not only the appliance body
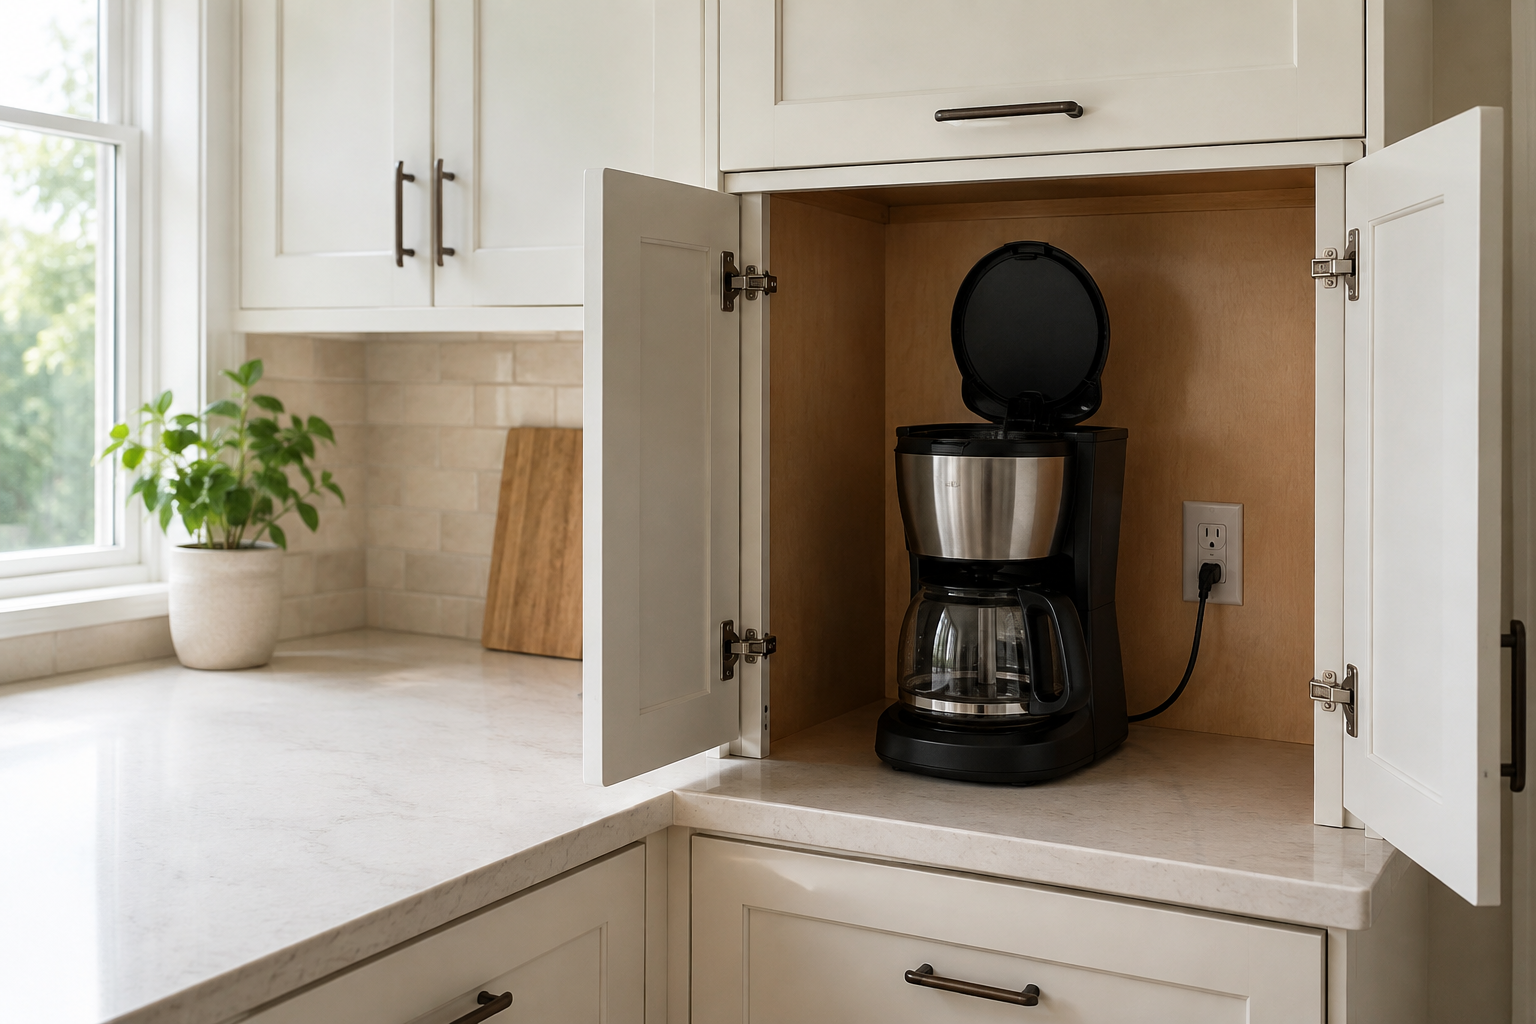
Measure width and depth, then open the coffee lid, remove a water tank, lift the blender jar, tilt a mixer head, and pull out trays or crumb pans. Include your hand above and beside each movement. The common mistake is matching a shelf to the closed appliance and discovering the lid cannot open. Another is leaving vertical space while making the opening too shallow for a handle or plug. Build a quick cardboard top and sides around the appliance and rehearse the complete action. It is an easy homeowner test that can expose an awkward niche before the cabinet supplier finalizes dimensions.
3. Choose a door mechanism you can explain open and closed
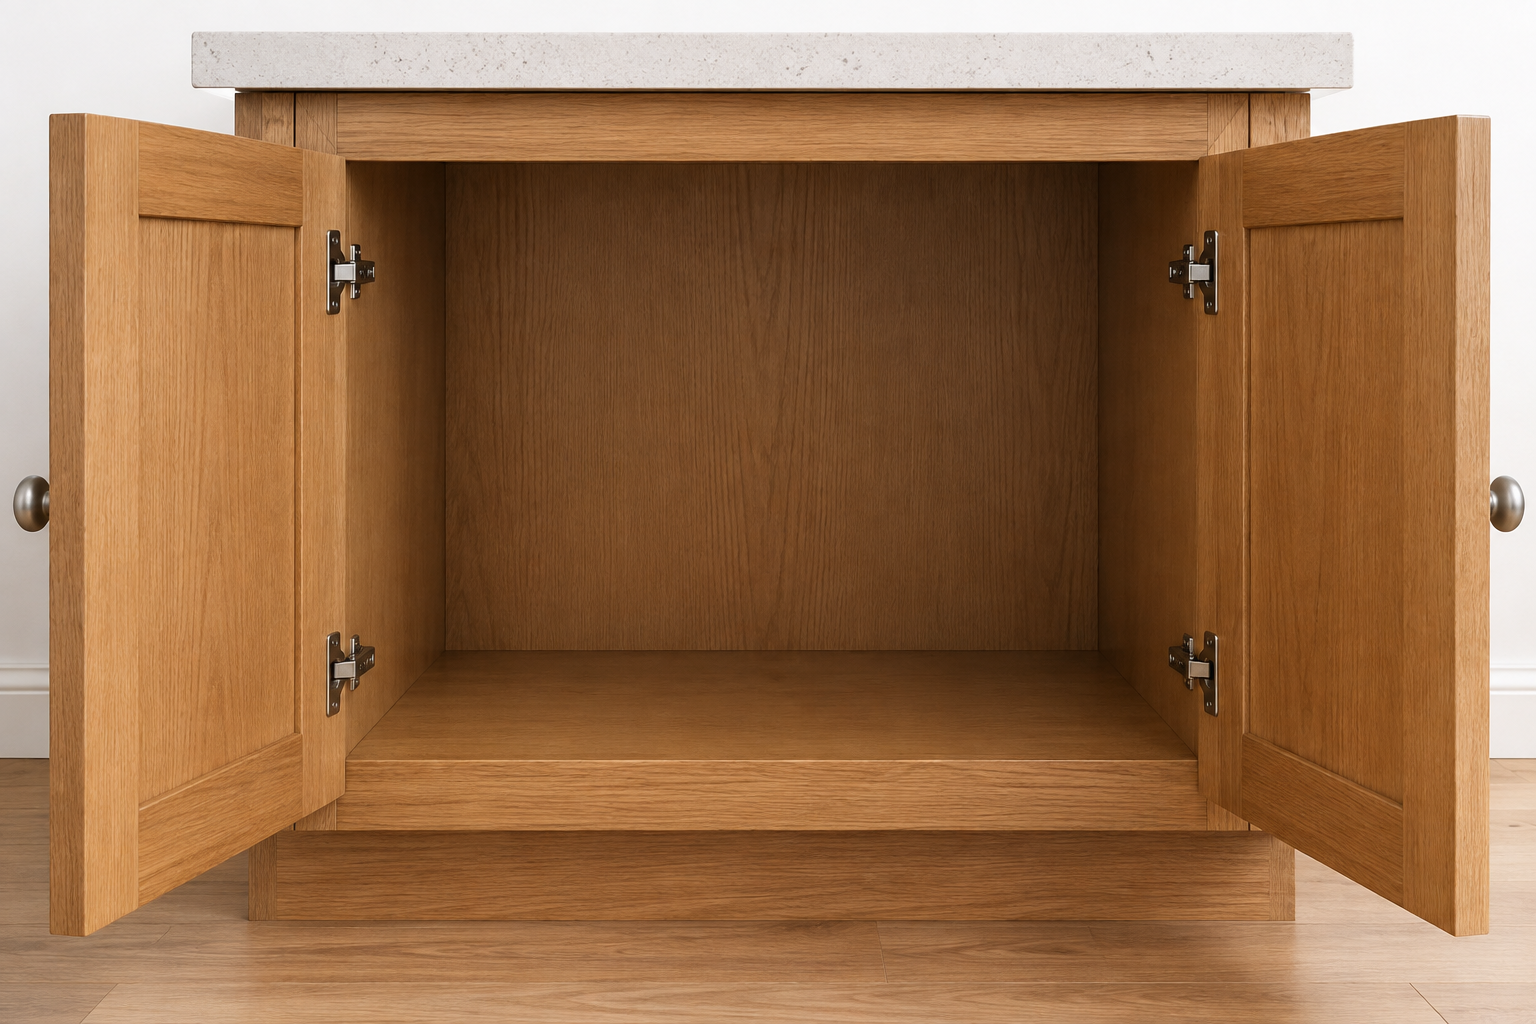
Draw each door, hinge, track, pocket, lift, or tambour in both positions, including handles and hardware hidden inside the box. A common mistake is selecting a clever door from a cropped photo without confirming where its mechanism lives. Another is letting an open door project into the user's face, cover an outlet, or consume the landing counter. Conventional side-hinged doors can be simple when clearances work; other mechanisms may suit a specific cabinet. Ask the supplier to name the actual hardware, required box depth and width, opening angle, adjustment, service, and safe operating position.
4. Protect a real landing area beside the enclosure
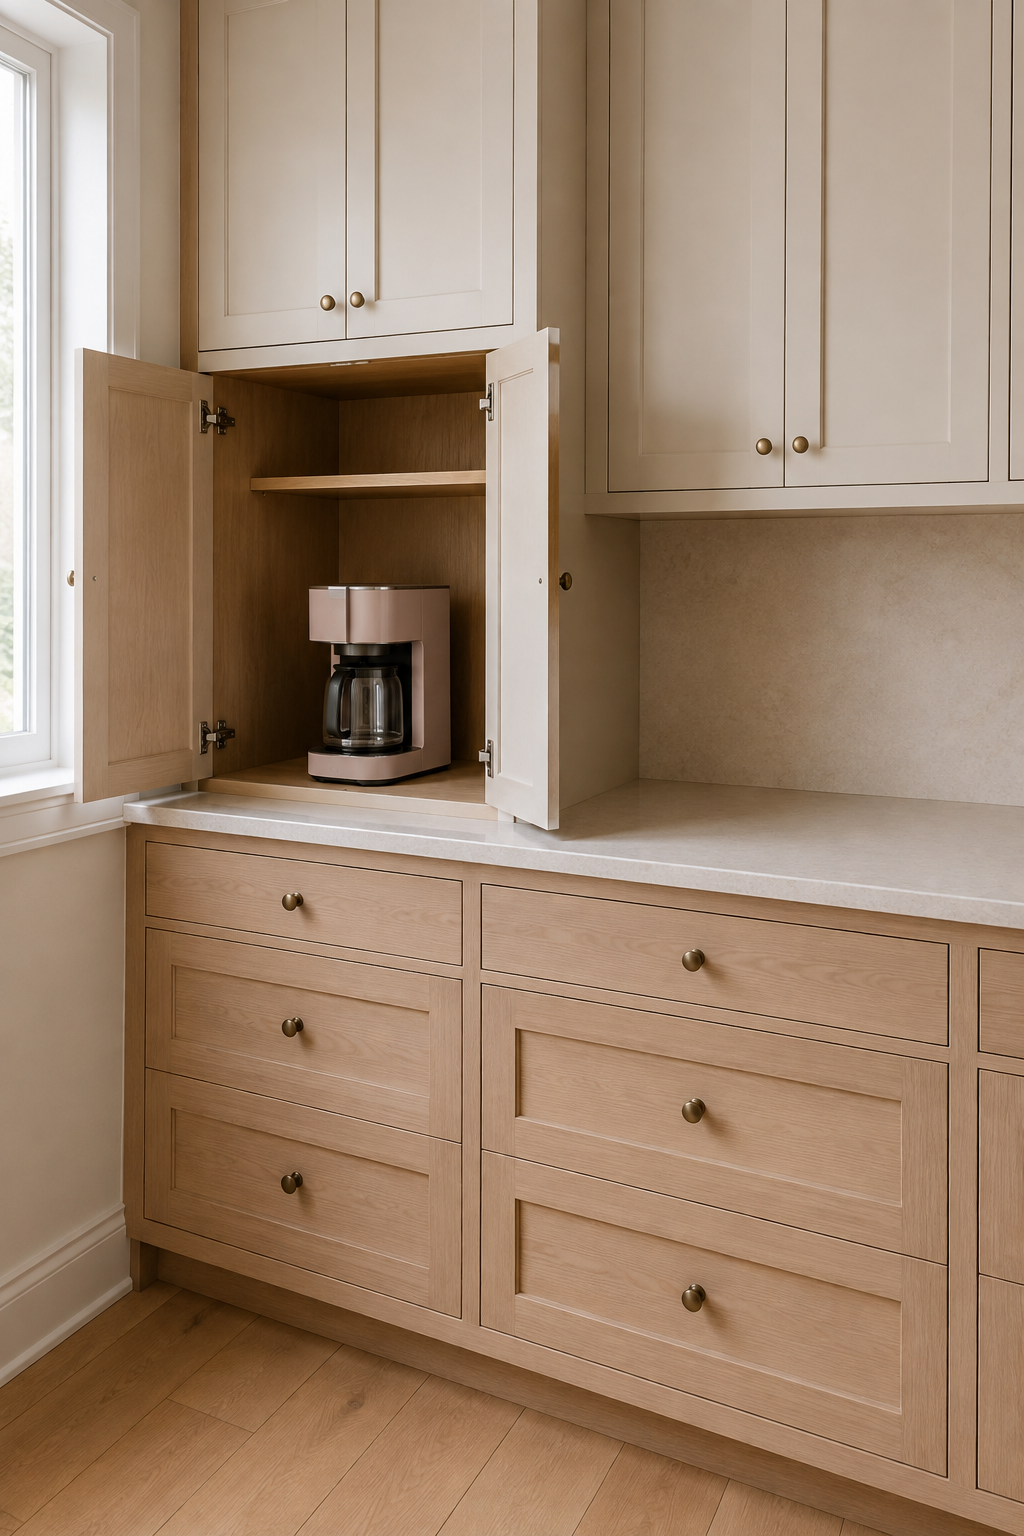
Leave an uninterrupted surface where a hot carafe, blender jar, mixer bowl, bread, mug, or machine can land without balancing near an edge. The common mistake is counting the counter inside the garage as both appliance parking and workspace. Another is placing the garage between a wall and another permanent object so the remaining surface is a narrow strip. Set the appliance on a paper outline of the proposed cabinet and reserve the adjacent area with tape. If ordinary use immediately occupies that space, widen the landing, reduce the appliance group, or choose a less crowded location.
5. Put approved power where plugs and cords remain accessible
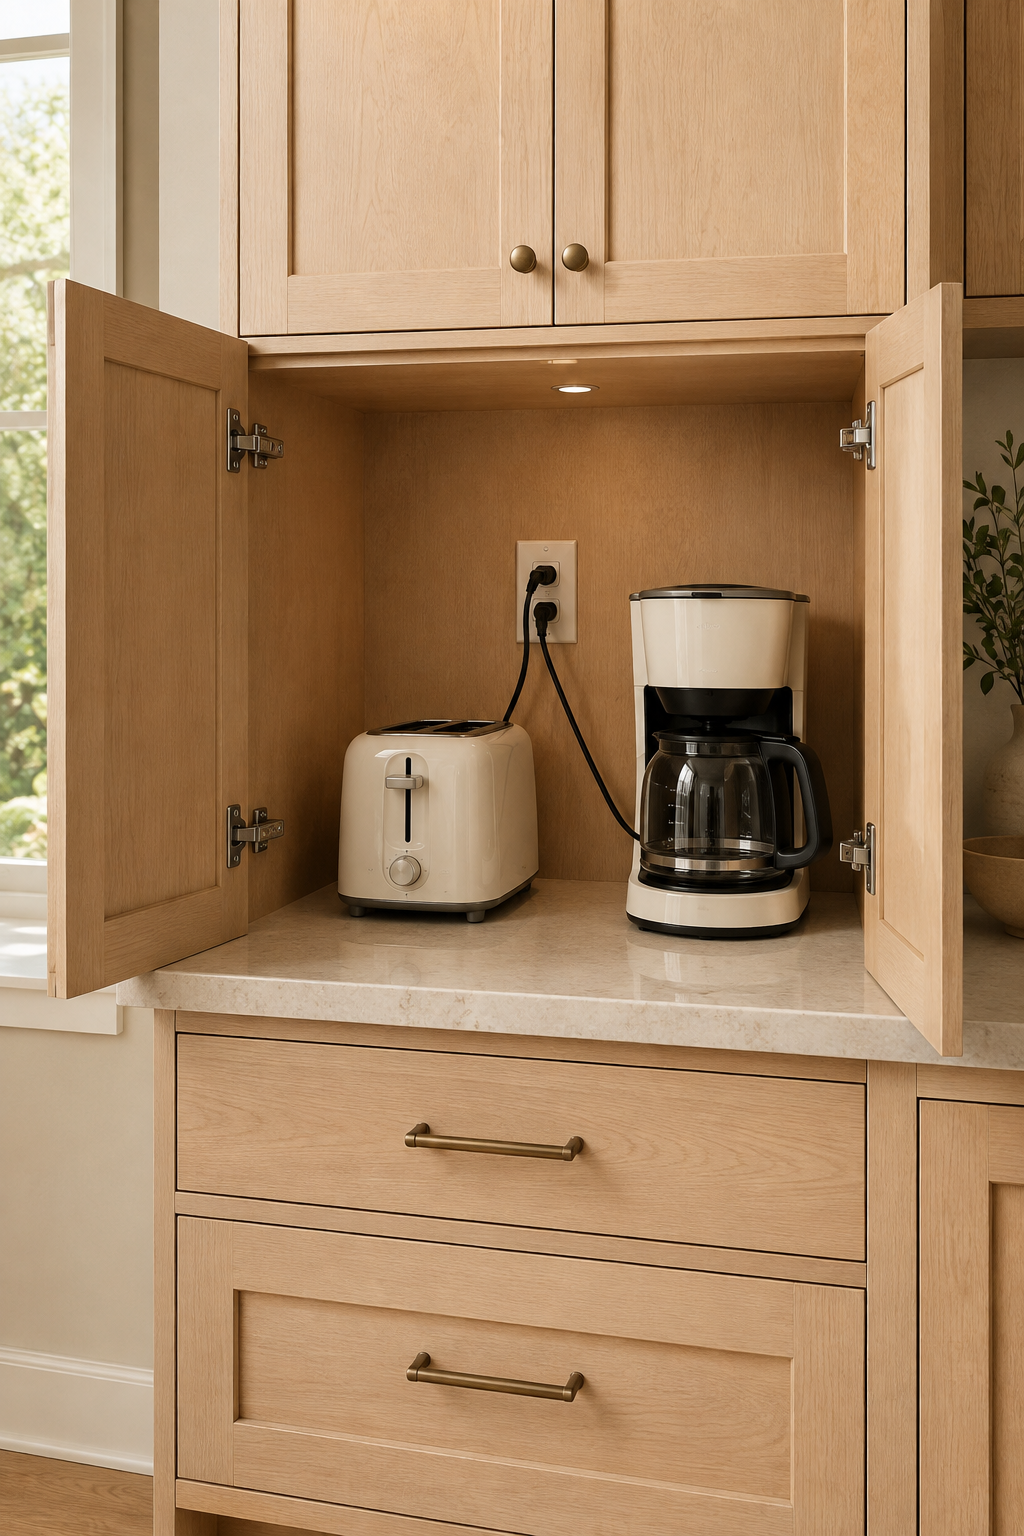
Record each cord exit, plug shape, required operating position, and whether appliances are likely to run together. Show outlets where plugs can be reached without dragging cords across hinges, shelves, sharp edges, water, or heat. A common mistake is centering an outlet directly behind a deep appliance that must sit against the wall. Another is planning to solve missing capacity later with an extension cord or power strip. Do not design the electrical work from this article. Give the exact appliance list and cabinet drawing to the licensed electrician and responsible providers for the real circuit, outlet, and code review.
6. Move heat and steam into the approved operating position
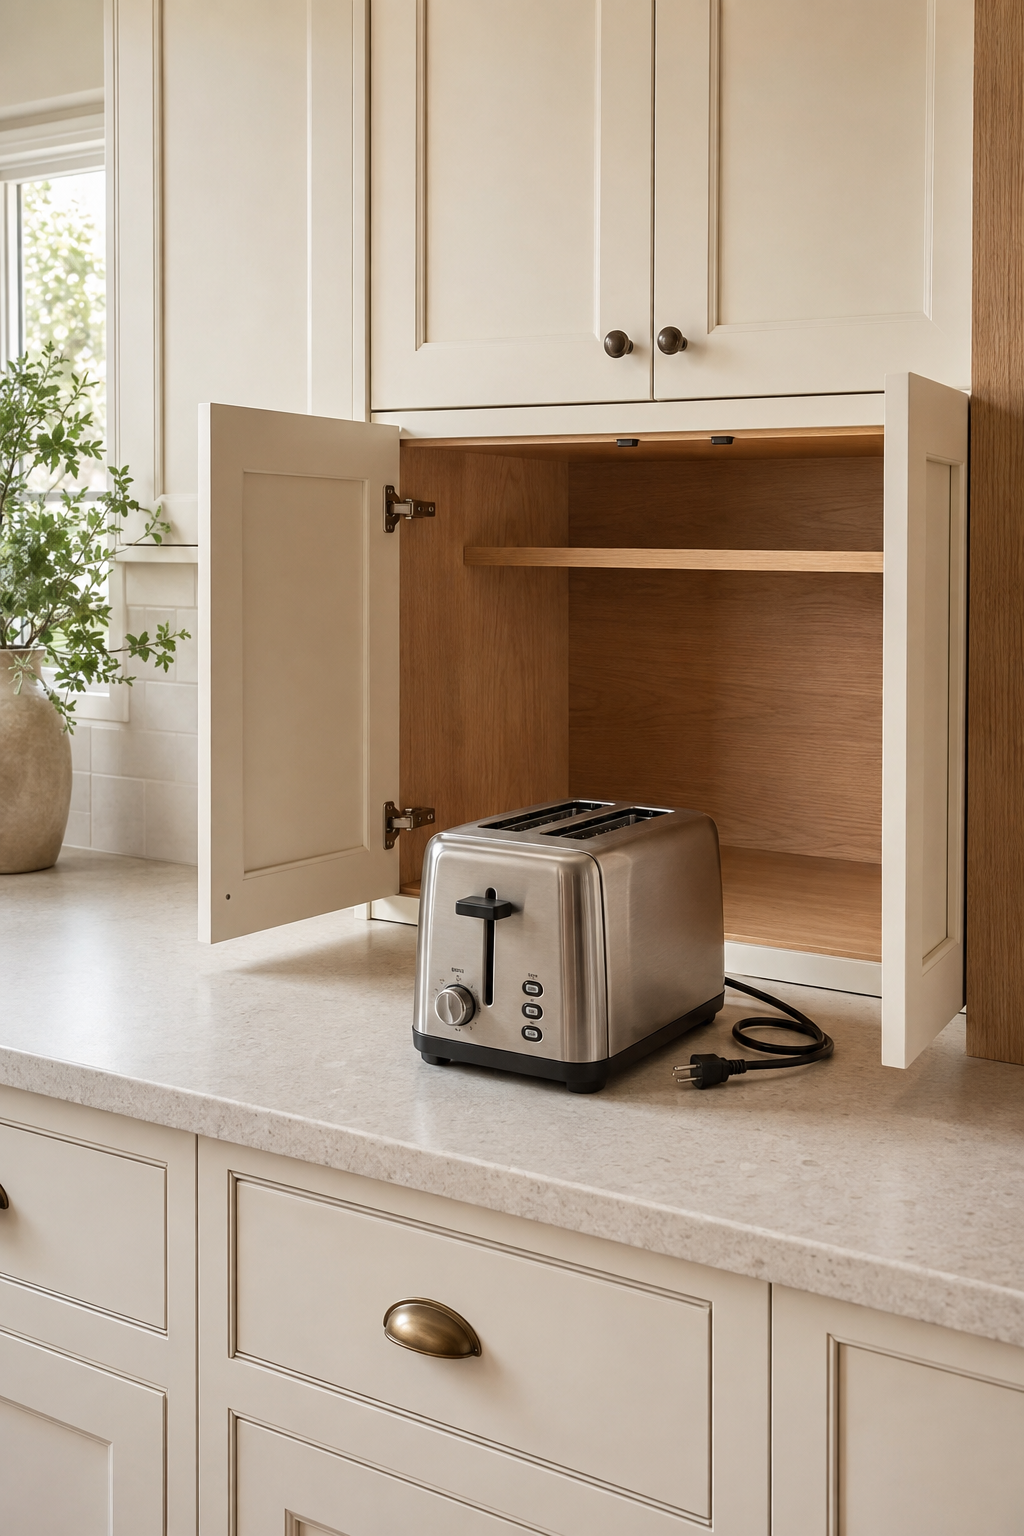
Read each appliance's current instructions and identify where it may safely operate. A toaster, kettle, air fryer, coffee maker, or other heat-producing machine may need to be pulled into open air rather than run inside a closed or tight cabinet. The common mistake is assuming an open door makes any enclosure suitable for heat. Another is operating a machine under a shelf that collects steam or exposes finishes to repeated heat. This image shows the planning principle, not a universal rule. The appliance maker, cabinet and material providers, electrician, installer, contractor, and authority must confirm the finished conditions.
7. Add clearance before a tall panel or neighboring cabinet
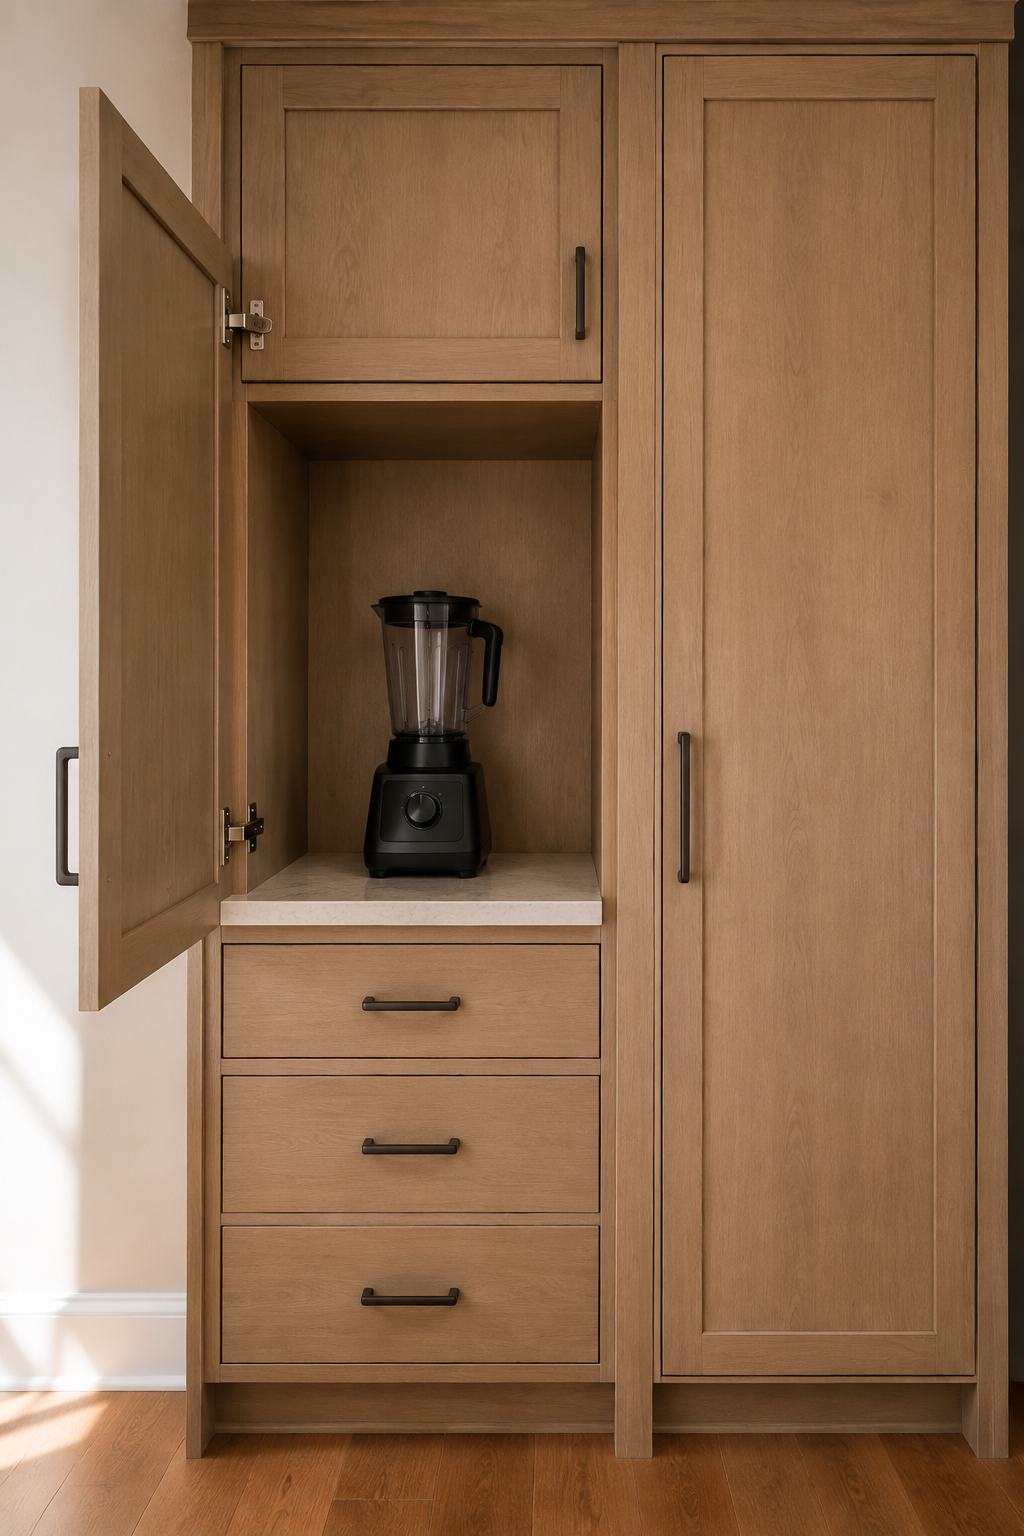
At a wall, tall pantry, refrigerator panel, or change in cabinet depth, include the door thickness, handle, hinge movement, and a real filler or stile where needed. A common mistake is drawing the closed faces flush and discovering the garage door rubs the tall panel when it opens. Another is placing a garage in a tight inside corner where doors, drawers, and people compete for the same counter. Test the swing on the plan and elevation, and ask the cabinet supplier to show the fixed material that creates clearance. A small planned strip is better than a beautiful door that cannot move.
8. Make crumbs, spills, cords, and hardware easy to reach
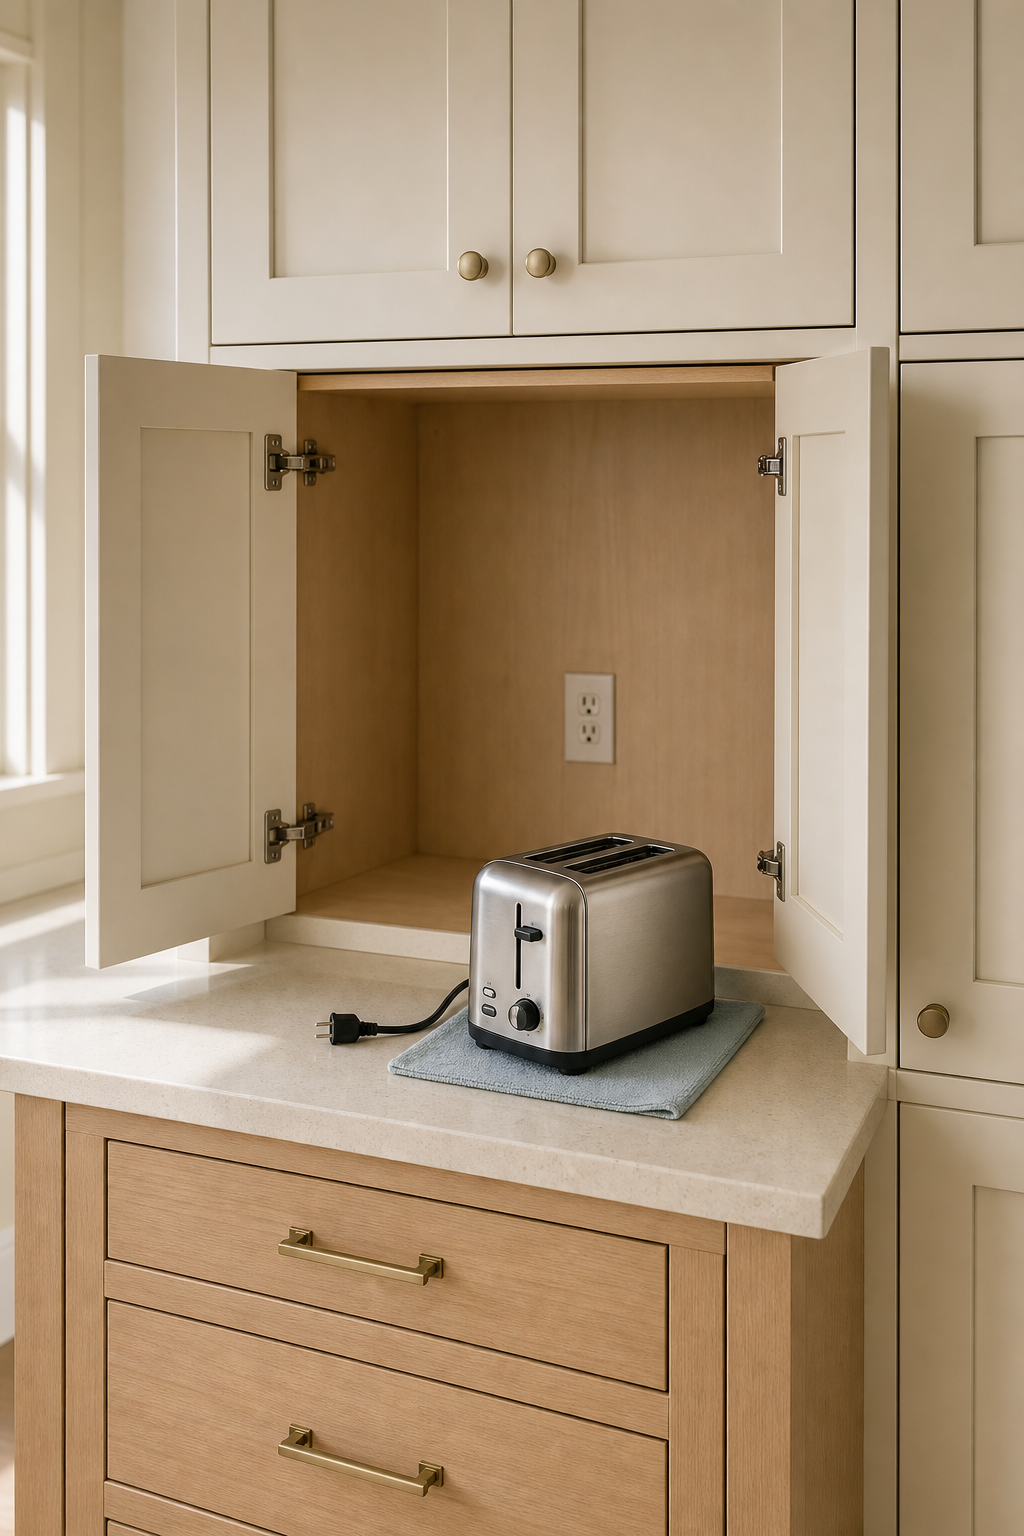
Plan how the appliance comes out, how the counter and back are wiped, how crumb trays clear the opening, and how hinges, lights, or outlets can be serviced. The common mistake is filling the box so tightly that cleaning requires unloading several heavy machines. Another is placing an outlet or mechanism behind a fixed shelf with no practical access. Pull each appliance forward in your mockup and reach the rear corners with a cloth. That simple test does not replace technical review, but it shows whether ordinary maintenance will feel easy enough to happen.
9. Approve the garage in the full cabinet elevation
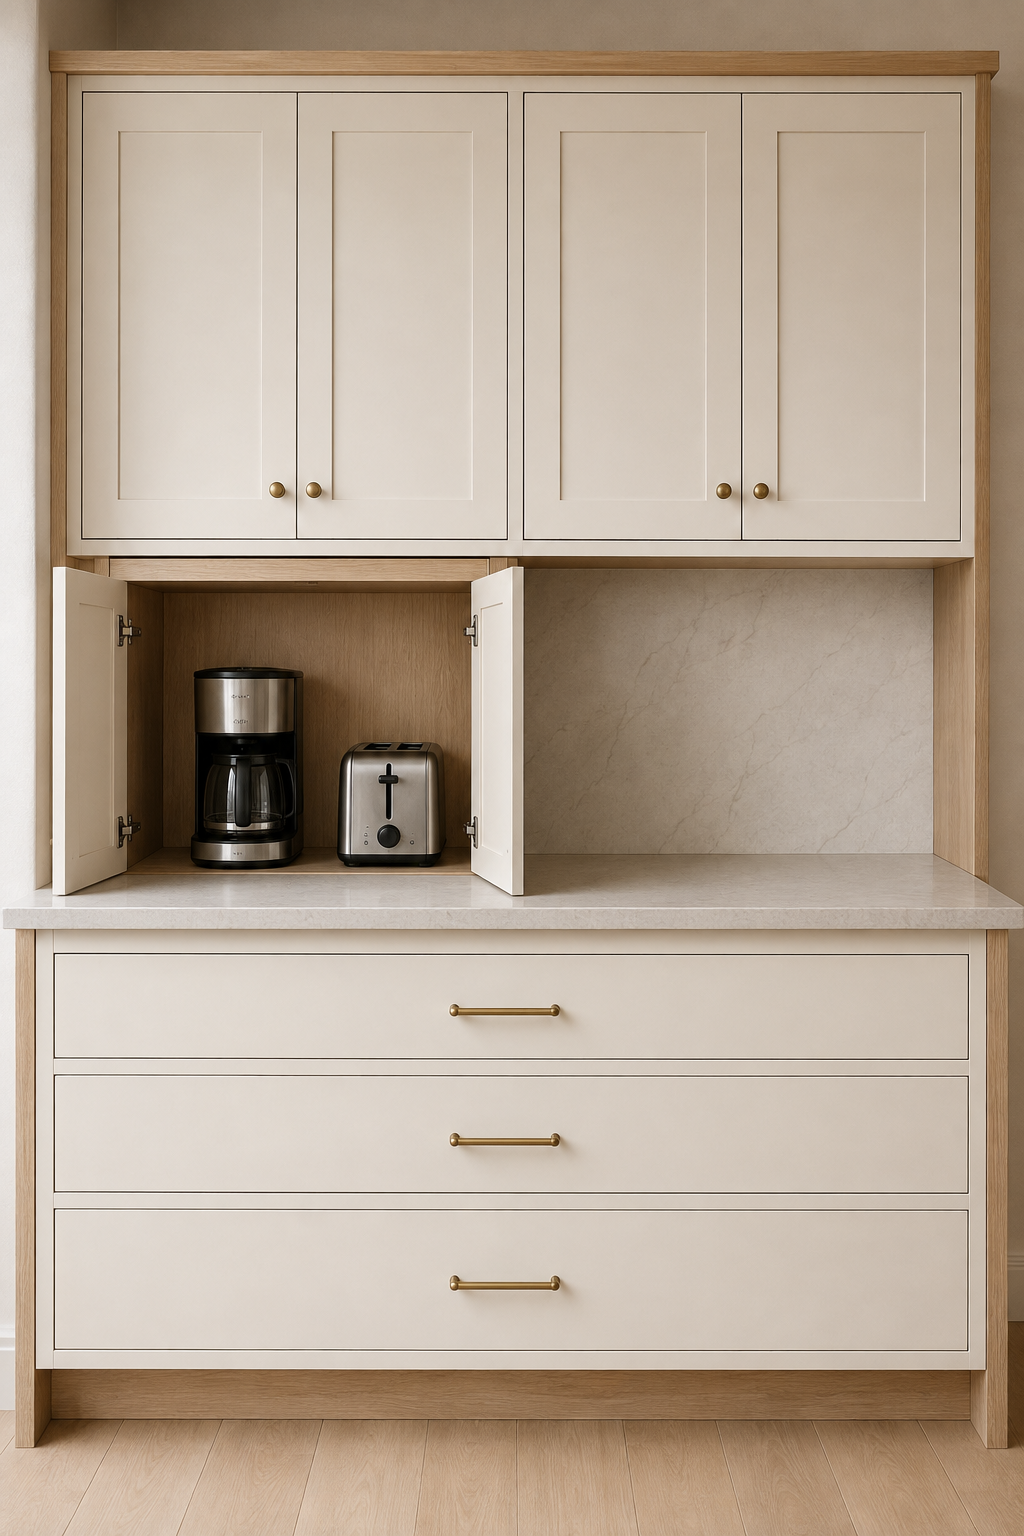
Draw the garage with upper storage, base drawers, countertop, backsplash, tall units, trim, lighting, outlets, and the clear counter beside it. The common mistake is approving a close-up of the hidden-appliance moment while the full wall has broken alignments or no useful work surface. Another is centering the garage for symmetry when the door then opens into the main traffic path. Check the elevation closed and open, then review it from the room entry. A tidy façade is worthwhile only when the operating version of the wall remains comfortable and believable.
10. Release one coordinated appliance-garage package
Combine the appliance inventory, exact product instructions, operating movements, cabinet dimensions, door hardware, open positions, landing area, fillers, electrical plan, heat and moisture review, cleaning access, lighting if any, installation steps, and service responsibilities. The final common mistake is ordering the cabinet from one drawing while electrical and appliance decisions remain separate. You do not need to engineer every detail yourself. You can prevent expensive assumptions by labeling what is known, attaching the current product information, and asking the cabinet supplier, electrician, appliance provider, installer, contractor, and project professionals to review the same package before fabrication.
Connect the appliance garage to counters and daily storage
A useful garage supports the appliances in motion, not only behind closed doors. These guides help connect counter space, coffee routines, storage, and the surrounding cabinet plan.
Plan a Coffee Station Clear the Main CountersPlace the garage in the complete kitchen before ordering
Use StilePath to test the cabinet, open doors, landing counter, tall units, appliances, and household routes together. Start free with the measurements you have, label every assumption, and bring the plan into product, cabinet, electrical, and installation review.
Start Planning Free