
Clear counters start inside the cabinets
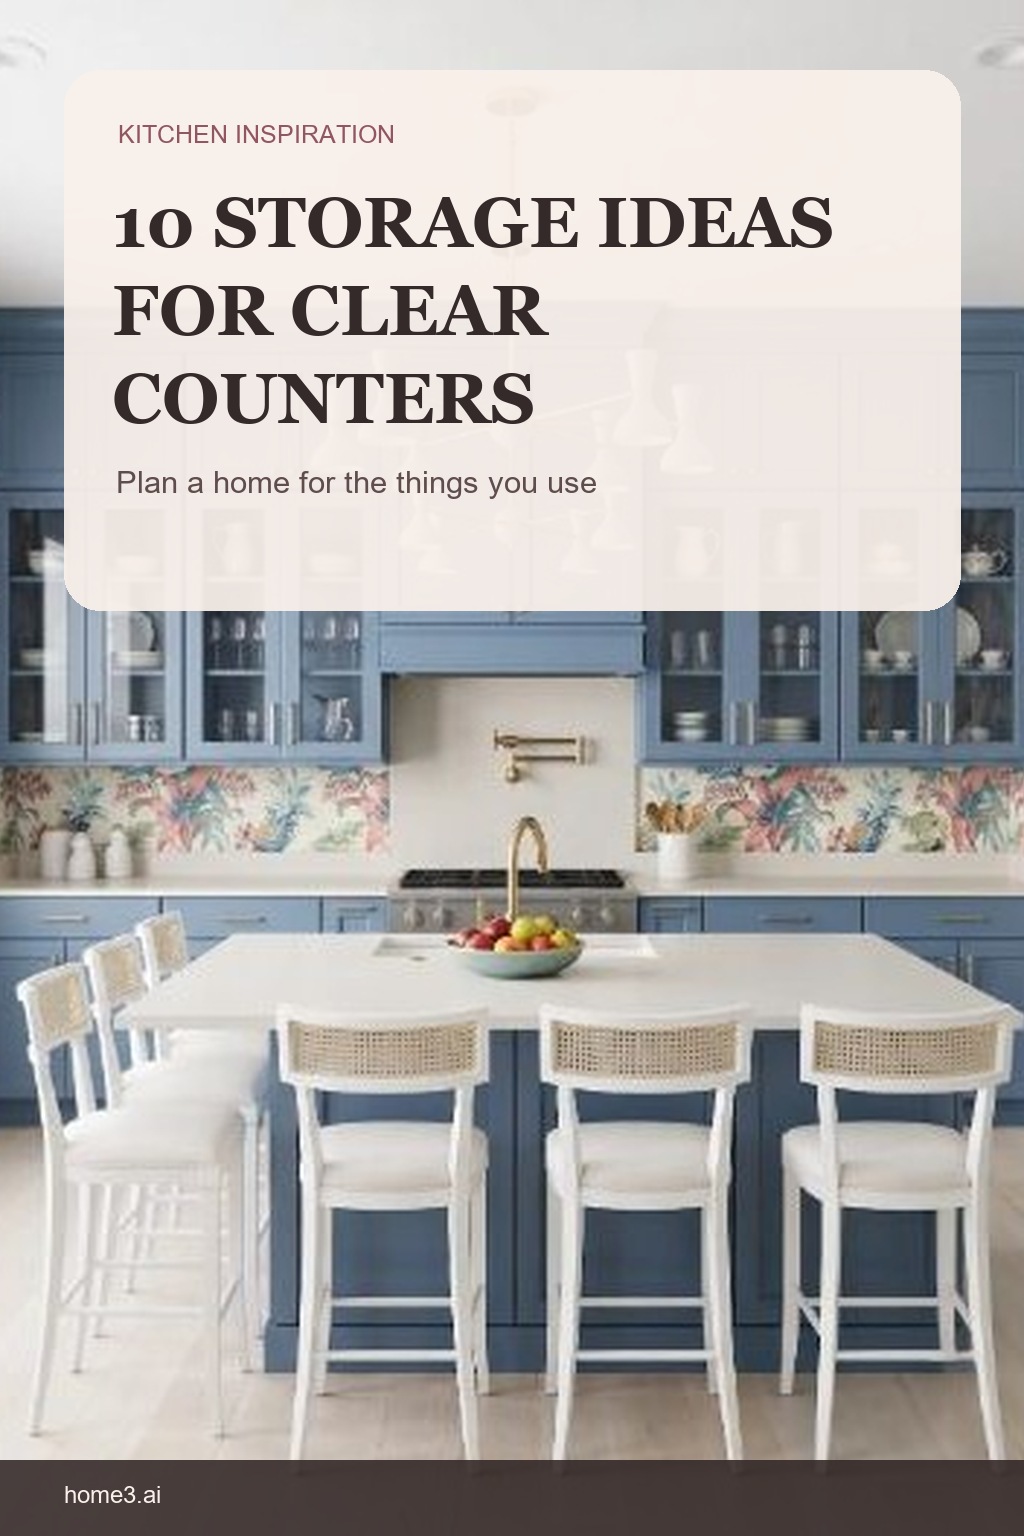
Counter clutter is often a planning problem disguised as an organizing problem. The toaster stays out because it has no practical home. Mail lands beside the refrigerator because the room has no arrival zone. Pans stack badly because their cabinet was chosen by width, not by use. Plan these ten homes before assigning the leftover space.
1. Put waste and recycling beside prep
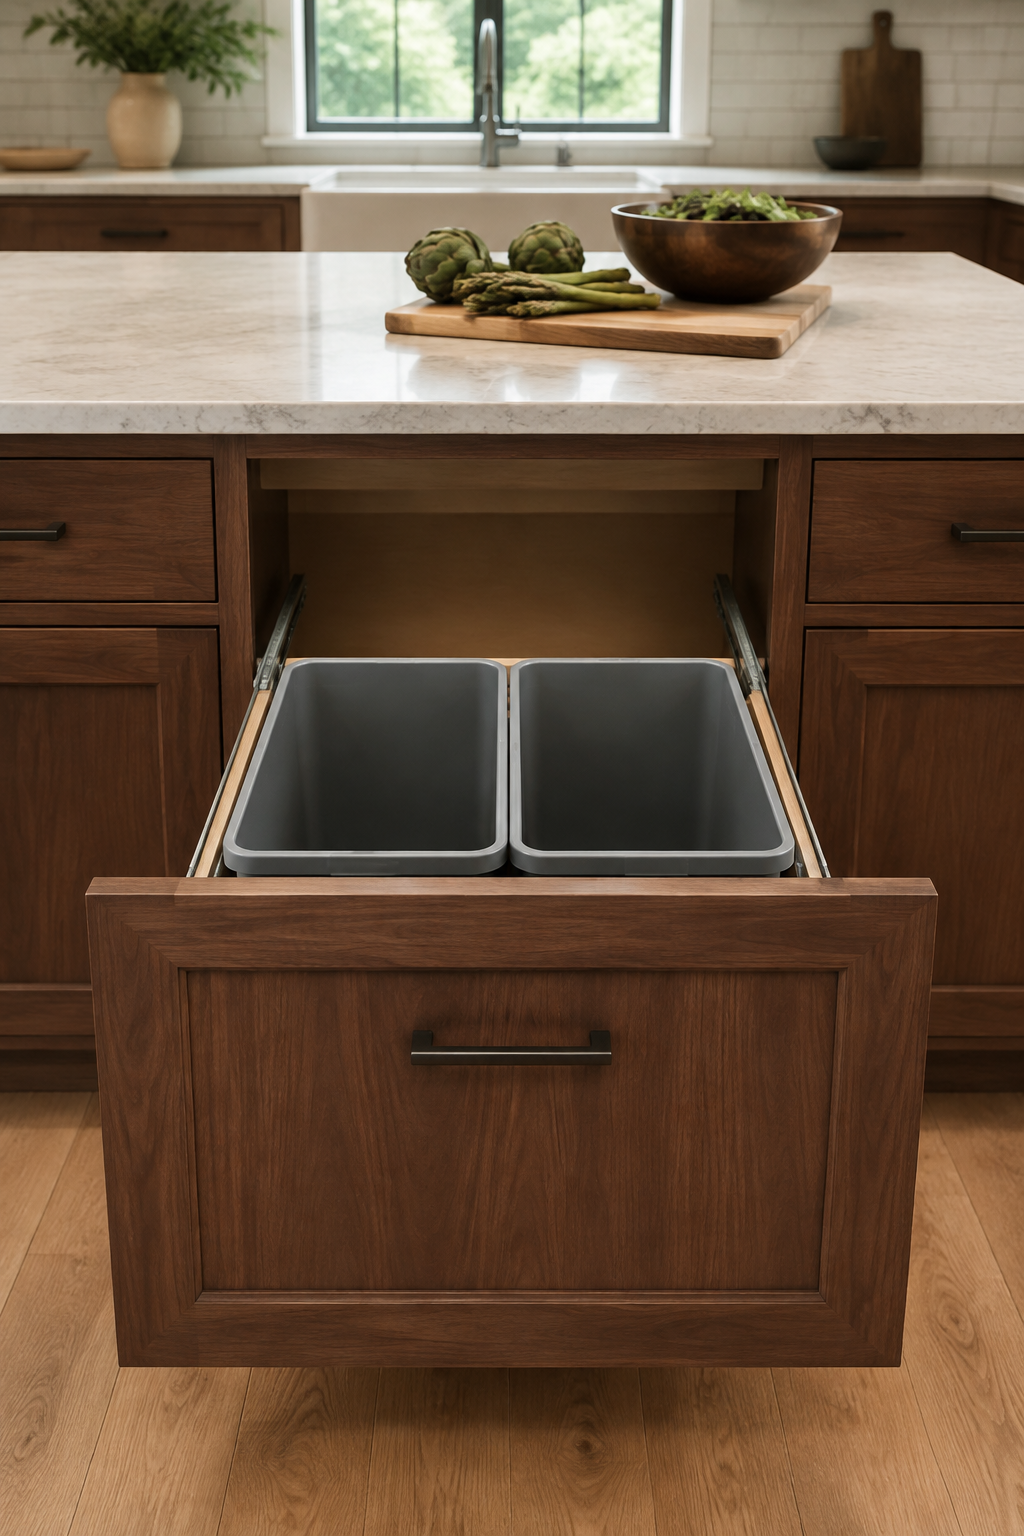
Place the pullout where food is unpacked and chopped, not wherever a narrow cabinet happens to remain. Check that it can open while another person uses the sink and that the route to it does not cross the cook. A common mistake is hiding waste in the nearest available base cabinet and creating extra steps during every meal. Follow one handful of scraps from cutting board to bin and let that simple path guide the location.
2. Store trays and boards vertically
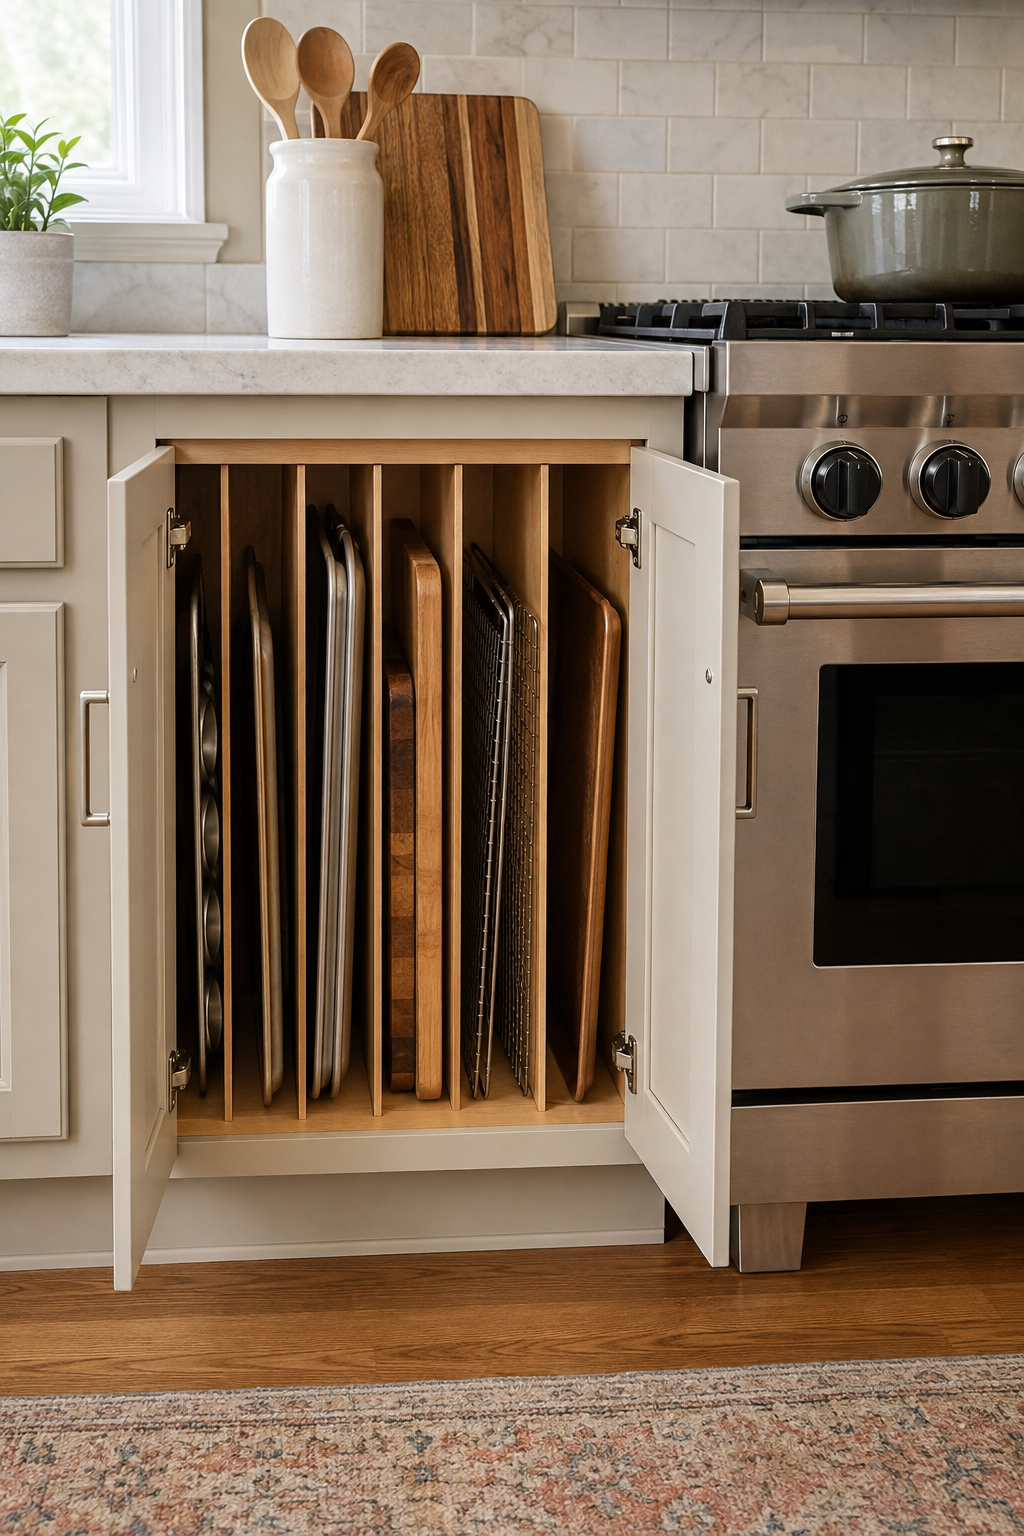
Use dividers so sheet pans, cutting boards, cooling racks, and serving trays can be pulled individually. Place the group near the oven or main preparation surface instead of stacking it beneath unrelated cookware. The common mistake is making the opening too narrow for the largest piece or too wide to keep smaller pieces upright. Measure the actual collection and leave enough hand room to lift each item without scraping the cabinet.
3. Keep spices where heat happens
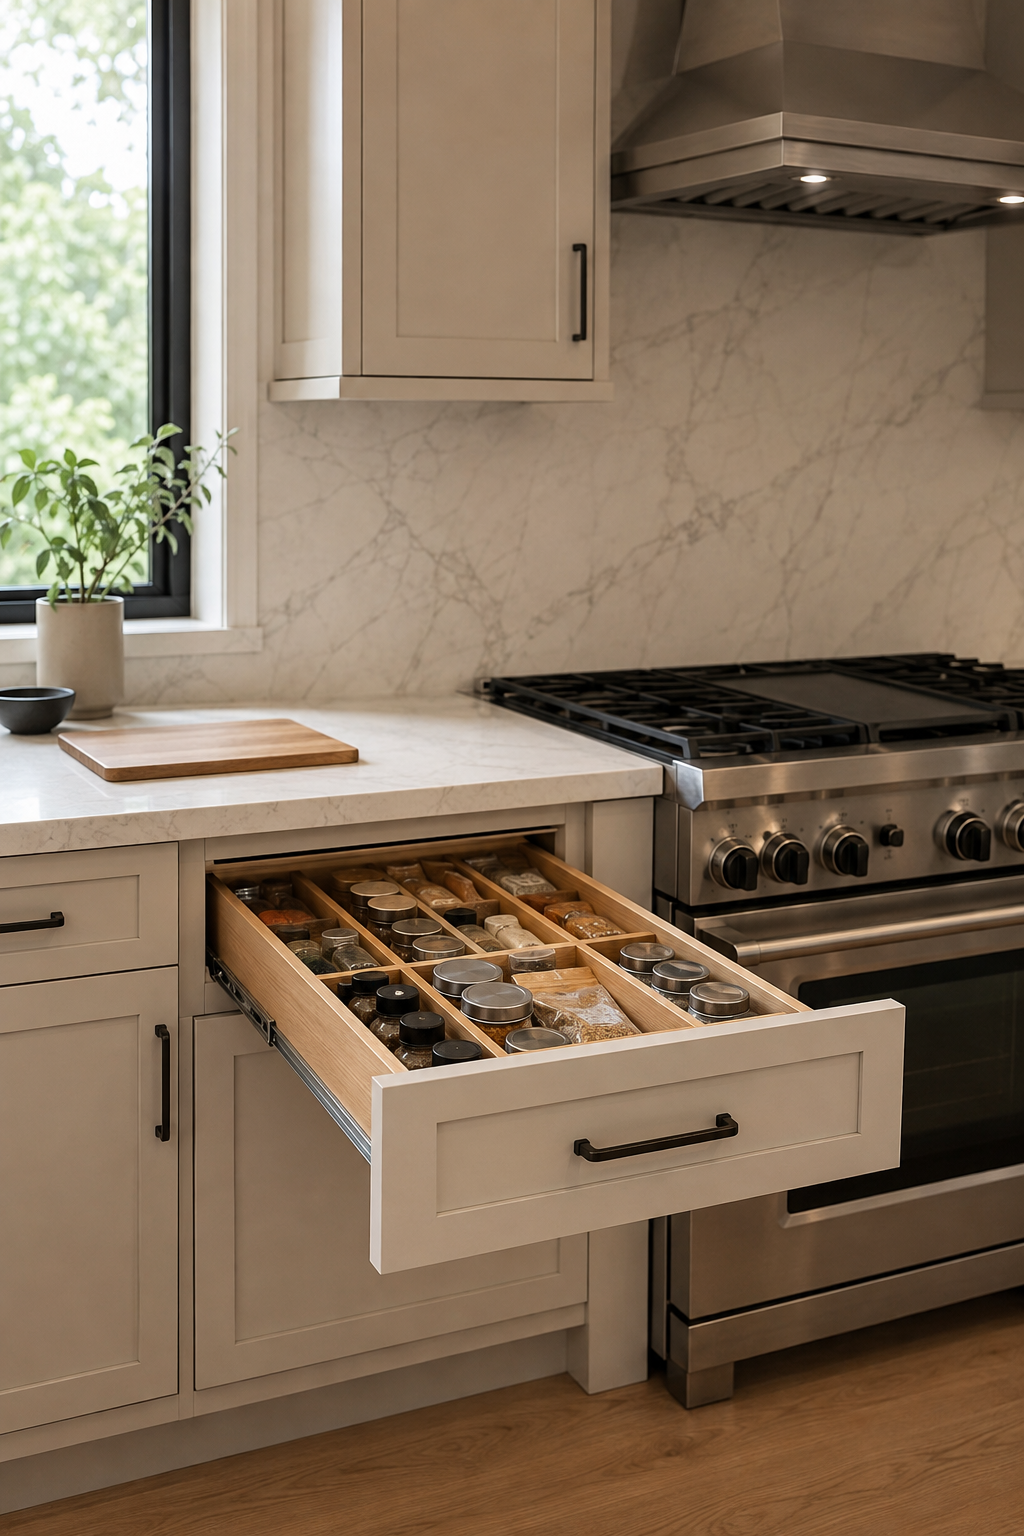
Choose a shallow drawer or narrow pullout within easy reach of the preparation and cooking zone, while keeping the collection away from direct heat. Label the tops if the spices will be viewed from above. A common mistake is designing for matching jars instead of the bottles and packets already in the kitchen. Measure the tallest and widest containers first, then decide whether decanting is a habit you genuinely want to maintain.
4. Place cutlery near its first use
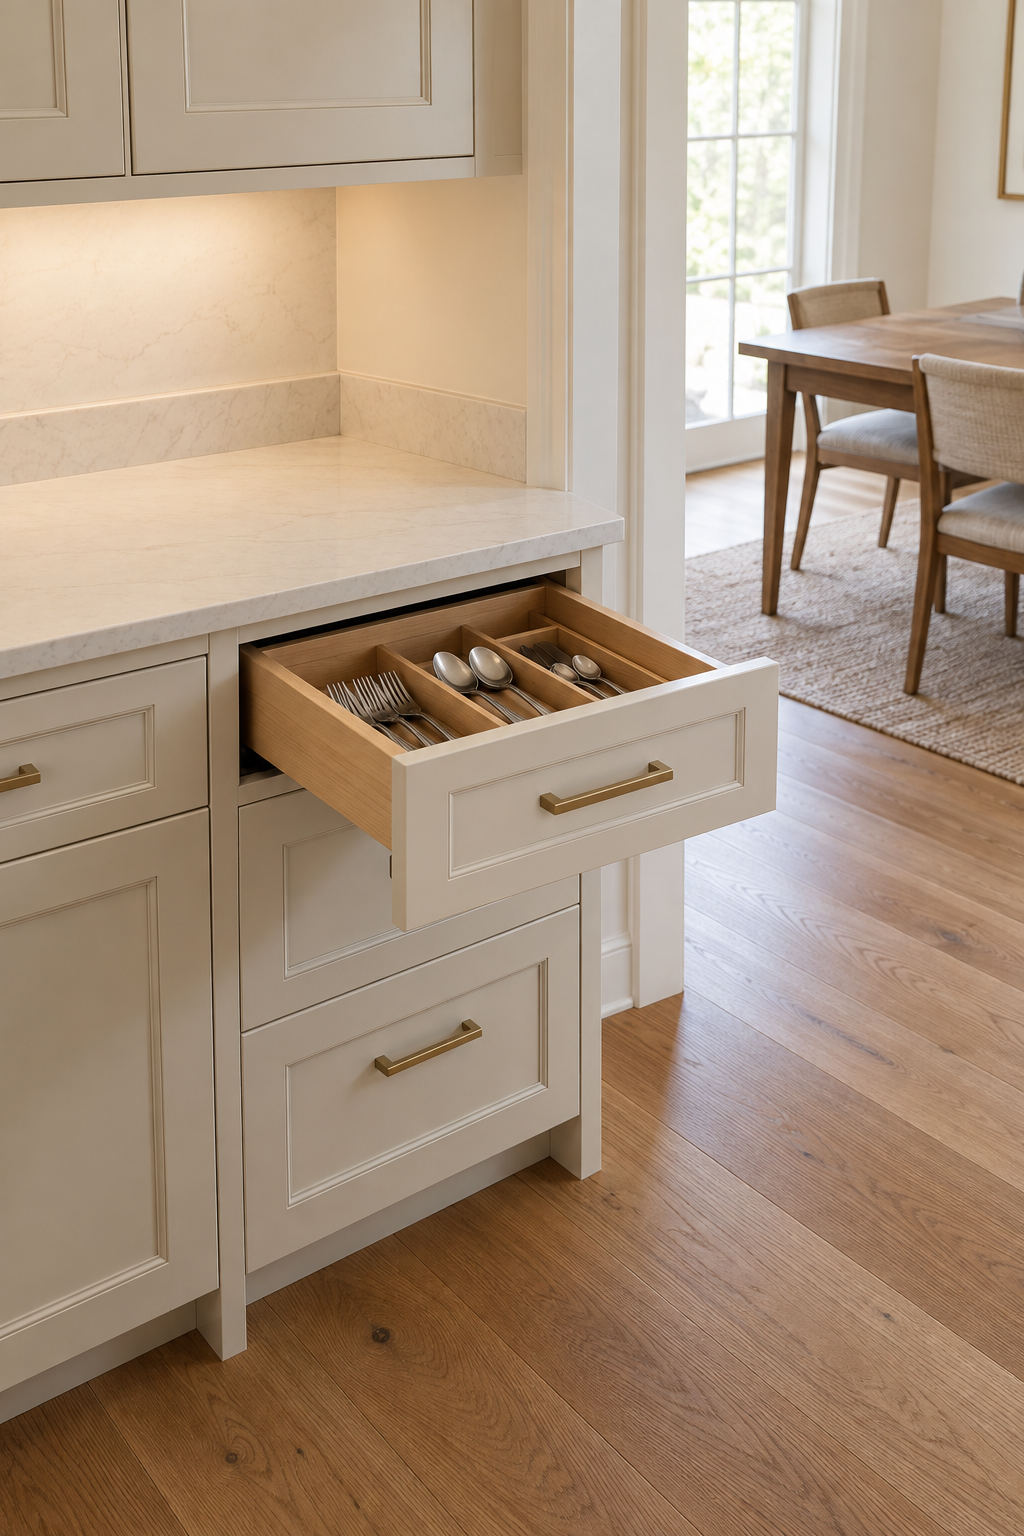
Everyday flatware usually moves from dishwasher to drawer to table. Cooking tools move from preparation surface to range. Give those two groups separate homes based on their path instead of forcing both into the nearest narrow drawer.
5. Give small appliances a parking zone
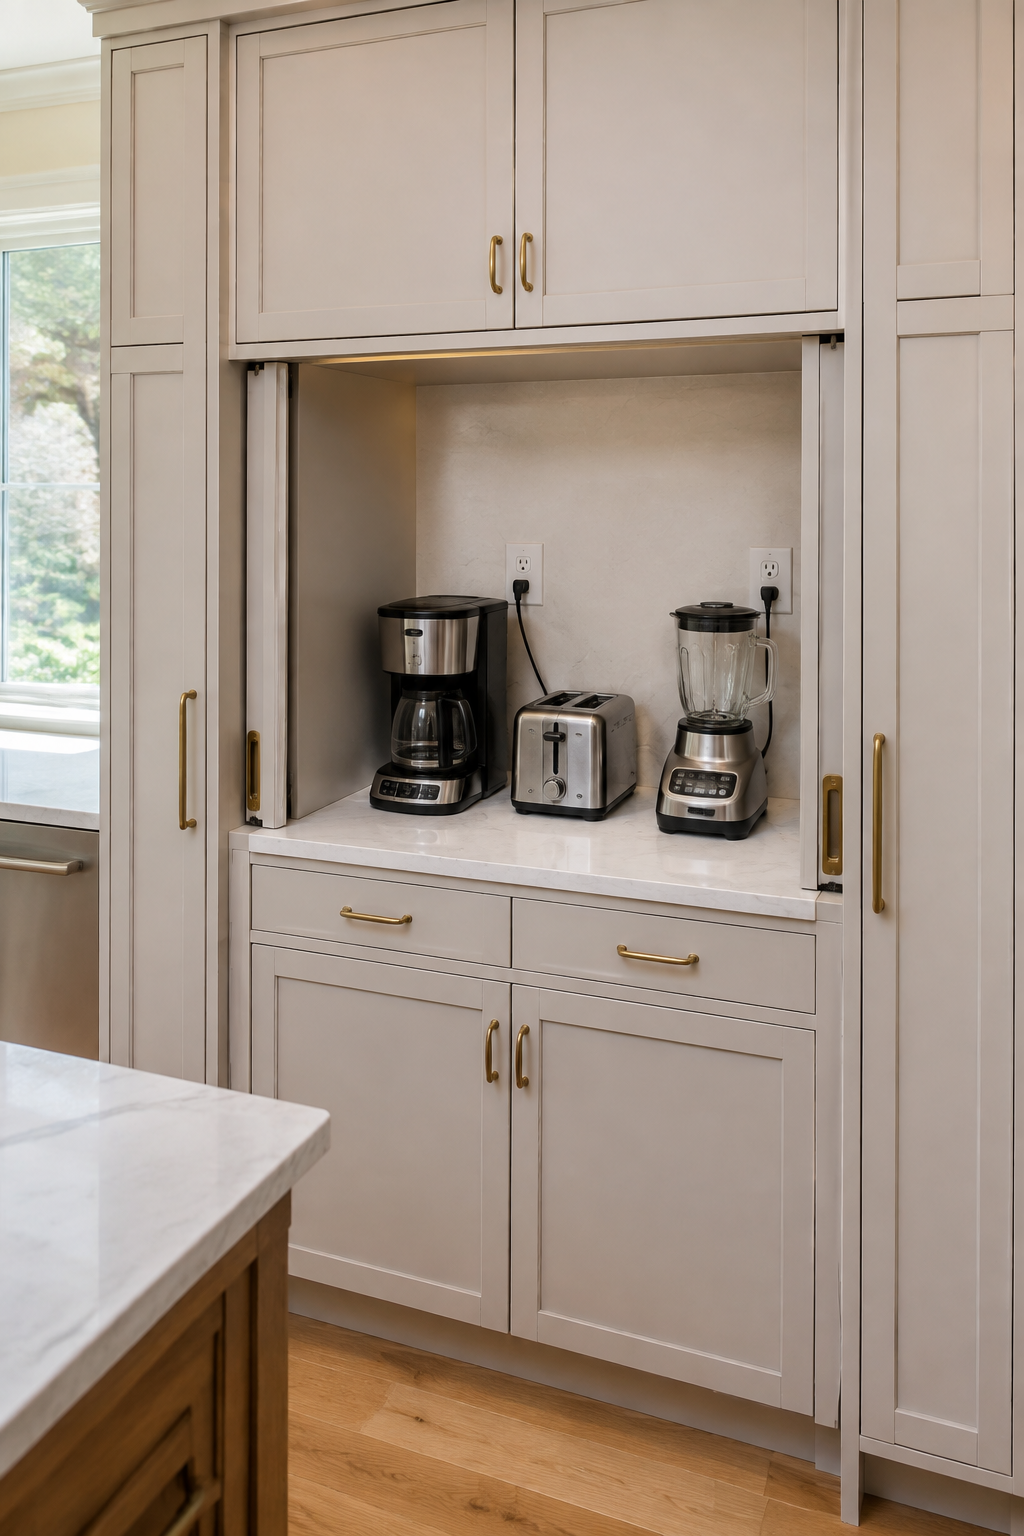
List the appliances you use every day, every week, and rarely. Daily tools need a low-friction home with safe power and ventilation; occasional tools can move farther away. Do not design an appliance garage until you have measured the machine and its open position.
6. Use deep drawers for heavy cookware
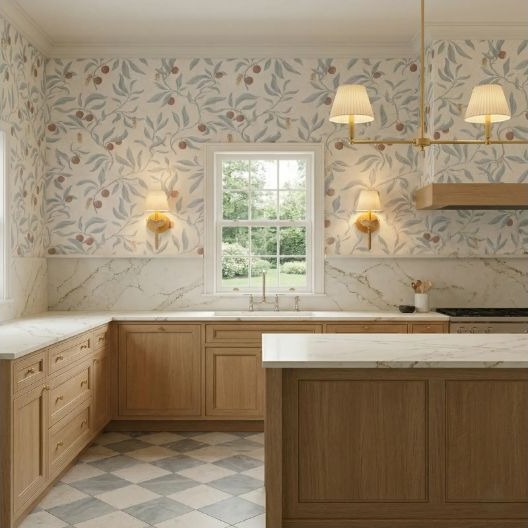
Wide drawers can bring pots, pans, lids, and mixing bowls into view without kneeling and reaching behind the front row. Confirm the drawer depth, hardware capacity, and handle clearance for the pieces you actually own. The common mistake is planning one deep open box where lids and smaller pans will slide into a pile. Add dividers or a separate lid position on the plan so easy access survives everyday use.
7. Organize pantry space by frequency
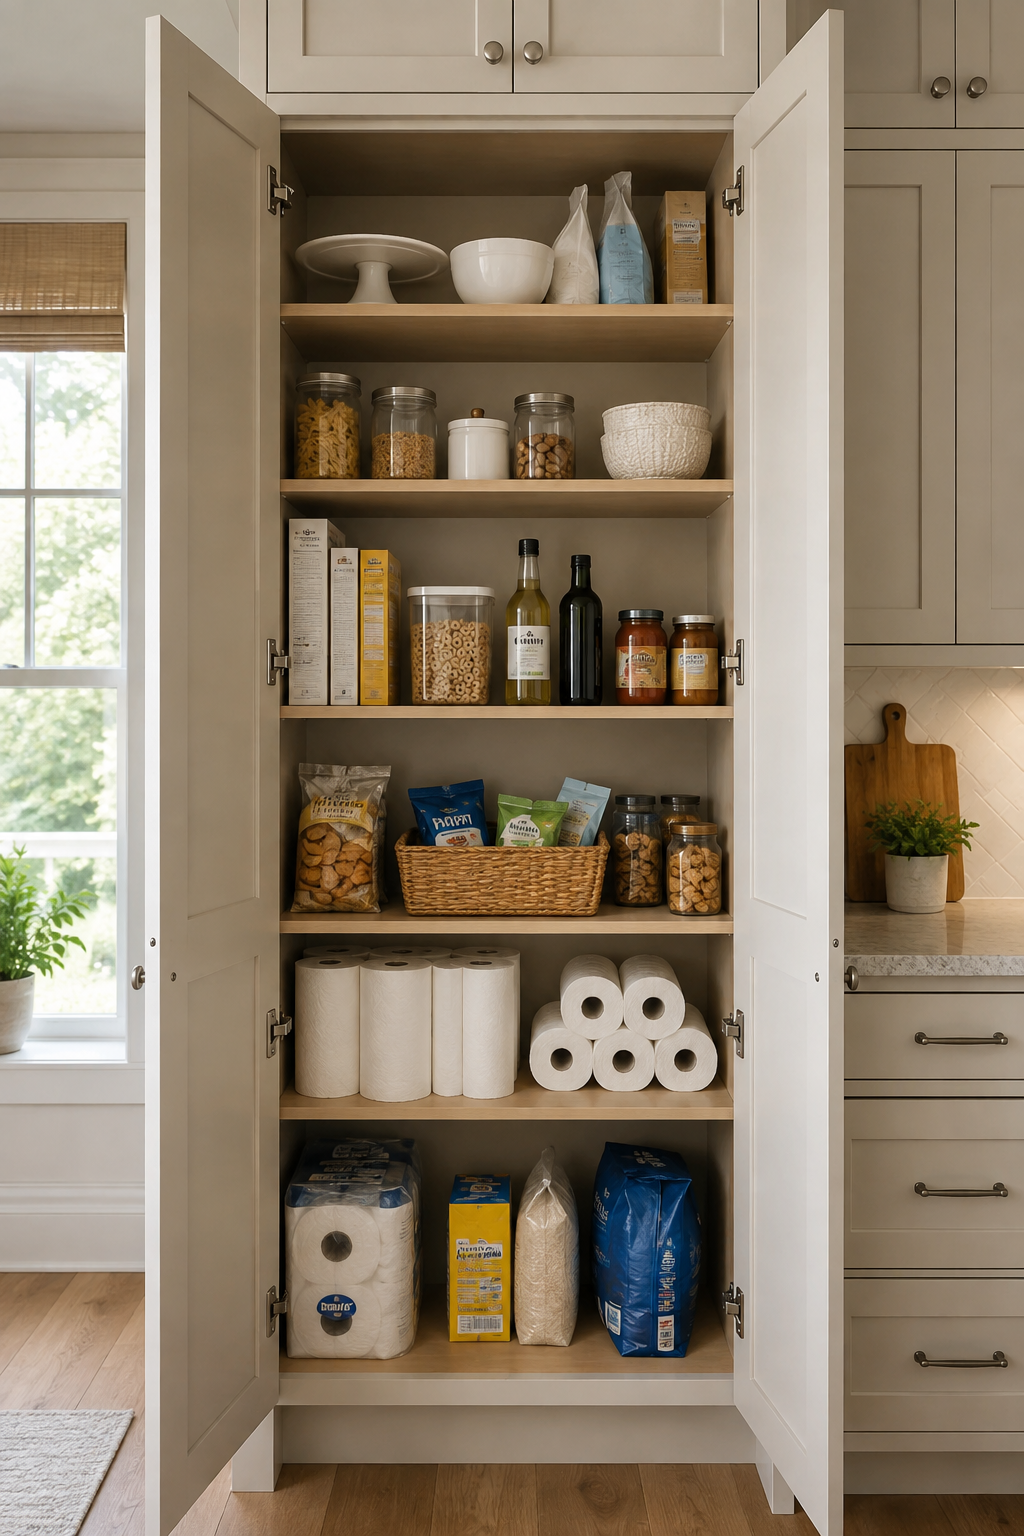
Keep everyday ingredients between knee and eye level, bulky backups lower down, and rare-use items higher. Use shelf depth that lets you see what is behind the front row, then reserve a place for open packages and meal components.
8. Build one breakfast and coffee zone
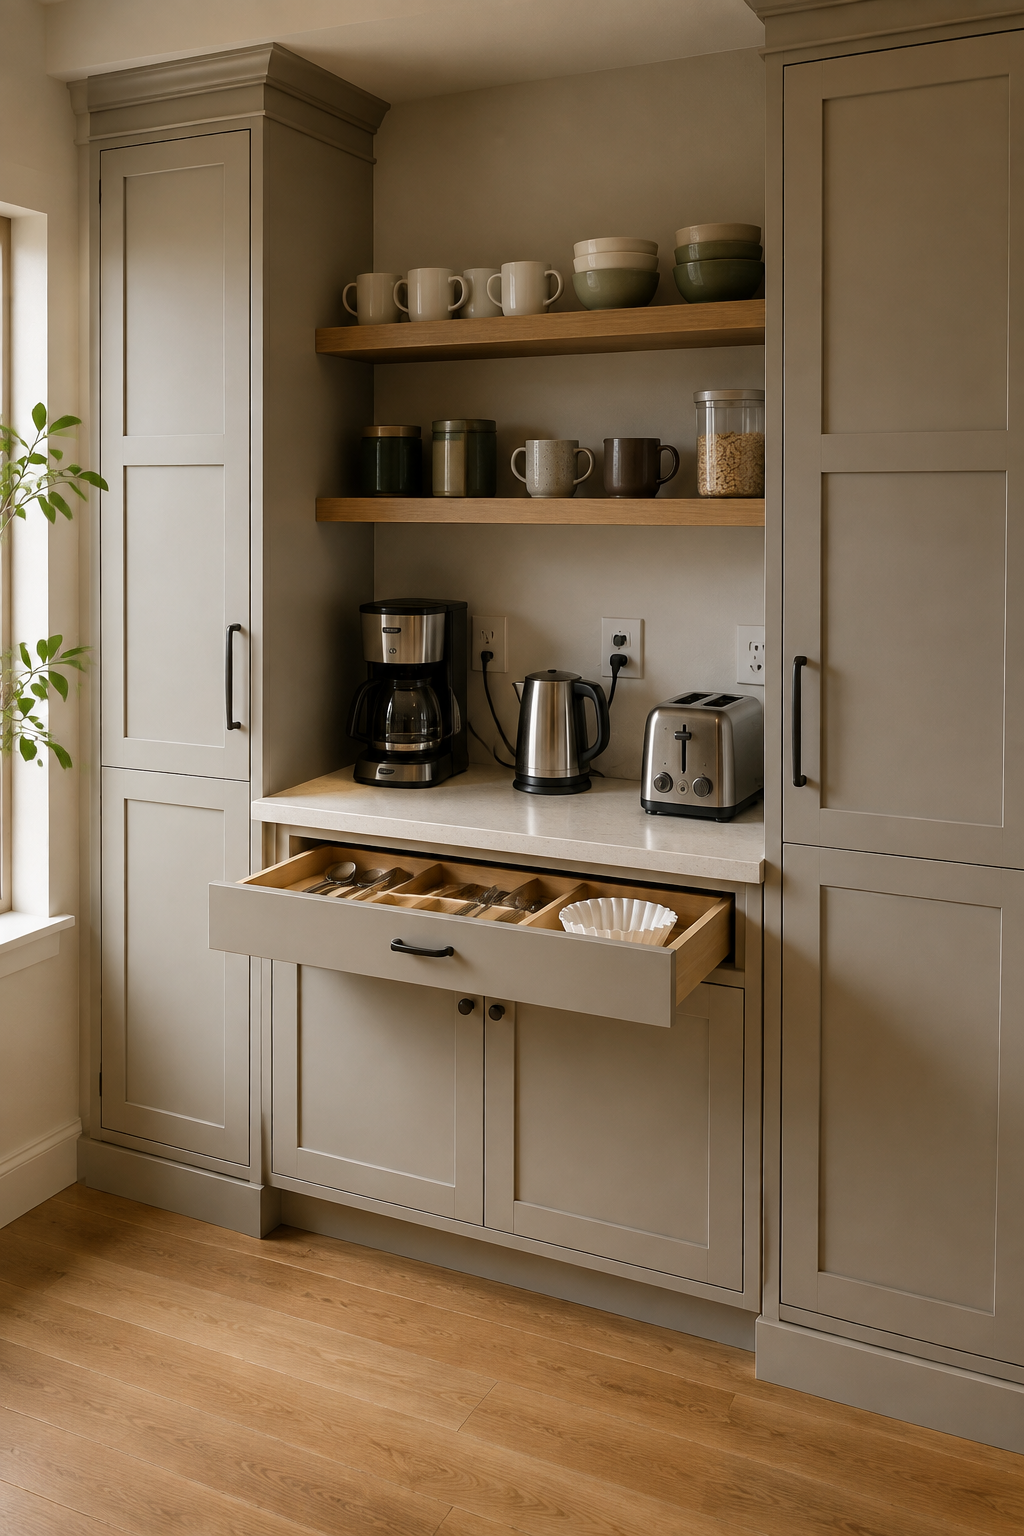
Group mugs, coffee, tea, cereal, bowls, spoons, and the appliances that support the routine. A compact zone can keep early traffic out of the main preparation area and stop supplies from spreading across several counters.
9. Add a landing zone for groceries
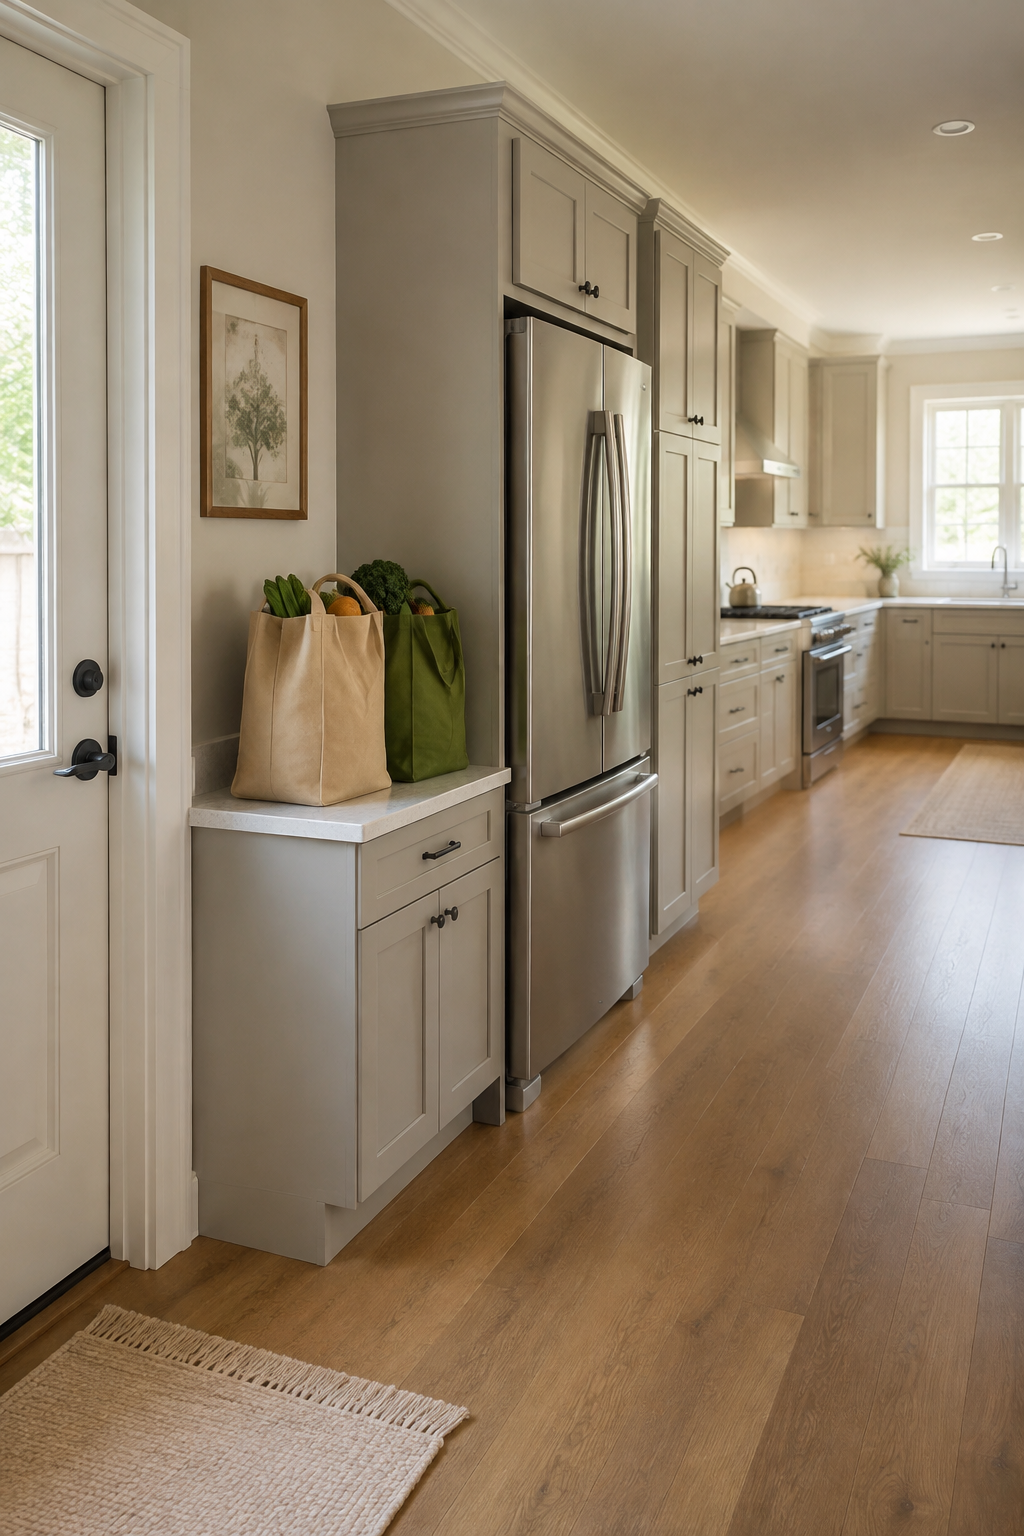
Protect a clear surface near the main entry and refrigerator so bags can land before food is sorted. Place pantry and cold storage within the same short route, and give mail or keys a different destination. A common mistake is assuming the island will serve as the landing zone even when it sits beyond the cooking area. Walk in carrying two bags and trace the first natural stop; that is the route the plan should make easier.
10. Protect clear counter space for work
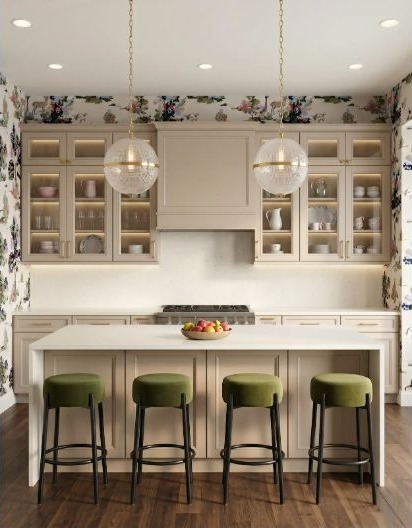
Assign one uninterrupted counter as the primary work surface, then refuse to make it permanent storage. Move decorative objects, chargers, papers, and occasional appliances to planned homes that do not steal the kitchen's most useful square footage.
Make a storage list before a cabinet list
Photograph the counters on a normal day. List what is out, where it is used, how often it moves, and the size of the home it needs. Then assign drawers, pullouts, shelves, and tall storage. The cabinet plan should answer the list—not ask your habits to fit the leftovers.
Plan Storage Around Daily LifeGive everything a home before the counters fill up
Use StilePath to organize storage around your room and routine, then test the plan before treating the cabinet layout as final.
Plan Your Kitchen Storage Free