
Make glass cabinets useful before you make them beautiful
Glass-front cabinets can brighten a wall, break up a long run of solid doors, and keep favorite pieces visible. They can also expose clutter, reflect every light, or put a swinging door exactly where your head wants to be. You do not need to be a professional cabinetmaker to plan them thoughtfully. Get your tape measure, pencil, paper, and a list of what you truly want to store. Then walk through these ten decisions with the cabinet elevation in front of you. Your notes are a planning start; the cabinet supplier, glass provider, installer, electrician, and responsible project professionals still need to verify the actual products, dimensions, safety glazing, hardware, lighting, attachment, and code requirements.
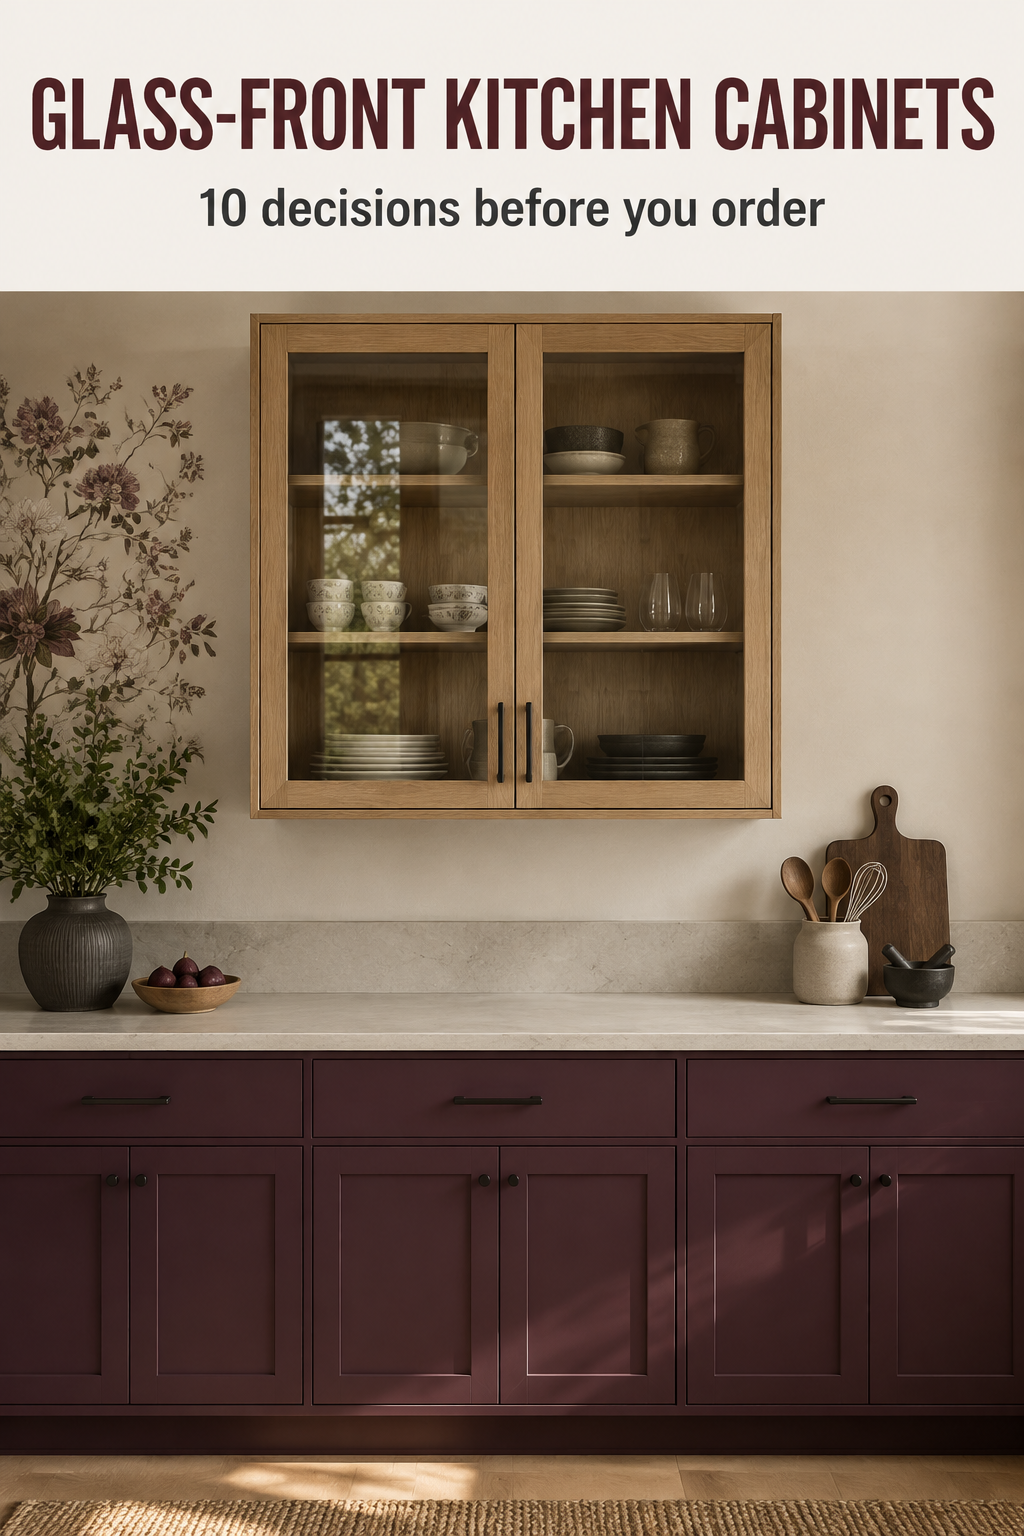
1. Decide what will live behind the glass
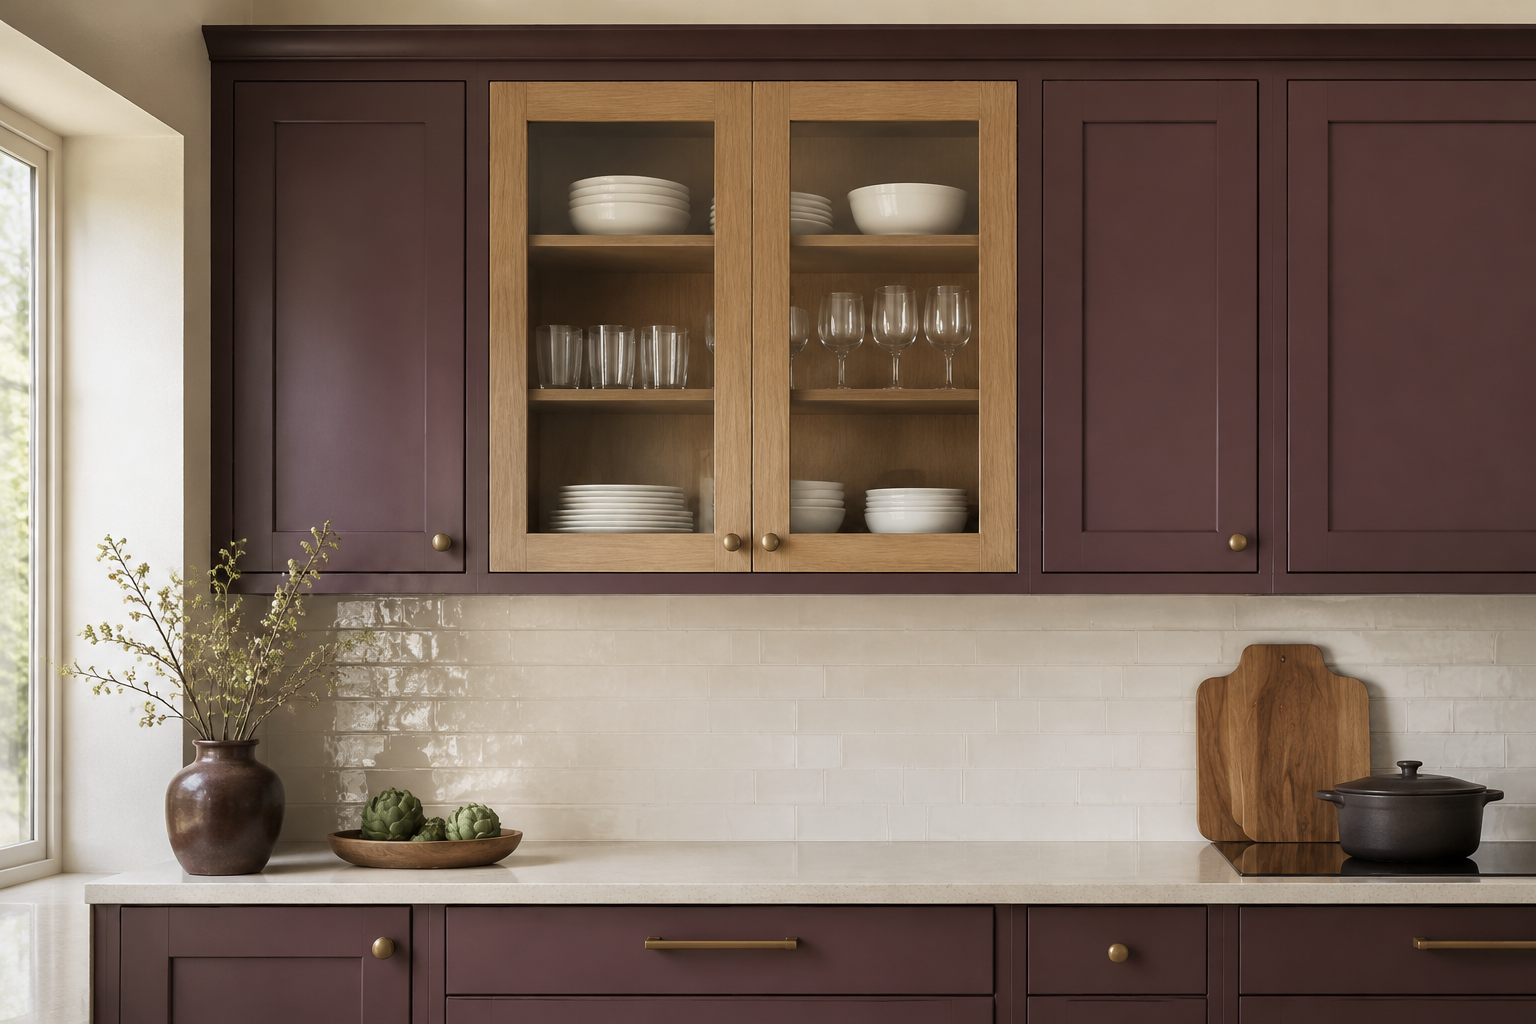
Start with contents, not the door. Everyday bowls, glasses, serving pieces, cookbooks, and a few meaningful objects are easier to maintain than a cabinet full of mismatched packages. A common mistake is choosing clear glass from an empty showroom display and only later realizing the cabinet is needed for food, medicine, or plastic containers. Another is styling the cabinet so tightly that putting away one mug becomes a puzzle. Write down the actual items, group them by height and frequency of use, and allow a little breathing room. If the list still feels visually busy, use textured glass, fewer glass doors, or a solid-front cabinet for the hardworking storage.
2. Compare clear and textured glass with real contents
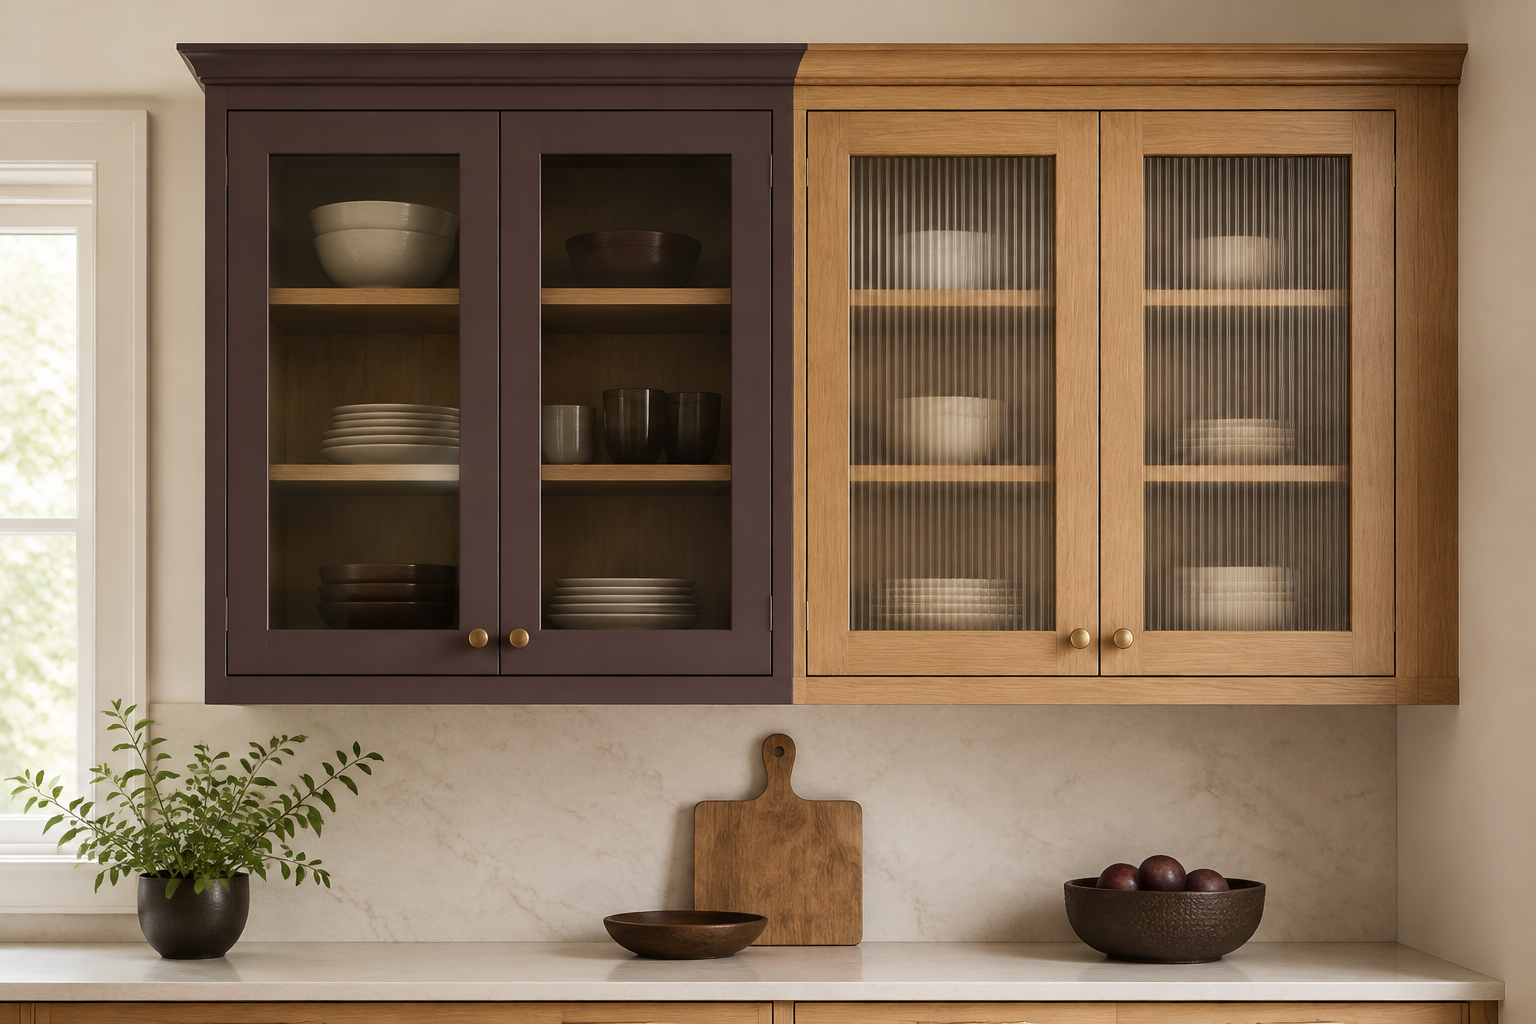
Clear glass shows shape, color, and every gap between objects. Reeded, seeded, frosted, or other patterned glass softens the view, but it does not make the contents disappear. The common mistake is judging a small loose sample against a white wall instead of placing it in front of dishes under the room's light. Another is assuming a texture will look the same from every angle. Ask for the current full-size door sample if possible, put ordinary items behind it, and view it in daylight and at night. Confirm the glass type, color, pattern direction, thickness, safety treatment, and availability with the cabinet and glass providers before ordering.
3. Draw the full door swing and standing position
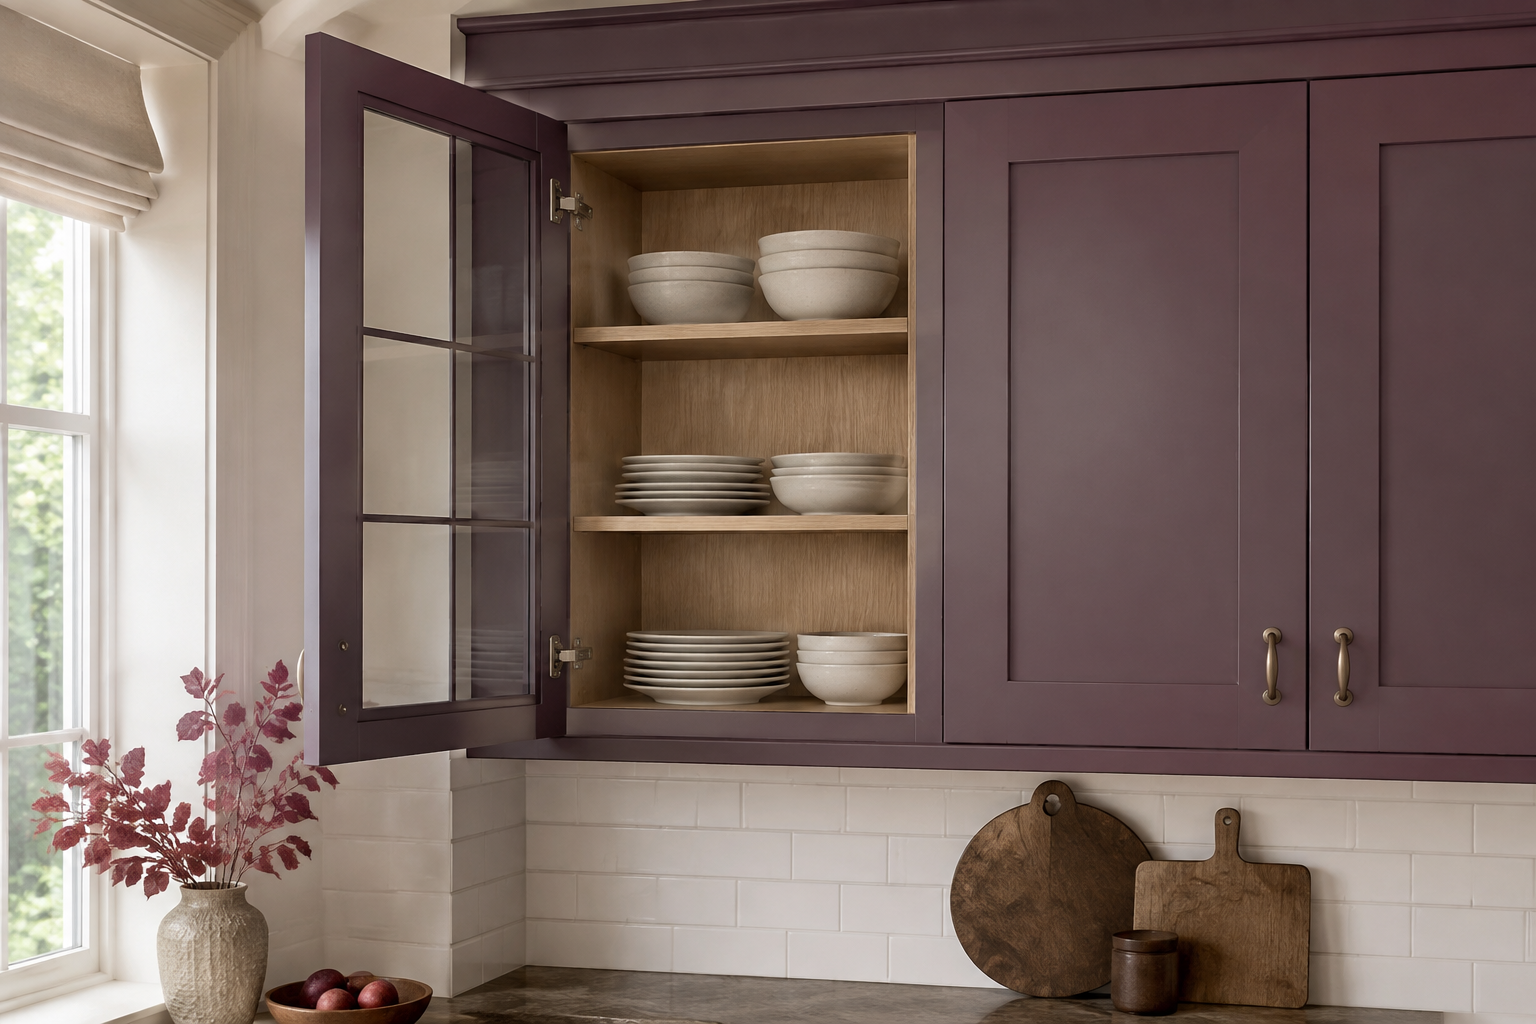
A glass door is still a door: its width, hinge side, handle, opening angle, and neighboring surfaces control whether it is comfortable to use. A common mistake is centering paired doors beautifully while one handle meets a wall, hood, pendant, or another open door. Another is placing a frequently used cabinet above the exact spot where someone stands at the sink or counter, inviting a bump when the door is left open. On the elevation, sketch each door open and mark where a person reaches. Ask the cabinet supplier which hinge, restriction, bumper, filler, and clearance the selected door actually requires; do not infer movement from the rendering alone.
4. Set shelves from your tallest useful stack
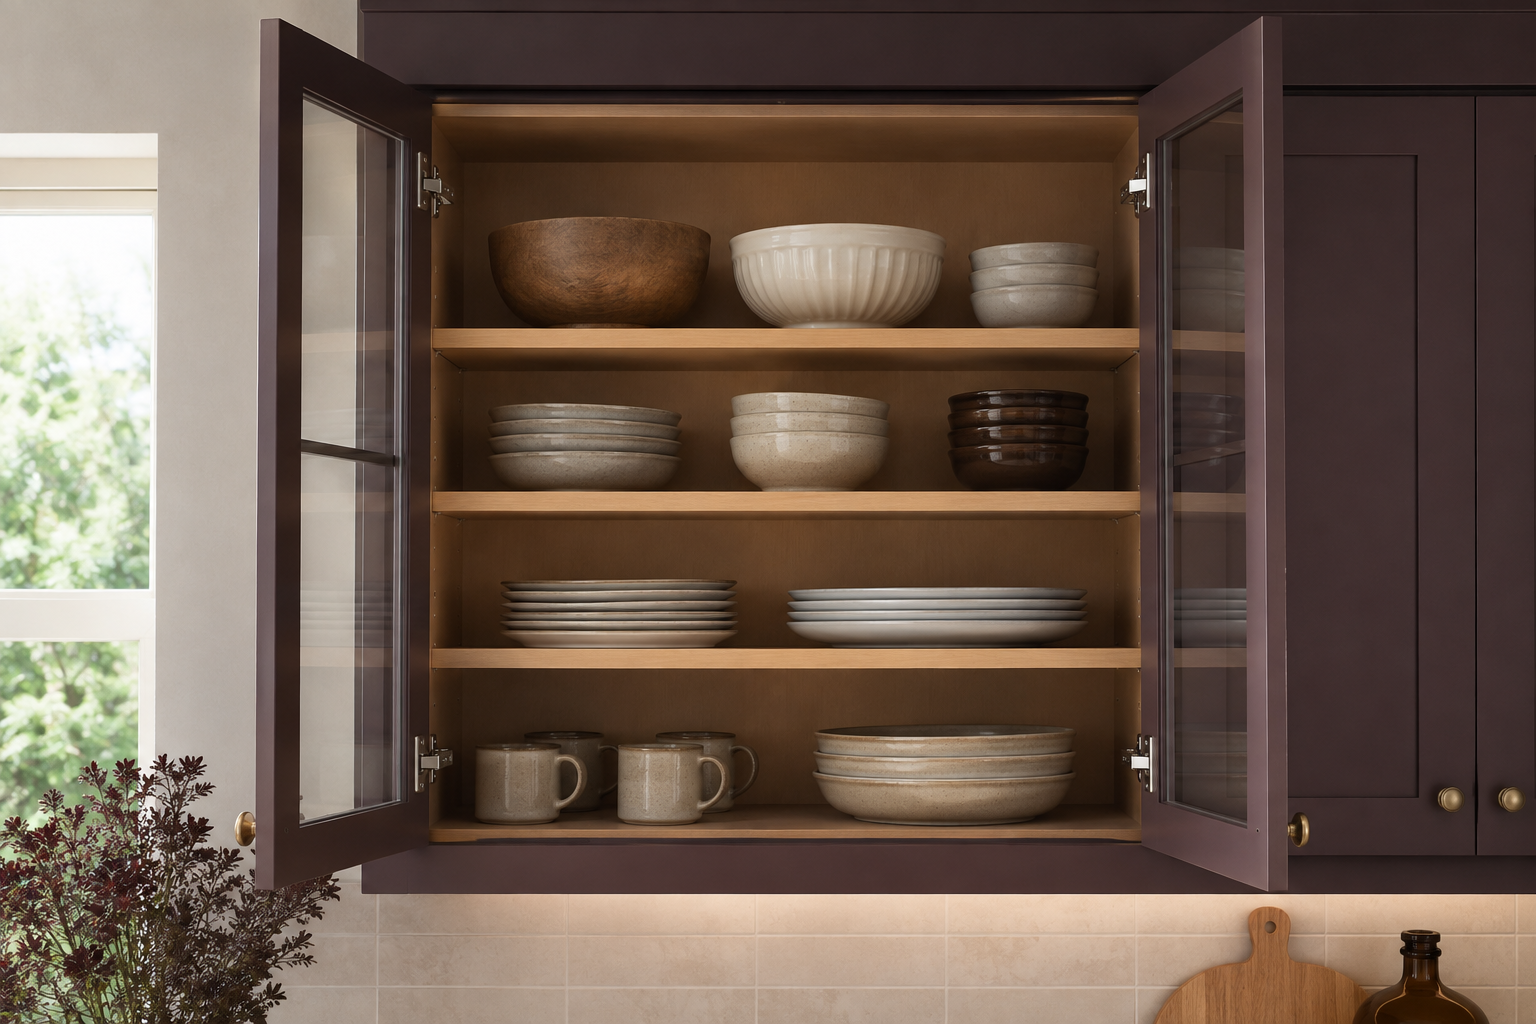
Measure the tallest pitcher, stack of dinner plates, wine glass, or serving bowl you plan to keep here. Include the space your hand needs to lift it over the shelf edge. A common mistake is dividing the cabinet into equal-looking openings that do not fit the objects. Another is loading an adjustable glass shelf without checking its span, supports, and rated capacity. Make a quick paper elevation and label each shelf job. If the cabinet has an interior light, note the fixture and wiring zone too. Final shelf material, thickness, edge treatment, clips, load limits, and adjustment range must come from the current cabinet and hardware specifications.
5. Choose the cabinet interior as part of the palette
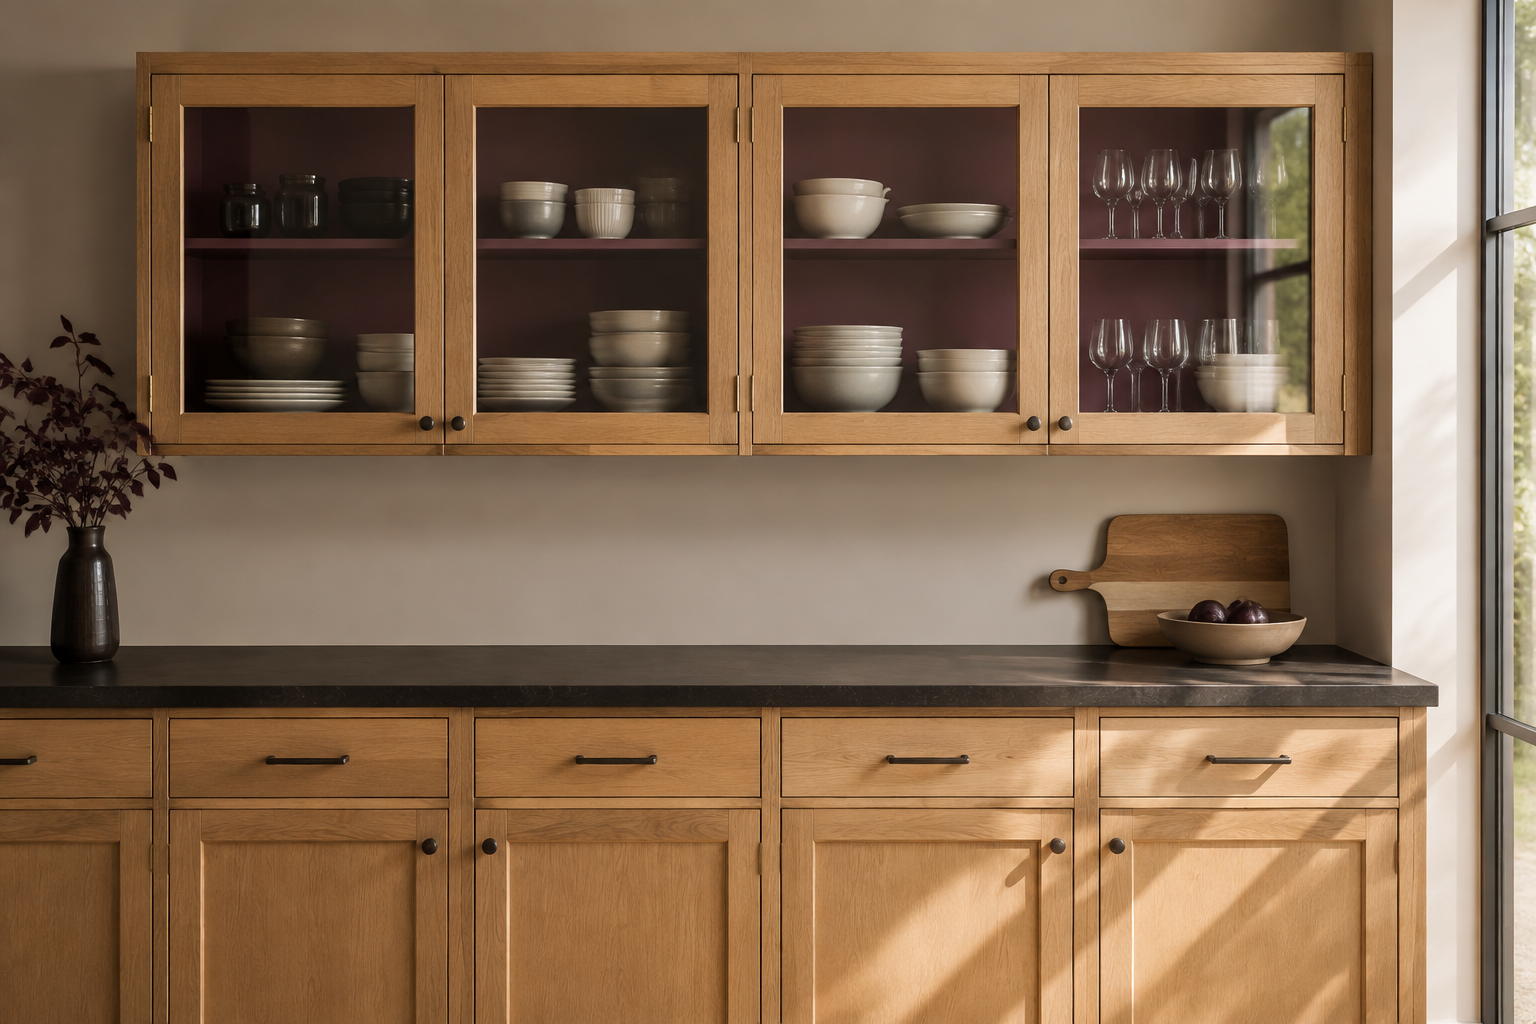
The box interior becomes a visible finish, especially through clear glass and under lighting. A matching cabinet color can feel quiet; a contrasting paint, wood, or finished back can create depth. A common mistake is approving only the exterior door and discovering a bright stock interior behind it. Another is adding paint, mirror, wallpaper, or wood panels without confirming that the cabinet construction and warranty allow the change. Ask how shelves, shelf holes, hinges, fasteners, and lighting will look against the chosen interior. Put the actual door, glass, interior sample, dishes, and light together before deciding, then record the finish on the elevation and order documents.
6. Plan lighting as a serviceable system
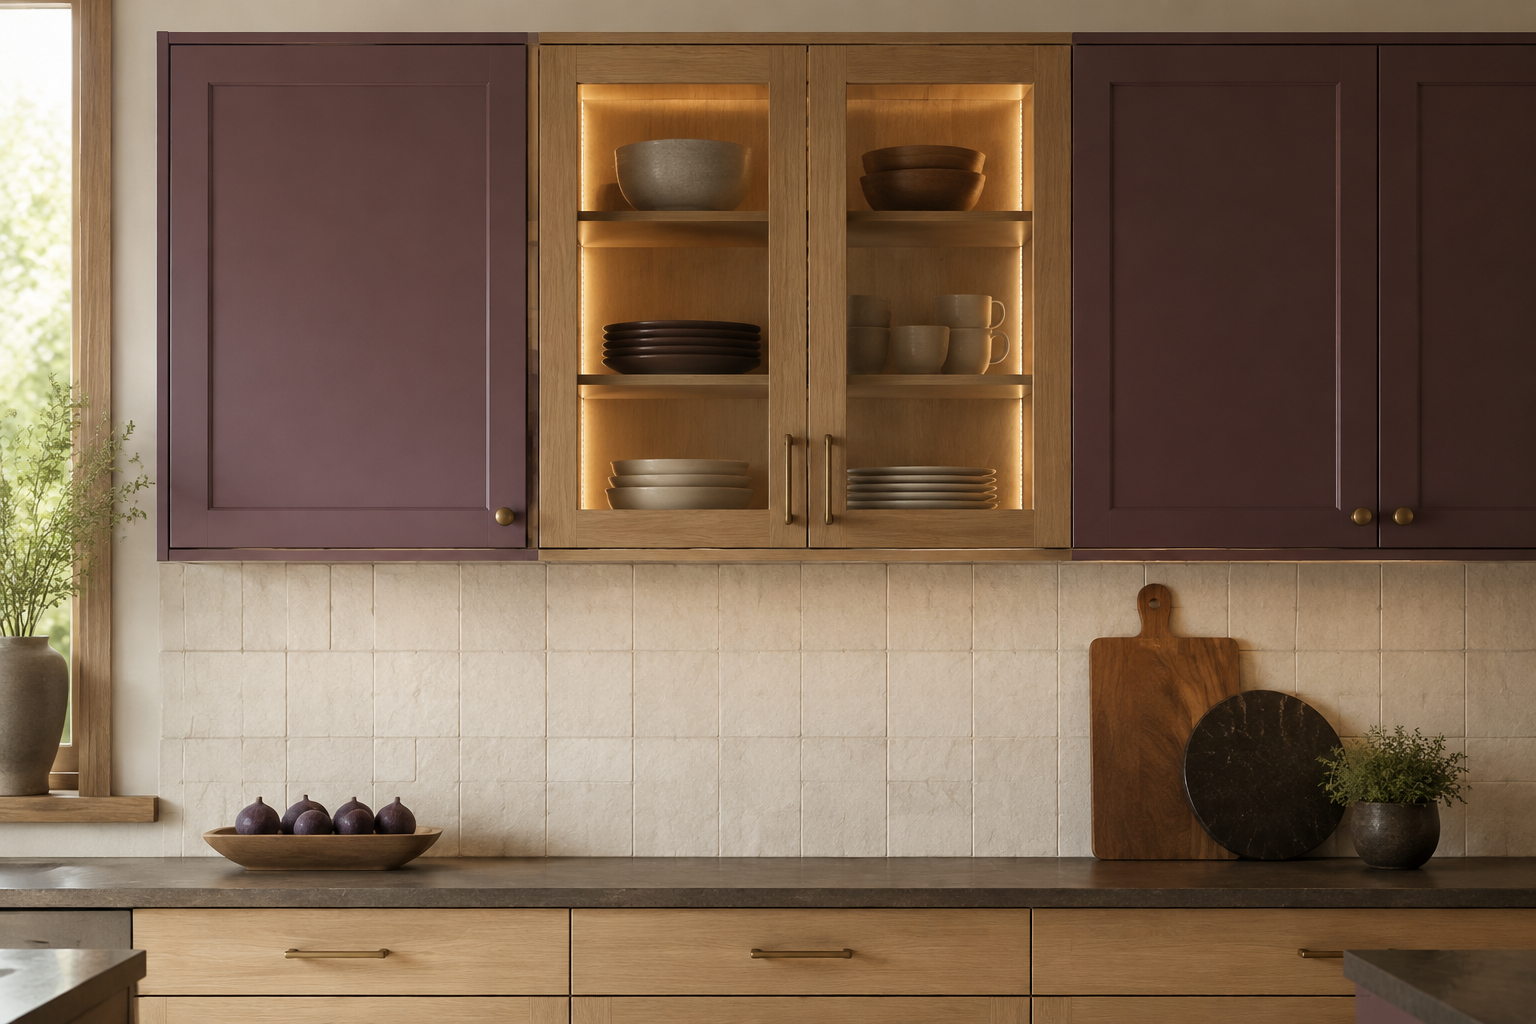
Interior lighting changes the glass, dishes, cabinet finish, and reflections all at once. Decide whether you want a soft evening glow or bright display light, then ask where the channel, diffuser, wire, driver, switch, and access point will go. A common mistake is putting one visible puck at the top and expecting opaque shelves to pass the light downward. Another is hiding a driver where it cannot be reached without removing cabinetry. Do not improvise electrical work from an inspiration photo. Coordinate the cabinet and lighting specifications with the electrician and installer so wiring, heat, service access, controls, and required listings are resolved before fabrication and wall finishes.
7. Control visual density instead of glazing every door
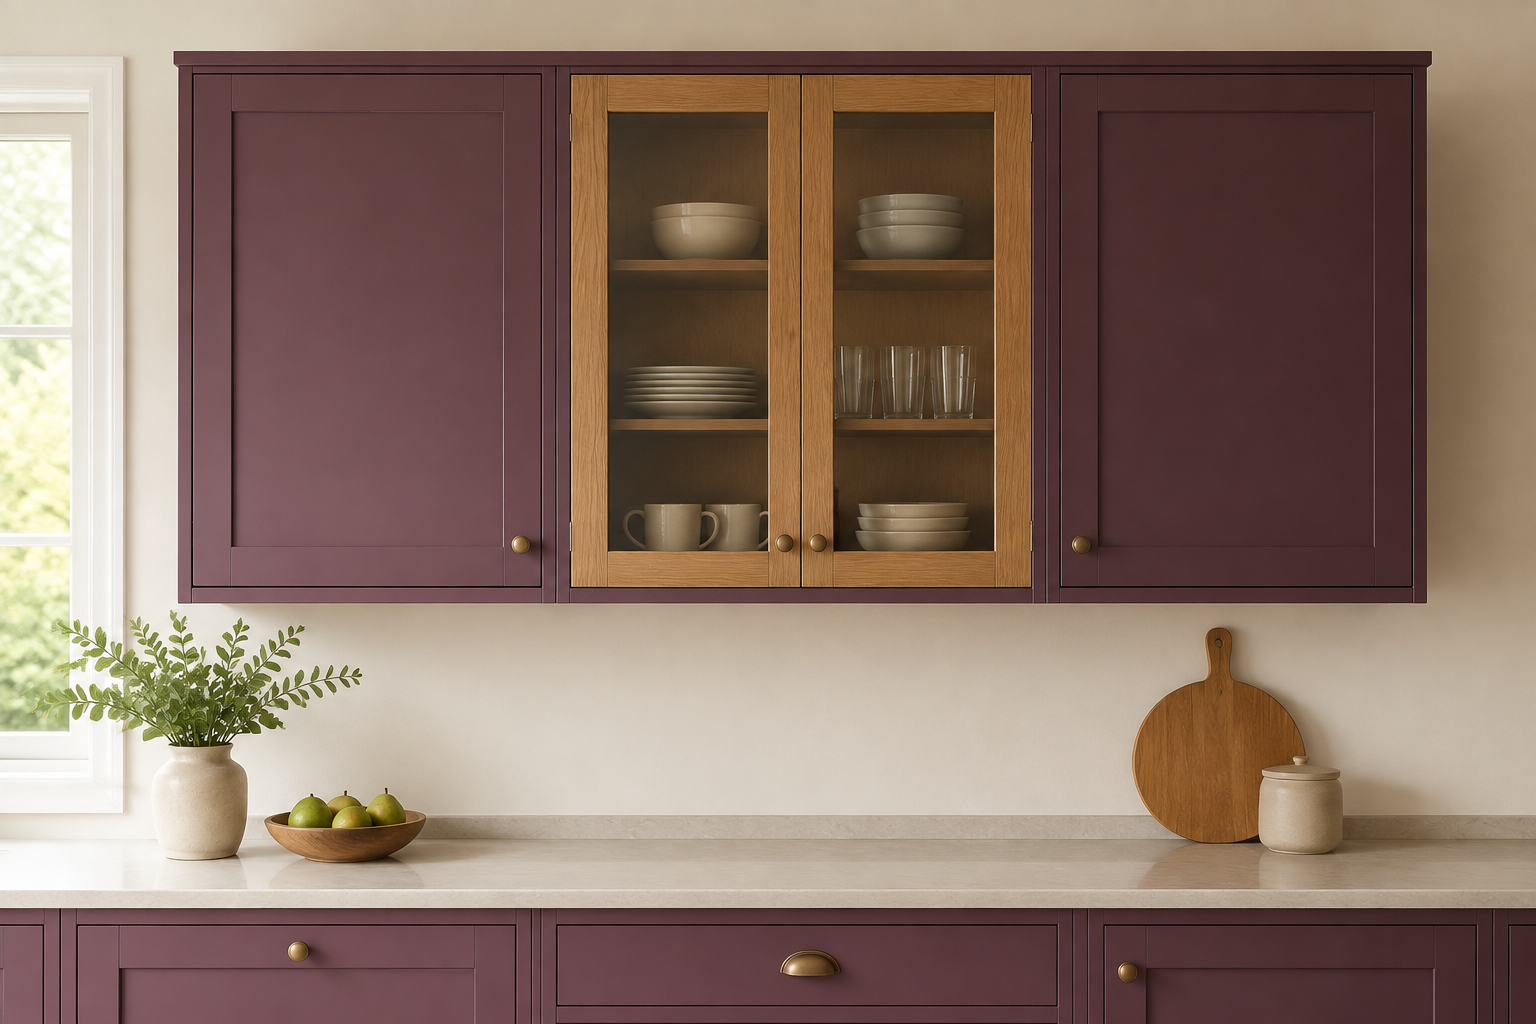
One well-placed glass cabinet can do more than a full wall of them. Glass draws the eye to every shelf line and stored object, so repeated doors can make a small wall feel busier rather than lighter. A common mistake is turning every upper into display storage because the door sample looks elegant alone. Another is scattering single glass doors without a relationship to the sink, range, window, or end of the run. Try three versions of the elevation: one focal cabinet, a balanced pair, and a short grouped section. Fill each with simple shapes representing real contents. Choose the version that gives the room a resting place as well as an accent.
8. Review glass in the complete wall elevation
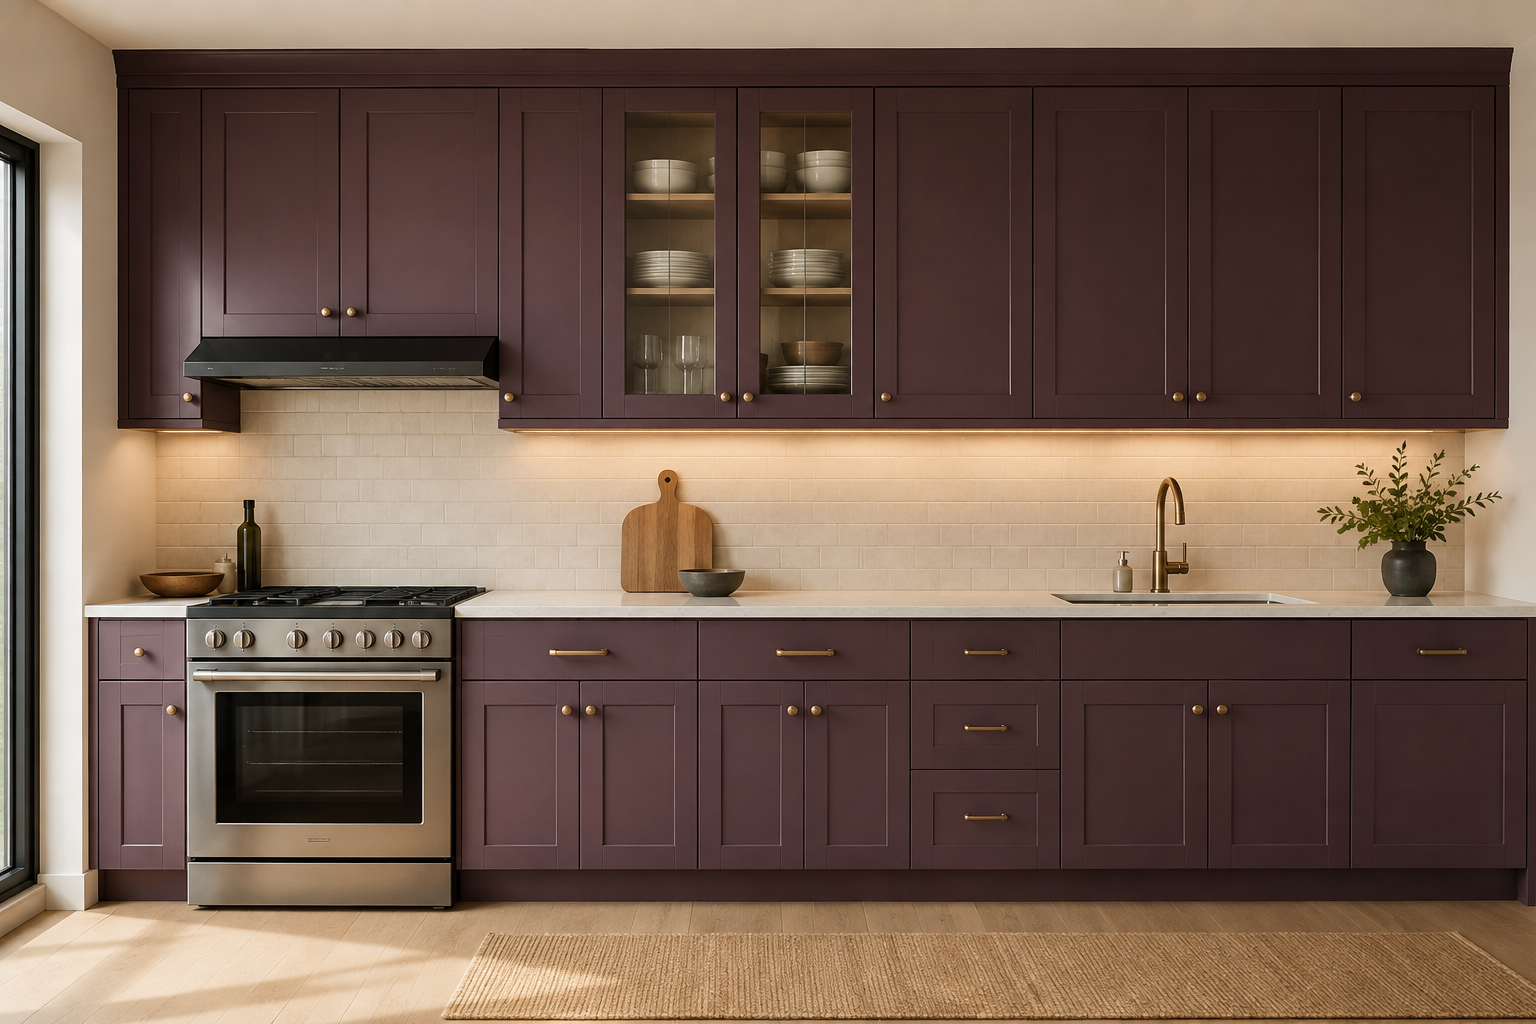
Step back from the single cabinet. Look at crown, fillers, finished ends, window and hood alignments, appliance panels, open shelves, door widths, and the height of every horizontal line. A common mistake is sizing glass doors differently from the rest of the run without realizing how the rails and shelves will align. Another is forcing symmetry around an off-center window or appliance while useful storage suffers. Print the whole elevation and shade the glass areas with a pencil. If your eye jumps around, simplify or regroup them. Confirm that the beautiful closed view still works when the doors, appliances, and nearby drawers are open.
9. Be honest about reflections and cleaning
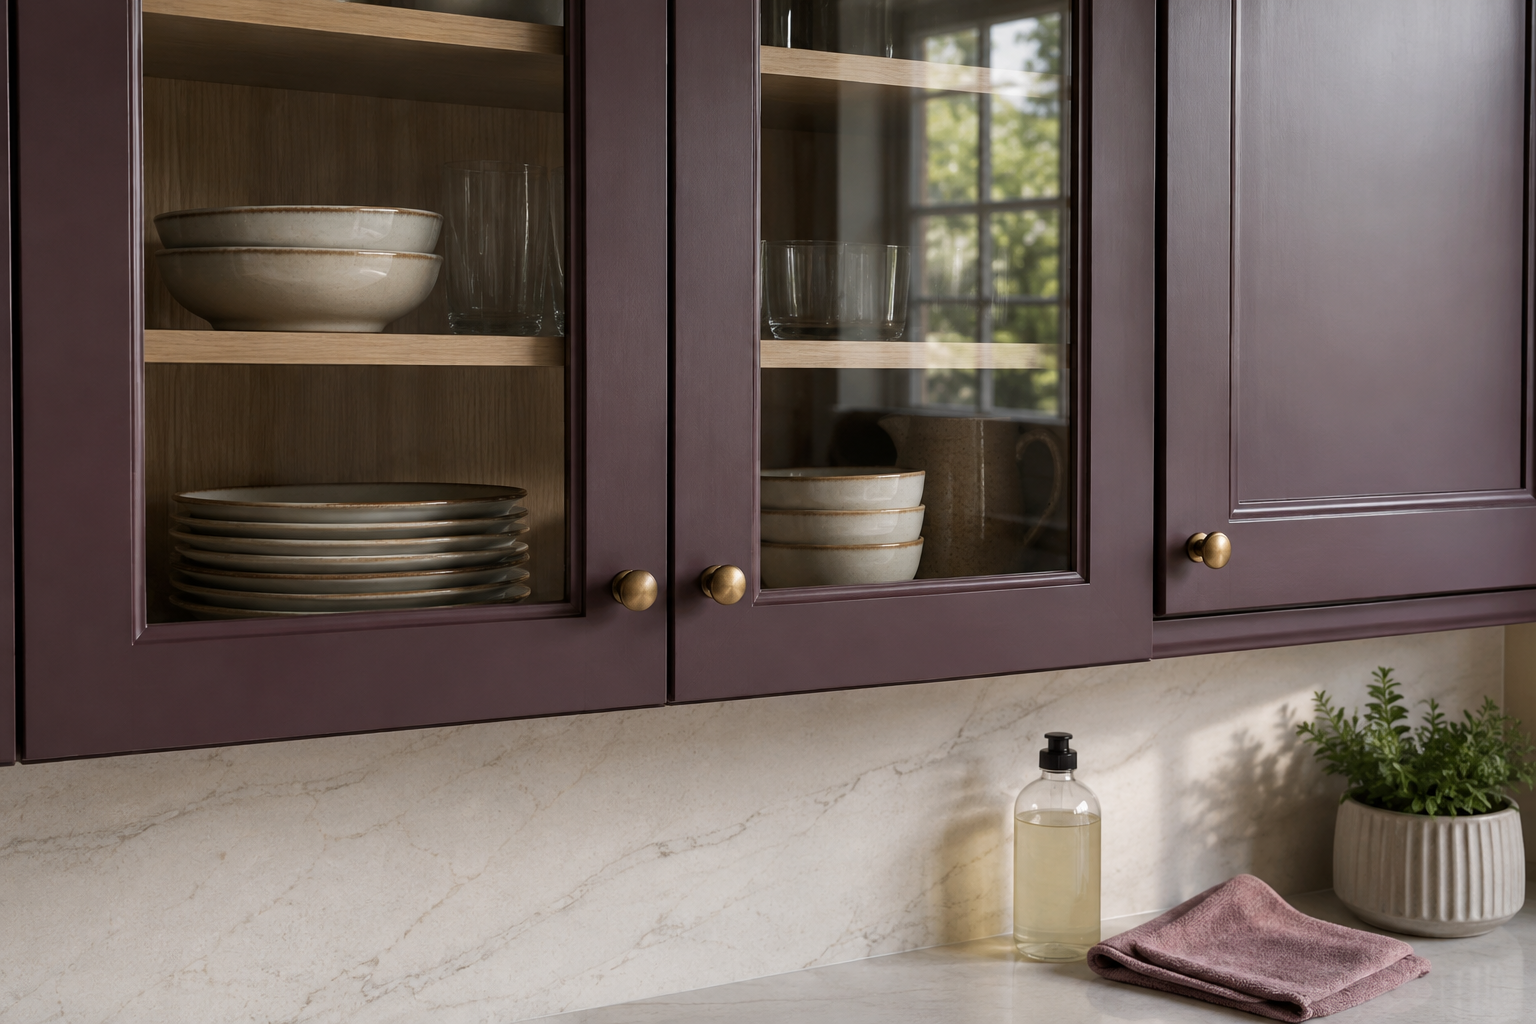
Glass near cooking, a busy sink, or strong windows may show grease, dust, fingerprints, and glare sooner than a painted door. That does not make it a poor choice; it means maintenance belongs in the decision. A common mistake is placing frequently touched glass doors above the main prep zone and expecting them to look like an untouched showroom. Another is approving highly reflective glass before seeing the pendant bulbs and windows mirrored in it. Hold a sample in the intended location at several times of day. Ask for provider-approved care instructions and decide whether the cleaning frequency fits the household before committing to a large glass area.
10. Confirm the complete cabinet and glass specification
Before release, list each glass cabinet by location and record the box, door, glass, pattern direction, interior finish, shelves, hinges, pulls, fillers, lighting, controls, finished sides, installation, care, warranty, and who verifies the field conditions. The final common mistake is writing glass doors on an elevation and leaving every physical detail to interpretation. You do not need to solve fabrication yourself. Ask the cabinet supplier and installer to walk through one open-cabinet view and one closed elevation with you. Clear notes now make the display easier to build, use, clean, and enjoy later.
Connect the display to the cabinet plan
Glass works best when door style, contents, lighting, and neighboring clearances are planned together. These guides help you carry those decisions into the rest of the kitchen.
Compare Cabinet Door Styles Plan Kitchen LightingSee every glass door in the complete kitchen
Use StilePath to place the cabinet runs, windows, appliances, and door swings before assigning glass fronts. Start free with the room you have, mark the details still awaiting provider verification, and bring one clear elevation into cabinet review.
Start Planning Free