
10 Kitchen Lighting Ideas for Better Work and Better Mood
Good kitchen lighting helps you read a recipe, wash a pan, find a snack, and enjoy the room after the work is done. Start with a tape measure, pencil, and paper. Mark the counters, sink, range, table, island, windows, doors, and existing electrical points, then write down what happens in each area. You do not need to be an electrician to identify where you need to see clearly or where a fixture might block a view. Use these concept kitchens to shape the idea, and have a qualified electrician verify locations, wiring, loads, clearances, and product requirements before any electrical work begins.
1. Build the room in layers instead of one fixture
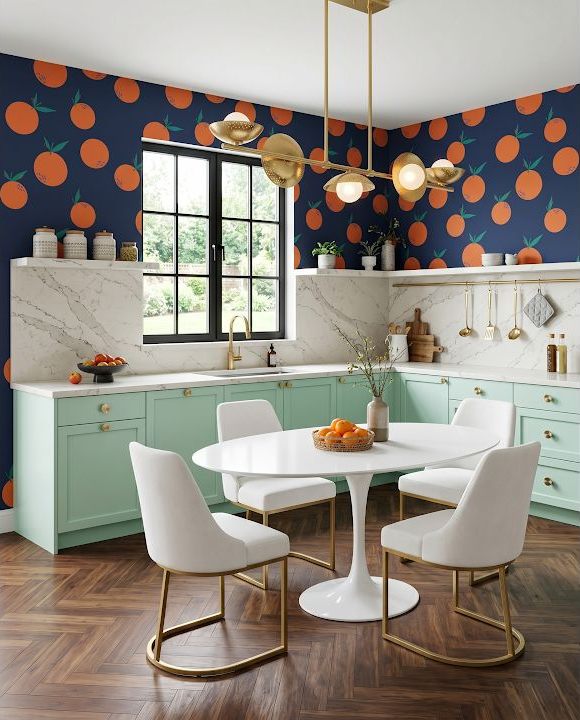
Think of ambient light for general movement, task light for counters and cooking, and decorative light for personality. Draw a different symbol for each layer on your plan so one beautiful chandelier is not quietly being asked to do all three jobs. The most common mistake is installing a bright central fixture and discovering that your body casts a shadow exactly where you chop or wash. Mark the working edge of every counter and note which upper cabinets might hide light. You already know where the frustrating shadows are; the electrician can help translate that observation into the right fixtures and circuits.
2. Check what a sculptural shade does to the light
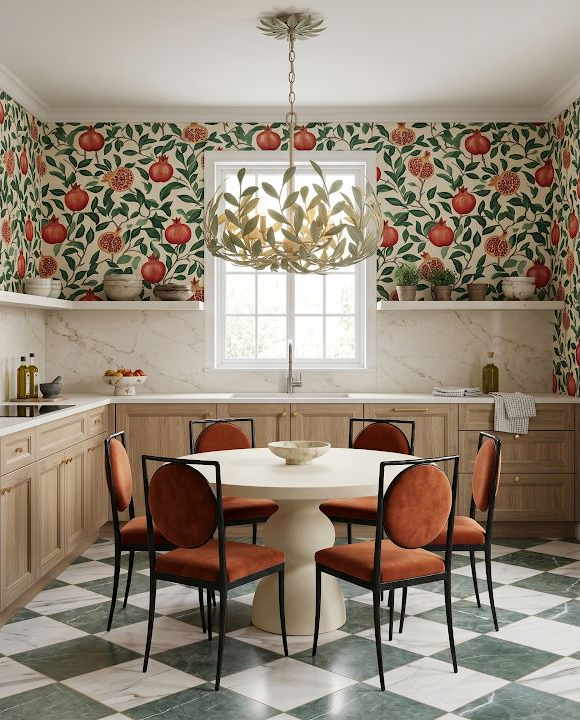
A shell, leather, metal, or deeply opaque shade may send light downward, upward, or through a narrow opening. That can be wonderful over a table and disappointing over a counter if the work surface stays dim. People often shop by the fixture's daytime silhouette and never look for a lit photo, photometric information, or the bulb and diffuser it requires. Hold a cardboard shape at the proposed location and notice the view from seated and standing positions. Then ask how the actual product spreads light. The shade can remain the star while a quieter task layer does the practical work.
3. Mock up the fixture's size before choosing the style
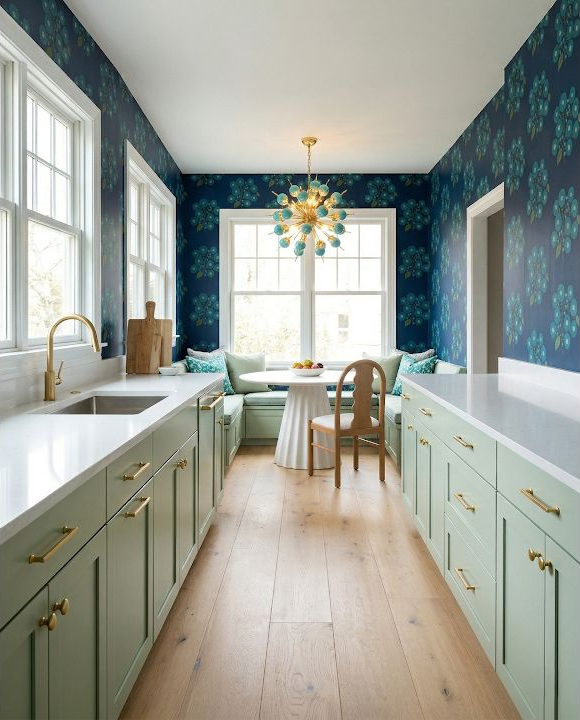
Fixture photos rarely show the room at your scale, and a dramatic light can feel tiny or overpowering once it meets the ceiling height and cabinet proportions. Use painter's tape, string, or a light cardboard outline to mark the width and lowest point in the real room. A common mistake is checking diameter but forgetting drop, sightlines, and open cabinet doors. Walk through with the mockup in place and view it from the adjoining room. The exercise is simple, inexpensive, and far more useful than guessing from a product page. Confirm final hanging requirements with the manufacturer and electrician.
4. Center the light on the activity, not the empty ceiling
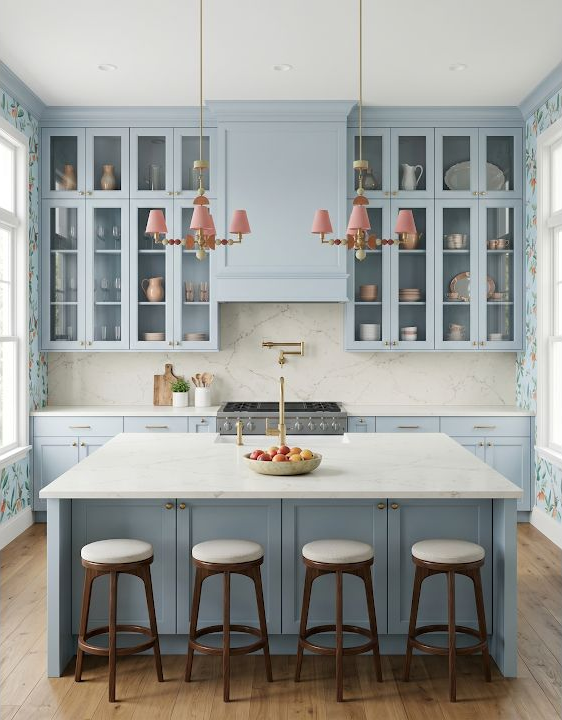
An island, sink, table, and primary prep area create useful centerlines that may not match the geometric center of the room. Add their dimensions to your plan before choosing junction-box locations. The frequent mistake is laying out fixtures symmetrically on the bare ceiling, then shifting the island or cabinet run and leaving the light visibly off-center. Decide which relationship people will notice—the fixture to the island, the pendants to the stools, or the ceiling lights to the cabinet aisle. A clear priority gives the electrician something concrete to preserve when field conditions require small adjustments.
5. Compare bulb color with every permanent finish
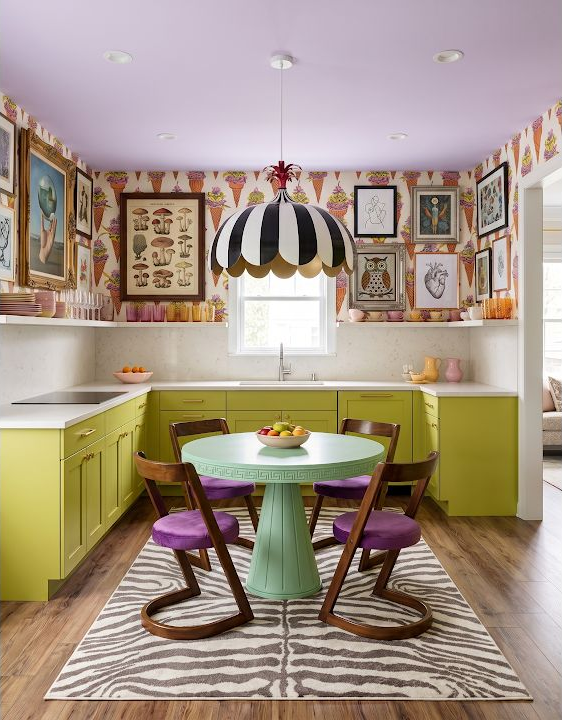
The same cabinet paint can look cool in daylight, yellow under one bulb, and gray under another. Test your cabinet, counter, floor, and wallpaper samples under the actual bulb options whenever possible, then compare them with the light already used in adjacent rooms. A common mistake is mixing several noticeably different light colors without a reason, which can make connected surfaces appear mismatched. You do not need to memorize technical terms to notice the difference. Choose the atmosphere you prefer, record the selected bulb and fixture specifications, and keep replacements consistent where you want the room to read as one space.
6. Let a dining fixture create a softer evening zone
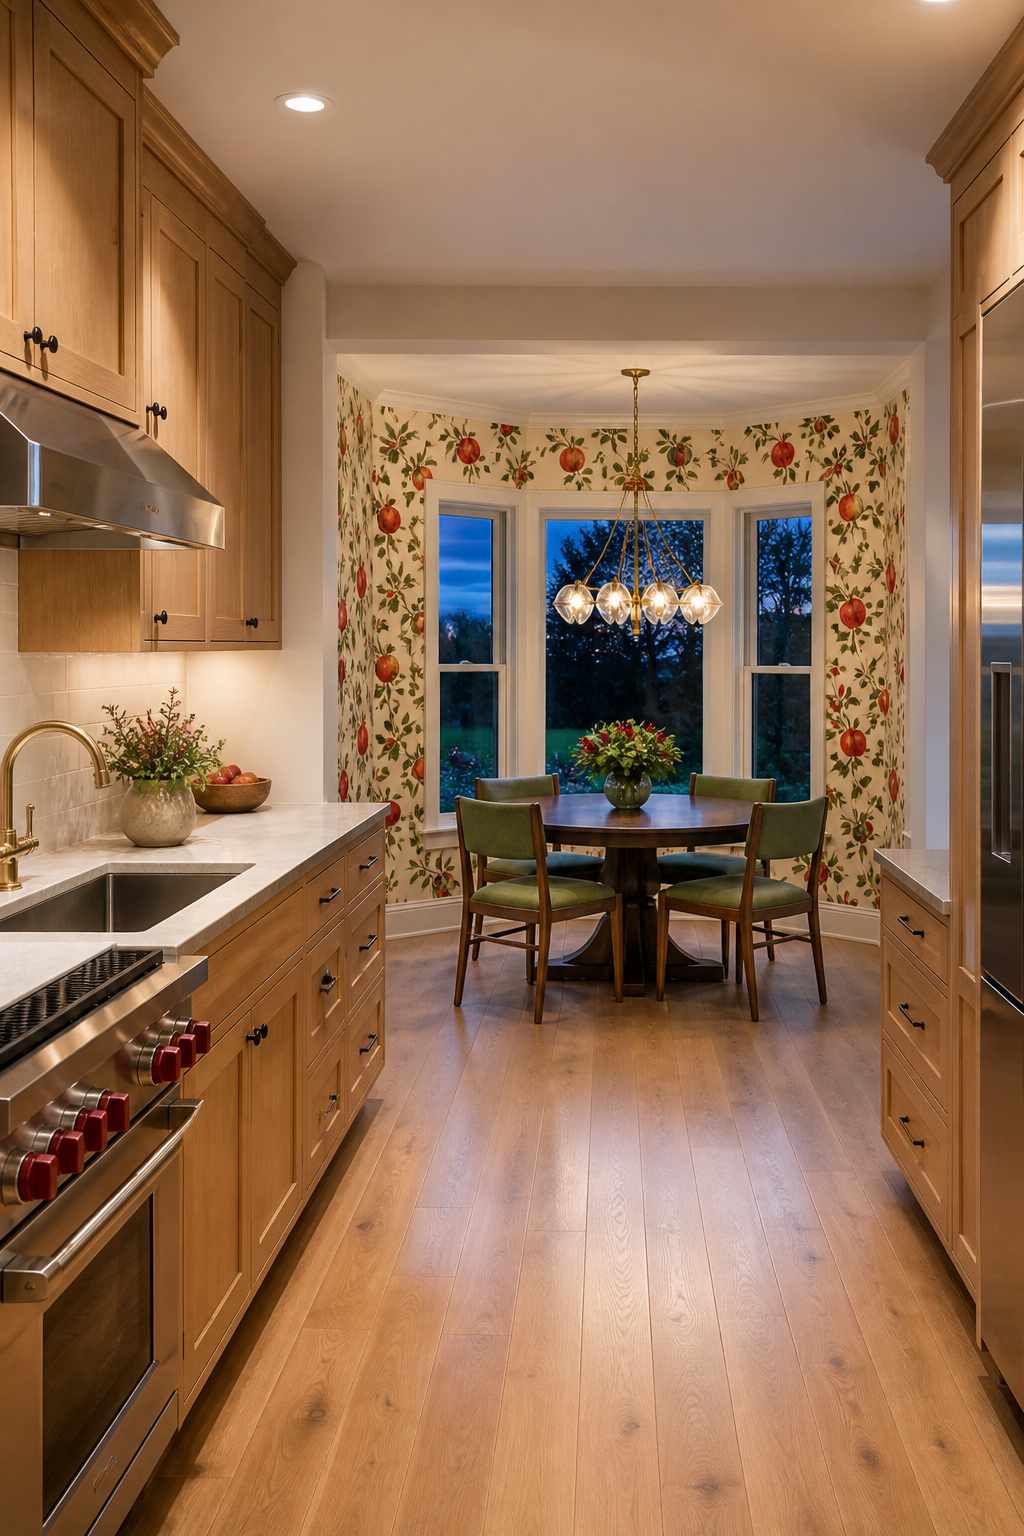
A table or breakfast nook benefits from a fixture that feels warmer and more intimate than the working light at the counters. Mark the table's likely size and position, including the space needed to pull out chairs, before centering the fixture. People often center a chandelier on the nook architecture and later move the table to improve circulation, leaving the relationship awkward. If the furniture may change, discuss a flexible canopy, track, or other approved solution with the electrician. The goal is a light that gathers people comfortably without turning the table into an obstacle course.
7. Test the shadows a decorative fixture creates
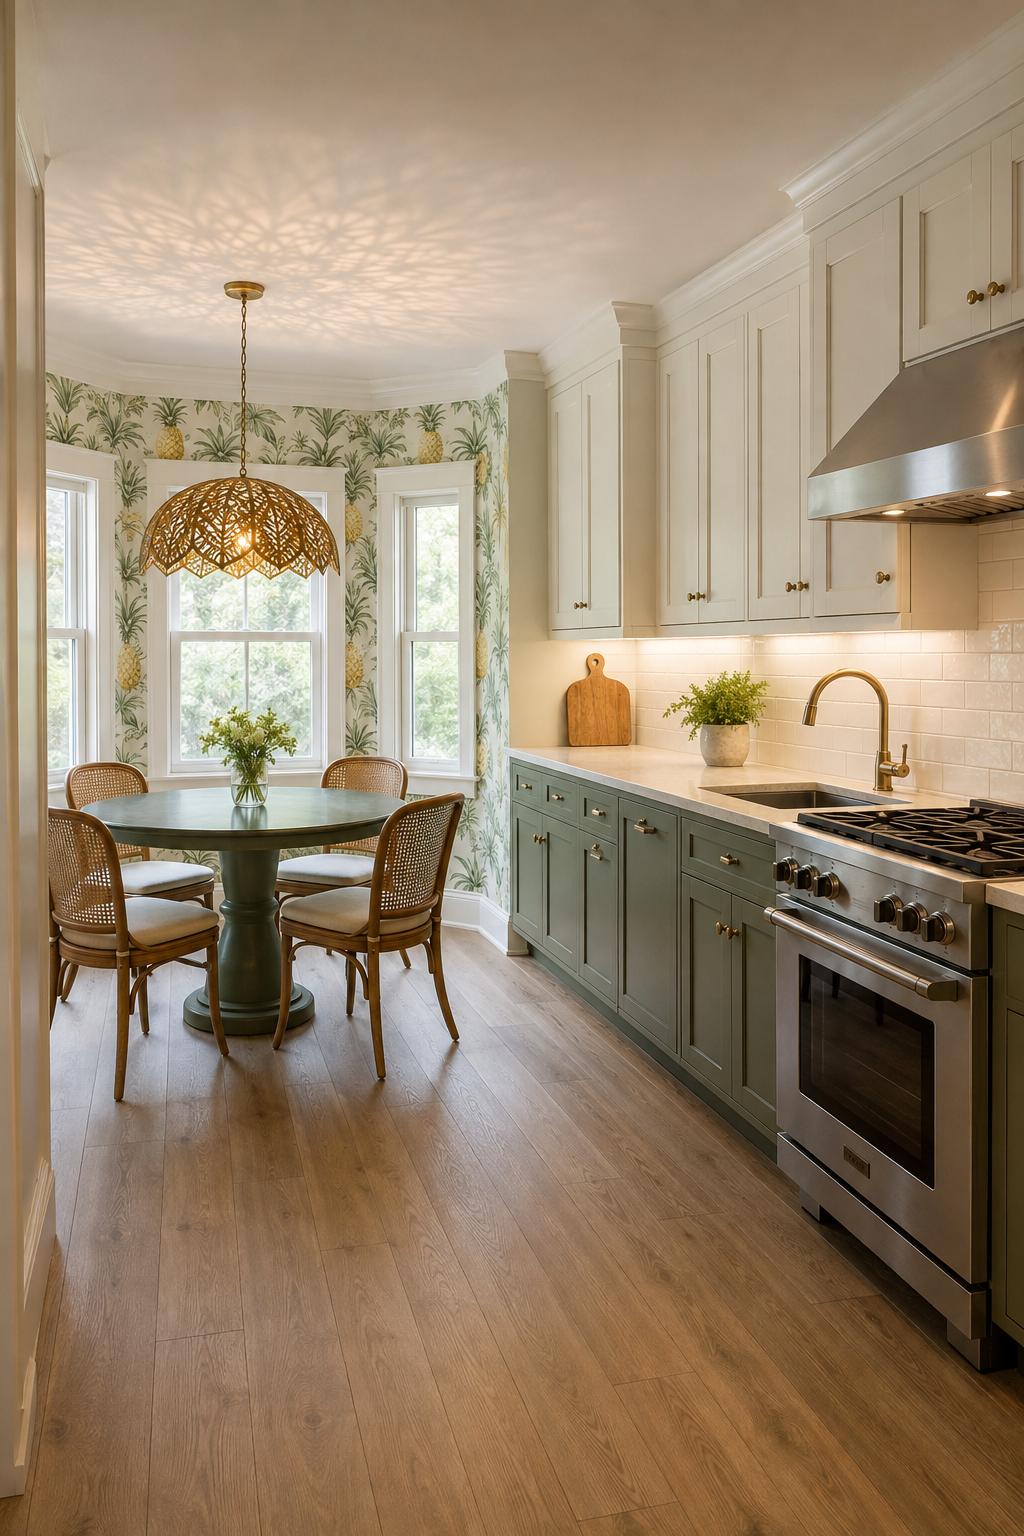
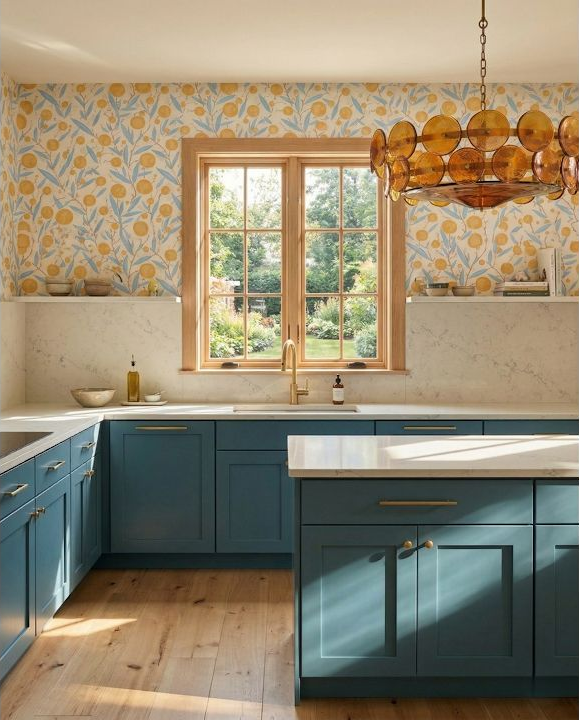
Cut metal, woven fibers, clustered leaves, and faceted glass can cast beautiful patterns as well as unexpected shadows. Ask to see the fixture illuminated, or temporarily test a similar shade in the room before relying on it for useful light. The common mistake is loving the decorative shadow in a photo but placing it where the pattern crosses a worktop, face, or strongly patterned wall. If the effect becomes distracting, keep the fixture over a casual zone and support the counters with a more even source. Decoration and visibility can work together when they are given different jobs.
8. Remember that a colored ceiling changes the light
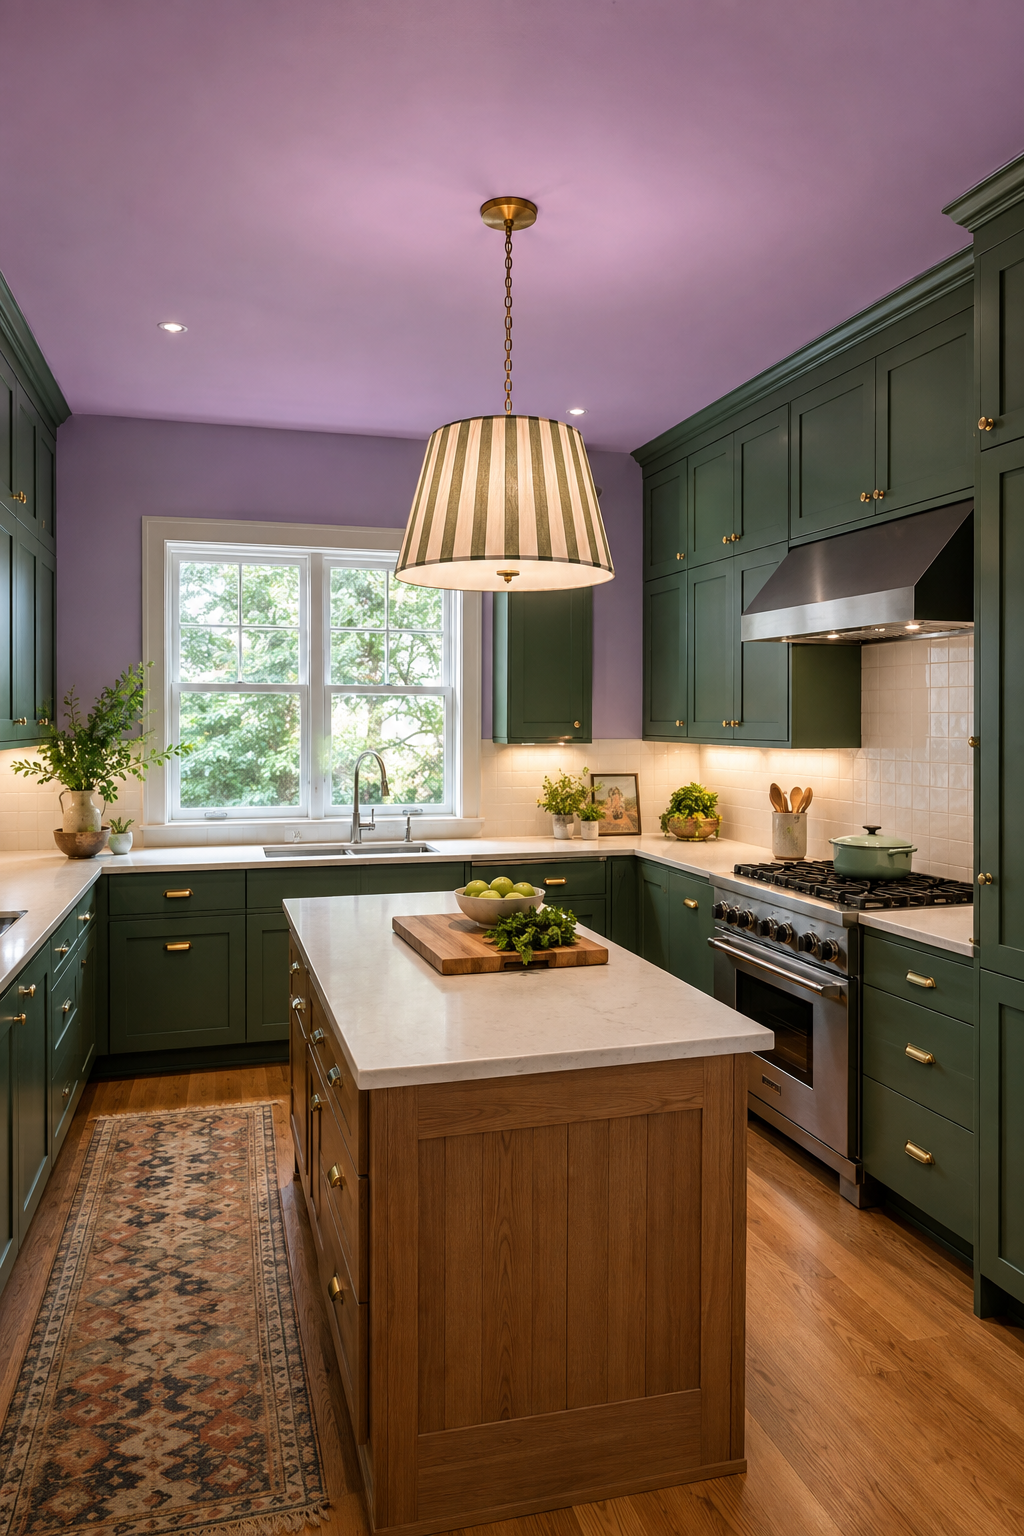
A lilac, blue, or deep-toned ceiling can make a simple pendant feel more intentional, but it also changes how reflected light returns to the room. Paint a large sample overhead rather than judging the color vertically on a wall. People often approve a ceiling color at eye level, where it receives more direct light, and find that it appears darker or grayer above. Photograph the sample with the fixture switched on and off. If the ceiling absorbs more light than expected, the lighting layer may need adjustment; that is useful to learn before paint and electrical locations are final.
9. Balance a woven shade with practical task light
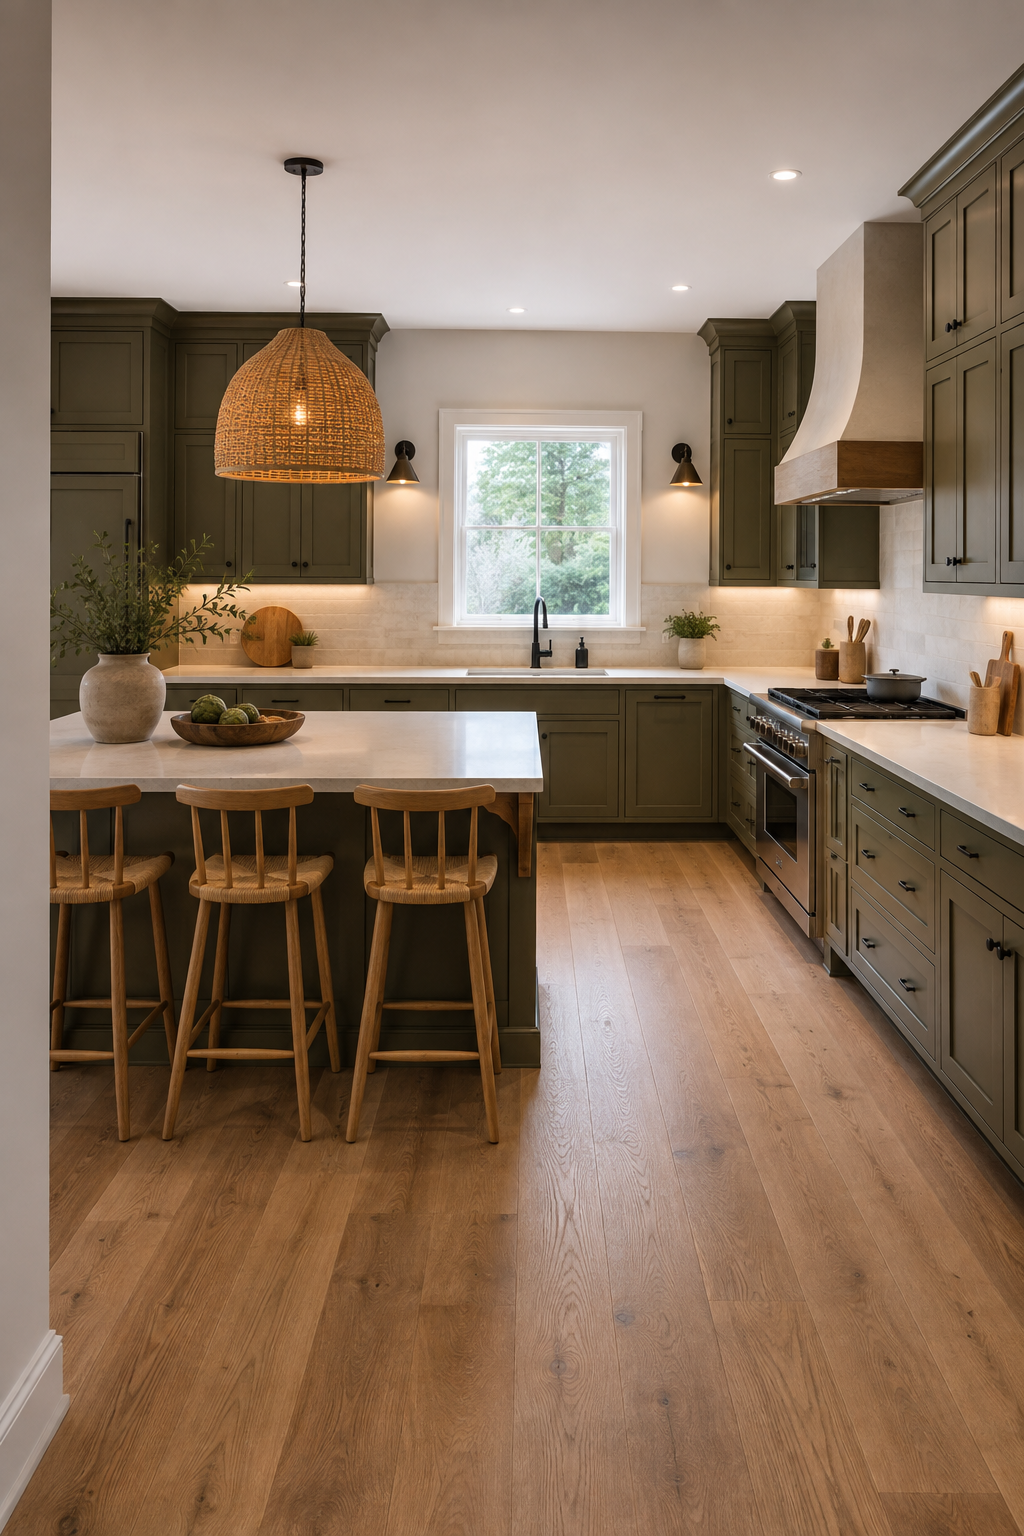
A woven pendant brings texture and a relaxed glow, yet the weave, liner, and bulb position decide how much usable light reaches the surface below. Check the fixture from underneath as well as from the doorway, and think about how it will be cleaned in a room where dust and cooking residue travel. A common mistake is assuming an open-looking shade produces open light. Keep dependable illumination at the sink, range, and prep edges, then let the woven fixture add character where its softer output is welcome. Review product care and placement guidance before you commit.
10. Put everyday lighting on useful controls
A kitchen may need bright task light in the morning, gentle ambient light at dinner, and a small safe pathway after dark. List those moments beside your plan and group the lights you would want to control together. The usual mistake is designing fixtures carefully and treating switches, dimming compatibility, and control locations as an afterthought. Imagine entering from each door with full hands and note which control you would reach first. Bring that routine to the electrician, who can verify compatible products and a compliant electrical plan. Good controls make every lighting choice more useful.
Place the lights after the layout makes sense
The sink, range, counters, island, and table determine where light is useful. Set those working relationships first, then refine fixture style and electrical details.
Plan Kitchen Work ZonesReady to plan what each light needs to support?
Start with the real room and the way you cook, gather, and move through it. StilePath lets you explore the cabinet layout in 3D before fixture locations and other expensive decisions become difficult to change.
Try Your Kitchen Plan Free