
Choose the cabinet construction you can plan around
Framed and frameless cabinets can both make a beautiful, durable kitchen. The useful question is not which label sounds more premium; it is how the actual cabinet line handles openings, hinges, drawers, fillers, accessories, and installation in your room. You do not need cabinet-shop experience to begin. Get a tape measure, pencil, paper, and the current product drawings or sample cabinets. Open the doors, look at the box behind them, and write down what you can actually see and measure. These ten checks turn a vague construction choice into a practical comparison. Final dimensions, attachment, structural support, hardware compatibility, installation, and code compliance belong with the cabinet supplier, installer, contractor, and responsible project professionals.
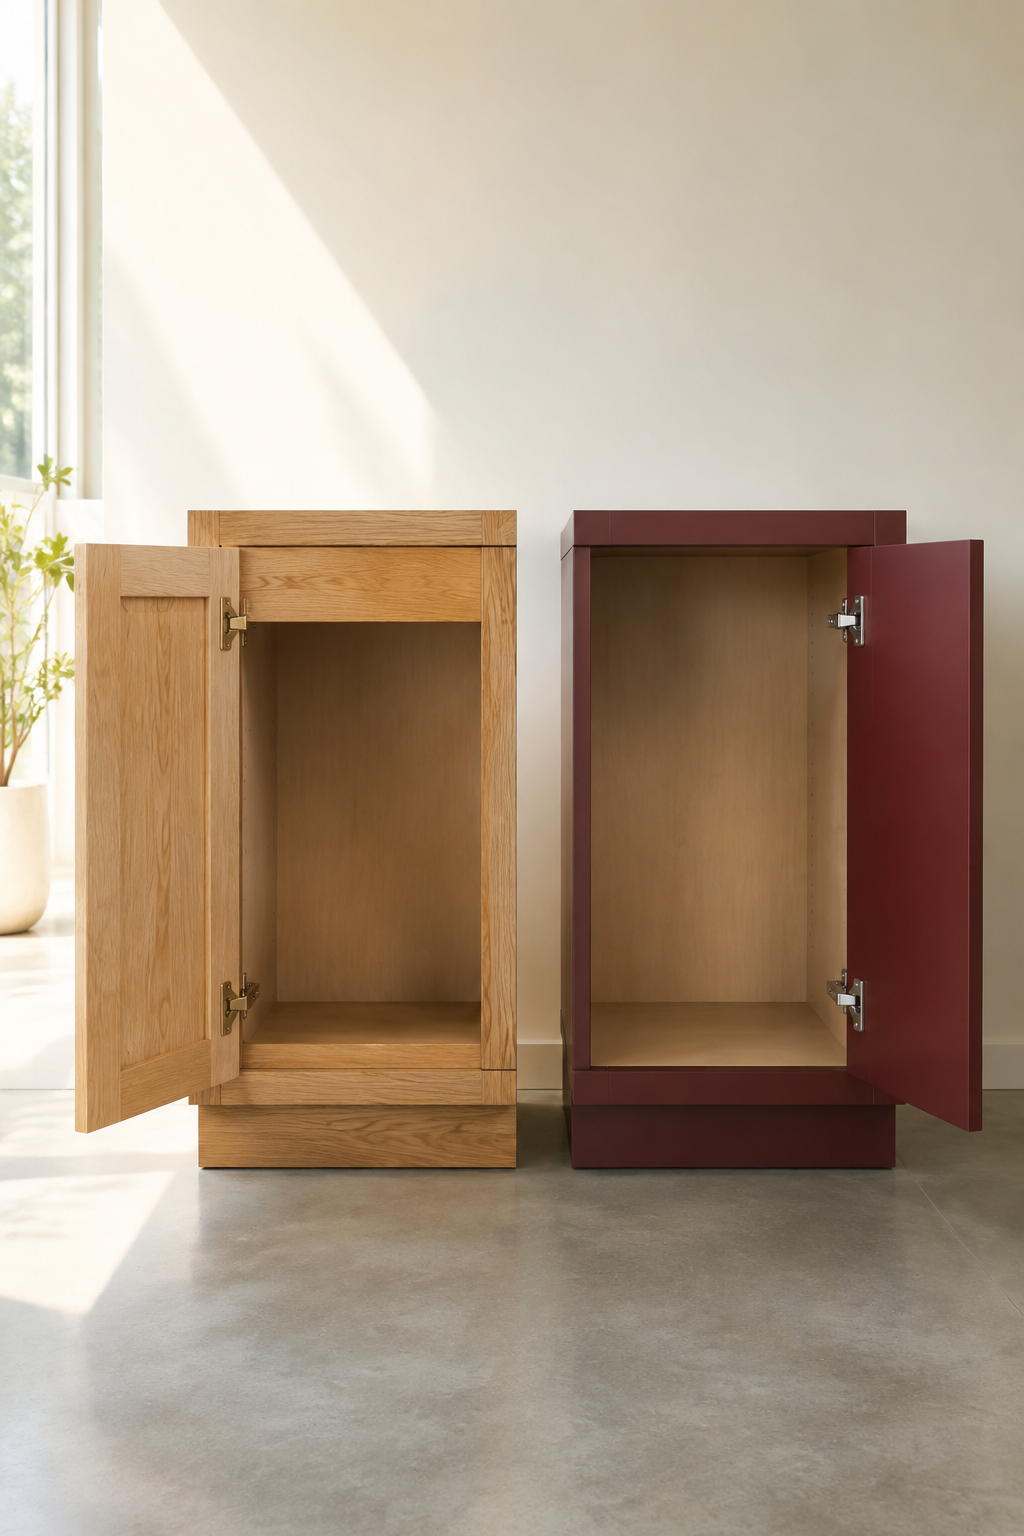
1. Identify the construction at the box, not the door style
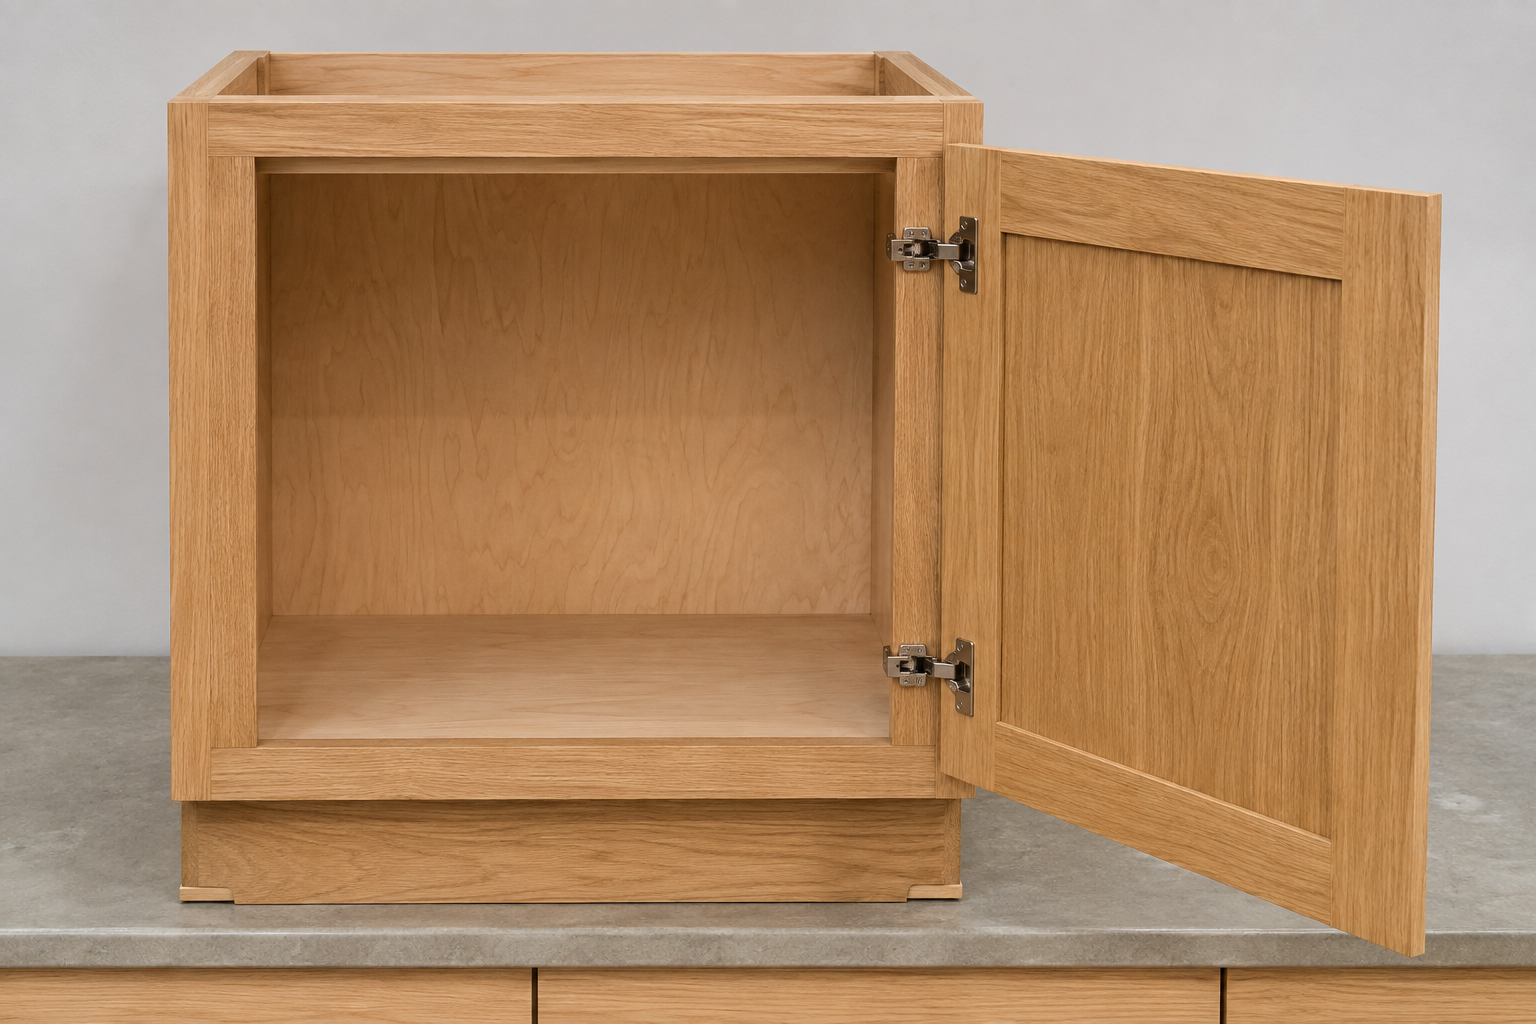
A face-frame cabinet has rails and stiles fixed across the front of the box, creating a framed opening. Door profiles such as Shaker, slab, raised panel, or inset do not tell you which box system is behind them. A common mistake is calling any Shaker cabinet framed because the door itself has a frame. Another is comparing showroom doors without opening a cabinet. Look behind the front: can you trace a separate wood frame around the opening? Photograph the inside corner and hinge area, then ask the supplier to name the construction in writing. That simple check keeps a style word from becoming a false technical assumption.
2. Confirm what frameless means in the cabinet line you may buy
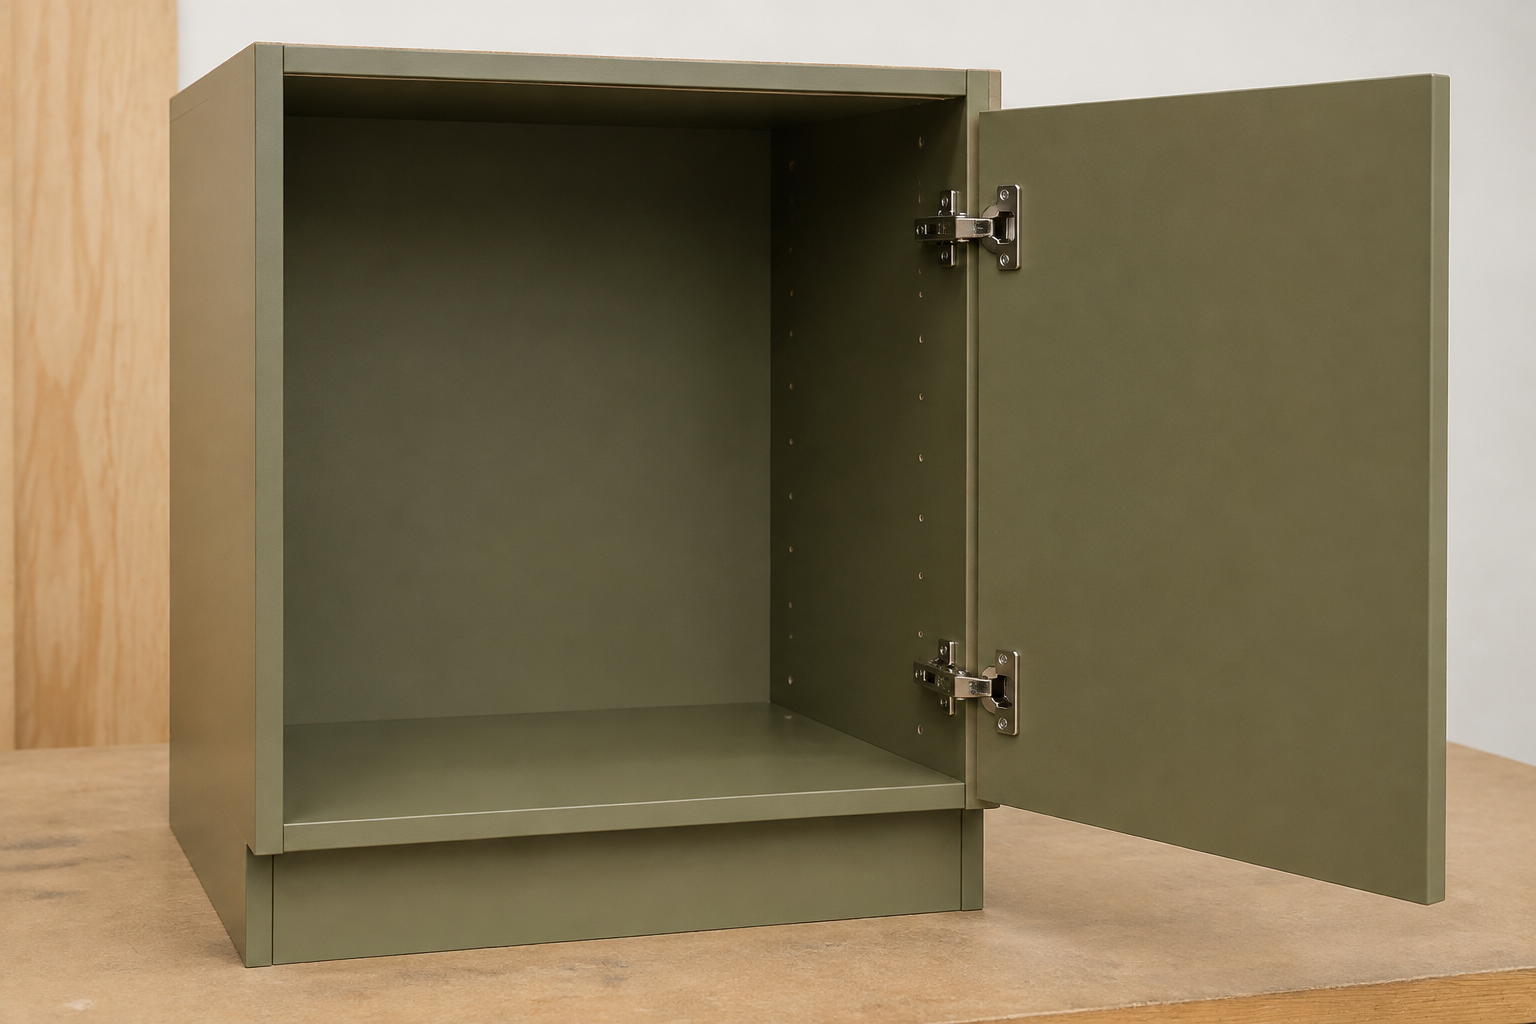
A frameless cabinet uses the box edges to define the opening, with hinge mounting plates attached to the box sides. That does not make every frameless line identical. Box material, thickness, back construction, shelves, edge treatment, hardware drilling, and assembly methods still vary. The common mistake is hearing European-style or full-access and assuming a universal specification. Another is treating a clean exterior photograph as proof of the hidden construction. Open a real sample, inspect every edge, and compare the current technical drawing. Ask what is structural, what is applied trim, and how the box is joined, finished, and anchored in the proposed installation.
3. Measure door overlay and visible reveals
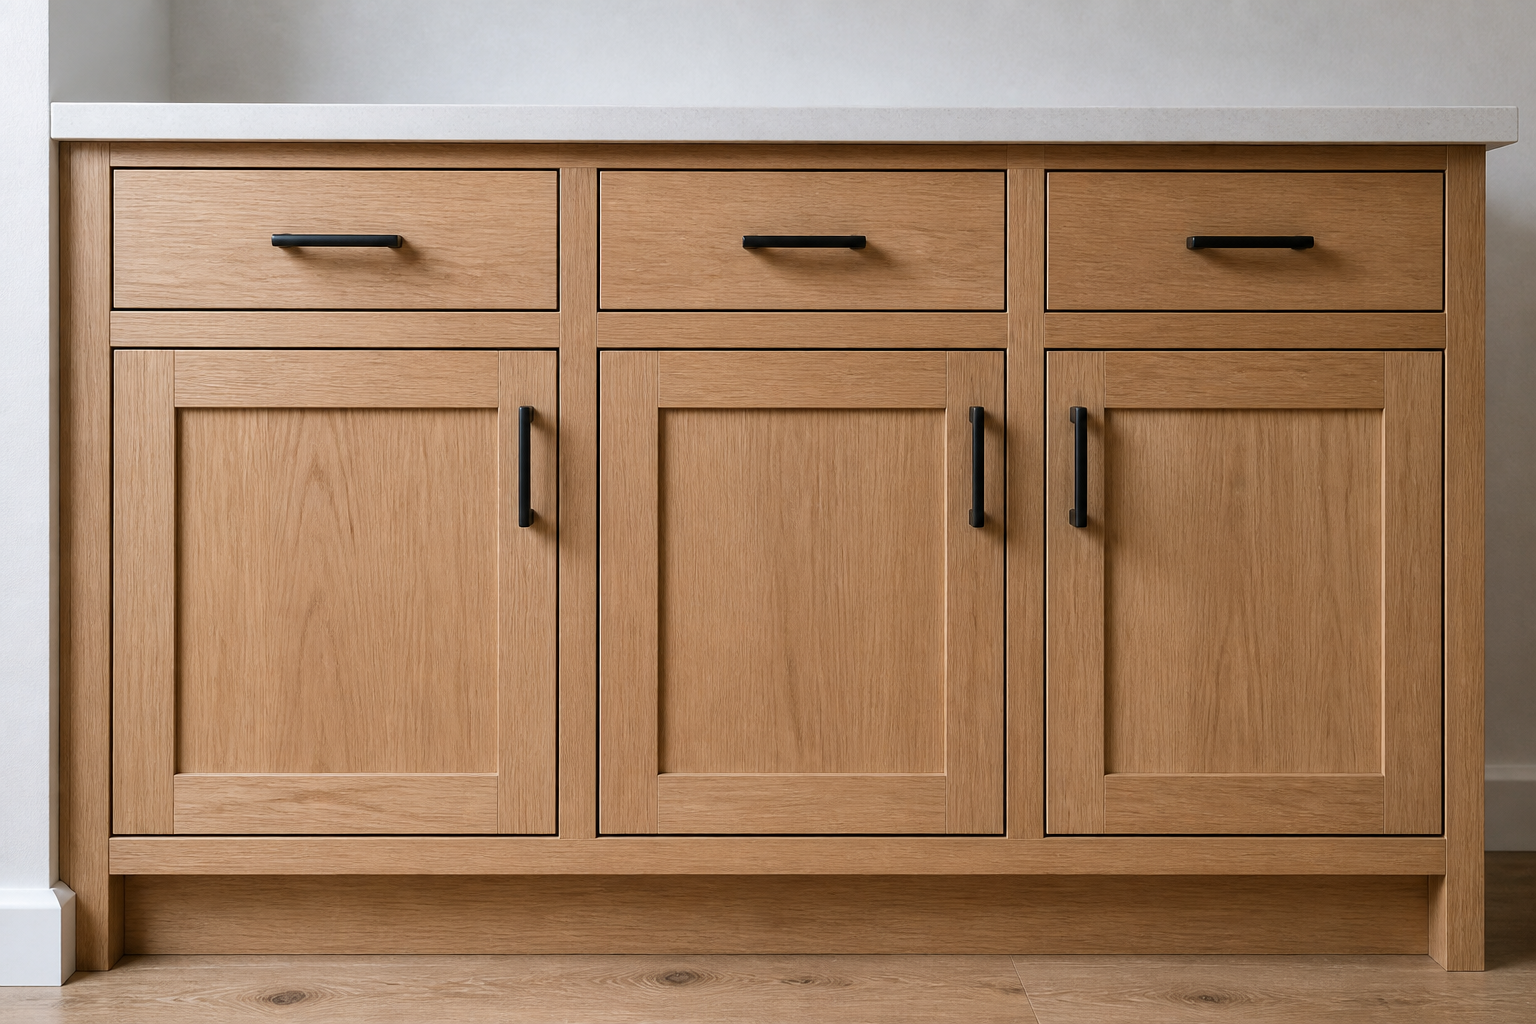
Overlay describes how much a closed door or drawer front covers the opening or frame. Reveal is the visible gap or material around and between those fronts. Both affect the rhythm of the finished kitchen and the clearances at walls, corners, appliances, and neighboring doors. A common mistake is approving a single door sample while assuming the full run will have the same spacing. Another is measuring the opening but not the finished front. Ask for a straight-on elevation that shows every front and gap, plus the actual overlay specification. On a showroom display, use a tape to compare several repeated reveals; consistency matters more than one perfect close-up.
4. Ask where each hinge and mounting plate attaches
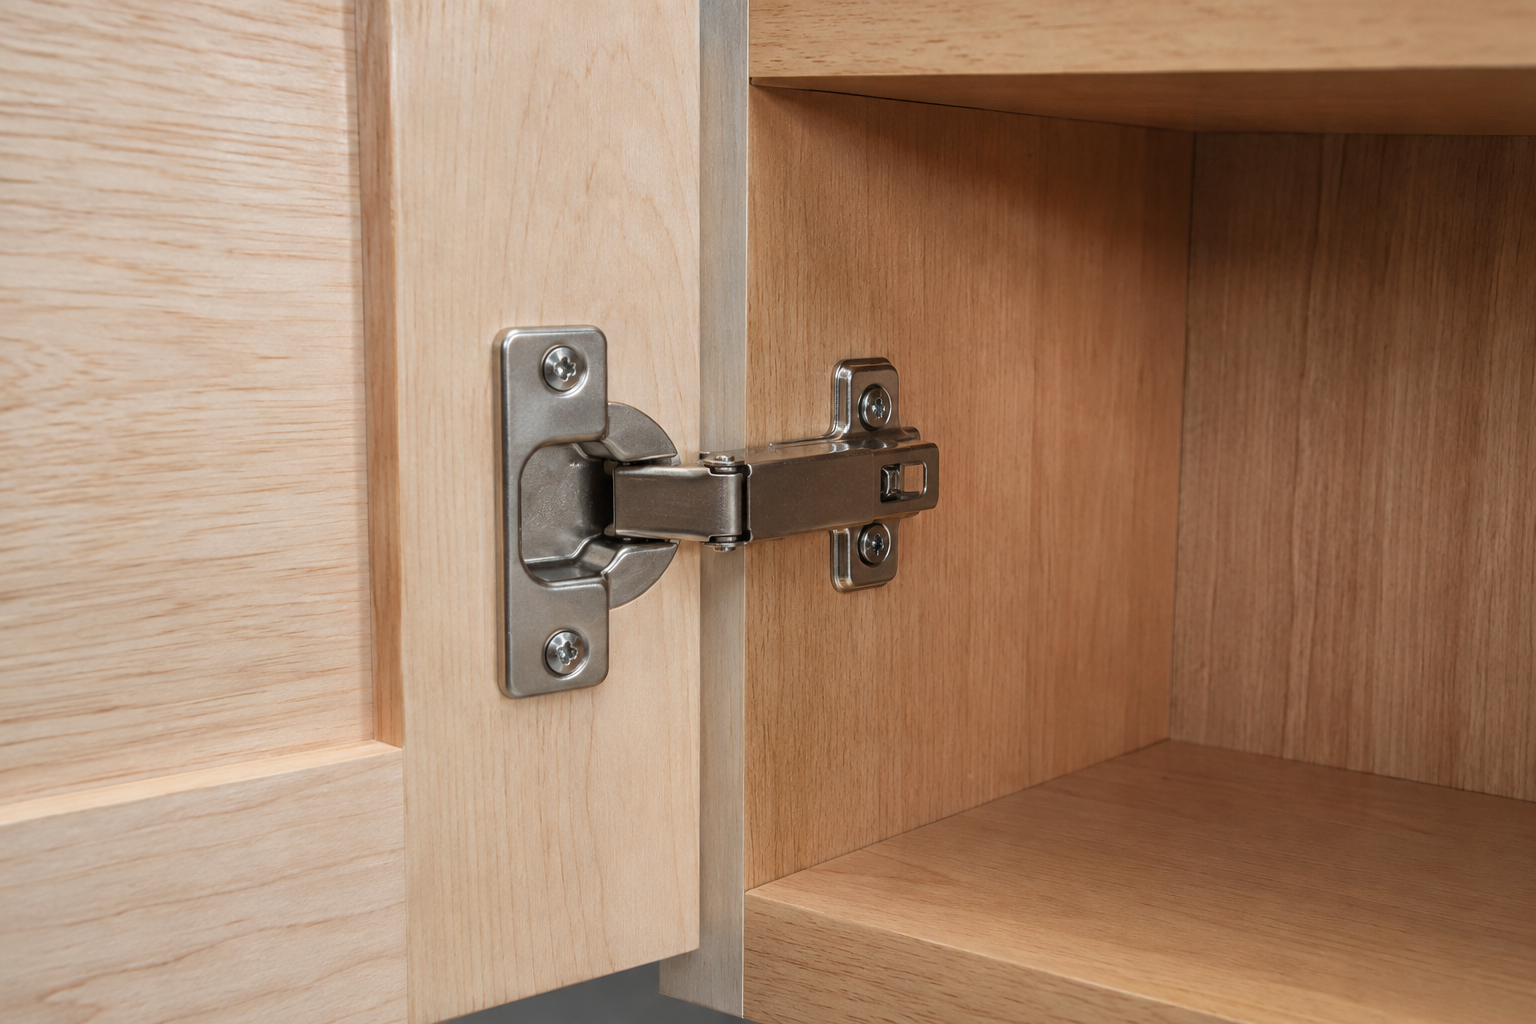
The hinge cup, arm, mounting plate, screw positions, opening angle, adjustment range, and soft-close feature must work as one system with the door and box. Face-frame and frameless lines often use different mounting relationships even when the hinge looks similar. A common mistake is buying a replacement hinge from appearance alone. Another is assuming a wider opening angle guarantees useful access when a wall or appliance stops the door first. Open the sample slowly, watch every moving part, and note what the door approaches. Ask the cabinet provider to identify the exact hardware and any required restriction clips, fillers, boring, or service clearance.
5. Compare usable access, not a headline about more space
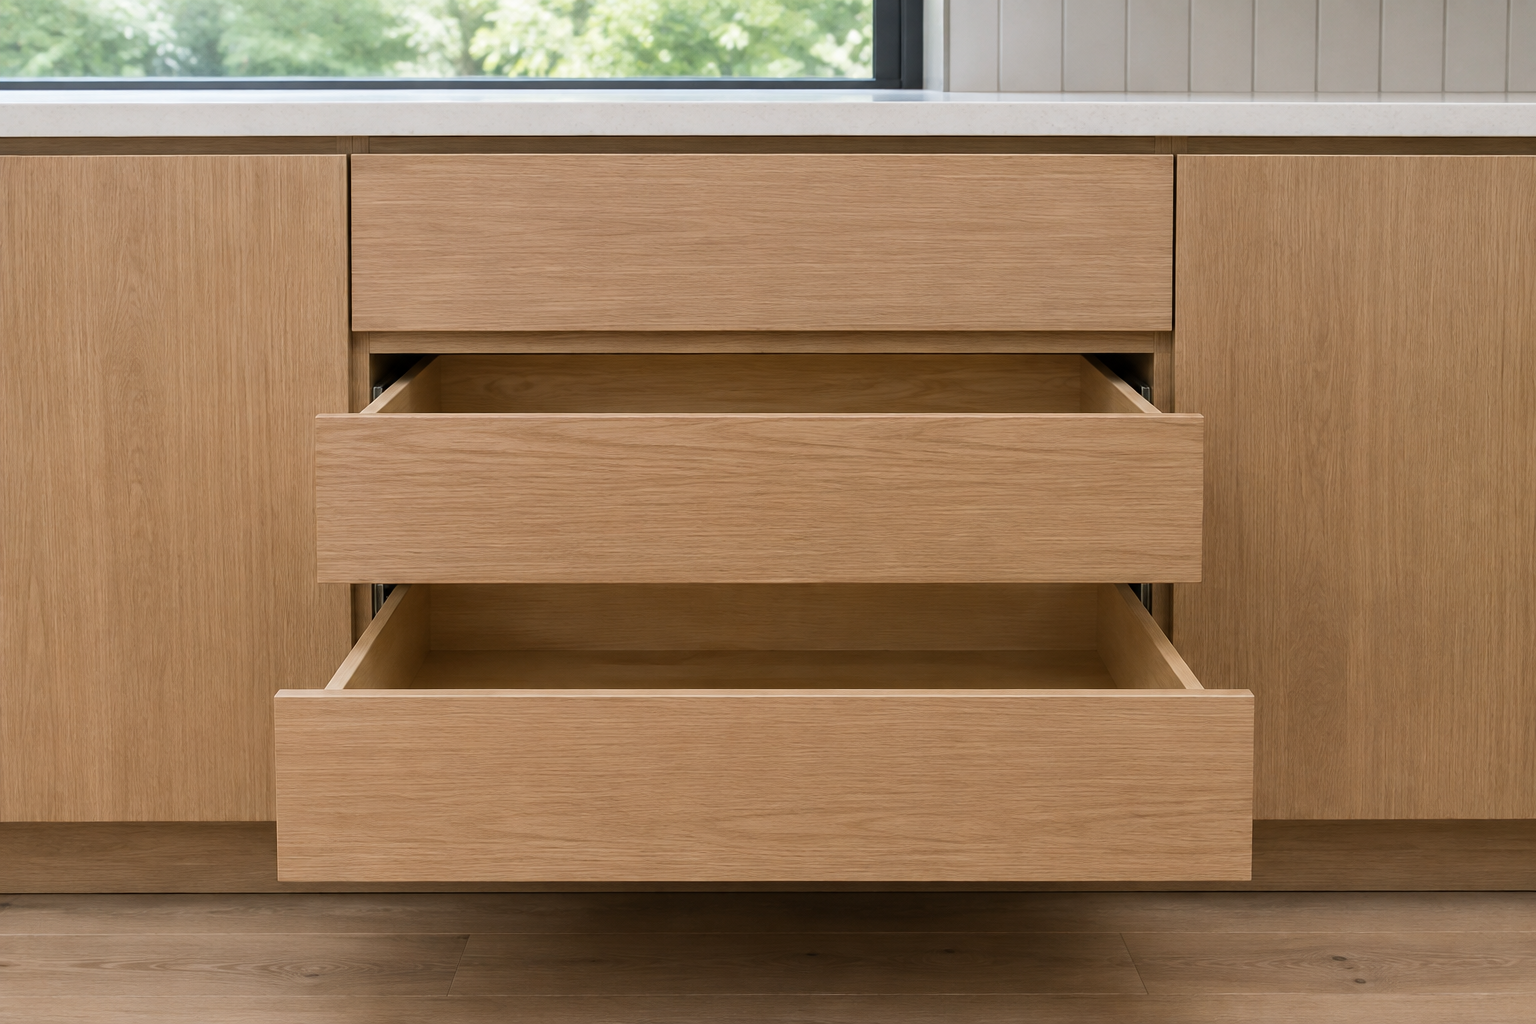
A wider-looking opening does not automatically produce a more useful cabinet. Drawer-box width and height, slide clearance, door swing, shelf supports, plumbing, organizers, and the items you store all influence usable access. The common mistake is comparing nominal cabinet widths as if every interior and drawer box were the same. Another is focusing on total volume while ignoring whether a pan, mixer, or waste bin can pass through the front. Bring the largest item you expect to store, or make a paper outline. Compare the current interior drawings and physically open the drawer or door before assigning that cabinet a job.
6. Plan fillers and wall clearances before the run is centered
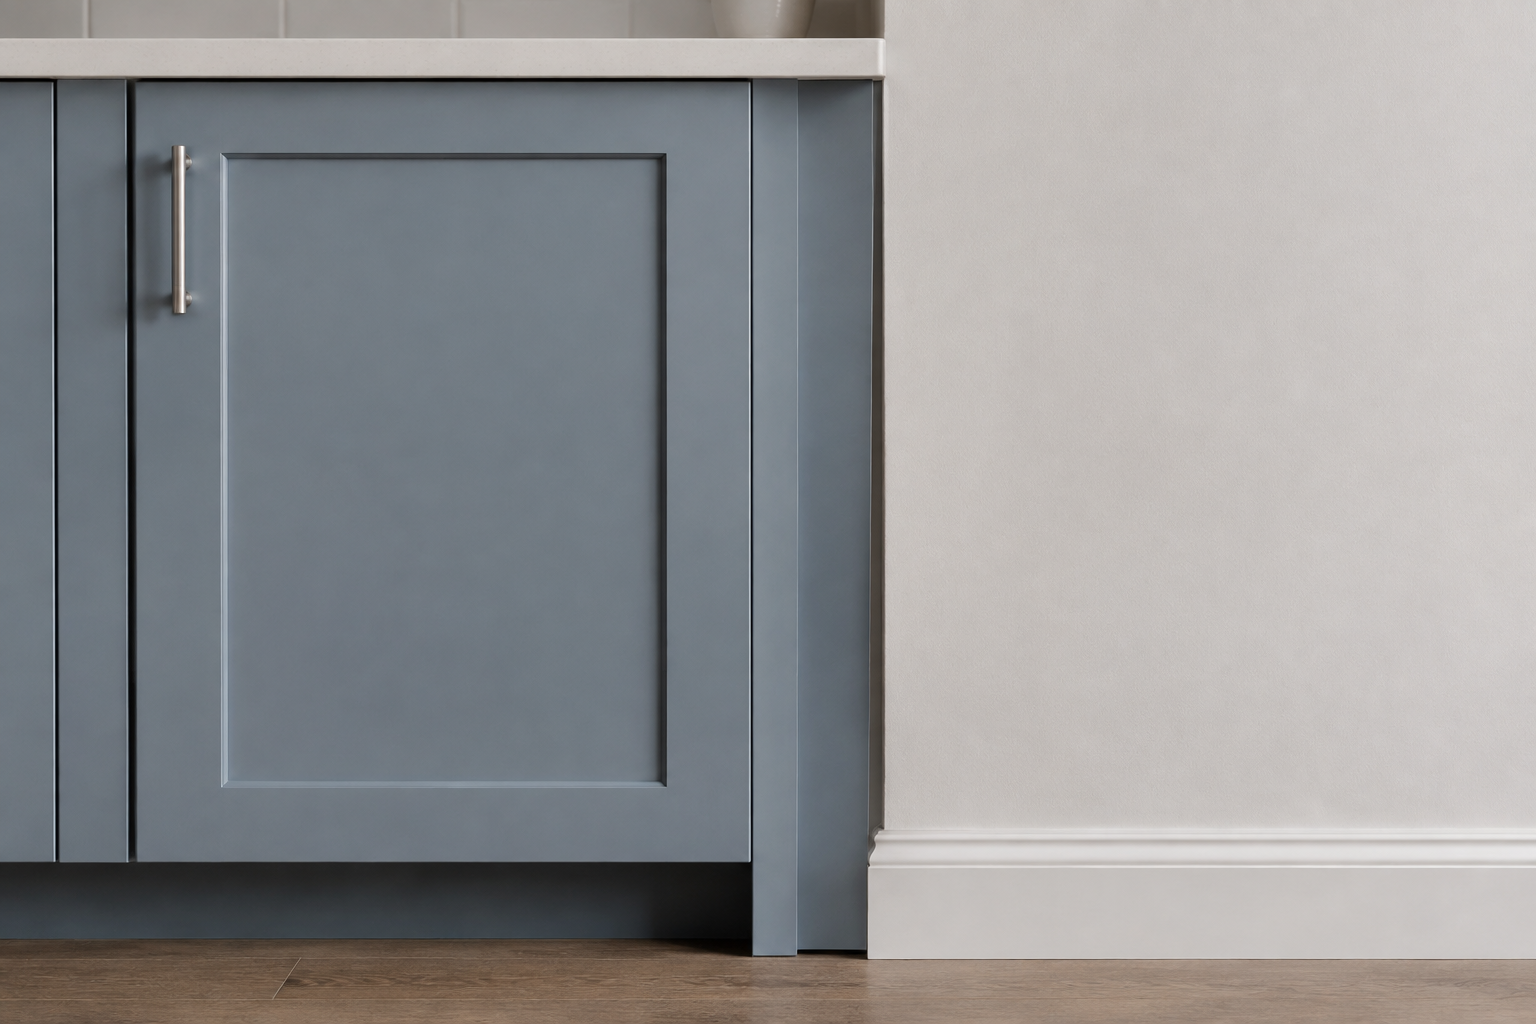
Walls are rarely perfectly straight or square, and a cabinet front needs room to open past casing, baseboard, handles, and neighboring projections. A filler is fixed cabinet material used to create fit and movement; it is not a tiny operable door. A common mistake is deleting fillers from a drawing because the narrow strips look wasteful. Another is splitting leftover space evenly before checking which door, drawer, or appliance needs clearance. Measure the wall at several heights, mark trim and out-of-plumb conditions, and draw each front open. Let the installer and cabinet supplier size the final filler from verified field conditions and the actual hardware.
7. Match organizers to the clear opening and hardware
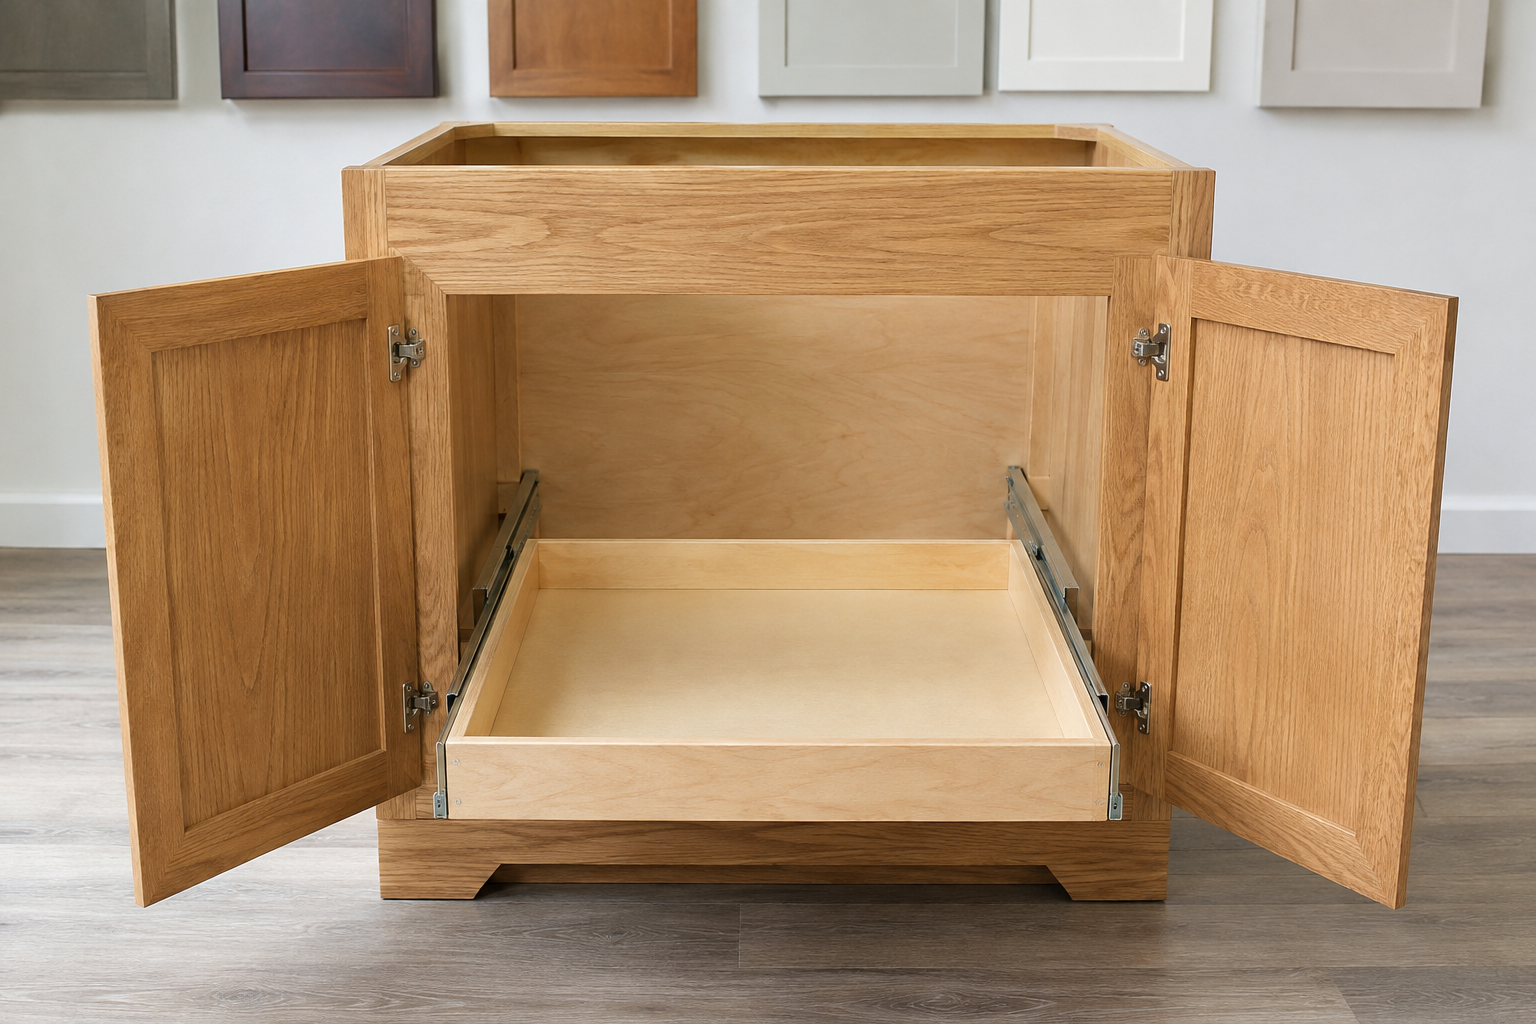
Rollouts, waste pullouts, tray dividers, spice systems, and interior drawers need more than a cabinet name. They depend on the clear opening, hinge projection, door swing, mounting surface, slide position, frame, and plumbing or electrical conflicts. A common mistake is shopping for an organizer by the cabinet's outside width. Another is adding an interior drawer that collides with an open hinge or door. Measure the narrowest clear path with the fronts in their operating positions. Then use the accessory maker's current instructions and the cabinet supplier's interior specification together. A cardboard mockup can test your stored items, but the actual compatibility needs provider confirmation.
8. Draw every exposed end as a fixed finished surface
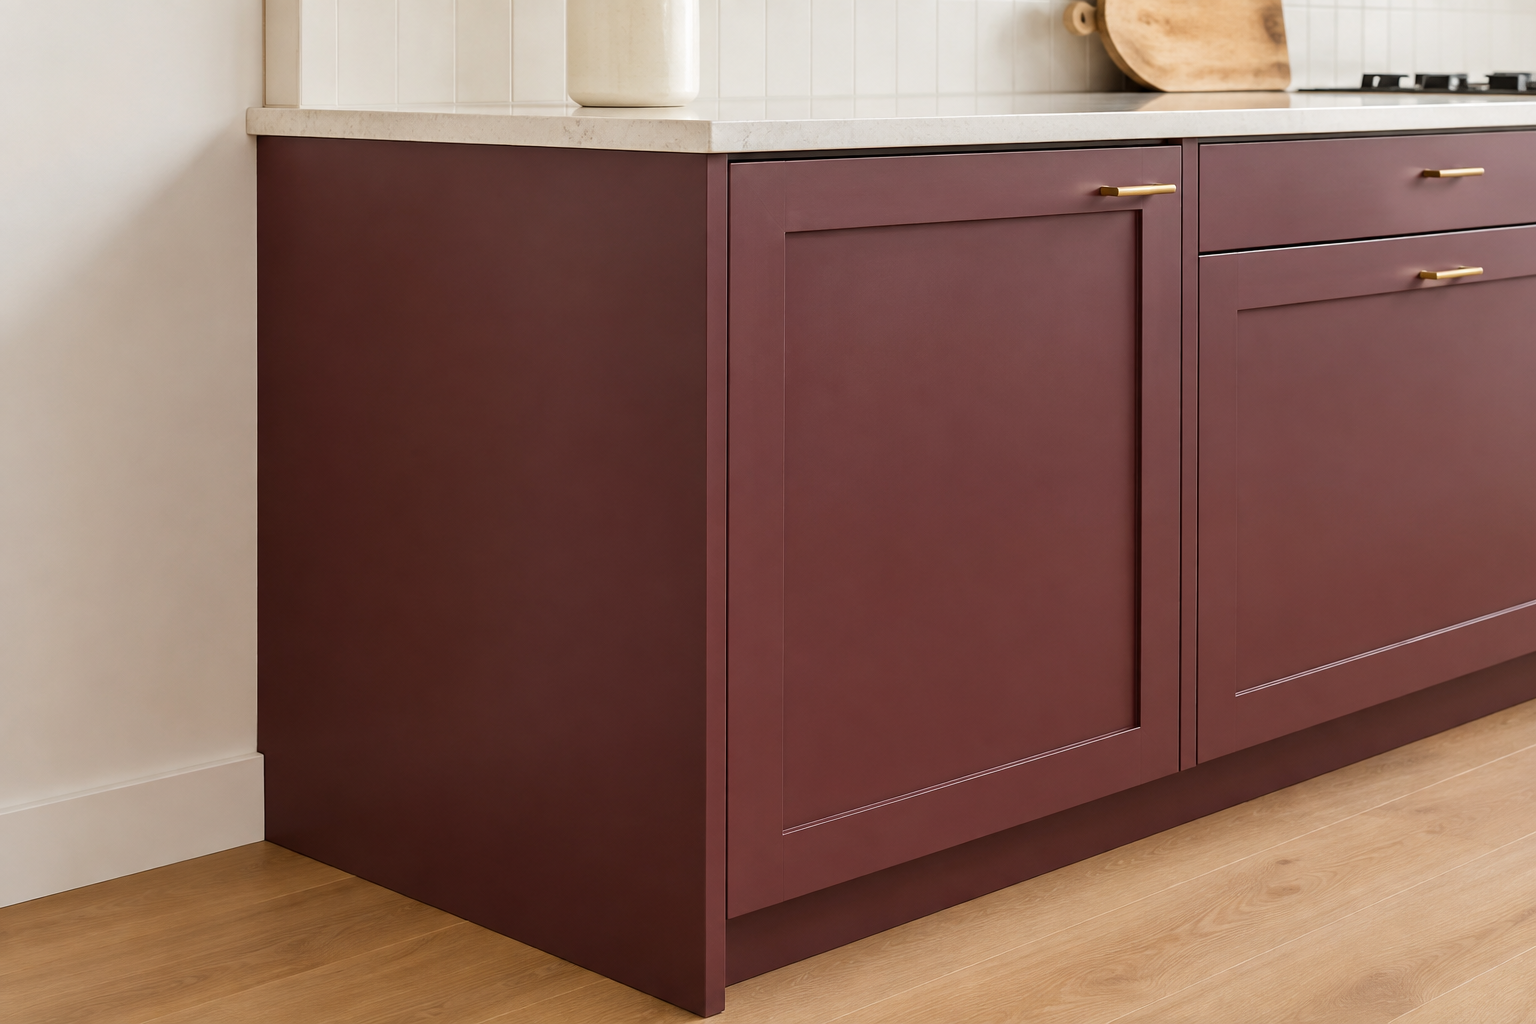
The side of a run, refrigerator panel, island back, toe kick, filler, crown return, and light rail are part of the finished kitchen. Their thickness and attachment may differ between cabinet systems and door styles. A common mistake is approving the fronts while leaving the room-facing ends unspecified. Another is placing door-like grooves and hardware on a panel that does not open, creating a misleading or awkward façade. Mark every exposed surface on the plan and elevations, then assign its material, finish, edge, seam, and trim. Ask how the finished part changes the available appliance or wall opening before the order is released.
9. Review the choice across a complete wall elevation
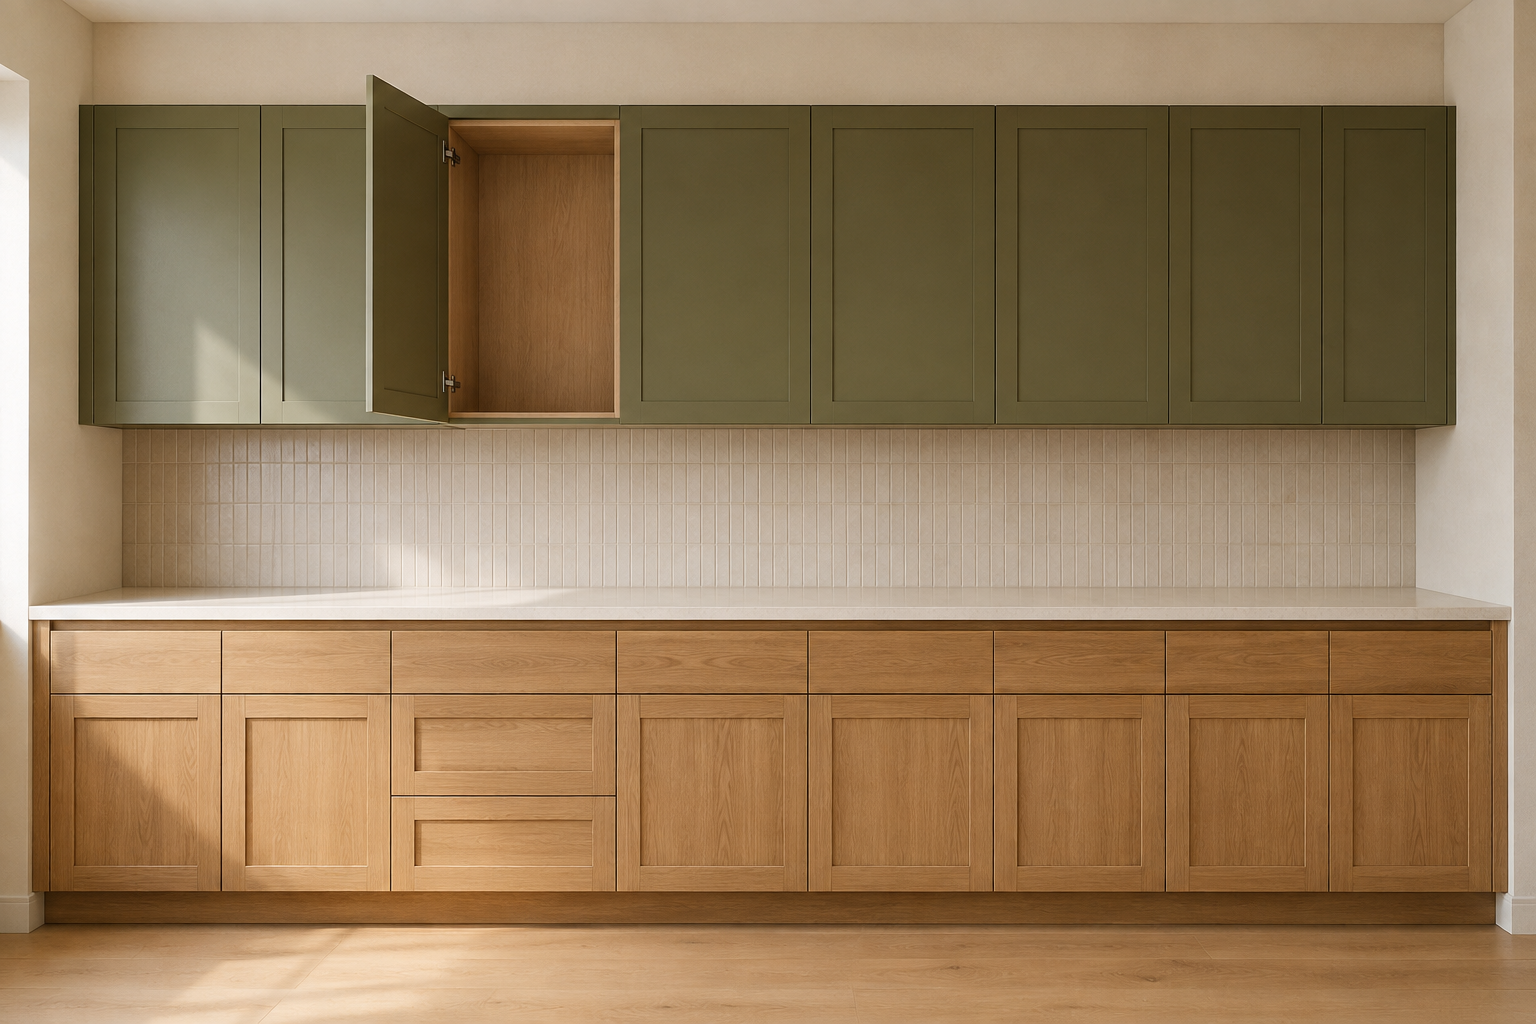
A construction system appears repeatedly across a kitchen, so inspect the complete elevation rather than one sample box. Look at paired doors, drawer stacks, sink and appliance bases, tall units, crown, fillers, finished ends, and the transitions where heights or depths change. The common mistake is choosing framed or frameless from a cropped inspiration image without seeing how the proportions repeat. Another is forcing perfect visual symmetry while storage and appliance openings become less useful. Print the elevation, trace the reveal lines, and label every unusual cabinet. Ask for closed and open views wherever fronts could compete. The full wall should work before its construction label wins.
10. Compare complete cabinet proposals on the same page
Put the two real proposals beside each other: cabinet line, box and back construction, finish, door and drawer fronts, hinges, slides, shelves, organizers, exposed ends, fillers, trim, delivery, installation, adjustments, touchups, warranty, exclusions, and who verifies the field dimensions. The final common mistake is reducing the decision to frameless means modern or framed means traditional. Either system can support many styles, and either can be a poor fit when its details are misunderstood. You do not have to become a professional carpenter to make a thoughtful choice. Keep asking what you receive, how it fits, how it opens, and who confirms each condition.
Connect construction to the fronts and storage behind them
The box system becomes useful when it is connected to actual doors, drawers, clear openings, and storage jobs. These guides help you continue that comparison.
Compare Cabinet Door Styles Plan Drawers Versus DoorsTest the complete cabinet run before choosing the label
Use StilePath to place the cabinet runs, appliances, fillers, open fronts, and household routes in one plan. Start free with the measurements you have, mark what still needs verification, and bring the same drawing into cabinet and installation review.
Start Planning Free