
Place the dishwasher for the moments when its door and racks are open
A dishwasher may be one quiet panel when closed, but loading reveals the real layout: a lowered door, extended racks, someone standing at the sink, dishes moving toward storage, and other people passing through the room. You can test the first plan with a tape measure, painter's tape, a chair or cardboard door mockup, and the current appliance information. These ten checks will help you catch common placement problems before the cabinet order is fixed. Final opening, attachment, panel, utilities, drainage, electrical safety, accessibility, installation, field conditions, and applicable requirements still require the current manufacturer instructions and the responsible appliance provider, cabinet supplier, trades, installer, contractor, and professionals.

1. Start with the exact current dishwasher information
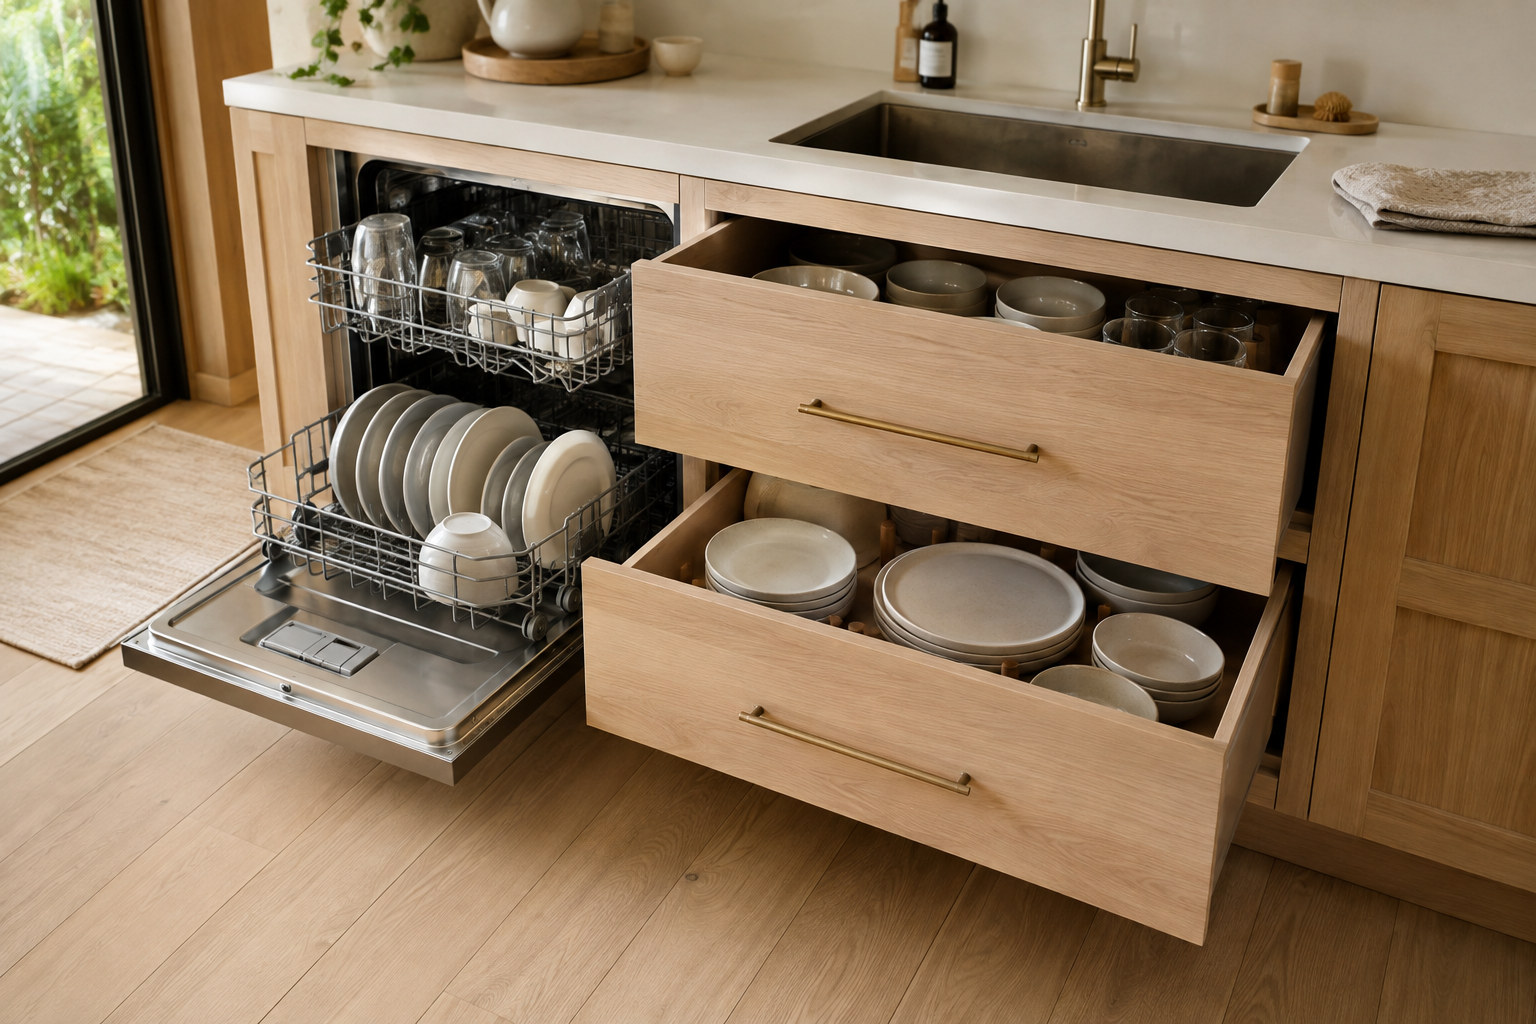
Record the exact model and current installation document, including overall and opening dimensions, door and rack projection, handle, controls, panel requirements where applicable, water and drainage connections, electrical needs, attachment method, floor and leveling conditions, weight, and service access. A common mistake is assuming every dishwasher fits one standard hole. Cabinet construction, countertop material, panel thickness, hinge geometry, toe details, and product revisions can change the real condition. Keep the full document with the cabinet plan and ask the appliance provider, cabinet supplier, countertop fabricator where relevant, and installer to confirm that they are coordinating the same model and opening.
2. Choose the sink side from the real cleanup routine
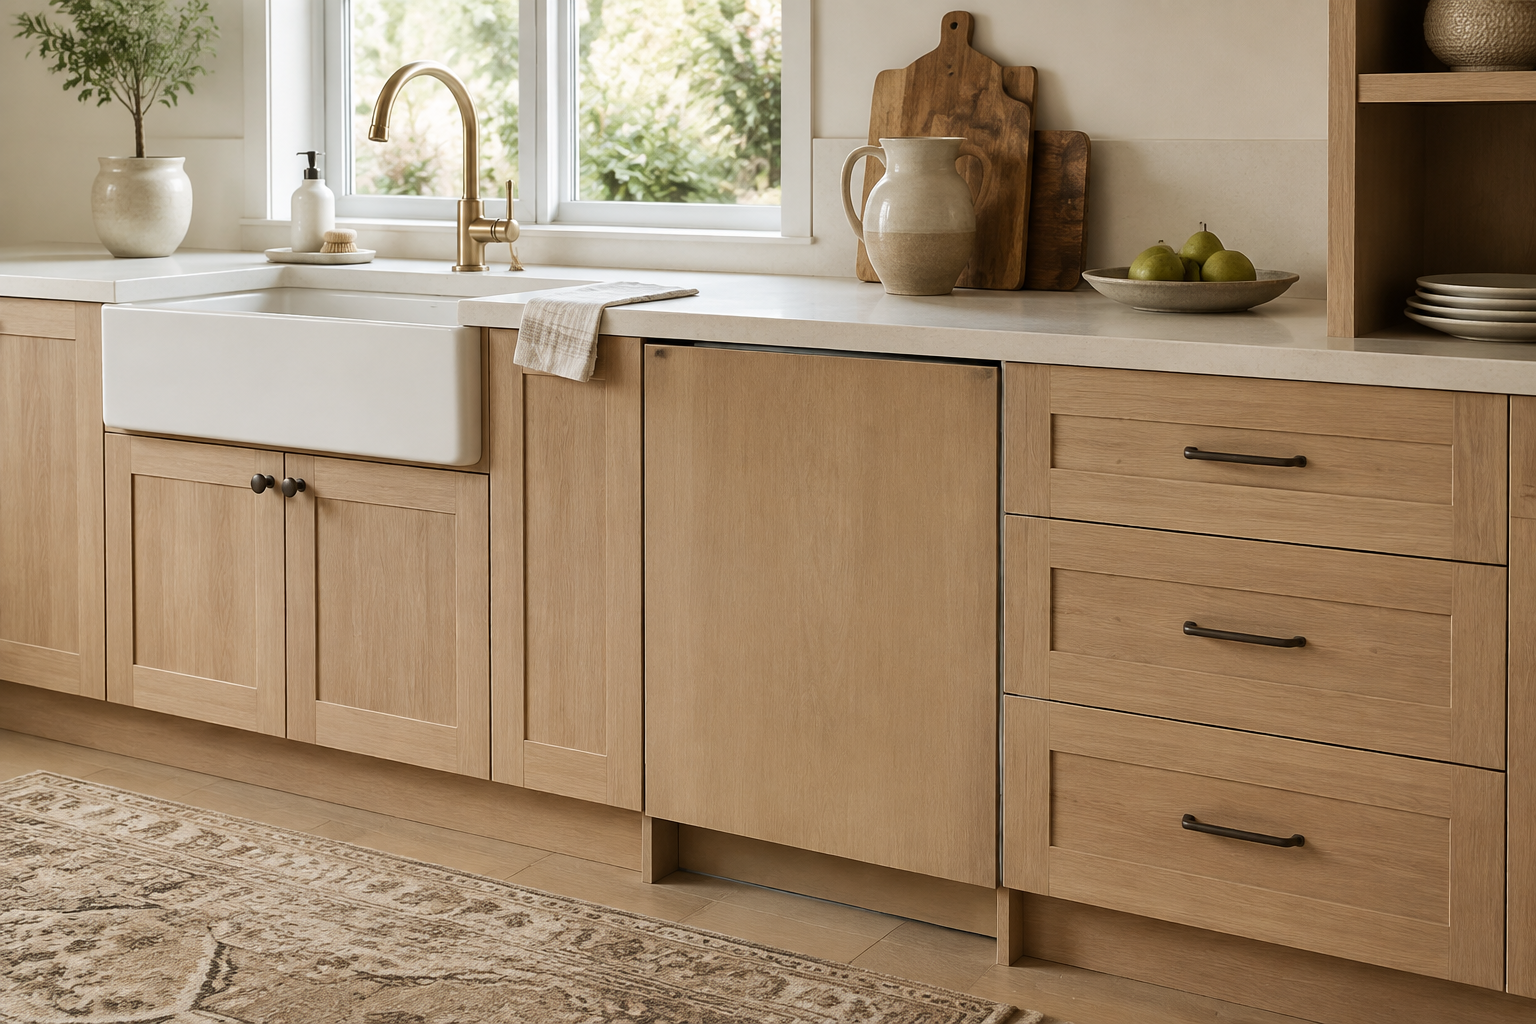
Stand at the sink and rehearse scraping, rinsing where your routine calls for it, opening the dishwasher, loading utensils, and moving clean dishes toward storage. The best side depends on handedness, sink bowls, waste location, corner conditions, dish storage, and who shares the cleanup. A common mistake is copying the existing side simply because the old kitchen used it, or centering the sink without noticing that the remaining cabinet widths force an awkward appliance location. Tape both alternatives on the floor and practice. A few minutes of movement can reveal a preference that an elevation cannot show.
3. Draw the complete open door and rack footprint
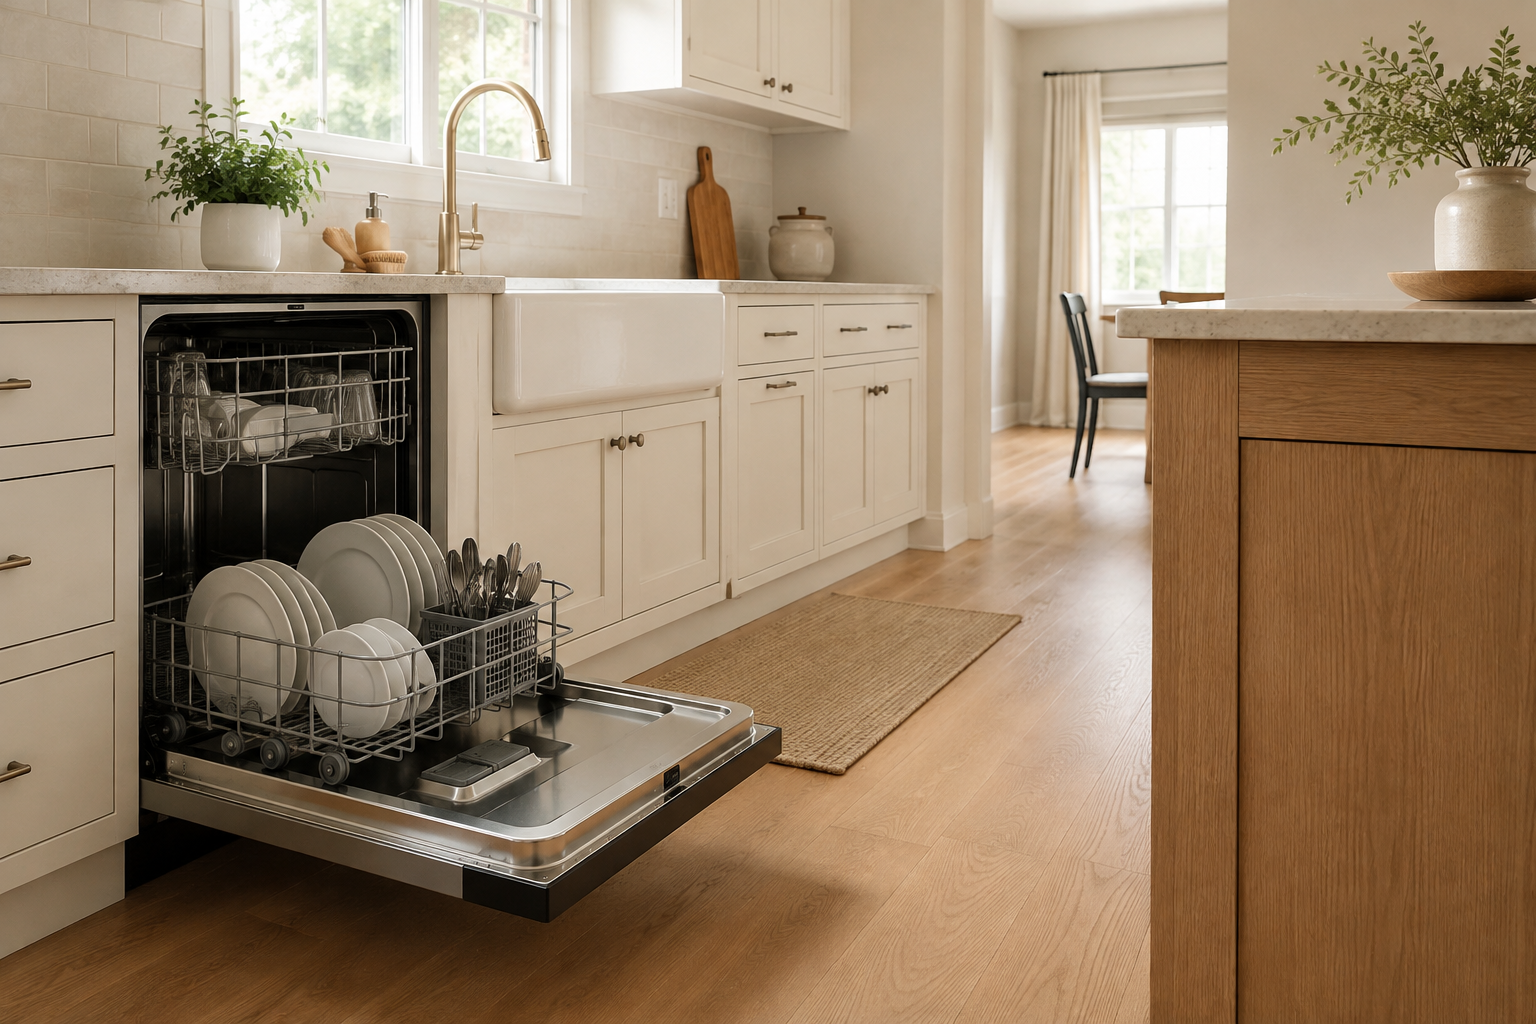
The lowered door and extended racks use far more floor area than the closed front. Mark both positions, then add the person loading, the sink standing zone, the opposite island or cabinets, and nearby door swings. The classic mistake is checking the aisle with the appliance closed and discovering later that loading blocks the only route or leaves nowhere to stand. Another is measuring only the door while a fully extended lower rack reaches farther. Use the exact appliance information and a full-size cardboard or taped mockup. If the room feels crowded, move the appliance, storage, island, or route before reducing the test to a hopeful dimension.
4. Protect corners and neighboring cabinet fronts
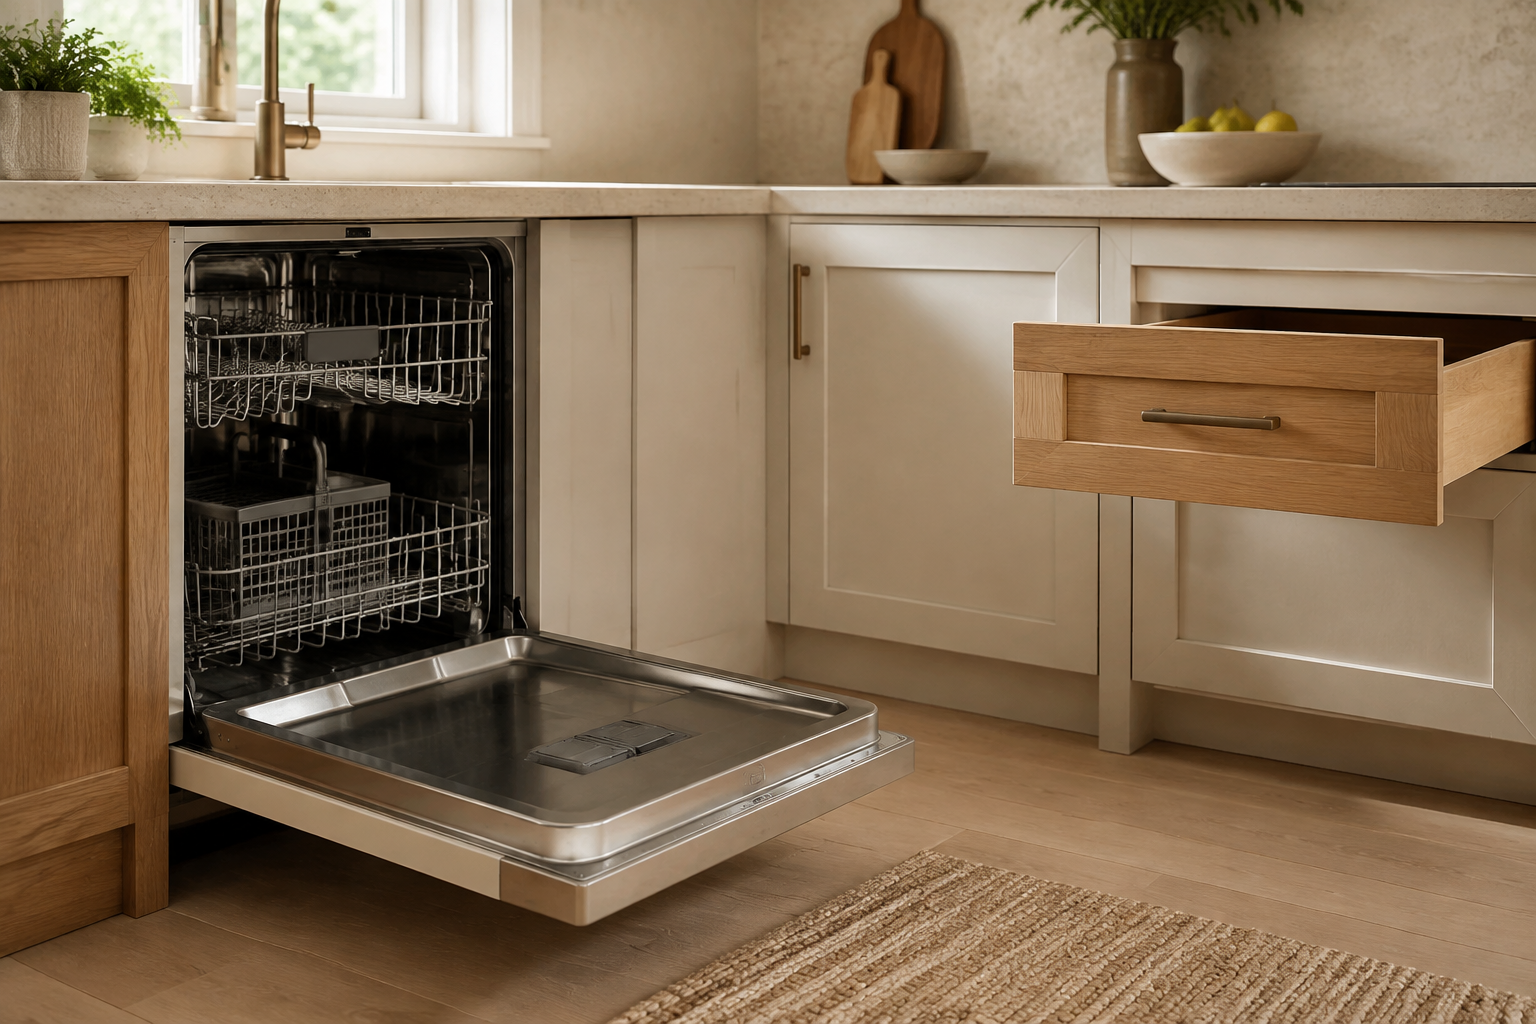
A dishwasher close to an inside corner may compete with a corner door, rollout, drawer, handle, filler, or the person using the adjacent cabinet. Open everything on the plan, including the dishwasher racks and hardware projection. A common mistake is leaving just enough filler for two closed fronts to look separate, even though one appliance door traps the corner storage. Another is forgetting that a panel or countertop overhang changes the usable gap. Give the moving parts a deliberate relationship, and have the cabinet supplier and appliance installer confirm the filler, finished side, hinge, handle, and attachment condition before ordering.
5. Shorten the path from clean racks to dish storage
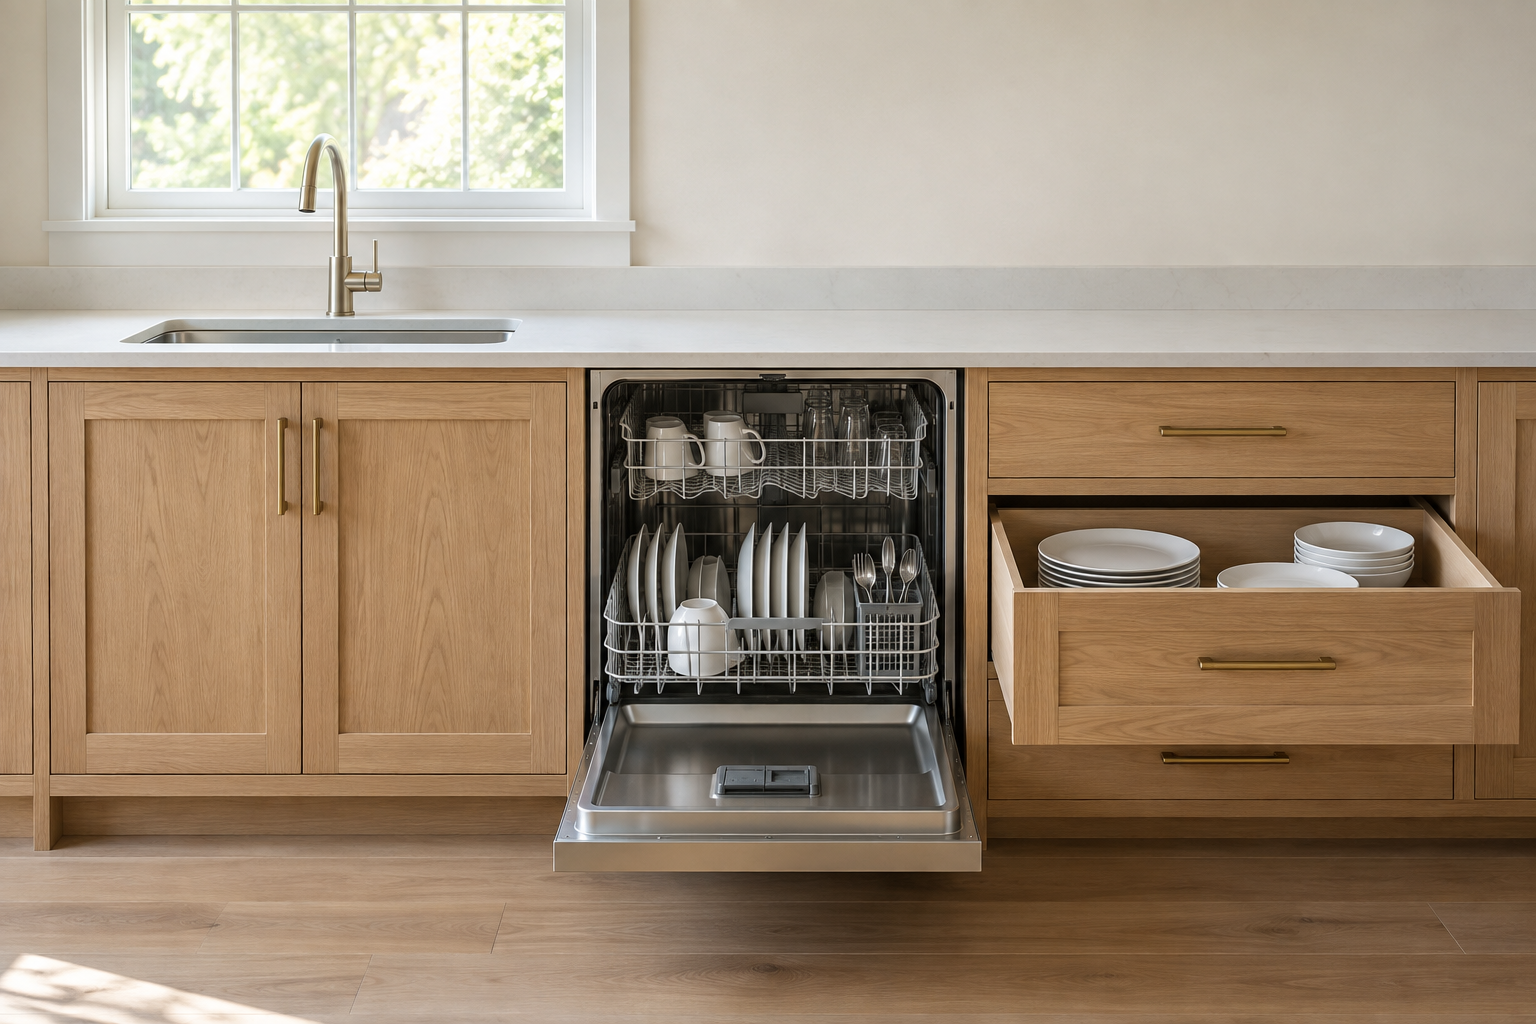
Map where everyday plates, bowls, glasses, utensils, food containers, and cookware go after washing. Storage across a long aisle or behind the open dishwasher turns unloading into extra steps and collisions. The common mistake is giving the best nearby cabinet to an impressive specialty feature while dishes travel across the kitchen every day. Another is placing dish drawers so they cannot open at the same time as the appliance. Try unloading a pretend rack and note each reach. Keep frequently washed items close and let less-used serving pieces travel farther, then verify that the selected drawers, doors, and appliance can move in a workable sequence.
6. Coordinate water, drainage, power, and service access
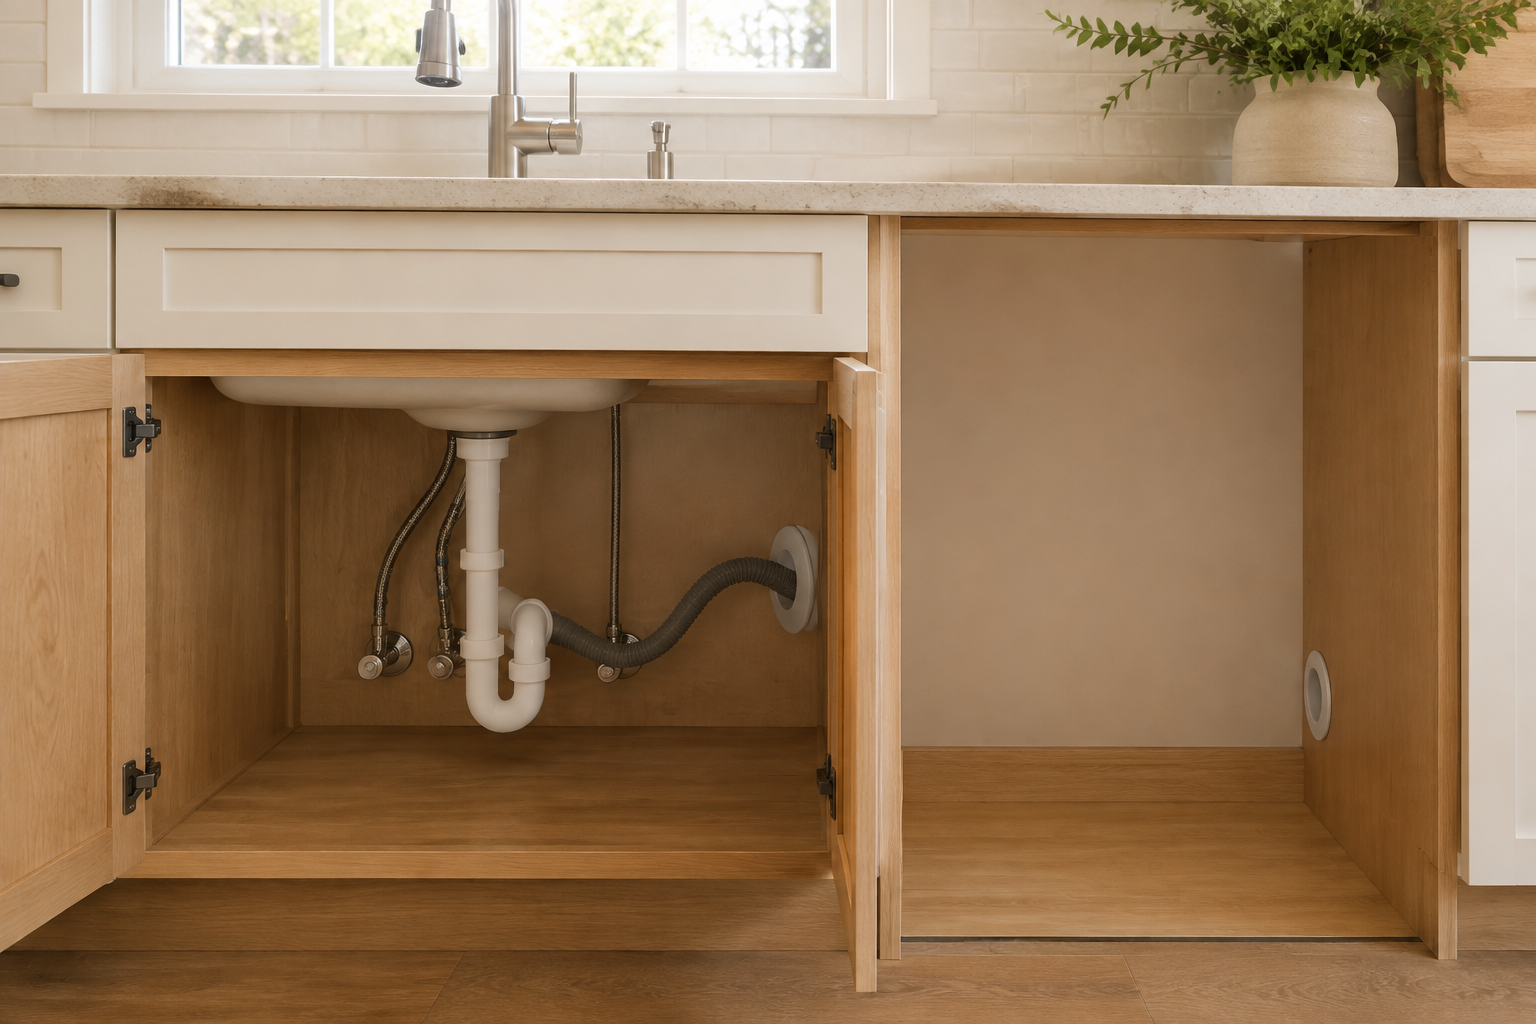
Show the approved water supply, shutoff, drain routing, connection points, cabinet penetrations, and electrical provision required by the exact appliance and project. Preserve access for installation, inspection, and service without pinching lines or routing them casually through a drawer, finished panel, or sharp opening. A common mistake is marking utilities as one dot under the sink and letting the installer solve every conflict after cabinets arrive. Another is hiding a shutoff behind permanent storage. The plumber, electrician, appliance provider, cabinet supplier, and installer should coordinate the route, protection, connection method, and applicable requirements before walls and cabinet parts close the path.
7. Plan finished flooring, leveling, and attachment
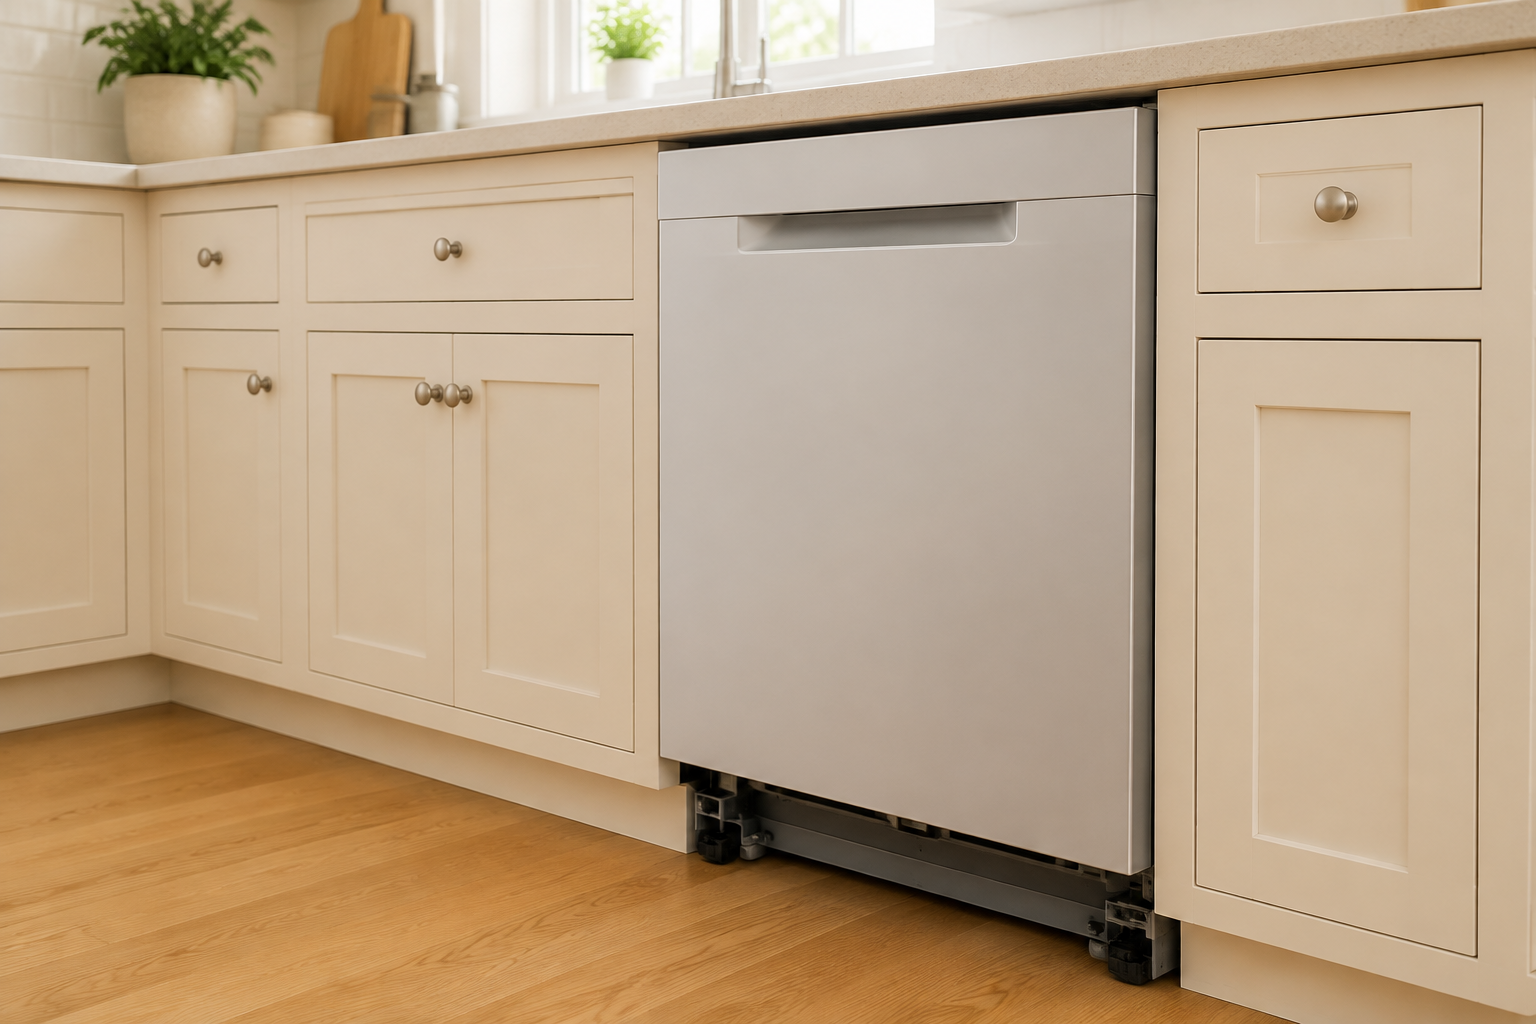
The opening height and appliance removal path depend on the finished floor, countertop underside, cabinet base, toe detail, leveling range, and approved attachment point. A common mistake is installing thick flooring only in front of the dishwasher and creating a lip that can trap it under the counter. Another is setting the countertop or cabinet rail before confirming where the selected unit attaches, especially with stone or other special counter conditions. Coordinate the full vertical section and protect the floor during installation. The manufacturer, cabinet supplier, fabricator where applicable, and installer should confirm leveling, support, anchorage, and future removal before the opening becomes fixed.
8. Treat panels, handles, controls, and reveals as one detail
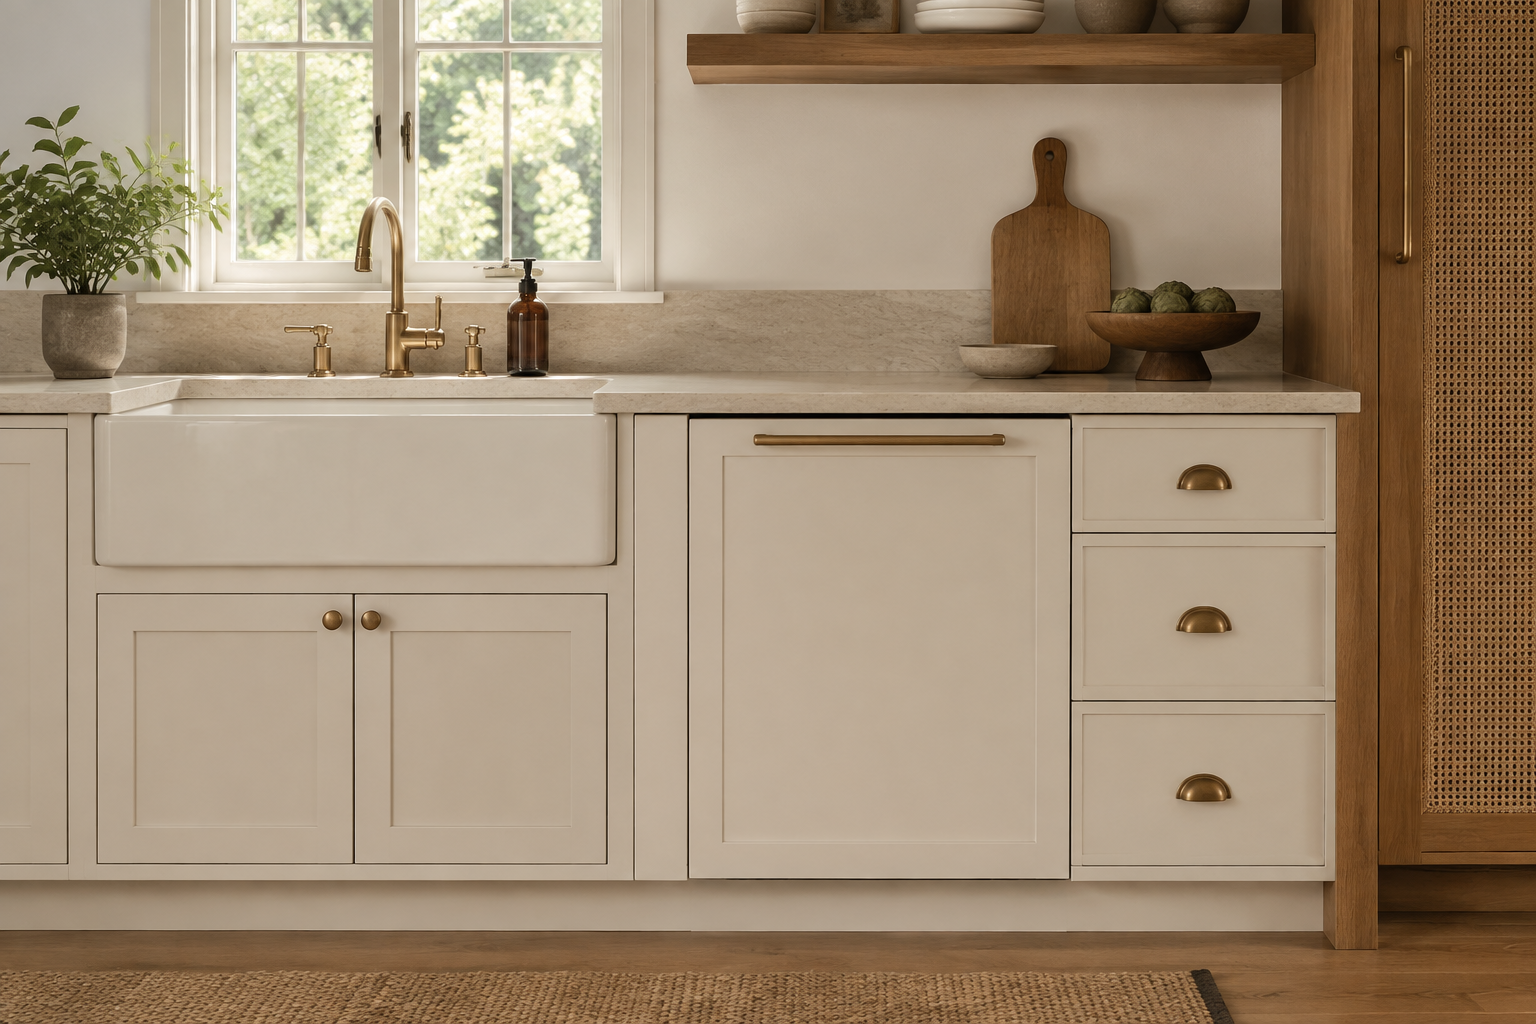
A visible stainless front, pocket handle, bar handle, or custom panel changes projection, control access, toe appearance, adjacent hardware, opening motion, and the rhythm of the cabinet run. The common mistake is selecting a panel-ready model and assuming the cabinet shop automatically knows the permitted panel size, weight, handle, edge, and attachment. Another is aligning the panel beautifully while blocking top controls or ventilation. Use the current panel template and cabinet elevation together. Assign who supplies, finishes, drills, mounts, and adjusts the panel, and have the appliance provider, cabinet supplier, and installer approve the detail before fabrication.
9. Keep an alternate route when loading blocks one aisle
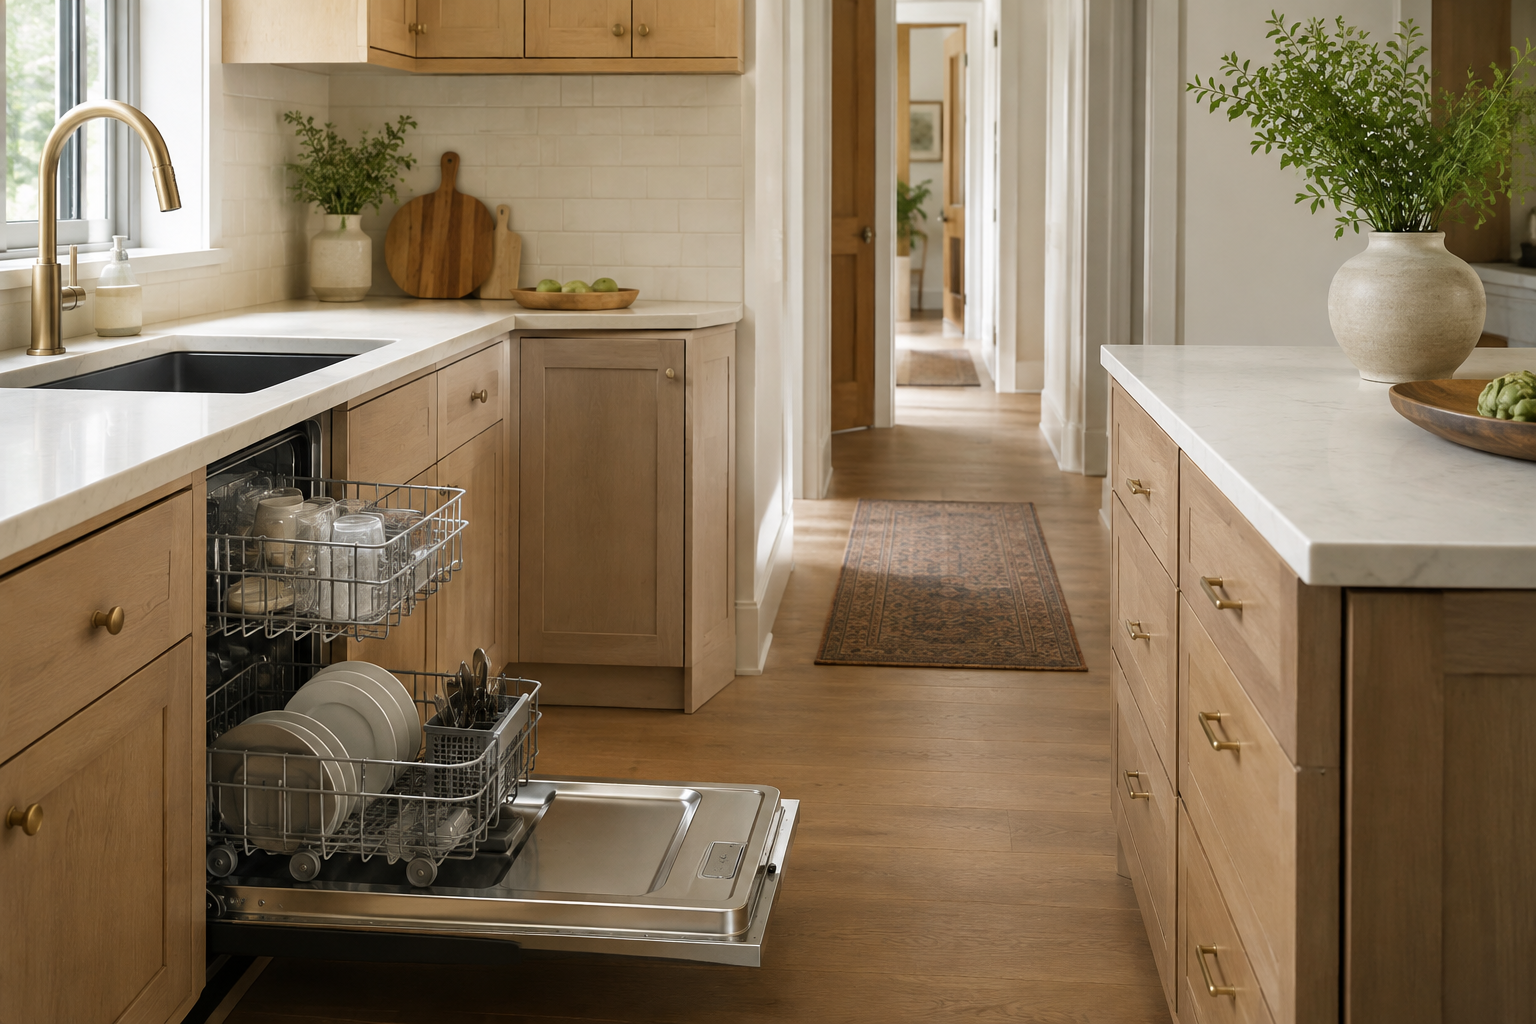
An open dishwasher may reasonably occupy part of the cleanup zone for a short time, but it should not create an unexpected trap at the only doorway, stair, or path through the home. Map school mornings, meal preparation, guests, pets, and two-person cleanup rather than reviewing an empty room. A frequent mistake is treating the appliance door as a temporary inconvenience that never overlaps real life. Another is protecting circulation by pushing the dishwasher far from the sink and creating a different problem. Test the busiest routine and preserve a clear alternate route where the room needs one, subject to the project's applicable access and safety requirements.
10. Rehearse installation, service, and final approval
Check the delivery route, finished opening, protective measures, utility readiness, panel and handle, attachment, neighboring fronts, countertop condition, toe piece, testing, and who returns for adjustments. Then consider how the dishwasher can be disconnected and removed without lifting a countertop or destroying finished flooring. The final common mistake is approving the cabinet elevation while appliance and trade notes remain separate. Put the latest documents together, mark every assumption, and ask each responsible party to confirm the information they use. A conflict found before the order is useful; it gives the team time to solve the actual kitchen instead of improvising around installed cabinets.
Connect the dishwasher to the sink and storage plan
Dishwasher placement works when the sink cabinet, utilities, nearby drawers, corner clearances, flooring, and circulation describe the same cleanup routine. These guides help connect those decisions.
Plan the Sink Cabinet Record Appliance DetailsOpen the dishwasher in the plan before cabinets arrive
Use StilePath to place the dishwasher, sink, dish storage, corners, island, and household routes in 2D and 3D. Start with exact appliance information, label assumptions, and carry the result into cabinet, trade, and installation review.
Start Planning Free