
Butler's Pantry Planning: 10 Checks for Storage, Serving, and Appliances
A butler's pantry can make the kitchen calmer, but only when the extra room has a clear job. It may hold serving pieces, handle coffee, hide cleanup, or support entertaining; trying to make one narrow room do everything is where trouble starts. You can begin this plan without being a carpenter. Get your tape, pencil, and paper, walk the route from kitchen to table, and write down what you actually carry. The useful work is noticing habits and conflicts early. A cabinetmaker, contractor, electrician, and plumber can verify the technical details later, but your careful notes give them a much better starting point and help keep a beautiful pantry from becoming an expensive hallway.
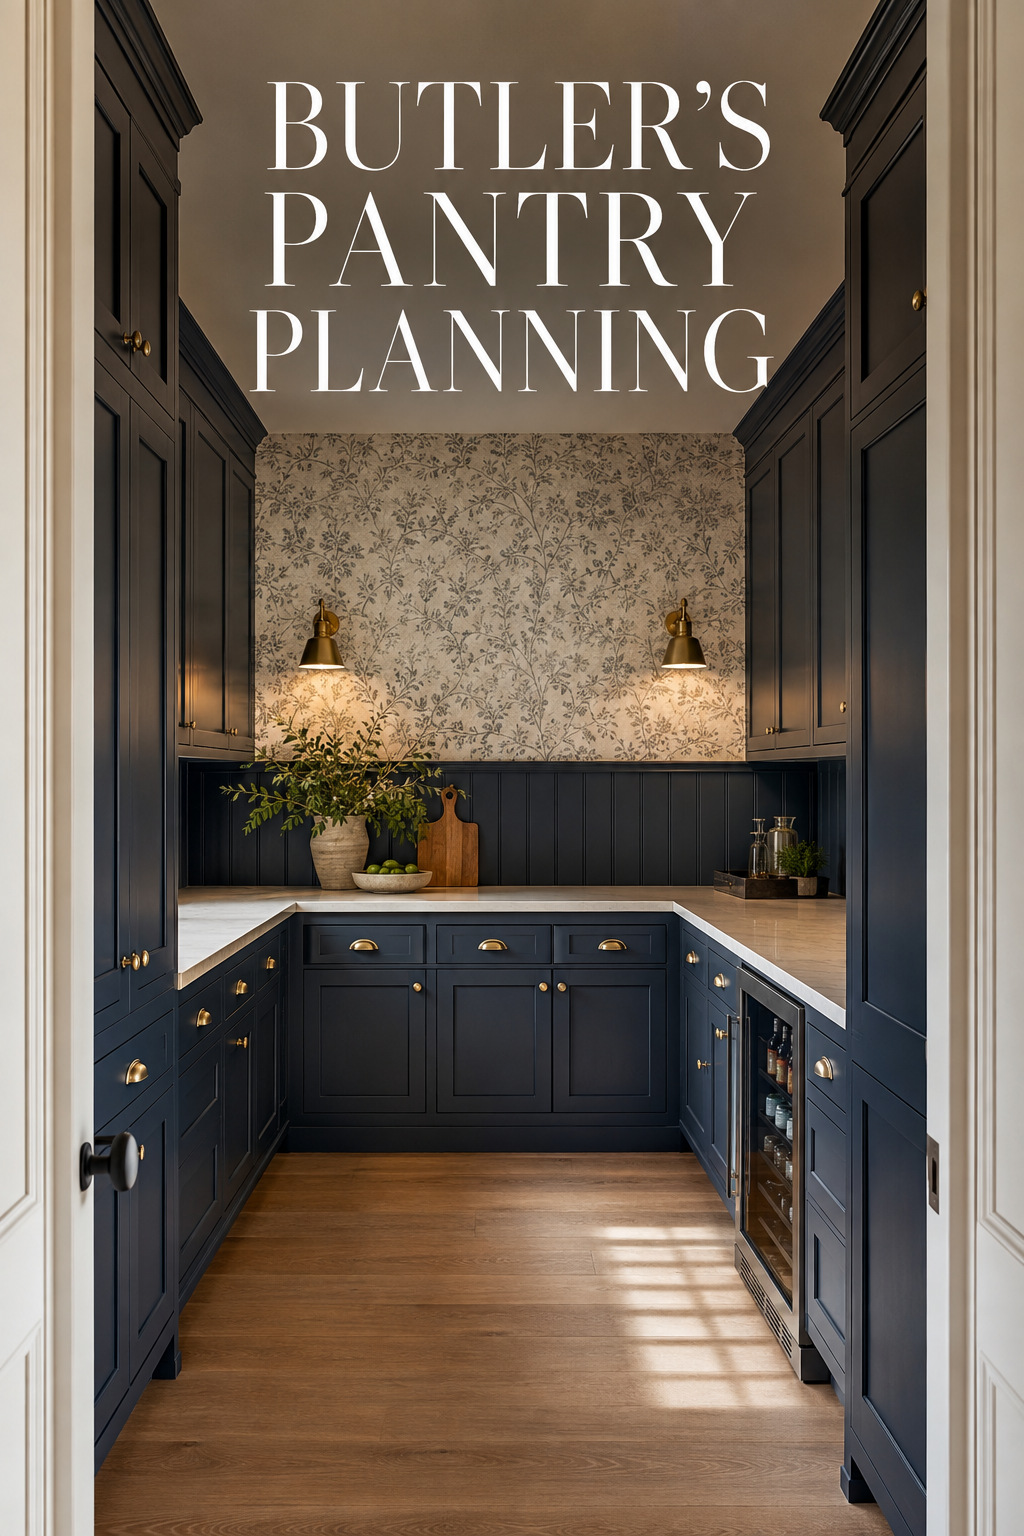
1. Decide which jobs should leave the main kitchen
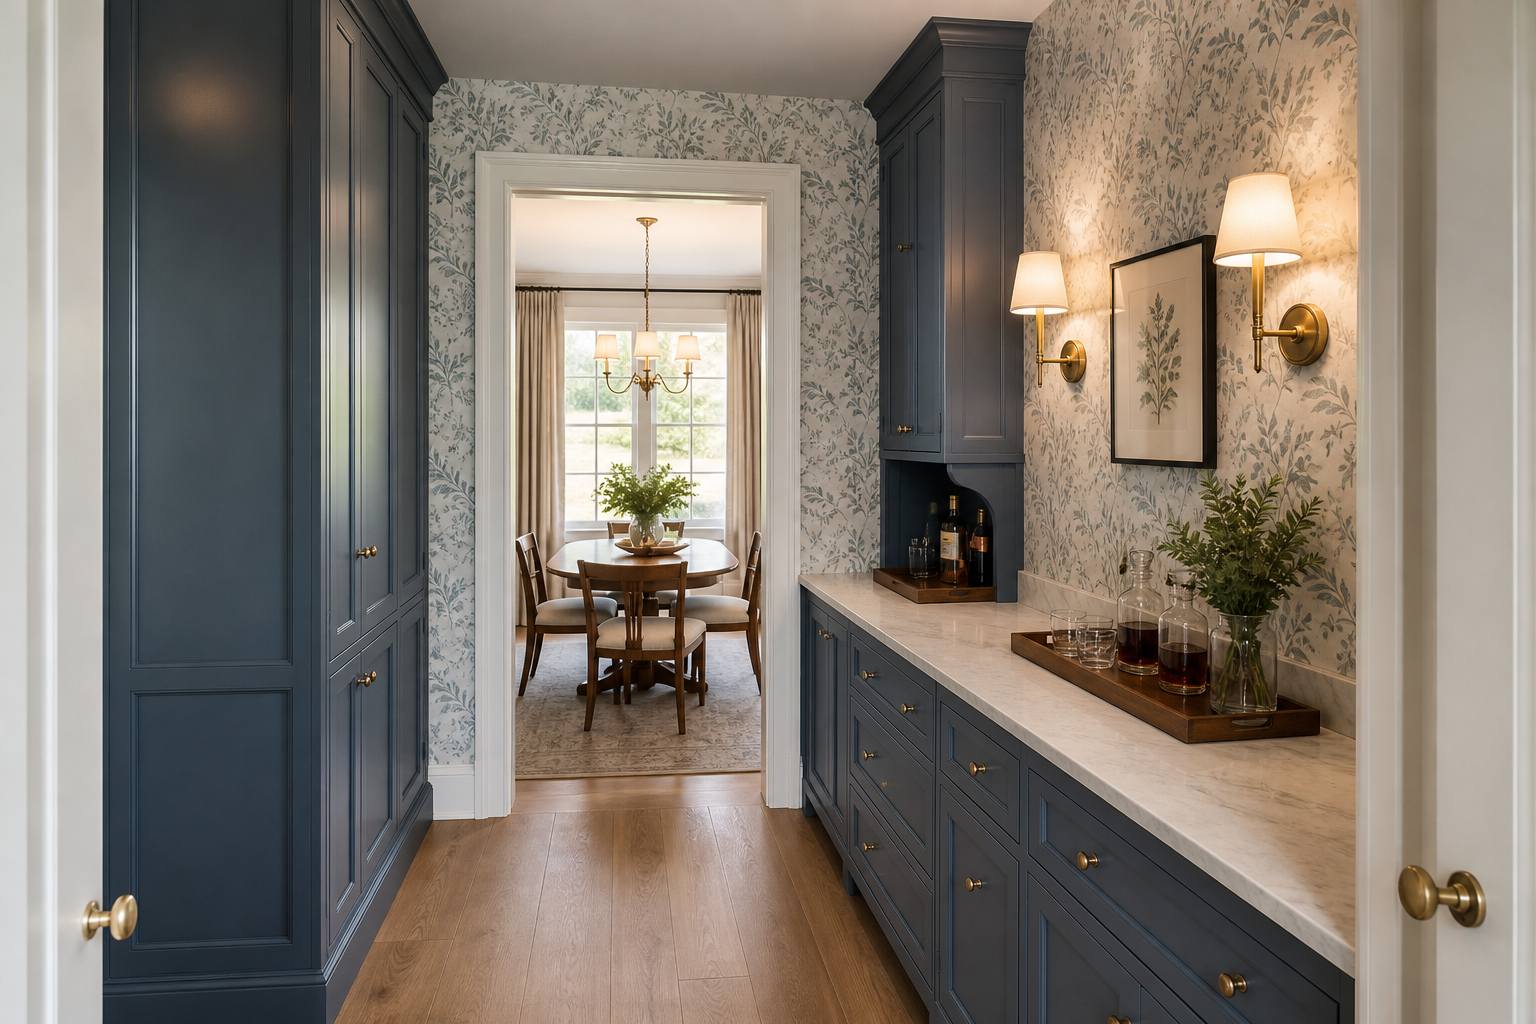
List the moments that create pressure in your kitchen: morning coffee, school lunches, unloading groceries, staging dinner, mixing drinks, or hiding dirty dishes. Choose the two or three jobs the pantry should handle best and give each a simple zone. A common mistake is collecting a sink, wine refrigerator, coffee machine, pantry food, serving platters, and recycling in one narrow room without deciding how people move between them. Another is copying a showpiece pantry that supports a completely different routine. You do not need a professional vocabulary—write ordinary sentences such as “coffee stays ready without blocking breakfast.” Those sentences make it easier to judge every cabinet and appliance that follows.
2. Measure the room and the doorway as separate problems
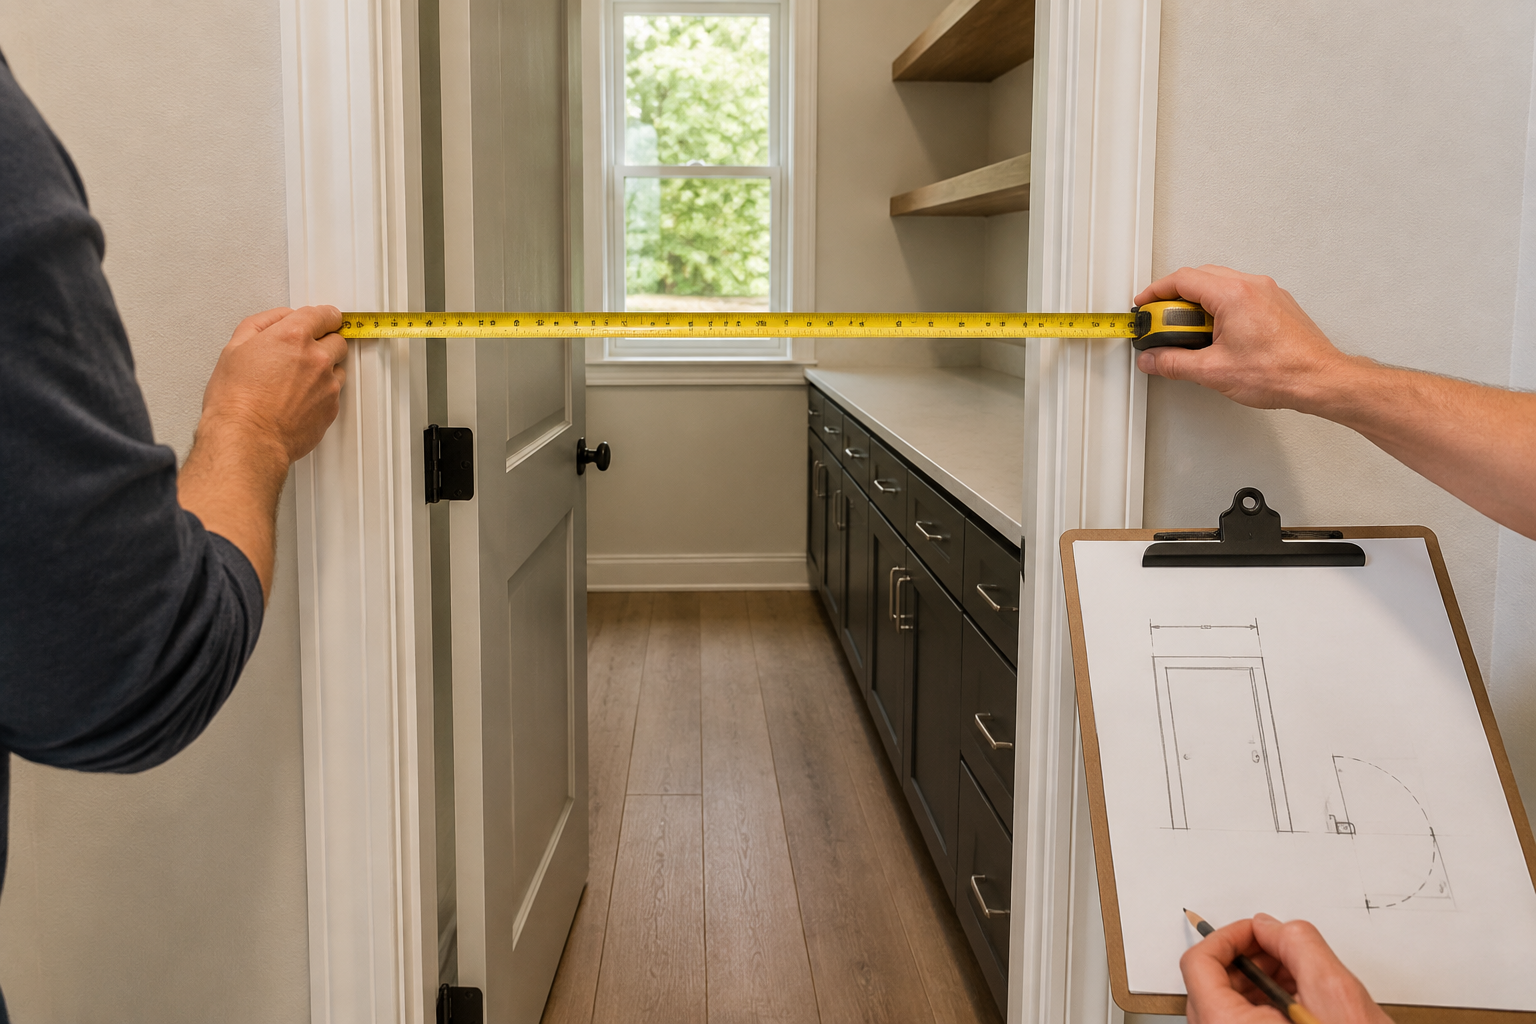
Measure each wall at the floor, counter height, and near the ceiling, then record the doorway width, casing, door thickness, hinge side, and swing. Note baseboards, outlets, vents, switches, windows, and any wall that is not square. The doorway deserves special attention because cabinetry, counters, and appliances still have to pass through it. A common mistake is measuring only the finished opening while forgetting projecting trim or a door that steals aisle space. Another is rounding to a neat number when the tape says otherwise. Your sketch can be rough; label it clearly, take straight-on photos, and measure anything suspicious twice. The installer should field-verify before fabrication.
3. Protect the route between kitchen, pantry, and table
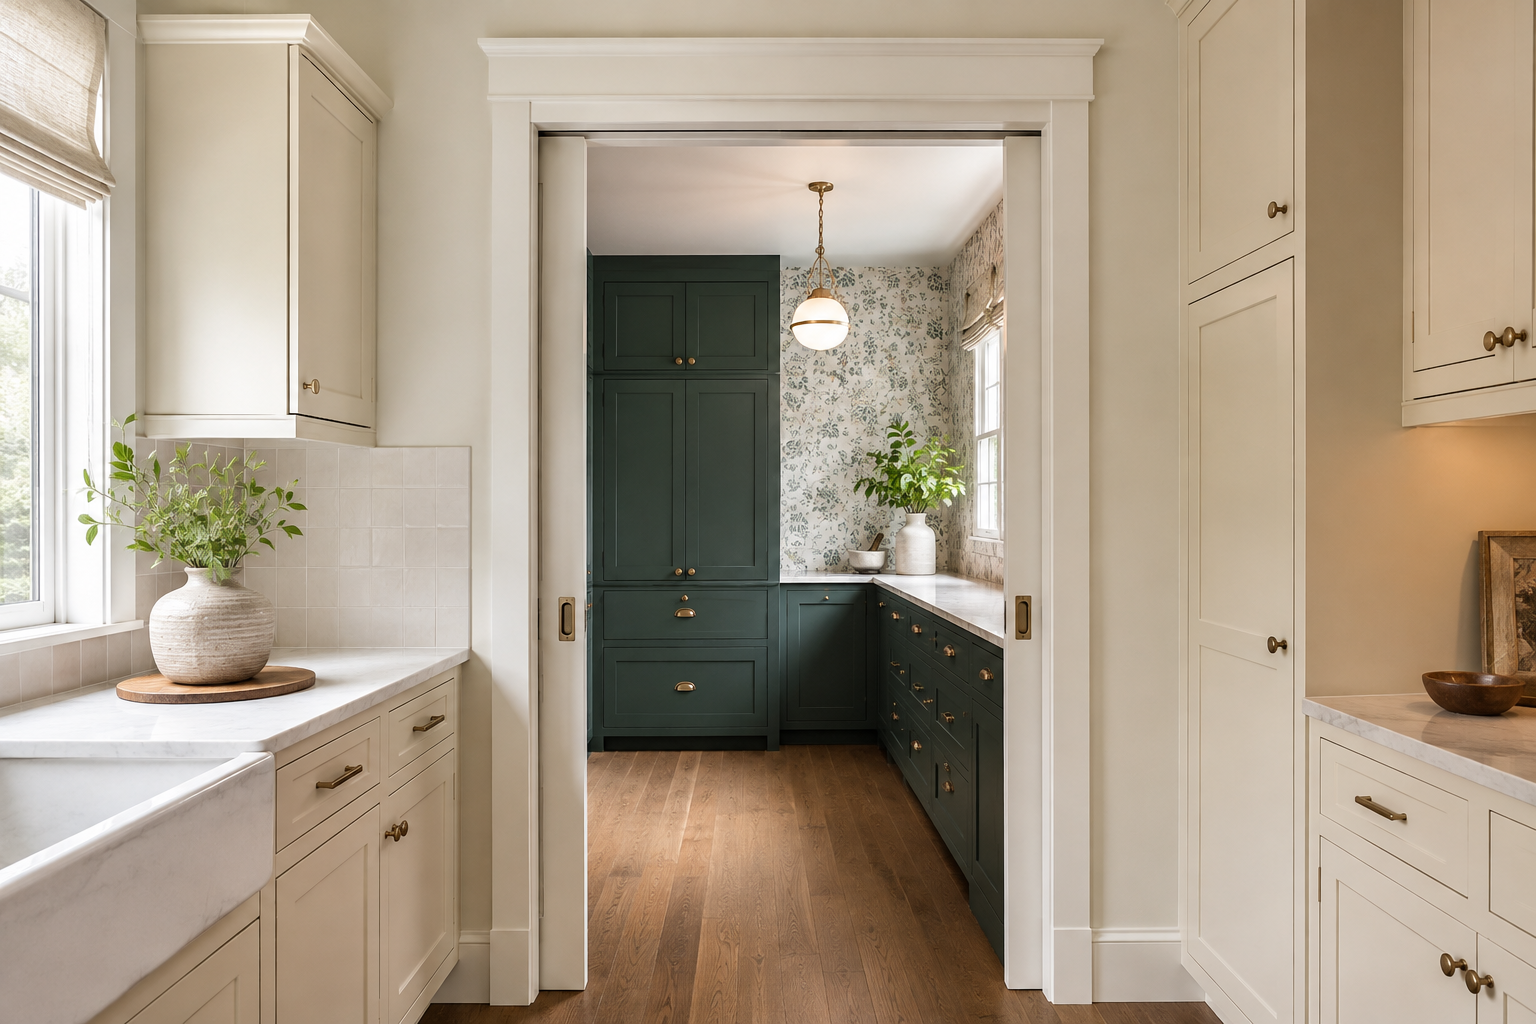
Draw the pantry together with the rooms it connects. Mark the refrigerator, range, sink, dining table, exterior door, and the path a person takes while carrying a tray. Then add open cabinet doors, dishwasher doors, stools, and another person passing through. A common mistake is perfecting the pantry elevation while ignoring that its door lands in the busiest kitchen aisle. Another is placing the serving counter at the far end, so every plate makes an unnecessary lap. Walk the route with an empty tray and notice turns, pinch points, and places to set something down. Small changes in doorway position or counter location can save hundreds of awkward trips over the life of the room.
4. Plan appliance stations from exact specifications
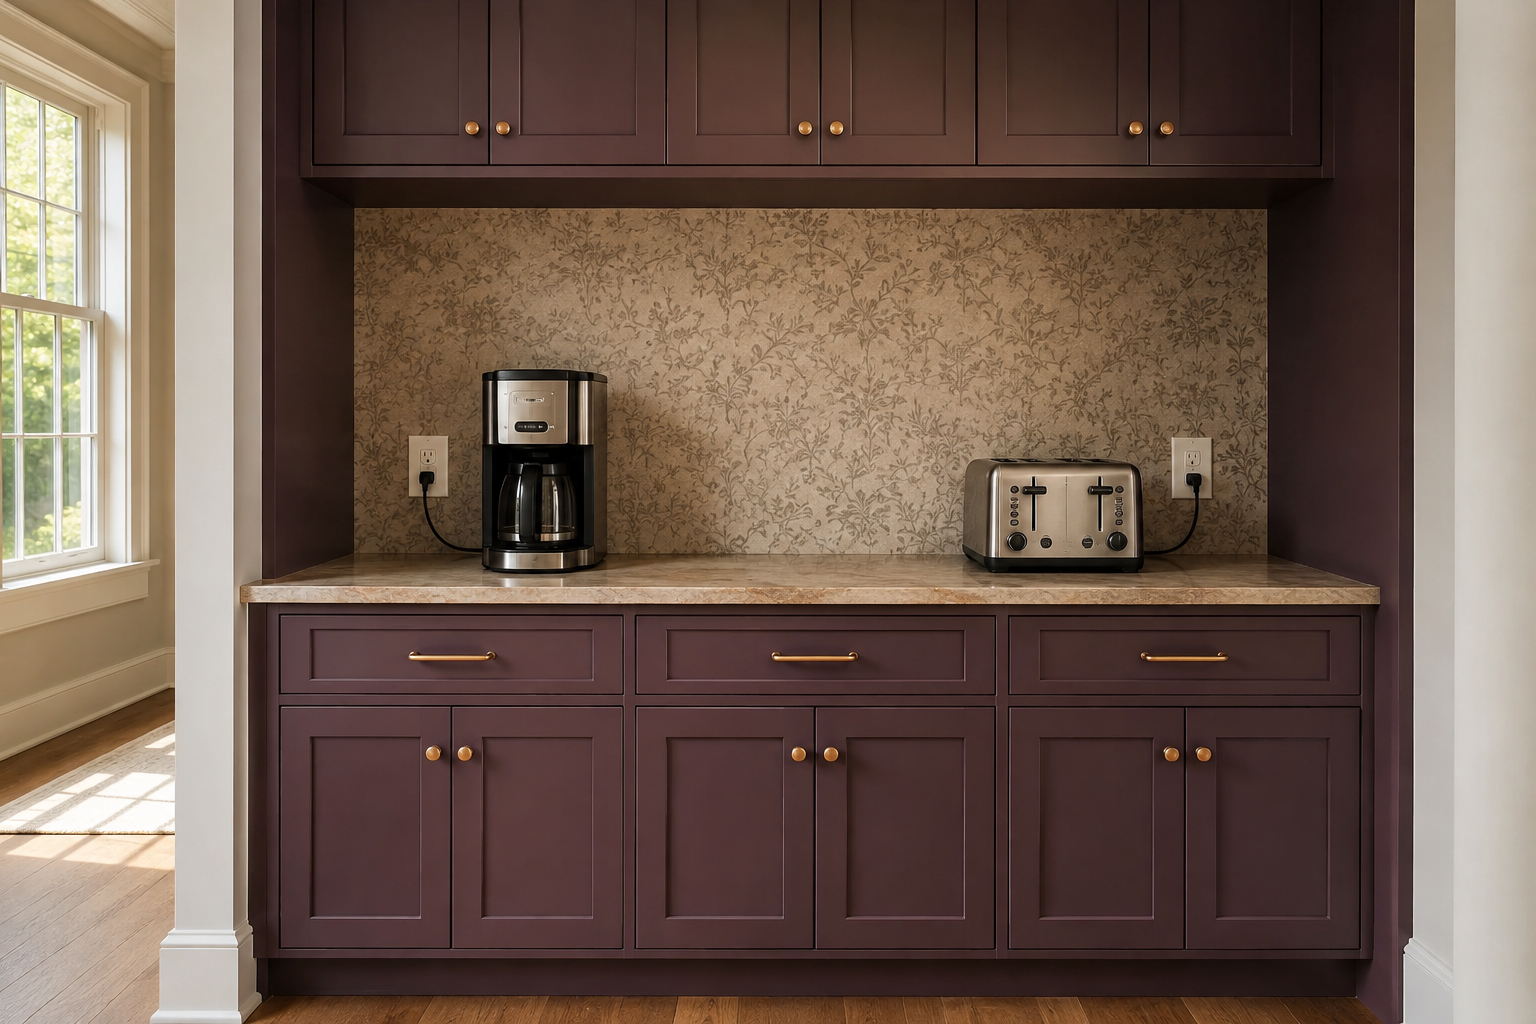
Choose likely appliances before fixing cabinet depths, shelf heights, outlets, or doors. Record the full body, cord, plug, ventilation space, water connection, refill access, and the clearance needed to open or remove parts. A common mistake is sizing a coffee niche to the machine's front dimensions while forgetting the lid lifts to add water. Another is hiding an appliance behind a pocket or lift door that blocks the counter when open. Set the actual machine on a table, open every part, and measure the working envelope. An electrician and plumber should confirm circuits, receptacle locations, shutoffs, drainage, and code; your job is to make daily use visible before the millwork closes around it.
5. Treat a cleanup sink as a real plumbing zone
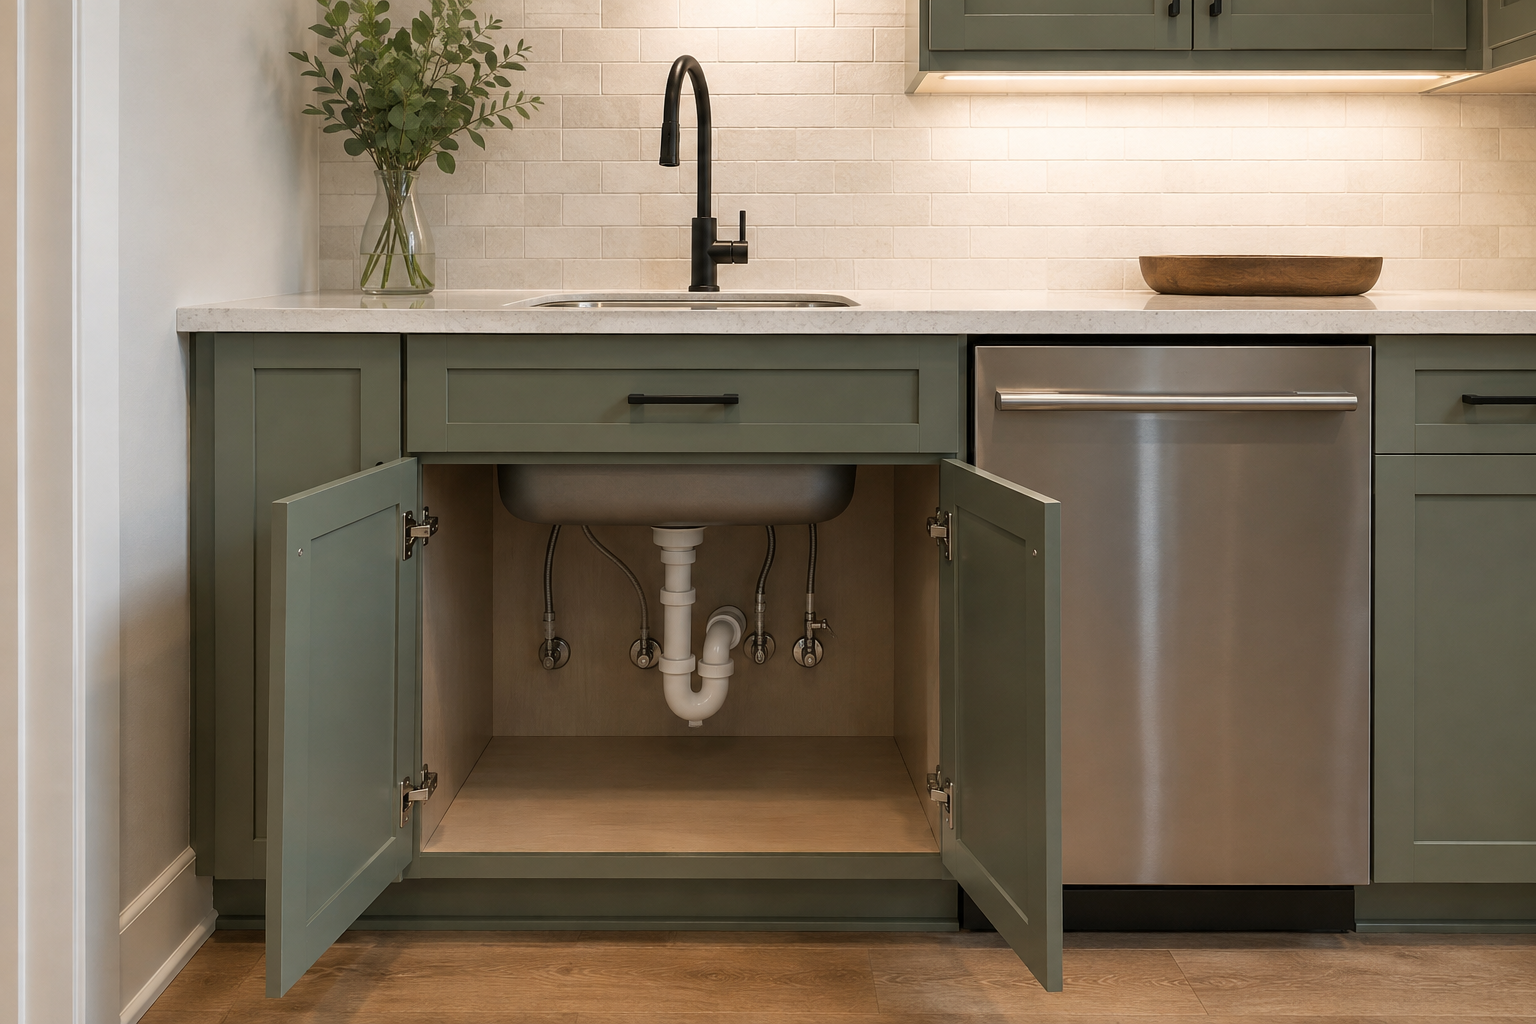
If the pantry includes a sink or dishwasher, plan the whole cleanup sequence: scrape, rinse, load, unload, dry, and return items to storage. Keep plumbing, shutoffs, filters, disposal equipment, and service access in the drawing rather than filling every inch with shelves. A common mistake is showing a perfect sink-base organizer where the drain and valves must actually live. Another is placing the dishwasher where its open door blocks the only passage. Mark the appliance door on the floor and stand where you would unload it. A licensed plumber, electrician, appliance installer, and cabinetmaker should coordinate the final connections, ventilation, waterproofing, and service clearances.
6. Store by frequency, weight, and where items return
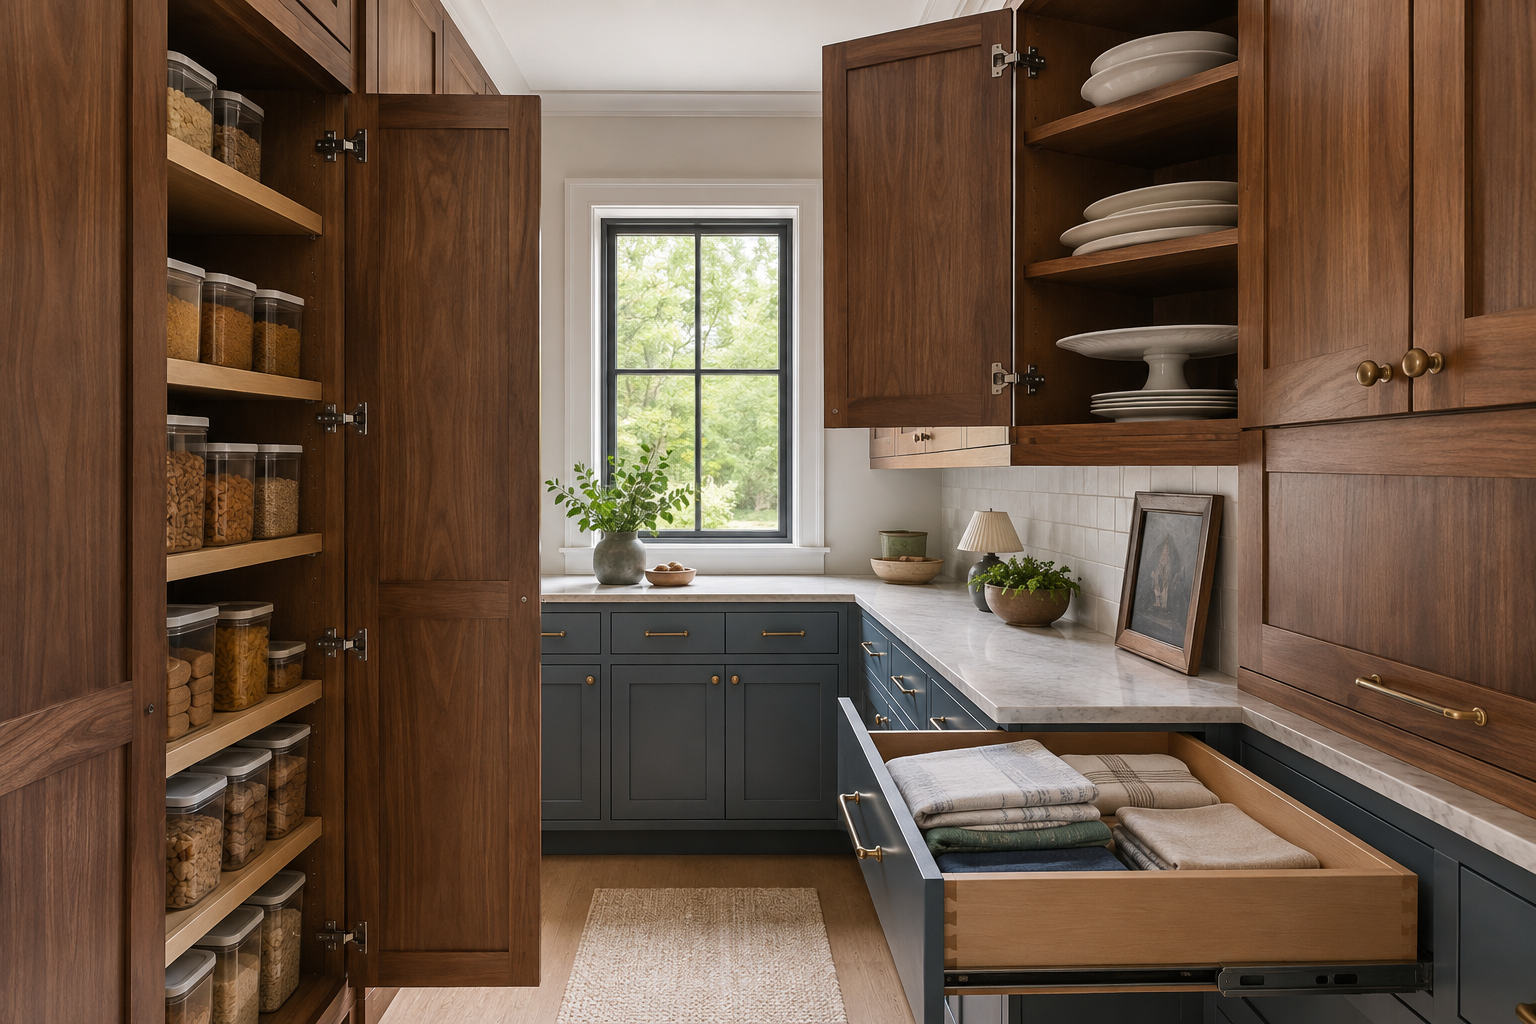
Group items by how often they are used and where they go next. Daily glasses belong near the drink or cleanup zone; heavy platters should sit between knee and shoulder height; occasional pieces can go higher. Deep drawers are useful for linens and serving tools, while shallow adjustable shelves keep food from disappearing behind a second row. A common mistake is creating identical shelves everywhere because the elevation looks orderly. Another is making a tall cabinet so deep that the back becomes forgotten storage. Measure a few real platters, pitchers, appliances, and bulk packages. You do not need to inventory every spoon—just test the largest and most frequent items so the cabinet interior earns its space.
7. Give serving work a clear landing counter
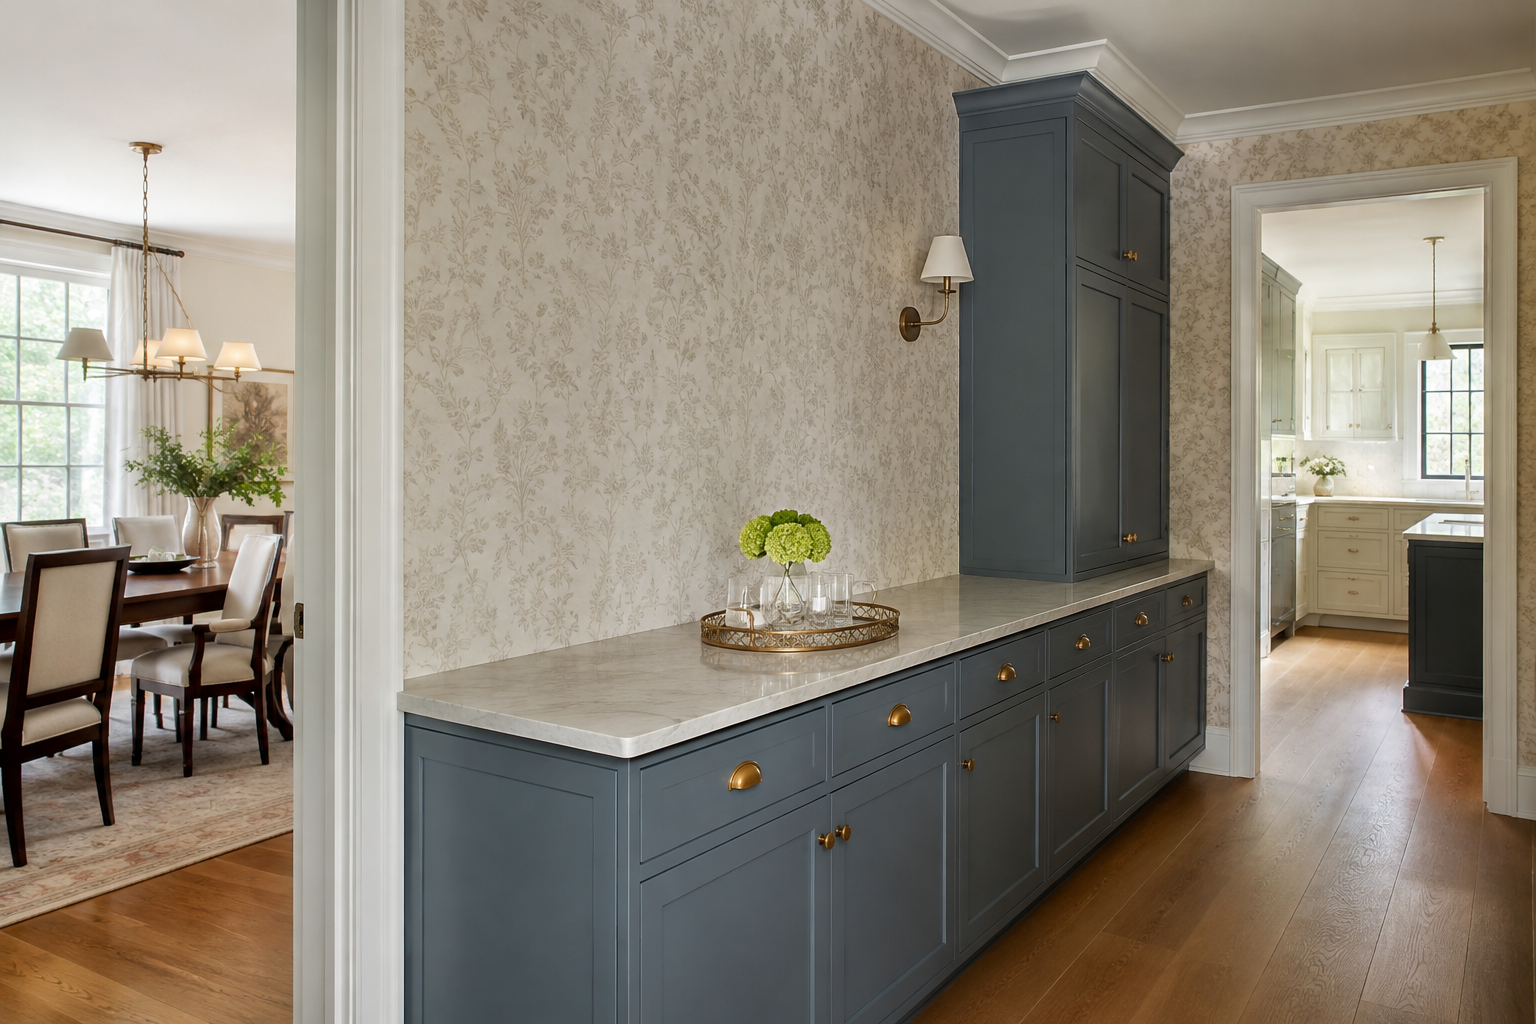
Reserve an uninterrupted counter where a tray, grocery bag, or row of plates can land without competing with a sink or fixed appliance. Check the counter depth, outlet position, door swing, and whether an upper cabinet makes tall bottles awkward to use. A common mistake is counting the countertop behind a coffee maker as general work space. Another is breaking a long run into several tiny pieces that look generous on the plan but cannot hold a full tray. Place your largest tray on a table and work around it. If entertaining matters, imagine two people passing and setting down dishes at the same time. A modest clear surface often delivers more value than one more specialized cabinet.
8. Layer lighting, power, and ventilation early
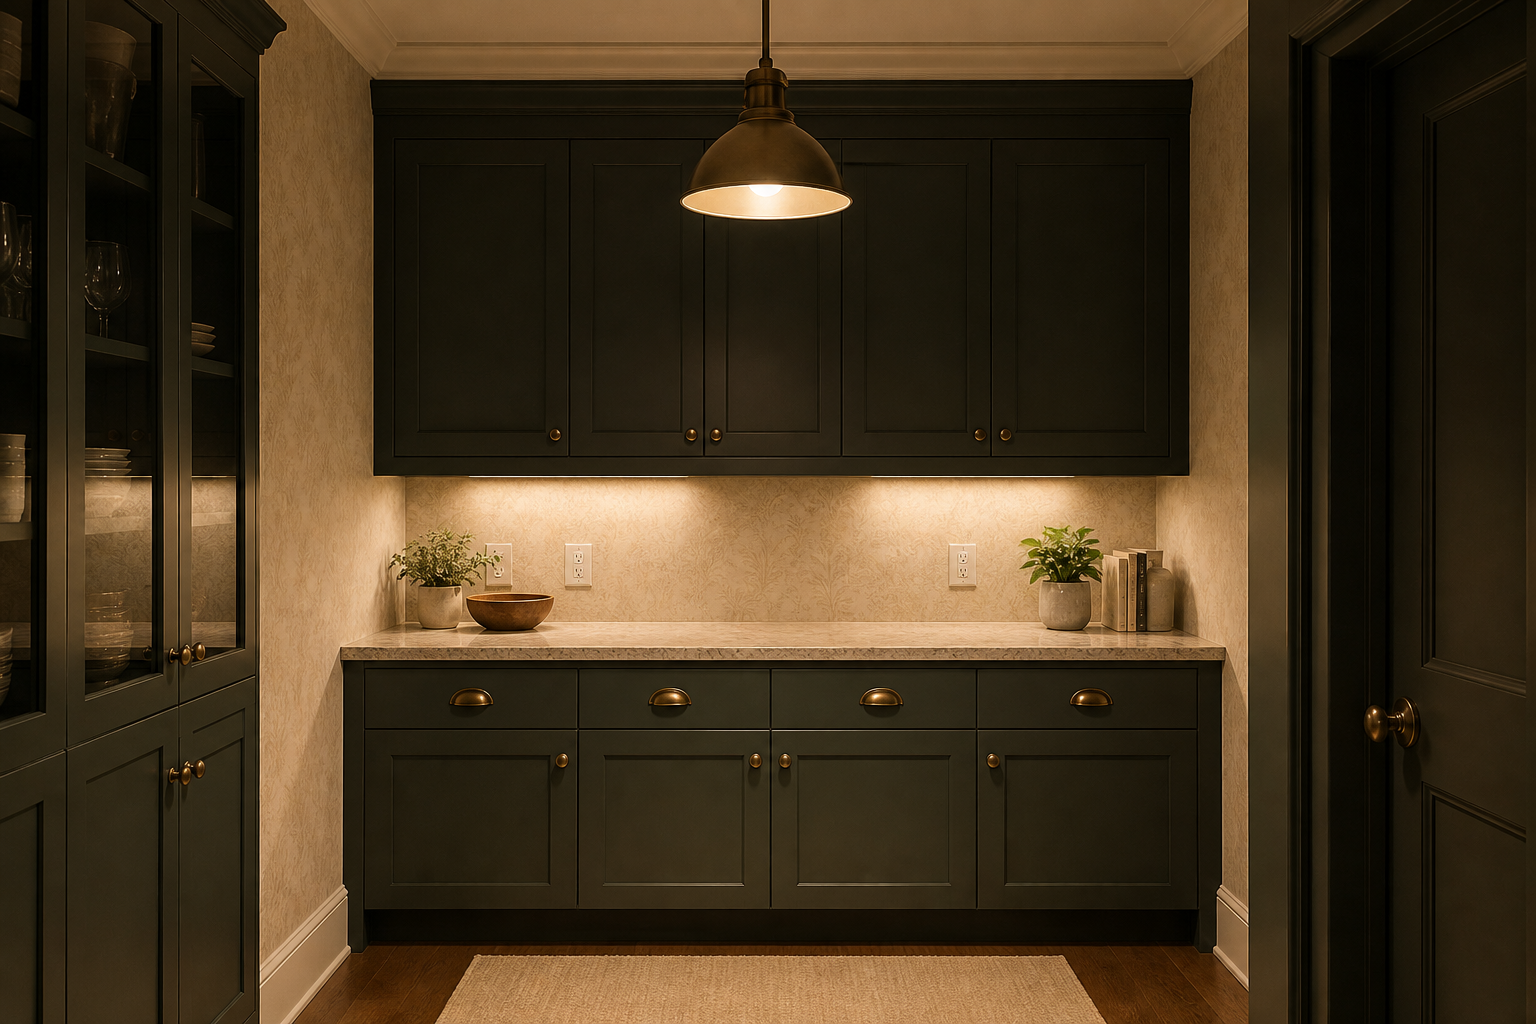
Use ceiling light for the aisle, under-cabinet light for counters, and a decorative fixture only where it will not conflict with tall doors or people carrying trays. Put outlets where appliance cords reach without crossing the sink or dangling through a doorway. Heat-producing or enclosed appliances may need ventilation that cabinetry cannot fake. A common mistake is relying on one pretty pendant that leaves the work surface in shadow. Another is adding outlets after the cabinet elevations are approved, then landing them behind panels or too close to water. Mark lights, switches, outlets, appliance loads, and ventilation on the same elevation. Licensed trades should verify circuit capacity, location rules, and exhaust needs.
9. Review one coordinated plan, not isolated inspiration
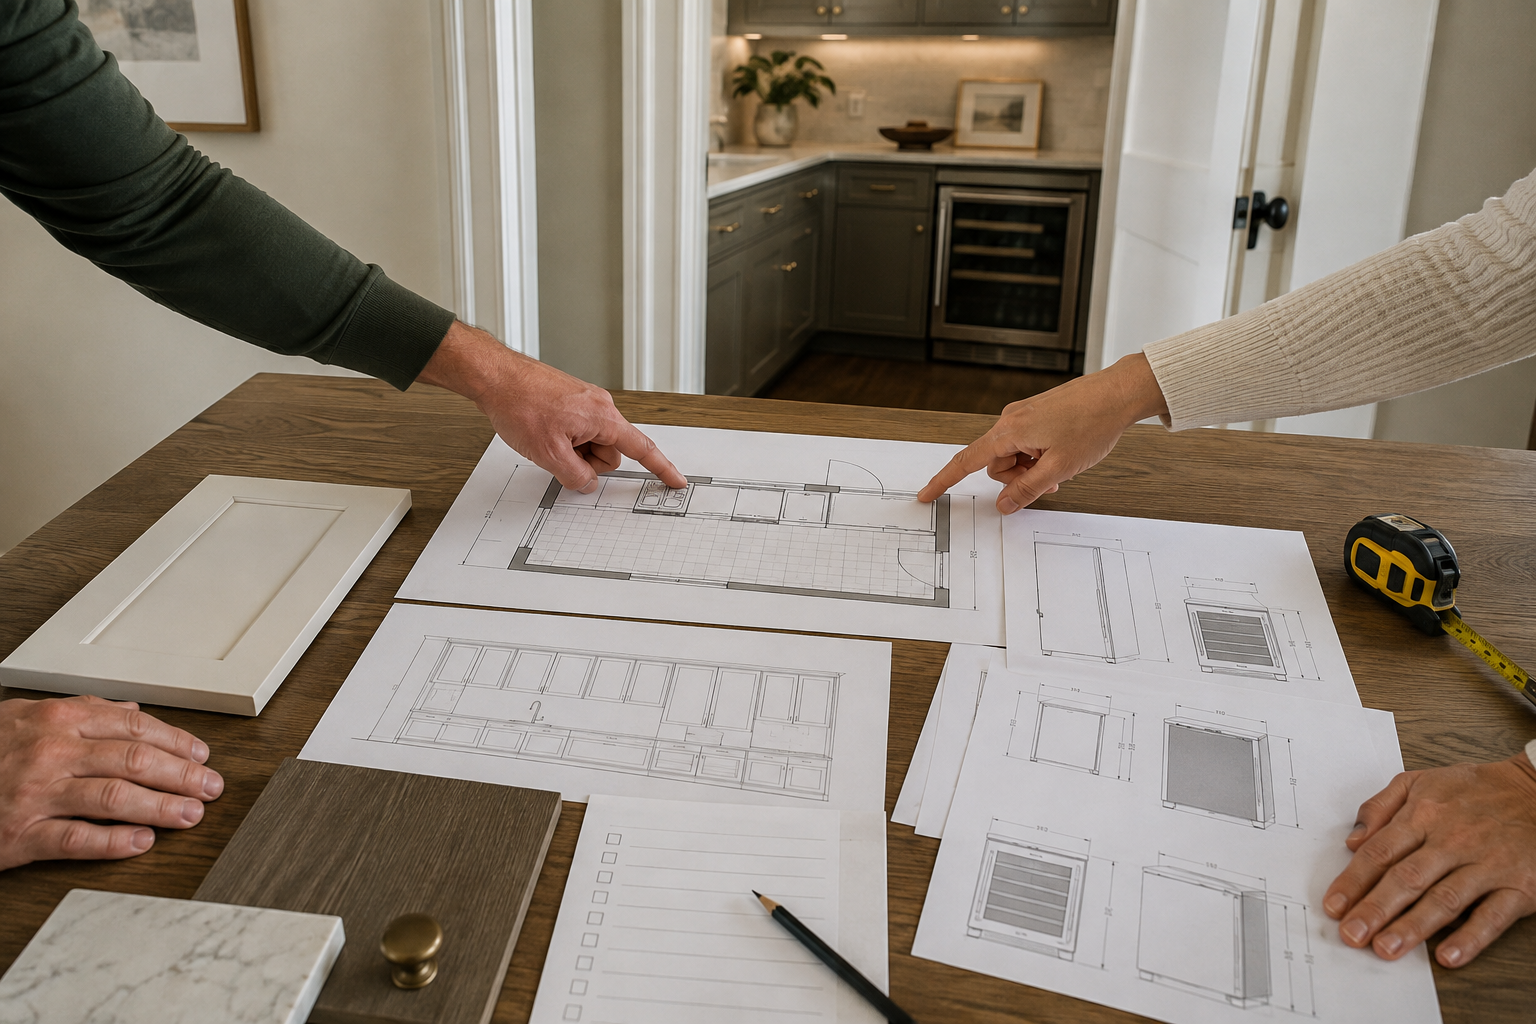
Bring the floor plan, every wall elevation, appliance specifications, storage list, lighting and outlet locations, plumbing notes, doorway, and finishes into one review. A common mistake is approving an attractive elevation whose appliances do not match the plan depth. Another is selecting a cabinet door, wallpaper, and counter separately without checking how the edges meet. Ask someone unfamiliar with the project to trace the morning routine and the serving route. If they cannot tell where the coffee cups, trash, tray, and dishwasher belong, the drawings need another pass. Clear questions are progress. You are not expected to solve every trade detail; you are making the unresolved details impossible to miss.
10. Confirm responsibilities before ordering begins
Before cabinets are released, confirm field verification, demolition, wall repair, flooring, cabinet installation, countertop templating, appliance delivery, plumbing, electrical, ventilation, paint or wallpaper, trim, inspection, protection, and final adjustment. Identify who supplies each item and who checks that it fits. The final common mistake is assuming “the contractor handles it” while two trades both expect the other to provide a panel, outlet, valve, or finished end. Ask for an order of operations and keep current specifications in one folder. You can do this without knowing construction jargon: name the item, the location, the responsible person, and the date it must be ready. That calm handoff is what turns a good pantry idea into a room that works.
Connect the pantry to the rest of the kitchen
A pantry works best when its appliances, storage, and doorway support the main room instead of creating a second traffic jam.
Plan a Built-In Storage Wall Check Appliance MeasurementsTest the pantry route before cabinetry is fixed
Use StilePath to place the pantry cabinets, appliances, doors, counters, and the kitchen-to-table route in one 3D plan. Start free, walk through the ordinary routine, and bring clearer questions to your cabinetmaker and trades.
Start Planning Free