
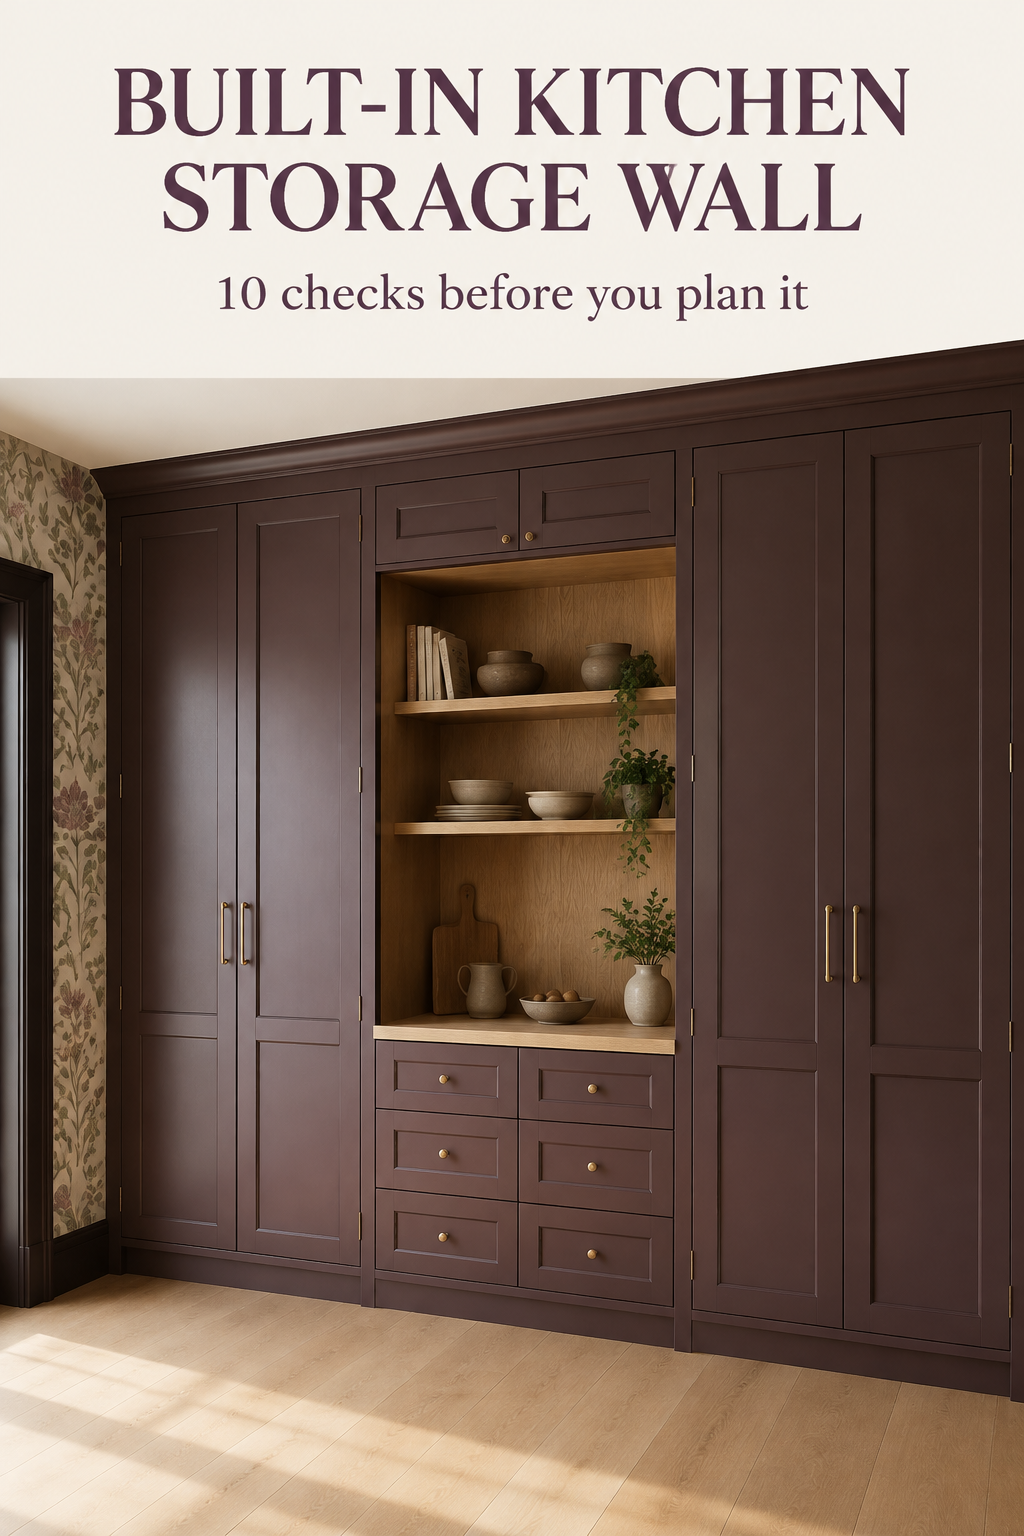
Built-In Kitchen Storage Wall: 10 Checks Before You Plan It
A full storage wall can make a kitchen feel calm, architectural, and genuinely easier to use. It can also turn into an expensive row of awkward doors if the wall is treated like a blank rectangle. You do not need to be a cabinetmaker to begin well. Get your tape, pencil, and paper, record what the room gives you, and write down what the wall must hold. The useful work is noticing ordinary things: a casing that projects, a coffee maker that needs air above it, or a grocery bag that needs somewhere to land. These ten checks help you turn an inspiring built-in look into a plan your cabinet provider can verify and build.
1. Measure the wall and every interruption
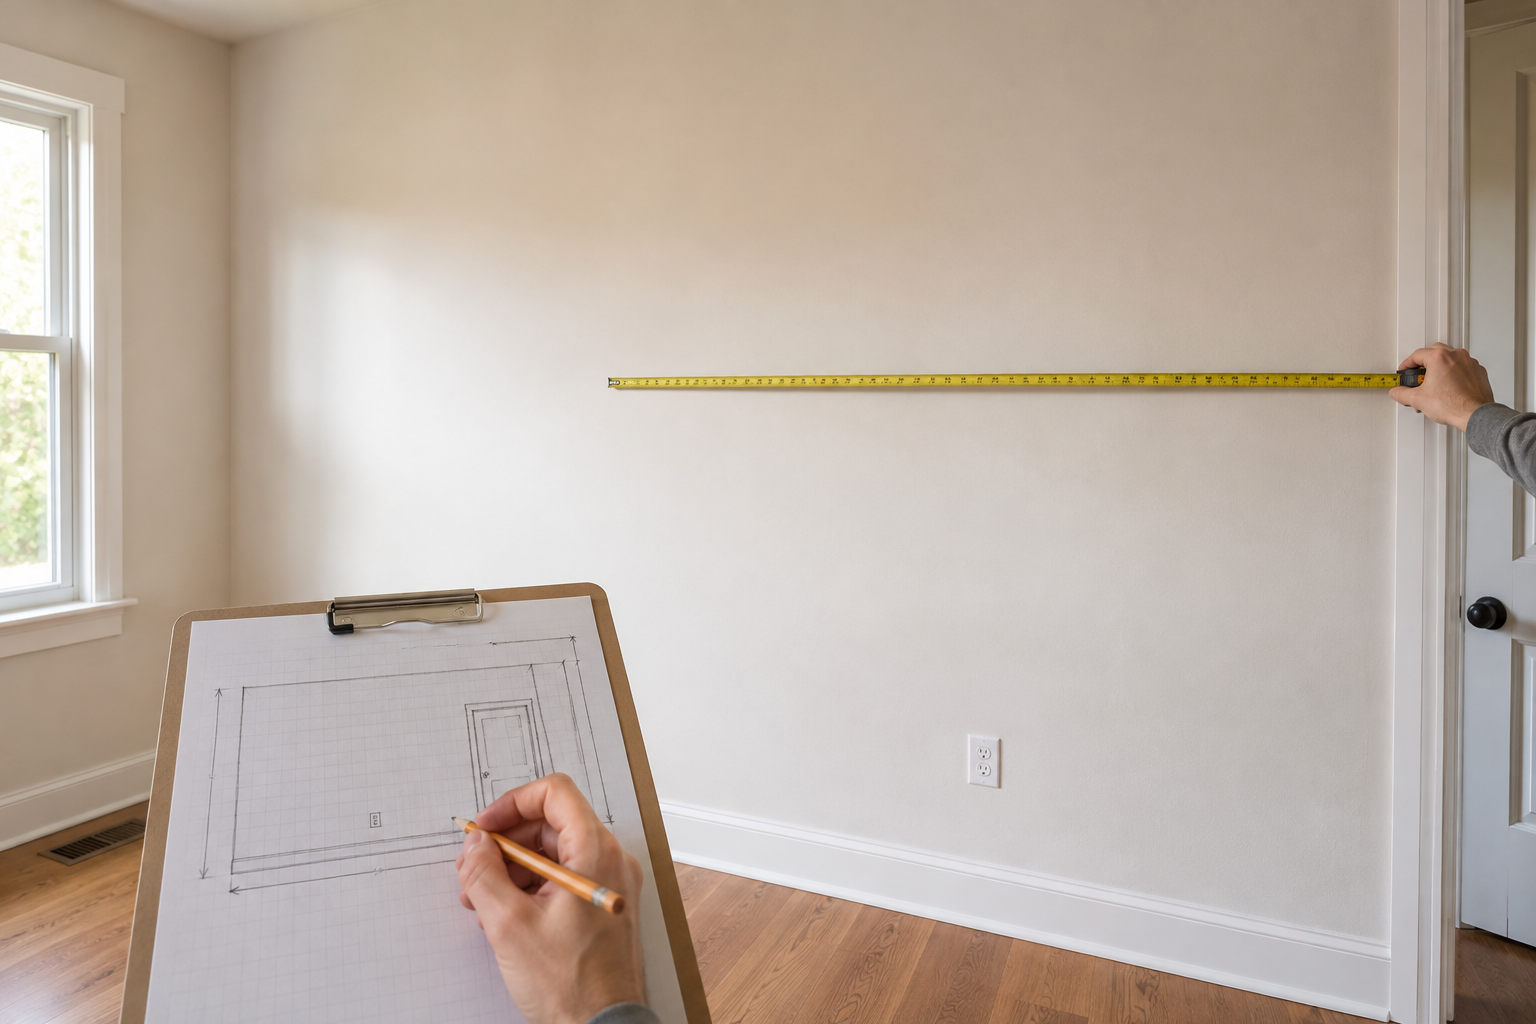
Measure the wall width at the floor, counter height, and near the ceiling, then record ceiling height in several places. Add door and window casing, baseboards, switches, outlets, vents, returns, thermostats, and anything else that projects. A common mistake is writing one overall width and assuming the wall is square. Another is measuring drywall to drywall while forgetting that a nearby door handle or casing needs room. Your sketch can be rough; accuracy matters more than drawing talent. Label each number immediately and take straight-on photos. A cabinet professional should field-verify the room before ordering, but your careful first pass will reveal the questions that deserve attention early.
2. Decide what deserves a door and what can stay open
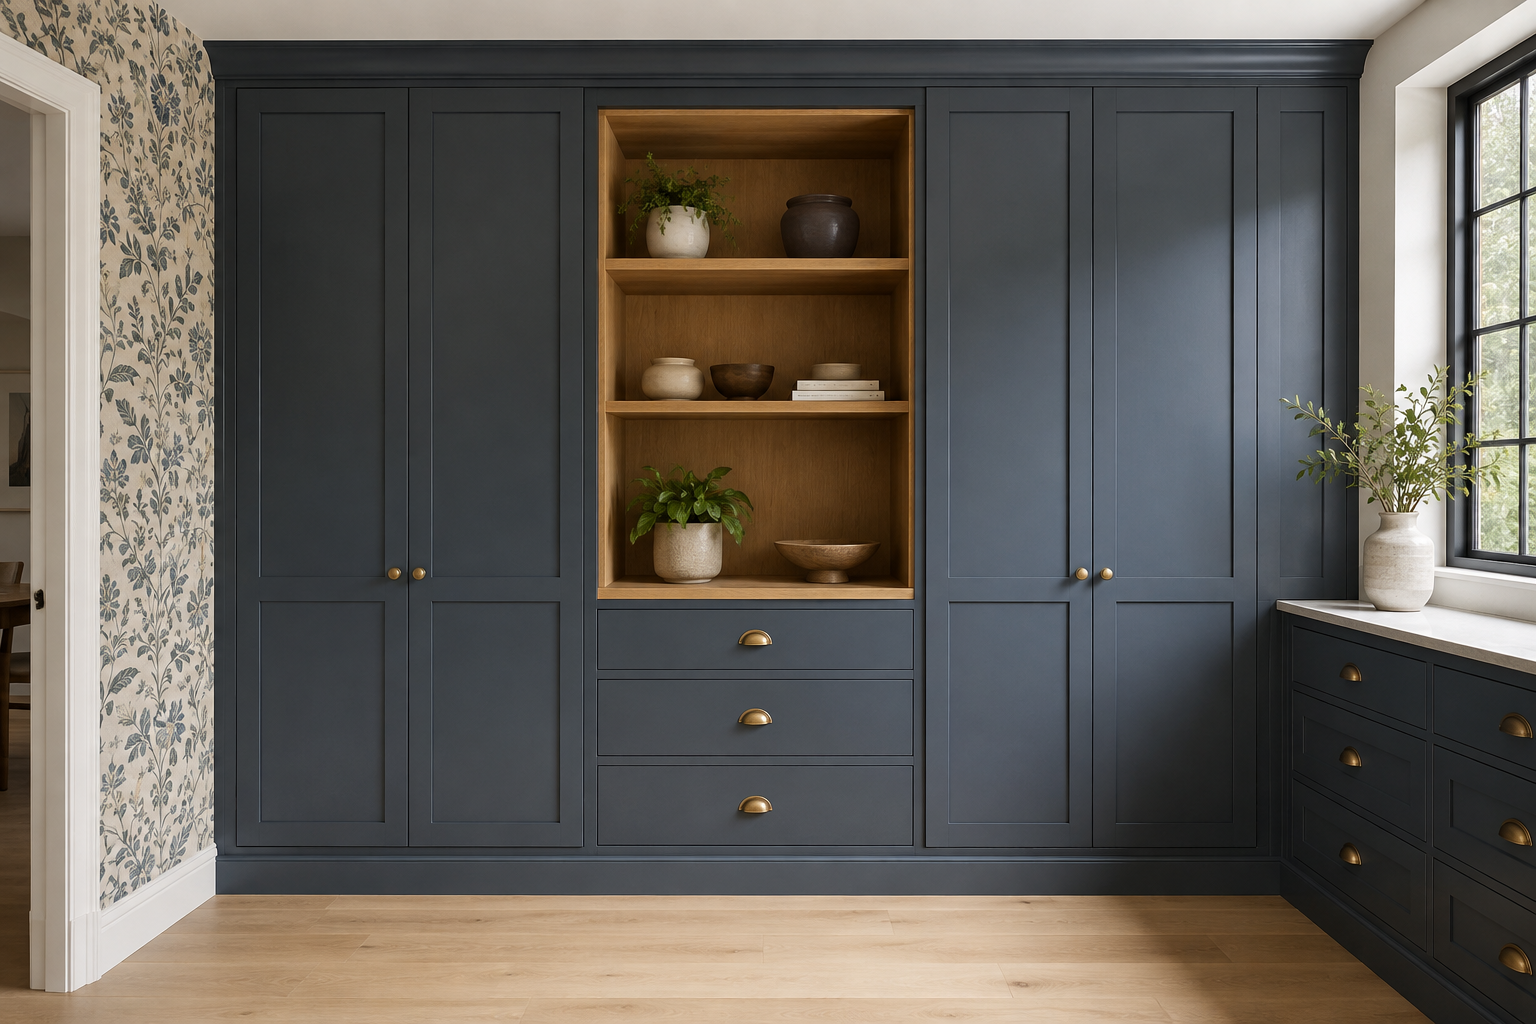
List what will live here before dividing the elevation. Everyday groceries, bulk items, small appliances, serving pieces, mail, and charging cords usually benefit from closed storage. A small open hutch can give the wall breathing room and provide a useful surface, but every open shelf asks to be styled and dusted. People often copy a wall with too many display niches, then discover they lost the storage that justified the project. Others close everything and create a visually heavy block. Start with the practical inventory, choose one intentional open moment if it helps, and let the remaining doors hide the less photogenic parts of real life.
3. Give the hutch a real job and a landing counter
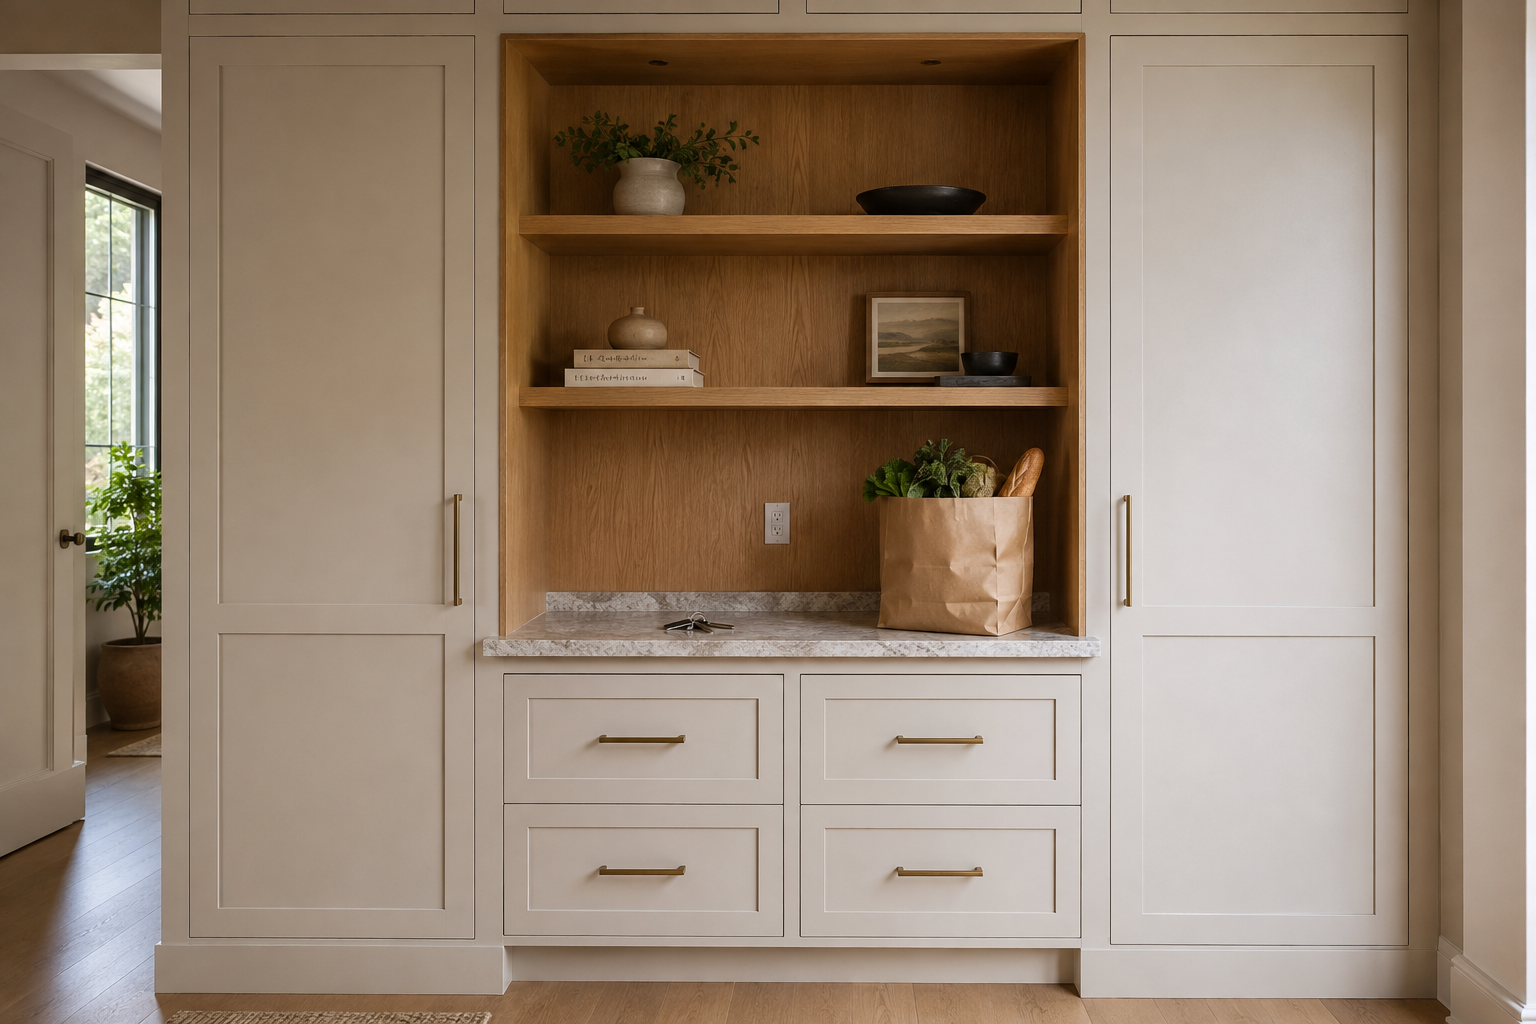
If the wall includes a recessed hutch, decide whether it is a grocery landing spot, coffee station, serving area, charging place, or display surface. Measure the items that will sit there and keep enough clear counter in front of them. A common mistake is making the recess beautiful but too shallow for the coffee maker, too dark for useful work, or too high to set down a heavy bag comfortably. Another is leaving an unexplained knee opening that reads like a desk when storage was the goal. Draw the counter, drawers, shelves, outlet, and lighting as one unit. The hutch should earn its space every day, not only in the finished photograph.
4. Test every door, pullout, and nearby aisle
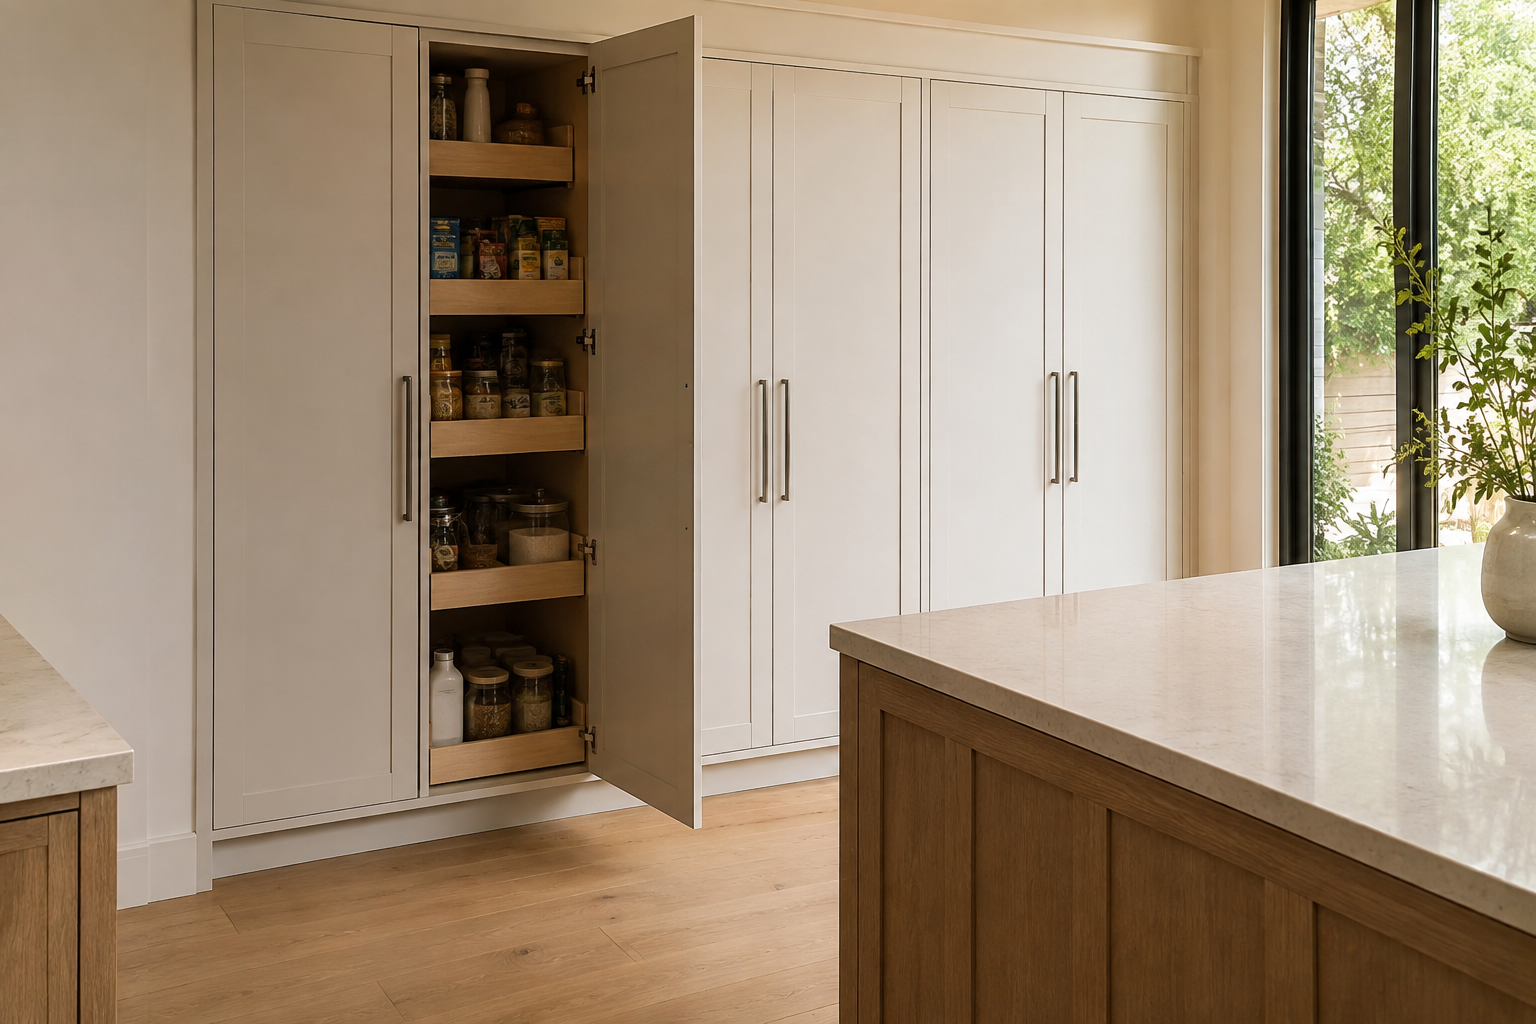
Draw the swing of each tall door and the full extension of every drawer or rollout. Then add the island, table, doorway, refrigerator door, and the route people use through the kitchen. A wide pantry door may fit on paper yet stop against an island before an interior rollout can clear it. Two doors near a corner can also collide by their handles. People often check the closed elevation and forget the open kitchen. Use painter's tape on the floor or hold a piece of cardboard at the planned door width. It is an easy test anyone can do, and it makes a clearance problem much easier to explain before cabinet sizes are fixed.
5. Choose the ceiling transition before choosing crown
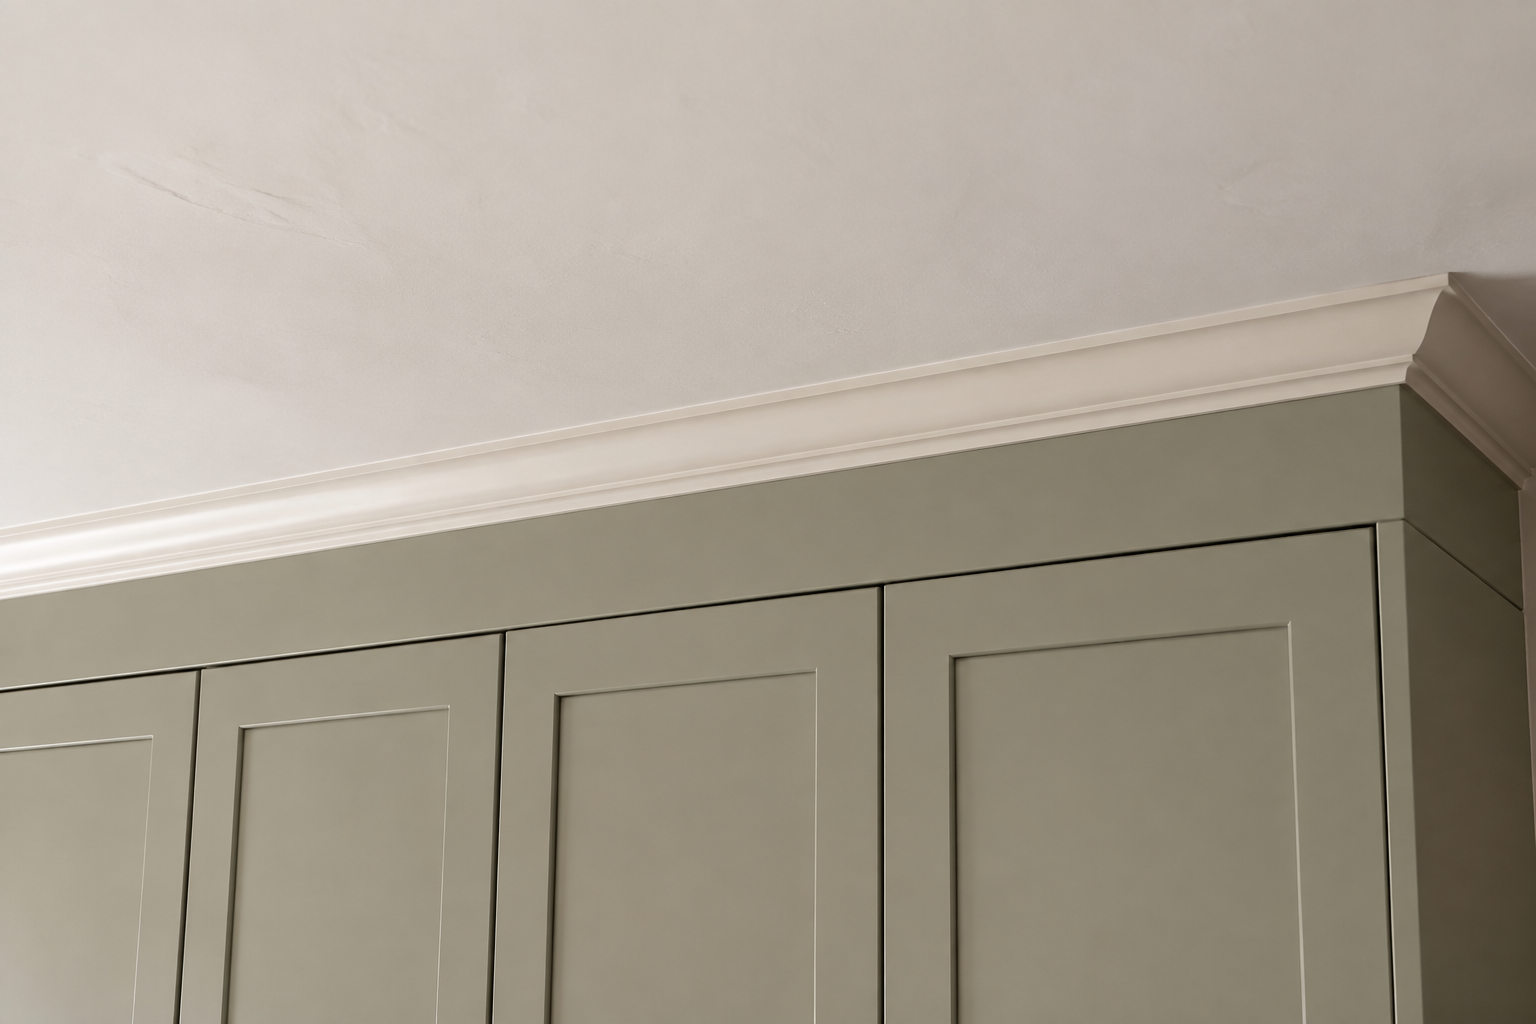
Measure the ceiling across the entire run and decide whether cabinets stop below it, meet a flat fascia, or finish with crown molding. Old and new ceilings can both rise, dip, or wave. A common mistake is ordering a tall cabinet and decorative crown from one height measurement, leaving no room to level the boxes or scribe the trim. Another is asking narrow molding to hide a large change in ceiling height. The cabinet provider can recommend the construction method, but you can help by recording several heights and asking how much adjustment is built into the plan. A simple, intentional transition usually looks better than oversized trim forced to solve an unmeasured condition.
6. Size interiors around the things you actually own
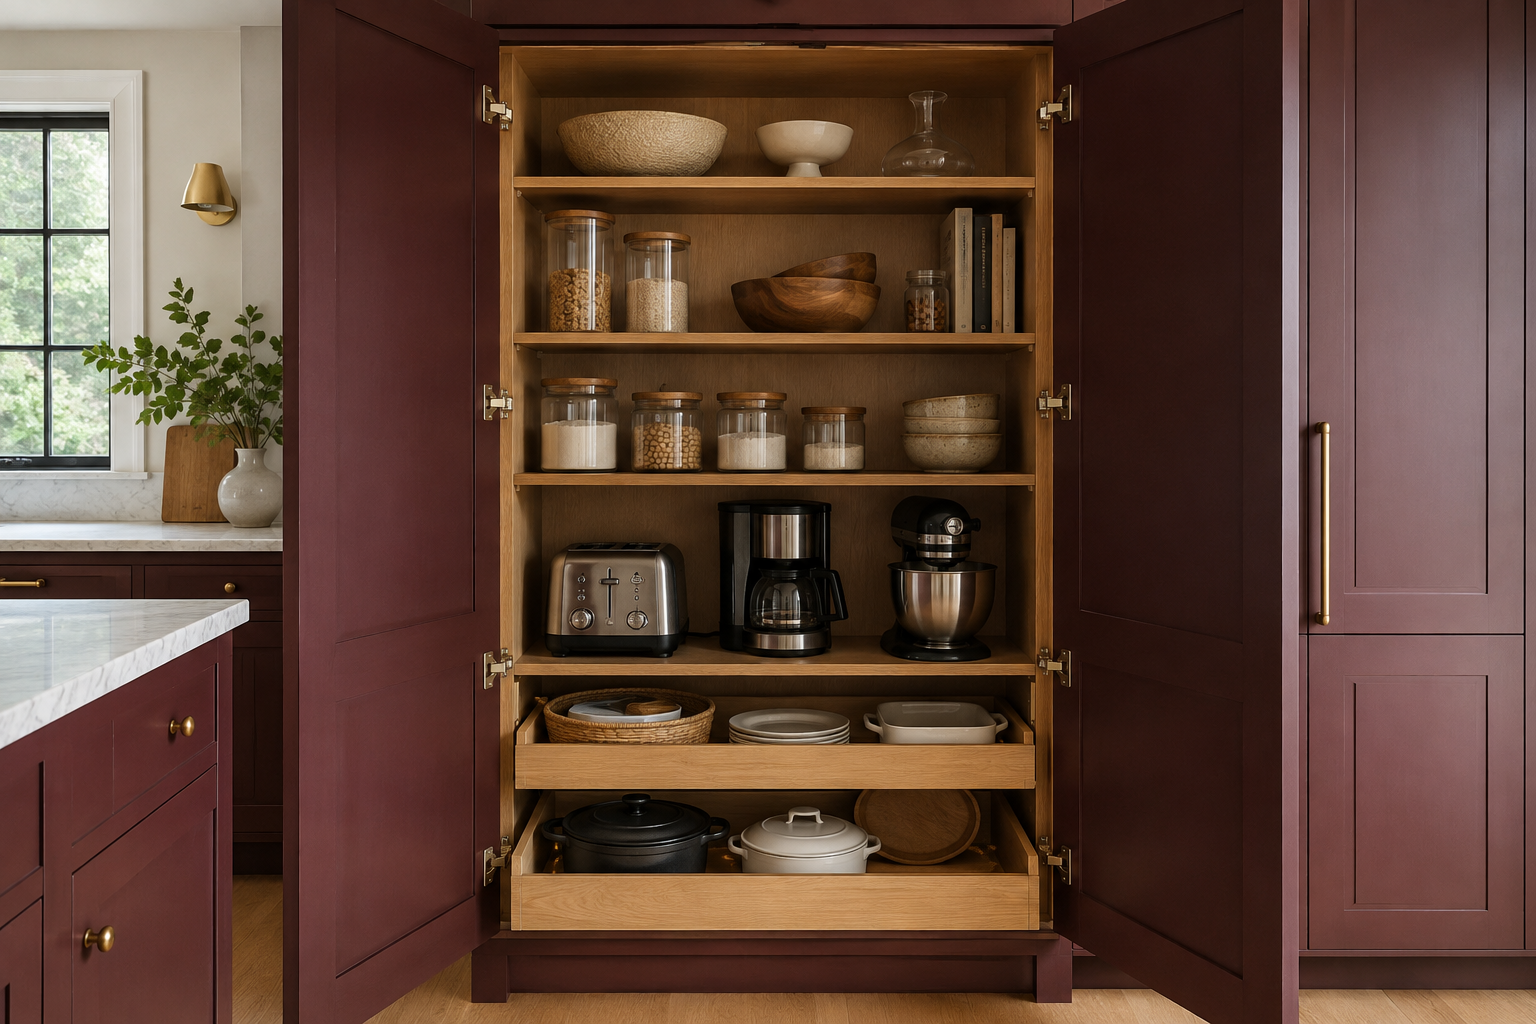
Group the contents by weight, height, and how often you reach for them. Measure the mixer, air fryer, cereal container, serving platter, and anything unusually tall. Put frequent items between knee and eye height, lighter overflow above, and heavy appliances on supported low shelves or pullouts. A common mistake is dividing a tall pantry into equal shelves because the elevation looks orderly. Equal shelves rarely match real groceries and equipment. Another is specifying a pullout without checking whether the door opens far enough for it. Adjustable shelves preserve flexibility; properly rated pullouts improve access. Ask the provider to confirm usable interior dimensions and hardware capacity, not only the outside cabinet size.
7. Coordinate outlets, lighting, and appliance instructions
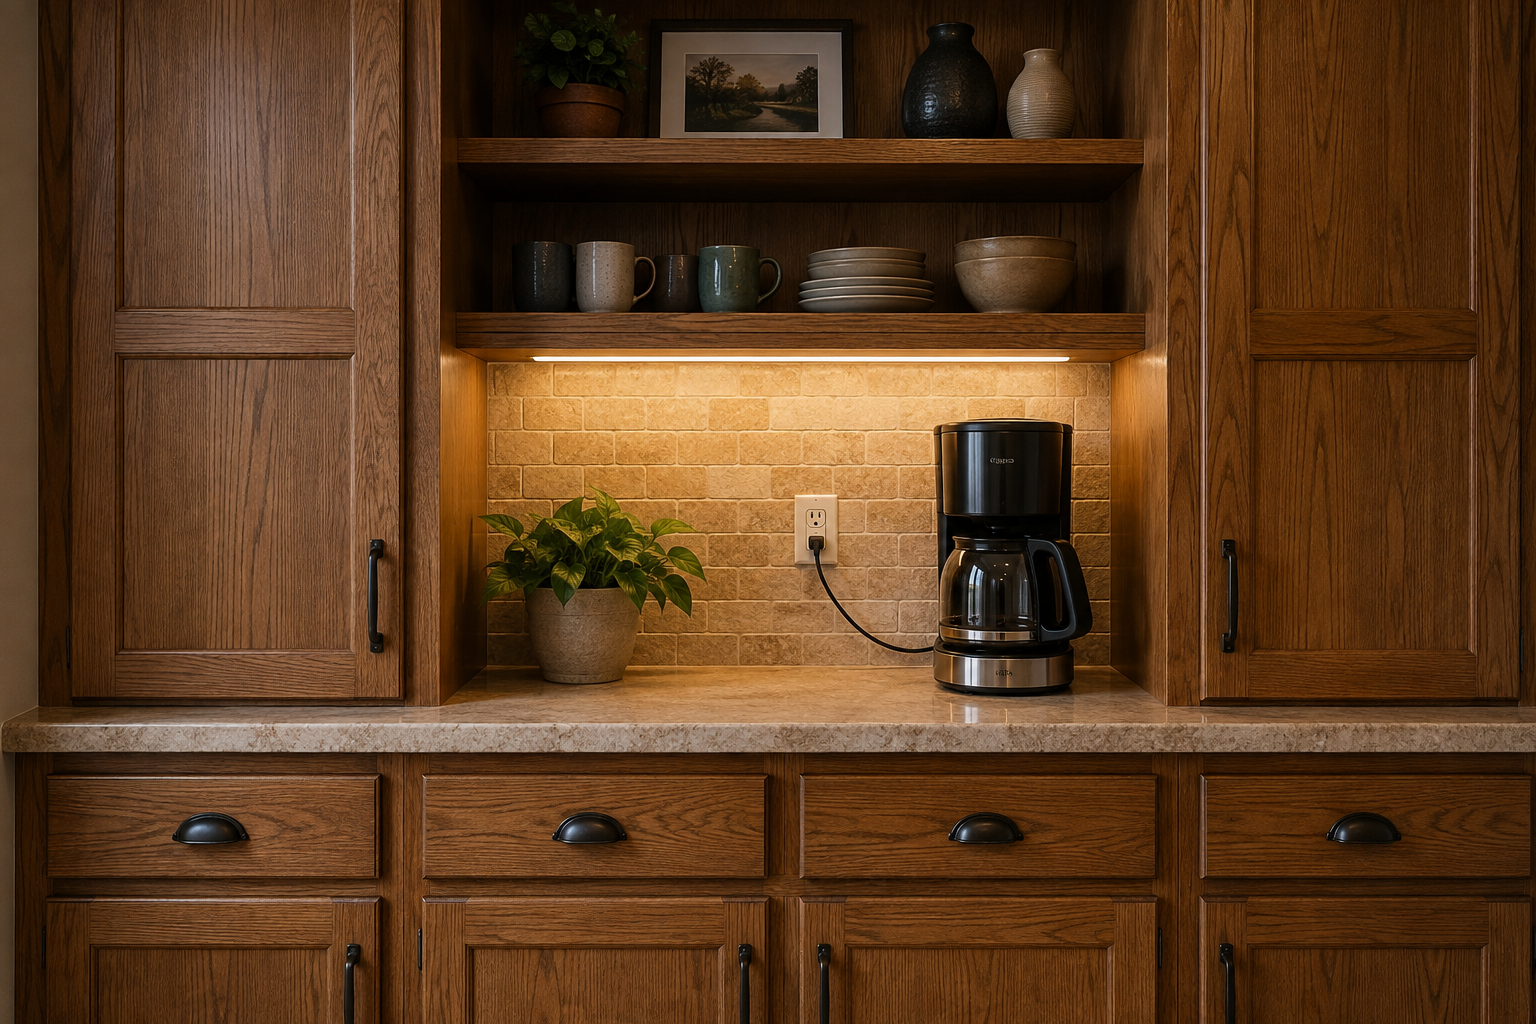
Mark every outlet, switch, light, data point, and appliance cord on the elevation. If a coffee maker, toaster, or charging station will live in the hutch, read the manufacturer's clearance and ventilation instructions and plan where cords can reach without crossing the work surface. People often add an outlet after the drawers and backs have been designed, then discover it lands behind a cabinet rail or prevents a drawer from closing. Lighting can create the same conflict if the wire path and driver have no accessible home. You can choose the desired locations, but licensed trades and the cabinet provider should confirm electrical work, code, service access, heat, and manufacturer requirements before installation.
8. Leave real fillers and scribe space at the ends
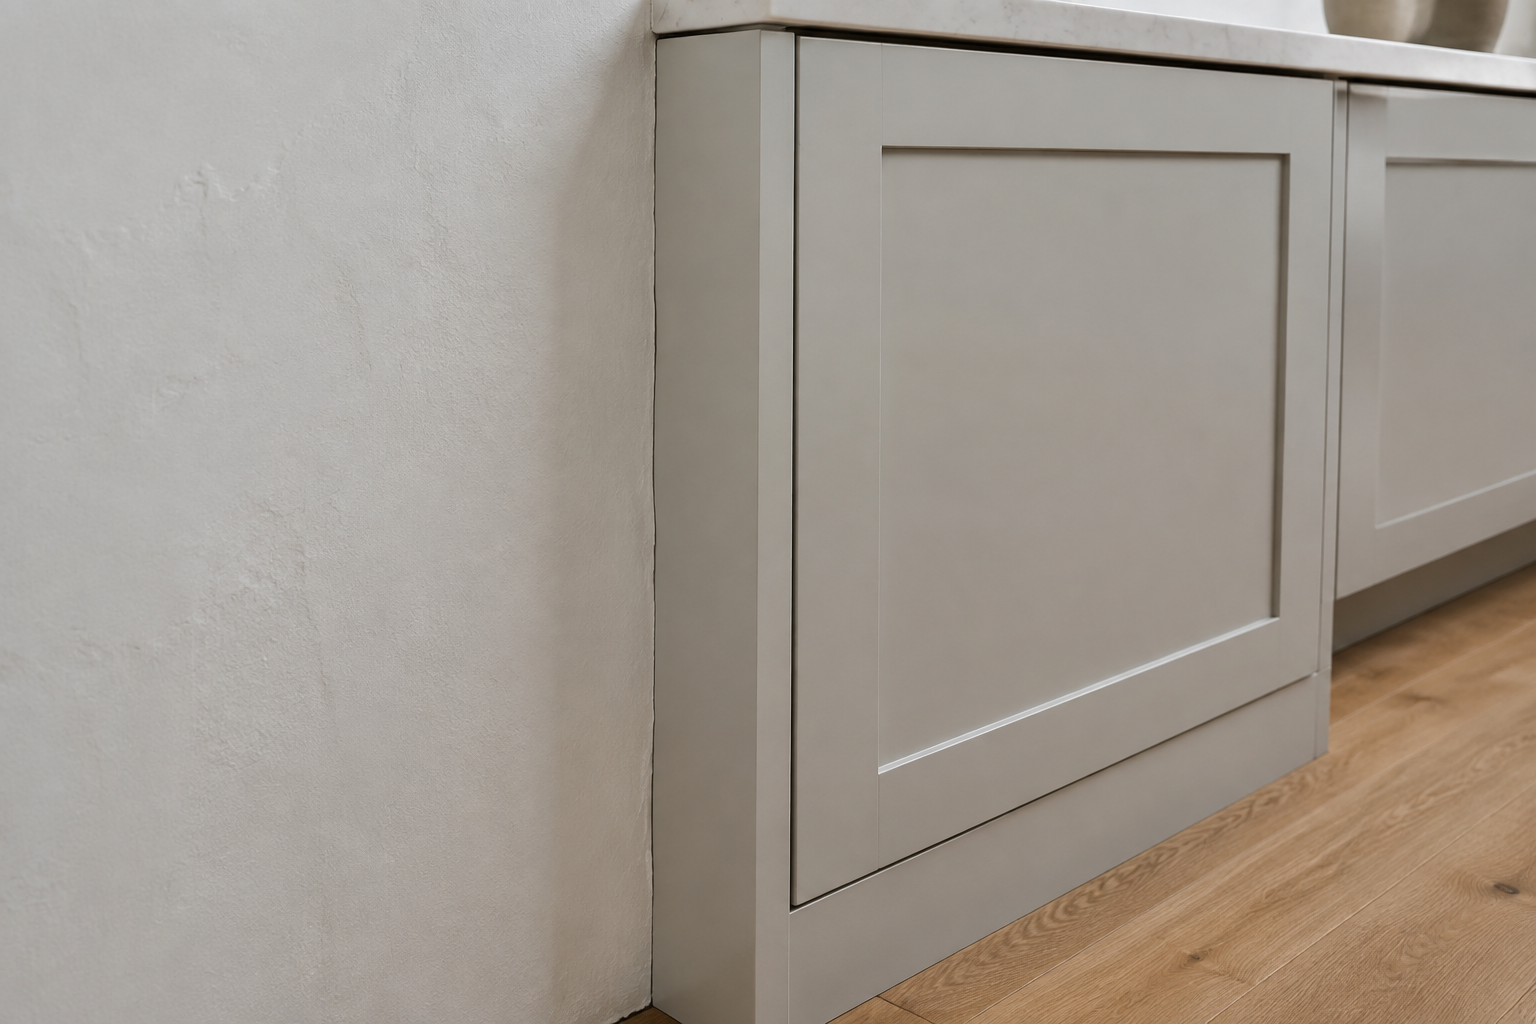
A filler is not wasted space. It gives an end door room to clear a wall, handle, casing, or imperfect corner, and it lets an installer fit a straight cabinet run to a wall that is not straight. A common mistake is using every inch for cabinet boxes and expecting the first door to open against drywall. Another is drawing the filler as a tiny decorative line that cannot absorb the measured wall variation. Record how far adjacent trim projects and ask what filler width the door style, hardware, and installation method require. The final scribe belongs to the installer, but the design must reserve enough material for that work before the order is placed.
9. Review one dimensioned elevation with the whole room
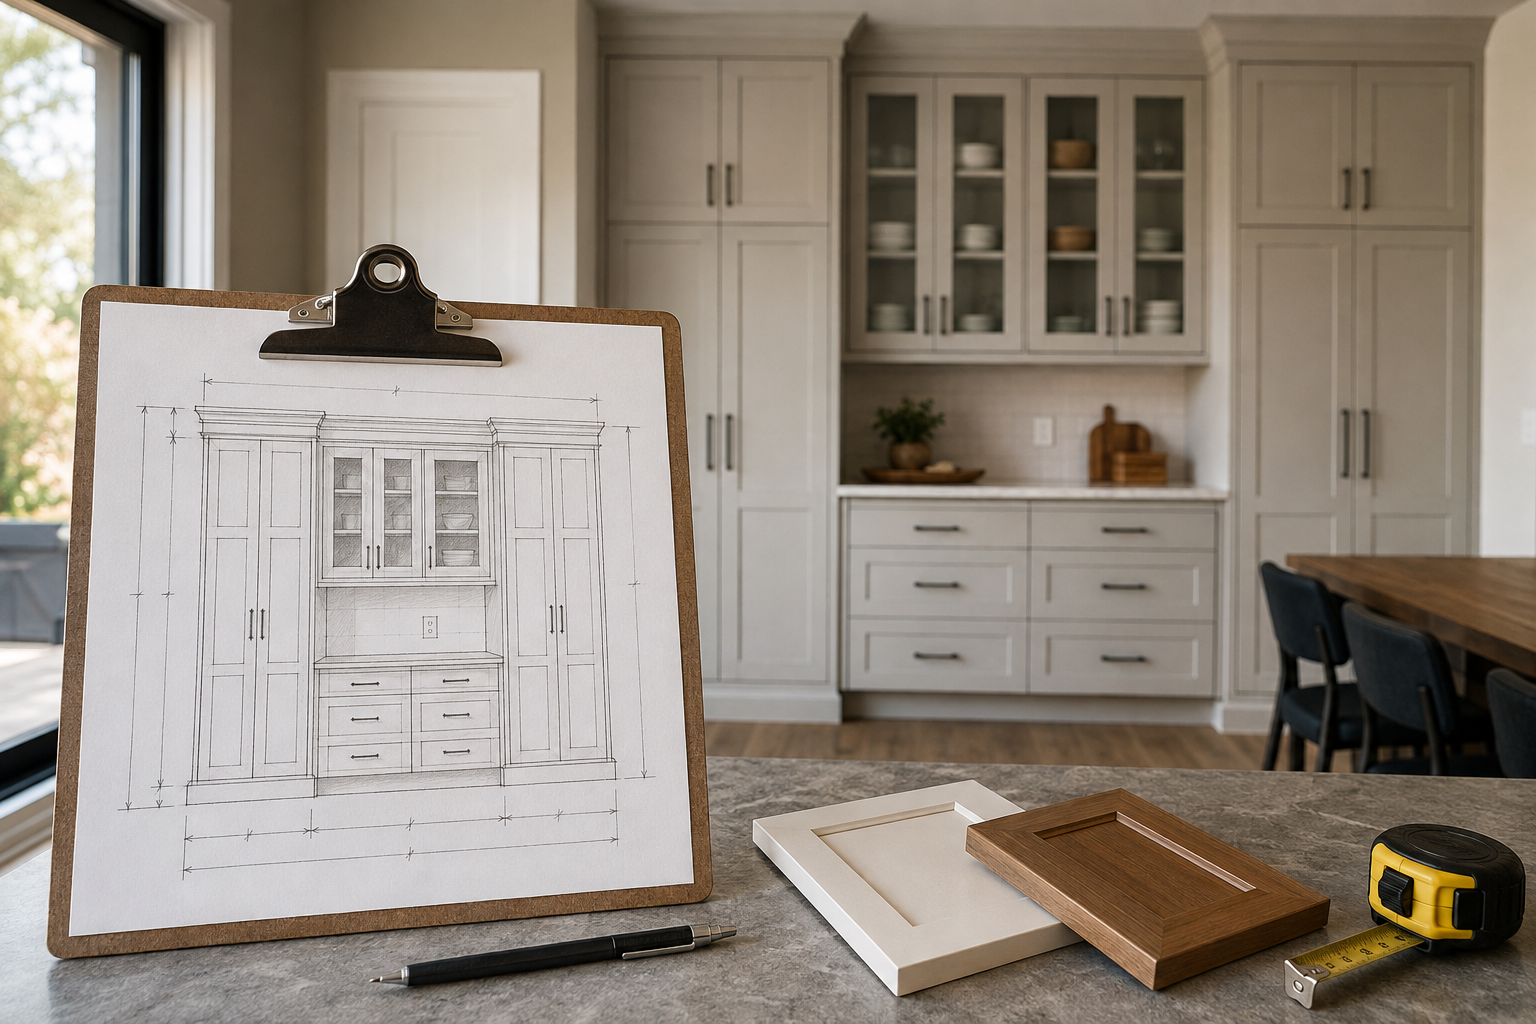
Put the entire wall on one current elevation: overall width and height, every cabinet, door direction, drawer, hutch opening, counter, shelf, appliance, outlet, light, filler, finished side, crown, and toe kick. Then compare it with the floor plan so the island and traffic path remain visible. A common mistake is approving attractive cabinet boxes one at a time without noticing that the full composition is off-center or an open door blocks the aisle. Another is letting multiple undated screenshots circulate. Keep one revision, mark unresolved items clearly, and ask everyone quoting or building the work to use that same drawing.
10. Make the final approval a coordinated handoff
Before ordering, gather the field measurements, plan, elevation, appliance specifications, interior accessories, finish schedule, hardware, fillers, panels, molding, lighting, electrical notes, delivery route, installation responsibilities, exclusions, warranty, and change process. The final common mistake is assuming a cabinet seller, installer, electrician, or countertop fabricator will automatically reconcile everyone else's documents. You do not need to manage the construction details alone. Ask each provider to identify what they verified, what remains an allowance or field condition, and who owns the next decision. A short coordinated review now protects the calm built-in wall you are trying to create—and keeps a late surprise from becoming an expensive cabinet remake.
Connect the storage wall to the rest of the cabinet plan
A built-in wall works best when its door clearances, pantry storage, and appliance zones agree with the rest of the room. Continue with these practical checks.
Plan Pantry Cabinet Storage Check Cabinet Fillers and PanelsSee the whole storage wall before you order it
Use StilePath to place the storage wall, hutch, island, appliances, doors, and traffic paths in one kitchen plan. Start free, keep field conditions marked for provider verification, and bring a clearer layout into your cabinet conversation.
Start Planning Free