
A convincing built-in should look inevitable and work like cabinetry
The best bookcases feel as though the room was always meant to have them, but that calm result comes from practical decisions: what the wall must hold, where the base cabinets open, how shelves are supported, and what happens at trim, outlets, vents, and ceilings. You can make a strong first plan without being a cabinetmaker. Get a tape, pencil, paper, a few photos, and a sample of the books or objects you actually own. Move from the room outward instead of from a saved image inward. These ten checks will help you prepare a useful brief, spot common conflicts early, and ask better questions before a cabinet order or site-built installation becomes expensive to change.
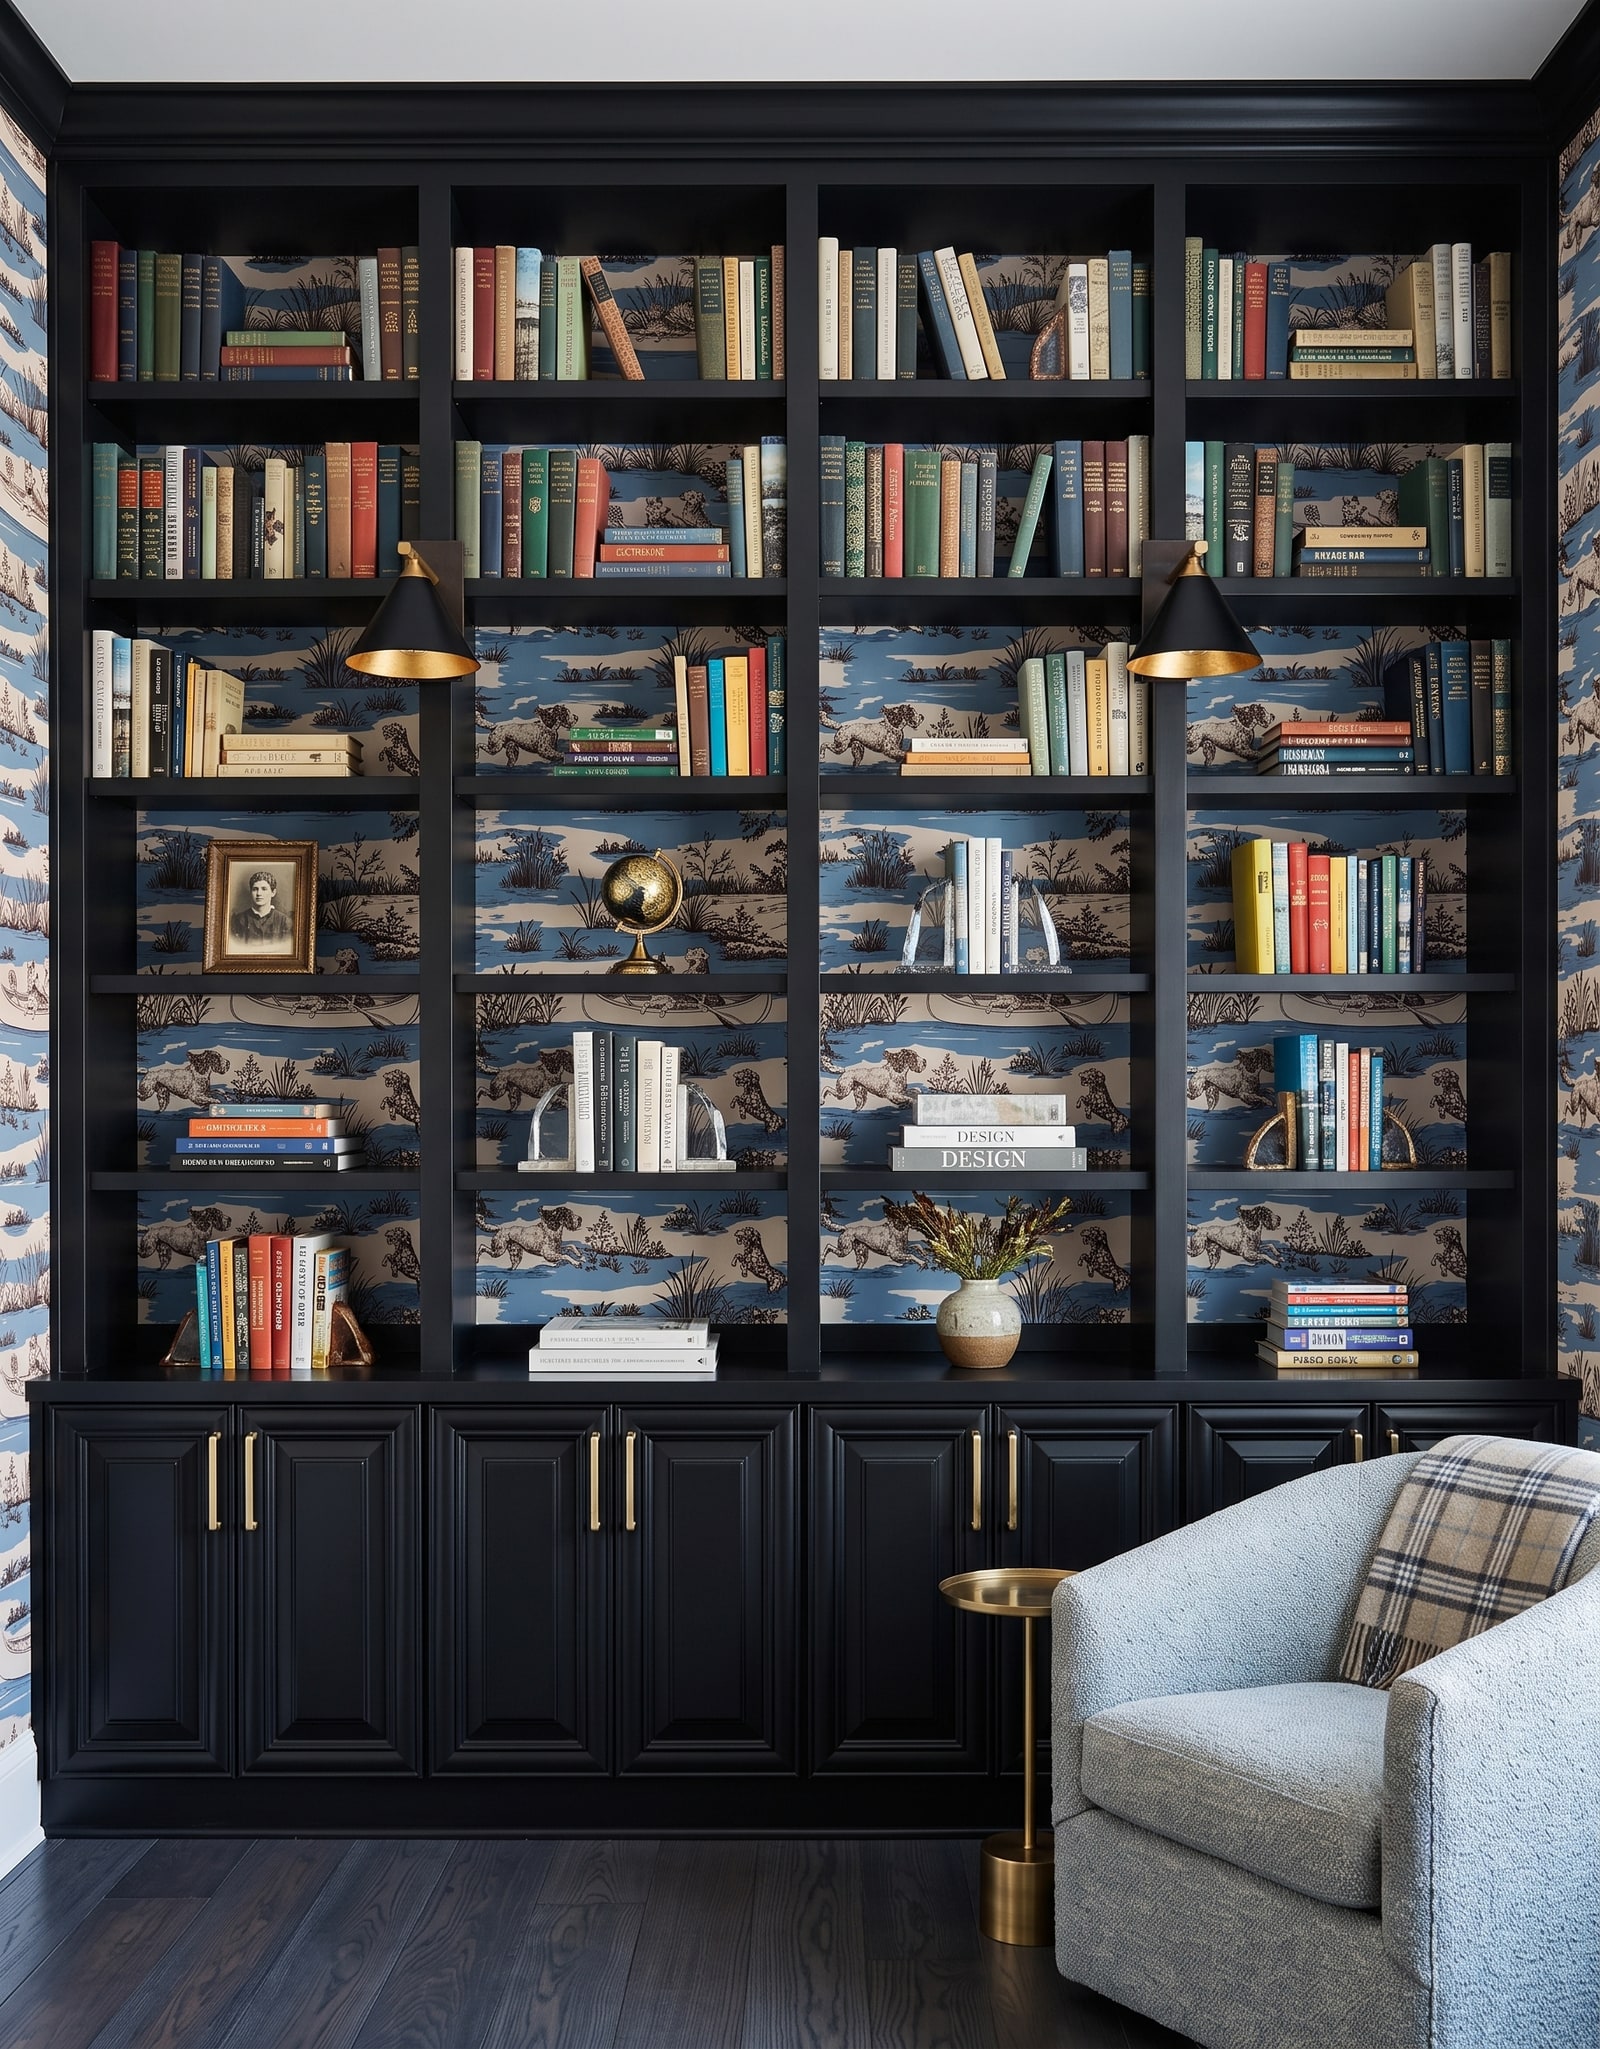
1. Give the wall a clear job
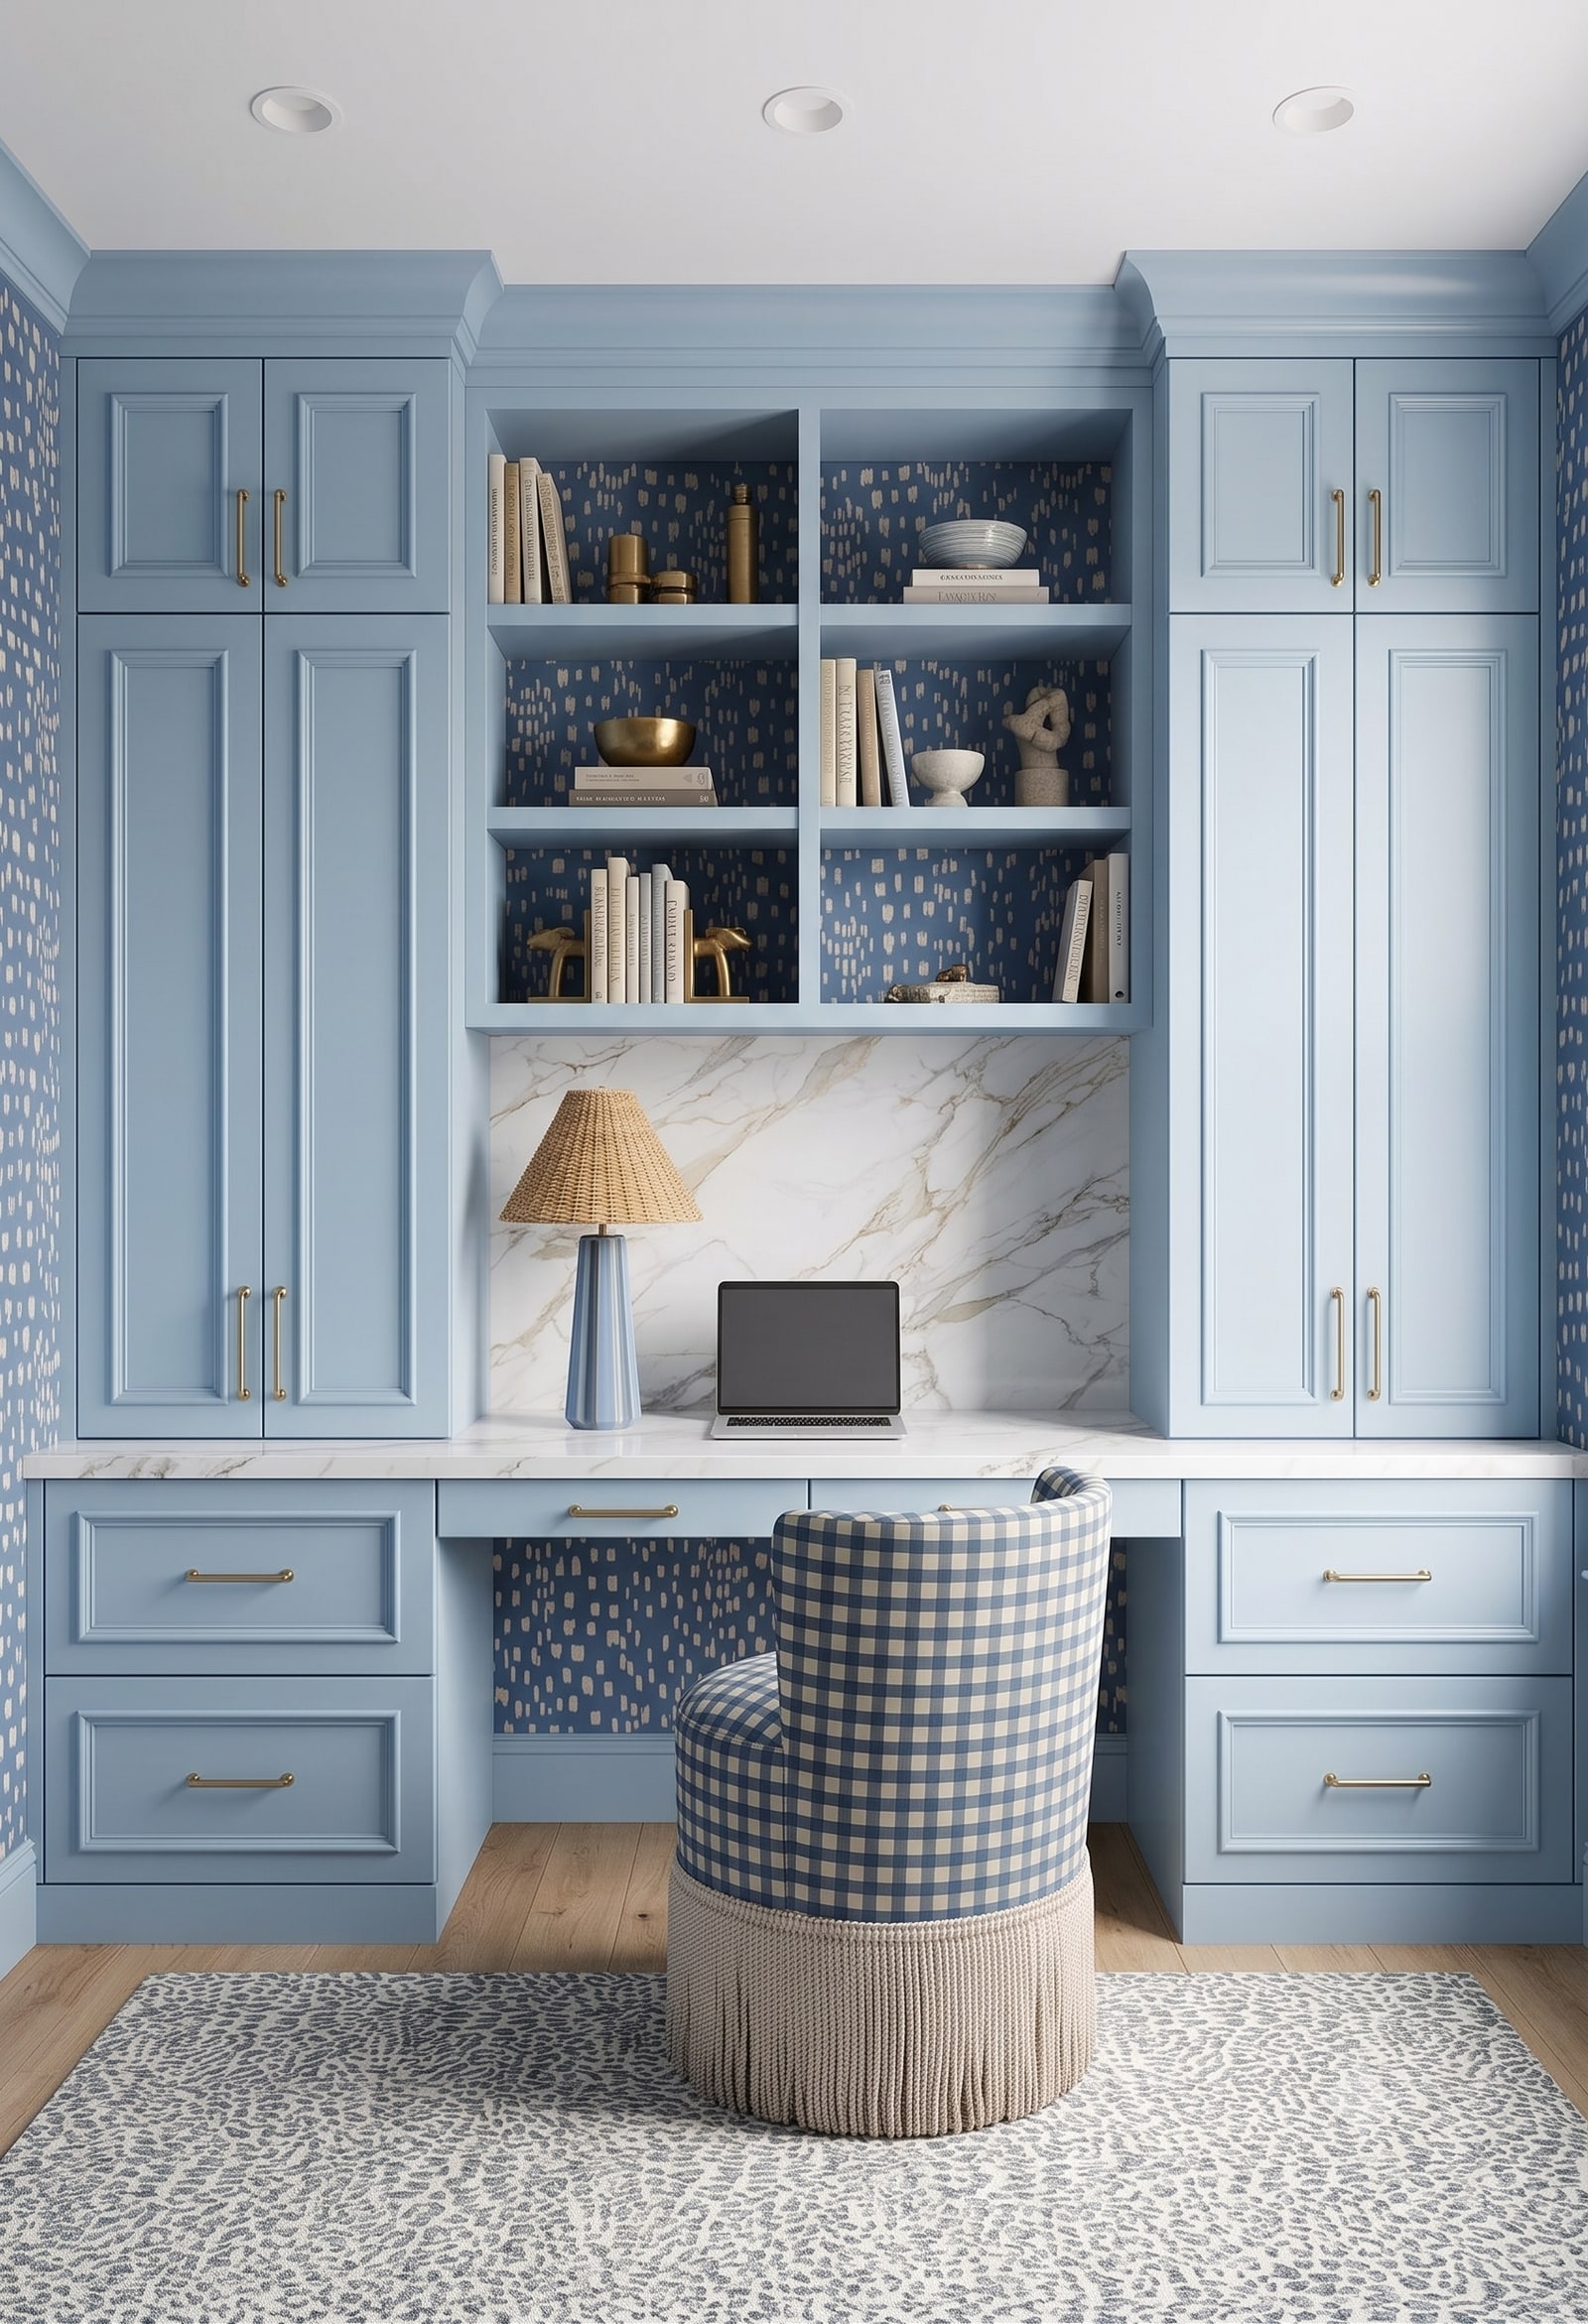
Write down what this built-in must do before dividing the wall into bays. Count books by approximate height, identify art or records that need deeper openings, and decide what belongs behind doors. Include speakers, games, files, charging, a television, or a desk only if those are real needs. A common mistake is drawing perfect symmetry first and forcing every object into repeated openings later. Another is treating closed base cabinets as leftover space without checking what they should hold. Choose one primary role—library, display, media, work, or mixed storage—and let secondary roles support it. A short, honest inventory gives the elevation a reason, and it keeps decorative objects from replacing the storage the room actually needs.
2. Measure the full wall at several heights
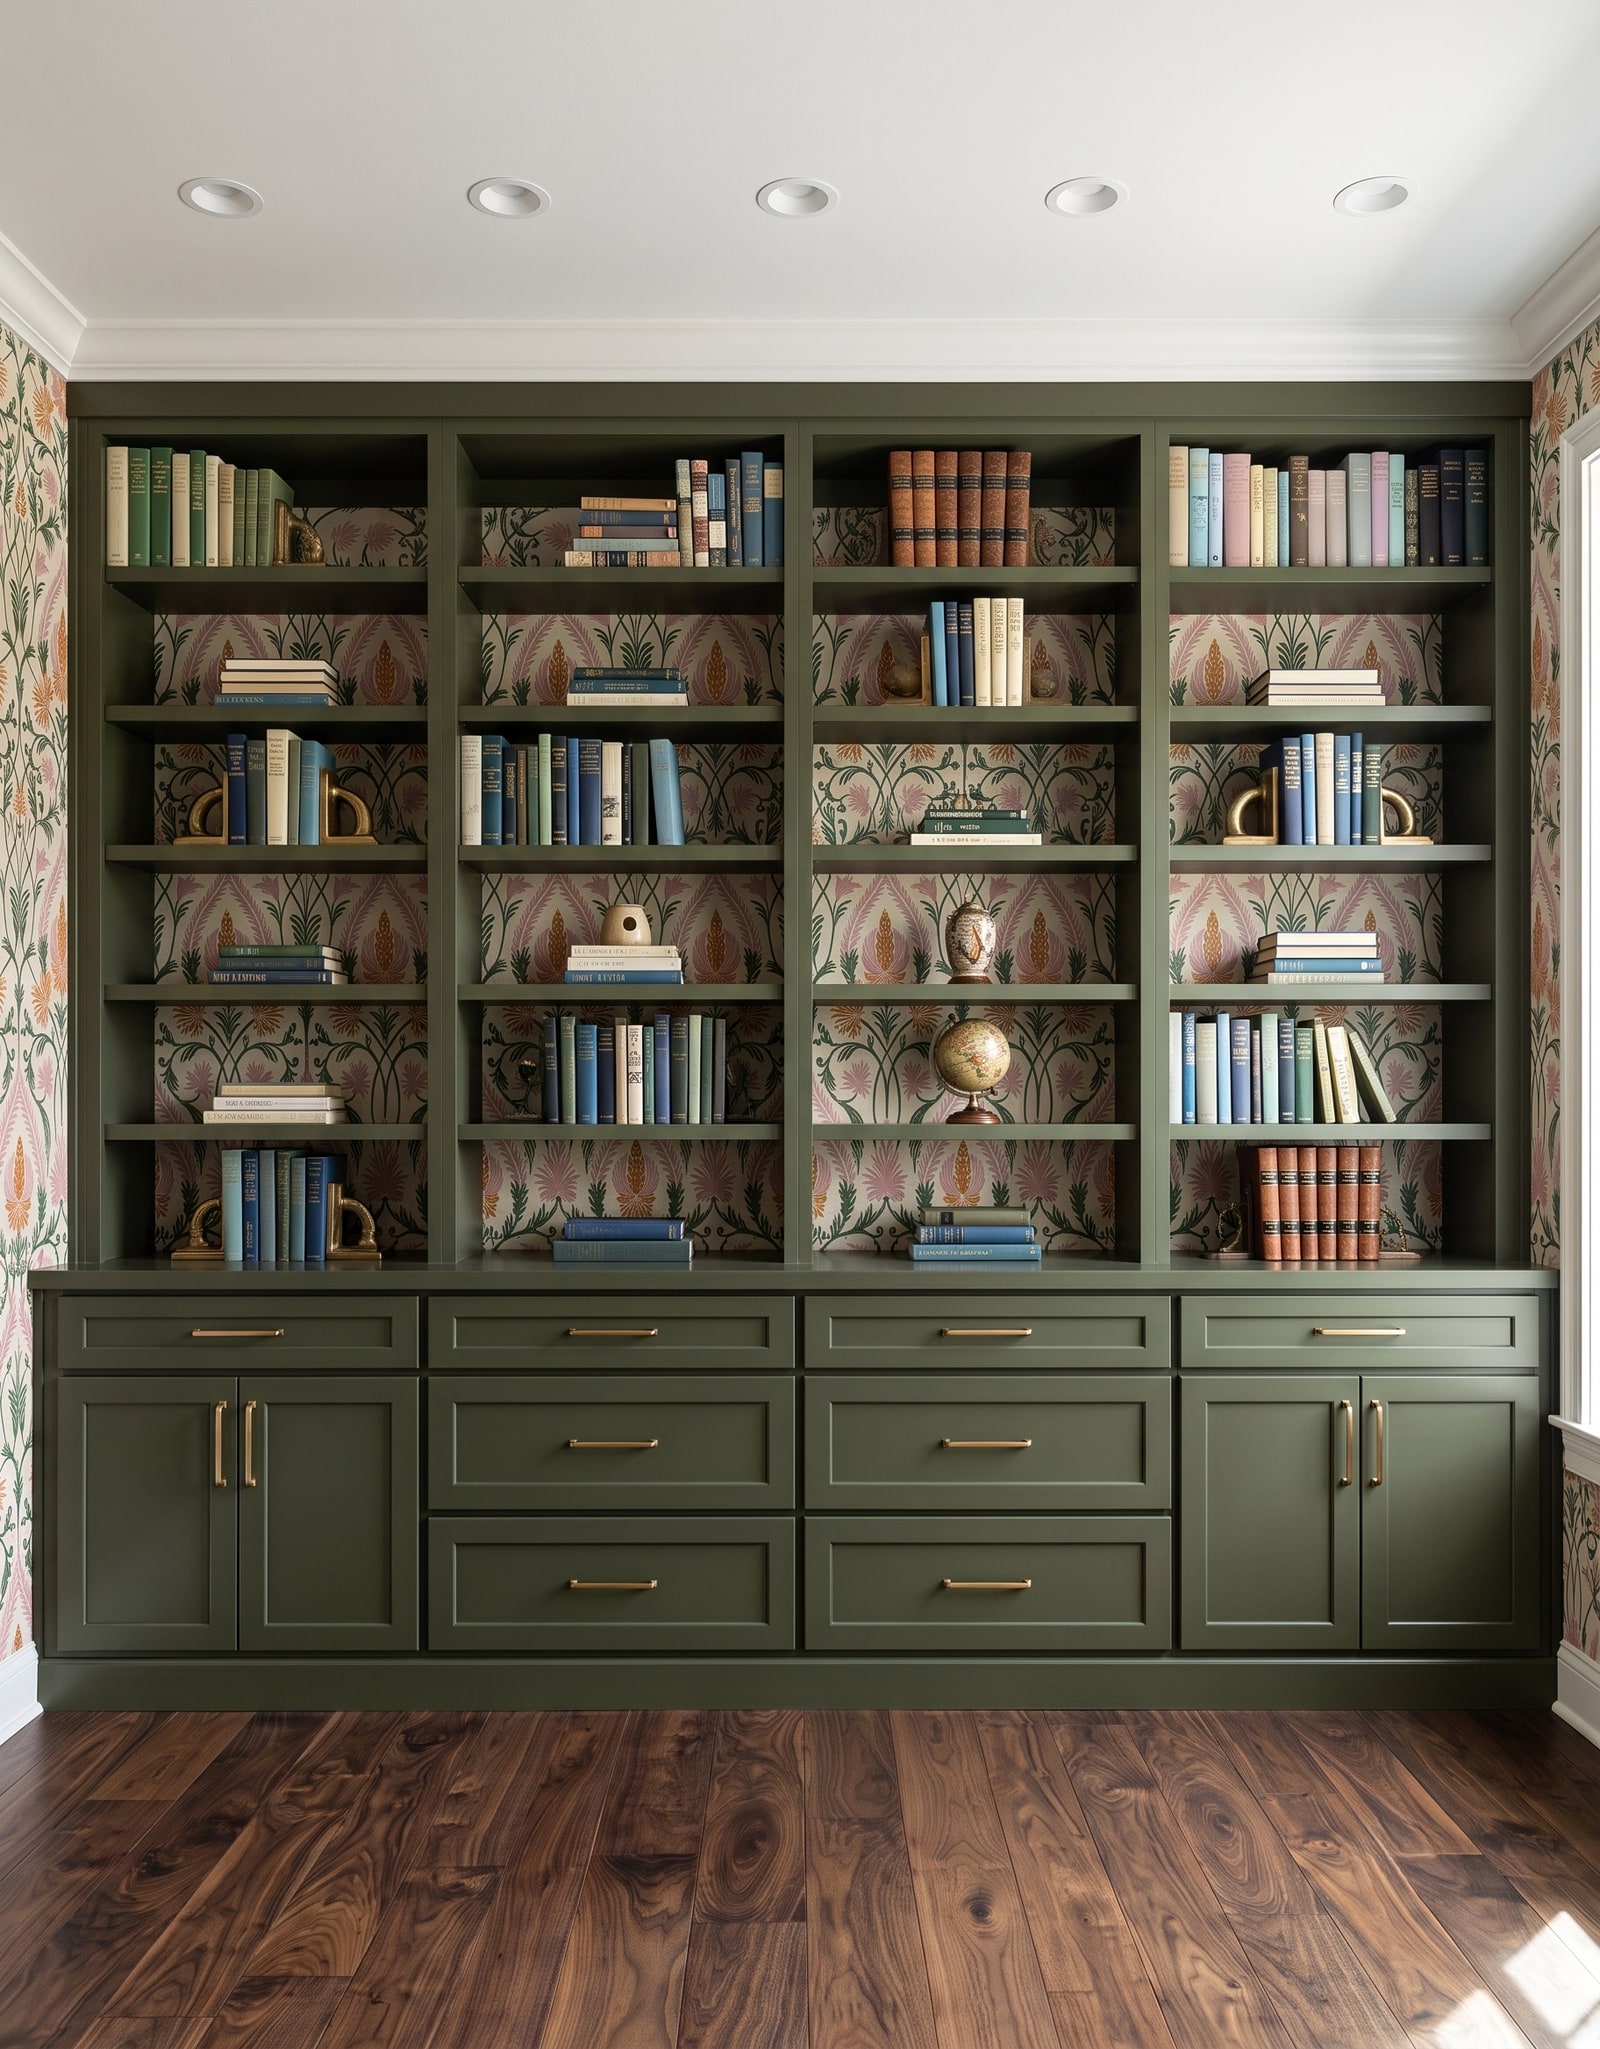
Measure from outside casing to outside casing or from corner to corner at the floor, middle, and near the ceiling. Record the ceiling height at both ends and the center, plus baseboard, crown, picture rail, wainscot, and any wall that visibly leans. Old rooms are rarely perfect rectangles. A common mistake is giving the cabinetmaker one overall width and assuming fillers will absorb everything. Fillers need enough width for scribing, door operation, and intentional-looking reveals; they are not magic. Mark which trim stays, which may be removed, and where room moulding should die into or continue across the built-in. Your first measurements can be simple. Repeat them, photograph the tape position, and let the installer confirm final conditions before fabrication.
3. Protect the opening path of base storage
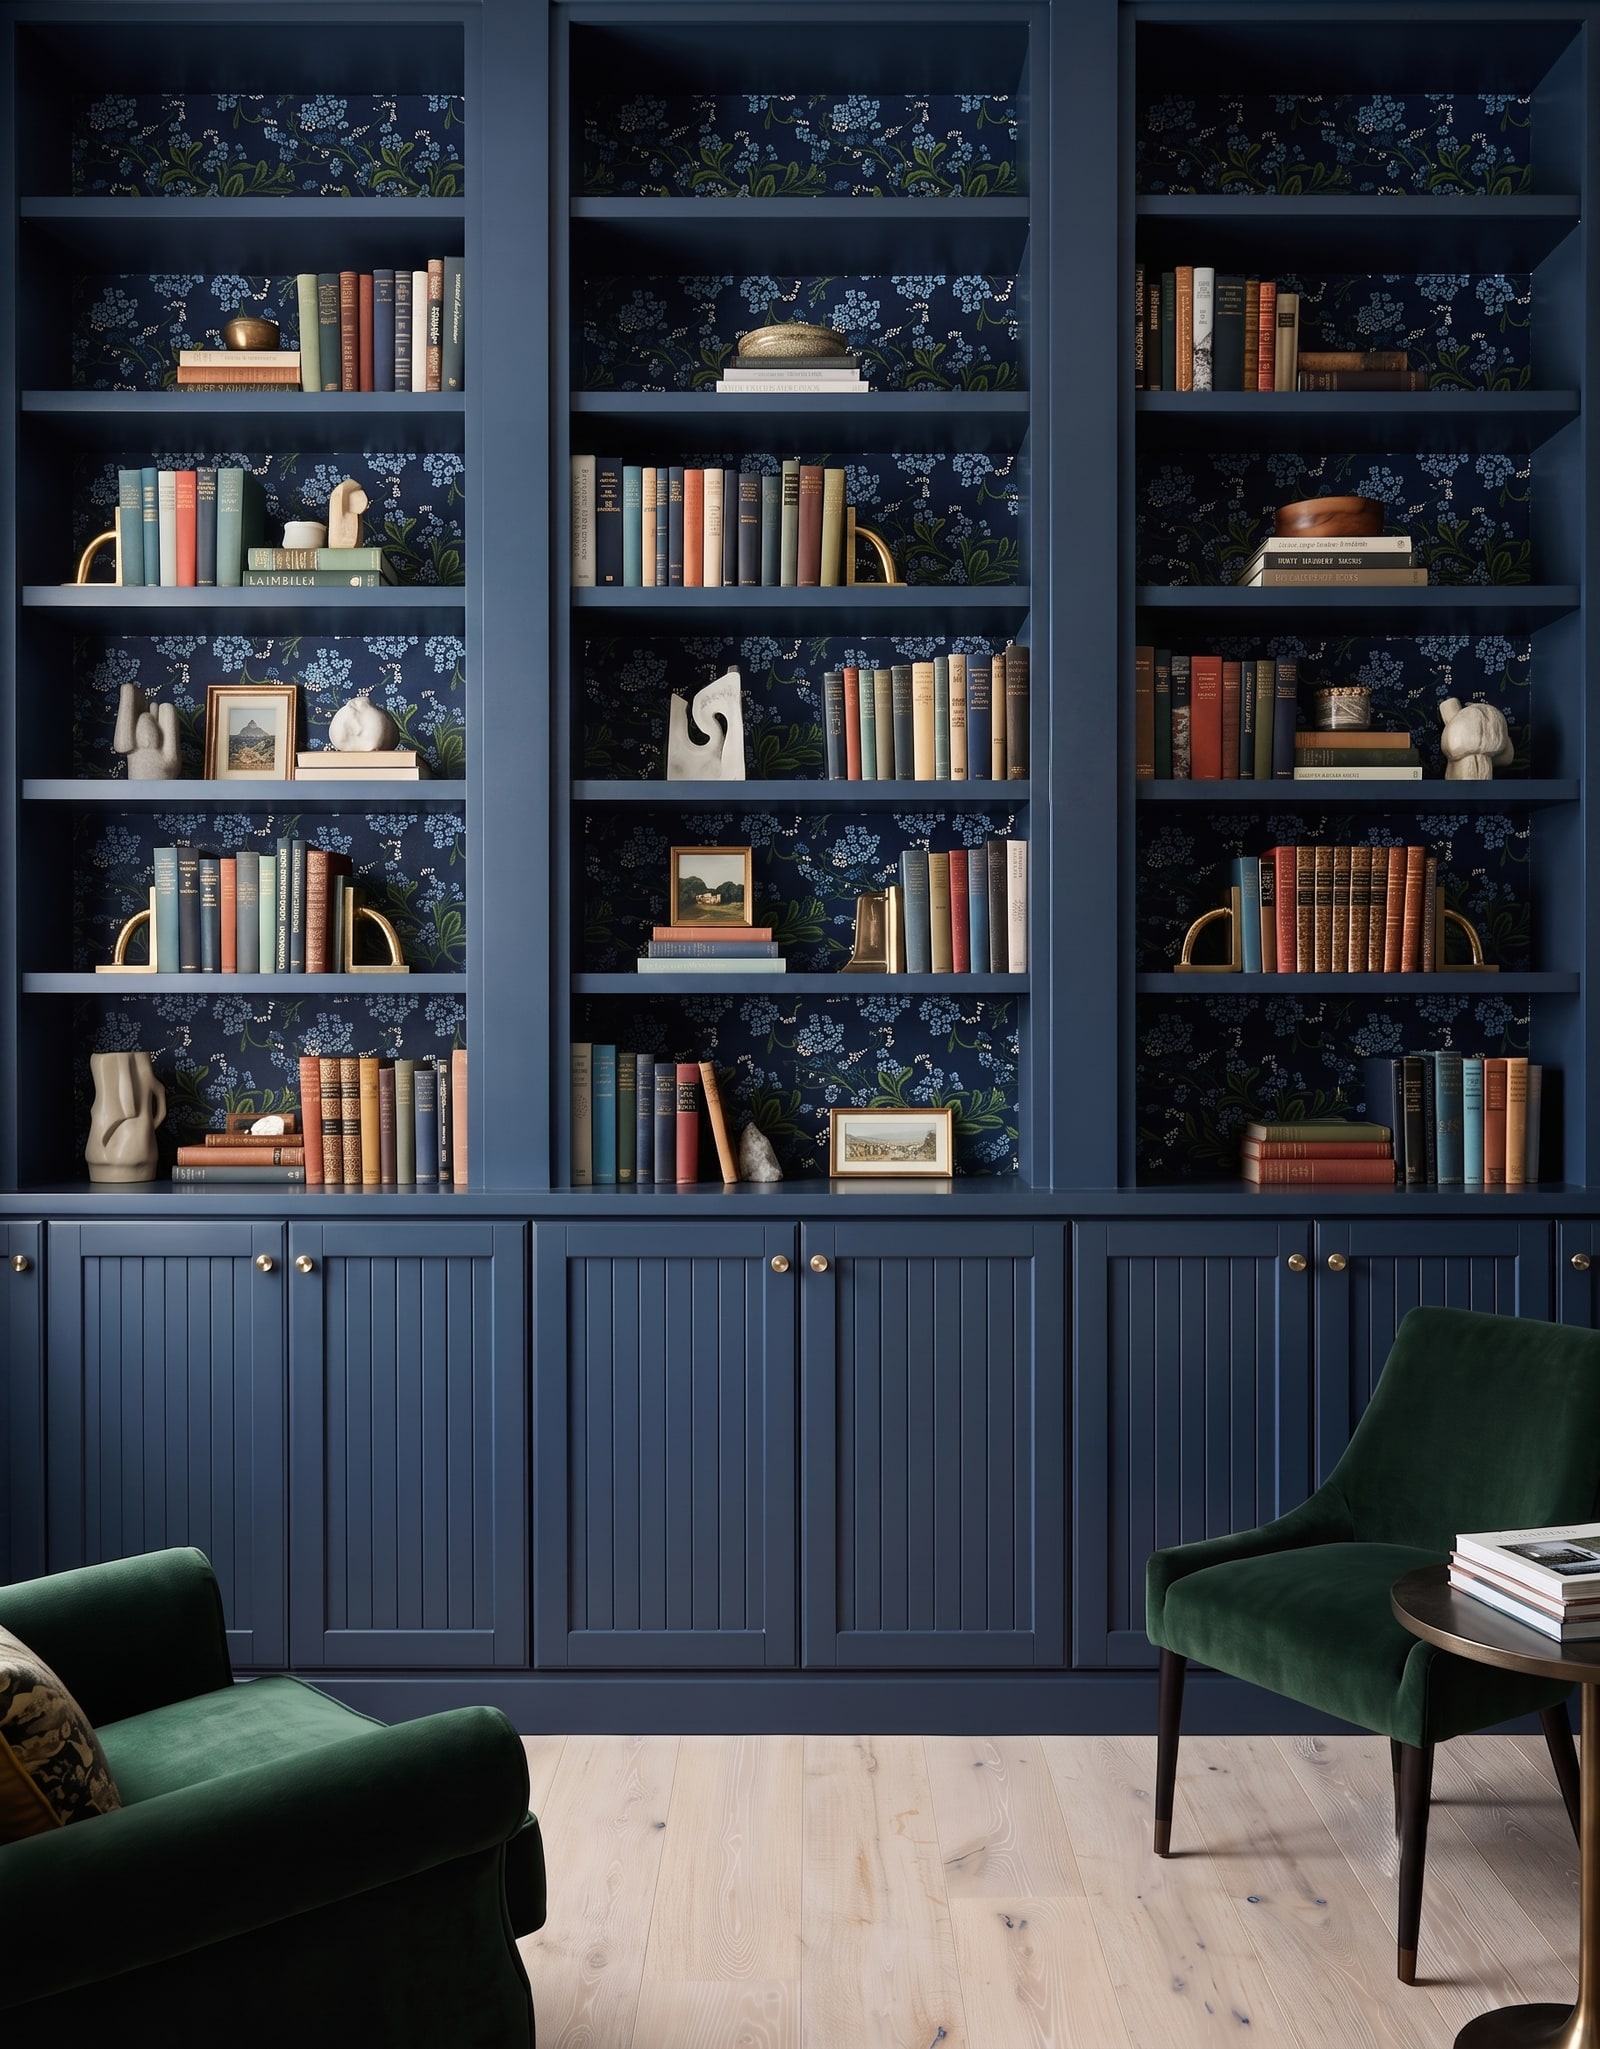
Base cabinets give a library useful hidden storage and help support the upper casework, but their depth and door swings must work with the furniture plan. Measure the largest object going inside, then test door and drawer projection against chairs, tables, rugs, and the main walking route. A common mistake is choosing deep bases for capacity while keeping seating so close that doors cannot open. Another is splitting doors into equal pairs without checking whether a nearby wall blocks a hinge side. Draw open fronts on the plan, not only closed rectangles. Consider drawers for smaller frequently used items and doors for larger volumes. The goal is easy access without asking the room to be rearranged every time someone needs a game, file, or album.
4. Size shelves for both objects and load
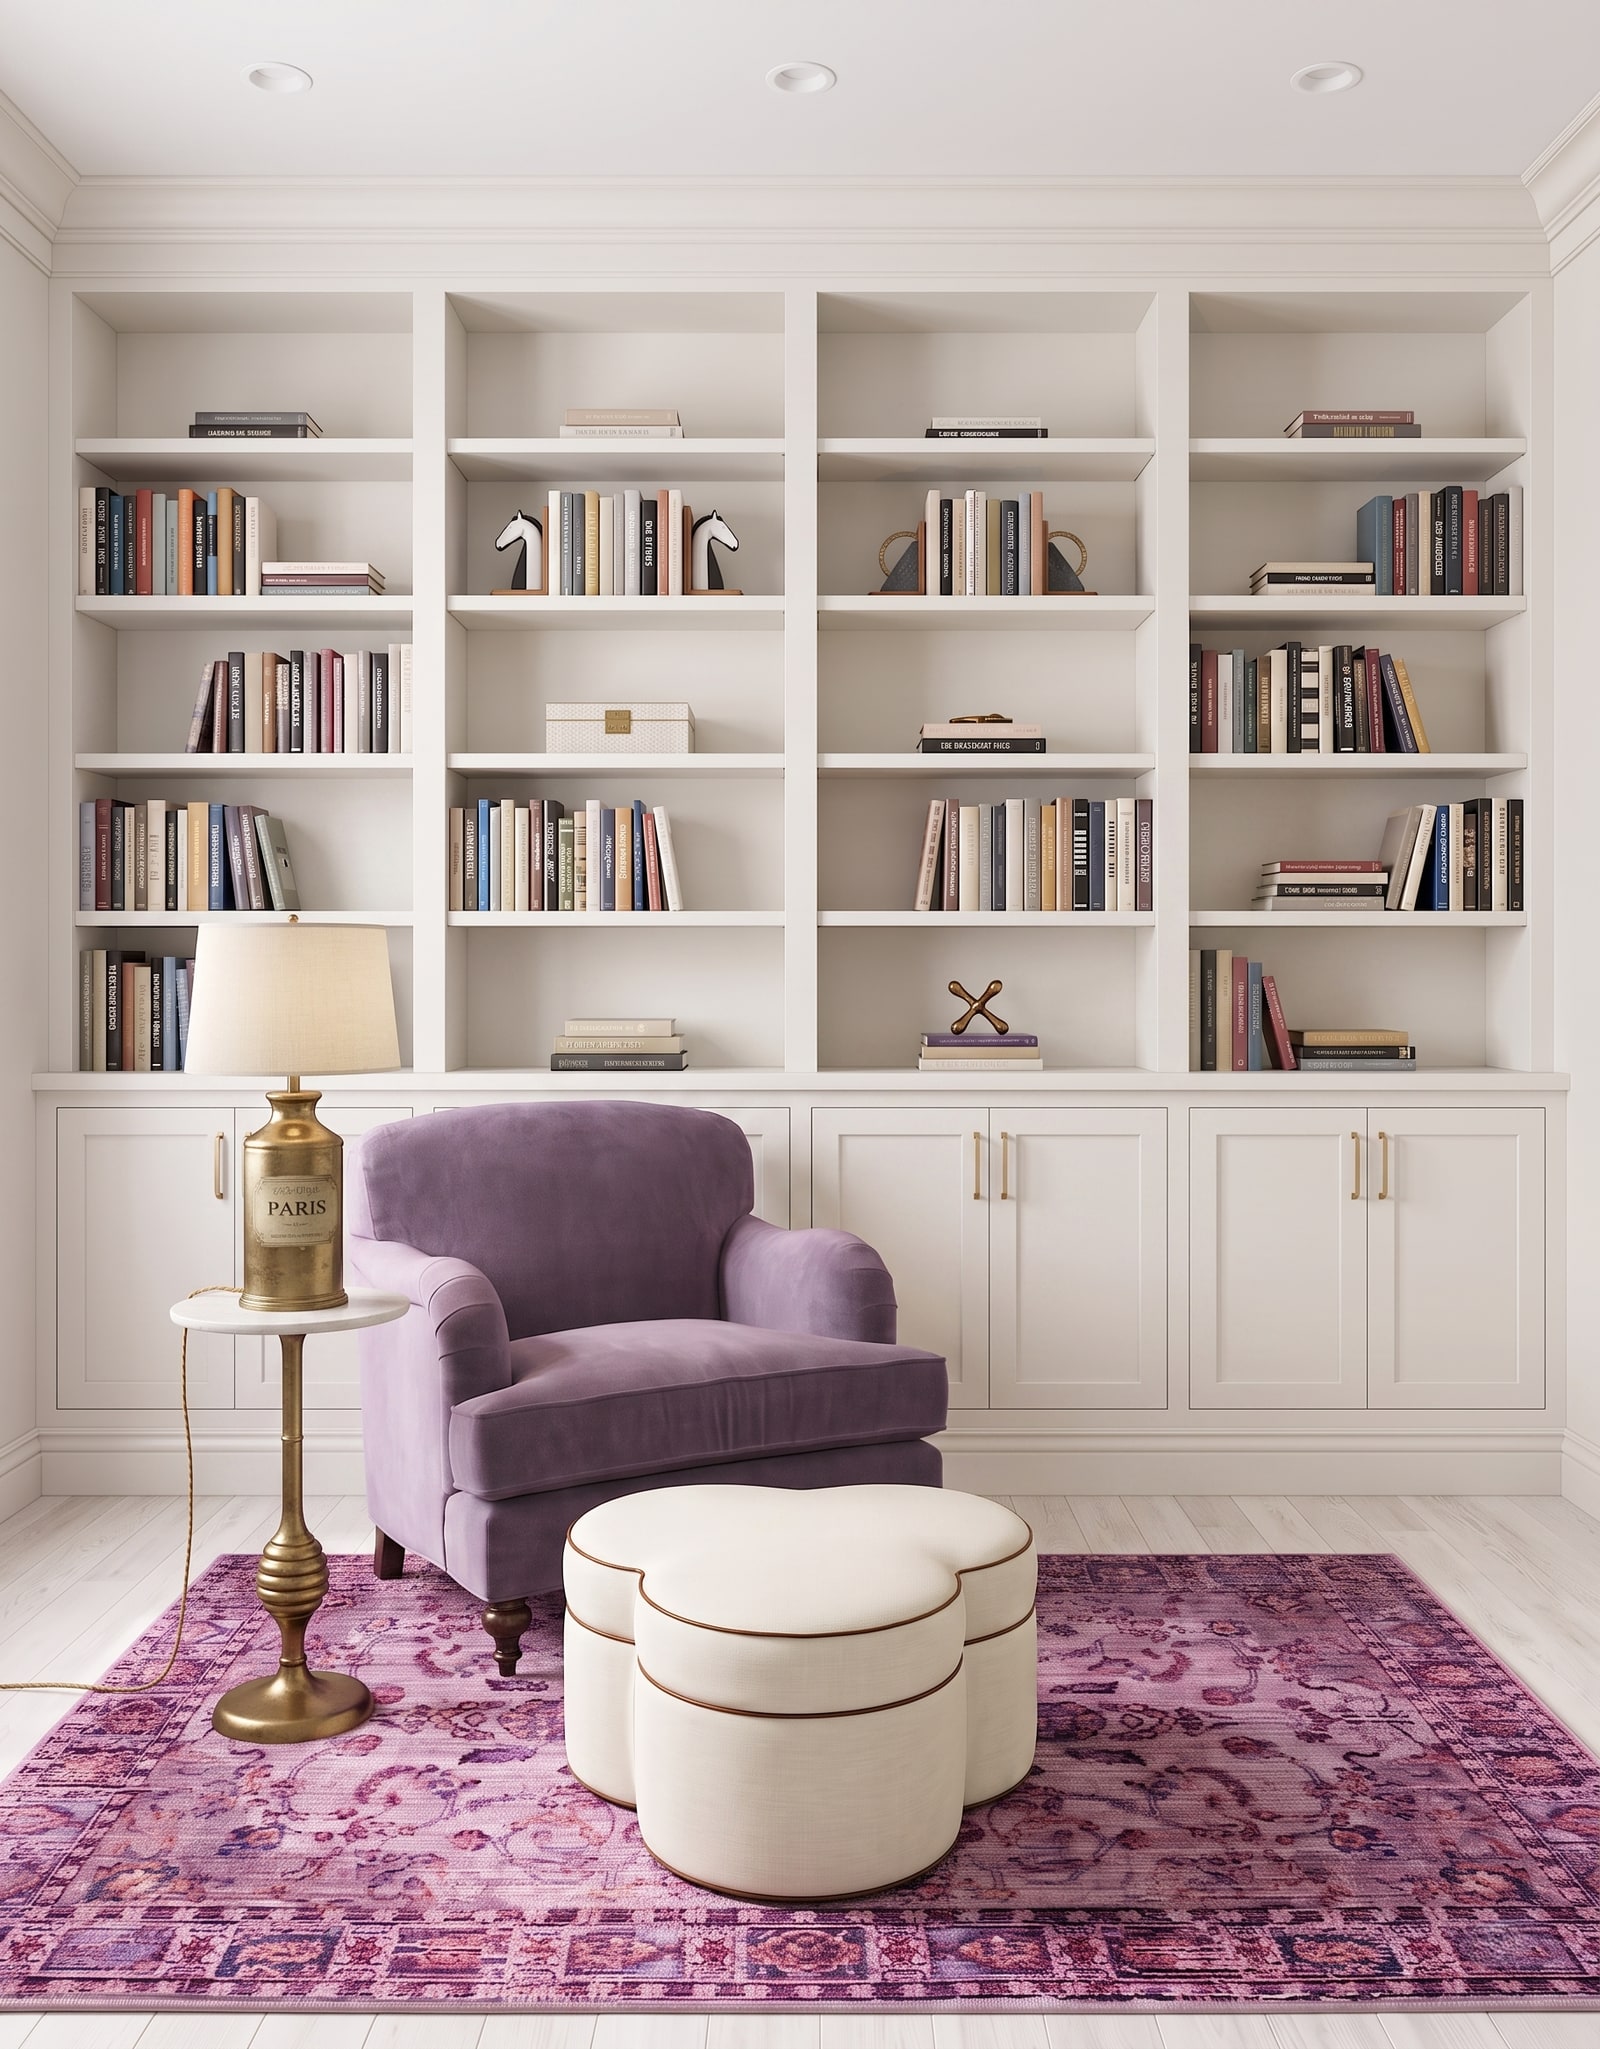
Measure representative books, binders, records, and framed objects, then group shelves by useful heights rather than repeating one spacing everywhere. Long rows of hardcovers are heavy. Shelf material, thickness, front-edge reinforcement, span, adjustable hardware, and attachment method all affect how well the shelf resists sagging. A common mistake is making every bay wide for a grand look without asking how it will be supported. Another is planning delicate display shelves and later filling them with dense books. A cabinetmaker or engineer should verify unusual loads and spans, especially for stone, equipment, or very wide openings. You can help by stating what each bay will hold. A narrower supported bay can look composed and remain straight for years.
5. Keep outlets, vents, radiators, and access panels serviceable
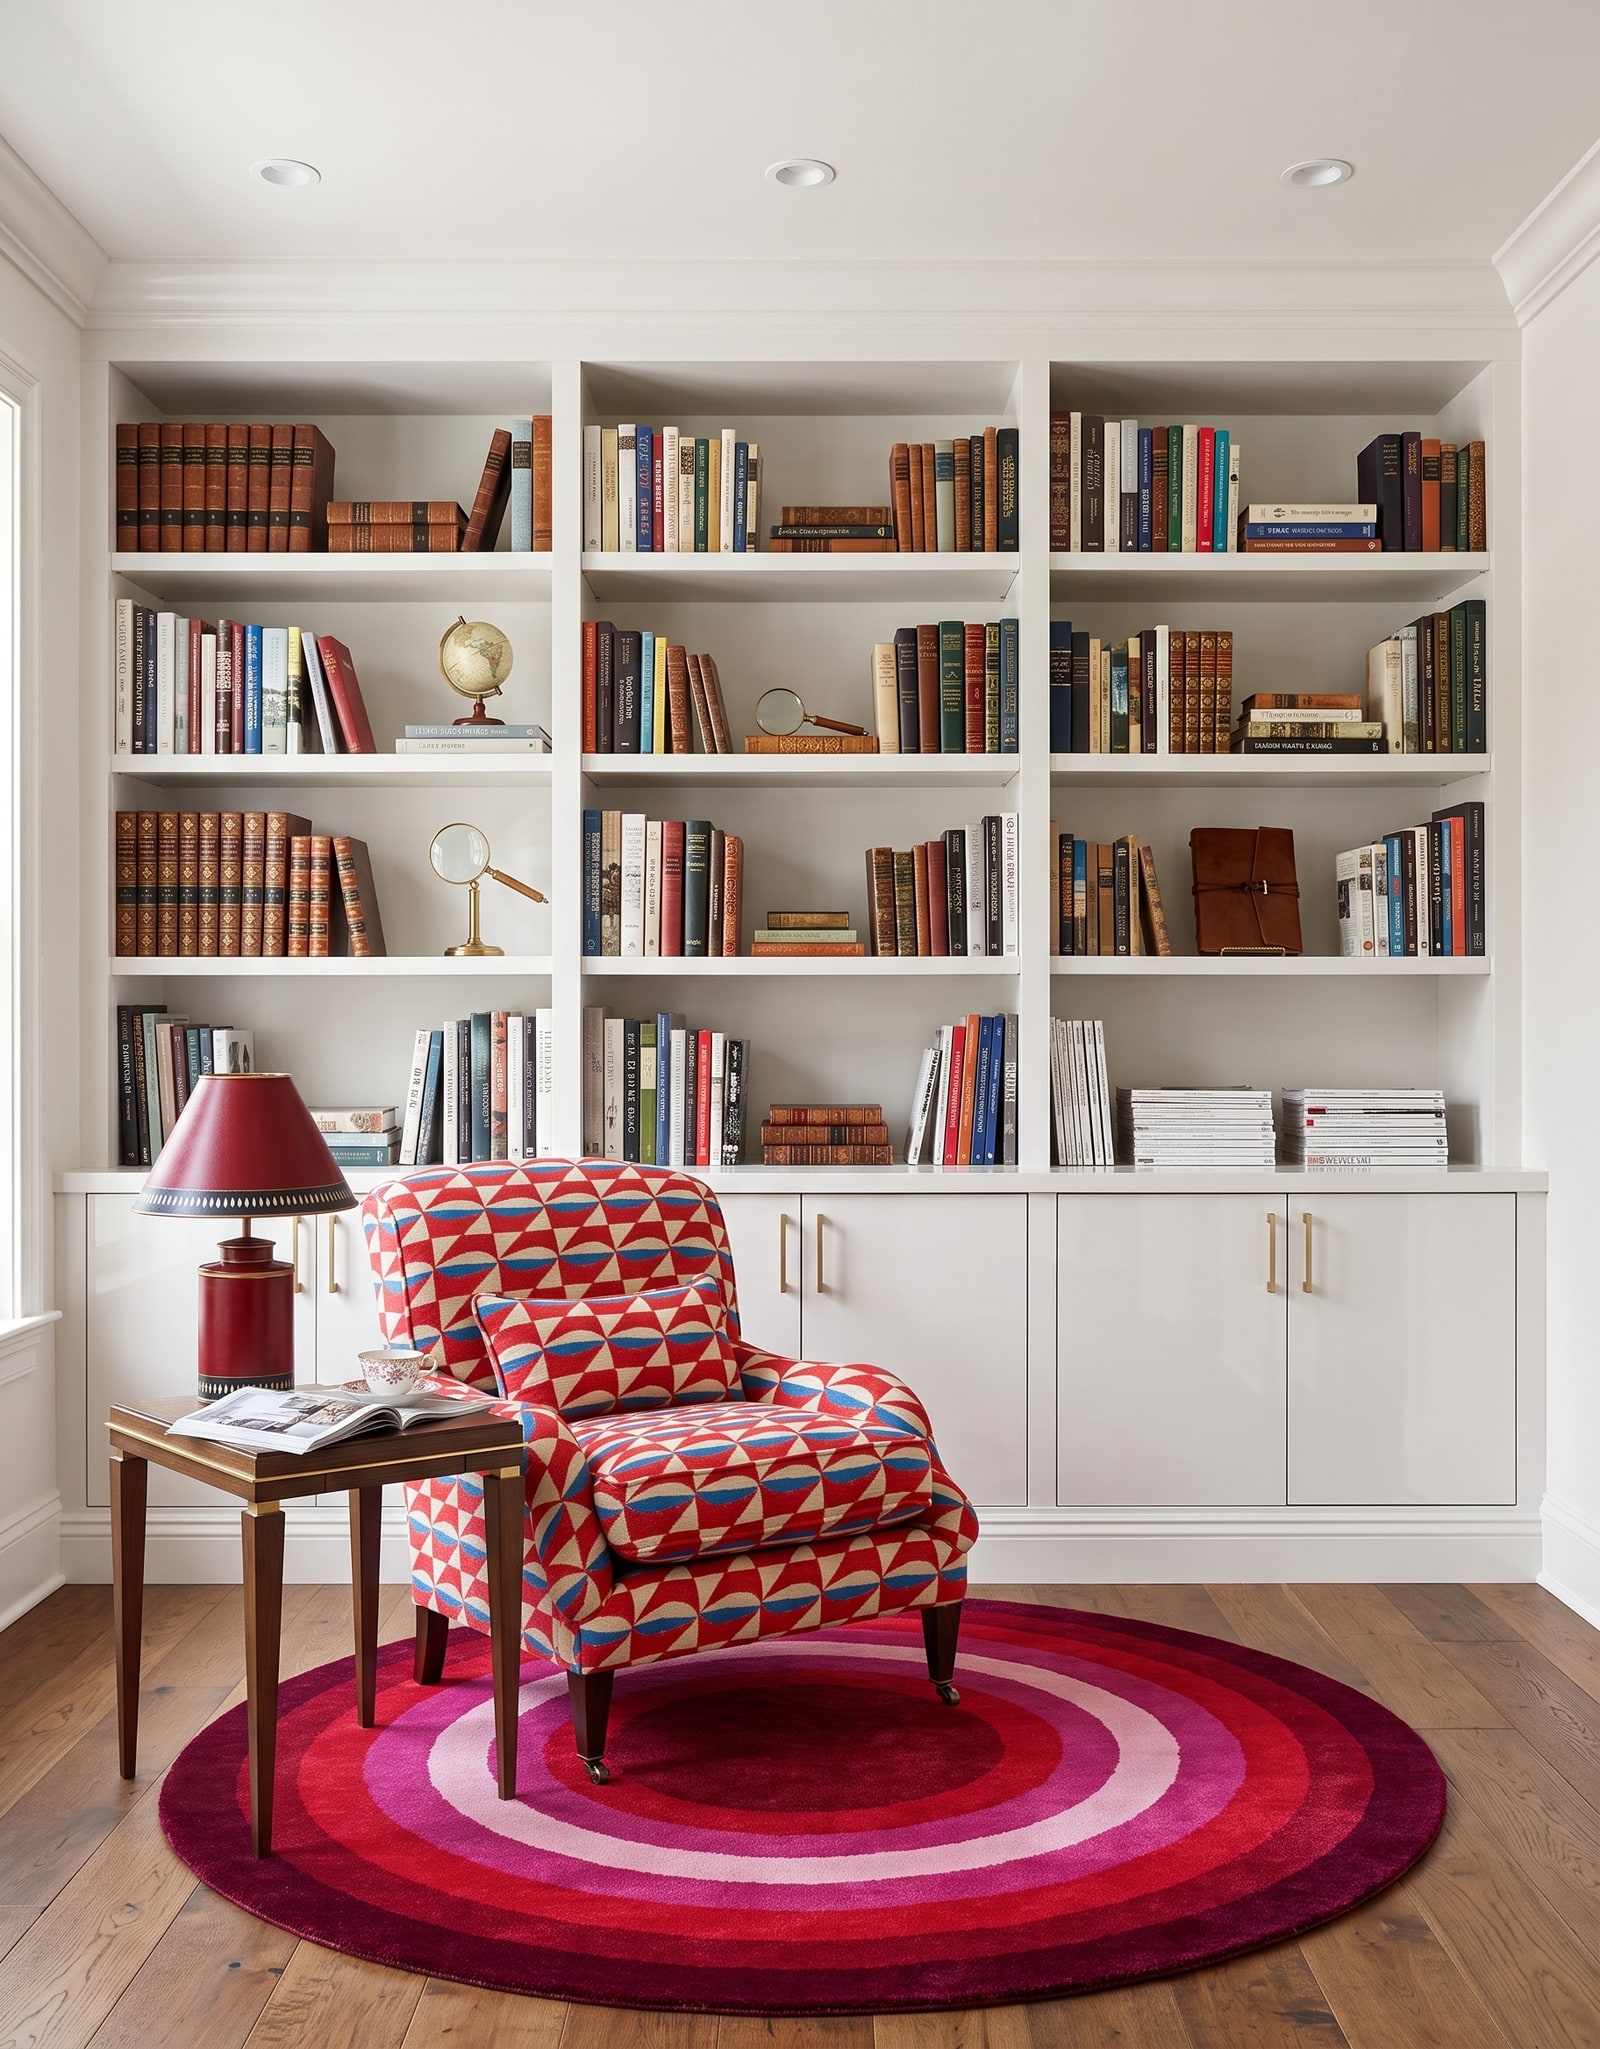
A finished-room photo can inspire the proportions, but it cannot prove where outlets, cable points, vents, radiators, thermostats, alarms, access panels, or pipes are hidden. Mark every one you can find on both the wall elevation and floor plan, and decide which items can move only after the appropriate licensed trade reviews them. A common mistake is burying an outlet behind a closed cabinet with no access or cutting a decorative grille after the cabinet arrives. Another is trapping heat around a radiator or covering a return-air path. If power must serve media or lighting, plan accessible outlets and cable routes rather than loose cords crossing shelves. Built-ins should make the room calmer without making the house harder to service. Photograph the existing conditions, ask who is responsible for approved relocations, and keep service clearances in the final drawing.
6. Design lighting as part of the casework
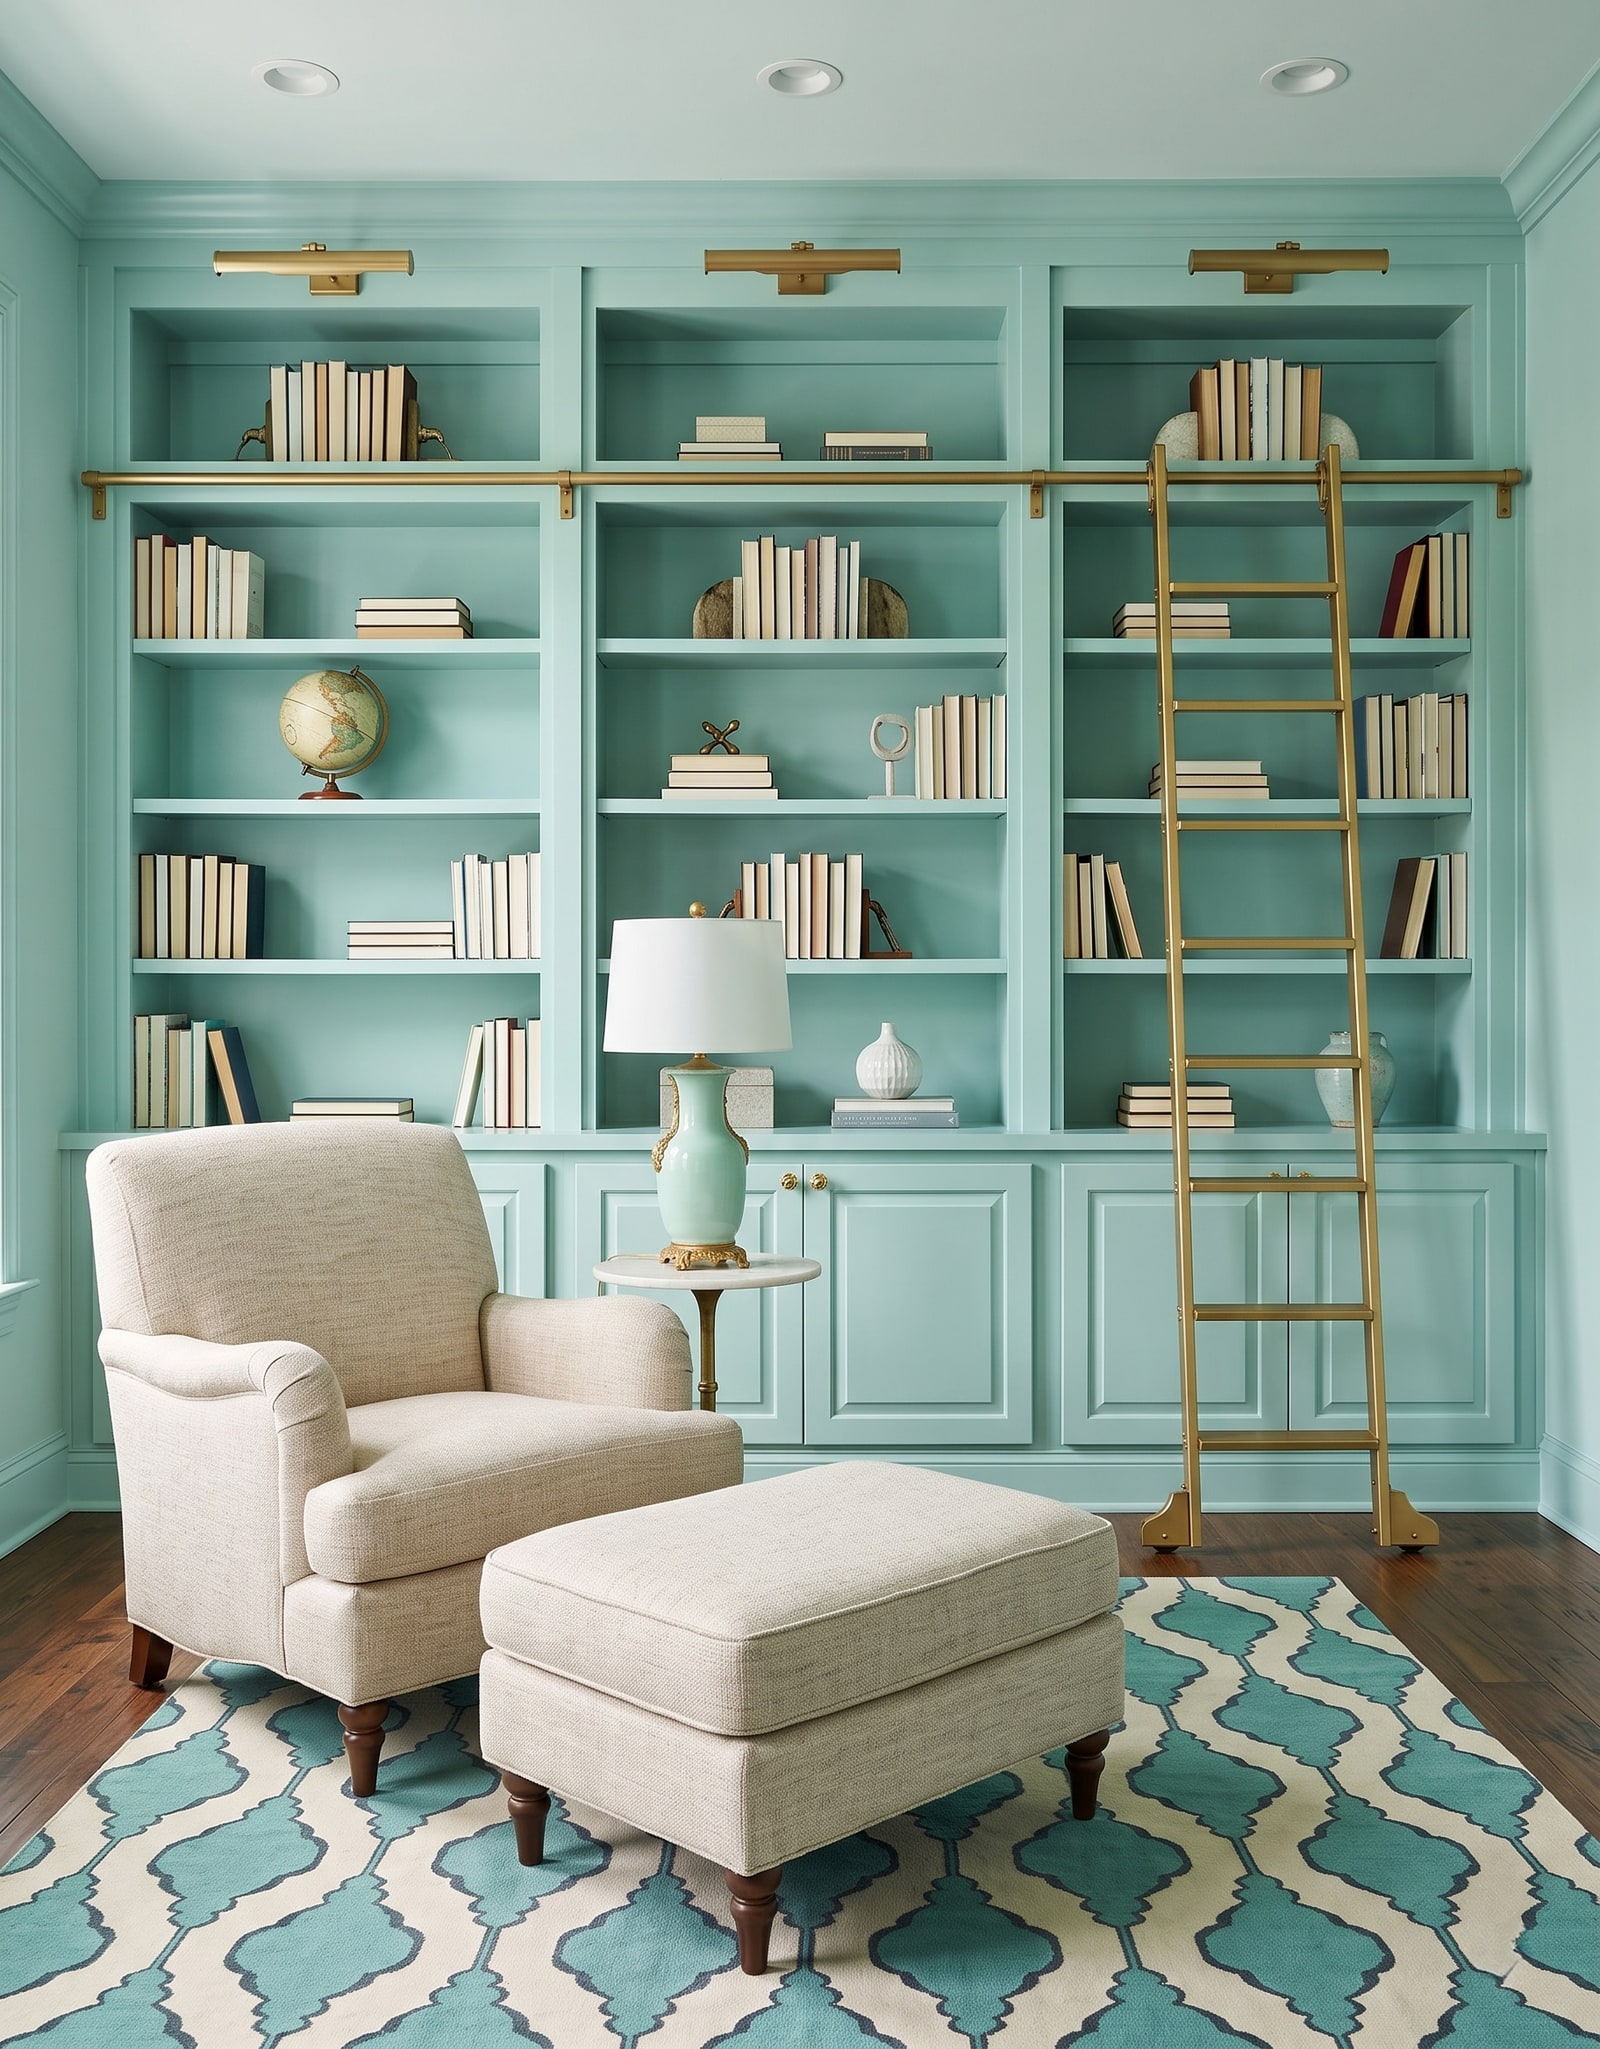
Picture lights, sconces, and integrated shelf lighting need more than a fixture choice. Decide what they illuminate, where switches or dimmers belong, how wiring travels, and where drivers or junctions remain accessible. Align lights with real bays and account for crown, doors, artwork, and future shelf positions. A common mistake is centering a light on the wall before the cabinet layout is final, leaving it between bays. Another is using intense integrated strips that reflect off glossy objects and turn every shelf into a display case. Mock up the light level in the evening and keep room lighting in the plan. A licensed electrician should verify wiring and code. Your brief should explain the effect you want and the parts of the built-in that need useful light.
7. Place seating before finalizing cabinet depth
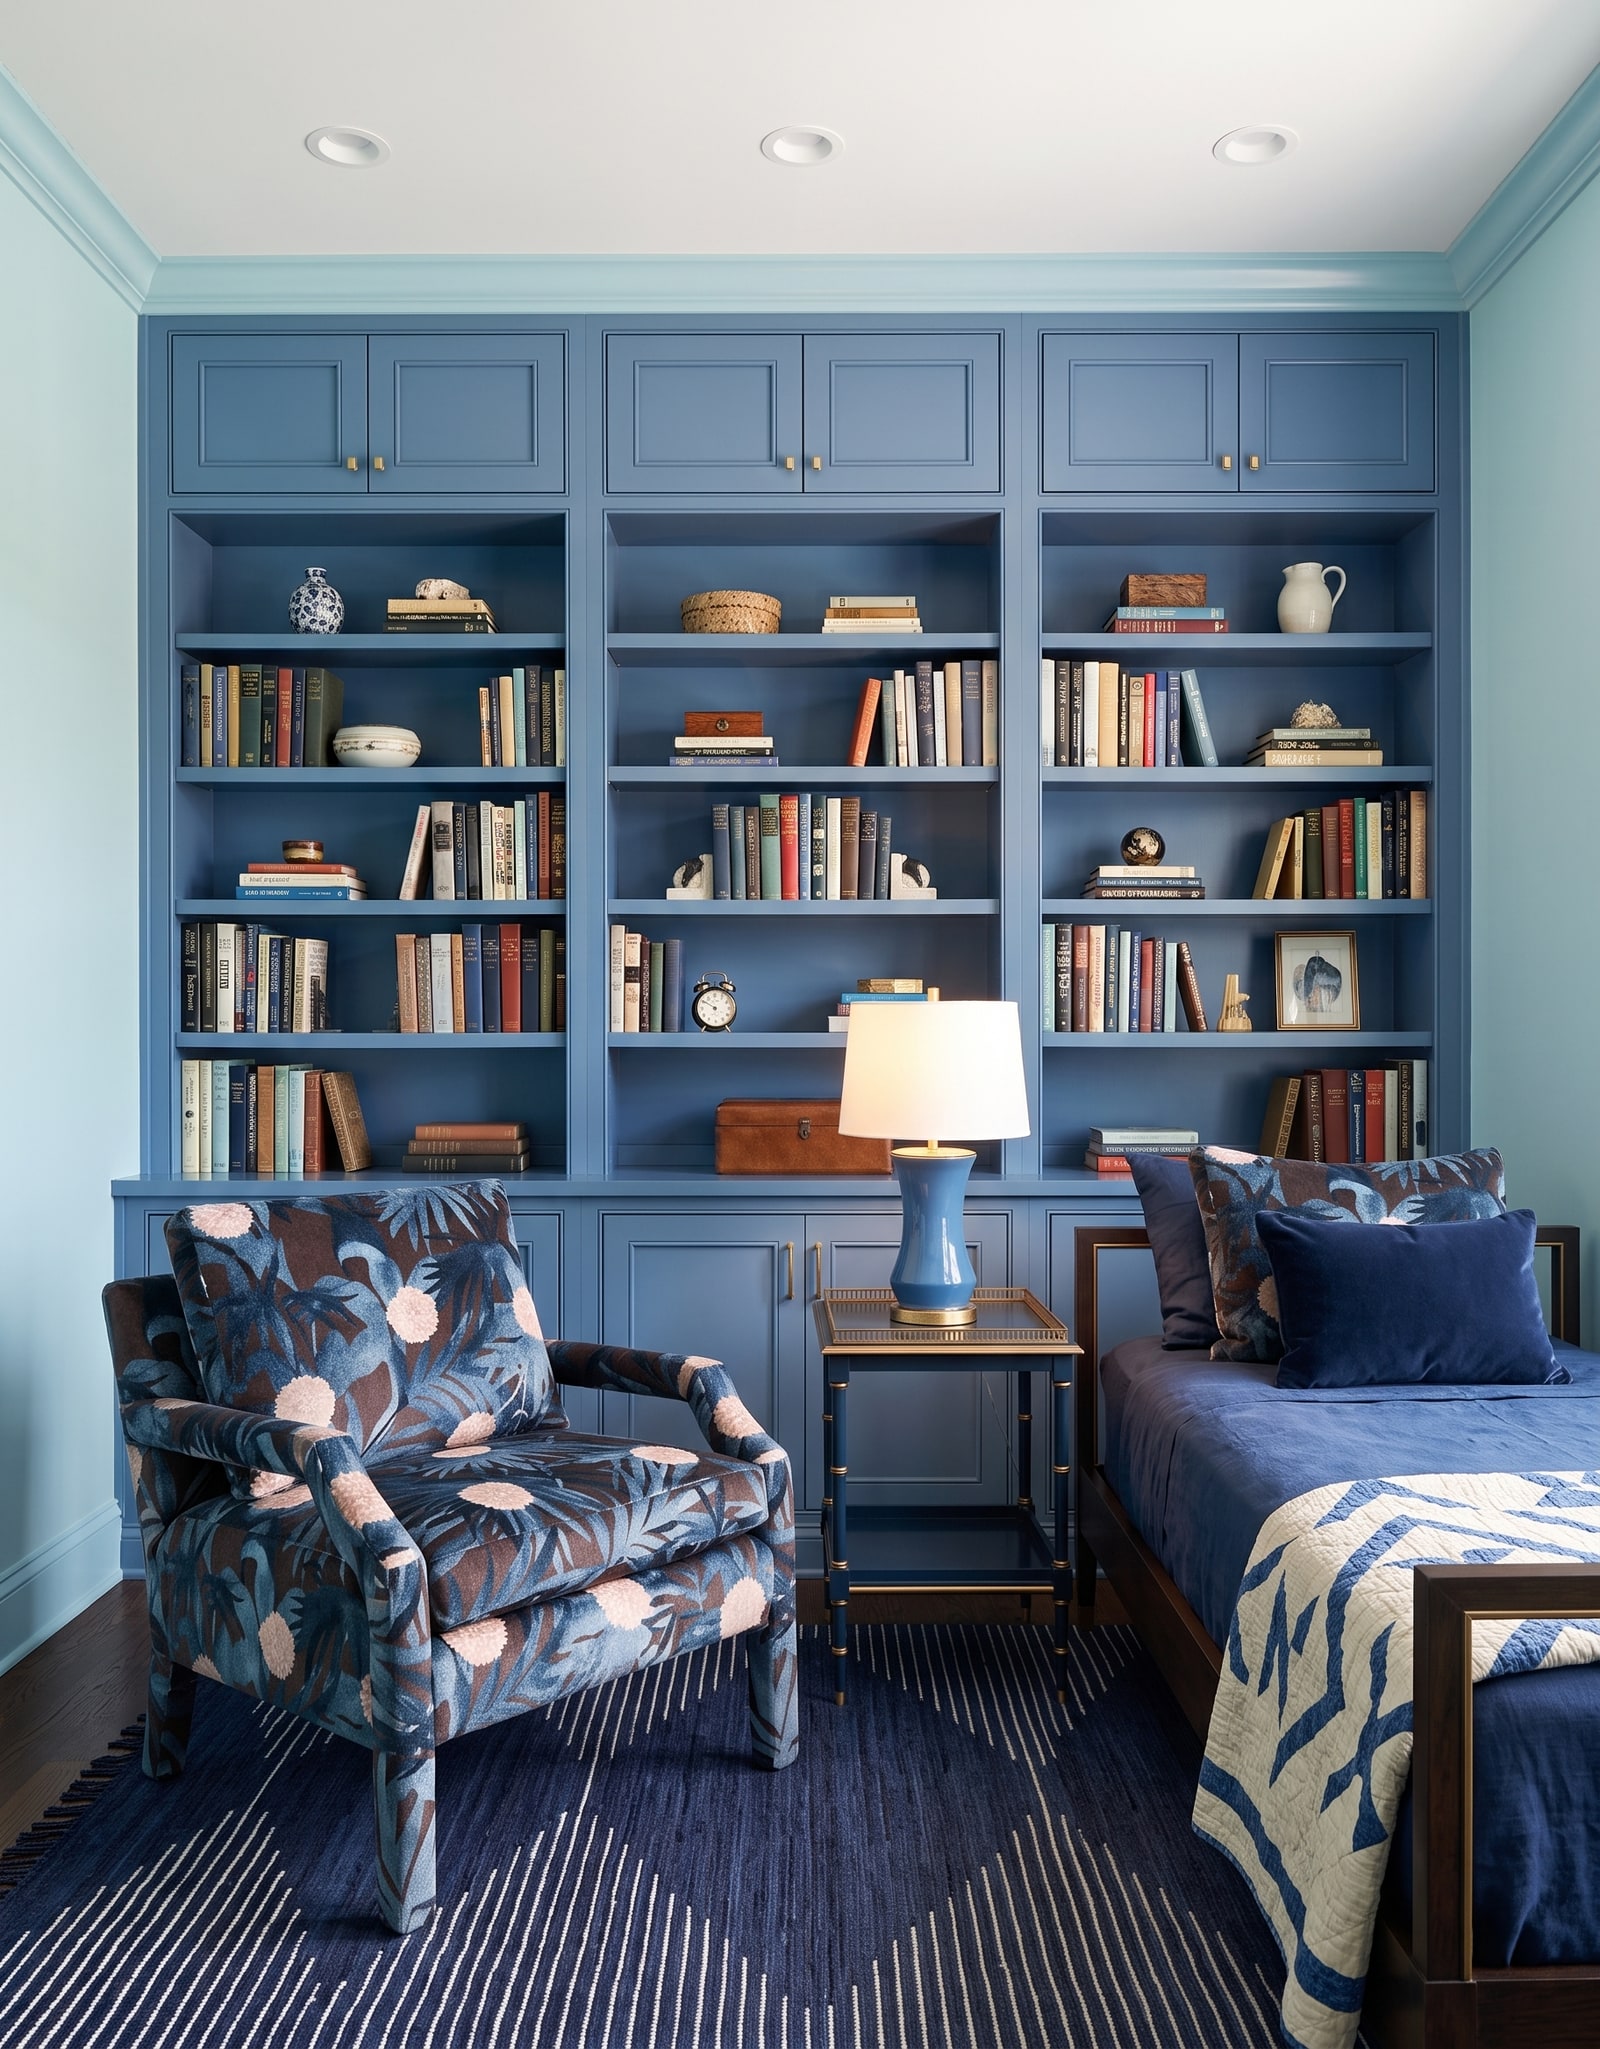
A library is experienced from the chair as much as from the doorway. Put the actual or taped furniture footprint on the floor, including a side table, lamp, ottoman, and the space needed to sit down. Check the route behind and around the seating and open the planned base doors into that arrangement. A common mistake is approving a deep, impressive cabinet wall and discovering the room no longer supports two comfortable chairs. Another is centering seating for the photograph while blocking daily access. You may find that shallower upper shelves, a modest base, or fewer chairs make the room work better. Protect the reading experience first; cabinetry should frame it, not crowd it.
8. Draw the finish boundaries and sample them together
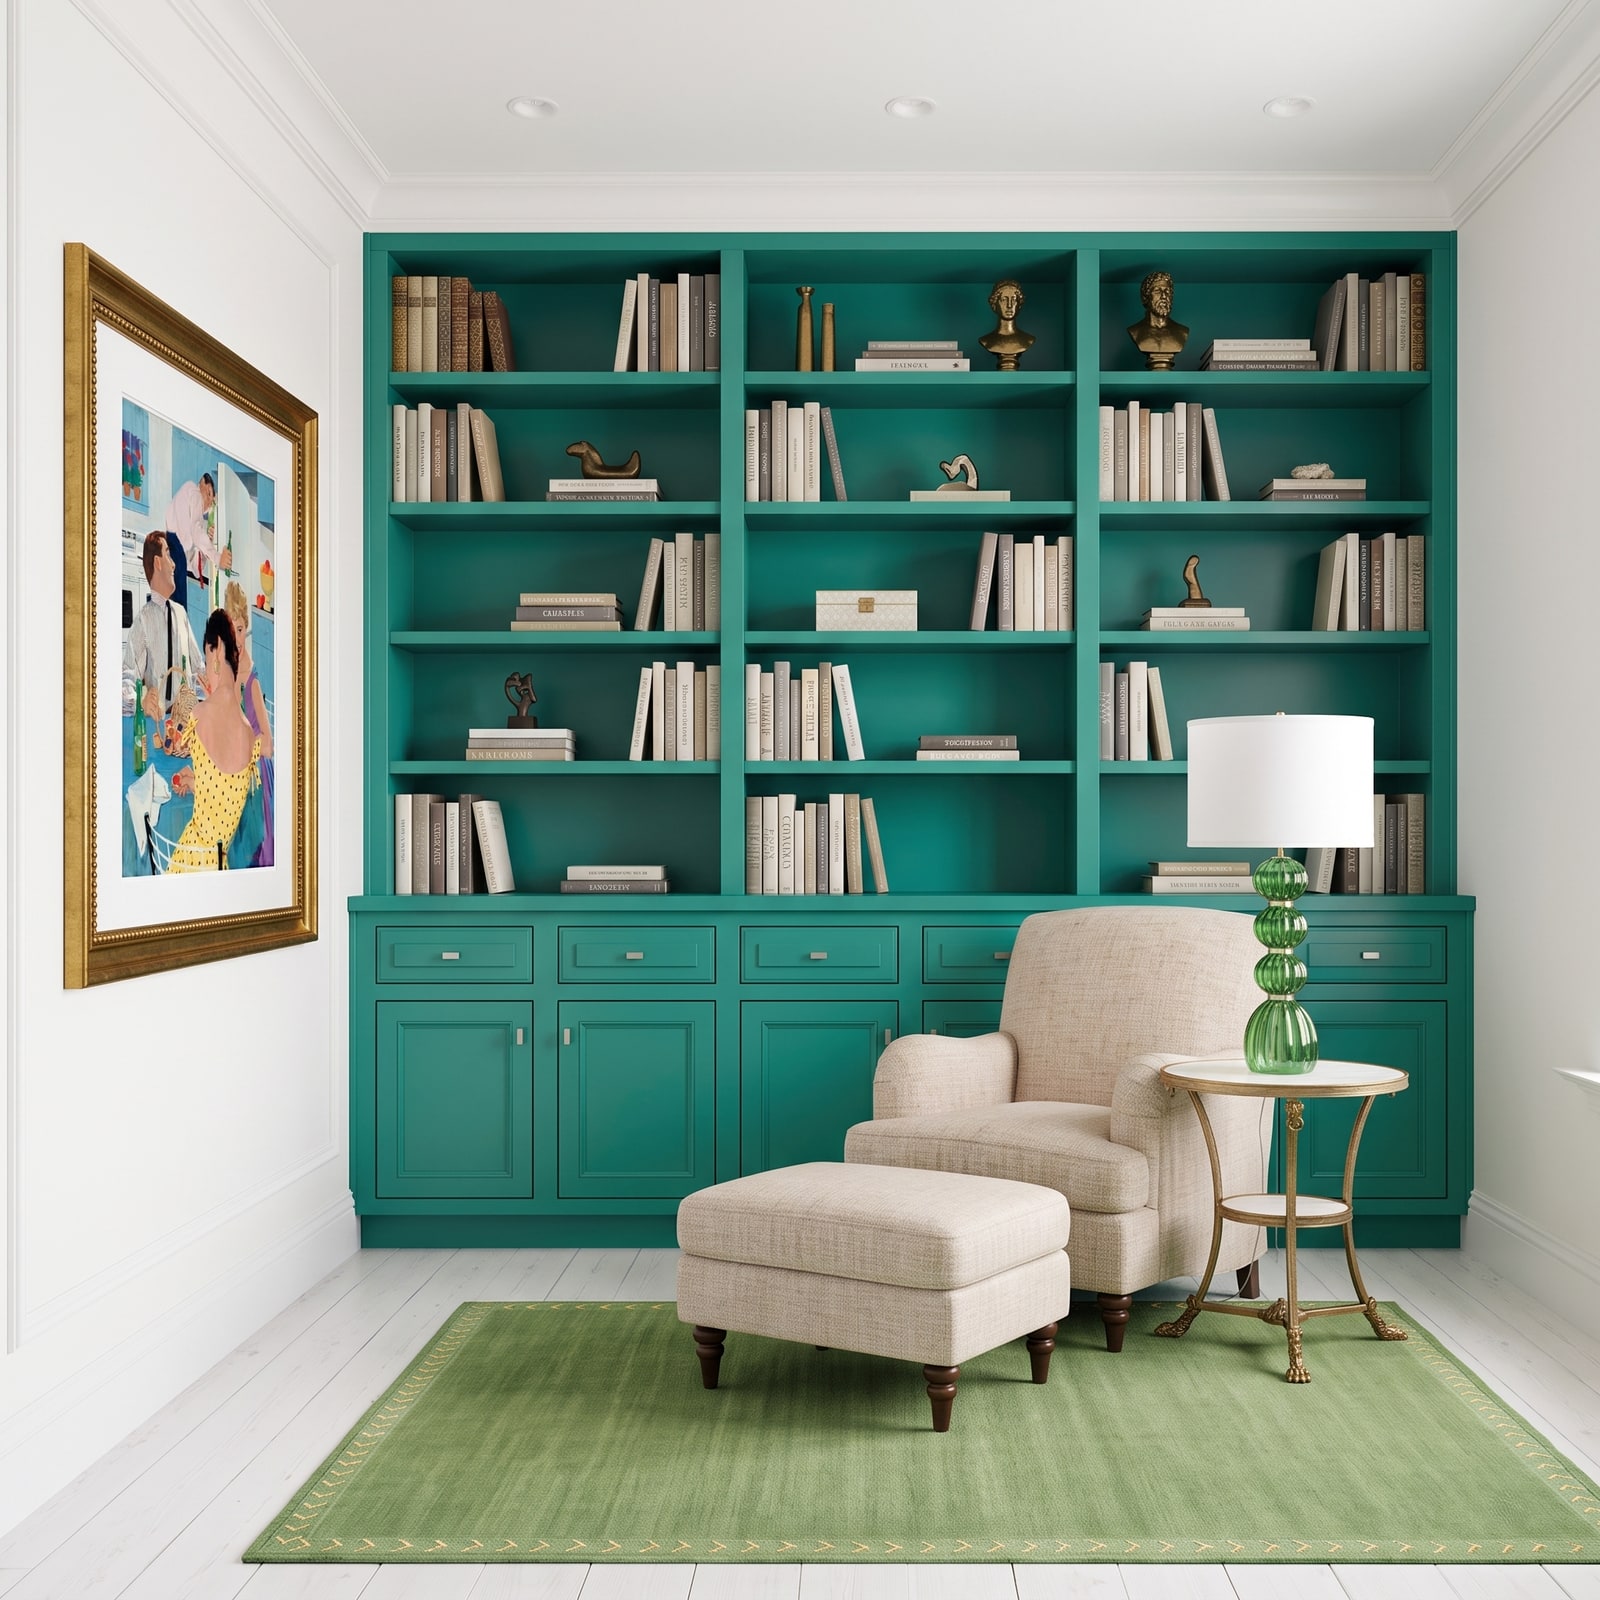
A saturated cabinet color can make a large wall feel settled, and wallpaper behind shelves can add depth, but both multiply across the full elevation. Decide whether the case interior, shelf edges, crown, side returns, room trim, and adjacent wall share a color or stop at deliberate lines. Check wallpaper repeat, seam locations, shelf-pin holes, and future adjustability. A common mistake is approving a small paint chip without viewing it vertically under daylight and lamps. Another is choosing a busy shelf backing before seeing it behind real book spines. Bring paint, paper, wood, floor, metal, books, and upholstery into one sample group. The goal is not to make everything match; it is to know which element leads and which ones stay quiet.
9. Resolve trim details and prepare the handoff
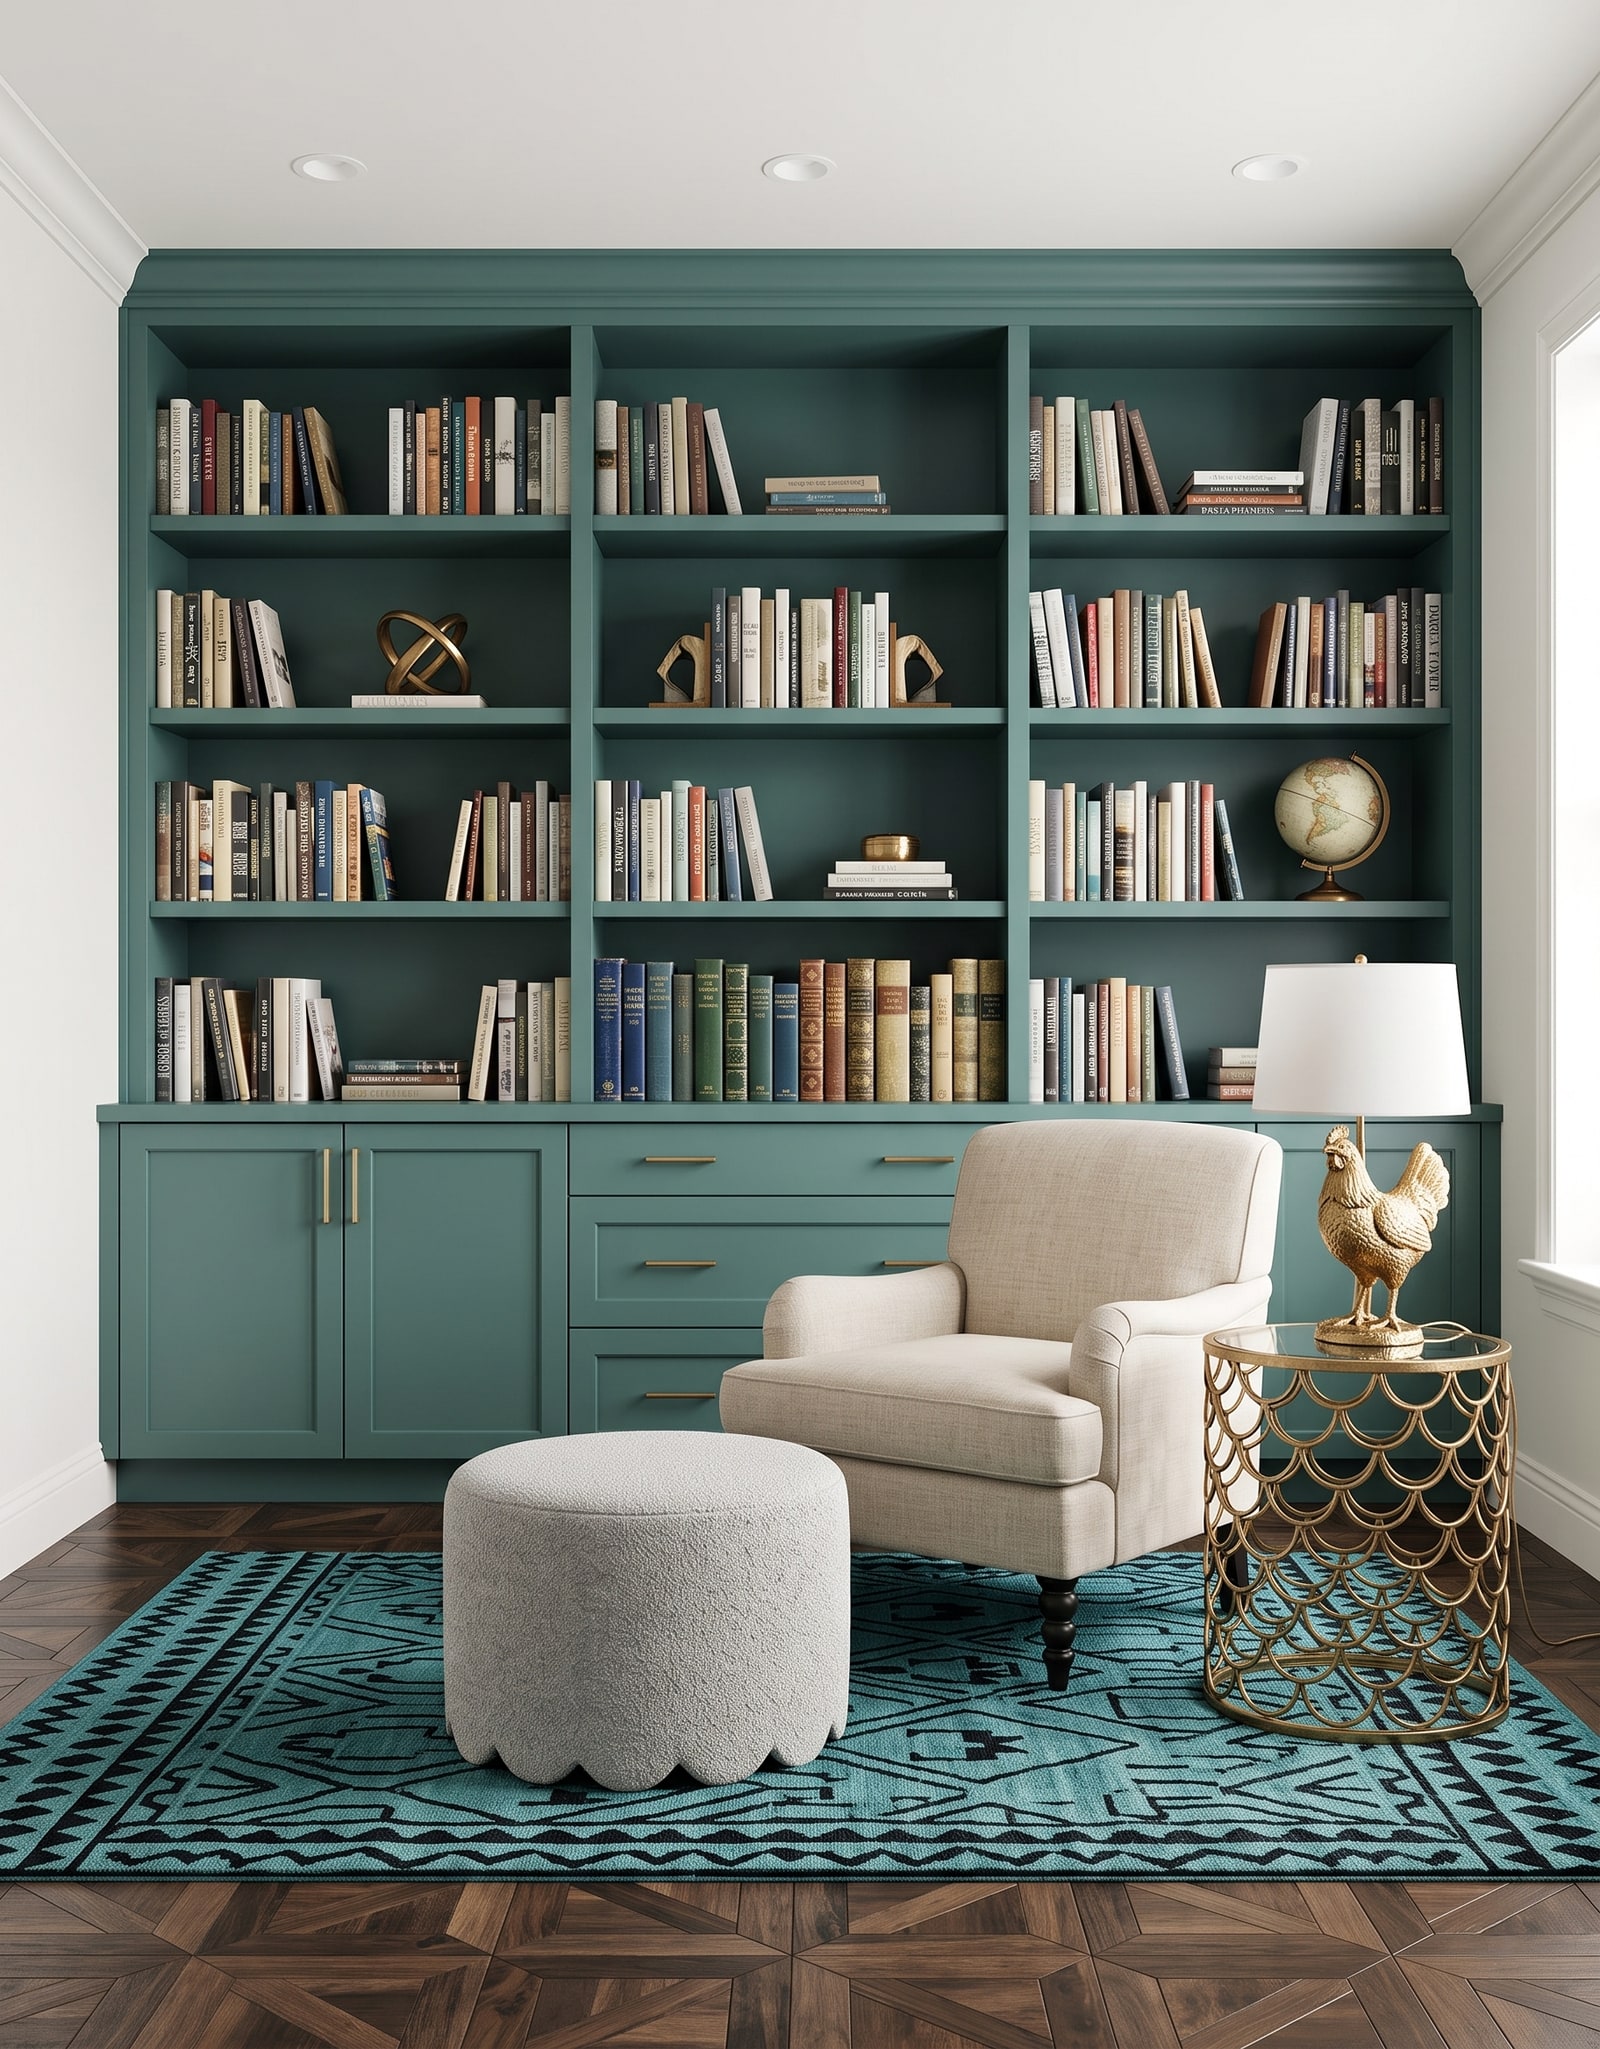
Redraw the measured wall as one clean elevation and one simple floor plan, then add enlarged notes for the edges: how the cabinet base meets room baseboard, where crown ends, how side fillers return into a wall or casing, and which finished panels remain visible. Include the shelf schedule, storage inventory, electrical locations, finish samples, furniture footprint, and straight-on room photos. A common mistake is designing only the front view and leaving every side return for installation day. Another is scattering revisions across loose notes until no one knows which dimension is current. Date the coordinated set and ask the cabinetmaker to show how uneven walls and ceilings will be scribed. Your drawing does not need professional polish; it needs one clear version that connects the room, the objects, and the details a professional must verify.
10. Approve one coordinated plan, elevation, and component list
Gather the measured plan, full-wall elevation, side-return details, shelf schedule, storage inventory, electrical plan, finish notes, hardware, room photos, and furniture footprint in one dated packet. Compare it with the final quote and ask what is included: fillers, finished ends, crown, lighting channels, installation, wall repair, electrical work, paint touch-up, delivery, and adjustment. A common mistake is signing from a rendering that hides joints, fasteners, fillers, and uneven conditions. Another is assuming every shelf shown is adjustable or built for books. Have the cabinetmaker or installer field-verify dimensions and attachment into suitable structure. You do not need to solve professional joinery yourself. A clear homeowner brief lets the professional solve the right wall, for the right objects, in the right room.
Compare the plan with more built-in possibilities
Use inspiration to clarify storage, color, and room use—then return to the measured wall and the objects you listed.
See Built-In Cabinet Ideas Understand Fillers and Finished PanelsPractice the same cabinet thinking in your kitchen
StilePath currently plans kitchens. Use it to test cabinet walls, openings, storage, and circulation in 3D before you bring a kitchen layout to a supplier.
Start Planning My Kitchen Free