
10 Kitchen Ceiling Ideas That Change the Whole Room
The ceiling may look like the simplest surface in a kitchen, yet it affects cabinet height, crown details, pendants, sightlines, reflected light, ventilation, and where utilities can travel. Start with a tape measure, pencil, and paper. Record the finished height in several places, then mark beams, slopes, soffits, vents, lights, alarms, and anything else that interrupts the plane. You do not need construction experience to gather useful observations. A clear sketch gives the designer, installer, electrician, and other appropriate professionals a better place to begin. Use these concept kitchens to explore the possibilities, then have structural, electrical, mechanical, and installation conditions verified before work begins.
1. Let a quiet ceiling support a detailed room
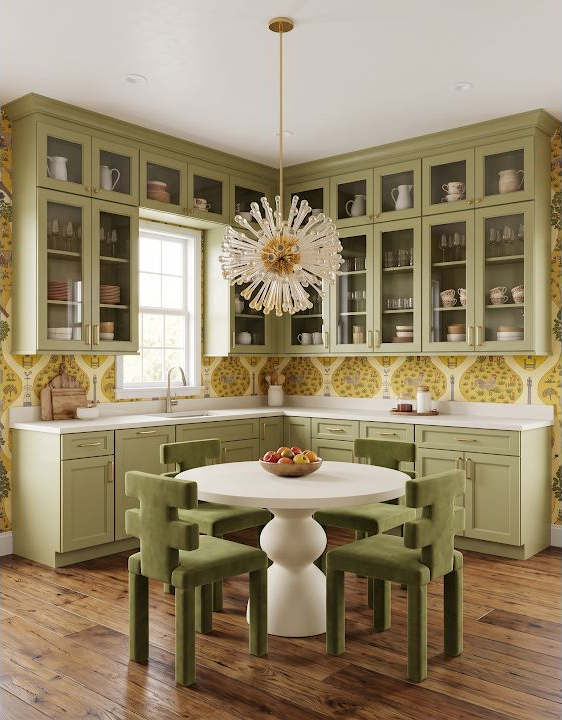
When cabinetry, glass doors, wall pattern, and furniture already carry detail, a light uninterrupted ceiling can keep the room balanced. Photograph the kitchen from the main entrance and circle the surfaces that already compete for attention. A common mistake is treating the ceiling as one more place that must repeat every color or motif. Sometimes its most useful job is to return light and give tall cabinets a clean edge. Check how the ceiling meets crown, trim, and upper cabinets before choosing paint or texture, because small inconsistencies become more visible against a calm surface.
2. Use pendants to define the work zone below
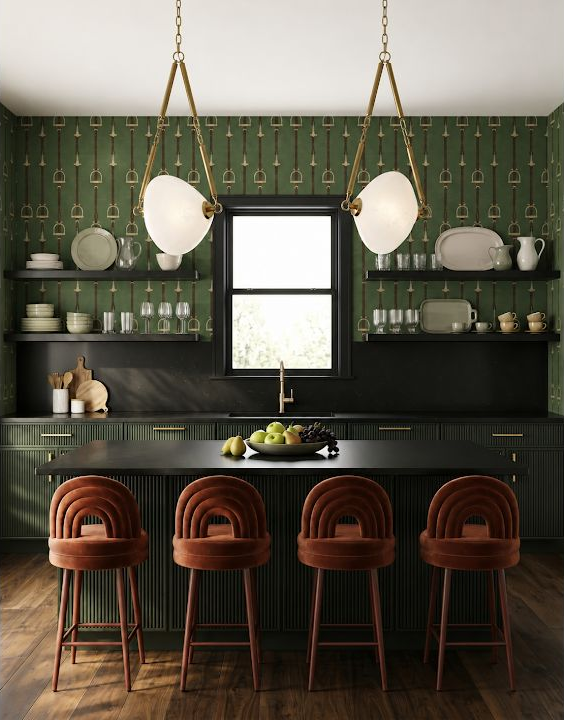
Two or three pendants can make an island or counter feel like a deliberate zone, but they should relate to the activity rather than the empty ceiling grid. Mark the counter edges and centerline on your plan, then note the view from nearby doors and seats. People often space fixtures evenly across the room before the island position is final, creating an obvious misalignment later. Decide what the lights must center on and which relationship matters most. A qualified electrician can then verify boxes, wiring, support, compatible controls, and required clearances around the actual layout.
3. Match a fixture group to the island's scale
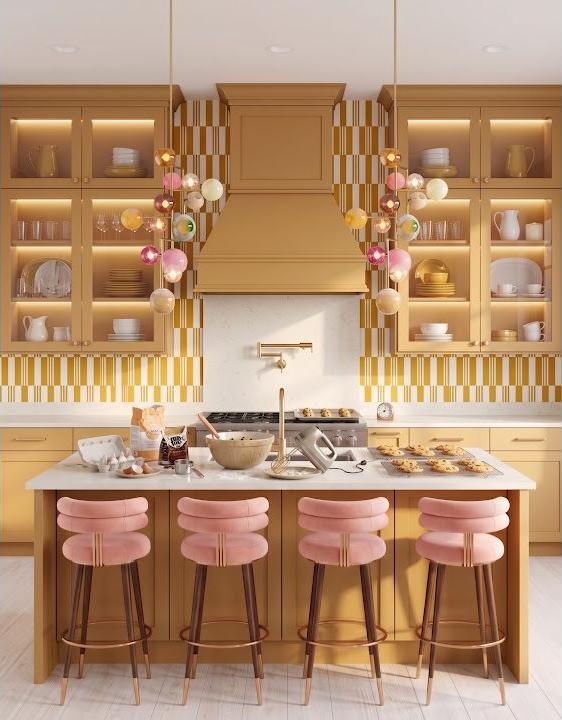
A large island can support several fixtures, but the number is less important than the combined width, drop, and light distribution. Draw circles for the shades on the plan and a simple side view showing their lowest point. The common mistake is choosing each pendant as a separate decorative object and ending up with a crowded cluster once the whole group is installed. Mock up the total volume with paper or string, then walk around it and sit nearby. Confirm final fixture weights, mounting, output, and electrical requirements with the product information and electrician.
4. Treat a ceiling fixture as part of the sightline
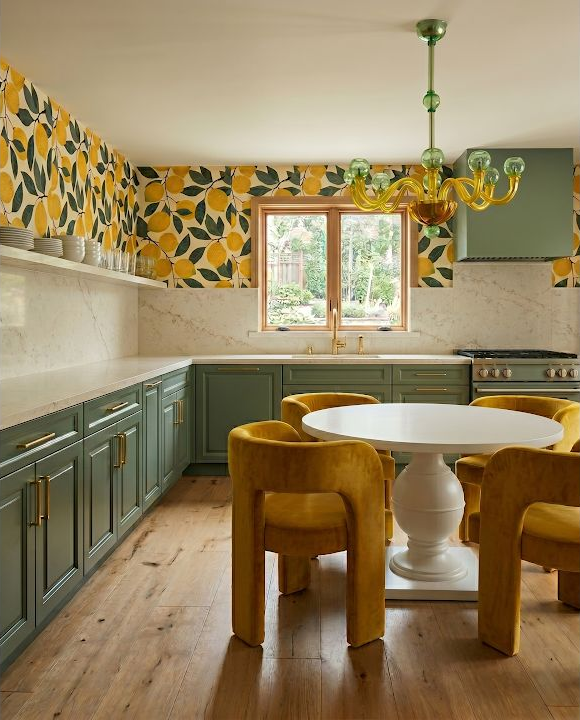
A chandelier can pull the eye toward a table or window, especially in a narrow room. Stand at each entrance and photograph the proposed line of sight at eye level. A frequent mistake is checking only the fixture's position from directly underneath, then discovering that it blocks art, a window, or the open view into the next room. Use string to mark the lowest point and look past it while standing and seated. A small adjustment to the table or box location may preserve the focal point and make the room feel easier to move through.
5. Test a statement fixture against daylight
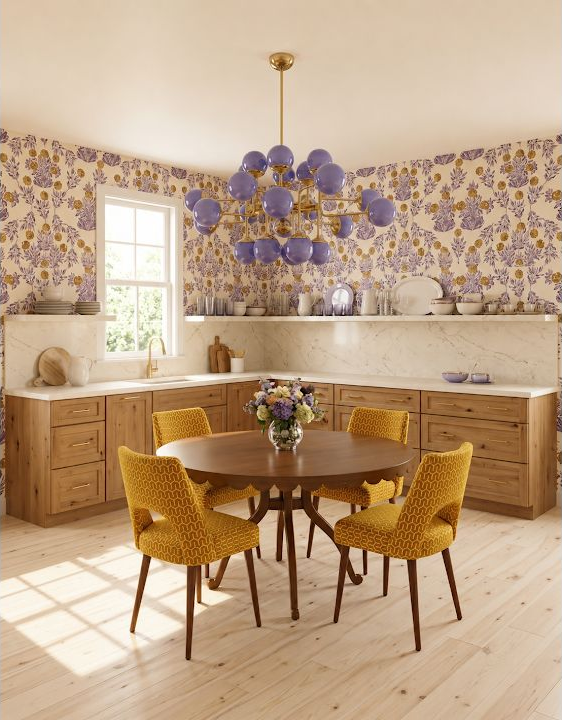
Colored glass and sculptural forms can look very different with the light off, in direct sun, and after dark. Gather the cabinet, wall, and table colors near the proposed fixture, then compare them at the times the room is used. People often approve a dramatic light from a nighttime product photo and never test how the color reads in daylight. Ask for unlit and illuminated views, verify the bulb or integrated source, and notice whether the fixture adds a welcome accent or throws an unexpected cast onto food and work surfaces.
6. Check tall cabinets against the real ceiling
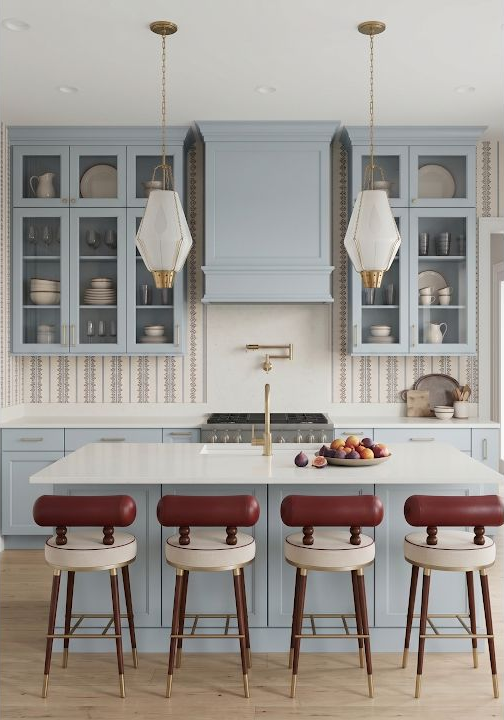
Tall cabinets make every ceiling variation visible. Measure the height near each end of a cabinet run and in the middle rather than relying on one number. The common mistake is assuming the ceiling is level because the room looks square, then discovering a widening filler or uneven crown during installation. Note any soffit, beam, vent, or trim that lowers the usable height. Your sketch does not need to solve the condition; it needs to make it visible early. The cabinet supplier and installer can then plan the appropriate fillers, trim, tolerances, and field verification.
7. Understand what a dark ceiling does to the light
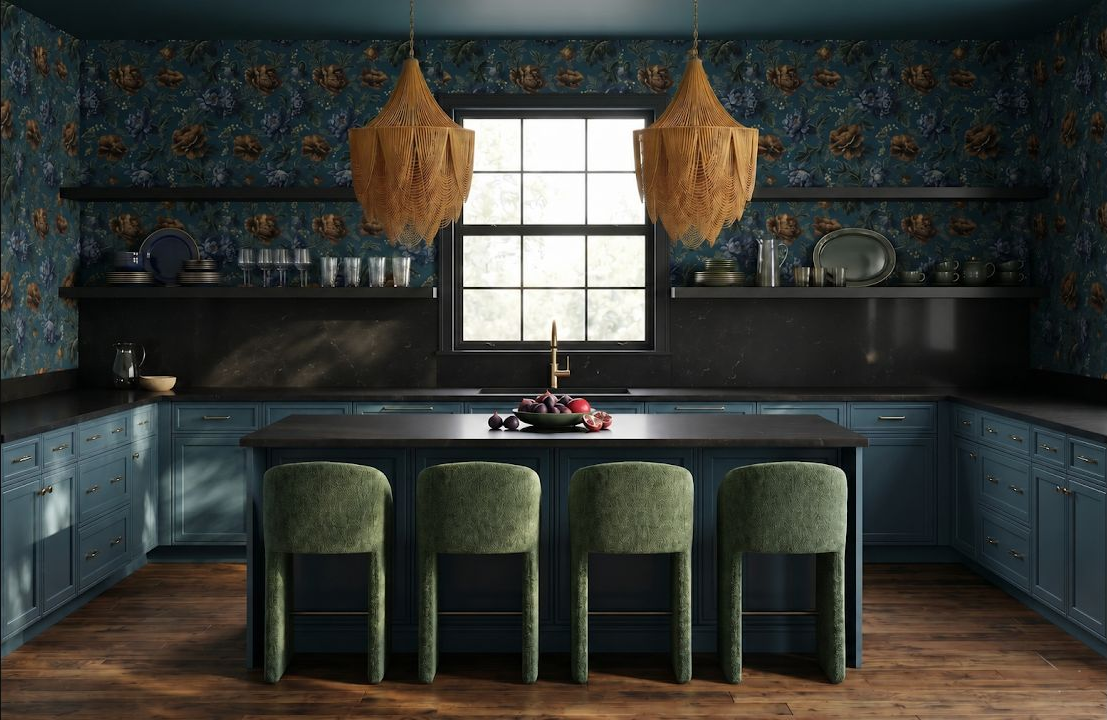
A dark ceiling can make a tall room feel intimate and connect deep cabinetry to the architecture, but it reflects less light than a pale surface. Paint a large sample overhead and view it with daylight, task lights, and evening fixtures. A common mistake is testing the color vertically on a wall, where it receives different light and appears brighter. Record which counters or paths feel dimmer when the sample is in place. The solution may be a different sheen, a lighter tone, or another lighting layer; the electrician and painter can help verify the final approach.
8. Give a playful light one clear visual job
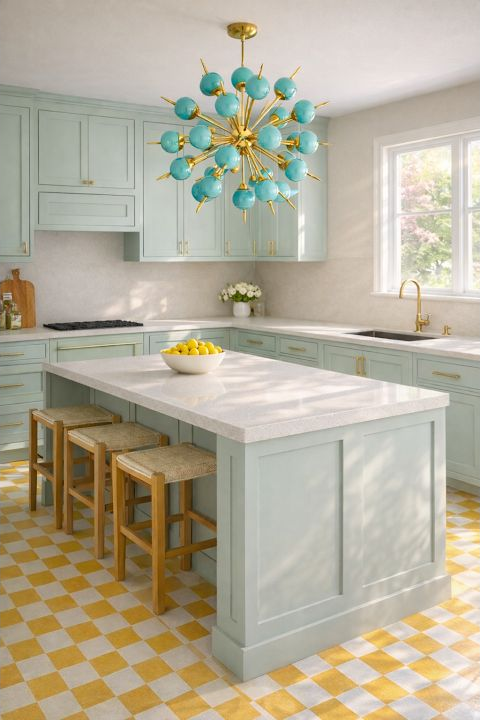
A colorful ceiling fixture can become the room's memorable detail when the surrounding shapes give it space. List the other strong elements—the floor pattern, cabinet hardware, wall art, and backsplash—before adding another focal point. People often repeat the fixture color everywhere because matching feels safe, then lose the surprise that made it appealing. Try one restrained connection instead, such as a small accessory or a related tone. Make sure the fixture still provides or complements the light the activity needs, not only the color the photograph needs.
9. Use natural texture without hiding maintenance
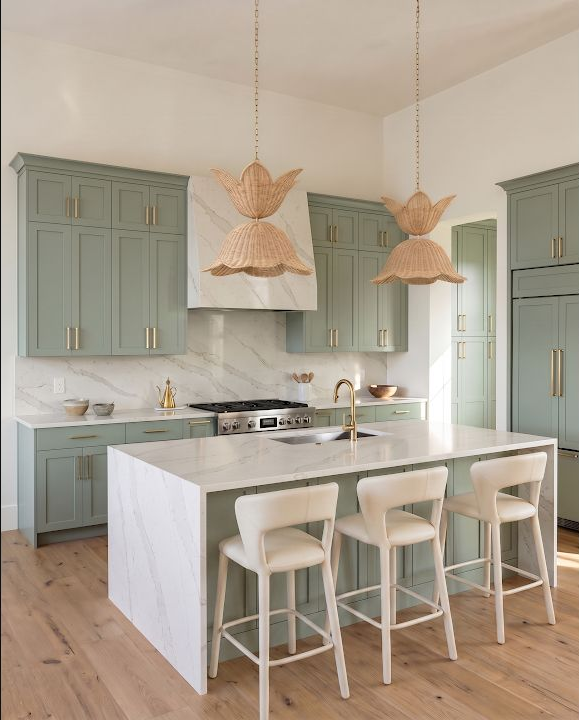
Woven shades can bring warmth to a simple ceiling and soften a cabinet-heavy room, but their texture also collects dust and cooking residue. Check the product's care instructions, the distance from active cooking, and whether the shade can be reached safely for cleaning. A common mistake is treating ceiling details as maintenance-free because they are above eye level. Look at the fixture from below, where the bulb and interior construction may be visible, and ask how it spreads light. Natural texture is most successful when its practical behavior is understood before installation.
10. Let the dining light mark a separate mood
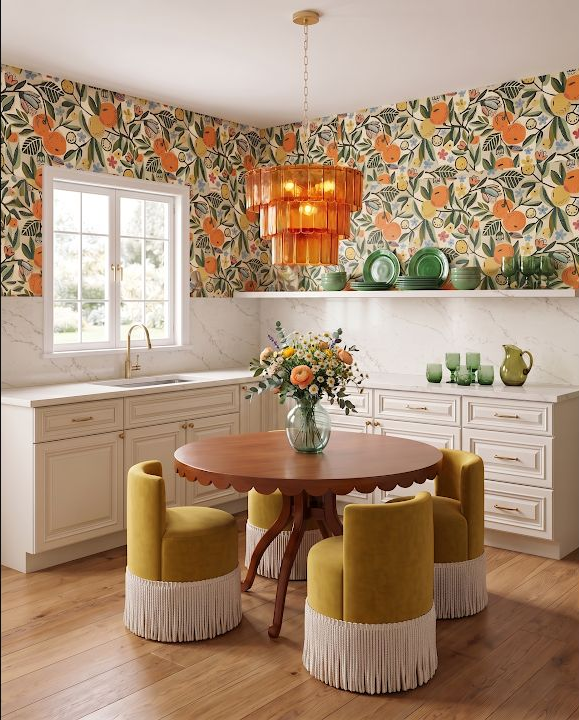
A pendant over the table can create a softer evening zone even when the rest of the kitchen needs bright work light. Draw the table, chairs, and fixture centerline together so the relationship survives small layout changes. The usual mistake is locating the electrical box from the empty room and buying the furniture later. If the table shifts for circulation, the light suddenly looks misplaced. Decide whether the fixture must follow the table or the architecture, and discuss suitable mounting, control, and adjustment options with a qualified electrician before the ceiling is closed.
Measure the ceiling before finalizing tall cabinets
Ceiling height, level changes, soffits, vents, and fixtures all affect the cabinet plan below. Record those conditions with the room measurements before choosing cabinet heights.
Use the Kitchen Measuring GuideReady to see the ceiling decisions in context?
Start with the room height and fixed conditions, then place the cabinet runs, island, and table that the ceiling must support. StilePath gives you a free place to begin exploring the layout in 3D.
Try Your Kitchen Plan Free