
The photo is inspiration. Your room is the test.
A scroll-stopping kitchen can hide tight walkways, colliding doors, weak work surfaces, and storage that only works after the counters are cleared for the photo. Keep the idea that caught your eye, then run these ten checks against your own walls, openings, light, and daily routine. You are not trying to copy a room. You are trying to understand why it works—and whether that logic works for you.
1. Test the walkways at real scale
An island can look generous in a wide-angle photo and still choke the route between the sink, range, refrigerator, and table. Mark the proposed cabinet and island edges on the floor, then walk the path while another person stands at the counter.
2. Check every door and drawer collision
Open the refrigerator, dishwasher, oven, corner cabinets, and opposing drawers on the plan. A beautiful elevation does not show what happens when two people reach for different things at the same time. The common mistake is checking every opening alone. Test likely pairs—the dishwasher and waste pullout, the oven and island drawer, or the refrigerator and nearby doorway—so the plan reflects a busy kitchen rather than a display.
3. Count uninterrupted preparation space
A long counter can be broken into small fragments by a sink, range, tall cabinet, or appliance. Identify the one clear stretch where groceries, cutting boards, bowls, and ingredients can stay together during a real meal.
4. Trace the cleanup path
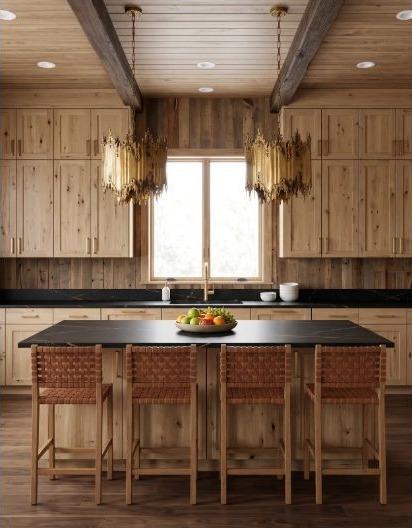
Follow a dirty plate from the table to the sink, dishwasher, waste bin, and dish storage. If that route crosses the main cooking zone or requires repeated steps around an island, the photo's layout may be costing you ease every day.
5. Size the island for your room
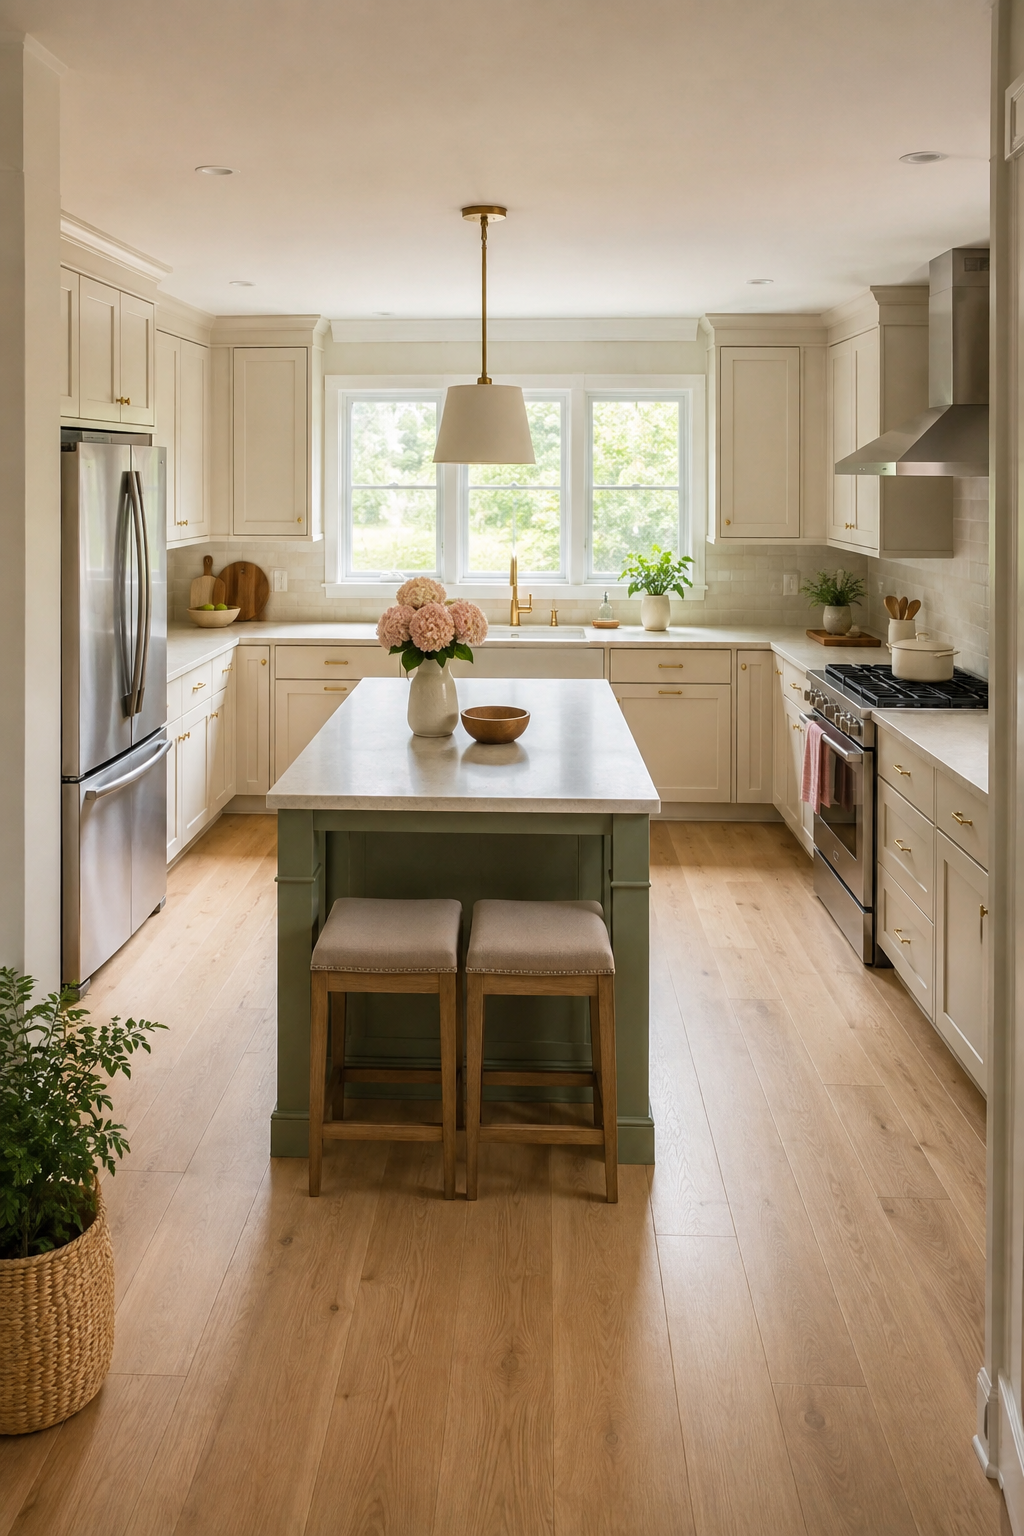
Start with the clearances your room needs, not the island size in the saved image. Then decide which job earns the remaining space: preparation, seating, cleanup, cooking, or storage. A smaller island with one clear purpose can outperform a crowded showpiece.
6. Plan outlets before styling the walls
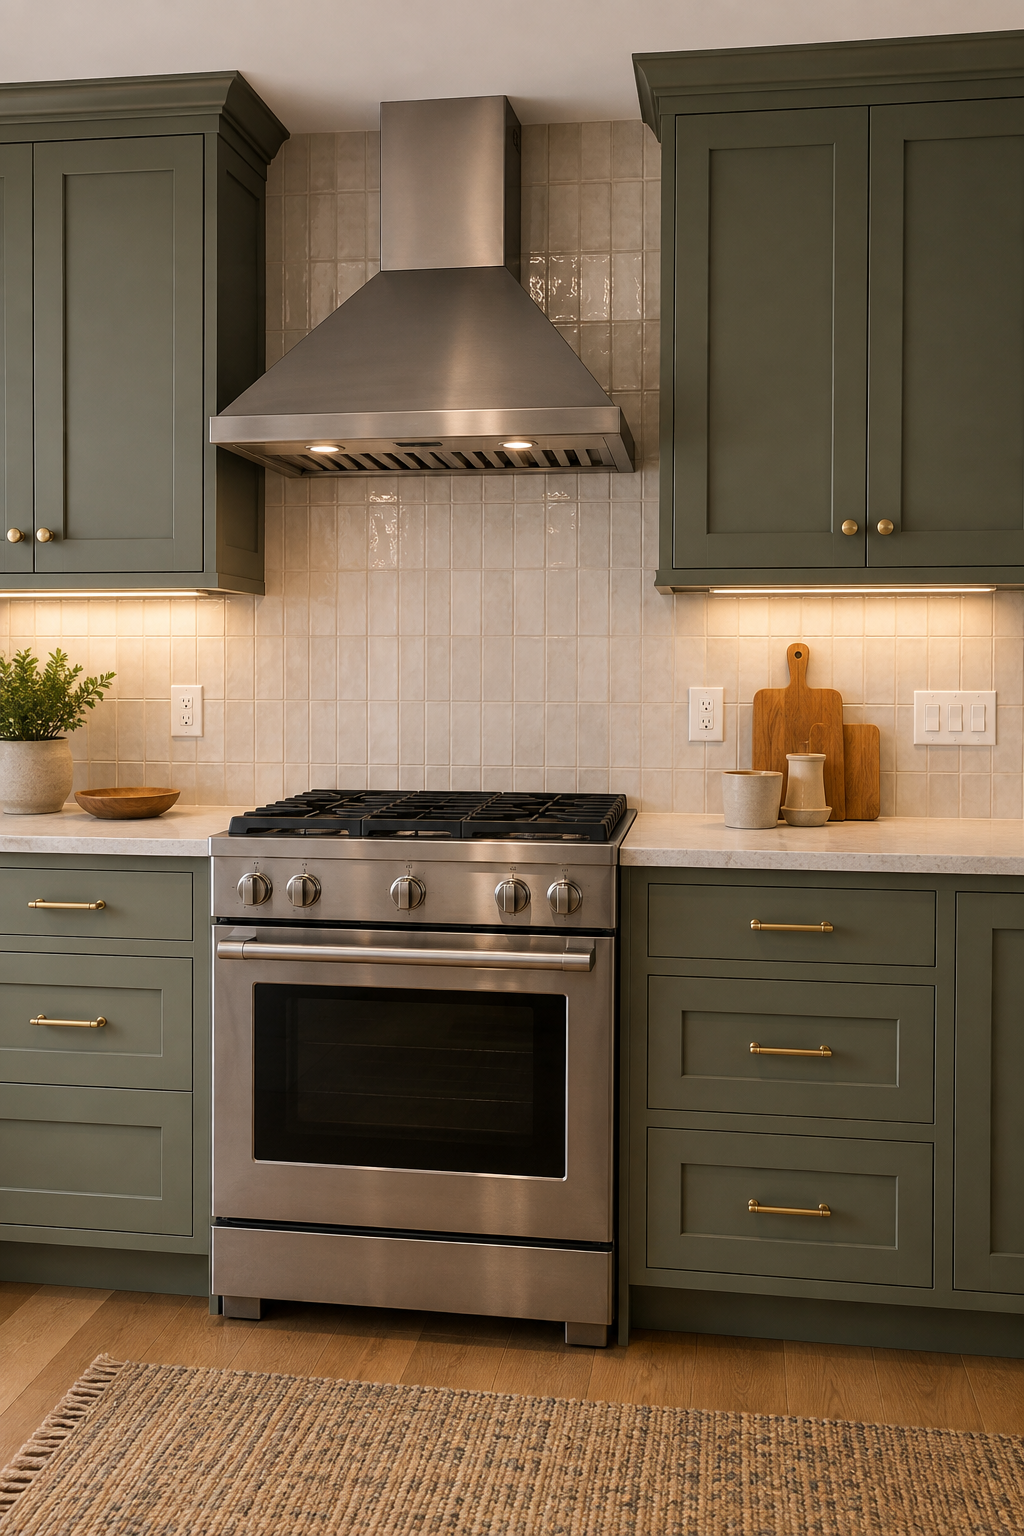
Open shelves, slab backsplashes, windows, and decorative wall treatments still have to accommodate outlets, switches, lighting, and appliance cords. Place those necessities on the elevation before treating the wall composition as finished.
7. Test materials in your actual light
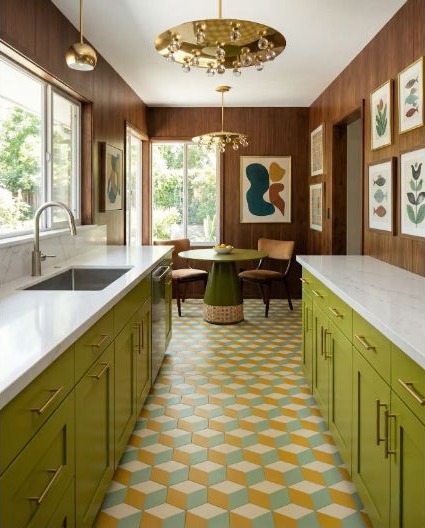
The room you saved was photographed at one moment and edited for a screen. Place cabinet, counter, paint, wood, and metal samples together in your kitchen, then review them in morning light, task light, and evening light.
8. Give everyday clutter a home
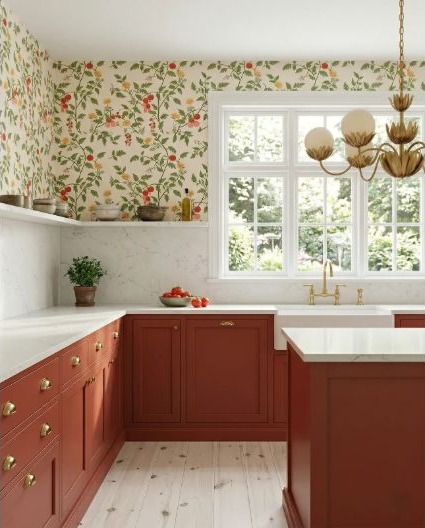
Add the toaster, coffee maker, paper towels, fruit bowl, mail, water bottles, and charging cords back into the photo. Decide where each one lives before choosing a layout that depends on permanently empty counters. The common mistake is planning from the styled version of life and calling later clutter an organizing failure. Use a normal weekday counter as your inventory; it will show you what the cabinetry actually needs to handle.
9. Review the view from every doorway
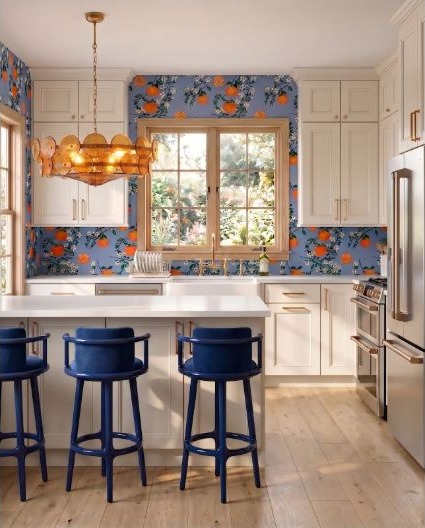
The hero angle is only one view. Check what you will see from the hall, living room, table, and main entry: appliance sides, tall cabinet ends, open shelves, work clutter, and the stopping point of every finish. A common mistake is solving the camera view while leaving an awkward cabinet side or abrupt material edge in the everyday sightline. Take a phone photo from each doorway and mark the elements that will remain visible.
10. Define what the room must do first
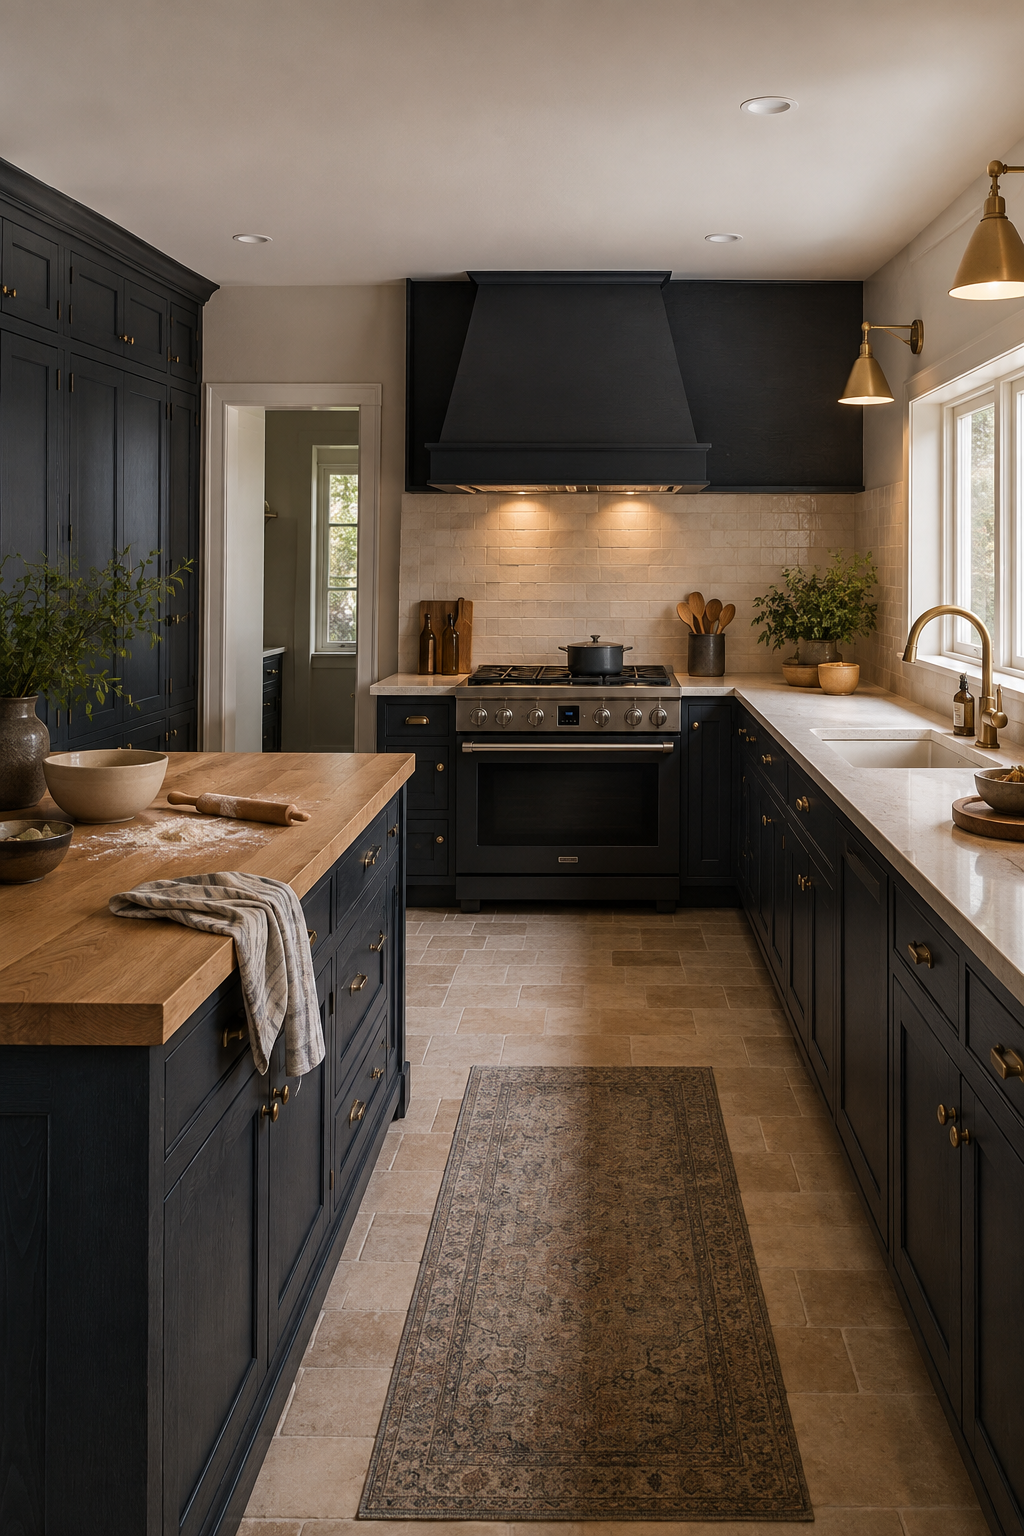
Write the three outcomes the kitchen must deliver before you name a style. Faster weeknight cooking, comfortable baking, easier cleanup, better hosting, or accessible storage will tell you which parts of the saved room are useful and which are only decoration.
Turn the saved image into a room brief
Keep three things: the feeling you want, the functional idea worth borrowing, and the material relationship you want to test. Then rebuild those ideas around your measurements and routine. That brief is far more useful than asking a real room to reproduce one camera angle.
Catch the Layout Mistakes EarlyTest the room before you commit to the look
Use StilePath to start with your kitchen, organize the layout, and compare a direction while the decisions are still easy to change.
Start Your Kitchen Plan Free