
A better first meeting starts before you sit down
A designer can do more with a clear room sketch, real constraints, and ranked priorities than with a folder of disconnected inspiration. You do not need every answer before the meeting. You do need enough useful information to keep the first conversation anchored to your room and the decisions that matter.
1. Bring a measured room sketch
Draw the walls, openings, and existing fixtures, then add dimensions that close the room rather than floating independently. Label anything you could not verify. A rough sketch with honest uncertainty is more useful than a polished drawing that hides assumptions.
2. Record every opening and fixed obstacle
Mark doors, windows, trim, radiators, soffits, beams, vents, columns, steps, panels, and ceiling changes. Record the space each door needs when open. These conditions shape cabinet runs and circulation long before color or hardware enters the conversation.
3. Collect appliance specifications
Bring the model information for appliances you will keep and candidates for anything new. Include opening, handle, ventilation, utility, and service requirements. If a choice is still open, give the designer a realistic size range instead of pretending the decision is final.
4. Photograph the room from every corner
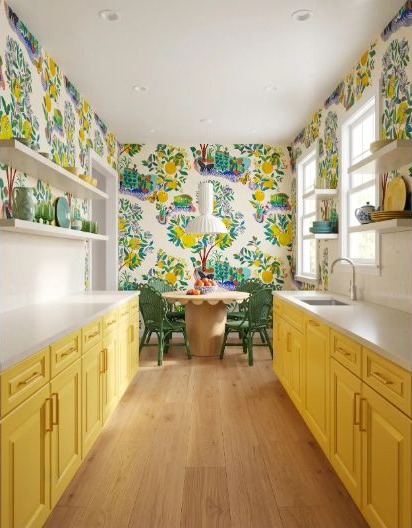
Take wide views from the corners, then photograph each wall, opening, ceiling condition, utility, and adjoining space. Capture the room in daylight and with the lights on. The photographs give measurements context and help explain what the sketch cannot.
5. Write the problems the kitchen must solve
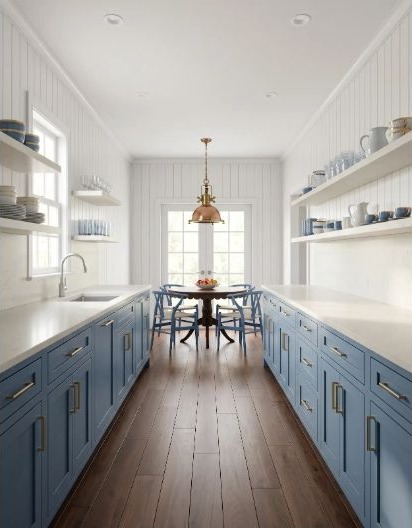
Describe what fails during a normal morning, dinner, grocery unload, and cleanup. Be specific: two people collide at the refrigerator, the landing space disappears, or the dishwasher blocks a drawer. Problems create useful design criteria; vague wishes do not.
6. Rank the activities that matter most
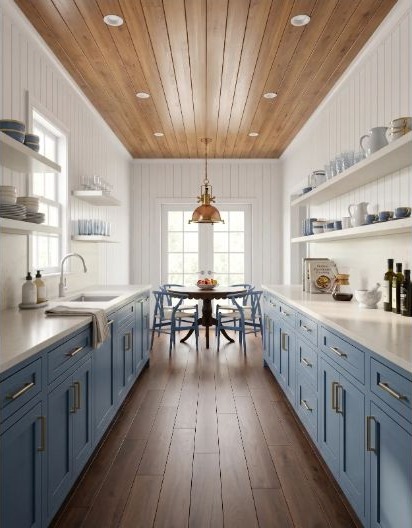
List how the room supports cooking, baking, coffee, homework, entertaining, pets, laundry, or mobility. Rank the activities instead of calling all of them essential. Priorities help the designer make intelligent tradeoffs when the room cannot do everything equally well.
7. Separate must-haves from inspiration
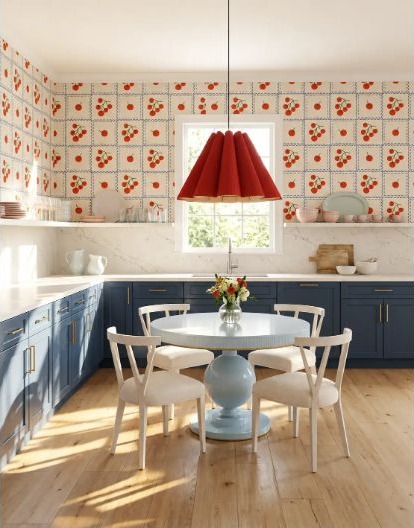
For every saved image, identify the exact feature you like: the color relationship, storage idea, light level, cabinet rhythm, or feeling. Then mark whether it is a requirement, a preference, or simply a direction worth testing. This turns a mood board into a usable brief.
8. Name the budget range and boundaries
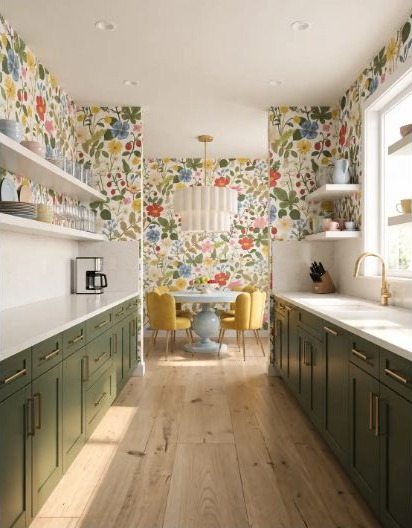
Share the range you are prepared to explore and what that range must include. Identify items already purchased, work handled separately, and features you would trade before changing the whole plan. Clear boundaries help the meeting focus on options that belong in the same project.
9. List decisions that need another person
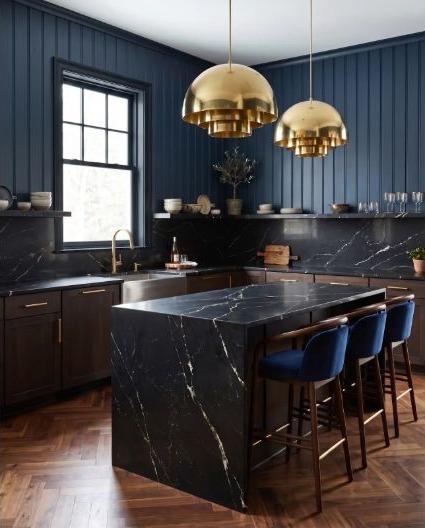
Note who approves layout, appliances, finishes, and scope. Bring the people needed for foundational decisions or agree on how choices will be reviewed afterward. Hidden decision-makers slow progress because a meeting can feel final when it is only provisional.
10. Define what a successful first meeting produces
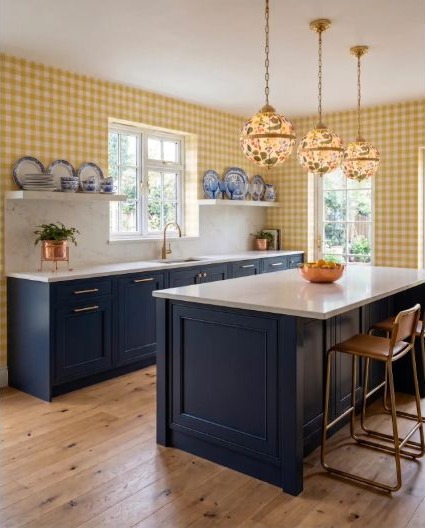
Ask what the meeting is designed to deliver: a problem definition, early layout direction, list of missing information, next-step scope, or schedule for decisions. Agree on the expected output so both sides know what progress looks like when the conversation ends.
Walk in with one brief—not ten disconnected folders
Combine the sketch, photographs, appliance information, problem list, priorities, inspiration notes, boundaries, and open questions in one place. The brief does not replace the designer. It gives the designer a better starting line.
Use the Kitchen Planning ChecklistTurn your kitchen notes into a useful design brief
Use StilePath to organize your room, routines, problems, and visual direction before the meeting, then bring a clearer set of decisions into the conversation.
Build Your Kitchen Brief Free